Small expenses, big results!– Share the whole process of modifying the trunk LED lighting of the 2018 Artez model!
Hello everyone, welcome to the modified community of car friends!
Today’s story starts with the (tun) section of a car.
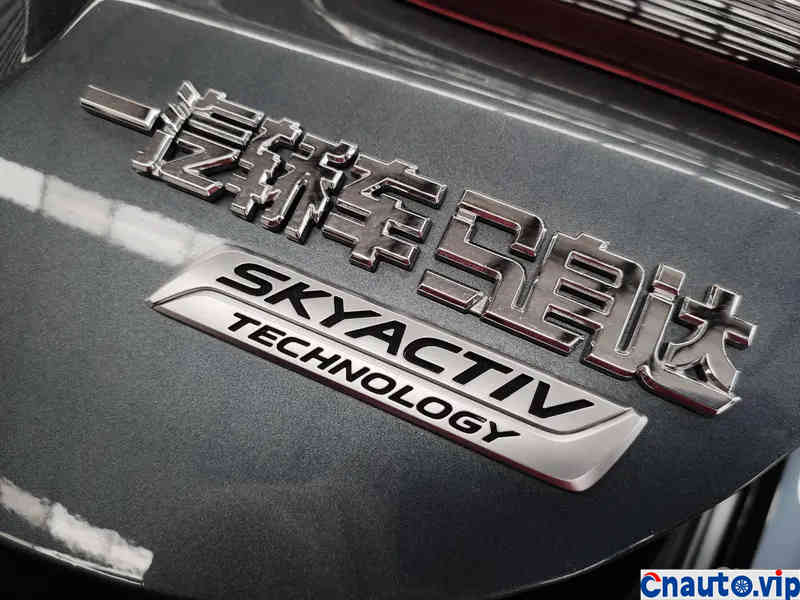
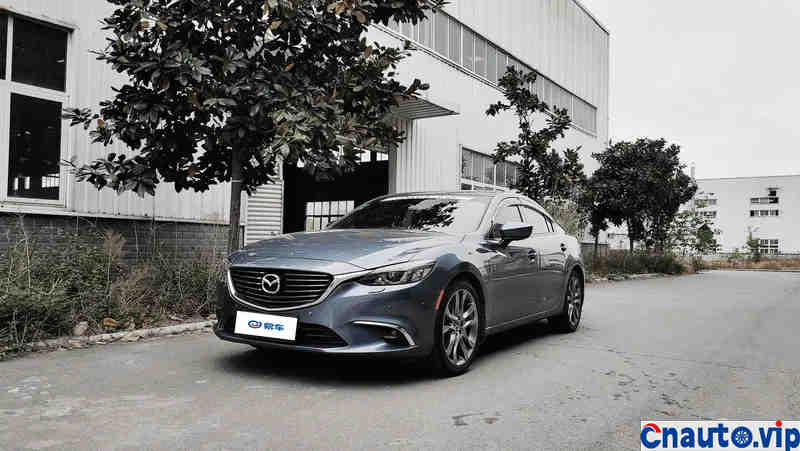
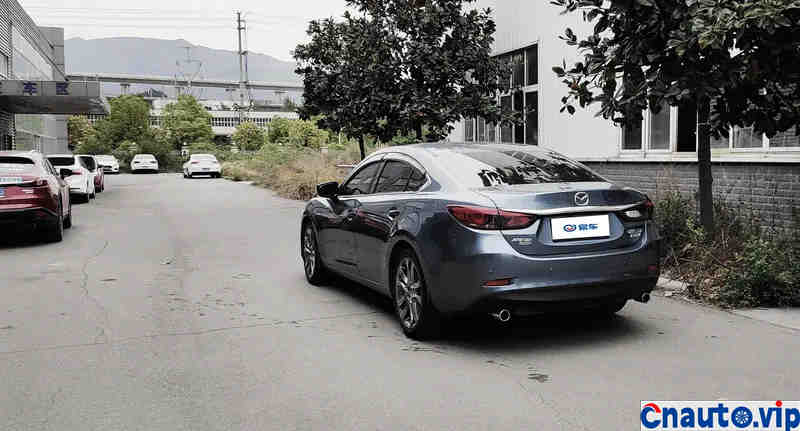
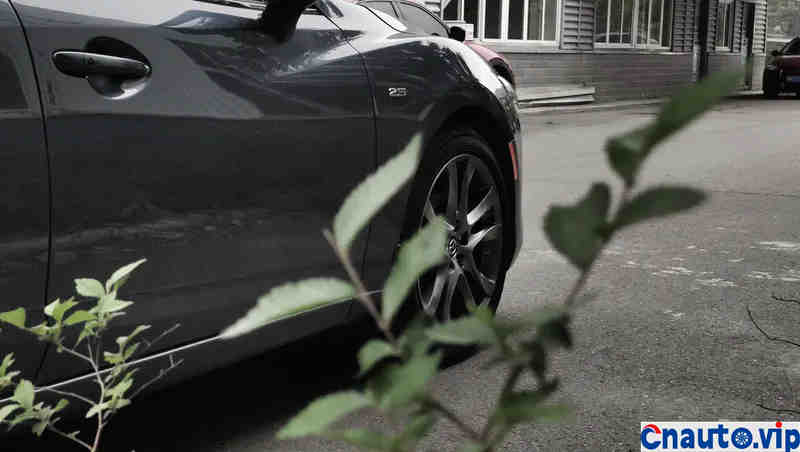
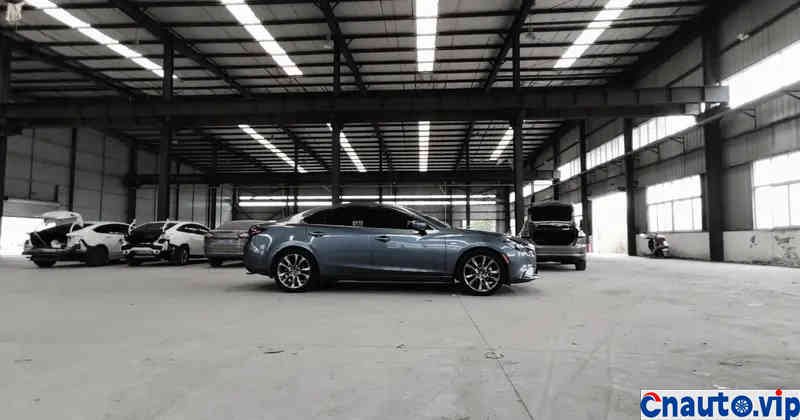
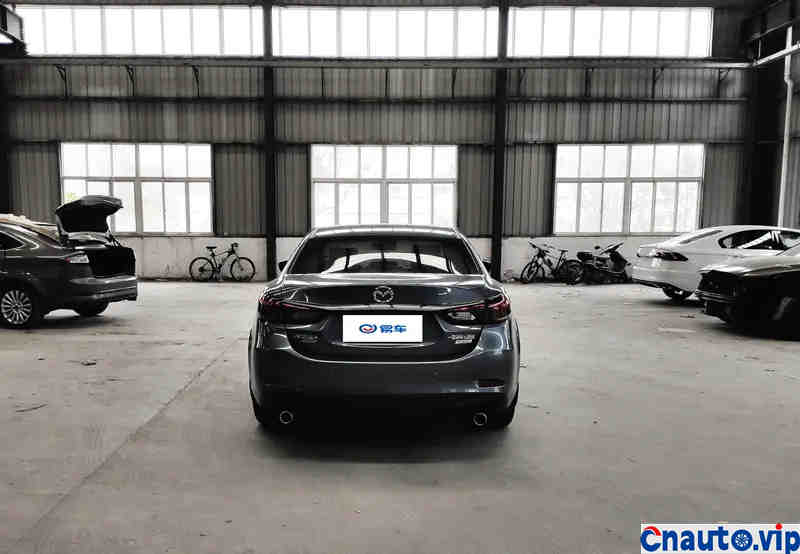
Speaking of FAW Mazda’s Atez, the old driver who loves the fun of handling all said yes, first of all, the appearance of the design concept, no one can resist; besides, cool techs blue sky engine, slippery power, daily 6-8 liter ultra-low fuel consumption (2.5 models) let me, Honda brainless fans all put up a thumb, deep tune to teach 6AT speed convergence Duping, the failure rate is extremely. People with inner style see the wisdom of the wise, but there is still a disadvantage that we have to say: the configuration is low!
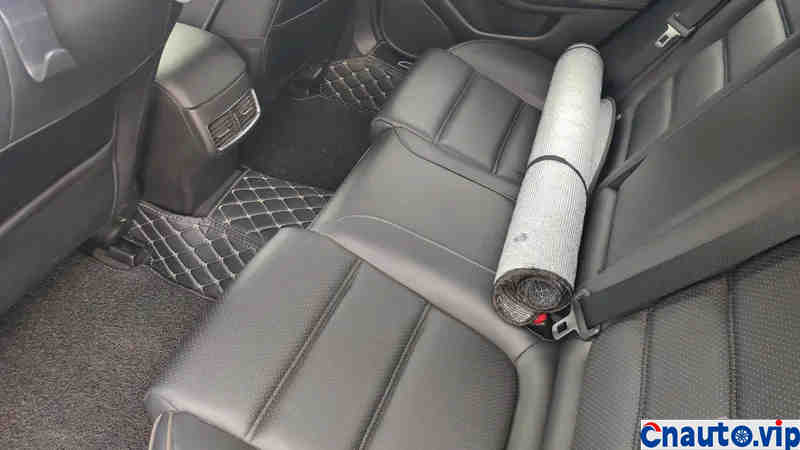
Other electronic and comfort configurations are not within the scope of today’s discussion. Let’s post another day and chat slowly, or put the topic on the (tun) issue!
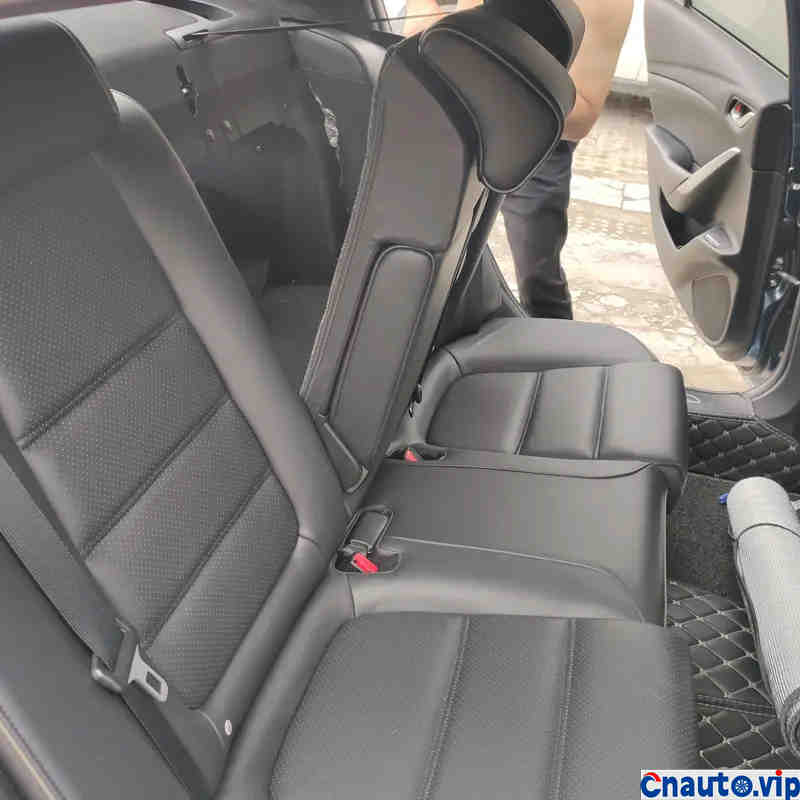
The operation of putting down the rear seat does not mean that the owner has to make room to move the refrigerator, but to make room for the (tun) surgery.
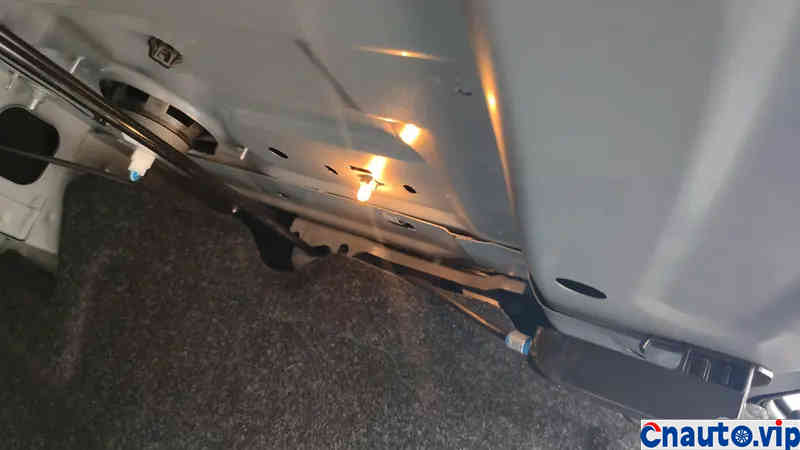
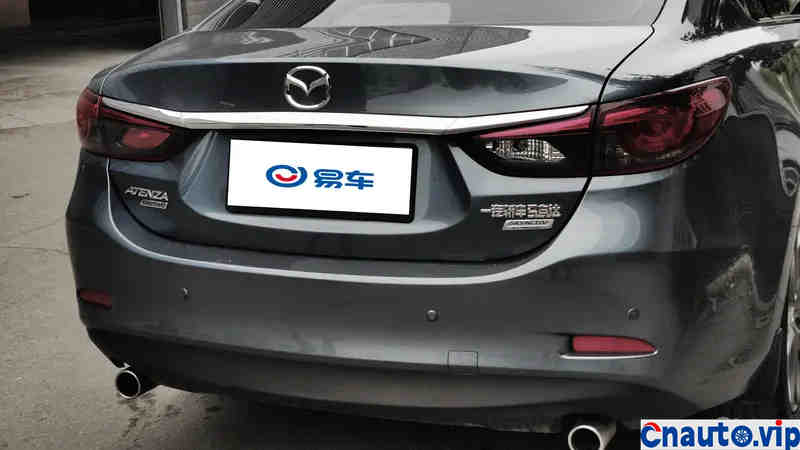
All right, let’s not get to the point: the 2018 Atz (the new model is no longer within the scope of this post), the trunk light is a single small yellow light bulb, a low wattage light source, and a typical candle lamp with a range of hours. this is not very friendly to the owner of the car who wears glasses, or too friendly to all the owners who look for something in the trunk at night.
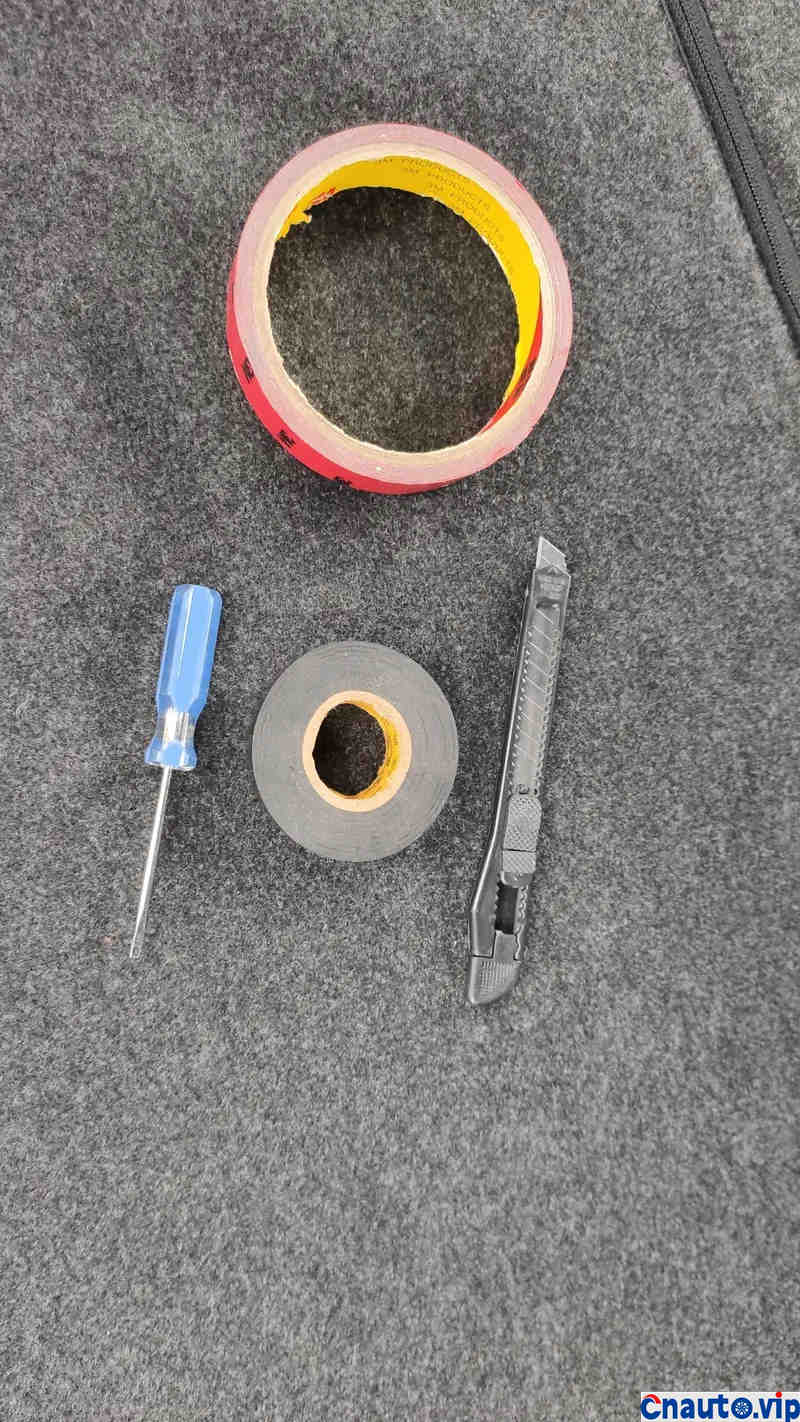
The configuration problem is not a problem for Mazda manufacturers. Mazda has long said that we are value marketing, we do not sell configurations, we sell extreme manipulation fun, if you are an old driver who attaches importance to manipulation, you must agree with our car-building concept. Well, you’re all right. Cuihua serves sauerkraut, not tools.
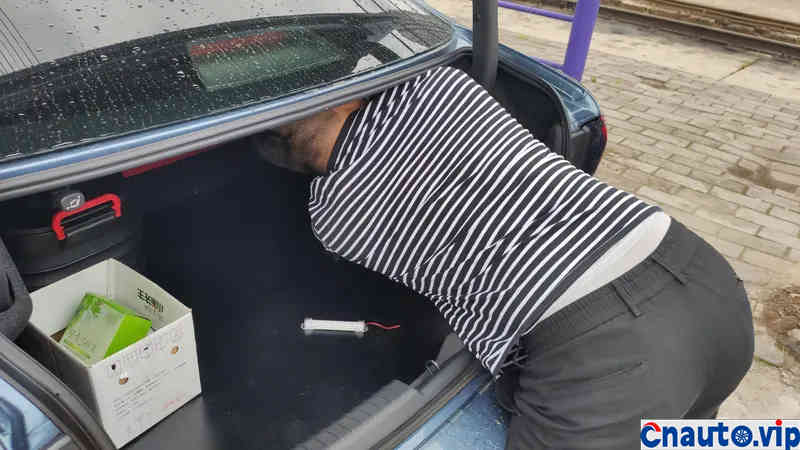
Since the manufacturer doesn’t give it, if you want a bright light source, you have to do it yourself.
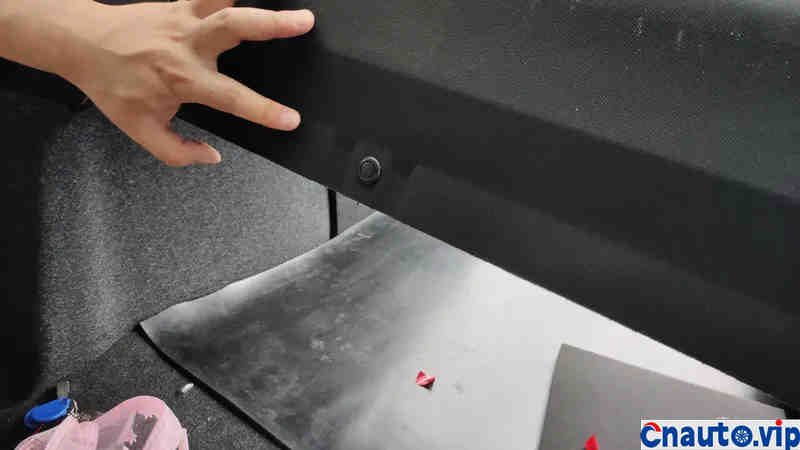
Put it in the rear seat and remove the push-in buckle of the rear decorative cover.
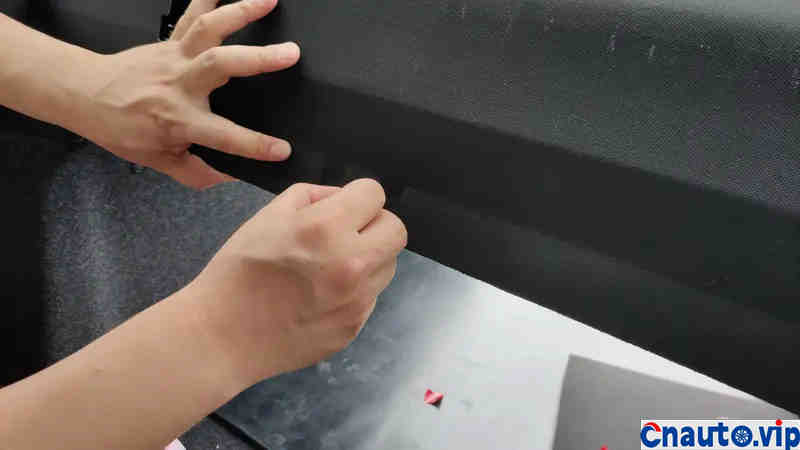
Put it in the rear seat and remove the push-in buckle of the rear decorative cover.
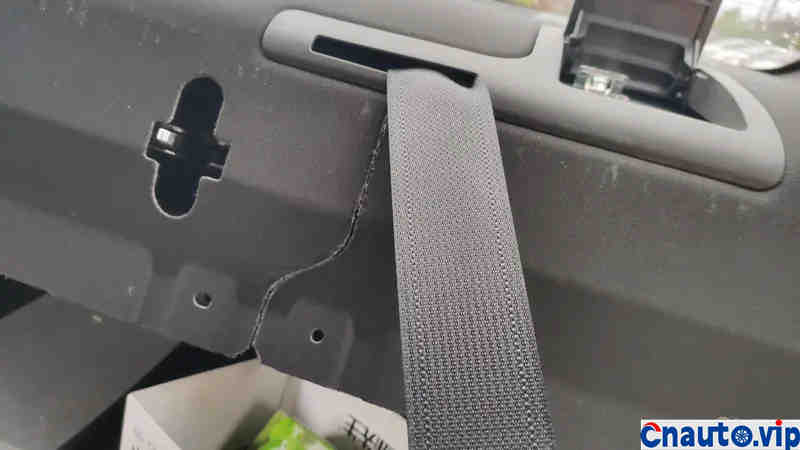
Note that there are also two near the top of the left rear seat belt. Don’t forget.
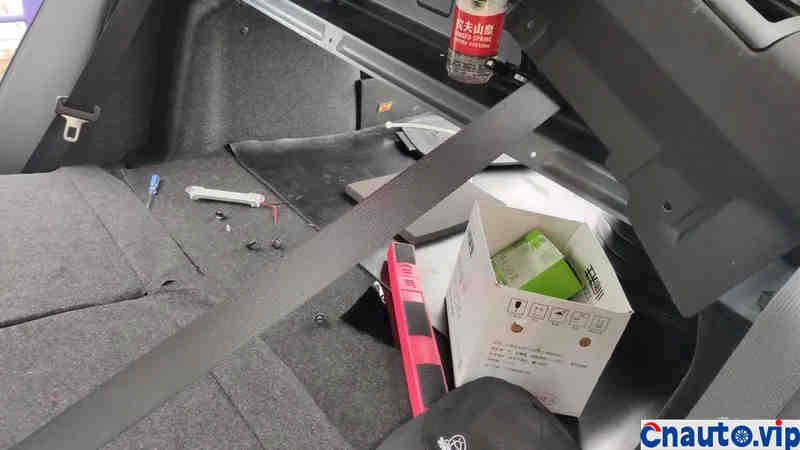
Why tear this place down? Because the wiring harness and installation holes of the trunk lights are in this mezzanine, you can’t do a job if you don’t dismantle it.
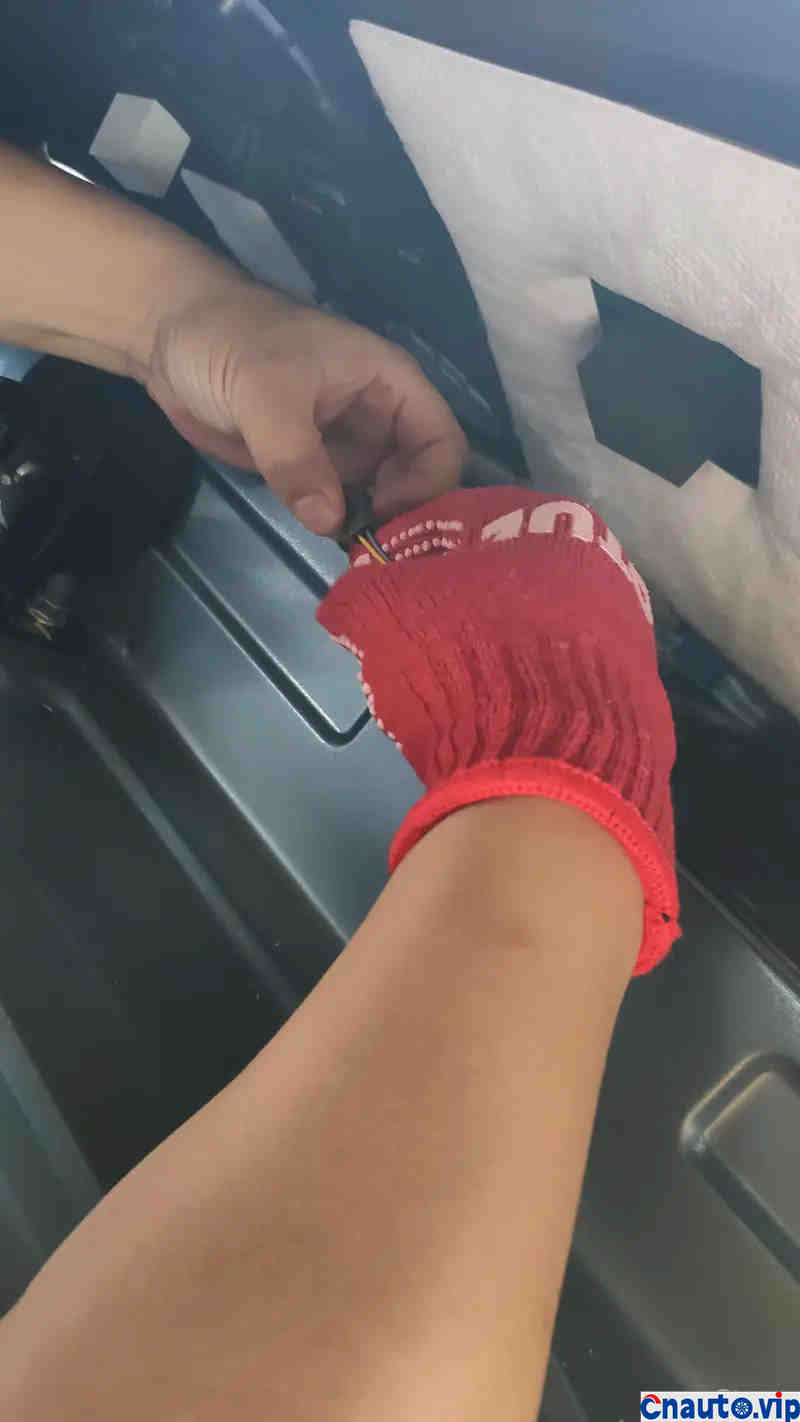
We first push out the original candle lamp from small to top, and there are two power cords behind the lamp holder.
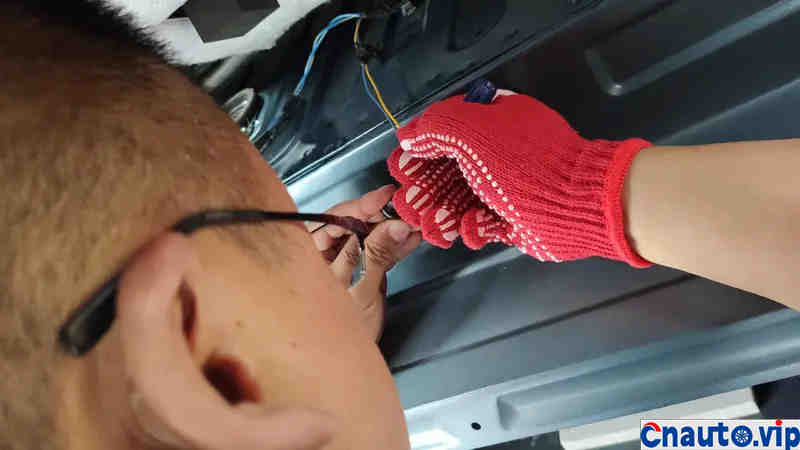
Use a small word to change the knife to return the copper card from the installation seat.
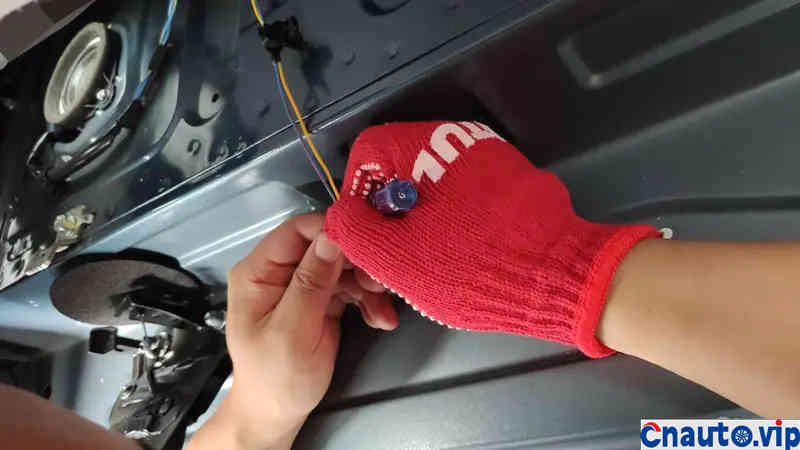
In fact, it can also be cut directly from the root of the installation seat, but we are all old drivers, pursuing the effect of lossless installation and recoverable at any time, .
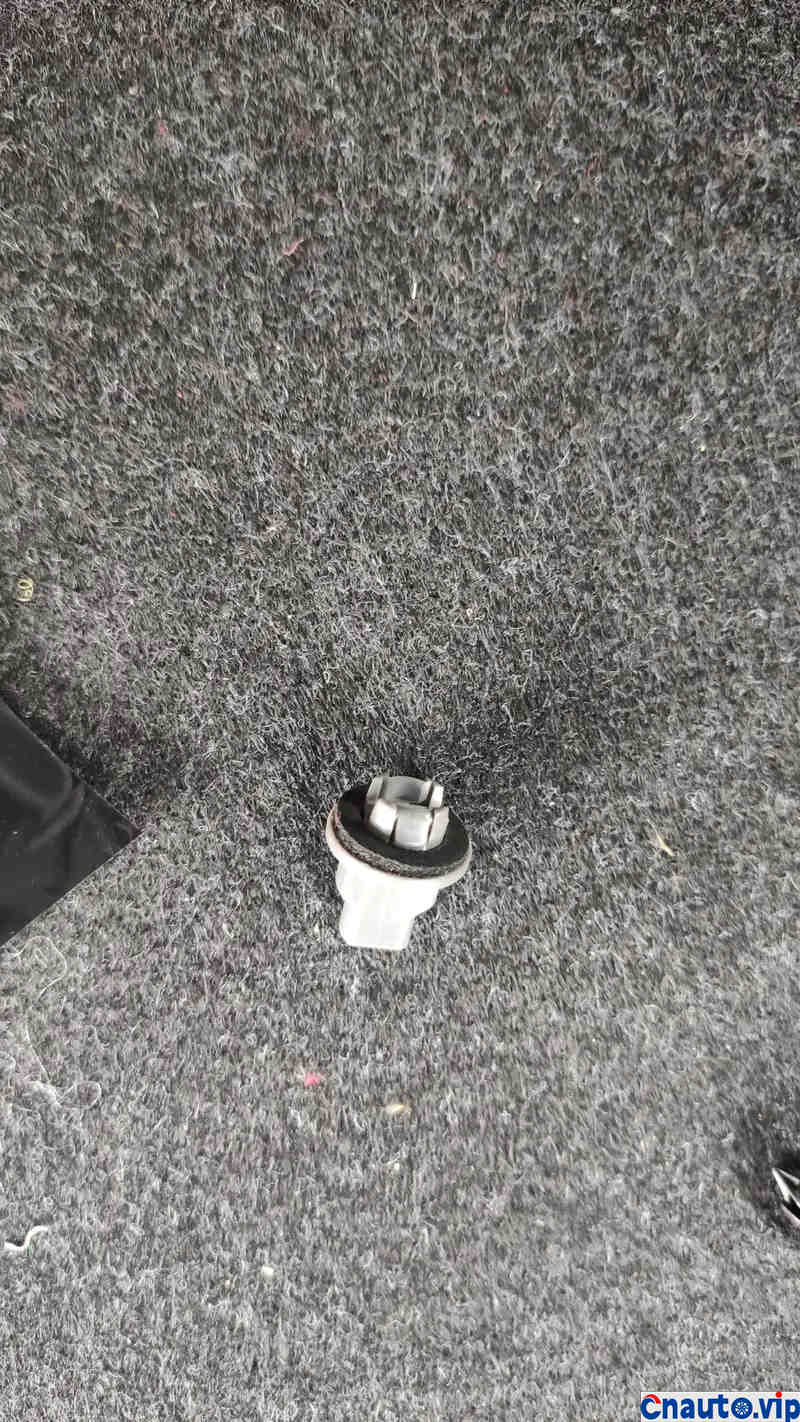
This is the original lamp holder.
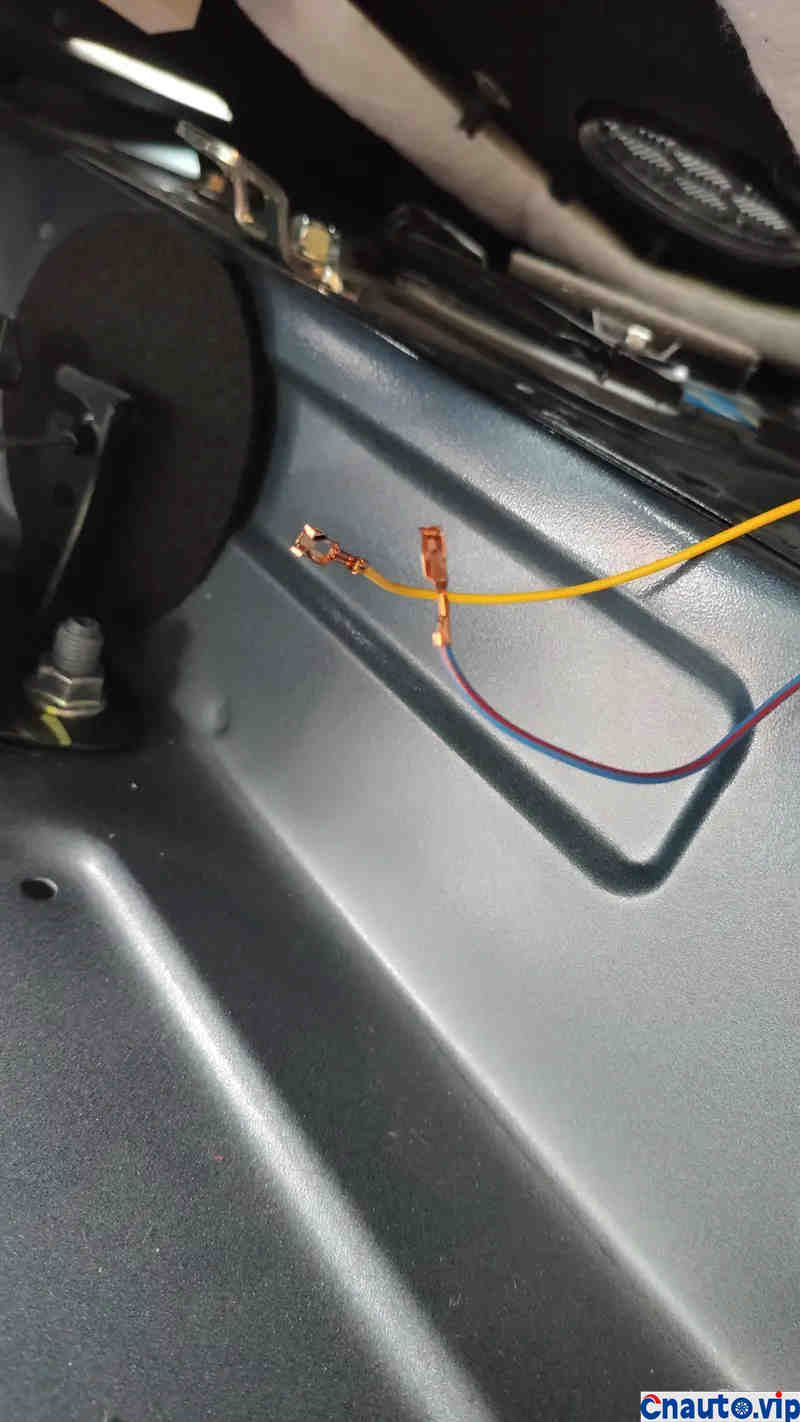
Oh, I accidentally hit the wire and burned the insurance.
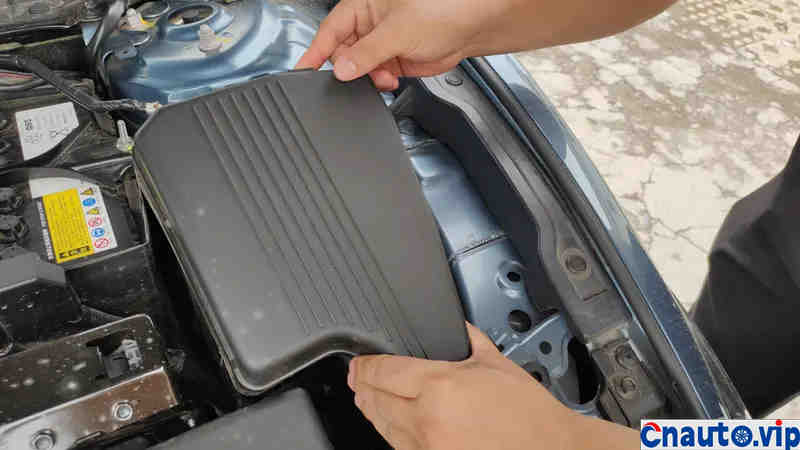
It is suggested that the riders who follow the clues should be covered with tape insulation every time they withdraw from a power cord, so as not to repeat our tragedy. Why do you keep turning on the battery? Because disconnecting the battery will cause the computer to re-learn, it will increase fuel consumption during the learning period, which is harmful to environmental protection. We are all old drivers of environmental protection!
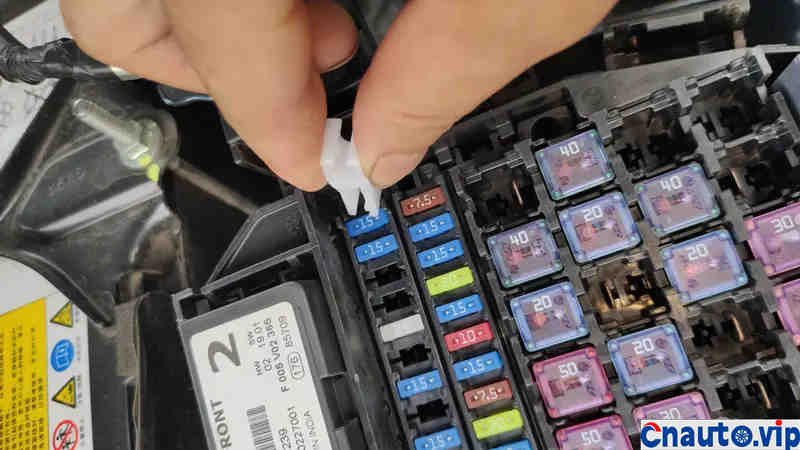
According to the sign on the lid of the cling box, find the burnt 15A safety piece and clip it out with a special clip given by the original factory.
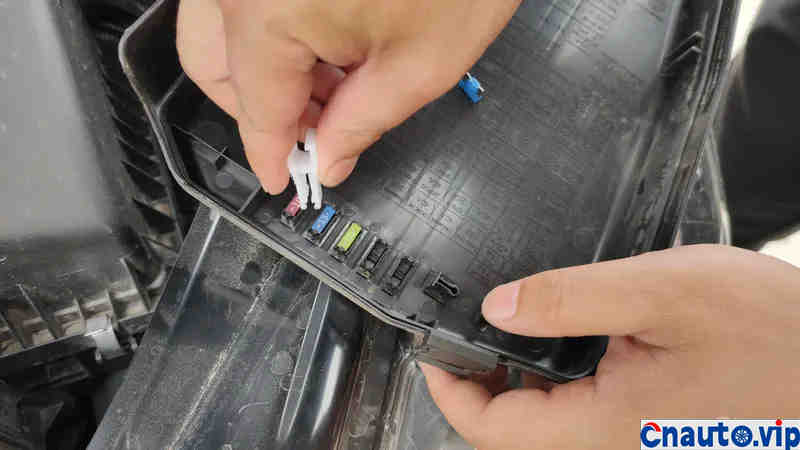
The clip and the spare safety piece are arranged inside the lid of the safe box, so it is easy to find.
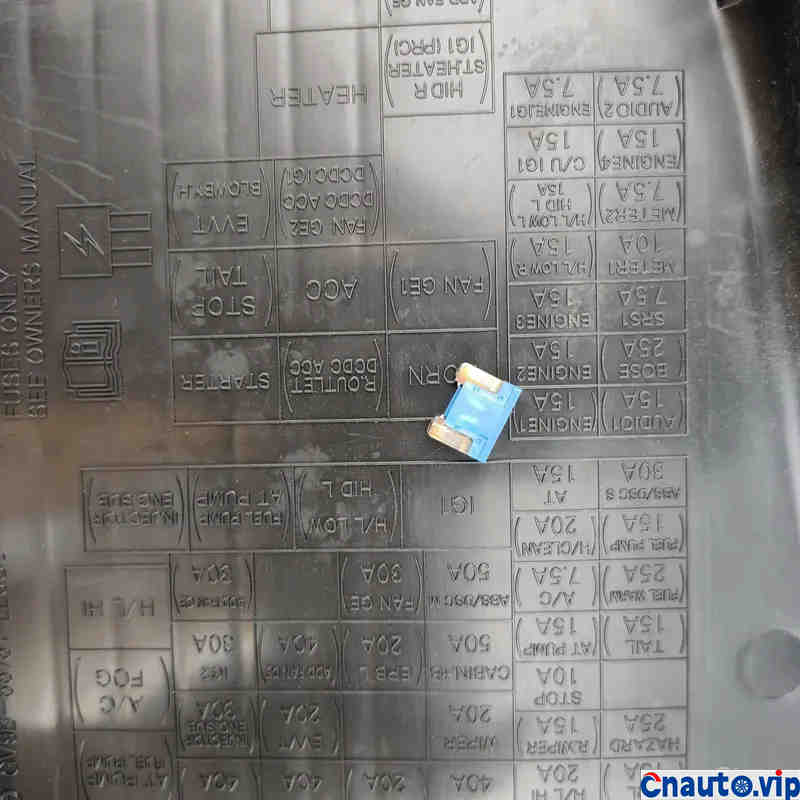
The burned-out insurance film was laid off to take photos as a souvenir. I’m sorry, my friend, but it’s my irregular operation that made you retire. The new insurance card will not be plugged in until the lights are installed.
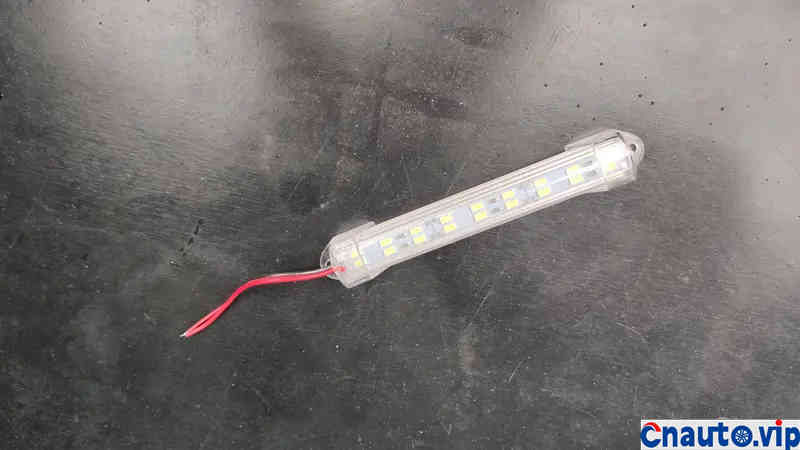
The LED white light board, which is about to enter the job, comes from T Bao, with a power of 5 watts.
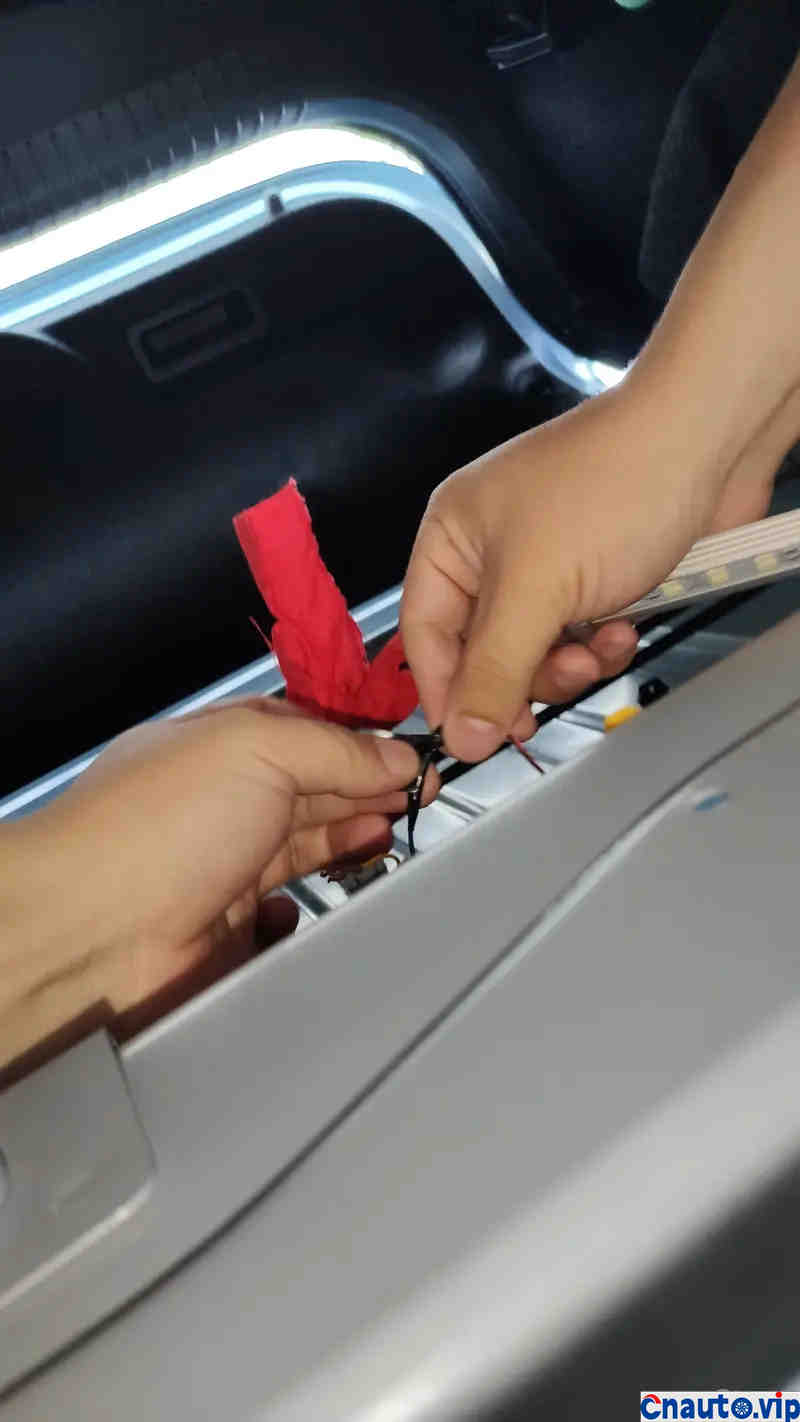
Just connect to the two power cords of the original car.
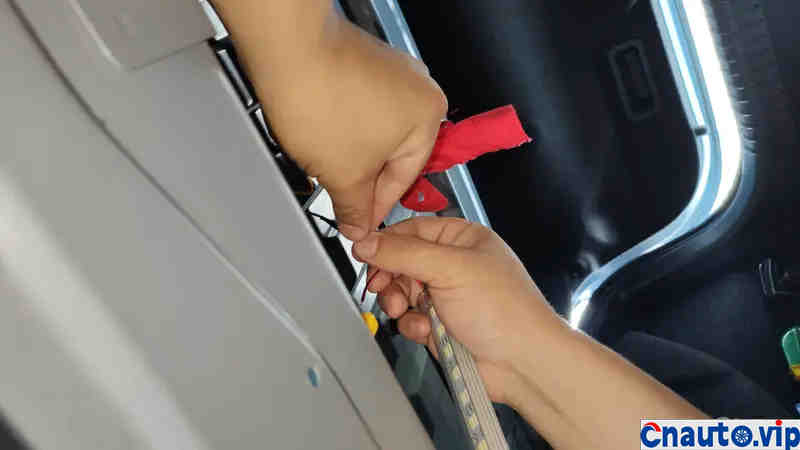
It’s easy to say, but this station is quite suffocating. People have to lie in the trunk and raise their hands to operate. Of course, these are the jobs of young people, and the job of an old technician like me is to take pictures and instruct on the spot.
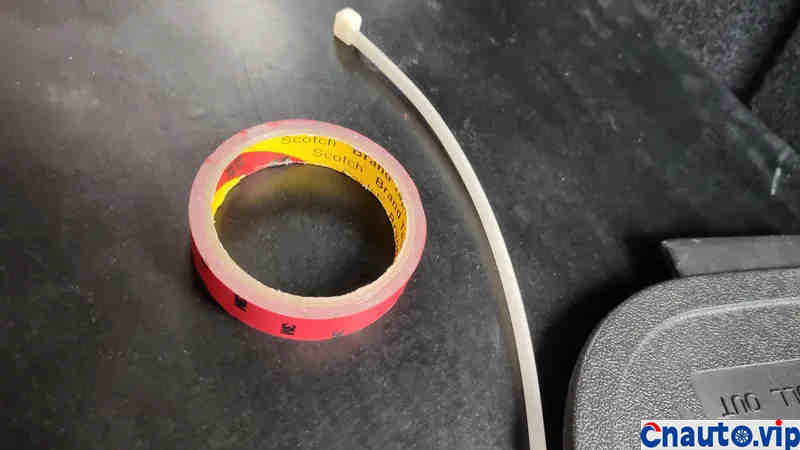
We need 3M double-sided glue to come out.
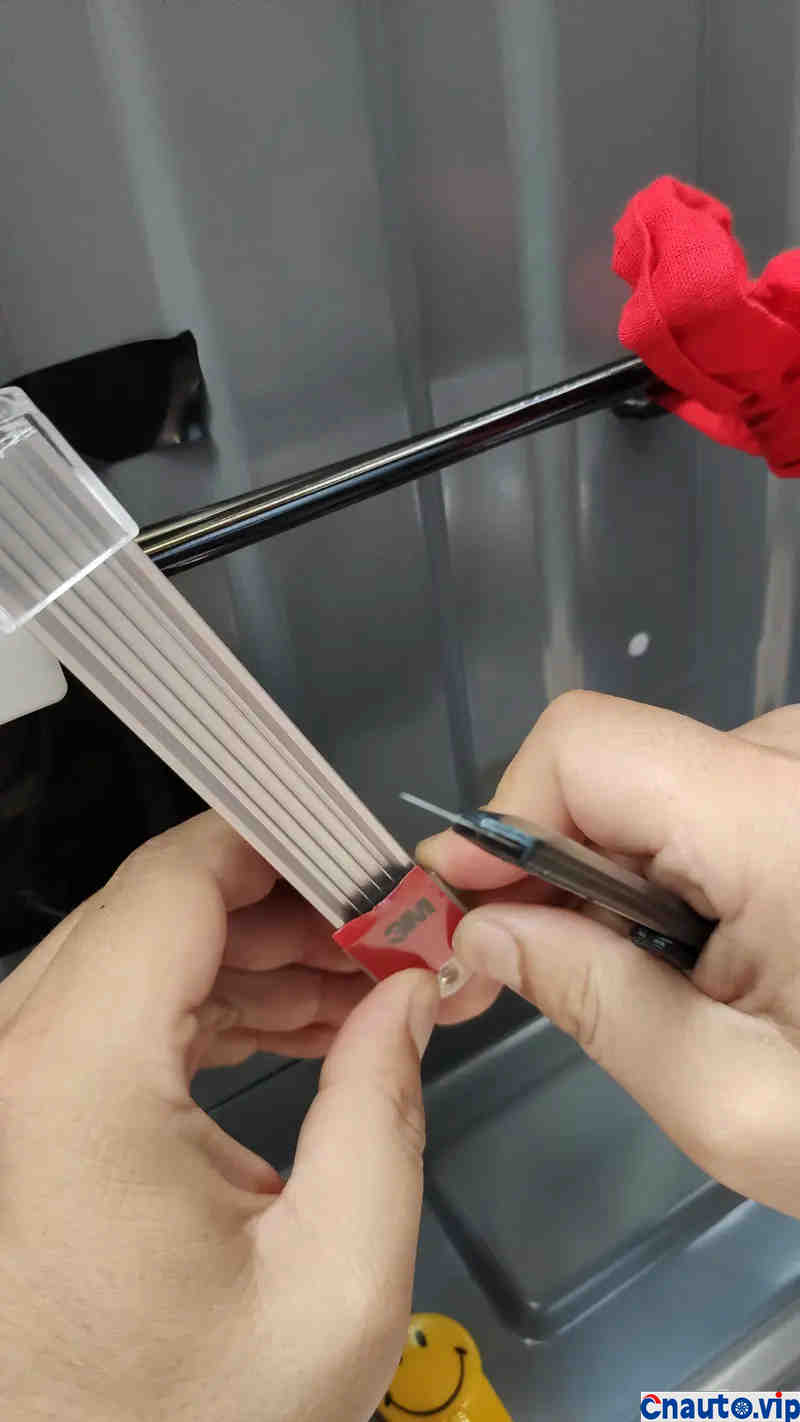
The most original way is to use double-sided glue to paste the lamp board bracket on the interlayer steel plate. We said at the beginning that we are old drivers pursuing non-destructive installation, and we do not do the brutal operation of steel plate openings.
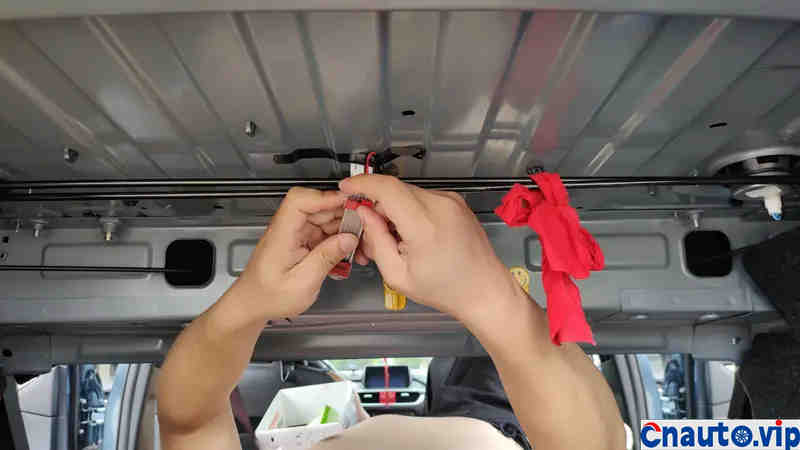
First clean the adhesive surface with toilet paper, no dust and oil stains to ensure the effect of pasting.
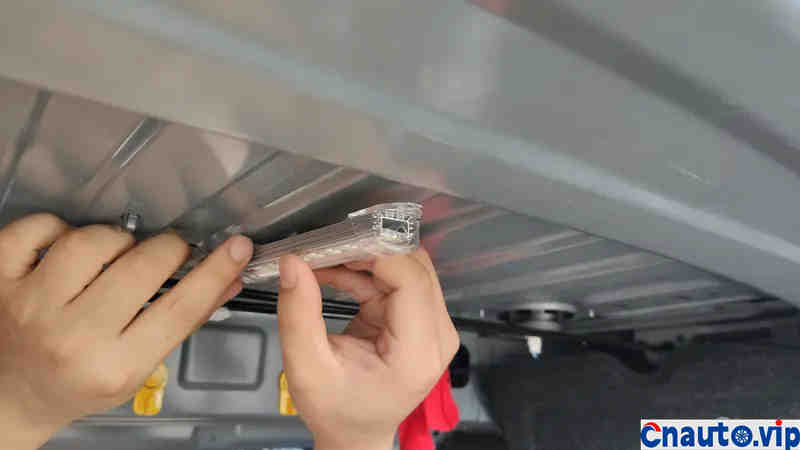
Of course, the authentic 3M double-sided glue can ensure the crazy effect.
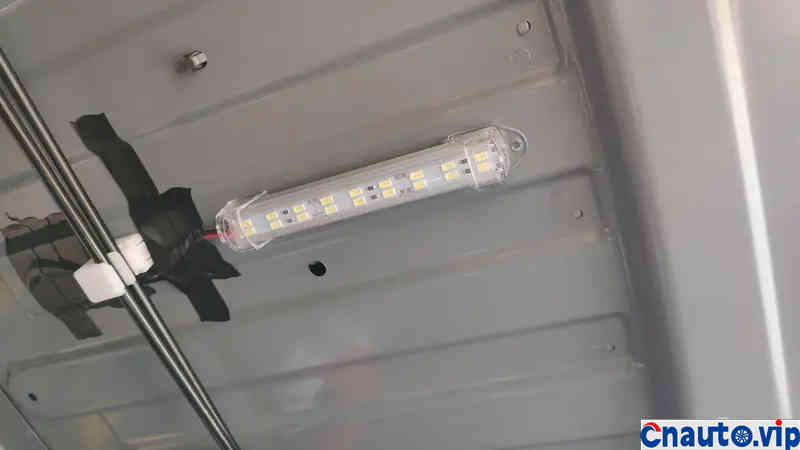
The resulting wire harness is affixed with adhesive tape to avoid sagging and sloshing.
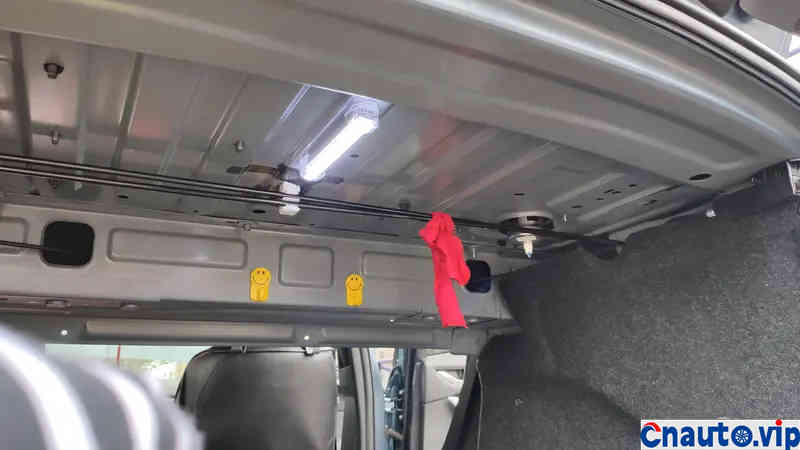
If you think the radiation range is not wide enough, there is no problem to install one on each side. If the transformation is a complete success, the reassembly process will not be pictured above. Make friends by car, right in the community!
~ ~ the car had better see that the time is up! ~ ~
Thanks for watching!
Recommended Suppliers
 April 1, 2024
  March 27, 2024
 March 27, 2024
