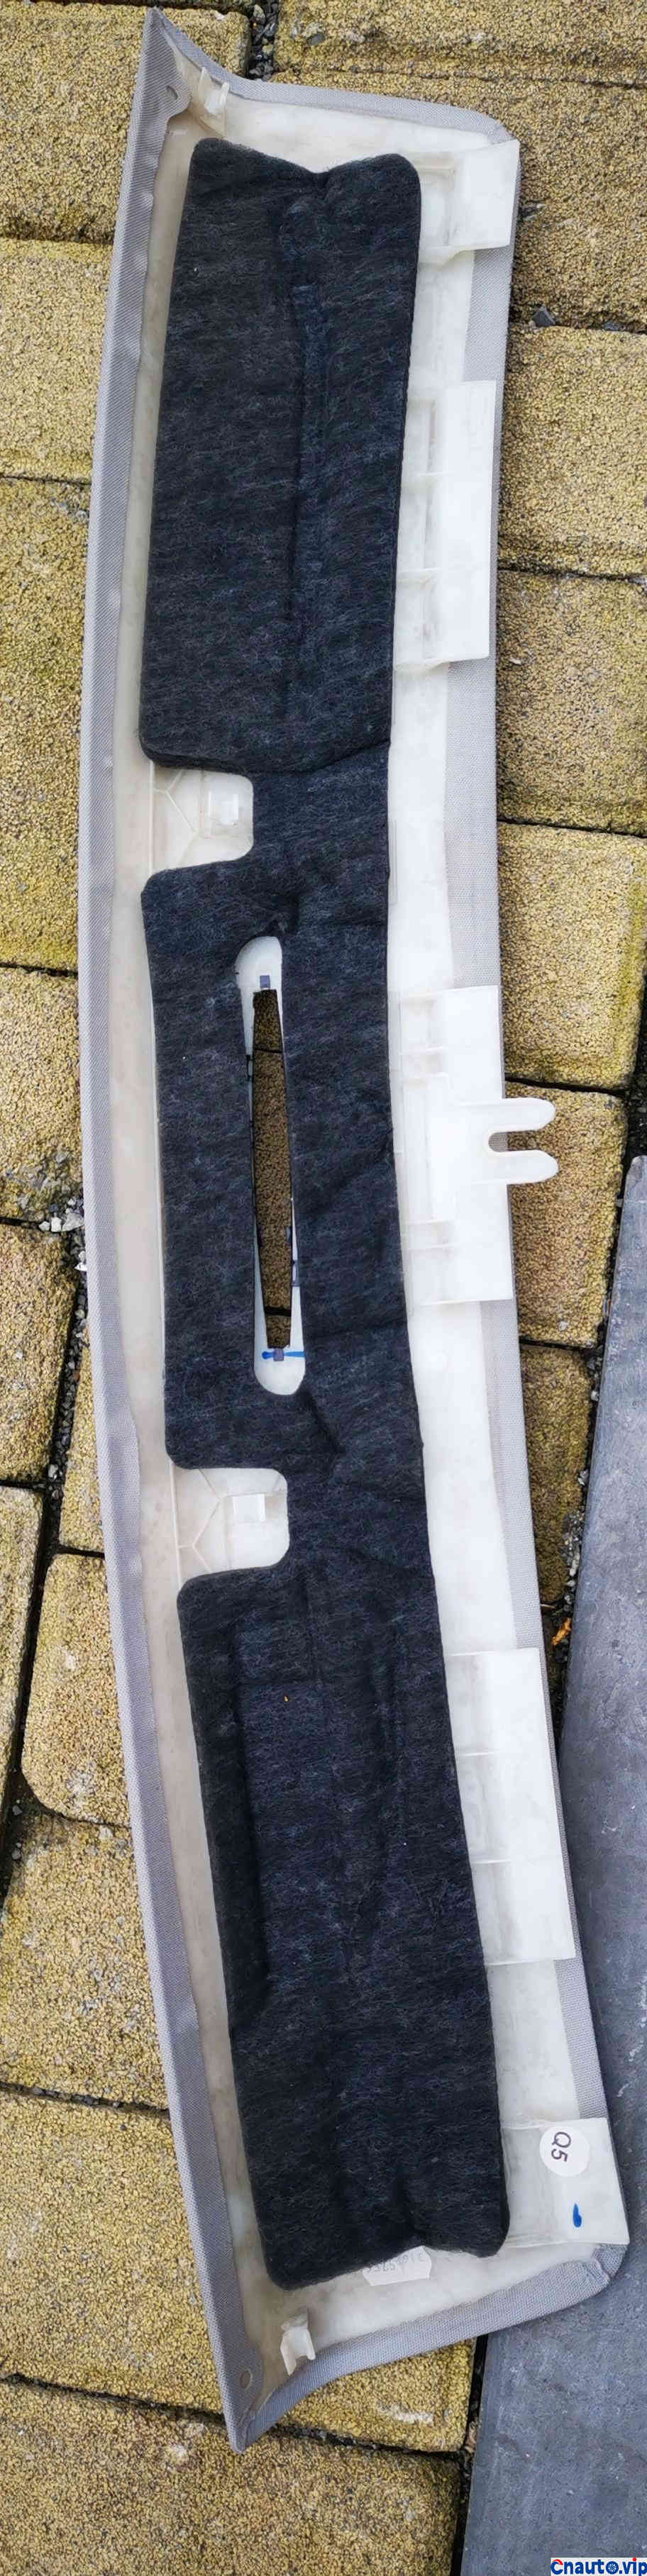
Do it all by yourself, it’s not very complicated, it feels relatively simple. The only thing is that there are few photos, and you have to take off your gloves and take pictures. It’s really hard for me. Strange noise for many years, mainly do not have time to carefully study how to remove, coupled with the old car buckle worried about breaking, the result is still damaged clasp, but only 2, still satisfactory, does not affect the use. It is mentioned again that the model is a short-axle imported version, mainly because the design of my car roof flannelette is the same as that of the domestic version, because my car roof flannelette is above the skylight frame, and there is no plastic cover to protect the guide. if the imported version does not want to remove the roof and spray lubricating oil to solve the abnormal noise, it will residual or directly let the lubricating oil flow to the flannelette, resulting in the smell of some oil in the car, and it really can’t be volatilized. Personal experience. After repair, I suggest using self-spraying butter or white lithium grease to protect the springs and guideway grooves on both sides. I am useless. For those who repair skylights that are no longer in use, they should get protective solid oil to avoid hardware corrosion. If you want to use the skylight and fear the only way to have both a fish and a bear’s paw, use a tool to open an opening on the ceiling in the screw position, and then buy a buckle to cover it, so that there is no need to remove the ceiling, and the buckle cap is removed to directly reinforce the skylight guideway screw. As for the sunroof drain, this one flows out next to the wiper handle, which seems to be different from the domestic version, so it doesn’t look for the legendary rubber tube to do any peeling surgery.
Key point, battery power off, pull door tape slowly do not use brute force, easy to pull out, seat headrest back to reduce the height. Or there’s no room to lower the roof. Key point, battery power off, pull door tape slowly do not use brute force, easy to pull out, seat headrest back to reduce the height. Or there’s no room to lower the roof.
The blower, which had been cleaned according to the strict BOSS method before, saw that the dust was too thick and wanted to wash it clean. after washing, it was found that the bearing rang at a low speed within the third gear, and continued to ring. After this repair, if the dust is not serious, I think we can follow the strict BOSS method. For those who do not wash for several years, or those who do not install external circulation protection and do not often change the built-in air conditioning filter element, I think it is necessary to remove and wash it when washing, because I do not have to worry about the abnormal noise of the bearing. I did not want to take it apart and clean it before, for fear of a large project. Damage buckle and other reasons. This time, in order to solve the abnormal noise, I forced myself to remove it. It was found that it was really simple. Apart from the protective plate under the glove box, there were three screws and four plugs. The plugs are foot lamp plug, blower power plug, control power plug, and an unnamed plug. The only bad thing is that the posture is a little inconvenient, need to lie in, in order to easily pull out the blower plug, control plug, take out the air conditioning filter element. I think it’s really simple. You can try it sometime.
Having talked so much, I try my best to recall the process of dismantling and describe the details that need to be paid attention to in the picture above. Because it has been a long time since it was ready to post. There are not enough love cards to get the photos together. Next time I’m going to solve the bad smell of the air conditioner, which is always unspeakable. The smell of oil is more obvious in winter.
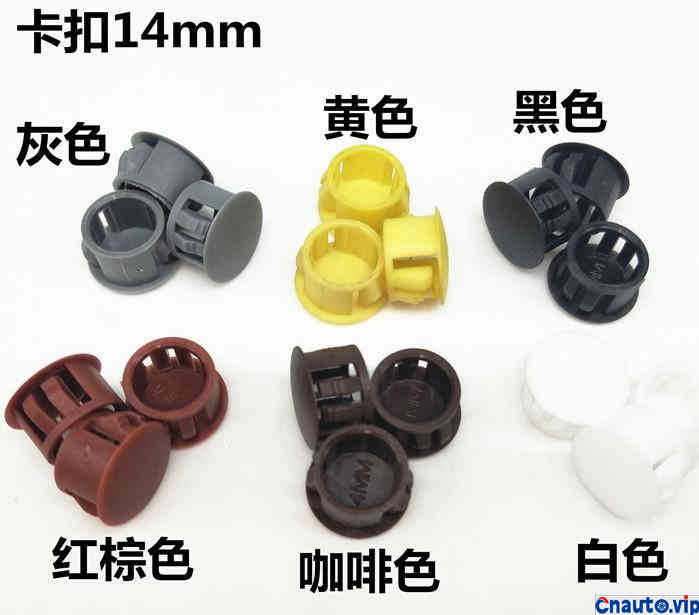
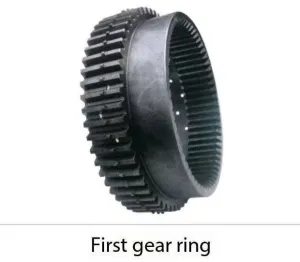
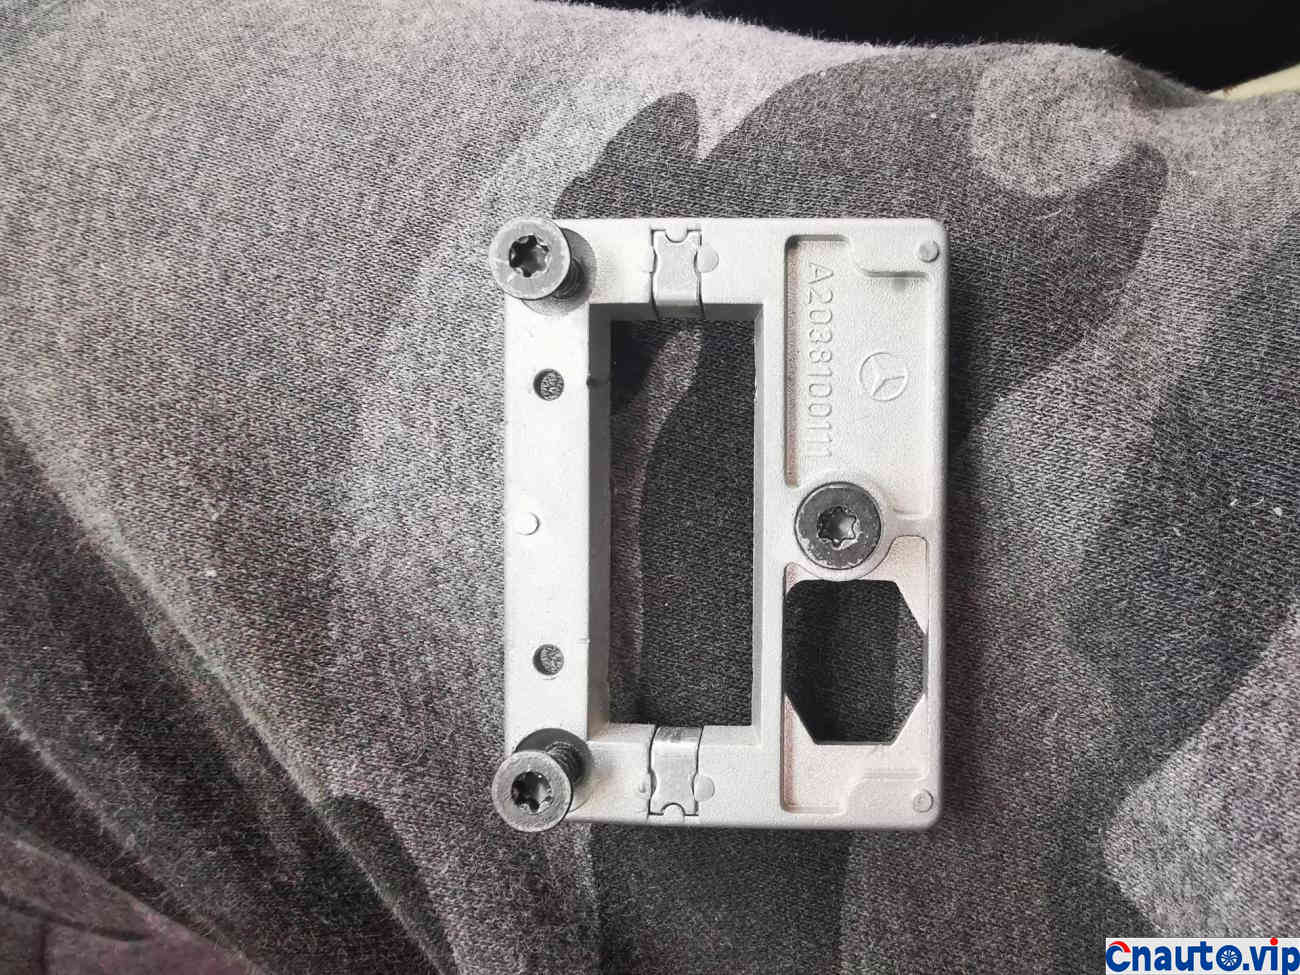
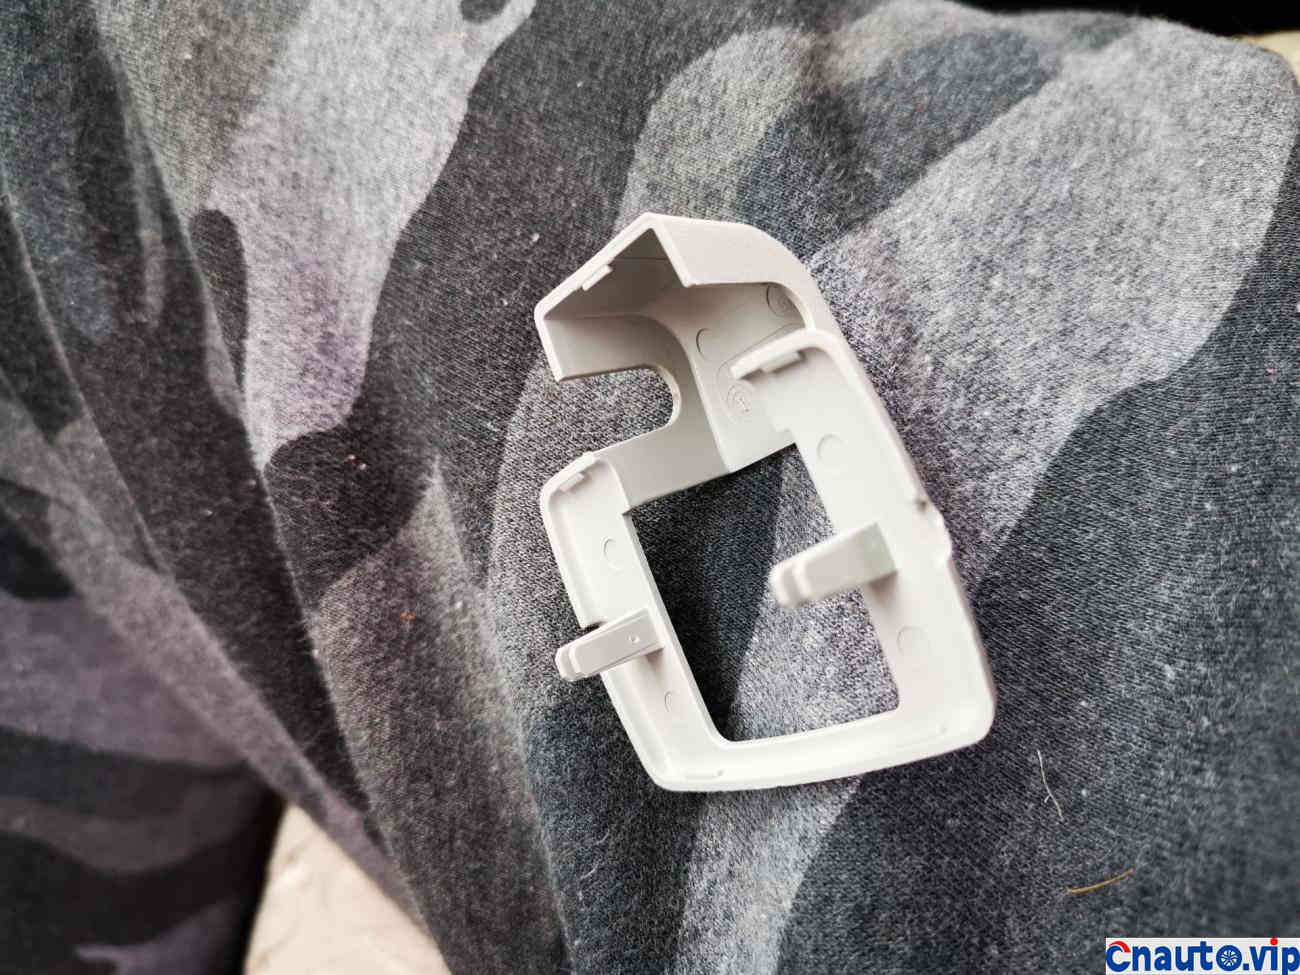
Personal advice. If you want to use the skylight and fear the strange noise, use the tool to make a hole in the ceiling with the tool in the screw position, and then buy a card buckle to cover it, so that you don’t have to remove the ceiling in the future. The buckle cap is removed to directly reinforce the skylight guide screw. Buckle shape, the picture is just a brick to attract jade ideas.
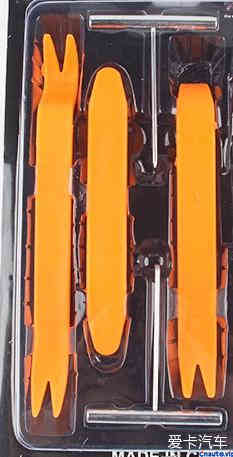
Borrow one from the tool map.
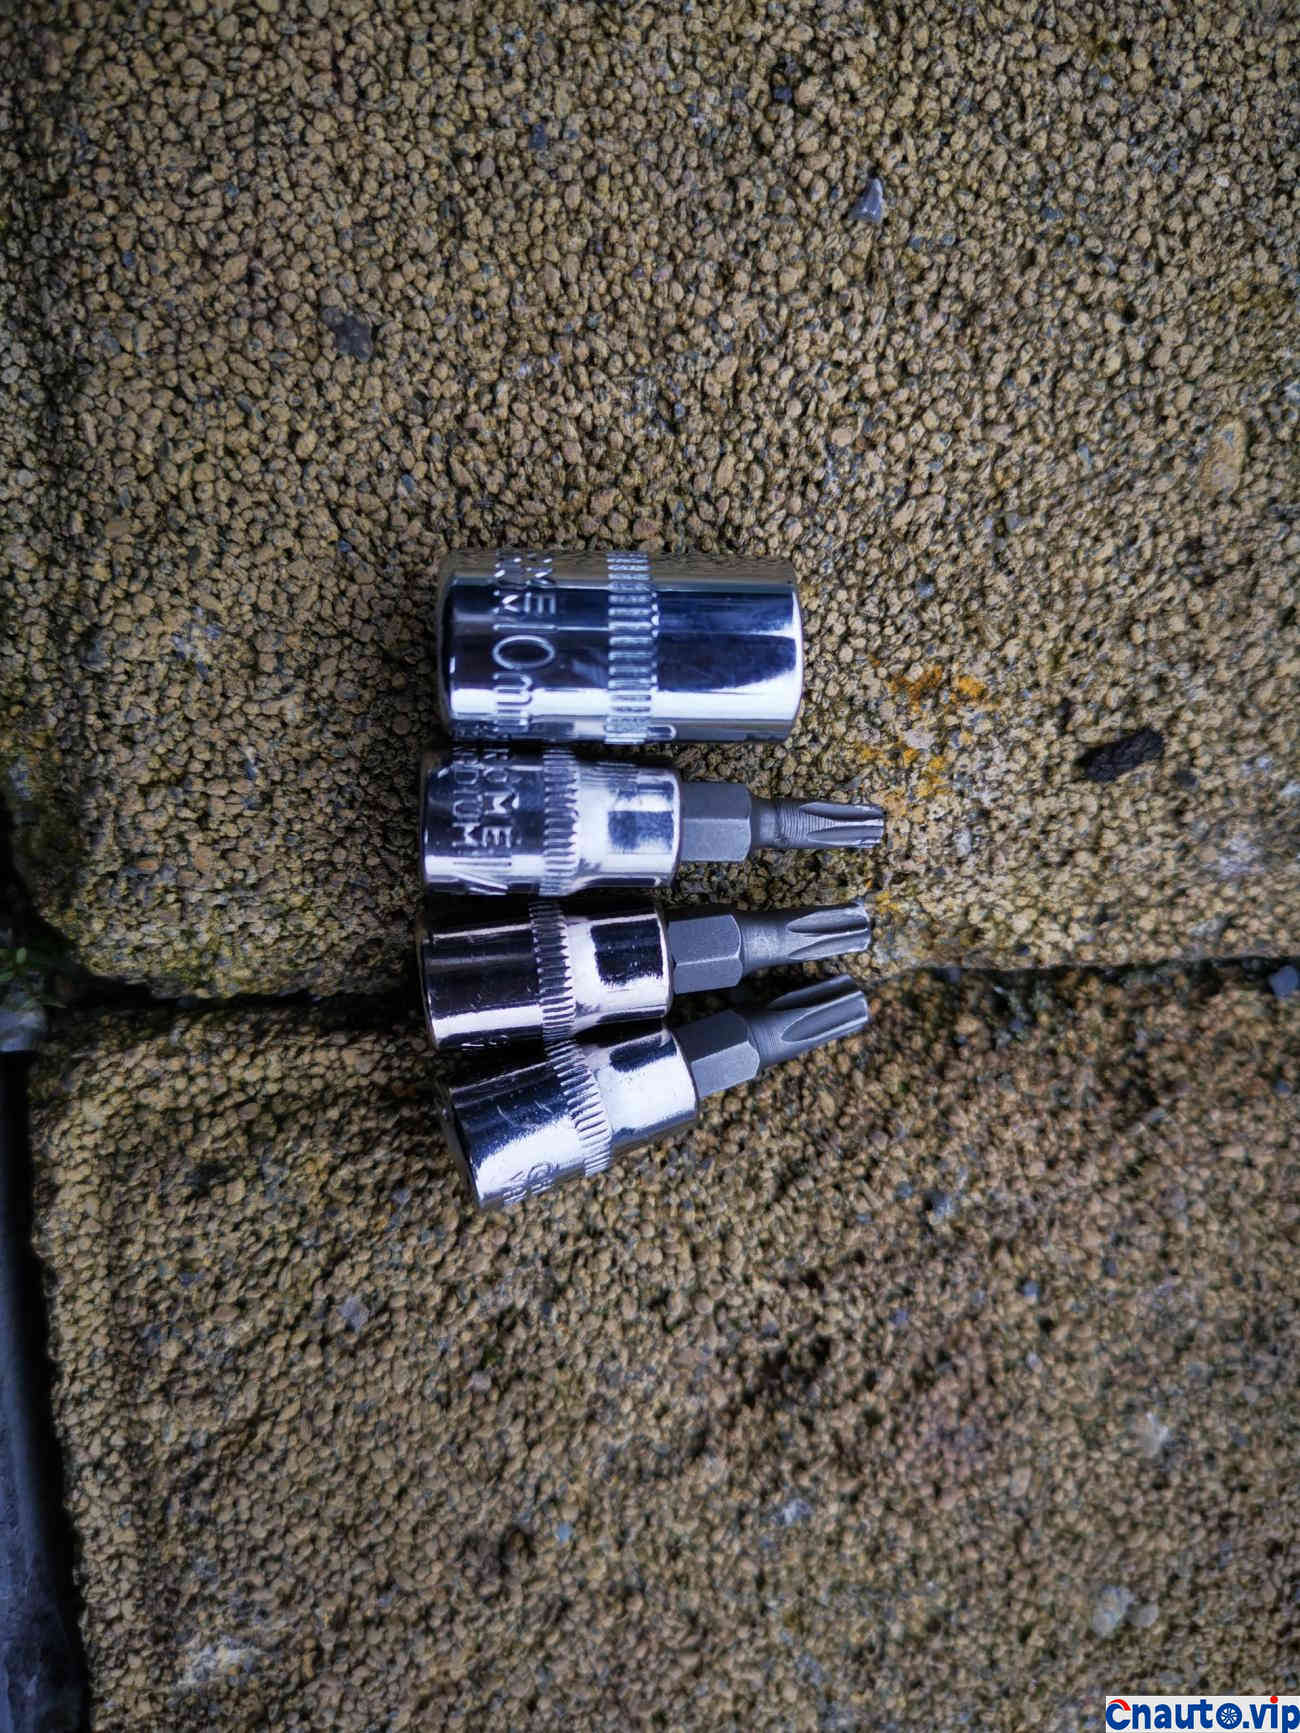
Tools that need to be used
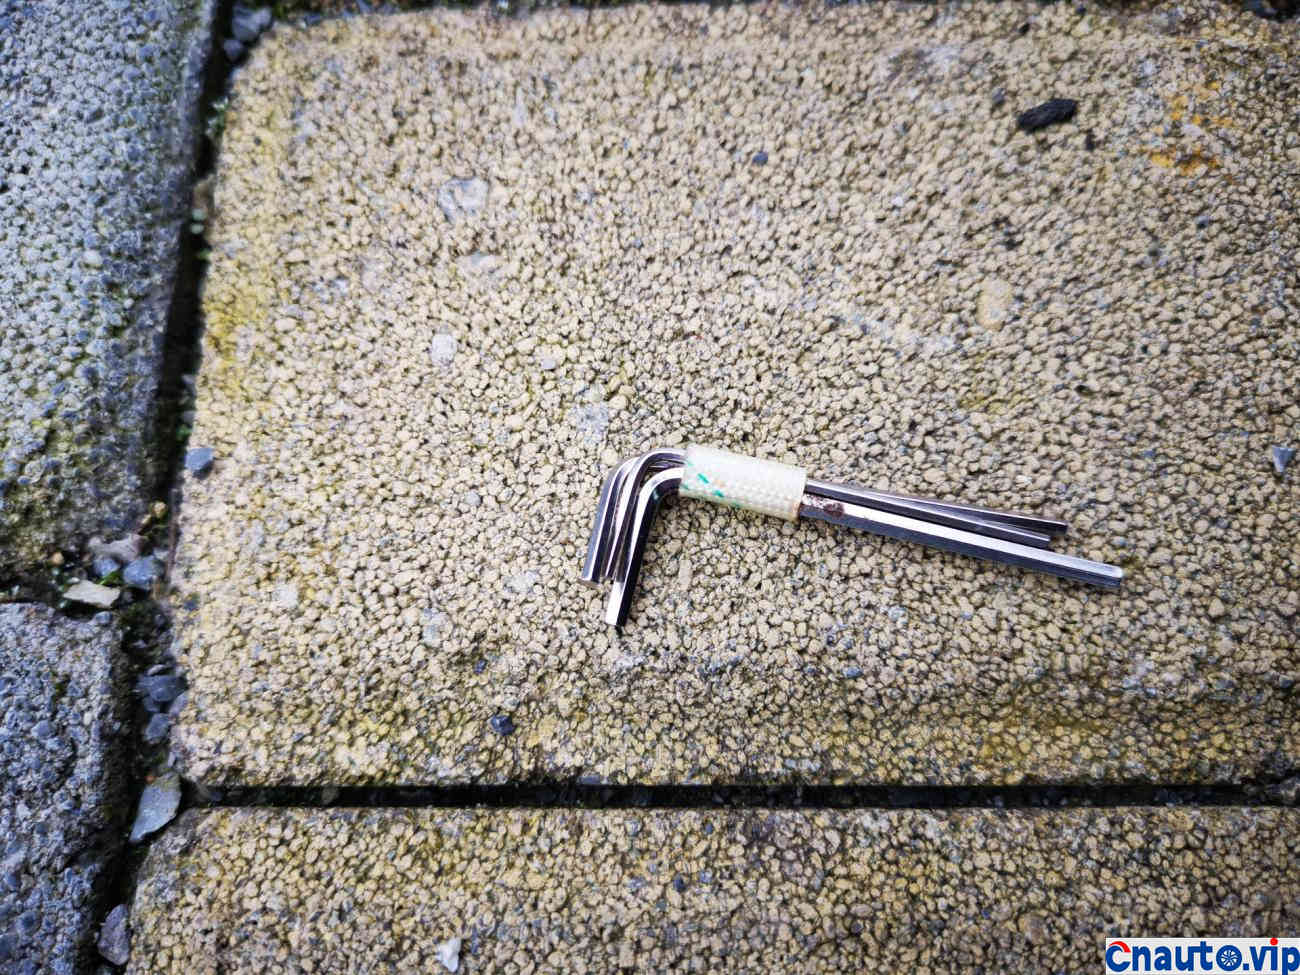
Tools that need to be used
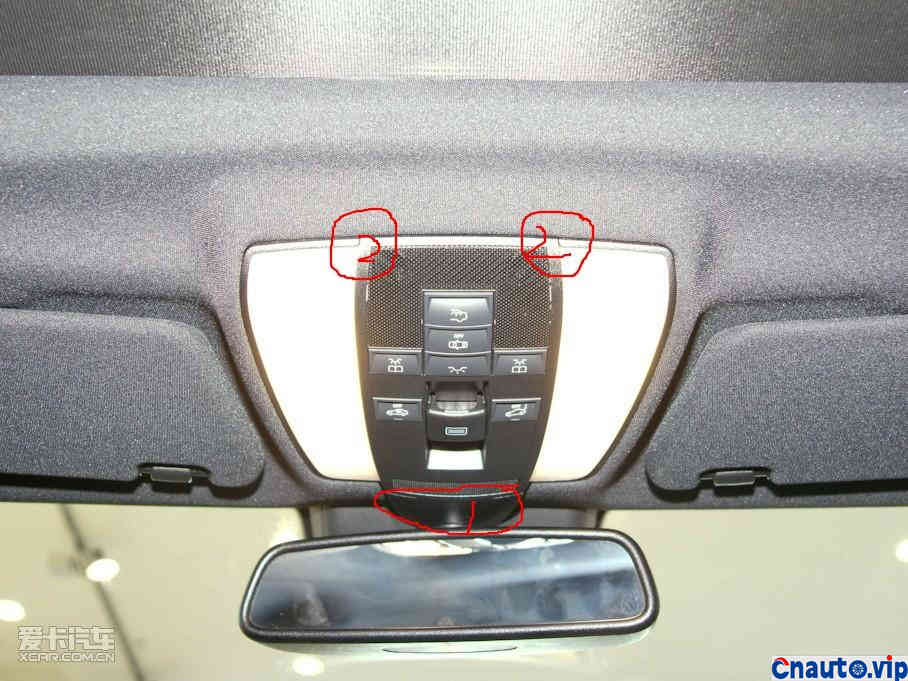
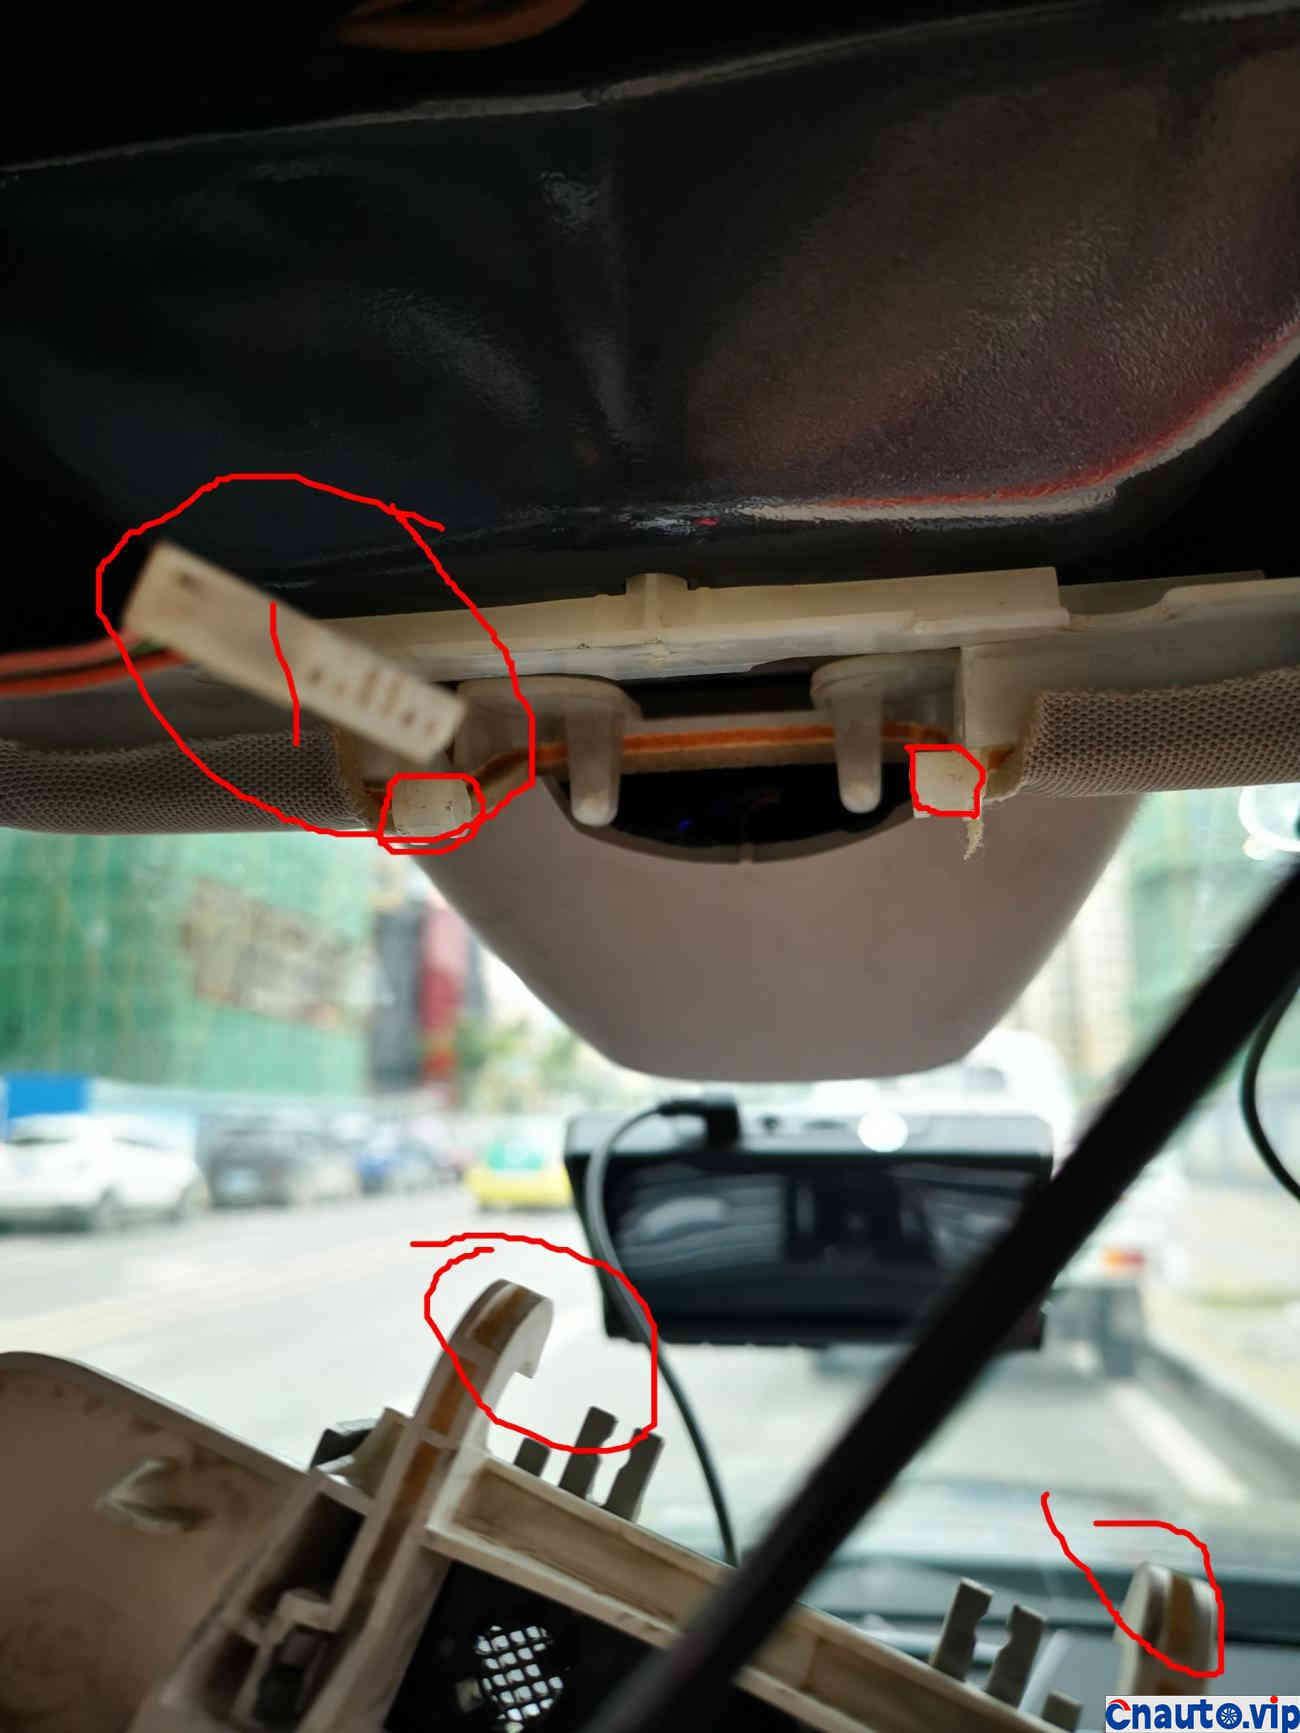
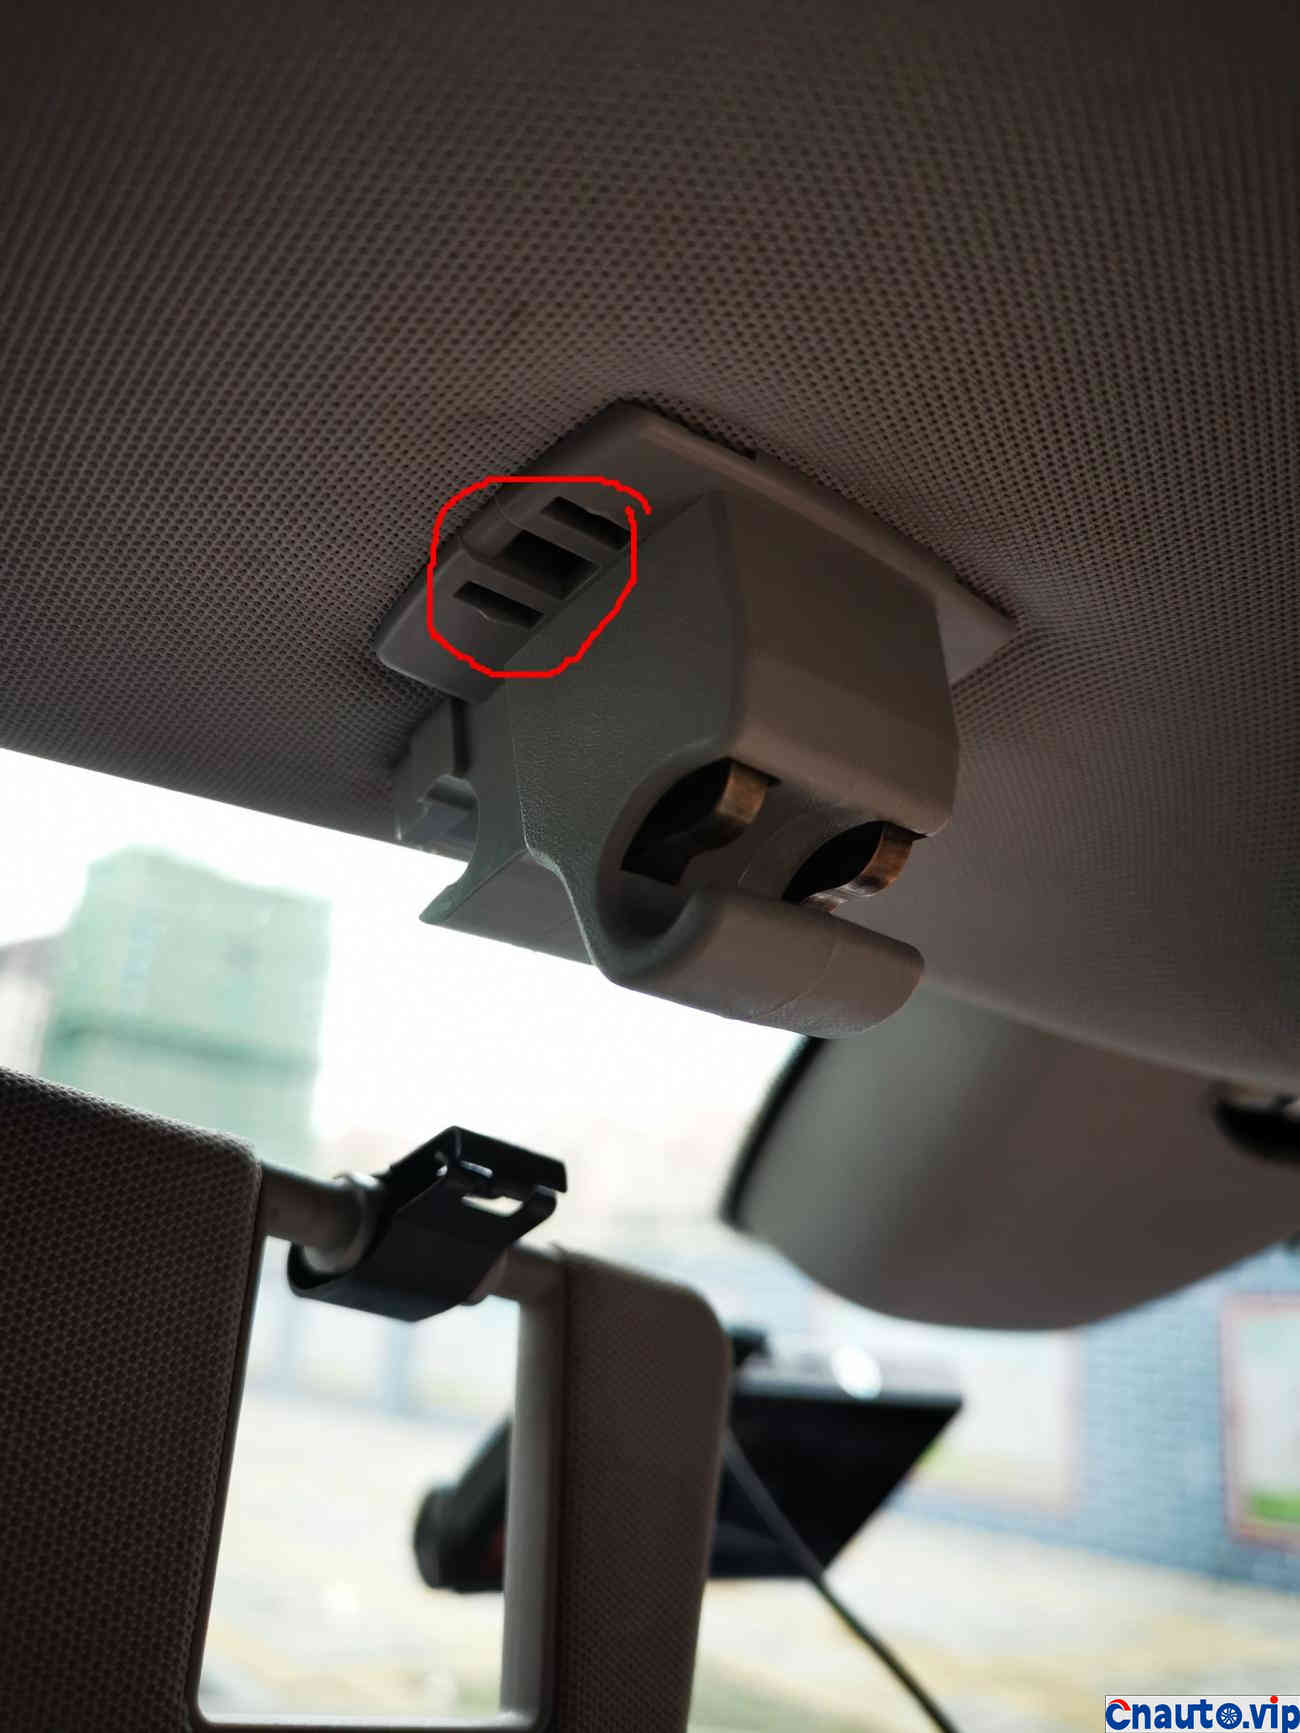
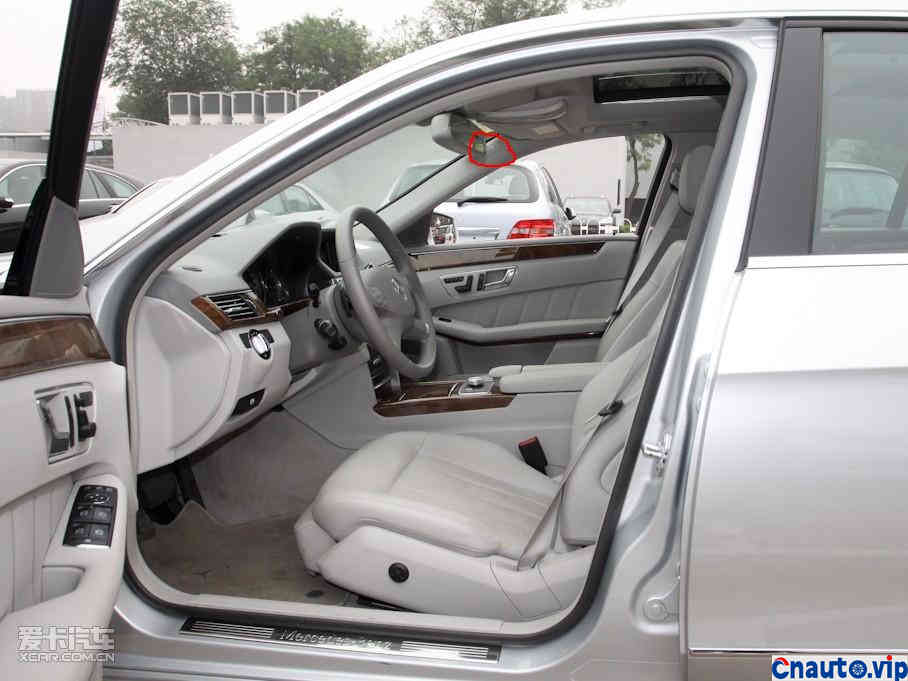
The skylight first step, remove mark point 1 plastic crowbar, take off the rearview mirror cover, pay attention to more plastic card buckle, remember brute force hard pull damage buckle, and then pry the second mark point, left and right two, do not clearly read the next picture.
Dimension point clasp position, four positions, I didn’t get two on both sides, only two in the middle, because the roof is soft and has collapsing space.
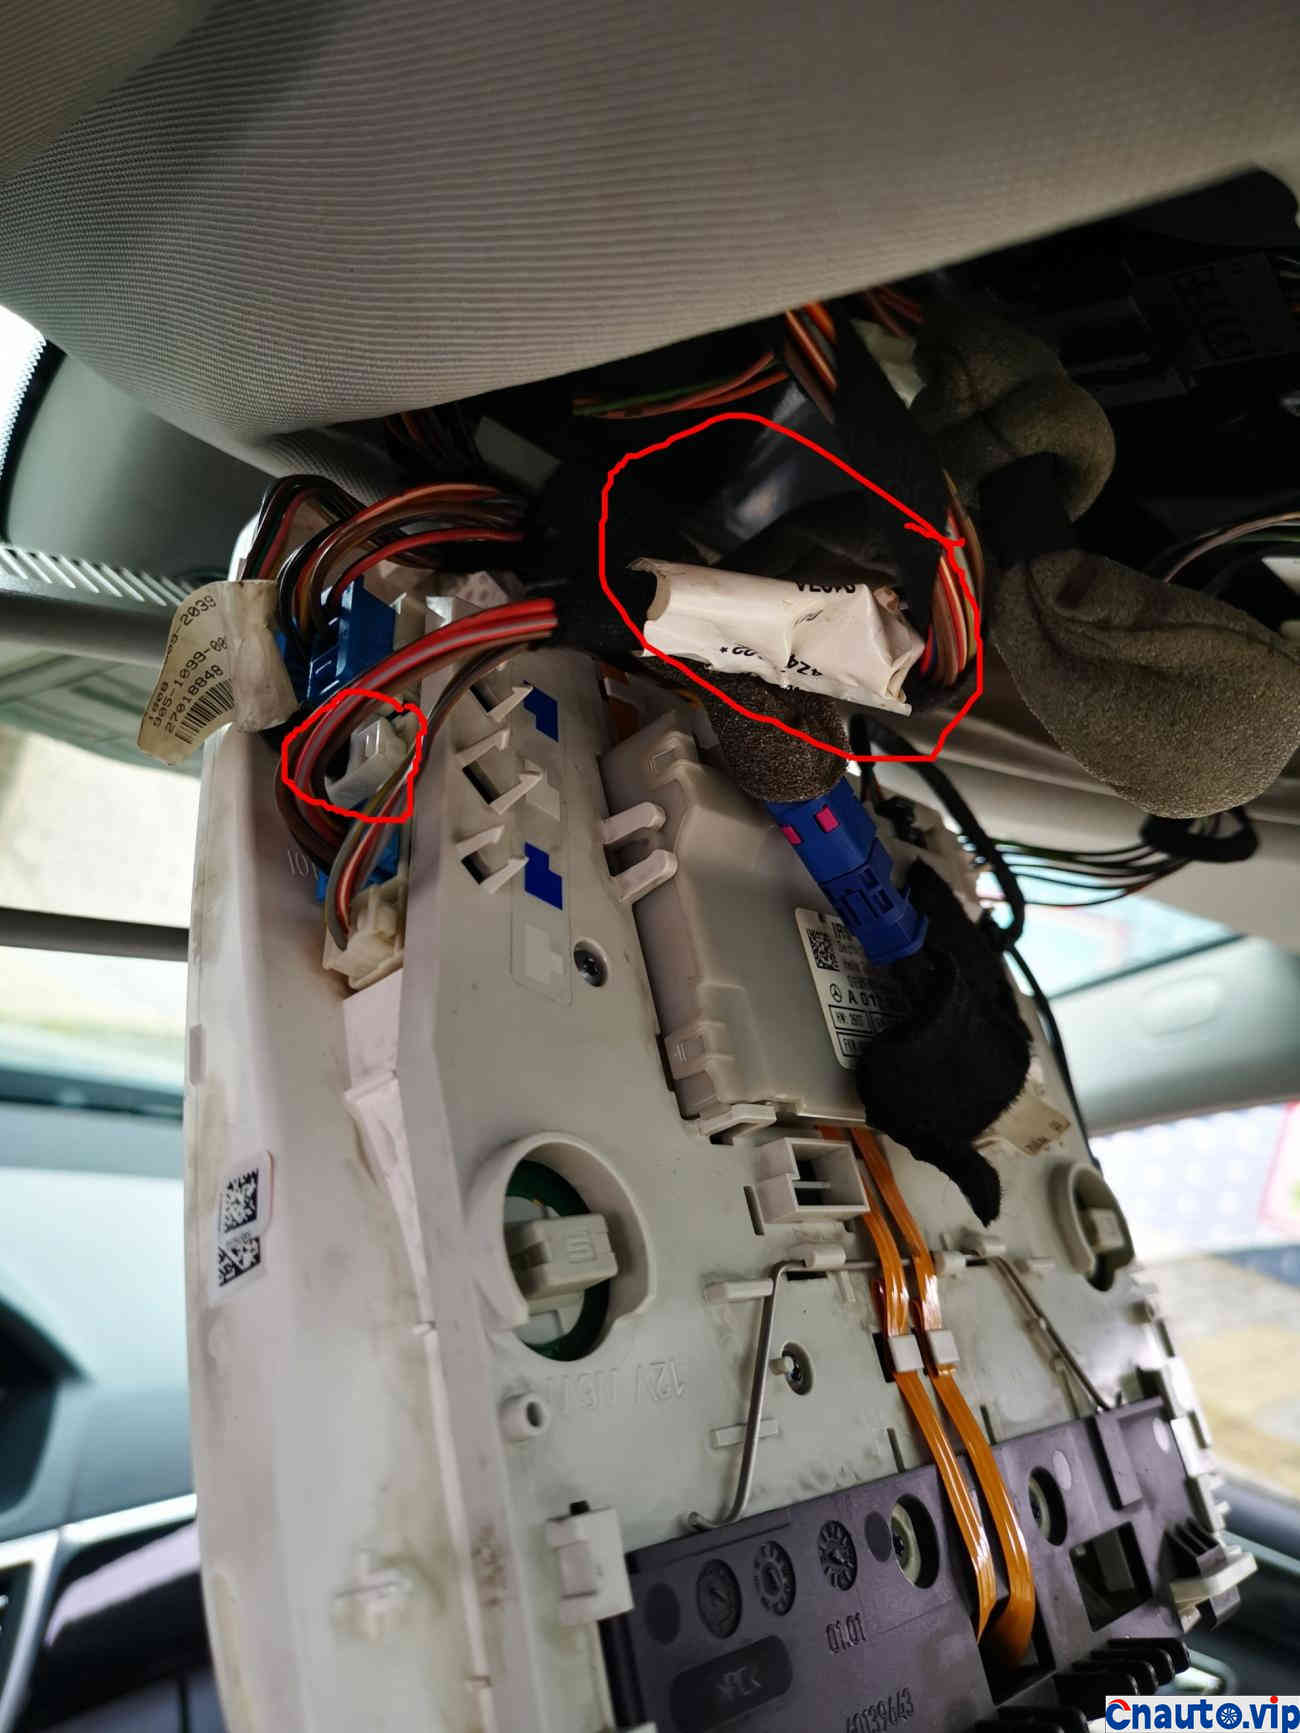
I didn’t take down the whole skylight controller. I just pulled two plugs and looked at the mark. One of them is wrapping the paper, and there is a plug behind that mark. Pay attention.
When I took down the rearview mirror, the butter was put up behind me, but it took a lot of effort to take it down, and when I put it back in, I knew that when I took it off, I didn’t have to put it back in. I first put the buckle on one side and then hold it on the other with a longer screwdriver. Slap hard and go in. It’s convenient for two people to install here. One person is a little troublesome. I did it several times before I installed it.
Three screws are removed. This is a fixed rearview mirror.
The position of mark point 1 is mentioned earlier, wrapped with the plug at the back of the paper, the control panel clasp can be taken down, remember to use brute force.
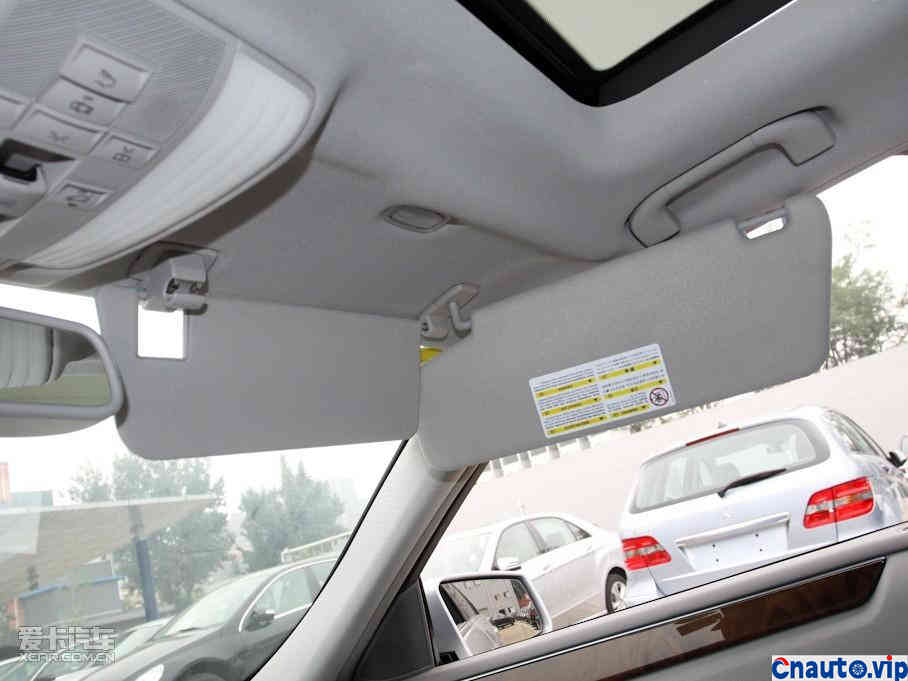
Sunshade board
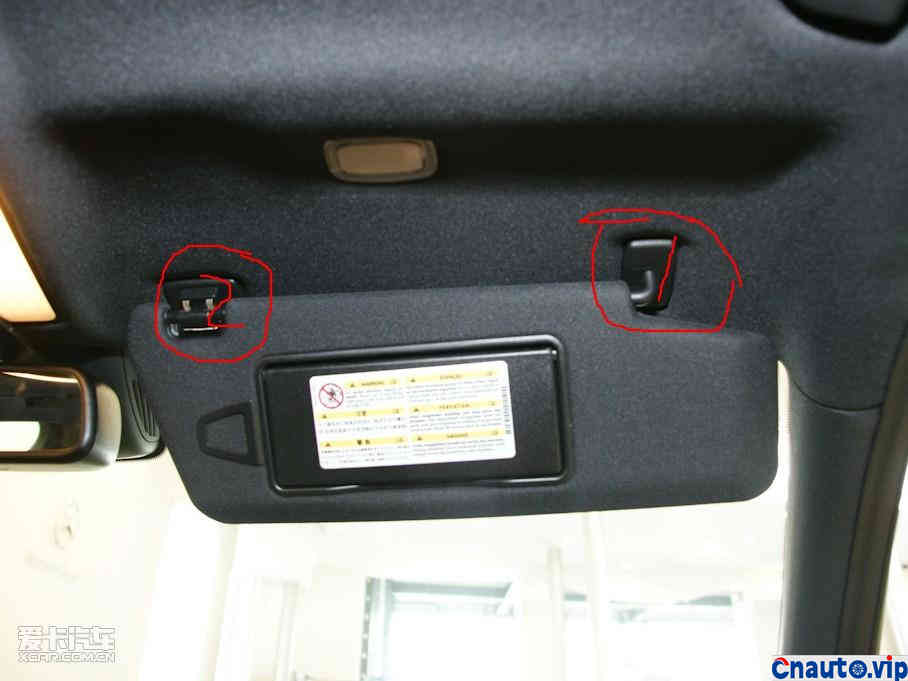
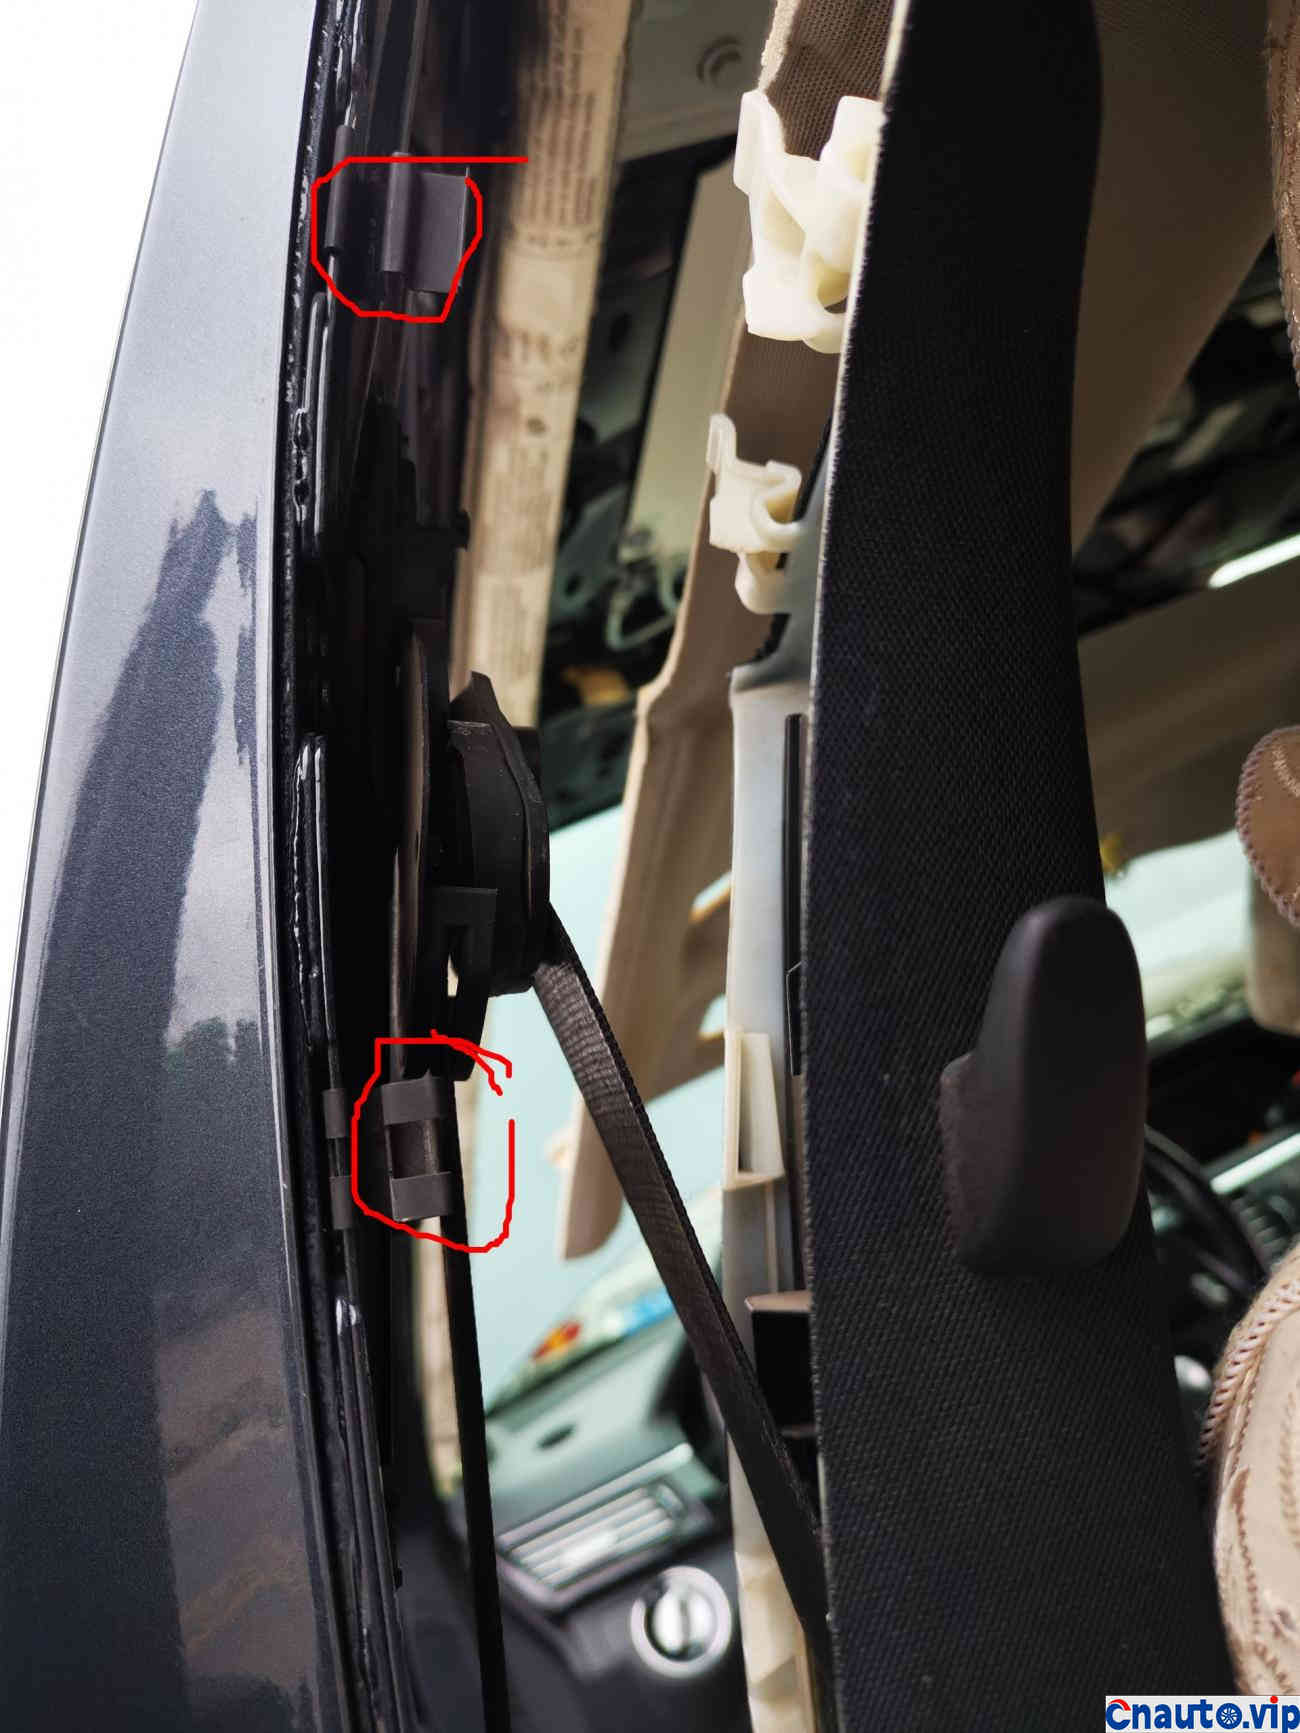
The order of disassembly and disassembly of sunshades is 2 to 1. The No. 1 marked point is a T-shaped buckle that needs to be pushed in its own direction, and it can be taken down, marked point 2, divided into two steps, external protection buckle, and internal fixed buckle.
The sunshade plate is connected to a picture No. 2 marked point, outer clasp
The sunshade board is connected to the first picture No. 2 marked inside the bayonet disassembly point. If you look carefully, you can see how to disassemble it very easily.
The sunshade plate is connected to the first figure No. 1 marked point to describe the integration of the T-clasp and the sunshade without decomposition.
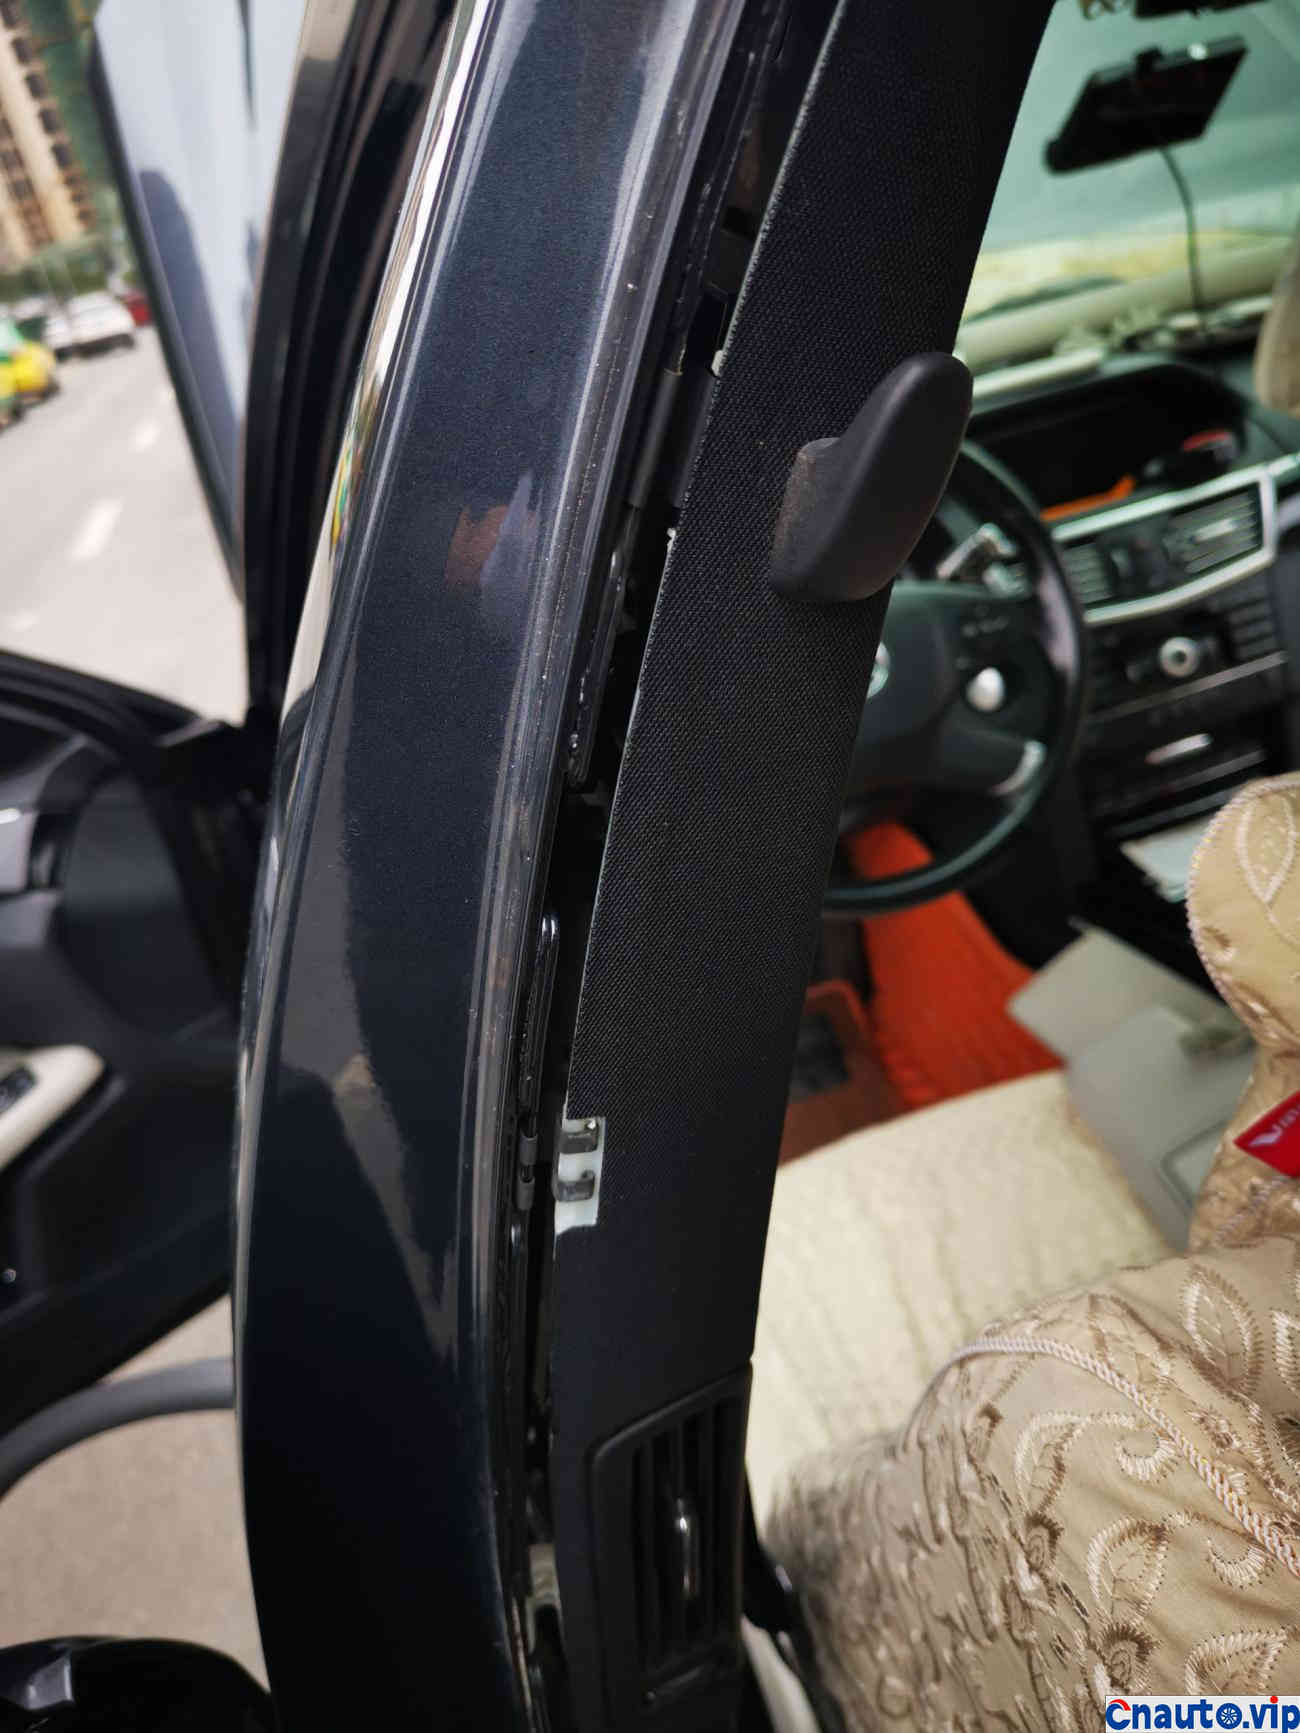
Left and right A column, there is a screw behind the marked point dome. After loosening the screw, the trim plate is pulled out and removed safely. Use a little effort.
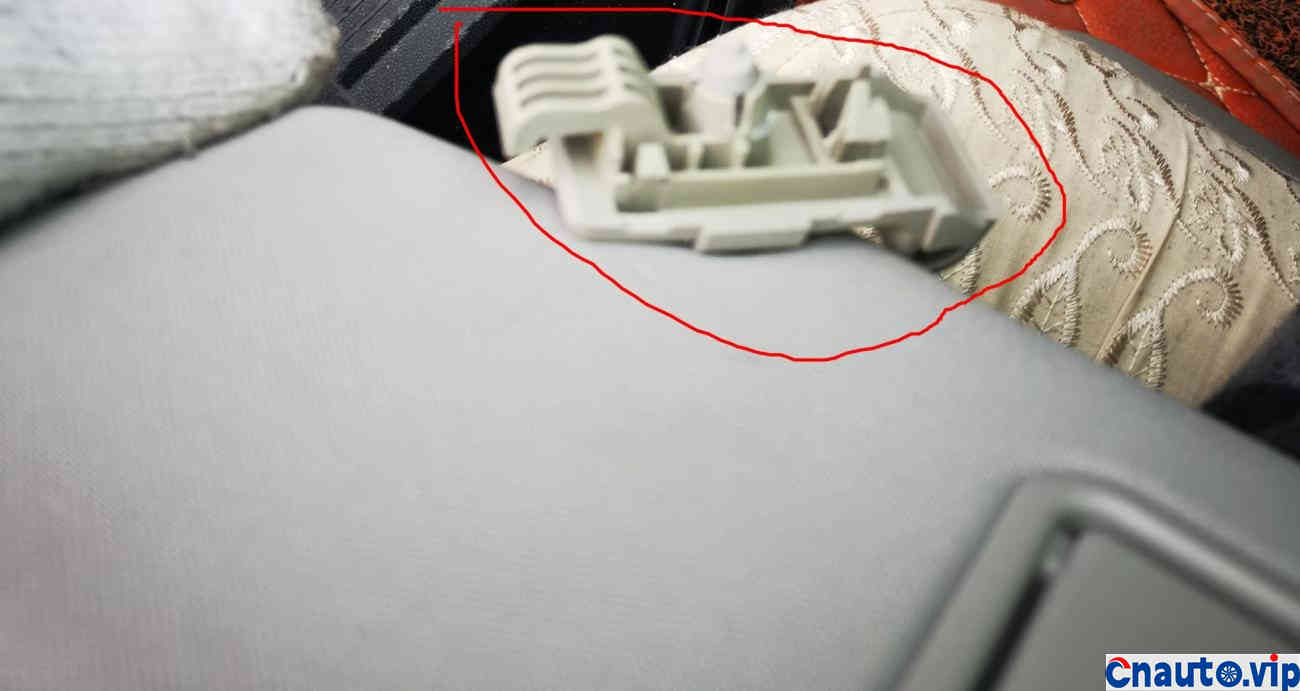
B-pillar clasp is described with crowbar and lever principle. I don’t know if you can understand it. This clasp is full of brittle plastic. It’s the easiest place to break it.
The buckle on the other side of the B-pillar
The easiest tool to pull the handle is to take off the buckle and pull it back with a hard pat to get four handles without screws.

C-pillar does not need to be dismantled.
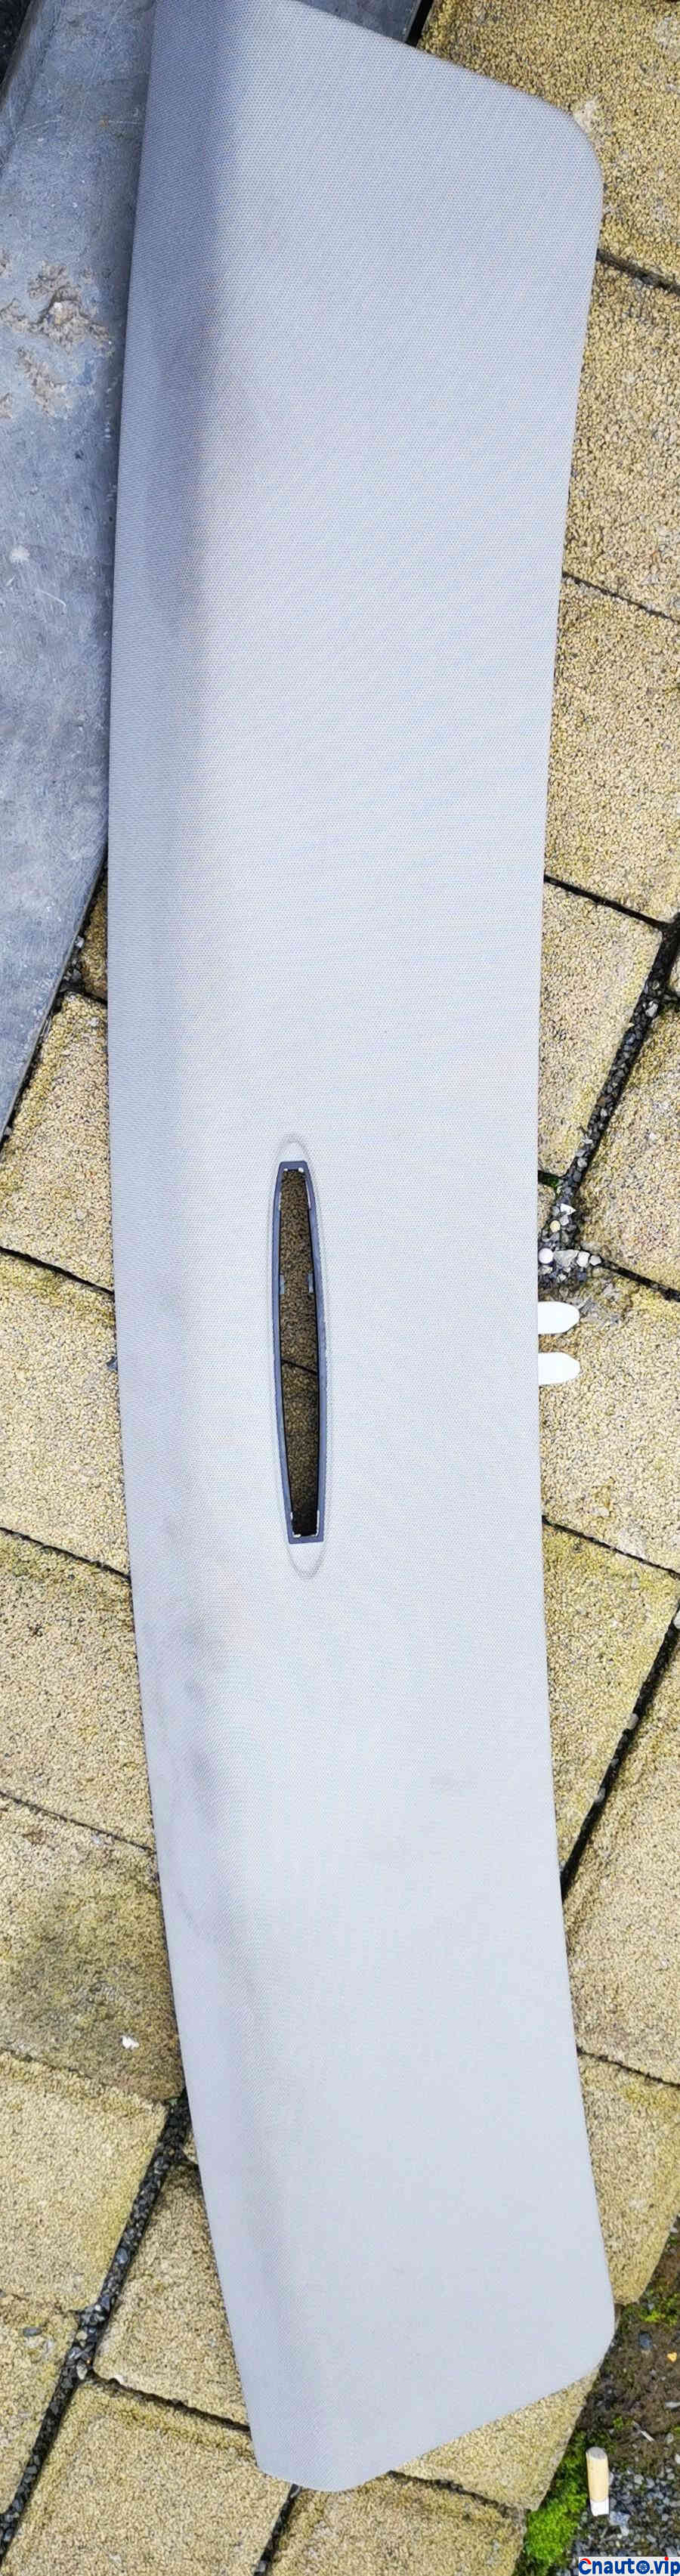
The rear radar ceiling panel, a single radar strip, slid to the left and right to take it down.
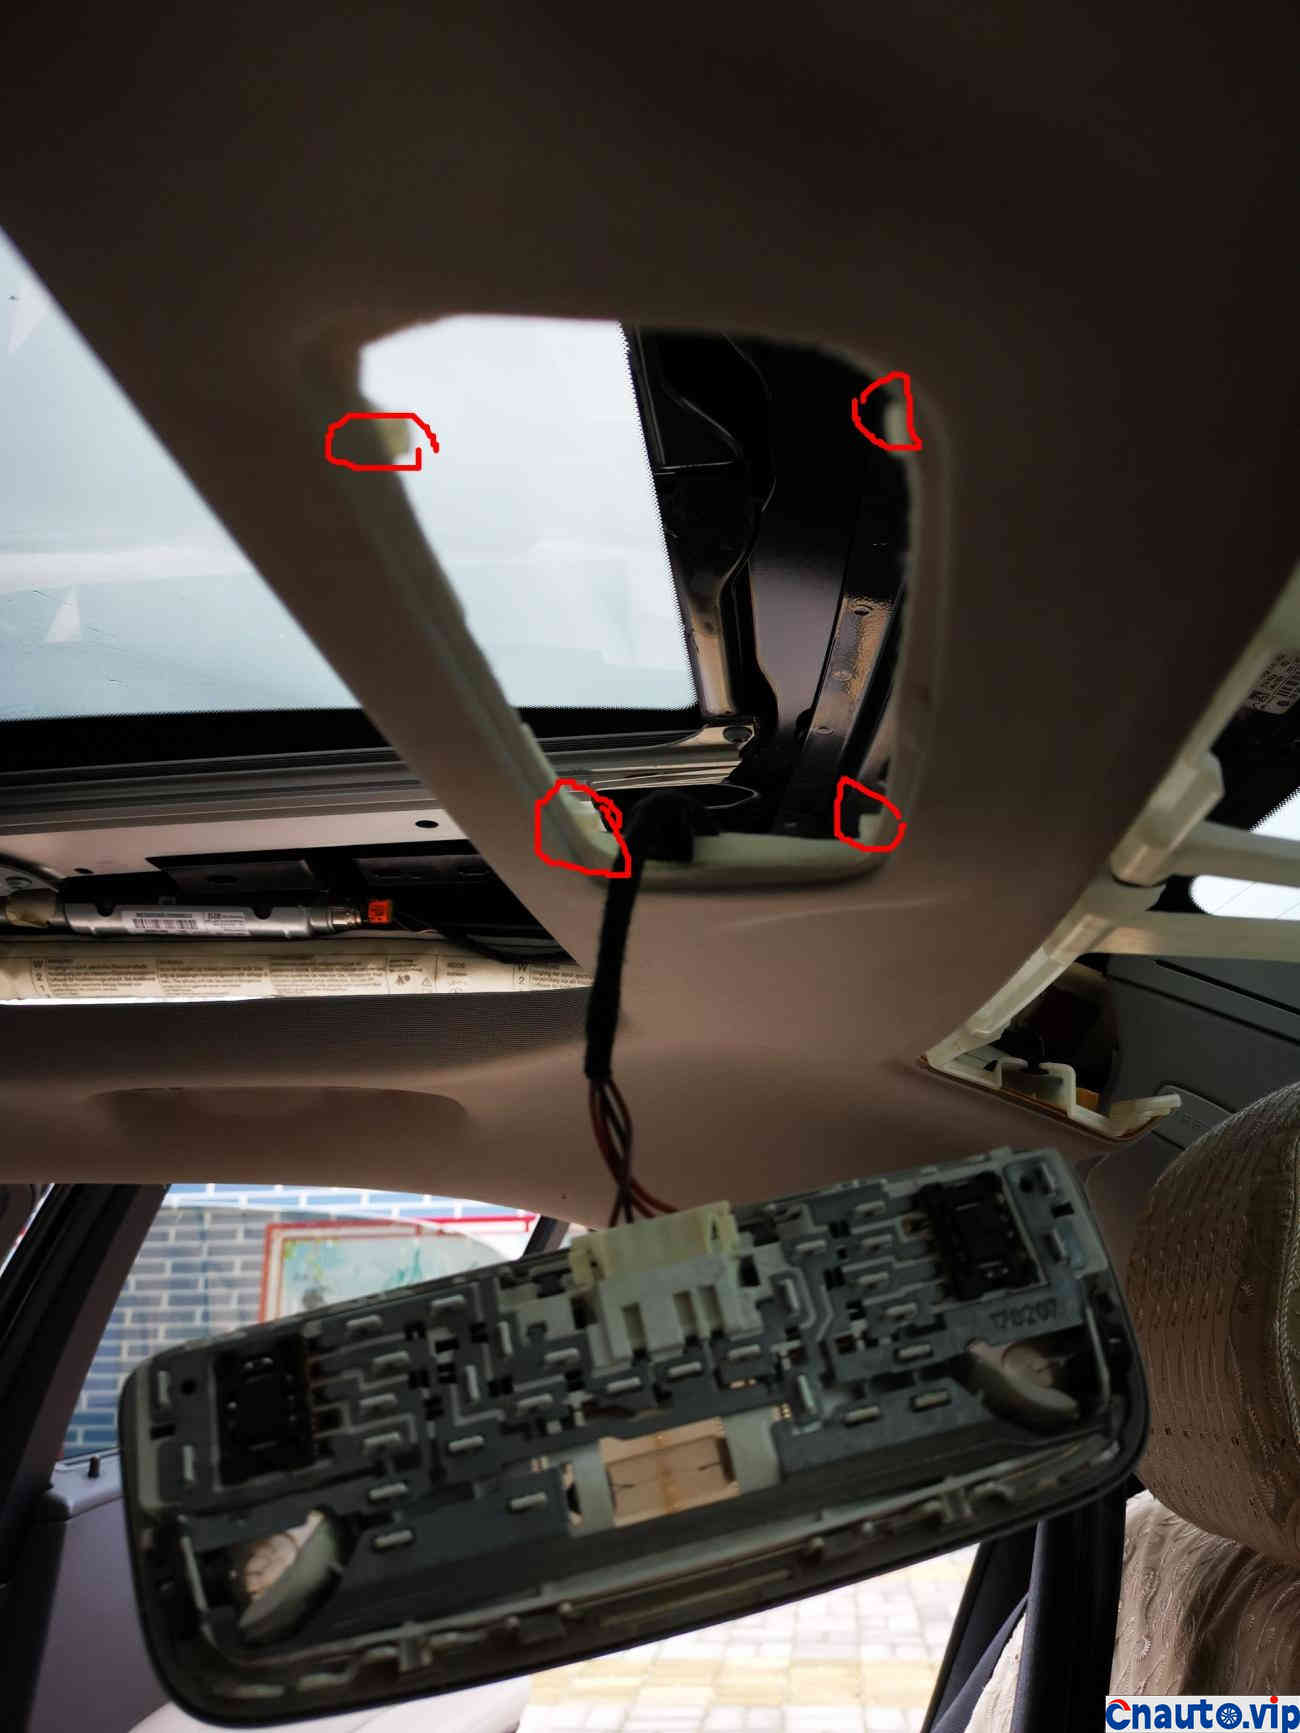
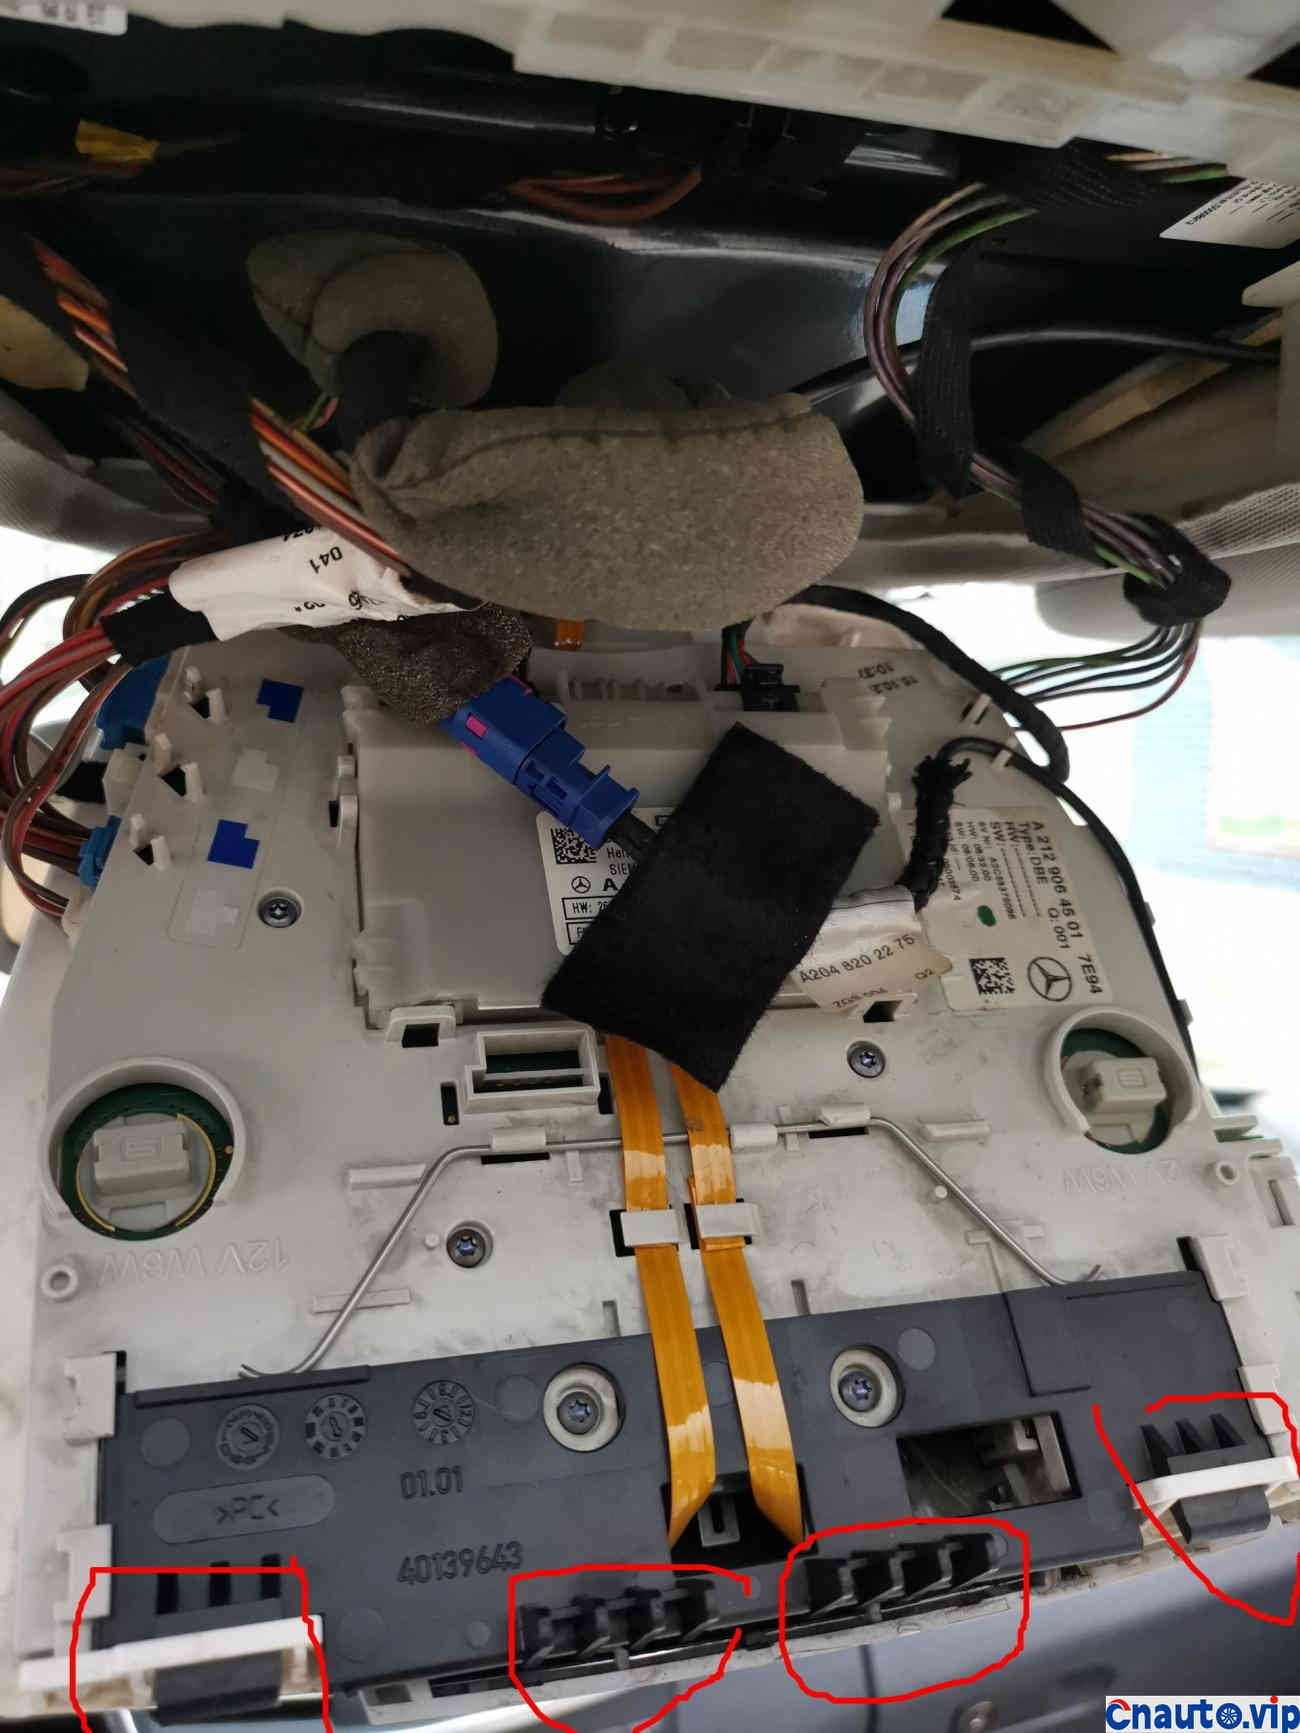
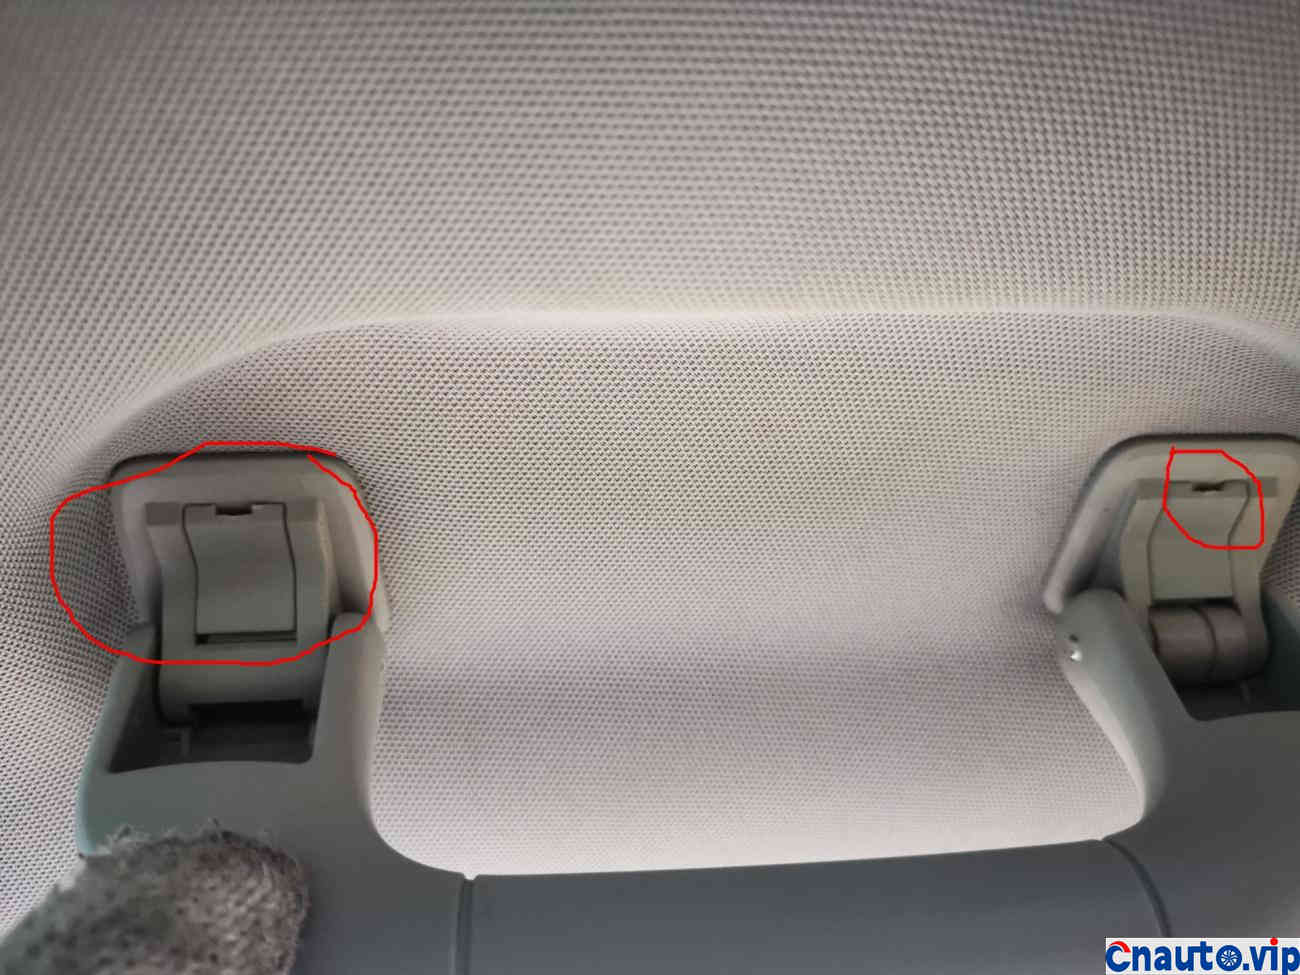
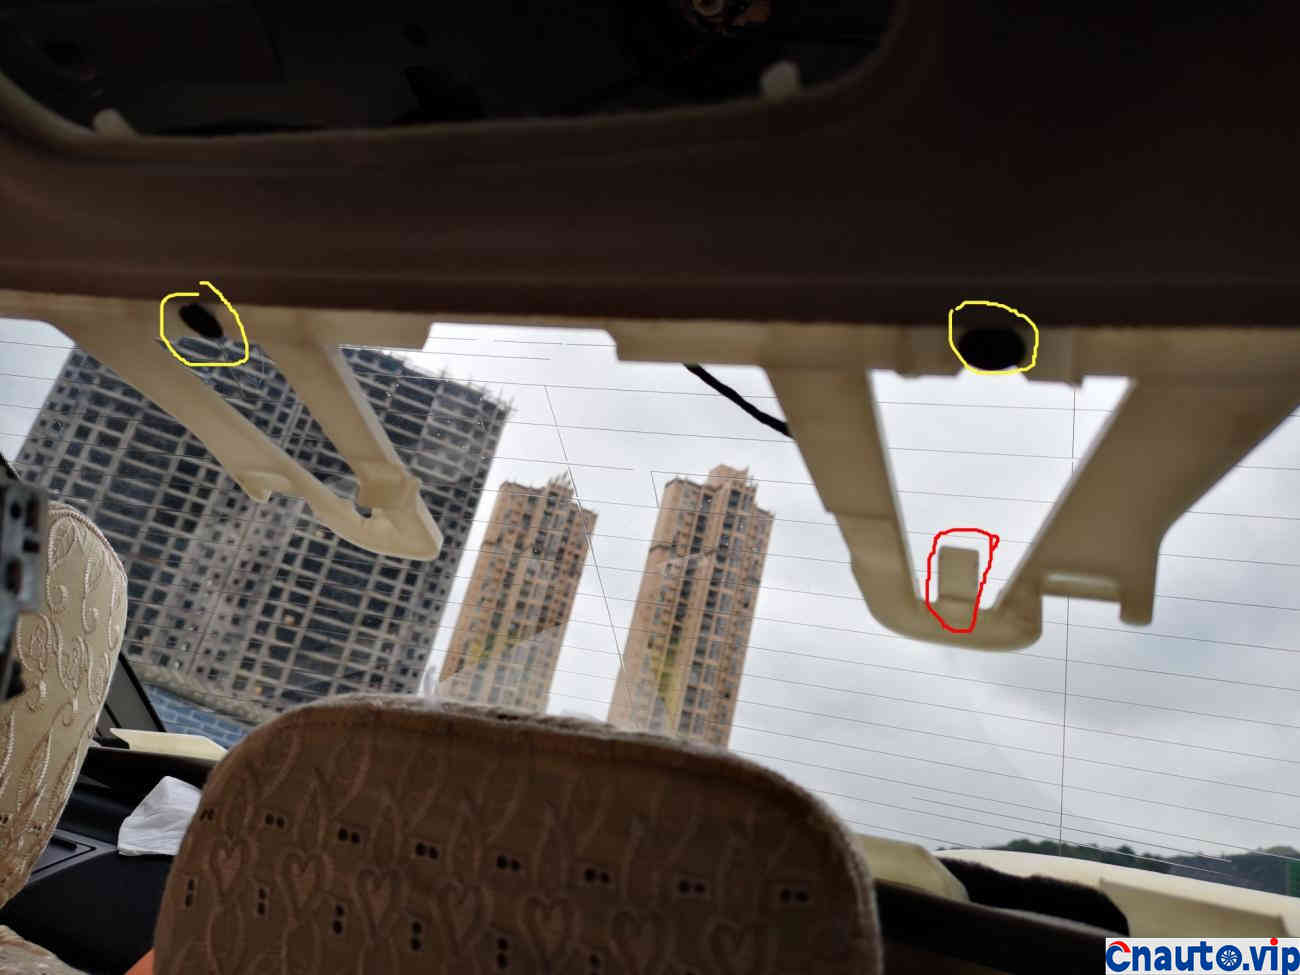
After the rear ceiling lighting, I found that it was completely unnecessary to dismantle, and there was no need to reinforce the skylight. The four marked points were the cylindrical clasps that needed to be removed.
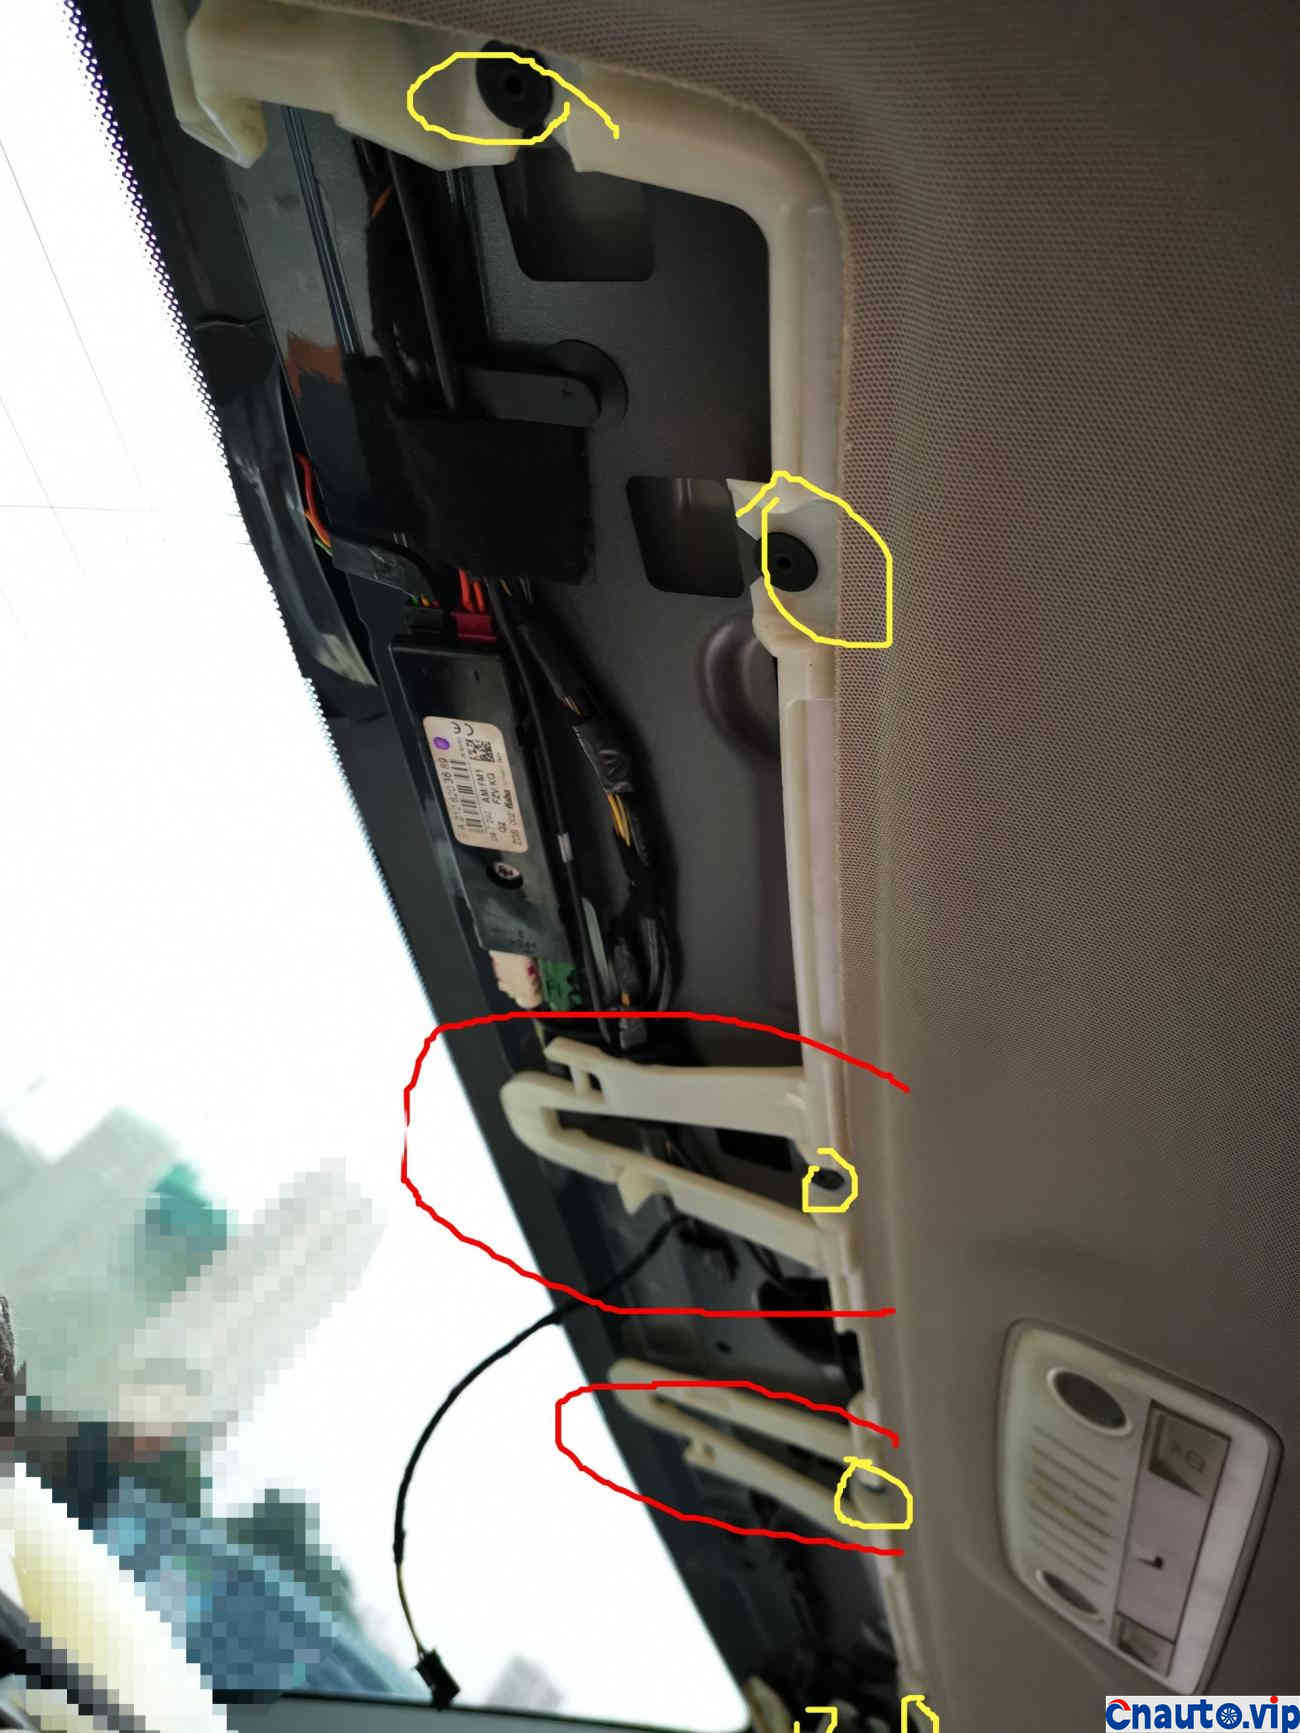
The yellow mark of the tail ceiling clasp is that the plastic clasp can be pulled down hard and the red clasp needs to be pulled back to take it off.
Sunshade bracket screws. I think it doesn’t matter whether it’s reinforced or not. It’s not here.
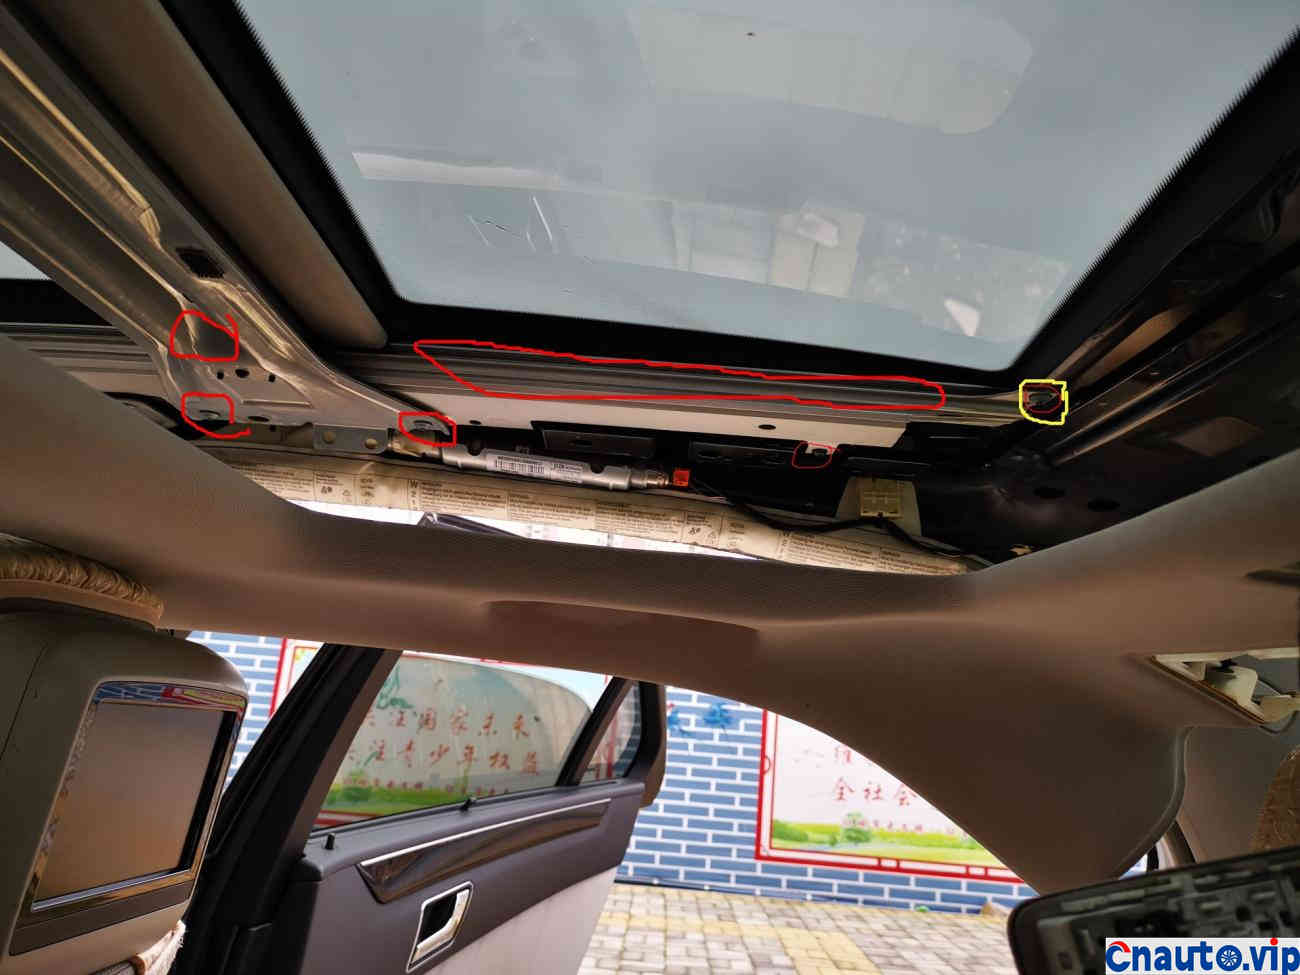
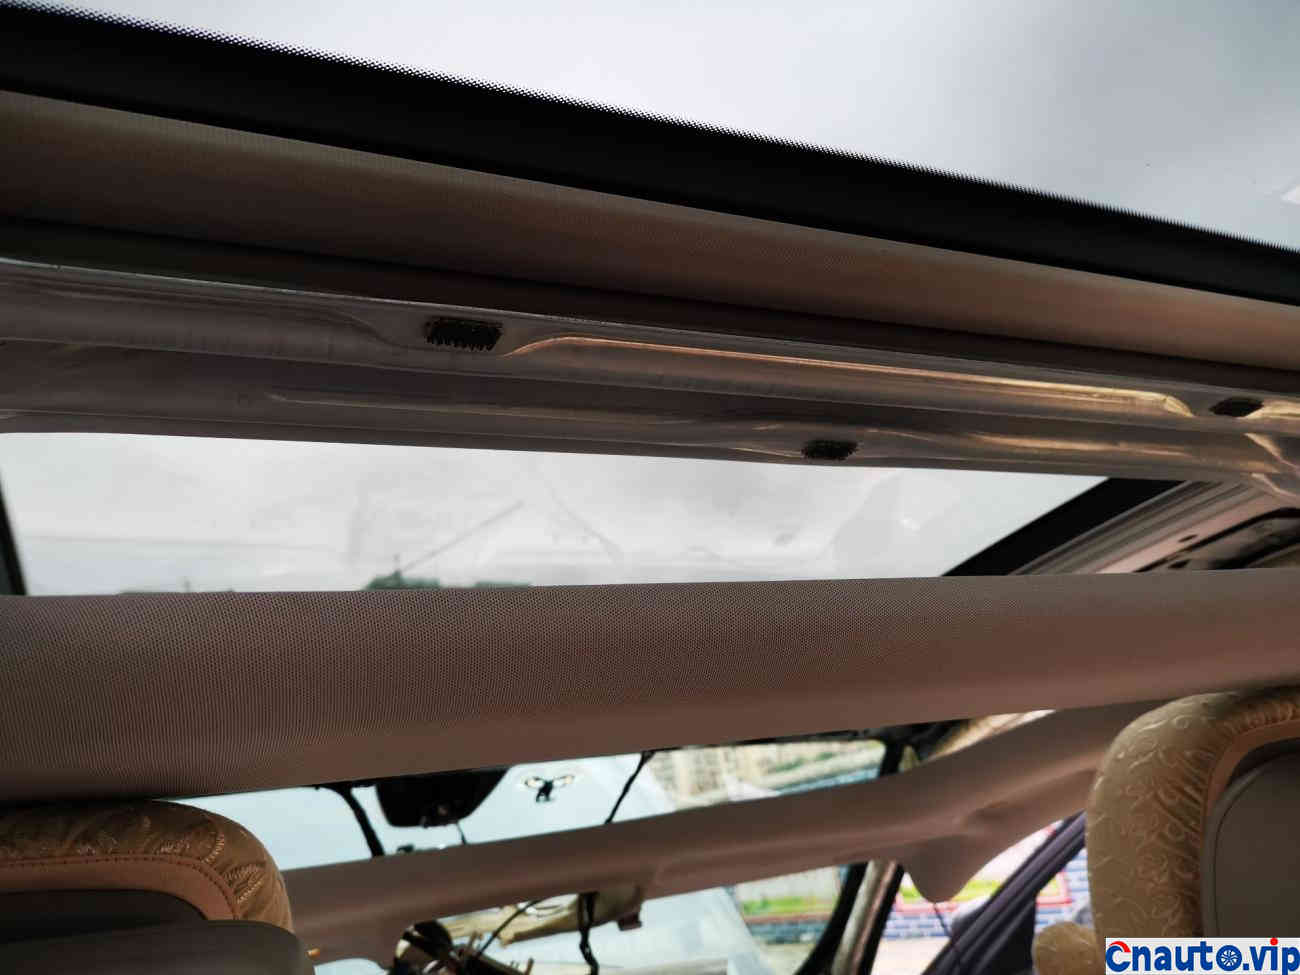
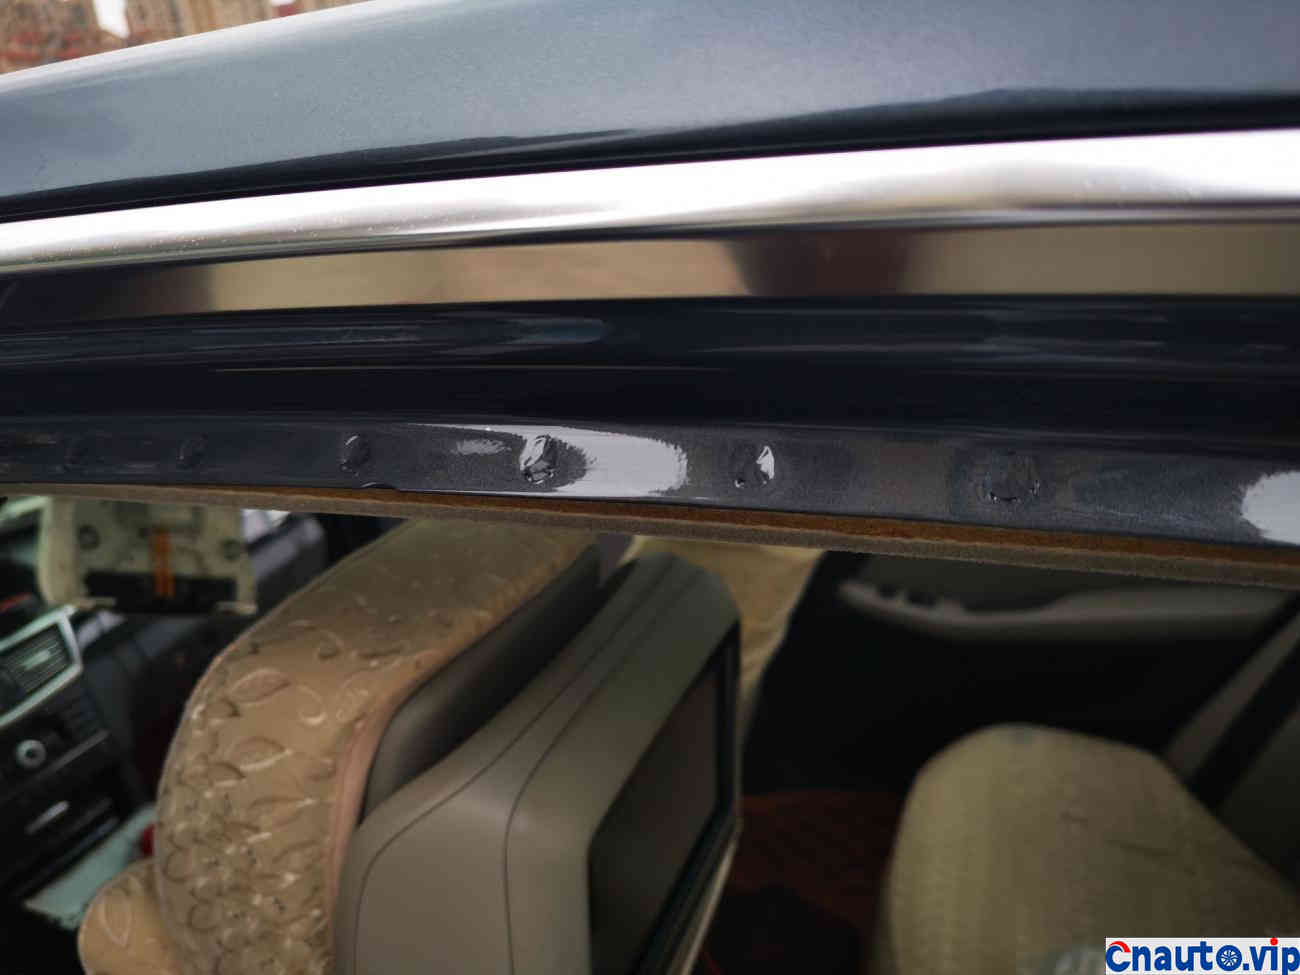
Skylight frame rail big red circle mark small red circle mark is screw I appear abnormal sound at the back, abnormal sound screw two-color mark
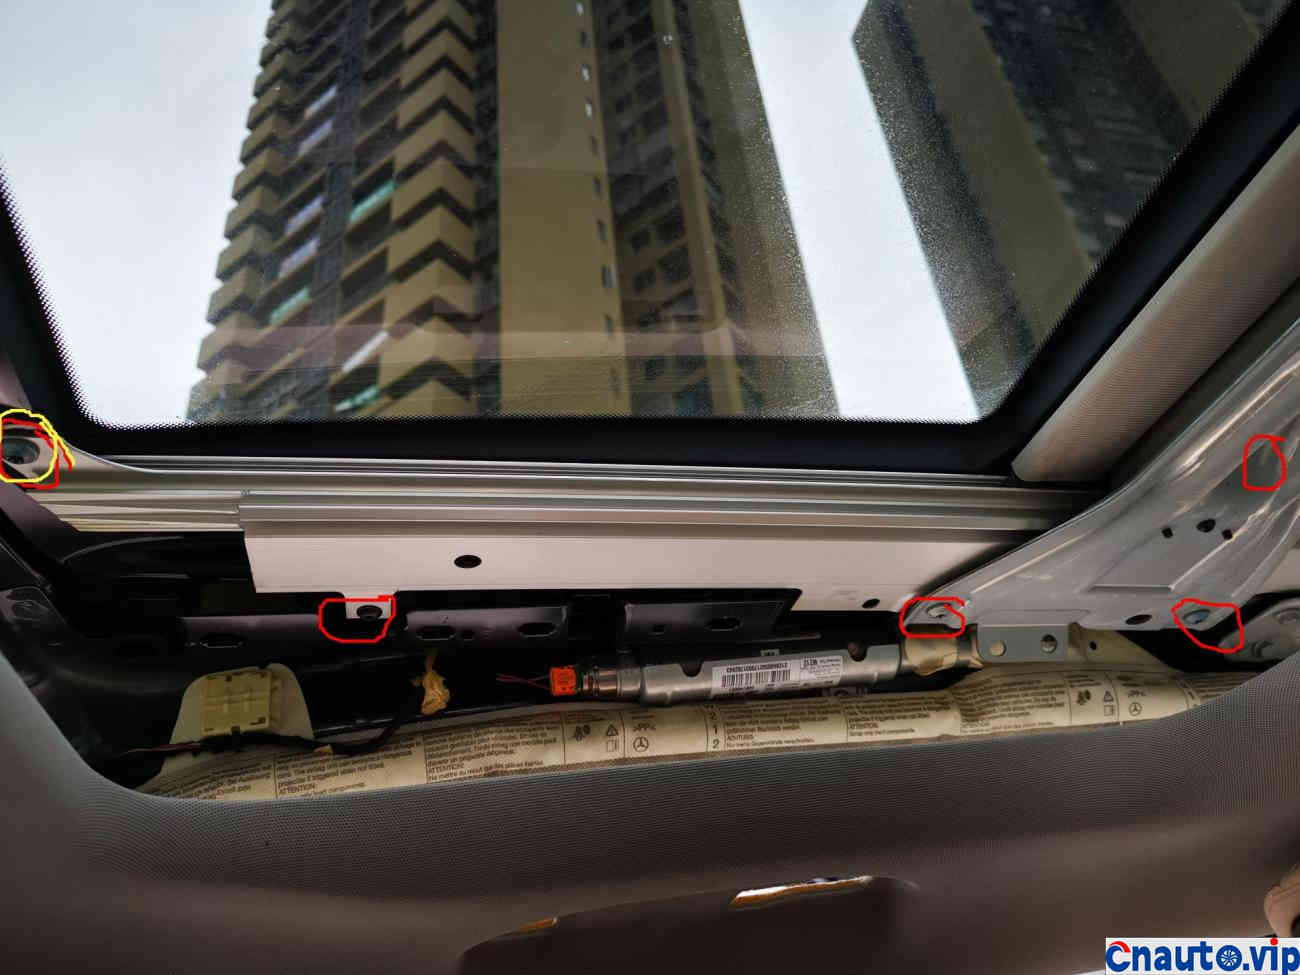
The screws cannot be reinforced without removing the roof. Some people want to be lazy and remove less and remember the position, and use blind hands to reinforce the screws. The roof will be damaged. I looked at the roof and it cannot be repaired. This model is made of foamed cotton die-casting. The problem of abnormal noise in the skylight is solved.
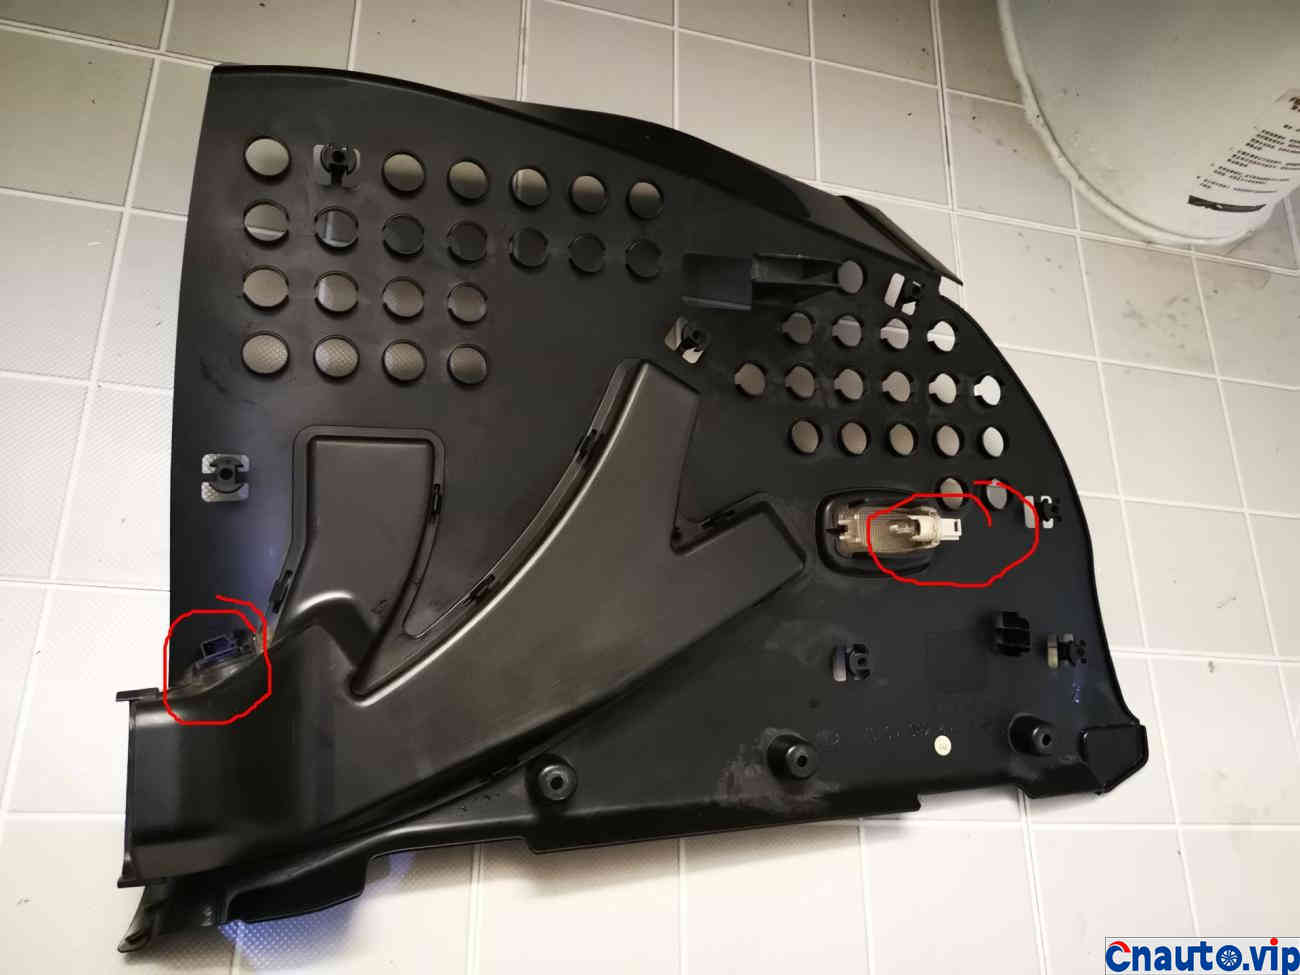
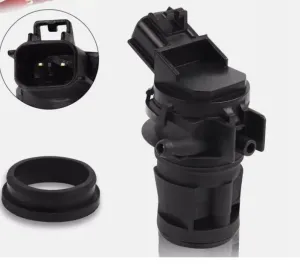
The left side of the blower guard is the one I mentioned before = the unknown plug on the right side is the foot light plug, with three screw holes
I washed it once before, but I don’t know if I don’t remove it, it’s still too dirty. It’s not only dust but also copper slag inside.
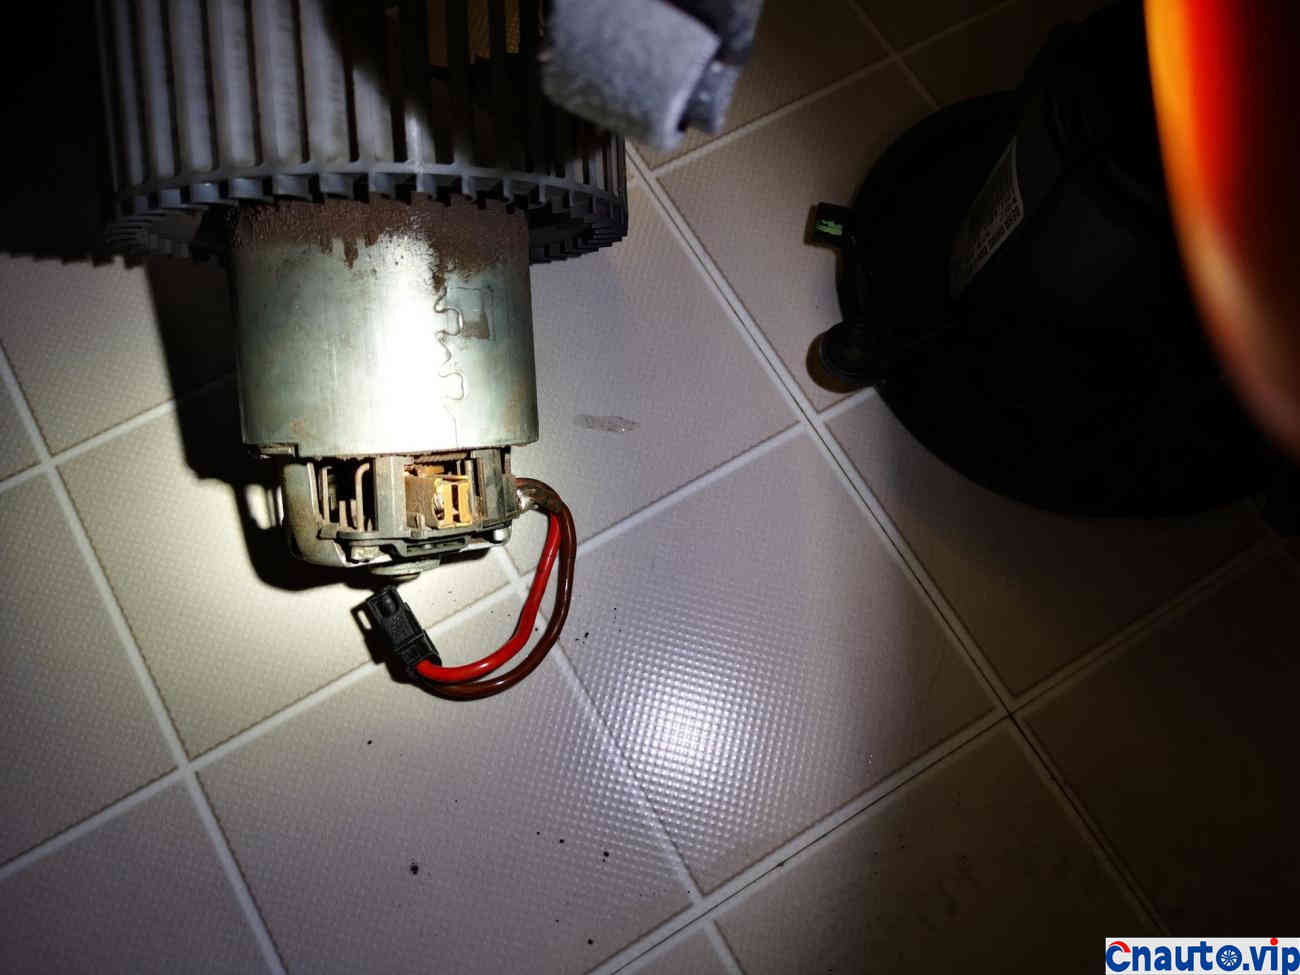
Oil dust copper slag
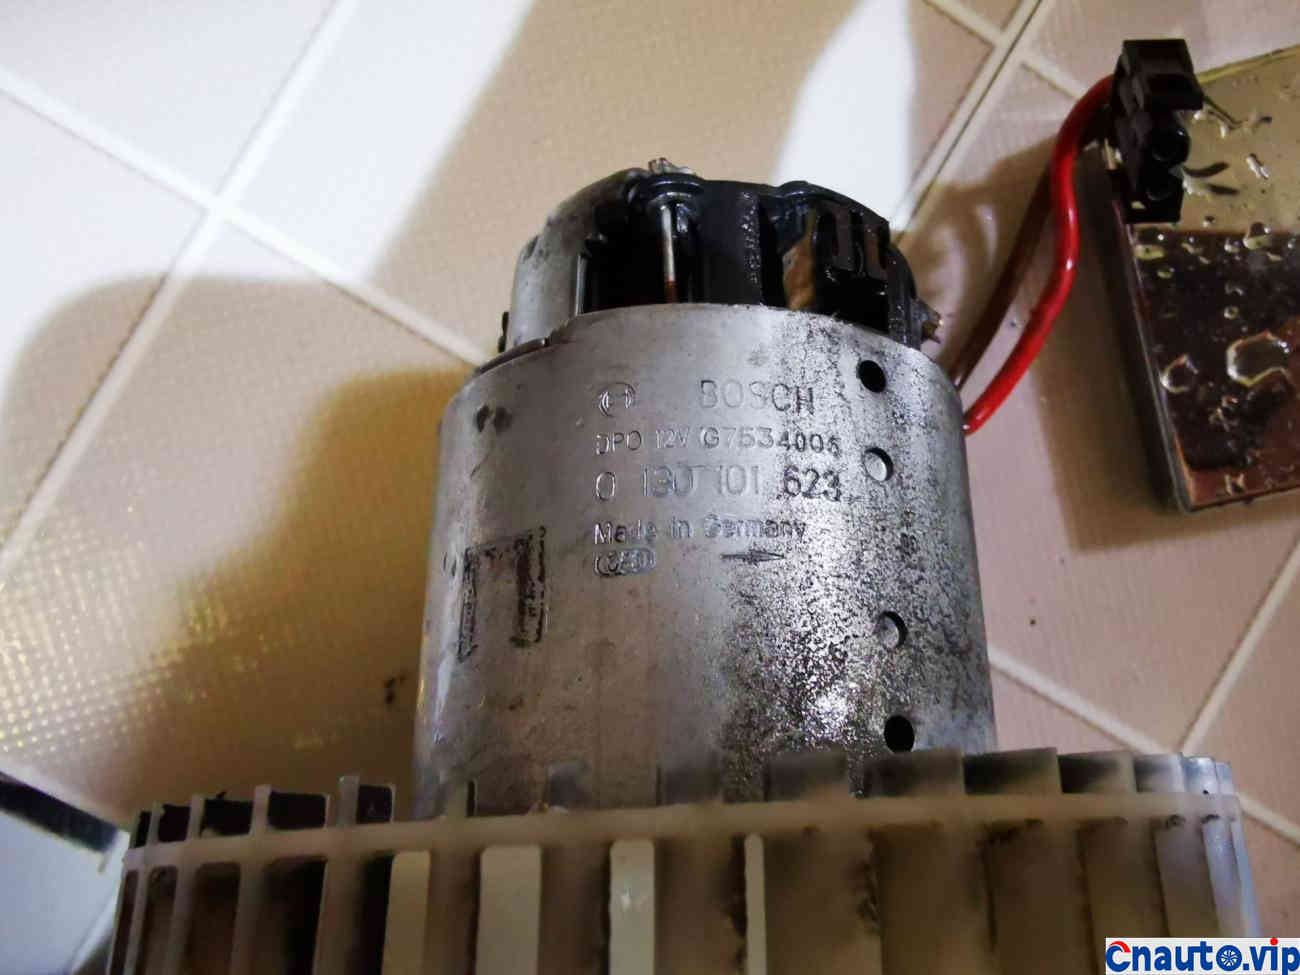
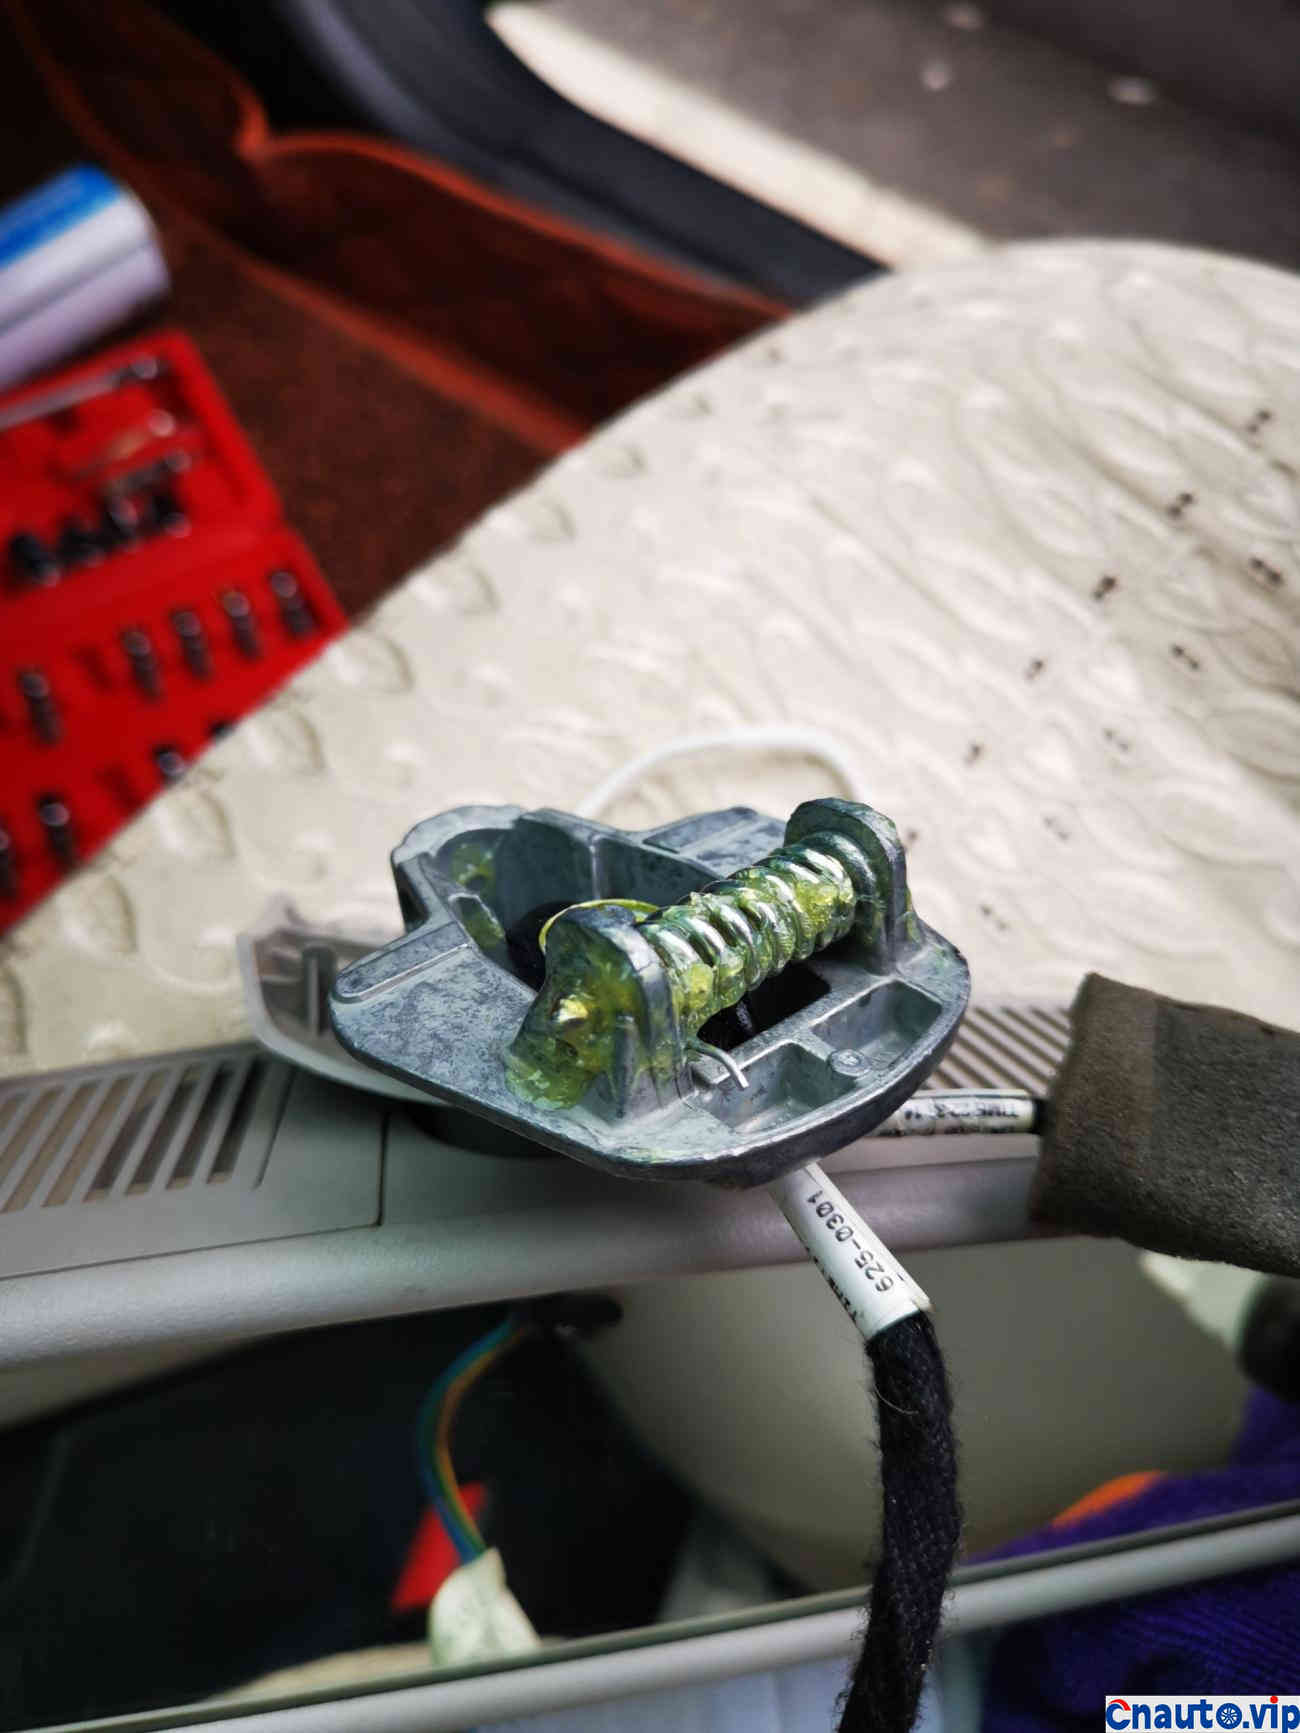
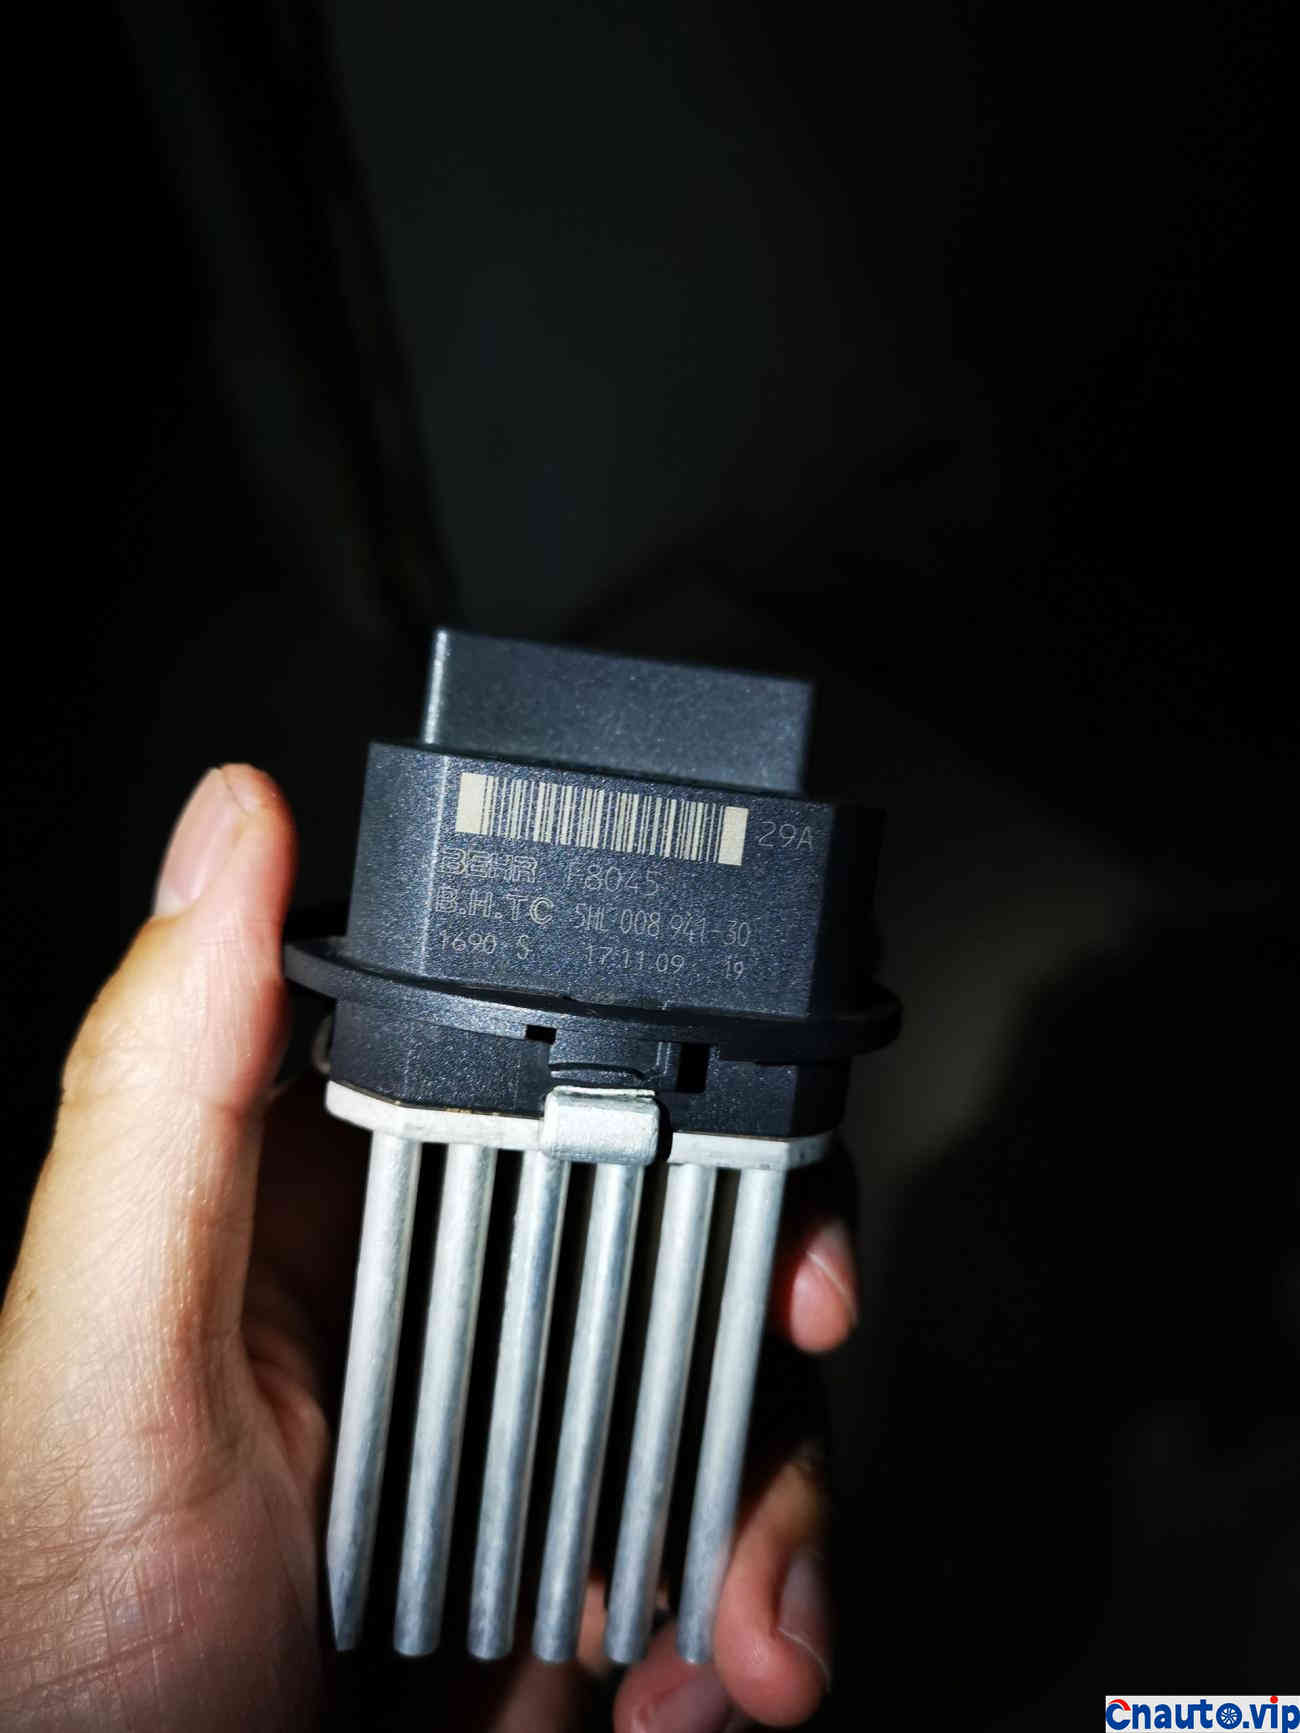
model
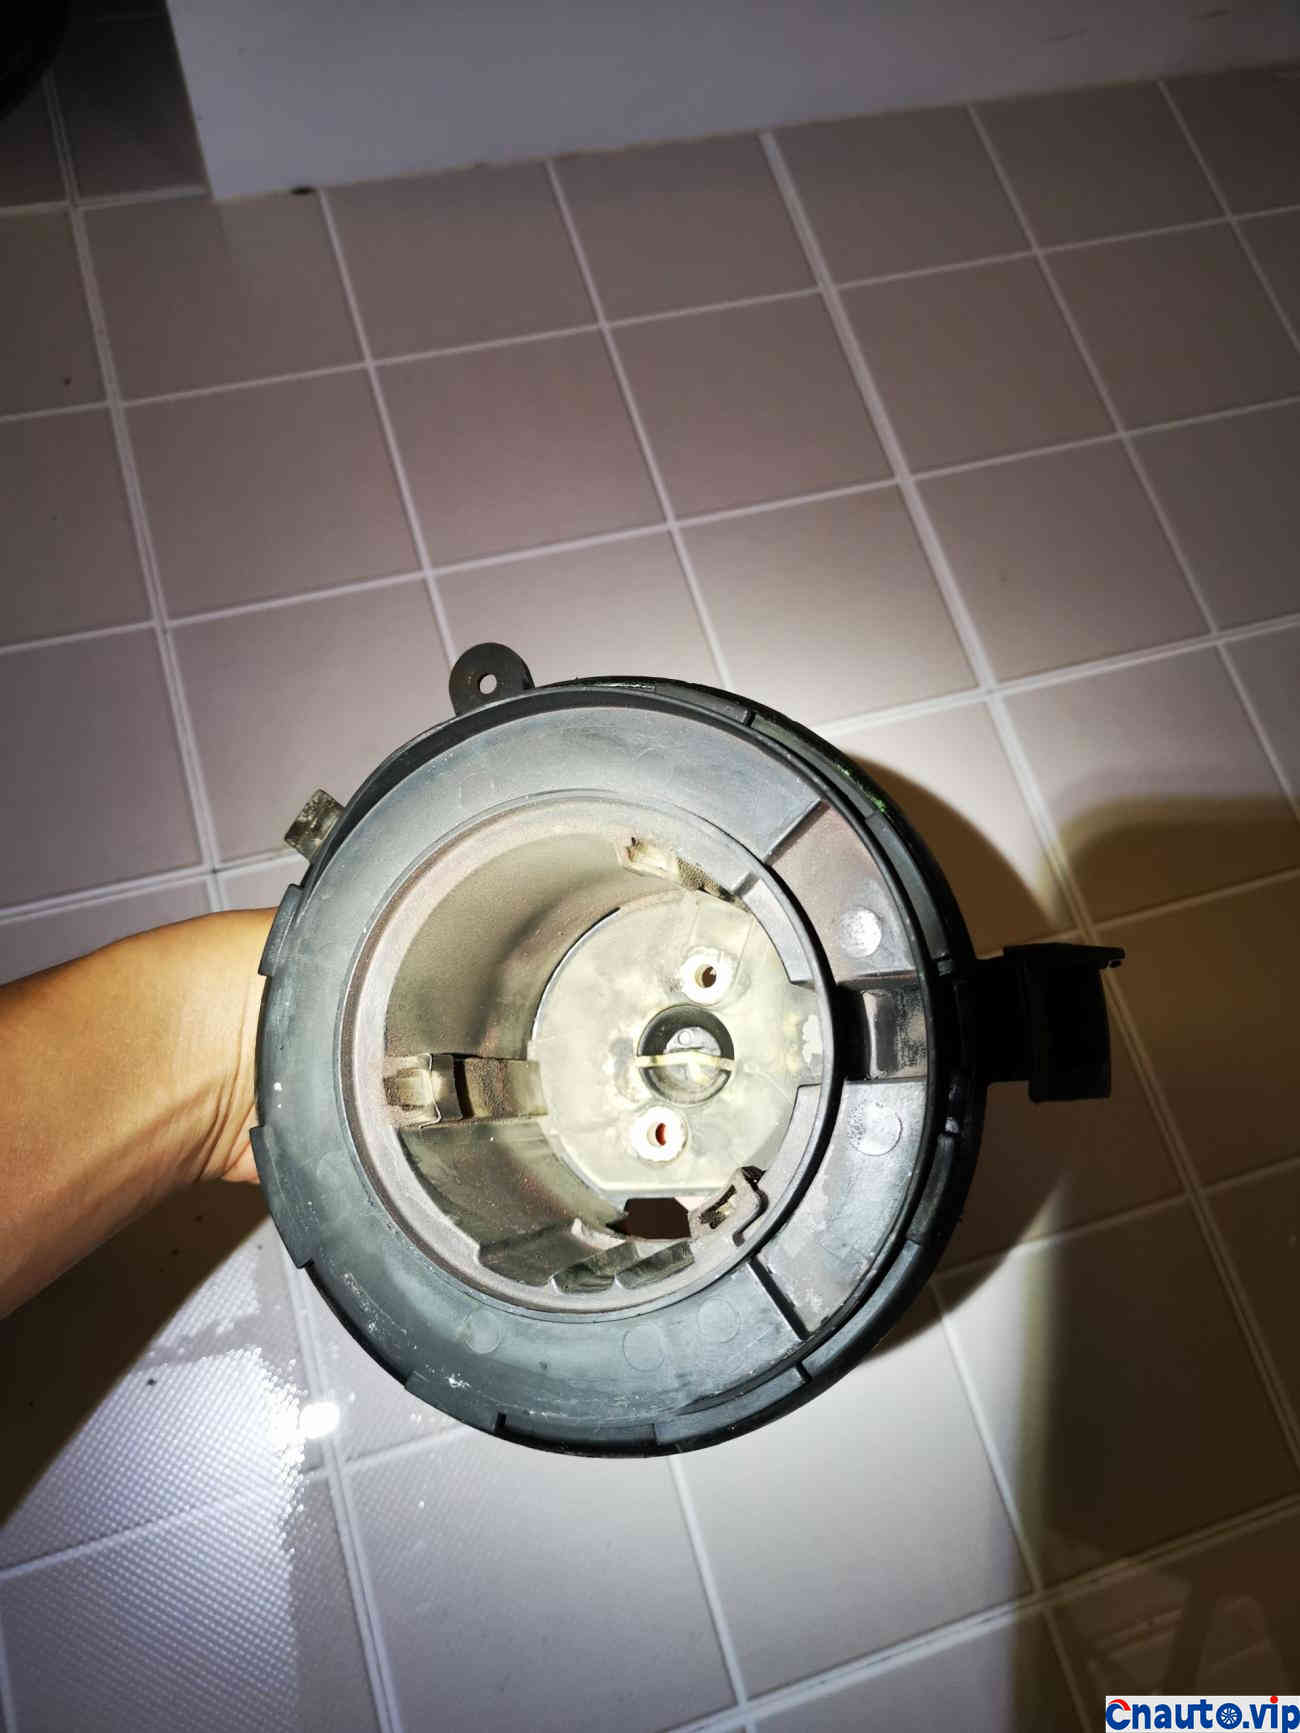
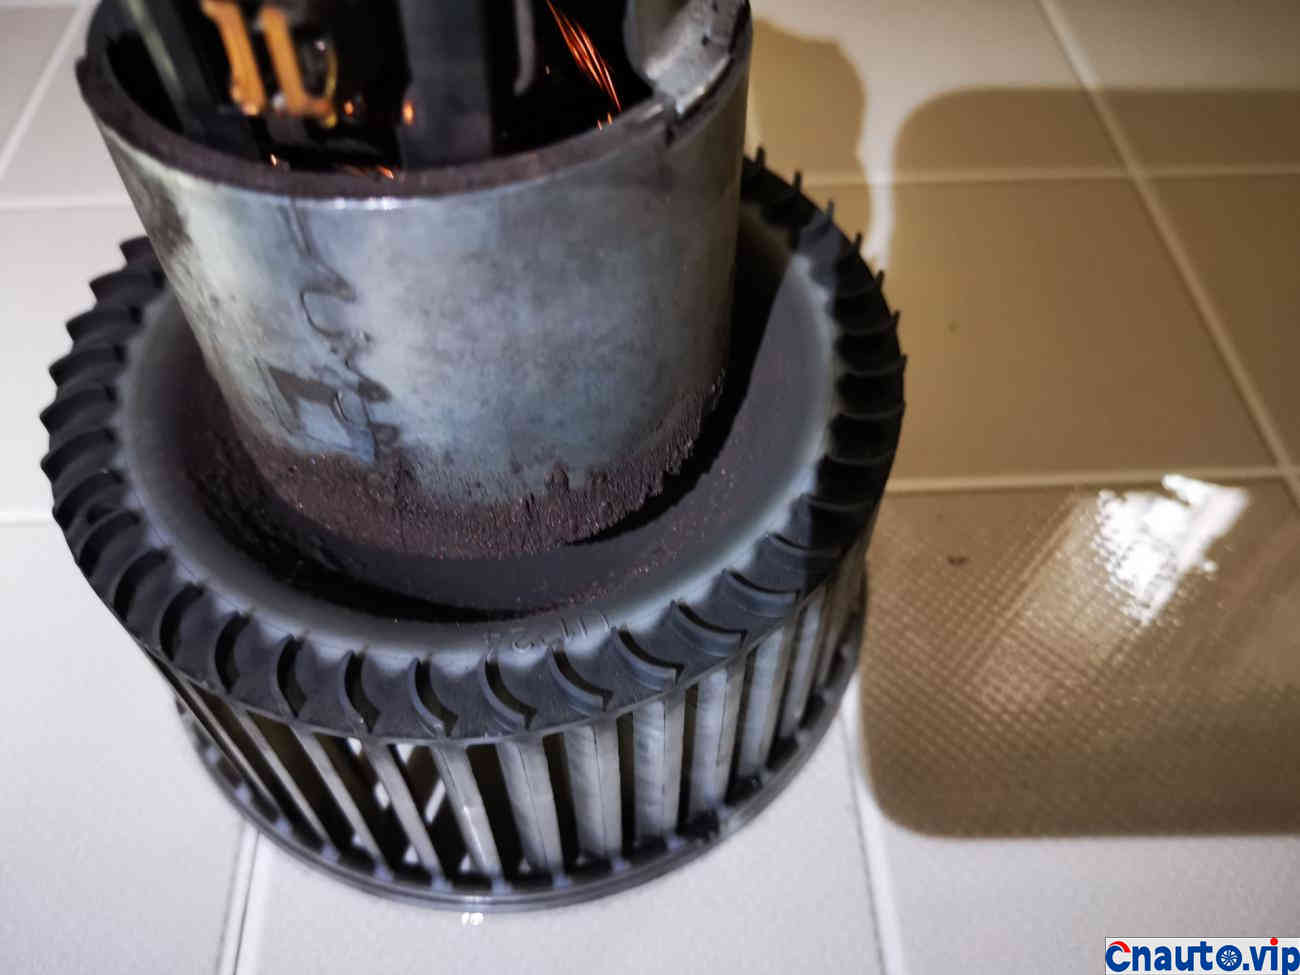
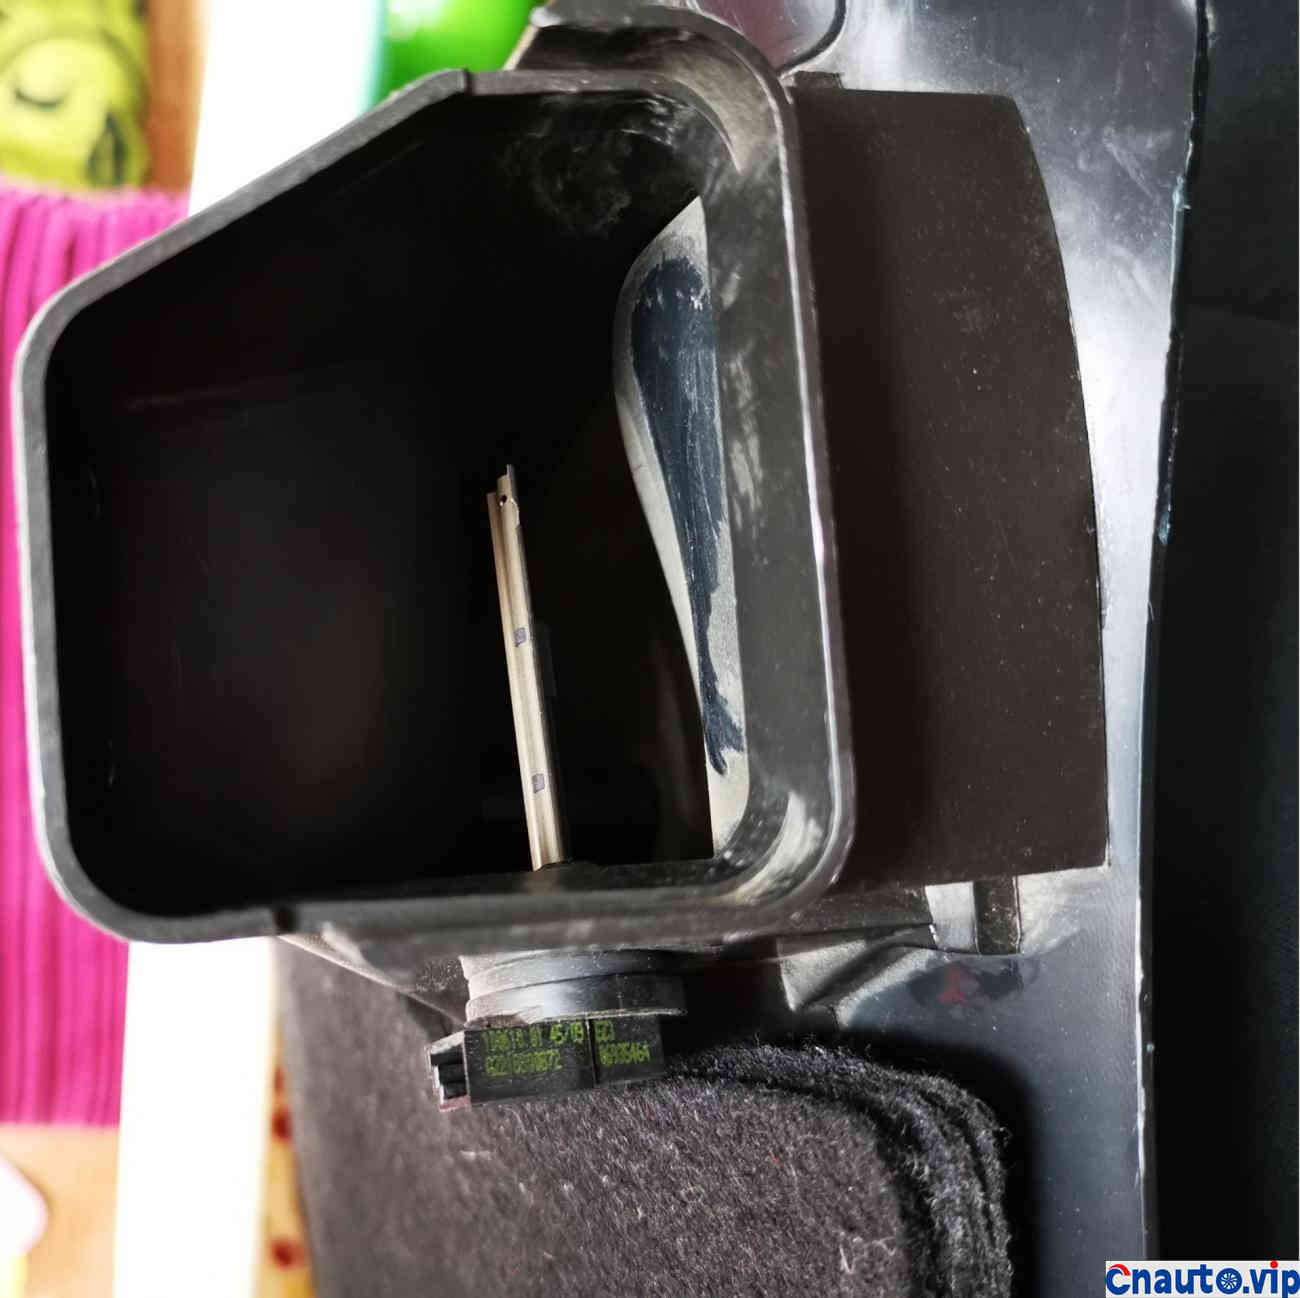
motor base The white one is soft glue The middle bottom is used to store oil. The abnormal noise occurs when the cleaning agent washes off the motor bearing oil and causes abnormal noise when dry grinding.
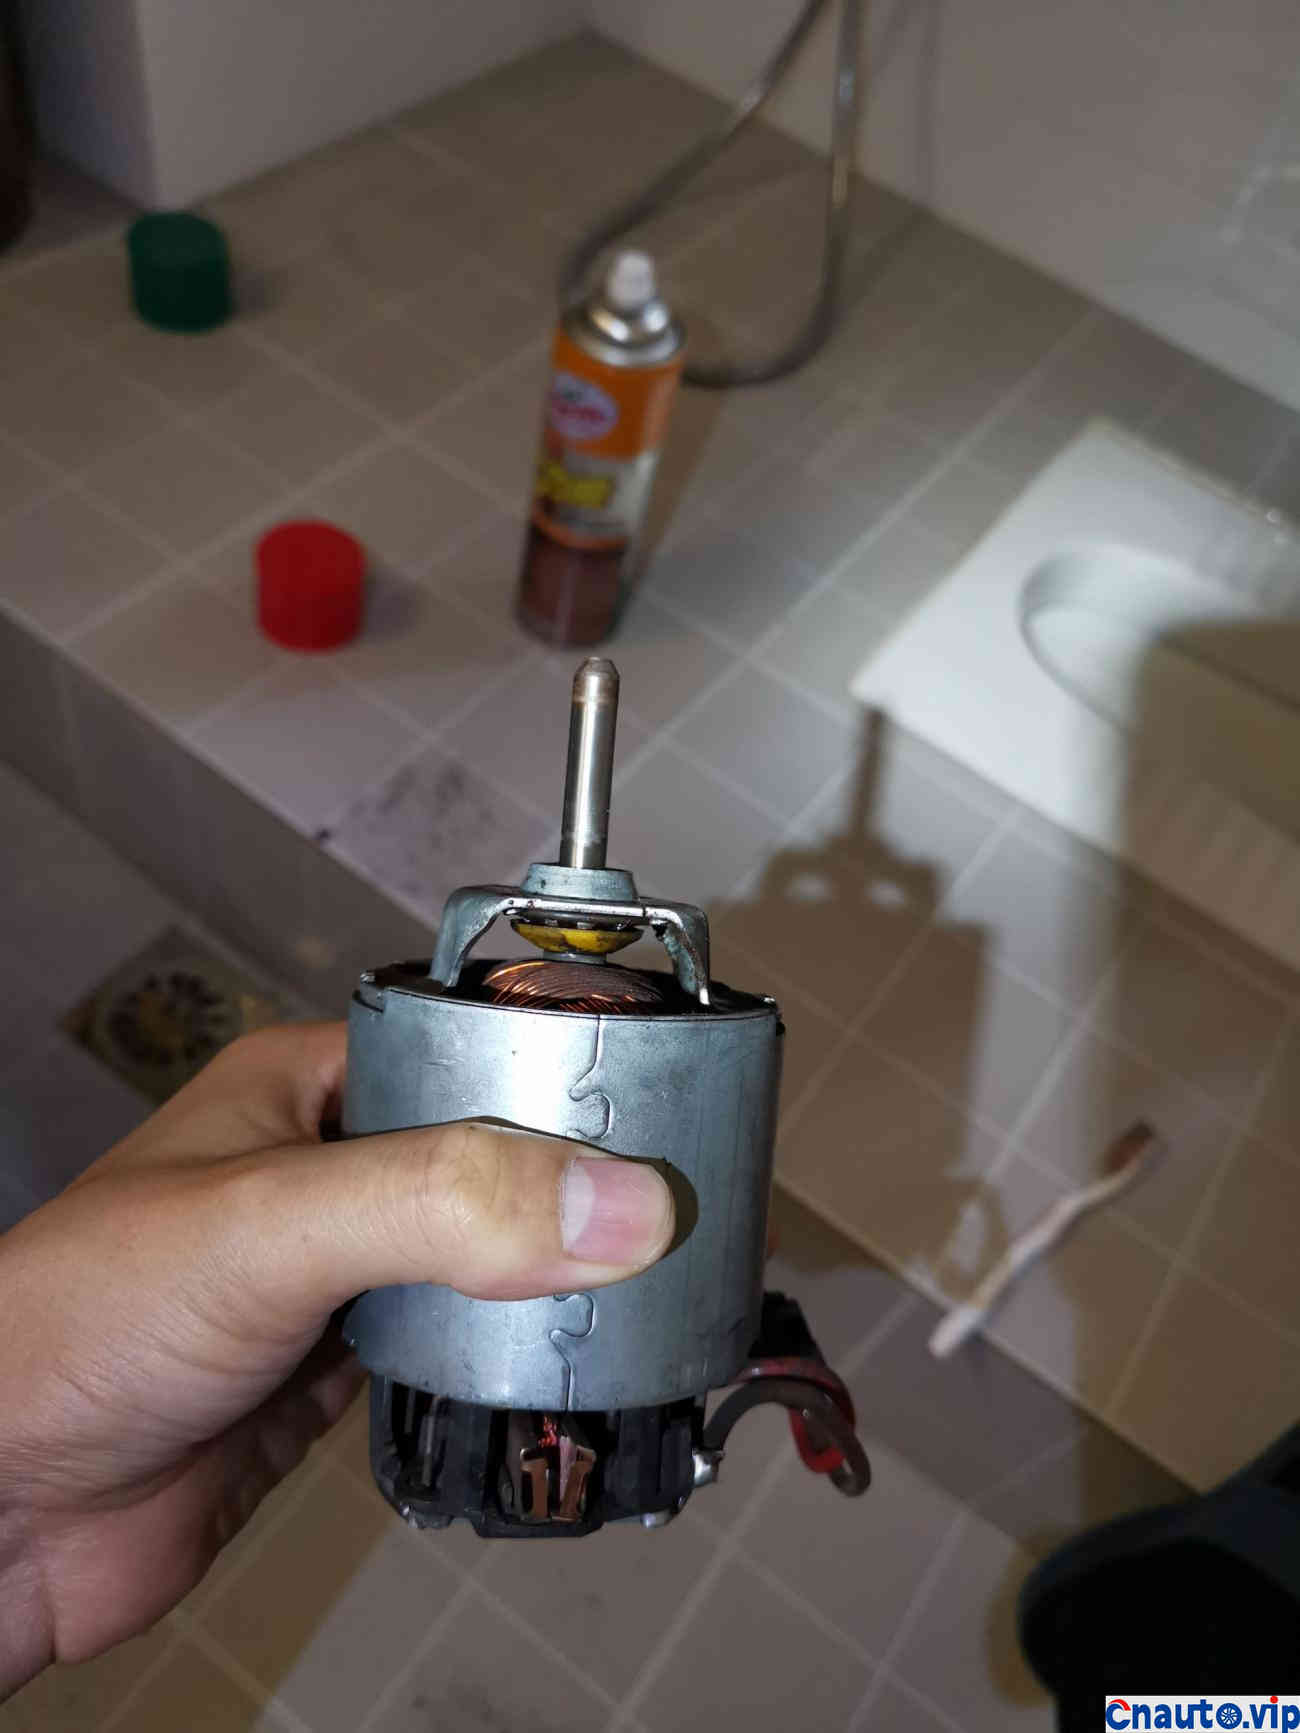
Repair is really slow work and meticulous work. Details determine everything It’s so difficult to replenish oil without professional tools. Buy a syringe, which is so easy to use.


 April 1, 2024