In recent days, when driving accelerates, turns left and right, and brakes, there will be a strange noise in the car, and the sound of something rolling around is obviously coming from behind.
Check the back door locker, rule out the possibility, open the trunk to check, found no obvious foreign body, the battery tray and box body in the trunk have many holes, one by one with nylon tie, also found no foreign body, open the leaf plate cover on both sides, check the inner space, and no foreign body was found. It is really sweet to listen to the foreign body rolling all the way for several days in a row.
There’s no obsessive-compulsive disorder, but that doesn’t mean there’s nothing you can do about it?
Let my friend sit in the back and listen, but I didn’t recognize it.
Let a friend drive, sit in the back and listen carefully. There is no different sound in the door panel. It feels like it comes from the main driving seat.
Looking at the air outlet of the air conditioner, Lingguang kept reminding me where the problem lies.
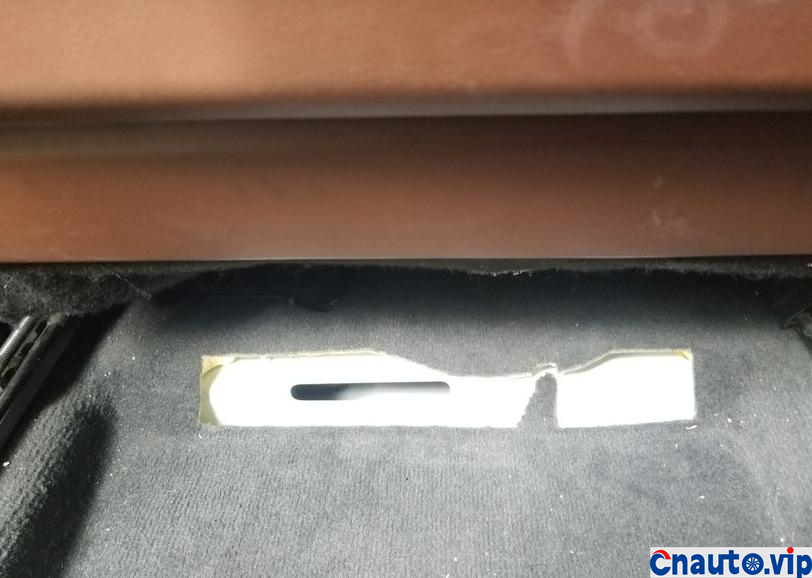
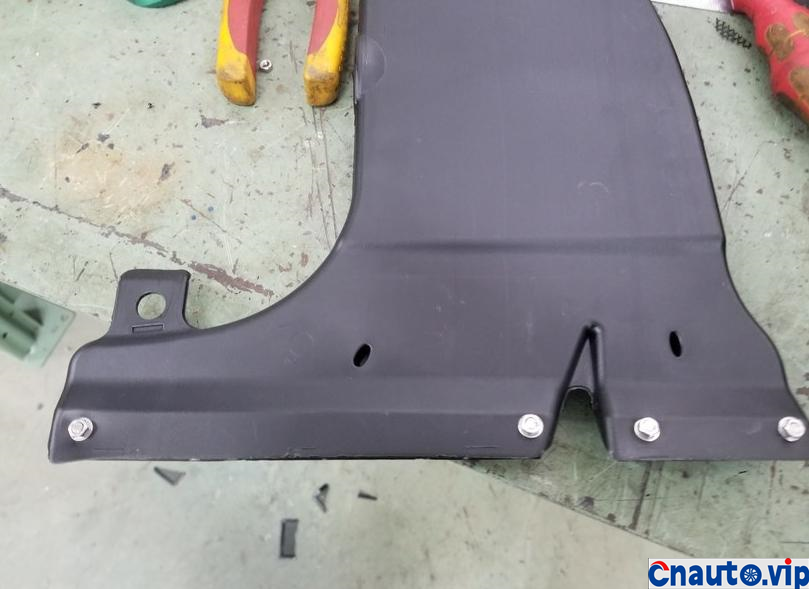
Air conditioning air outlet under the main driving seat (take out the black tail air outlet)
When the plastic part is removed from the air outlet, there is a screw clasp on the left side, which can be removed by raising the left side.
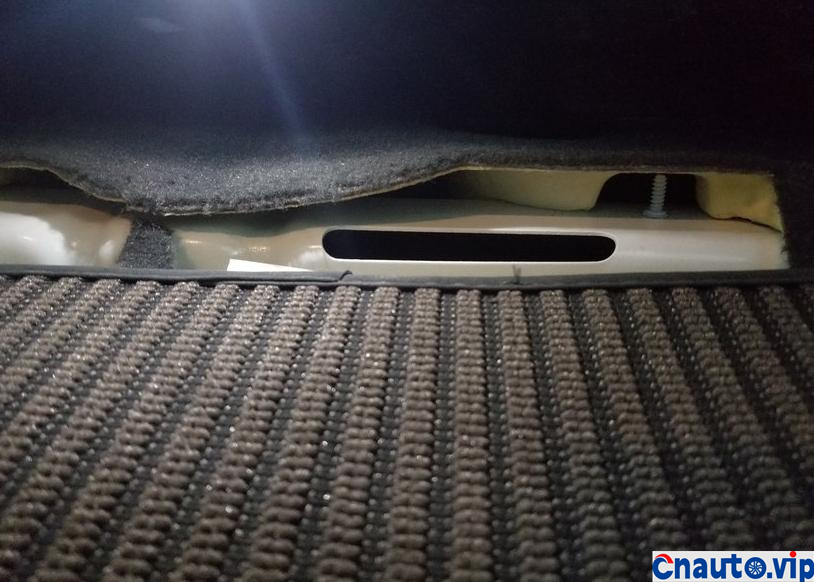
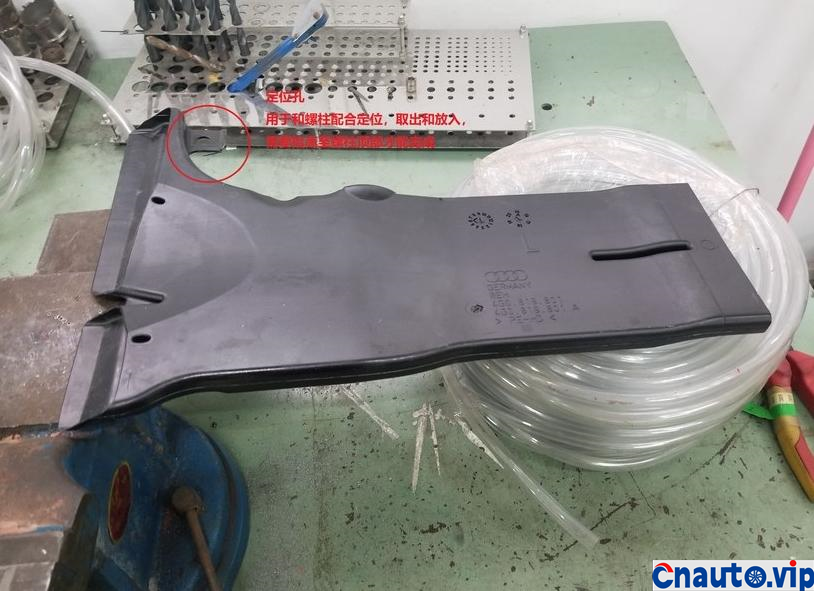
This is the right positioning stud of the plastic part of the air conditioning outlet in the lower part of the auxiliary seat, and the positioning stud of the main driver is on the left.
When the tail section of the plastic part is taken out and put in, it must be lifted up and taken out or put in. There is a positioning hole on the plastic part, which fits with the stud.
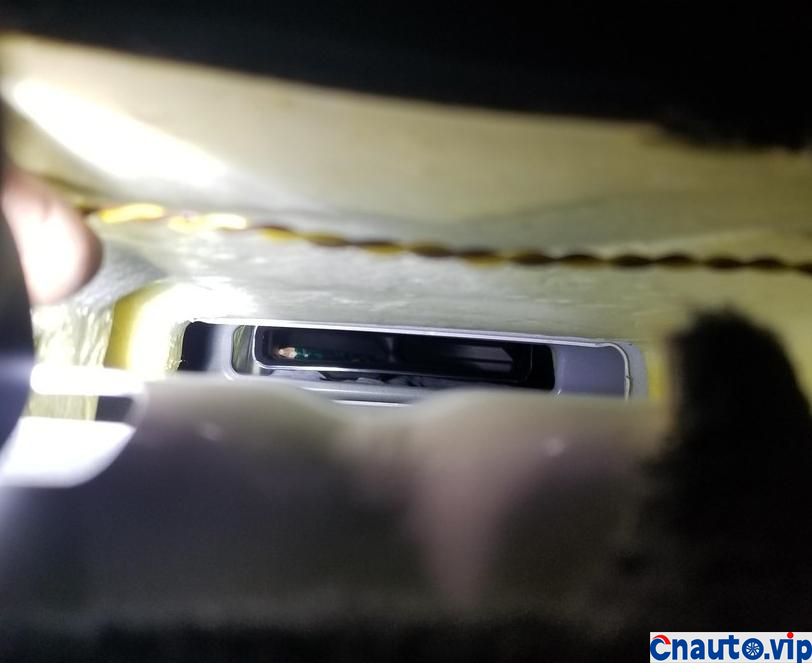
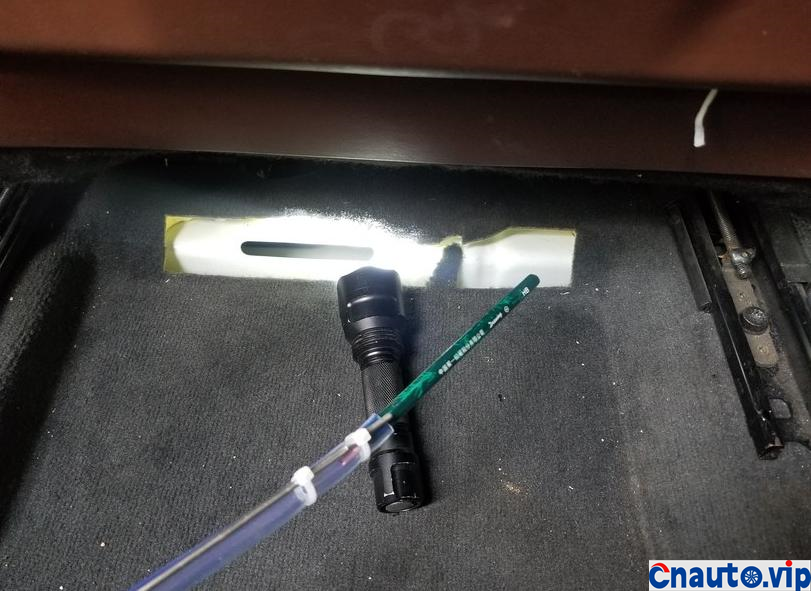
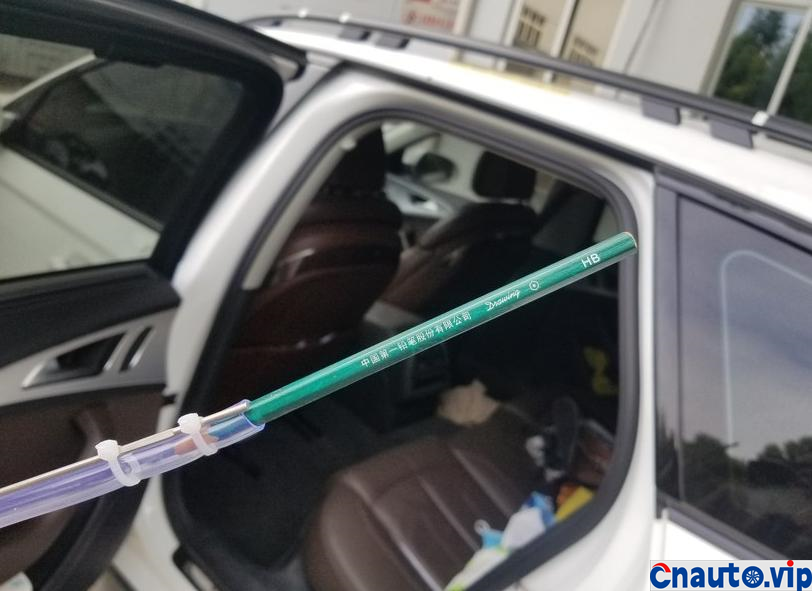
Take out the air conditioner outlet under the seat and wait for the flashlight. It’s you.
A pencil.
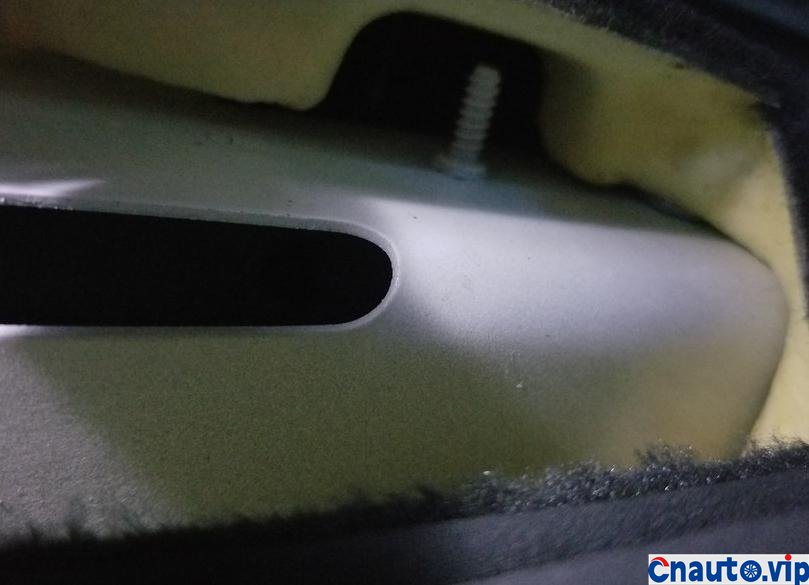
Take out the plastic part of the air outlet tail section, and there is a positioning hole on the left, which is used for positioning with the positioning stud. When it is taken out and put in, it needs to be raised to the top of the stud before it can be taken out and put in.
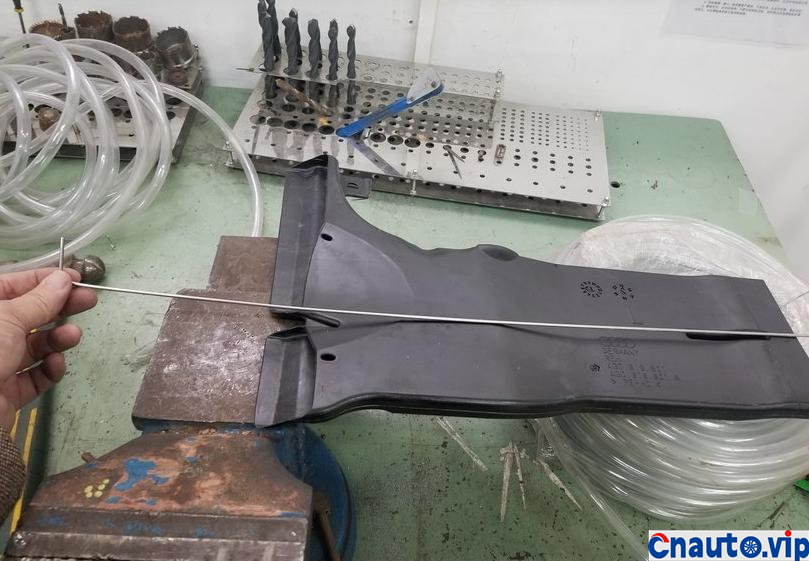
Start making tools and take a piece of welding wire, which is about 15-20cm longer than plastic parts.
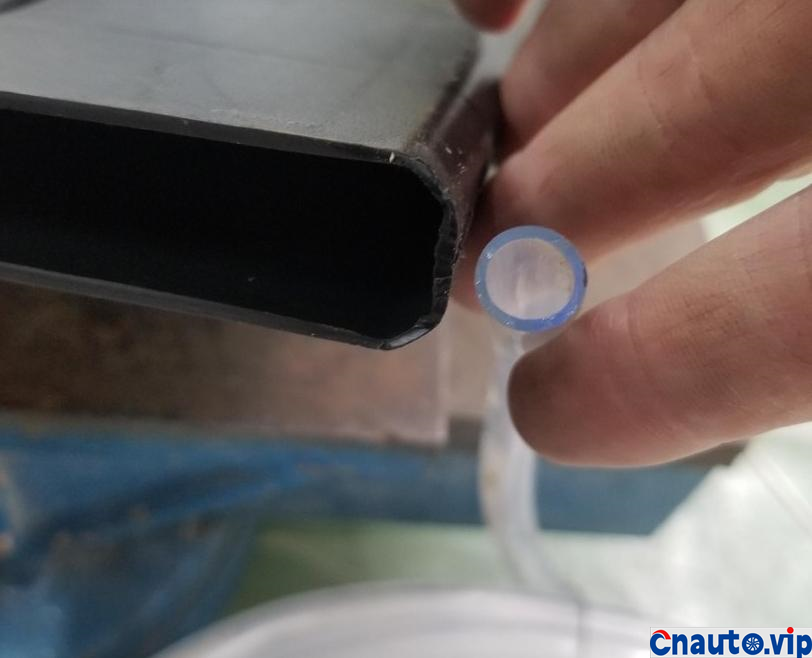
Prepare a rubber hose with a diameter smaller than the front duct, with a self-defined length from the vacuum cleaner to the foreign body.
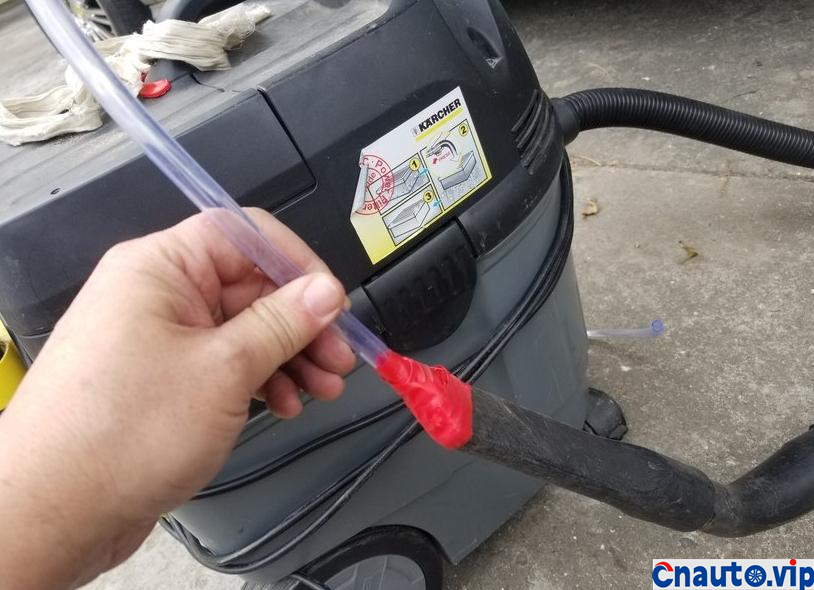
Seal one end of the hose with the entrance of the vacuum cleaner.
Turn on the vacuum cleaner and check the suction.
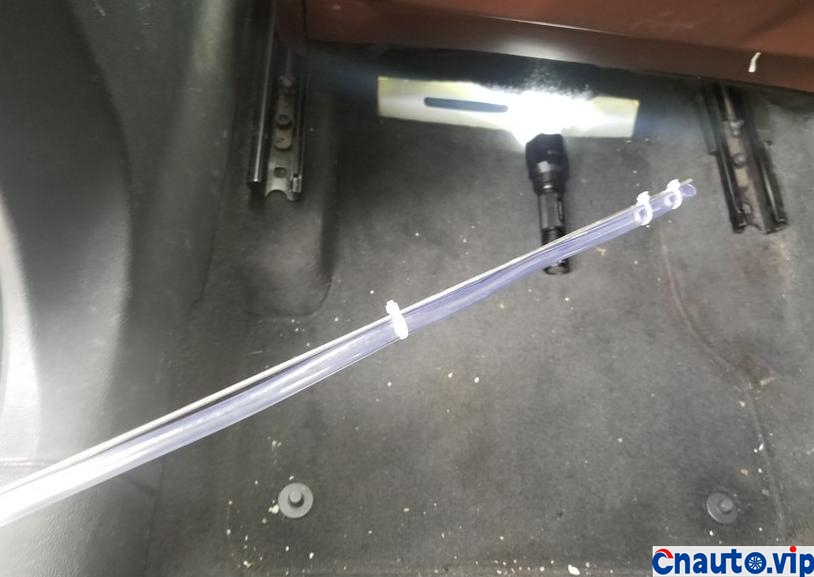
Welding wire and rubber hose are tied with tape, which is generally installed on a plate, so it is not easy to straighten.
Flashlight lighting.
Lower your face, stick it where you step on it, and put the tube in.
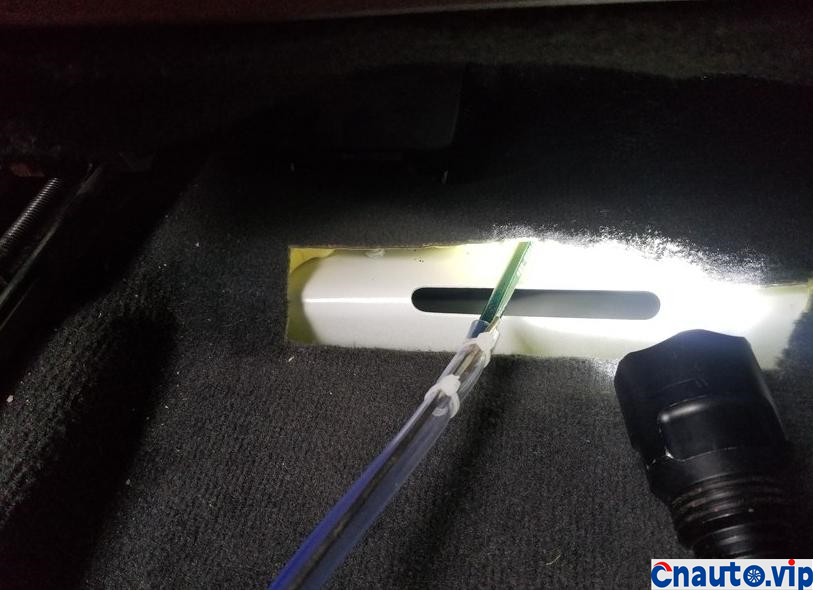
Aim at the pencil end and take it out safely.
If the pencil is not facing outward, but horizontally, then you have something to do, put it back on the plastic tail, operate your car, start, brake, turn, do all kinds of coquettish operations, find a road with enough slope, head up and tail down, accelerate uphill, reverse downhill, and keep watching the direction of the pencil.
I have 4-5 round trips before I have good luck.
That’s a long time.
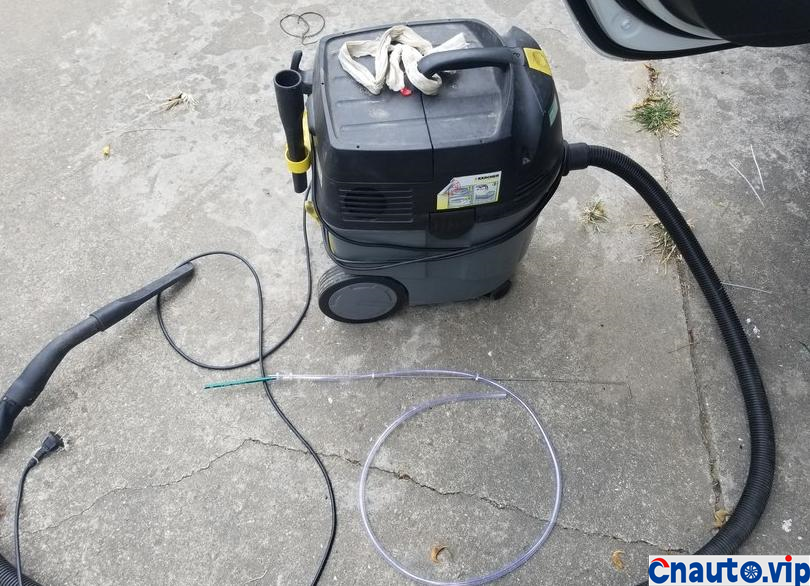
You can see the length of the plastic pipe here.
Apart from pencils, there should be many kinds of things that can go in.
Decided to do it yourself and make a net cover.
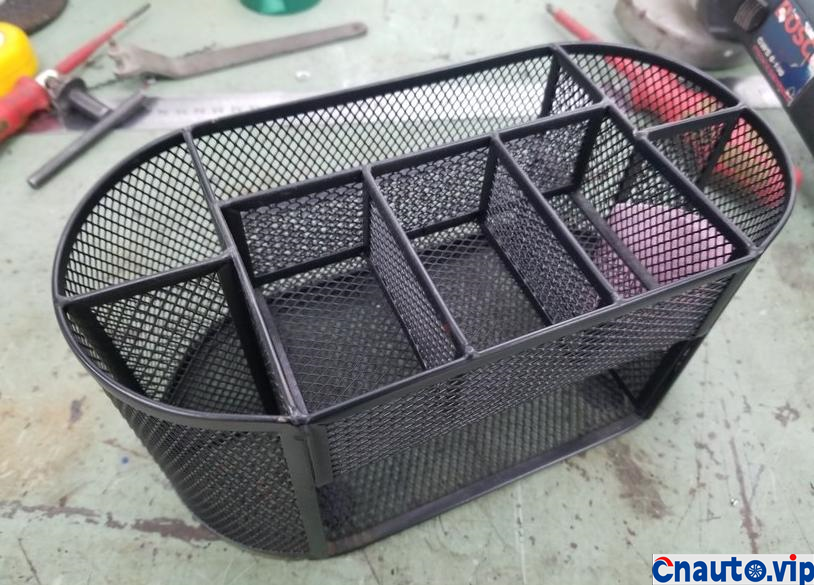
Look around for a week, and this is it.
It is enough to sacrifice the lower grid drawer.
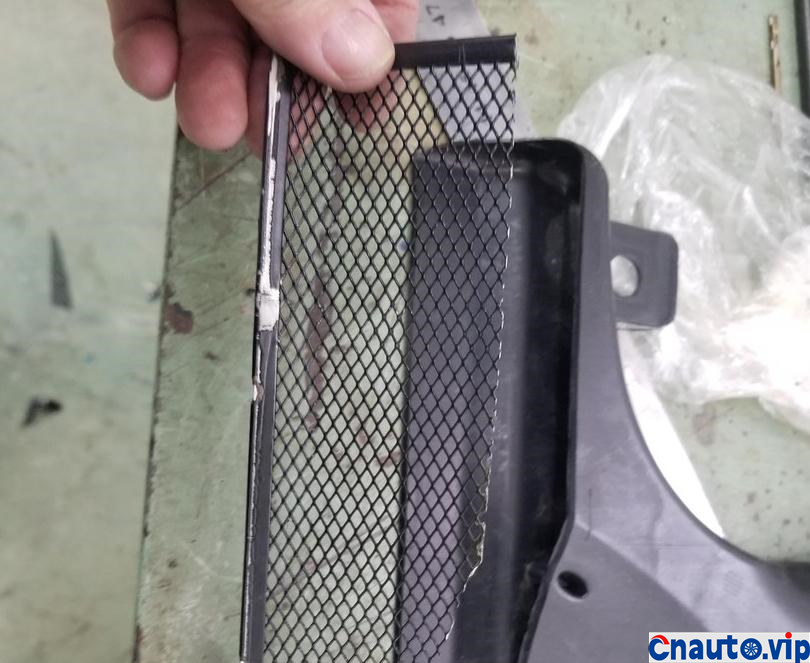
Compare with tailoring.
The air outlet is divided into two sides, one long and one short.
Both of them are made into Internet grid covers.

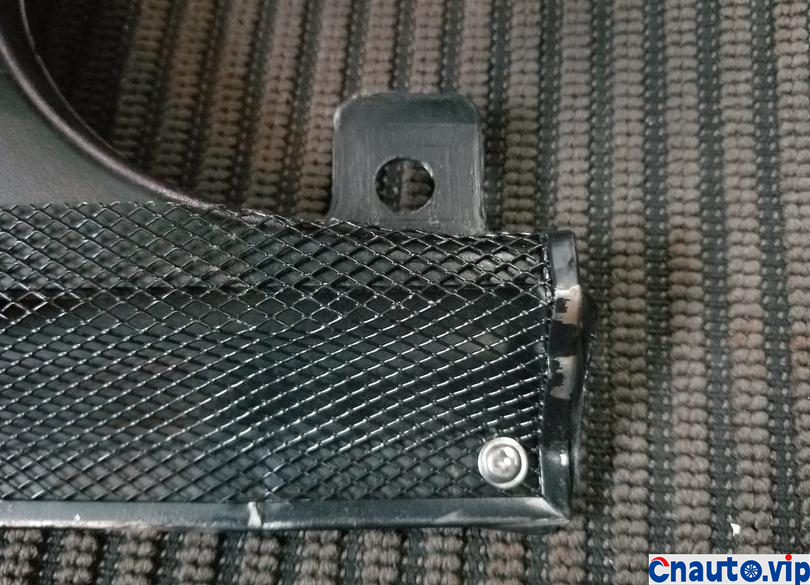
The long side tuyere net cover is made, the lower part is pre-folded at an angle, the more 15mm, make it fit to the bottom, it is convenient to fix the screw.
Set aside 20-30mm in the upper part.
The short side is the same.
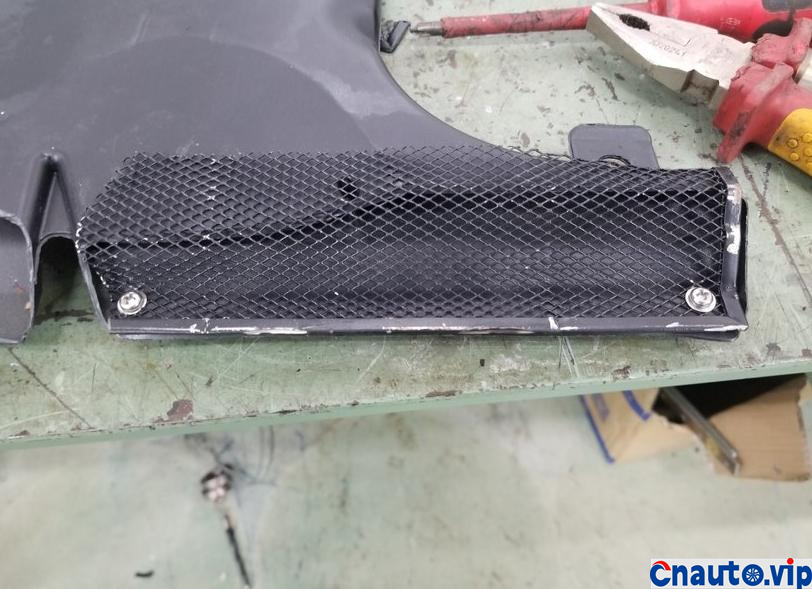
Punch the hole and fix the screw.
The upper part of the net cover is long enough to fit the upper part of the plastic tuyere.
Removal of excess screw at the bottom.
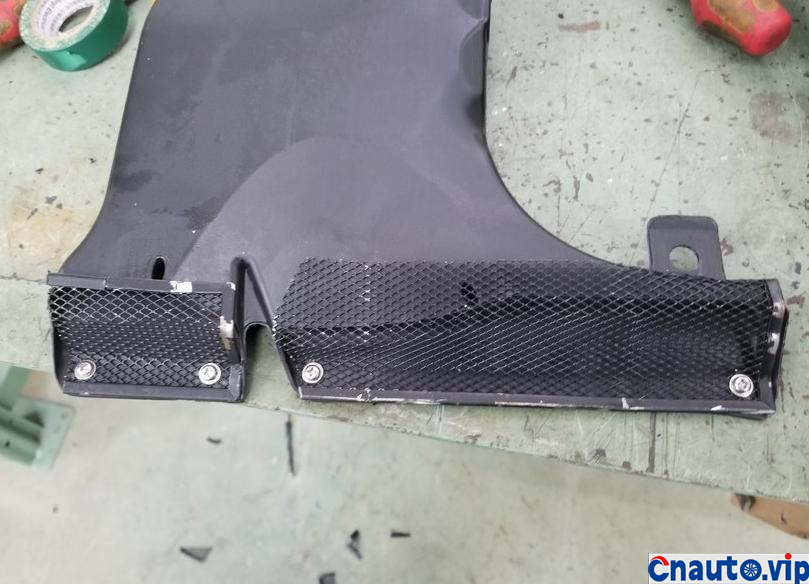
The production of the wind shield is completed, and both the long and short tuyere are in place.
Qualified friends can choose better materials to make.
The plastic mesh plate can also be used, and so is the effect of losing nylon and silk tennis.

The lower side outlet of the main driver
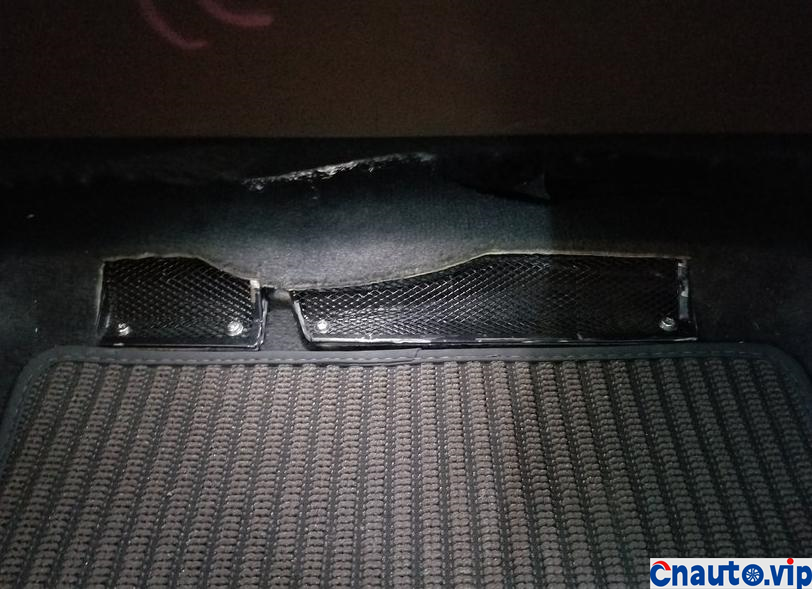
The side outlet of the copilot
There won’t be anything else that can be kicked in or rolled in by itself, will it?
Now there are many dads and nannies, so there are naturally many gadgets.


 April 1, 2024