Maintenance and management of Volkswagen Audi 3.0T 5,000 kilometers burning five-liter engine oil
Decompose serious engine oil leakage
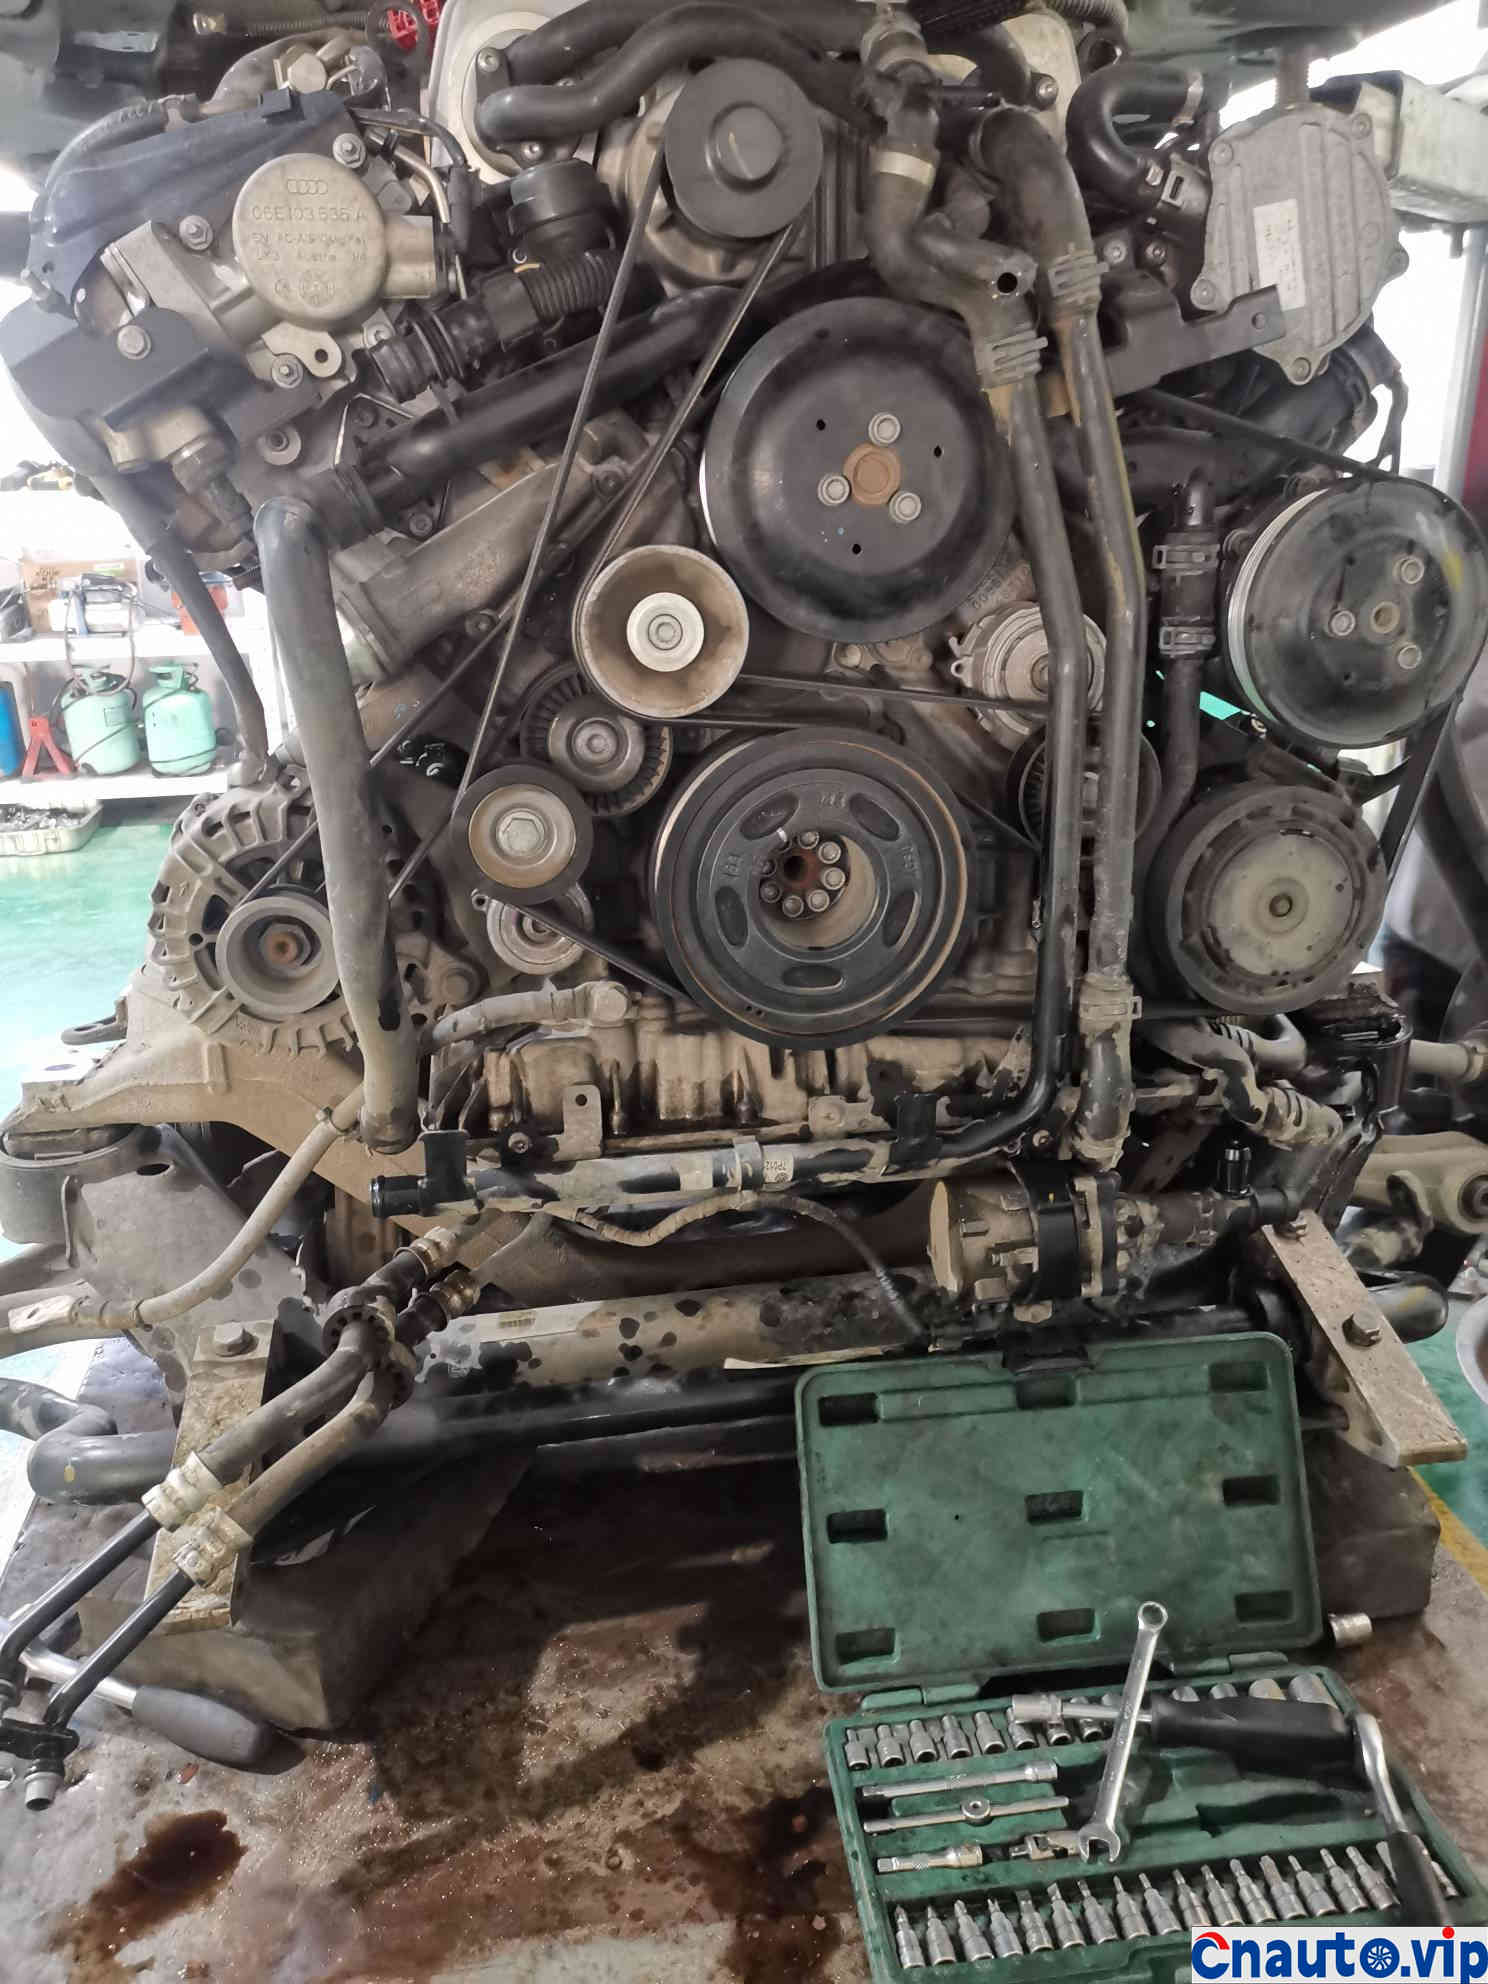
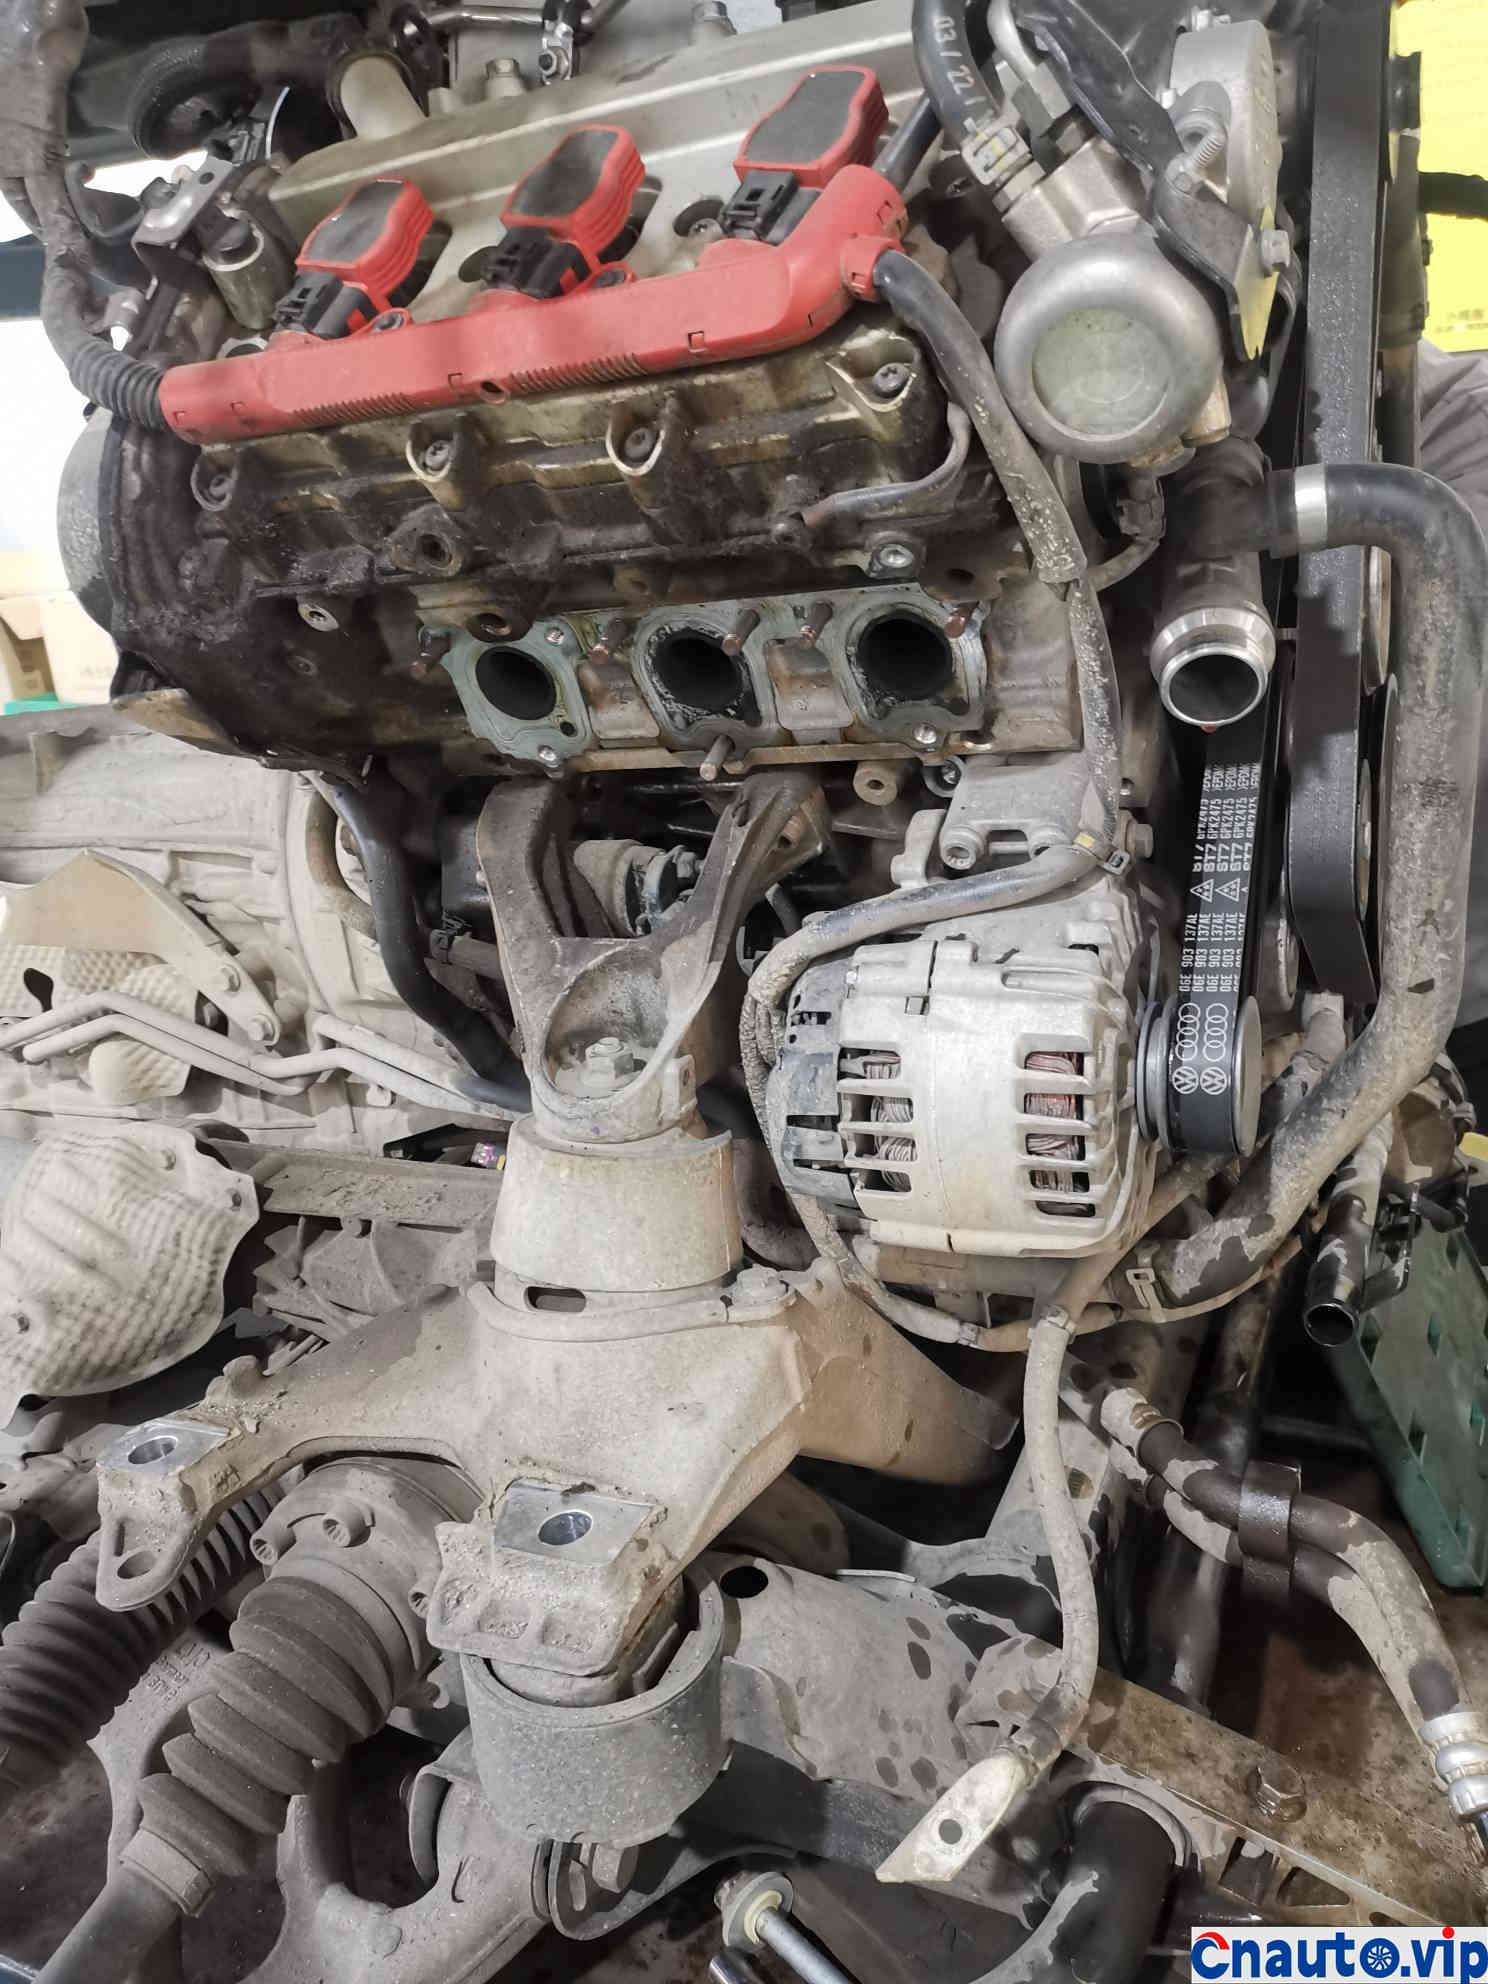
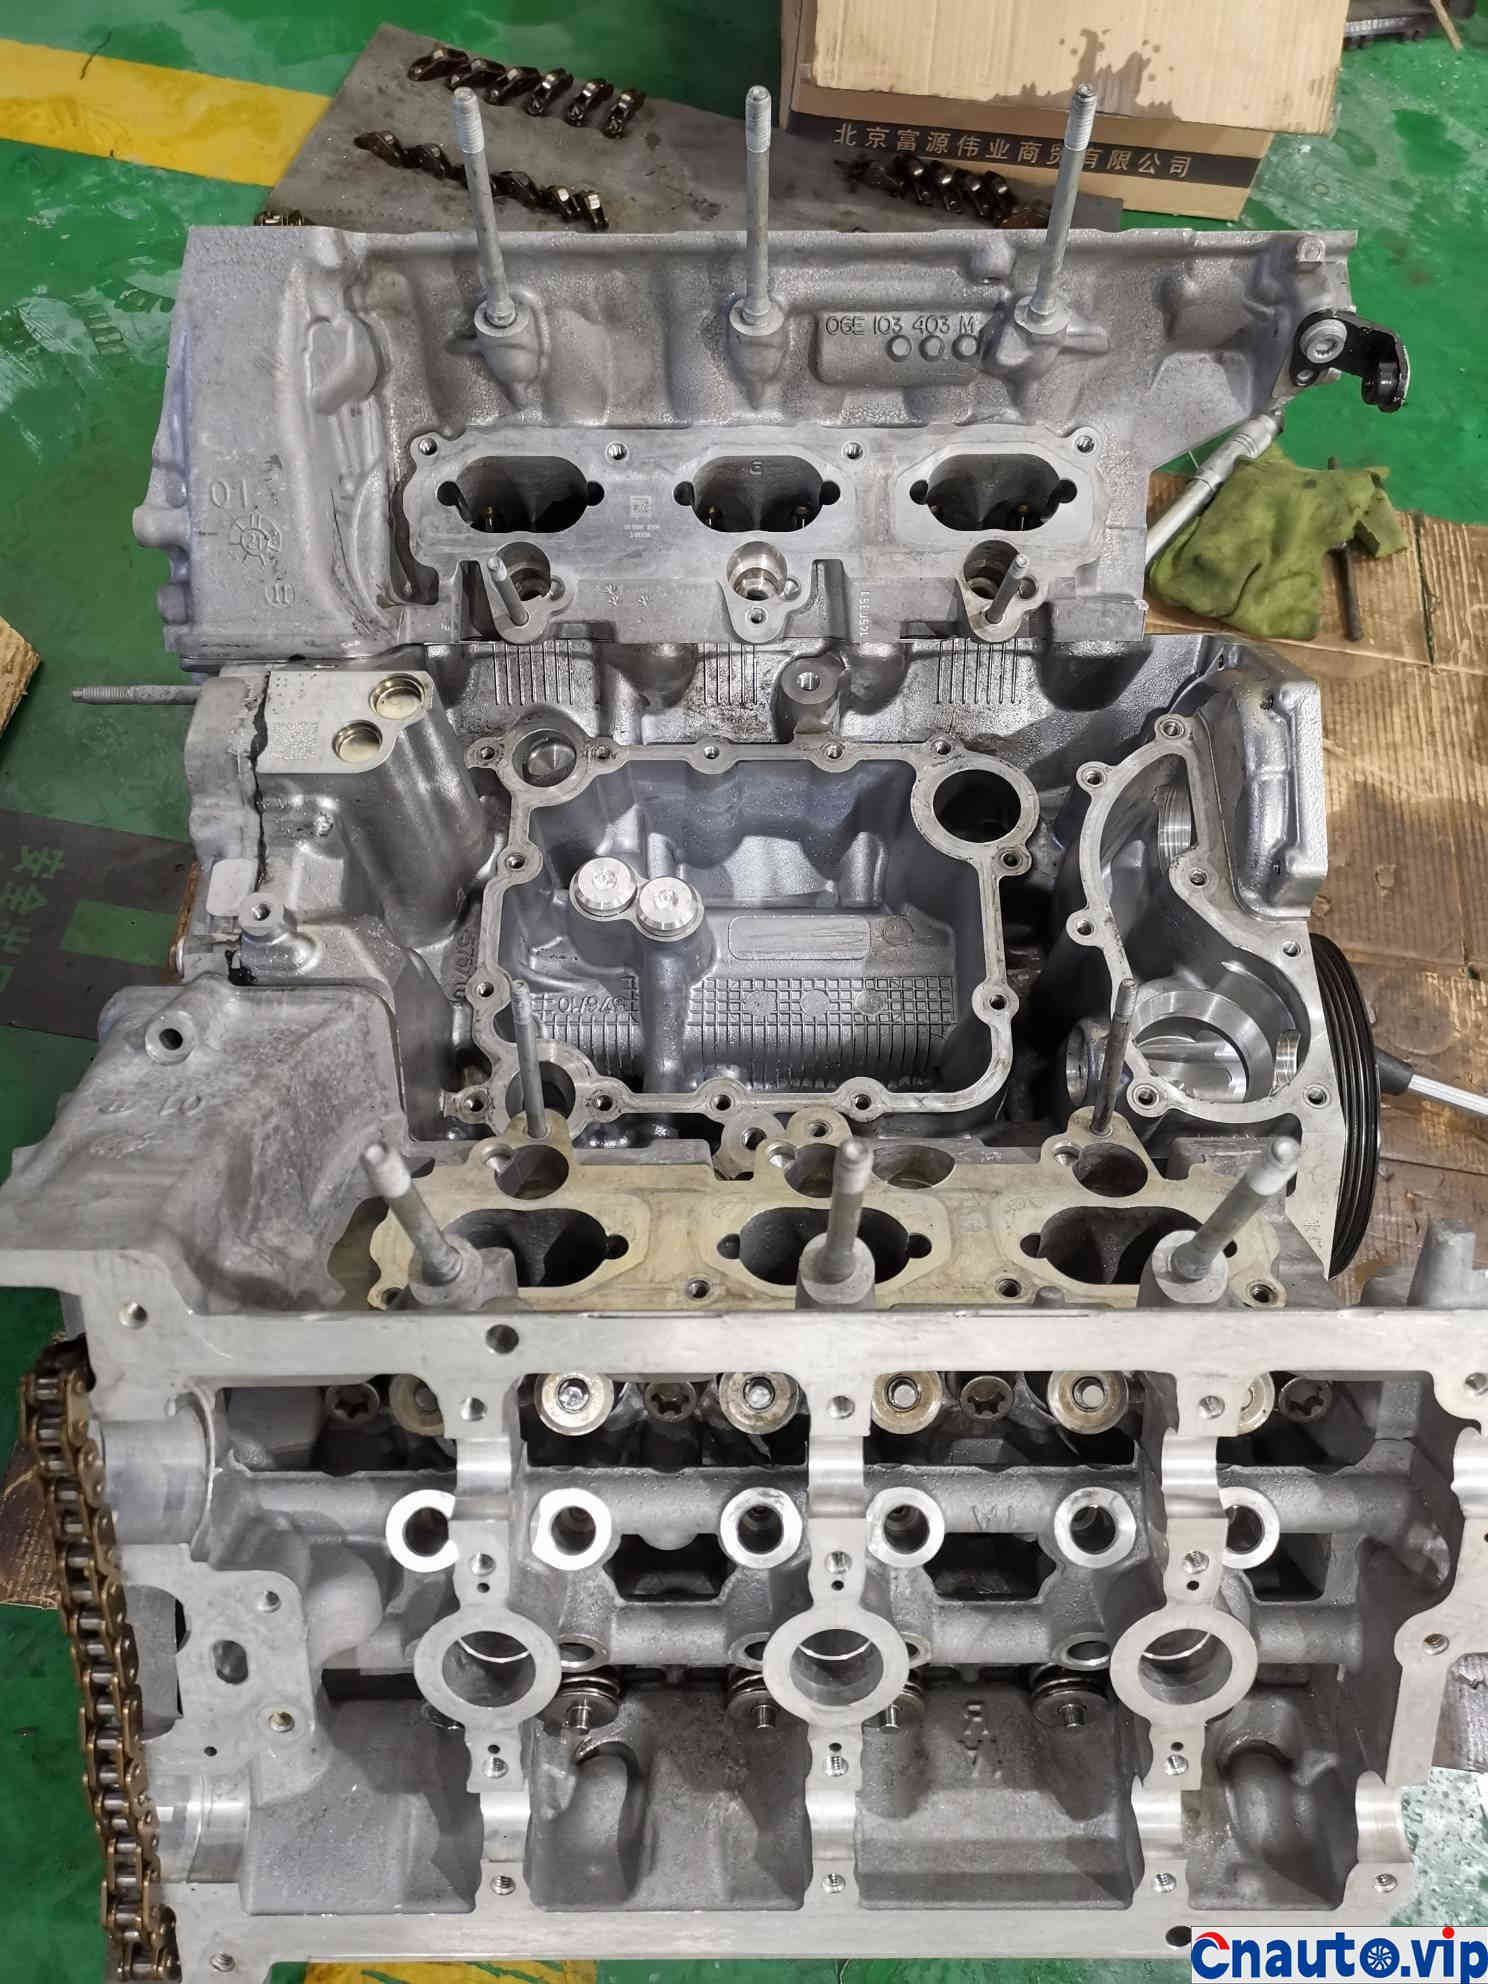
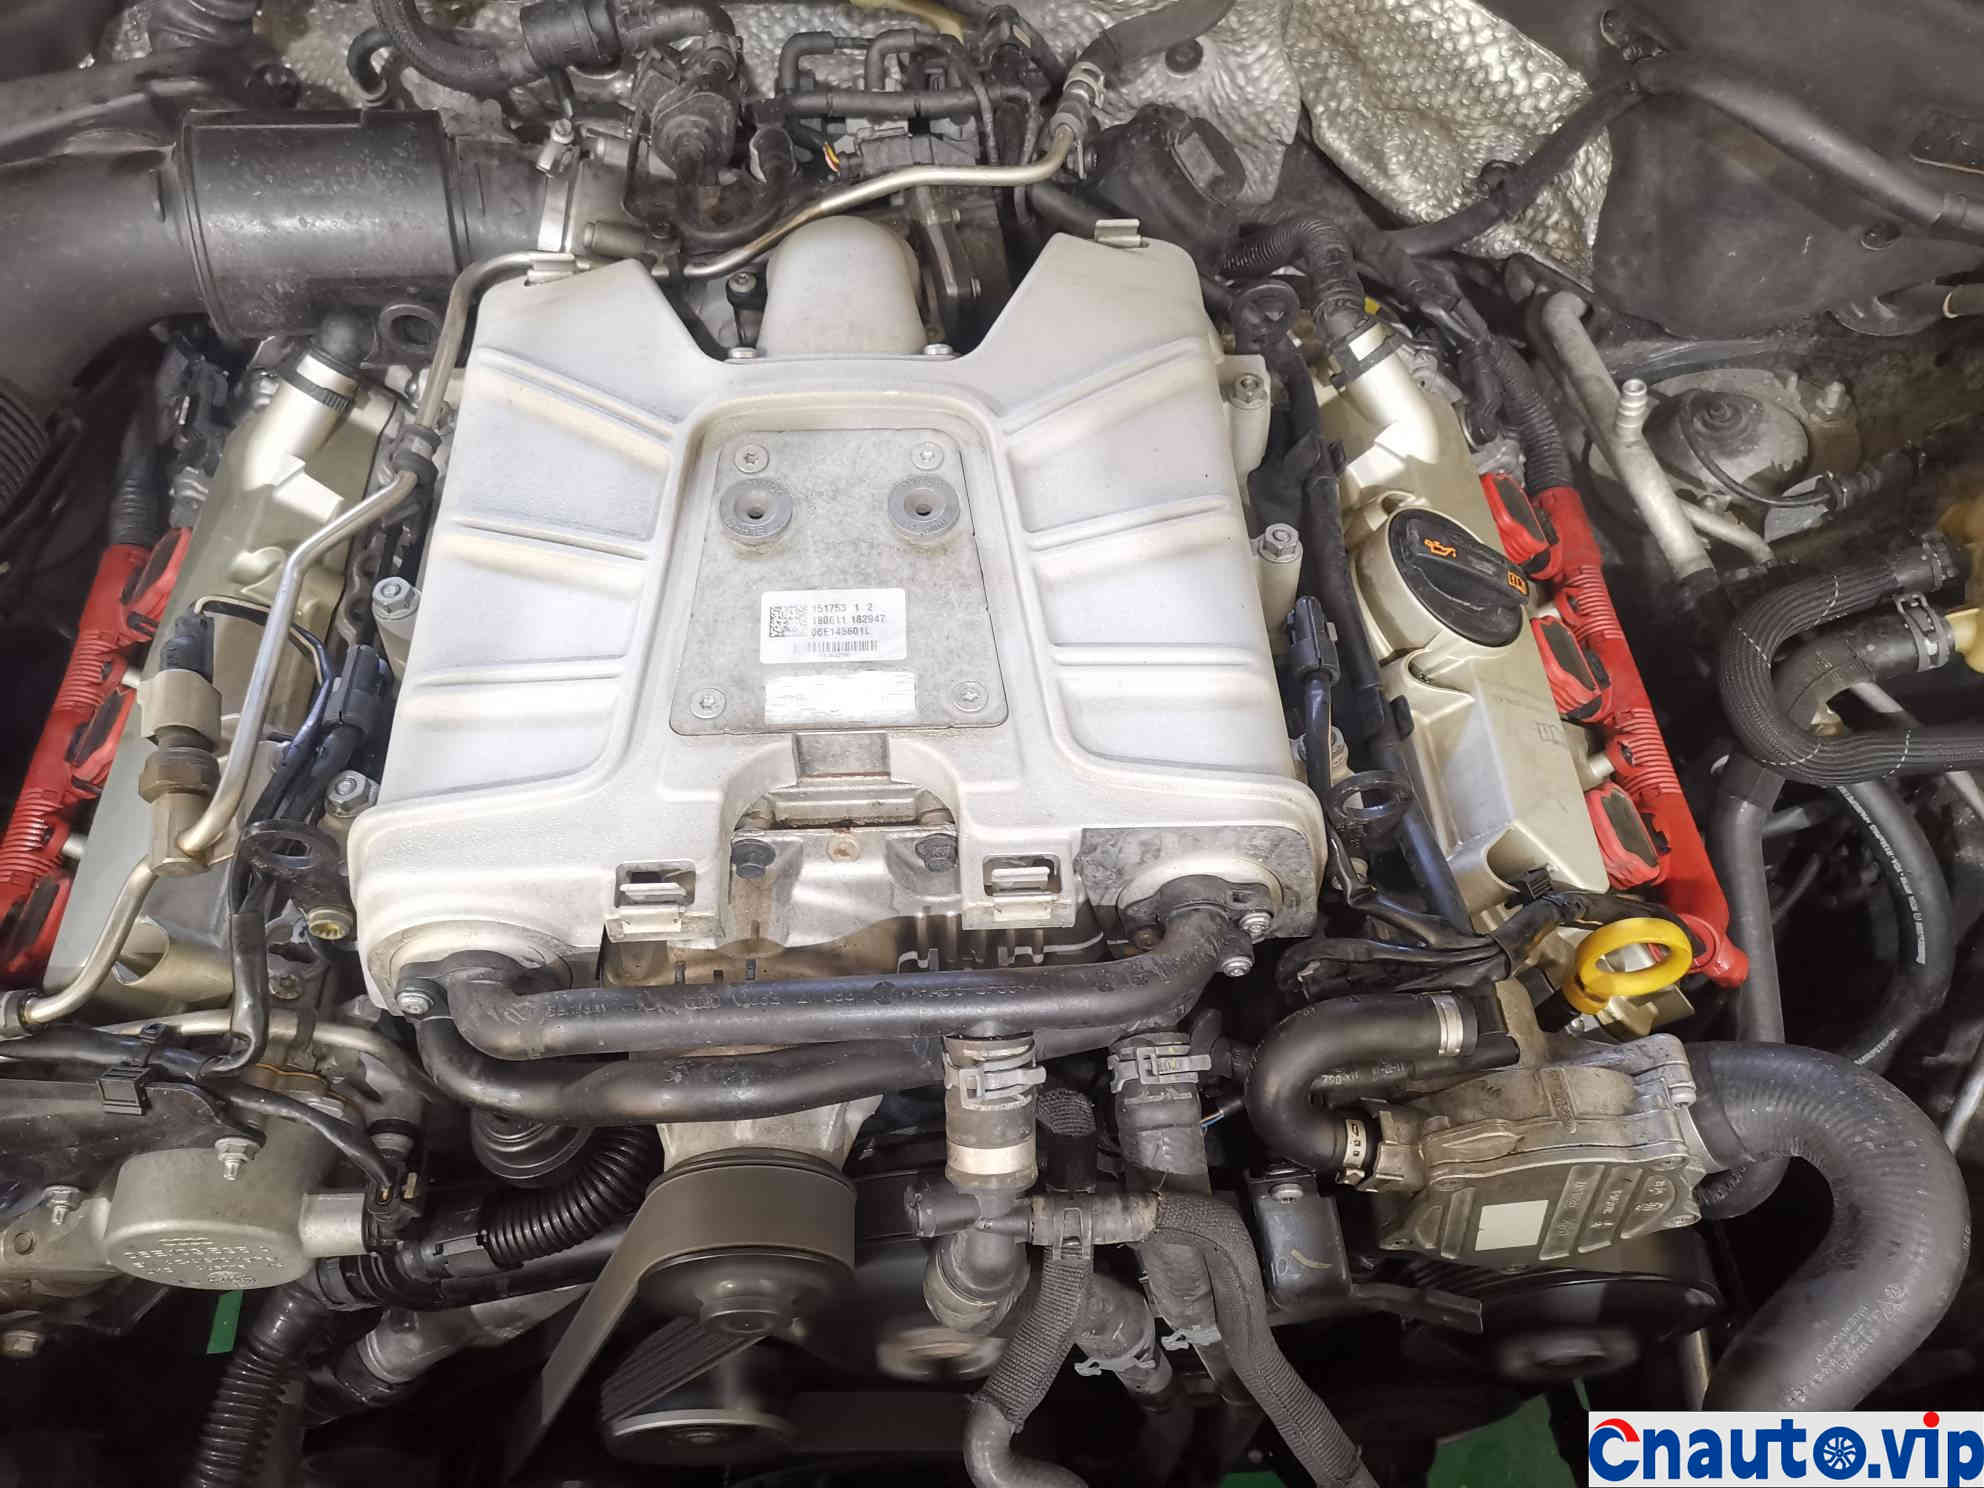
Engine accessories have been removed and the interior of the engine has been disassembled
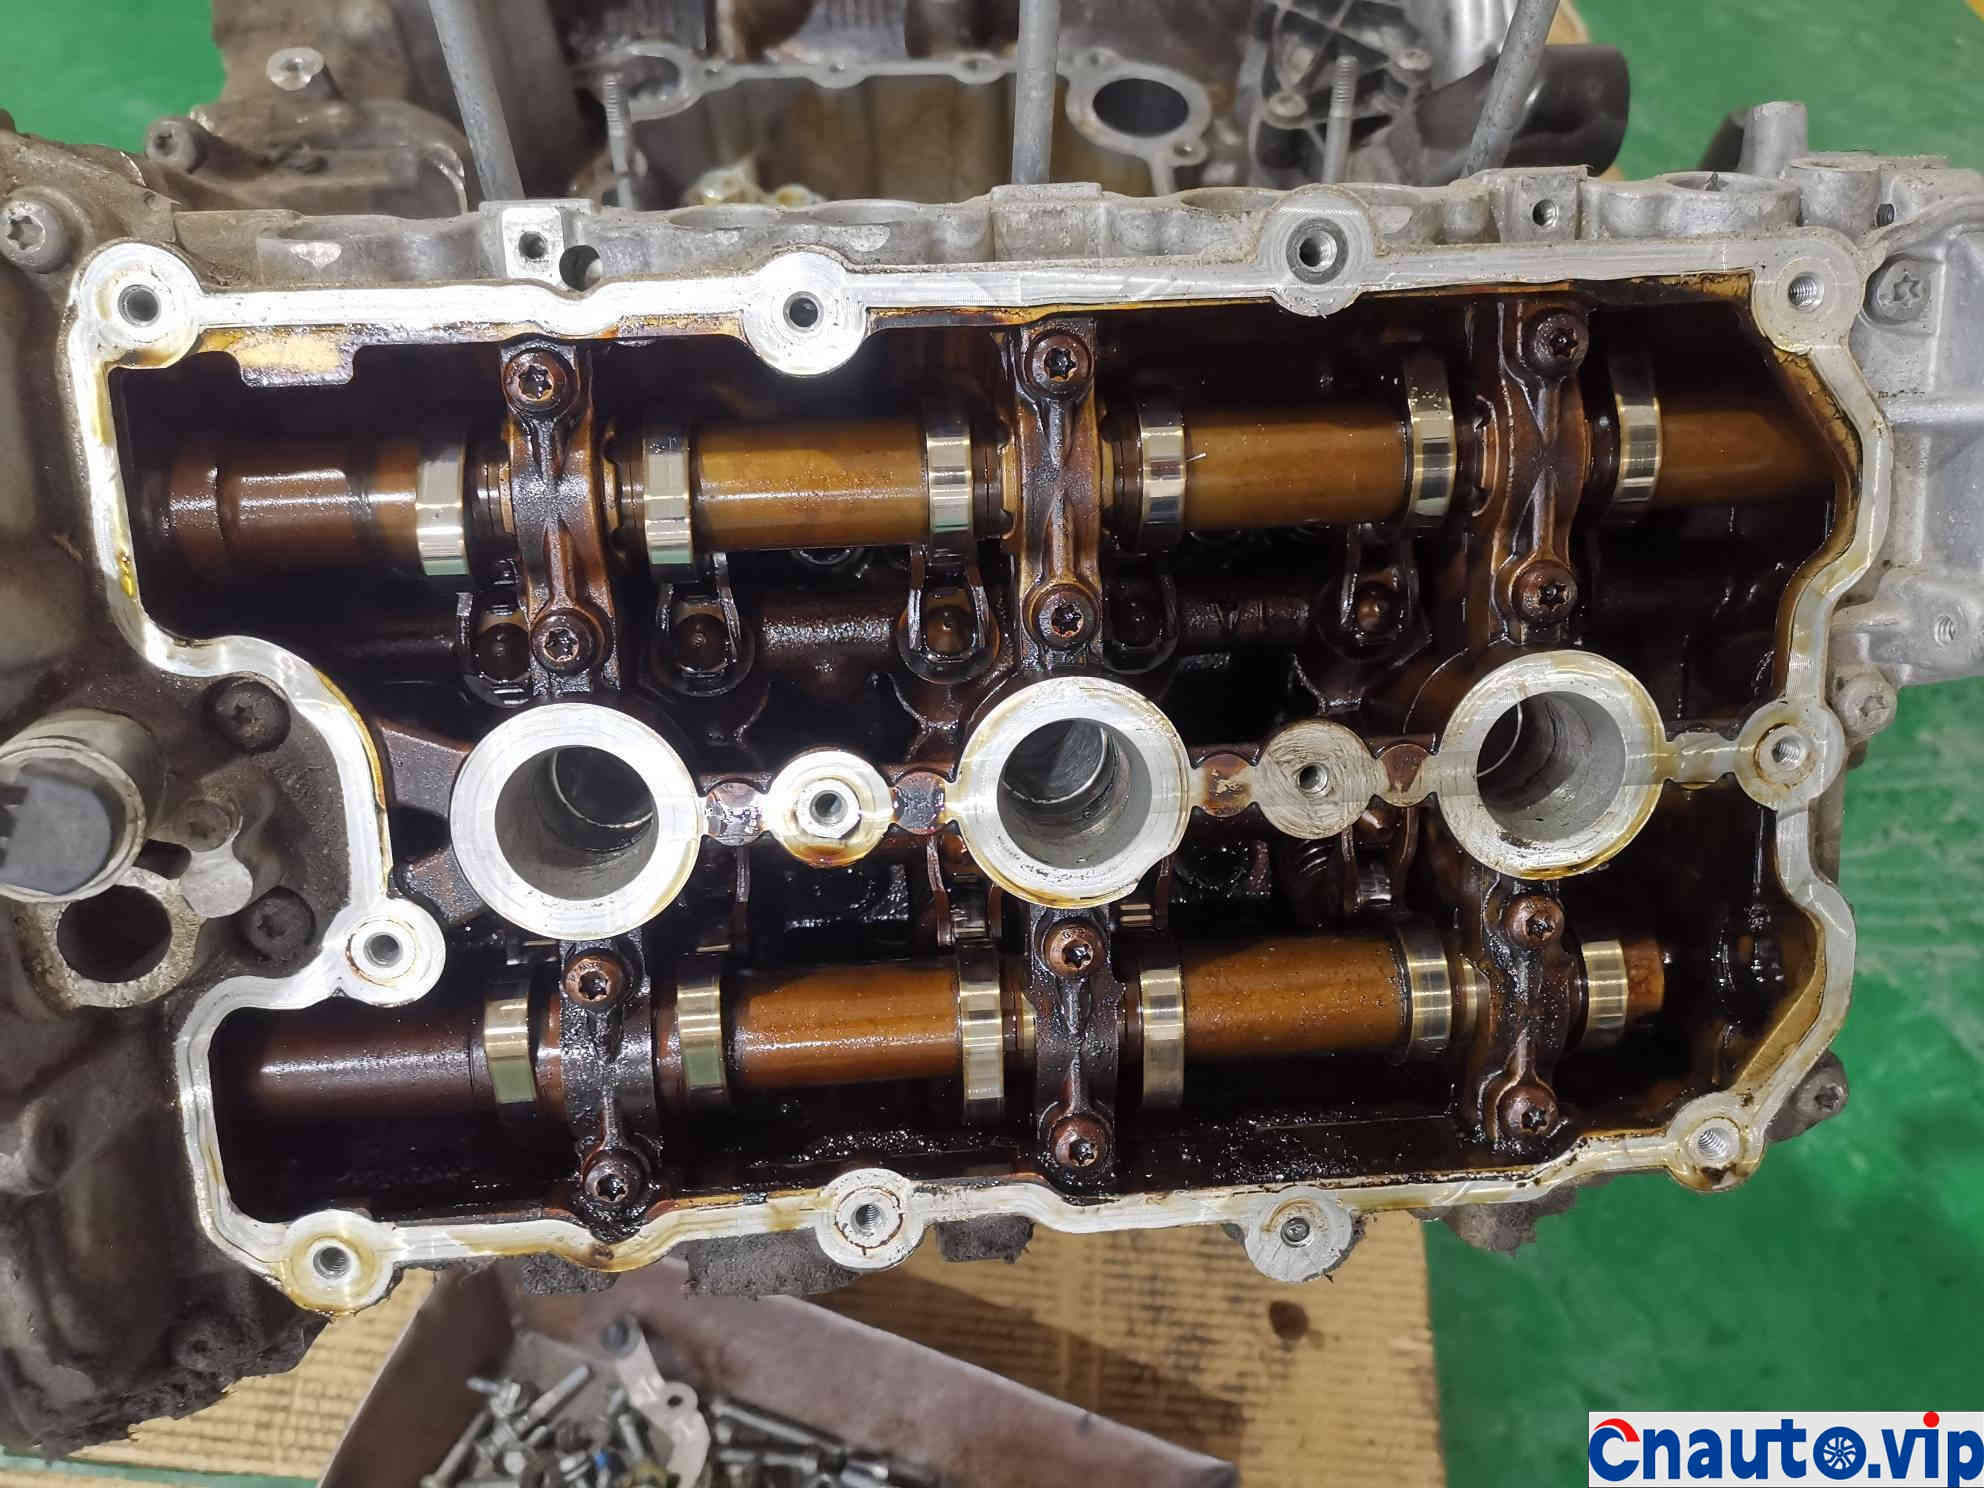
The used car purchased by the owner was not well maintained before, resulting in black sludge
There’s a lot of sludge. It’s a thick layer.
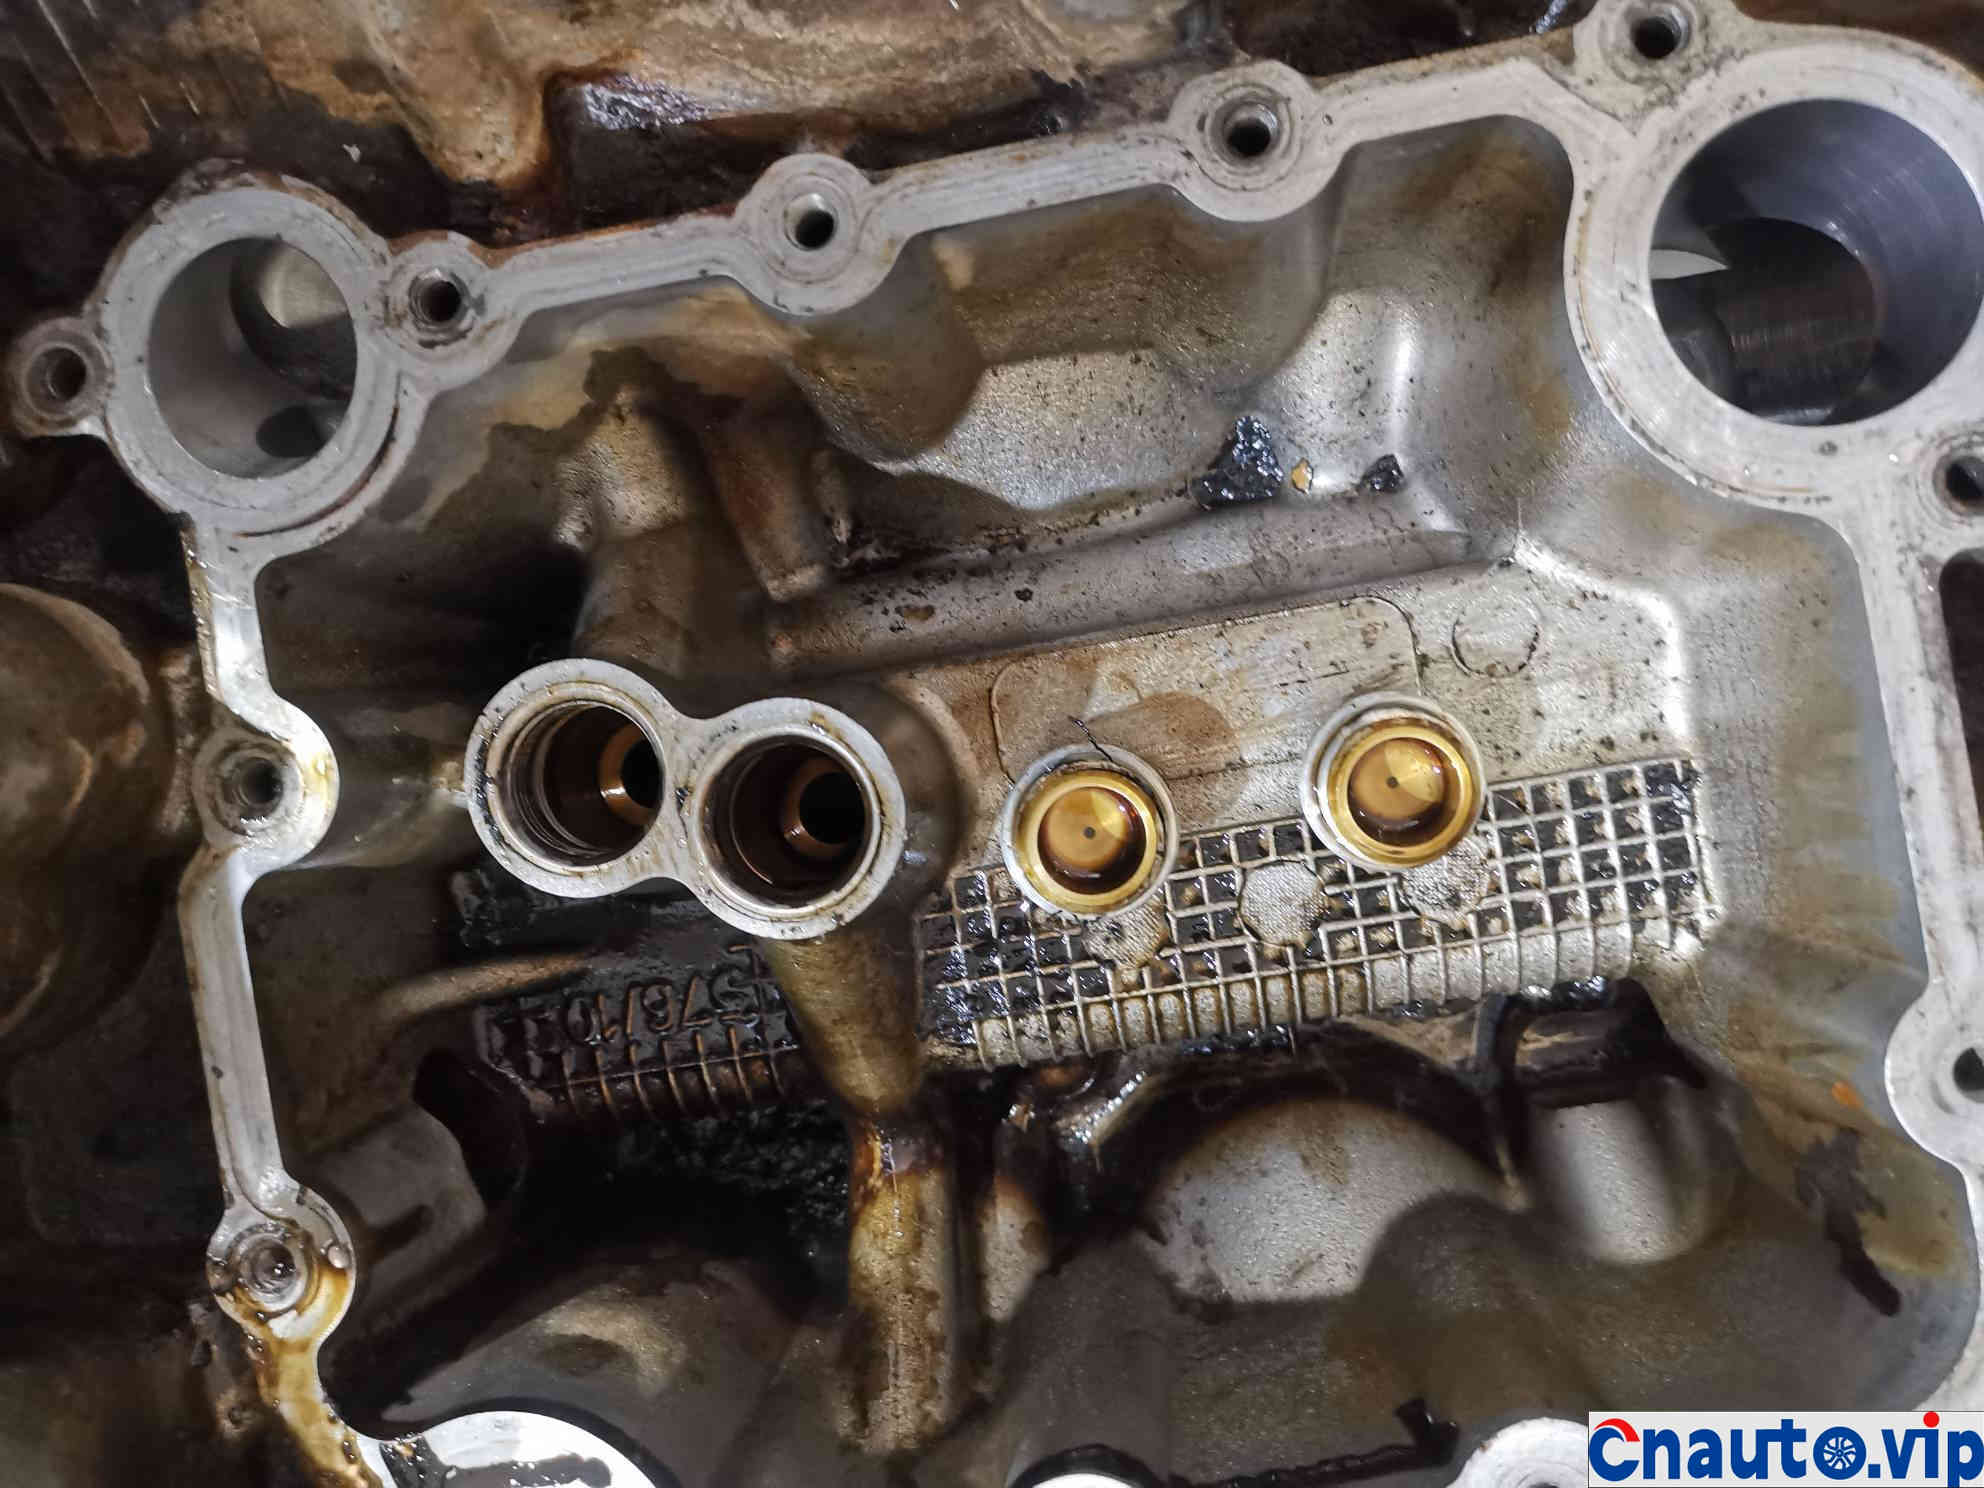
The original car does not have a one-way check valve, which will cause pressure relief in the oil passage to cool down and the car will sound when it starts.
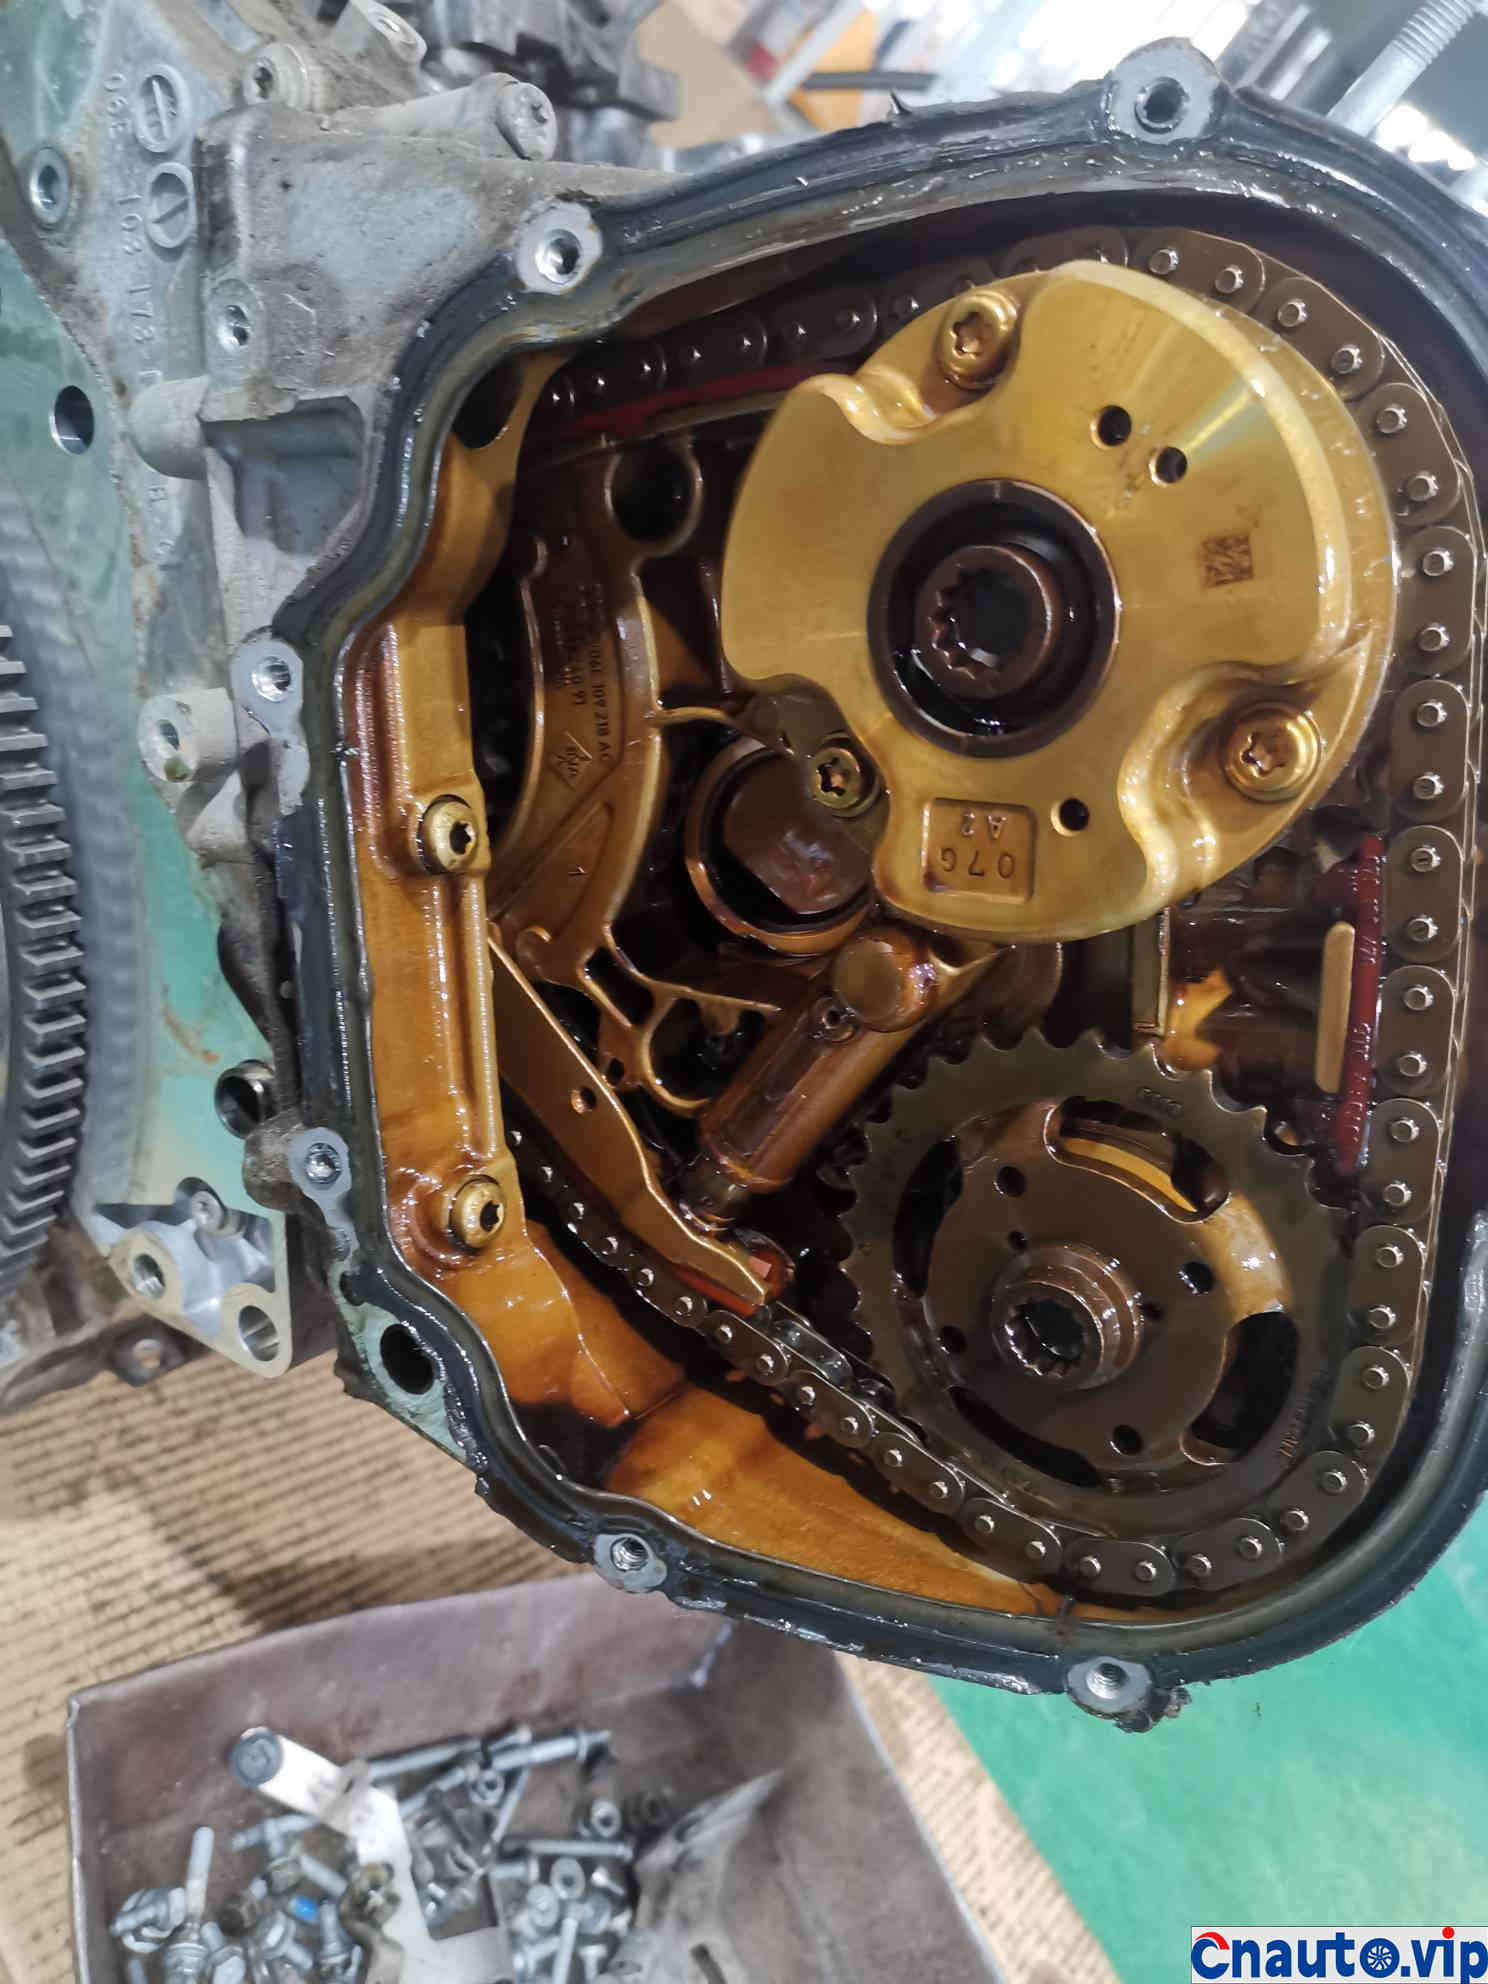
Chain tensioner relieves pressure and cools the car and makes a clatter sound when it starts
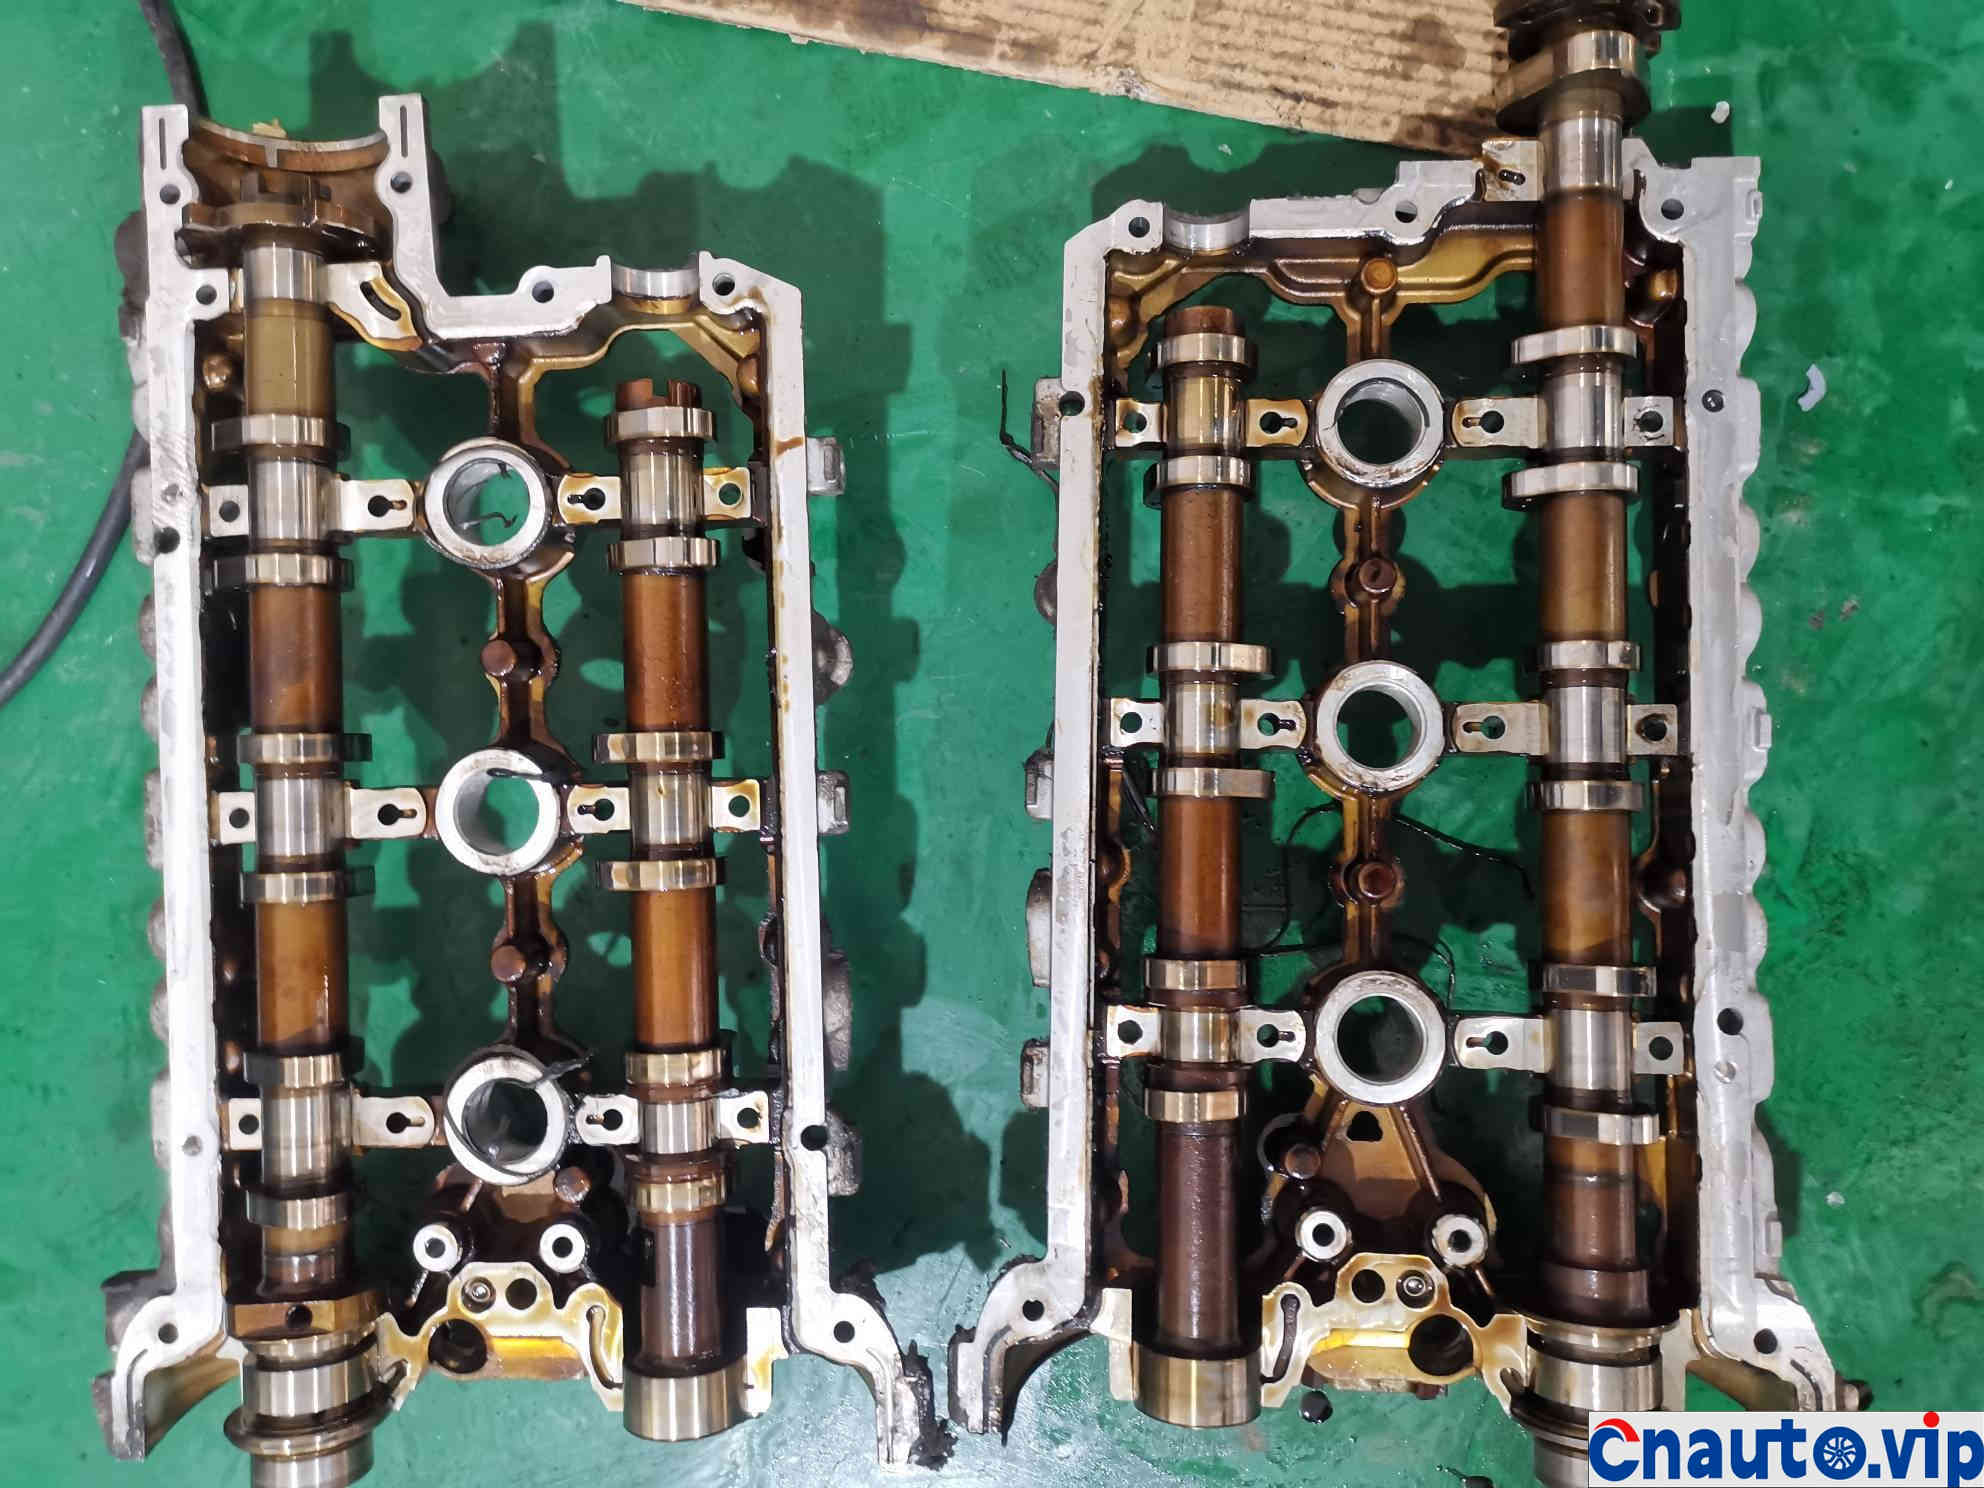
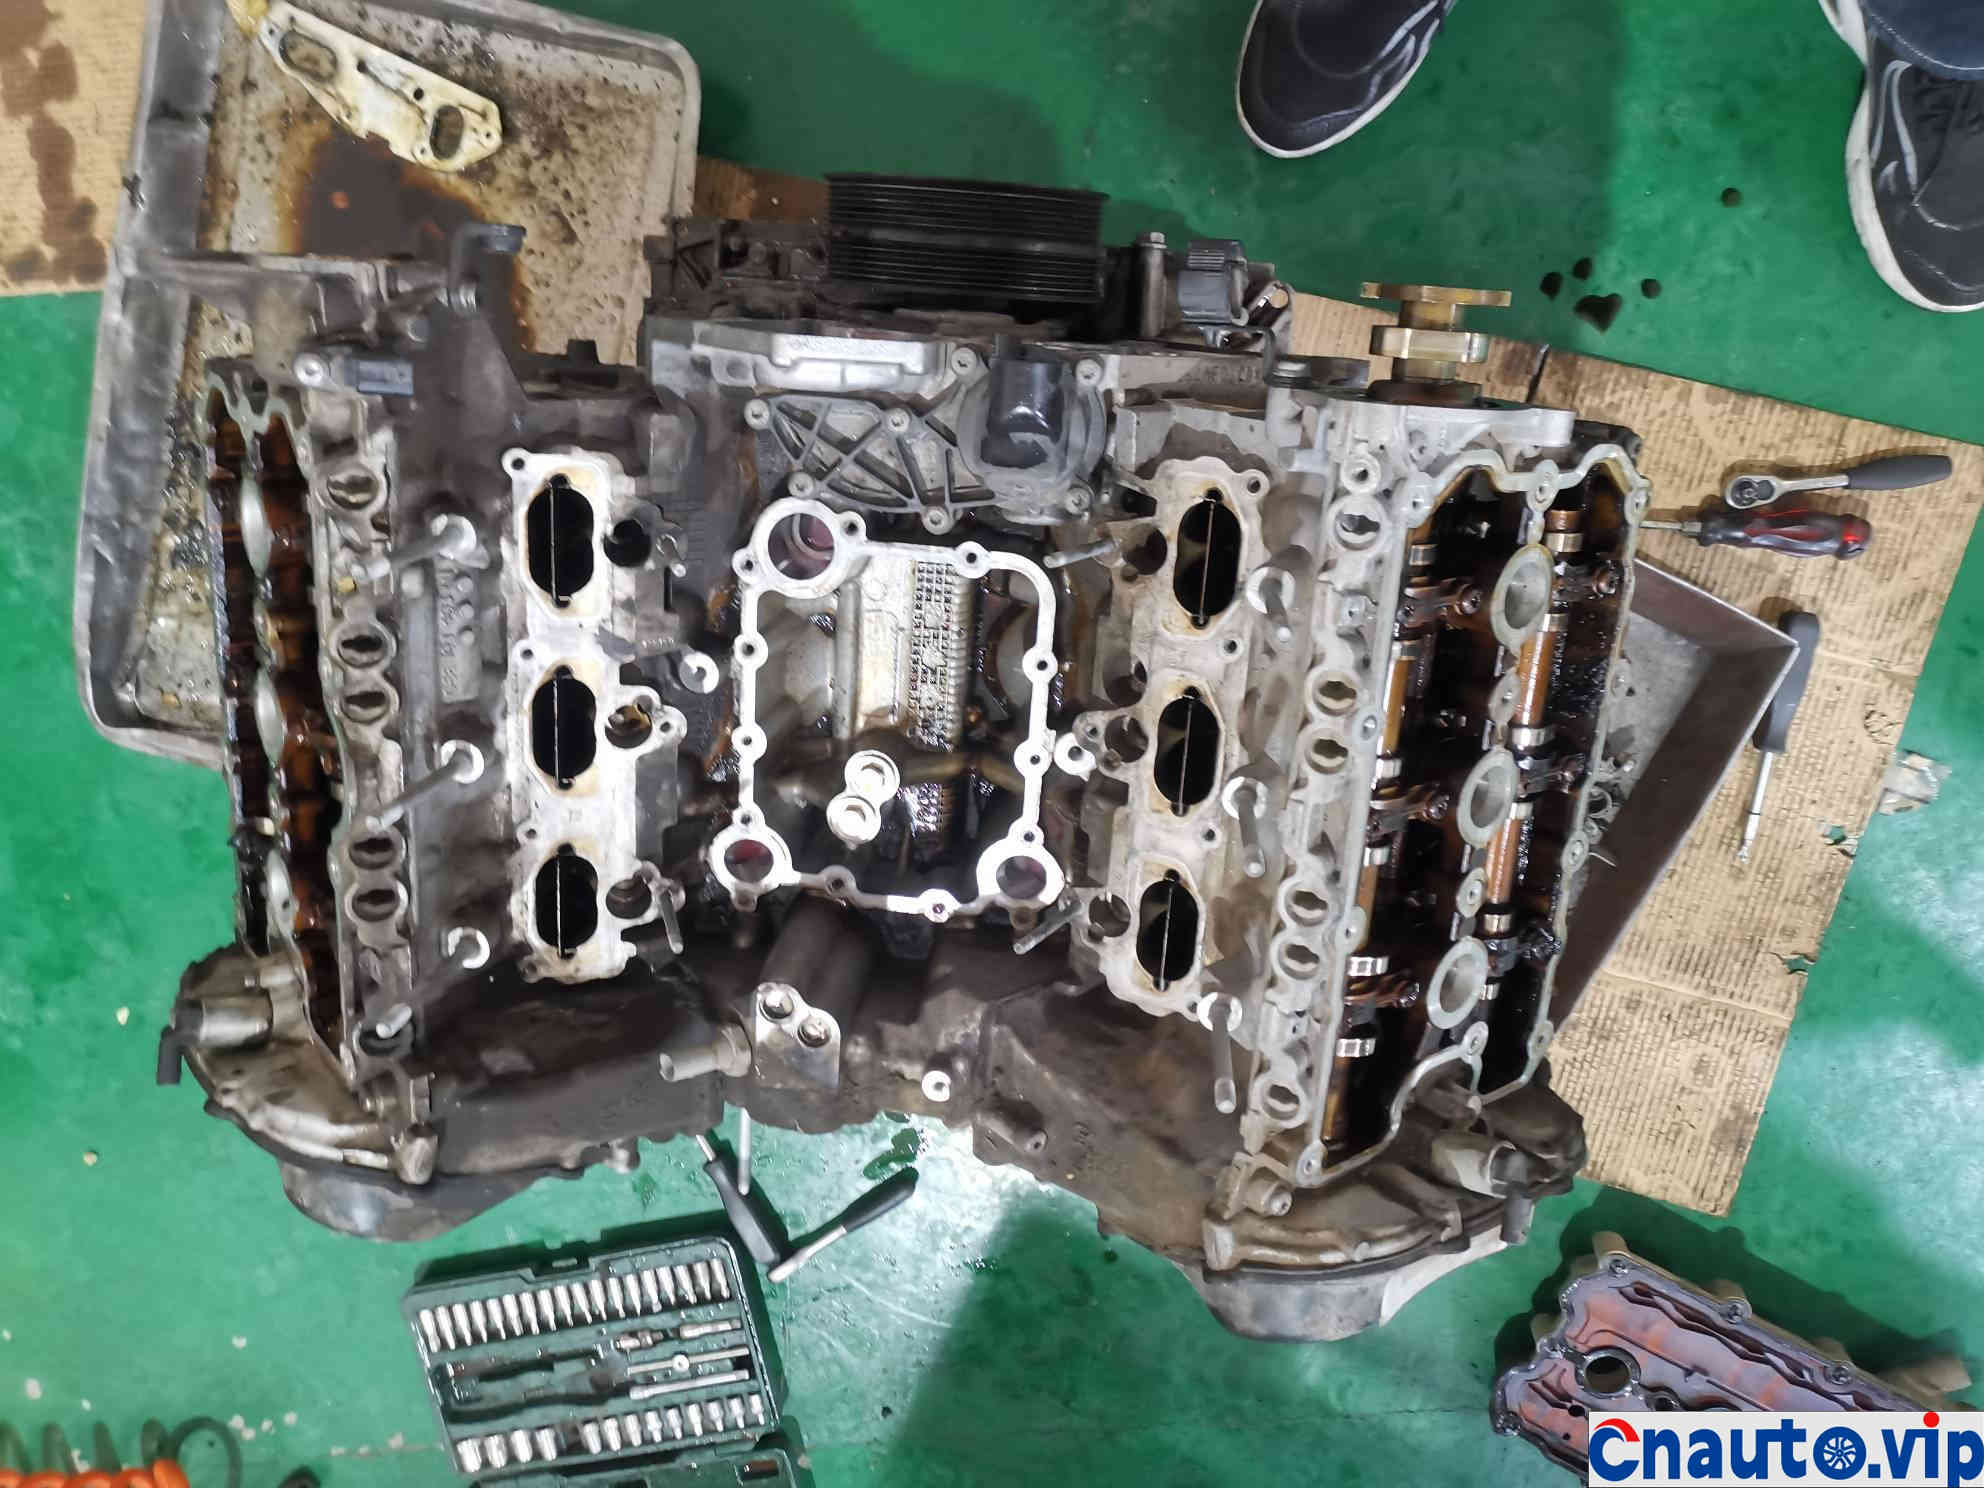
Camshaft cover removed complete
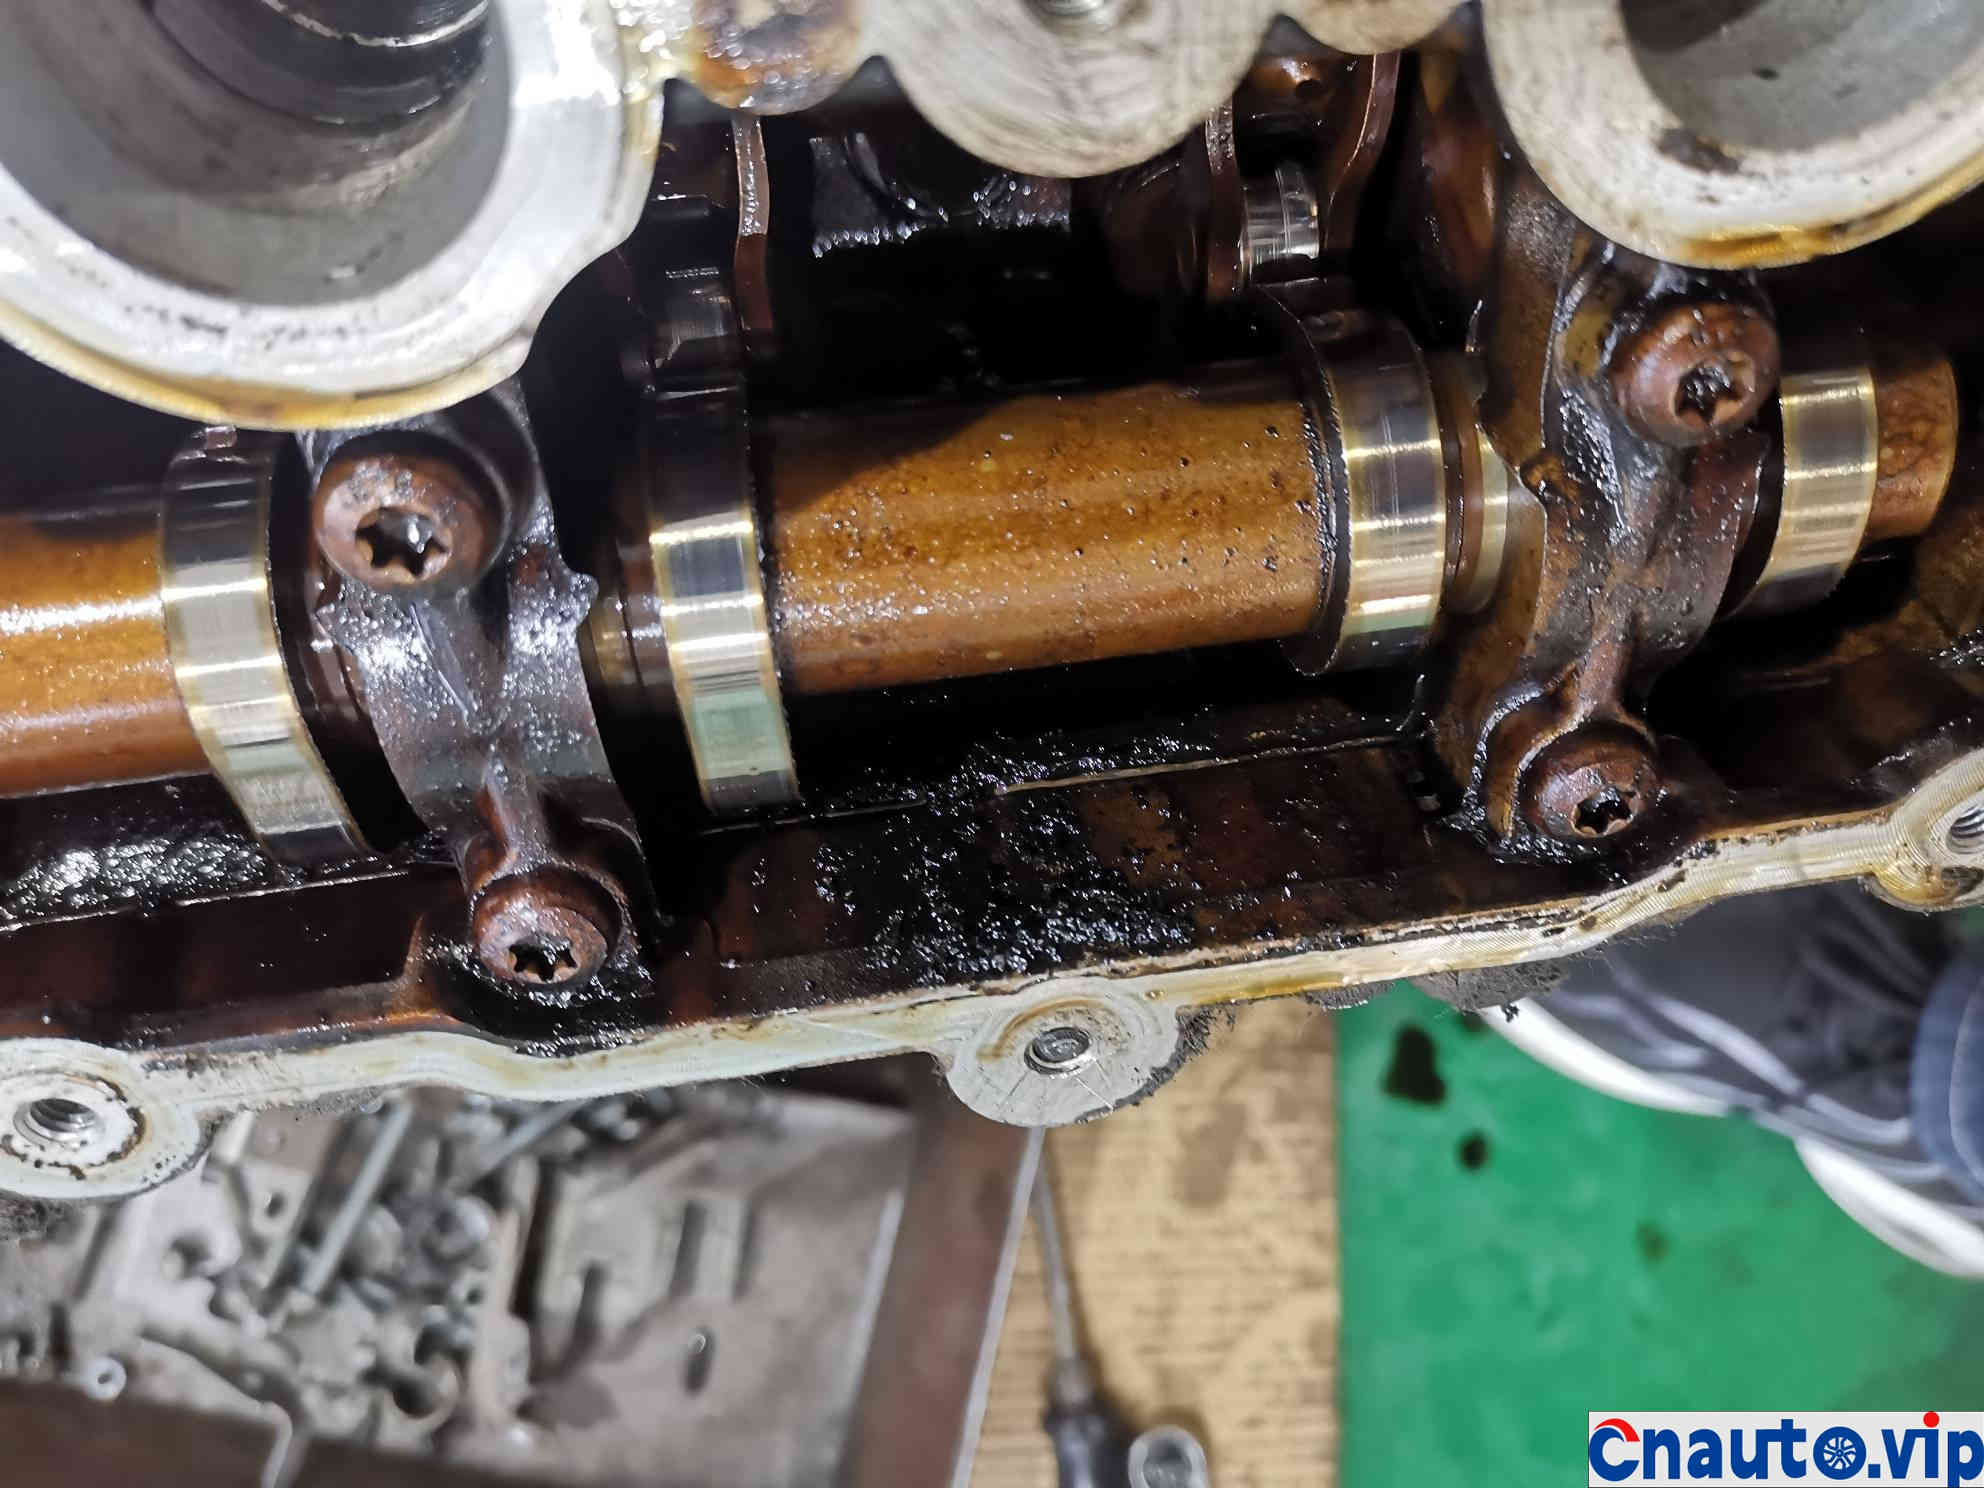
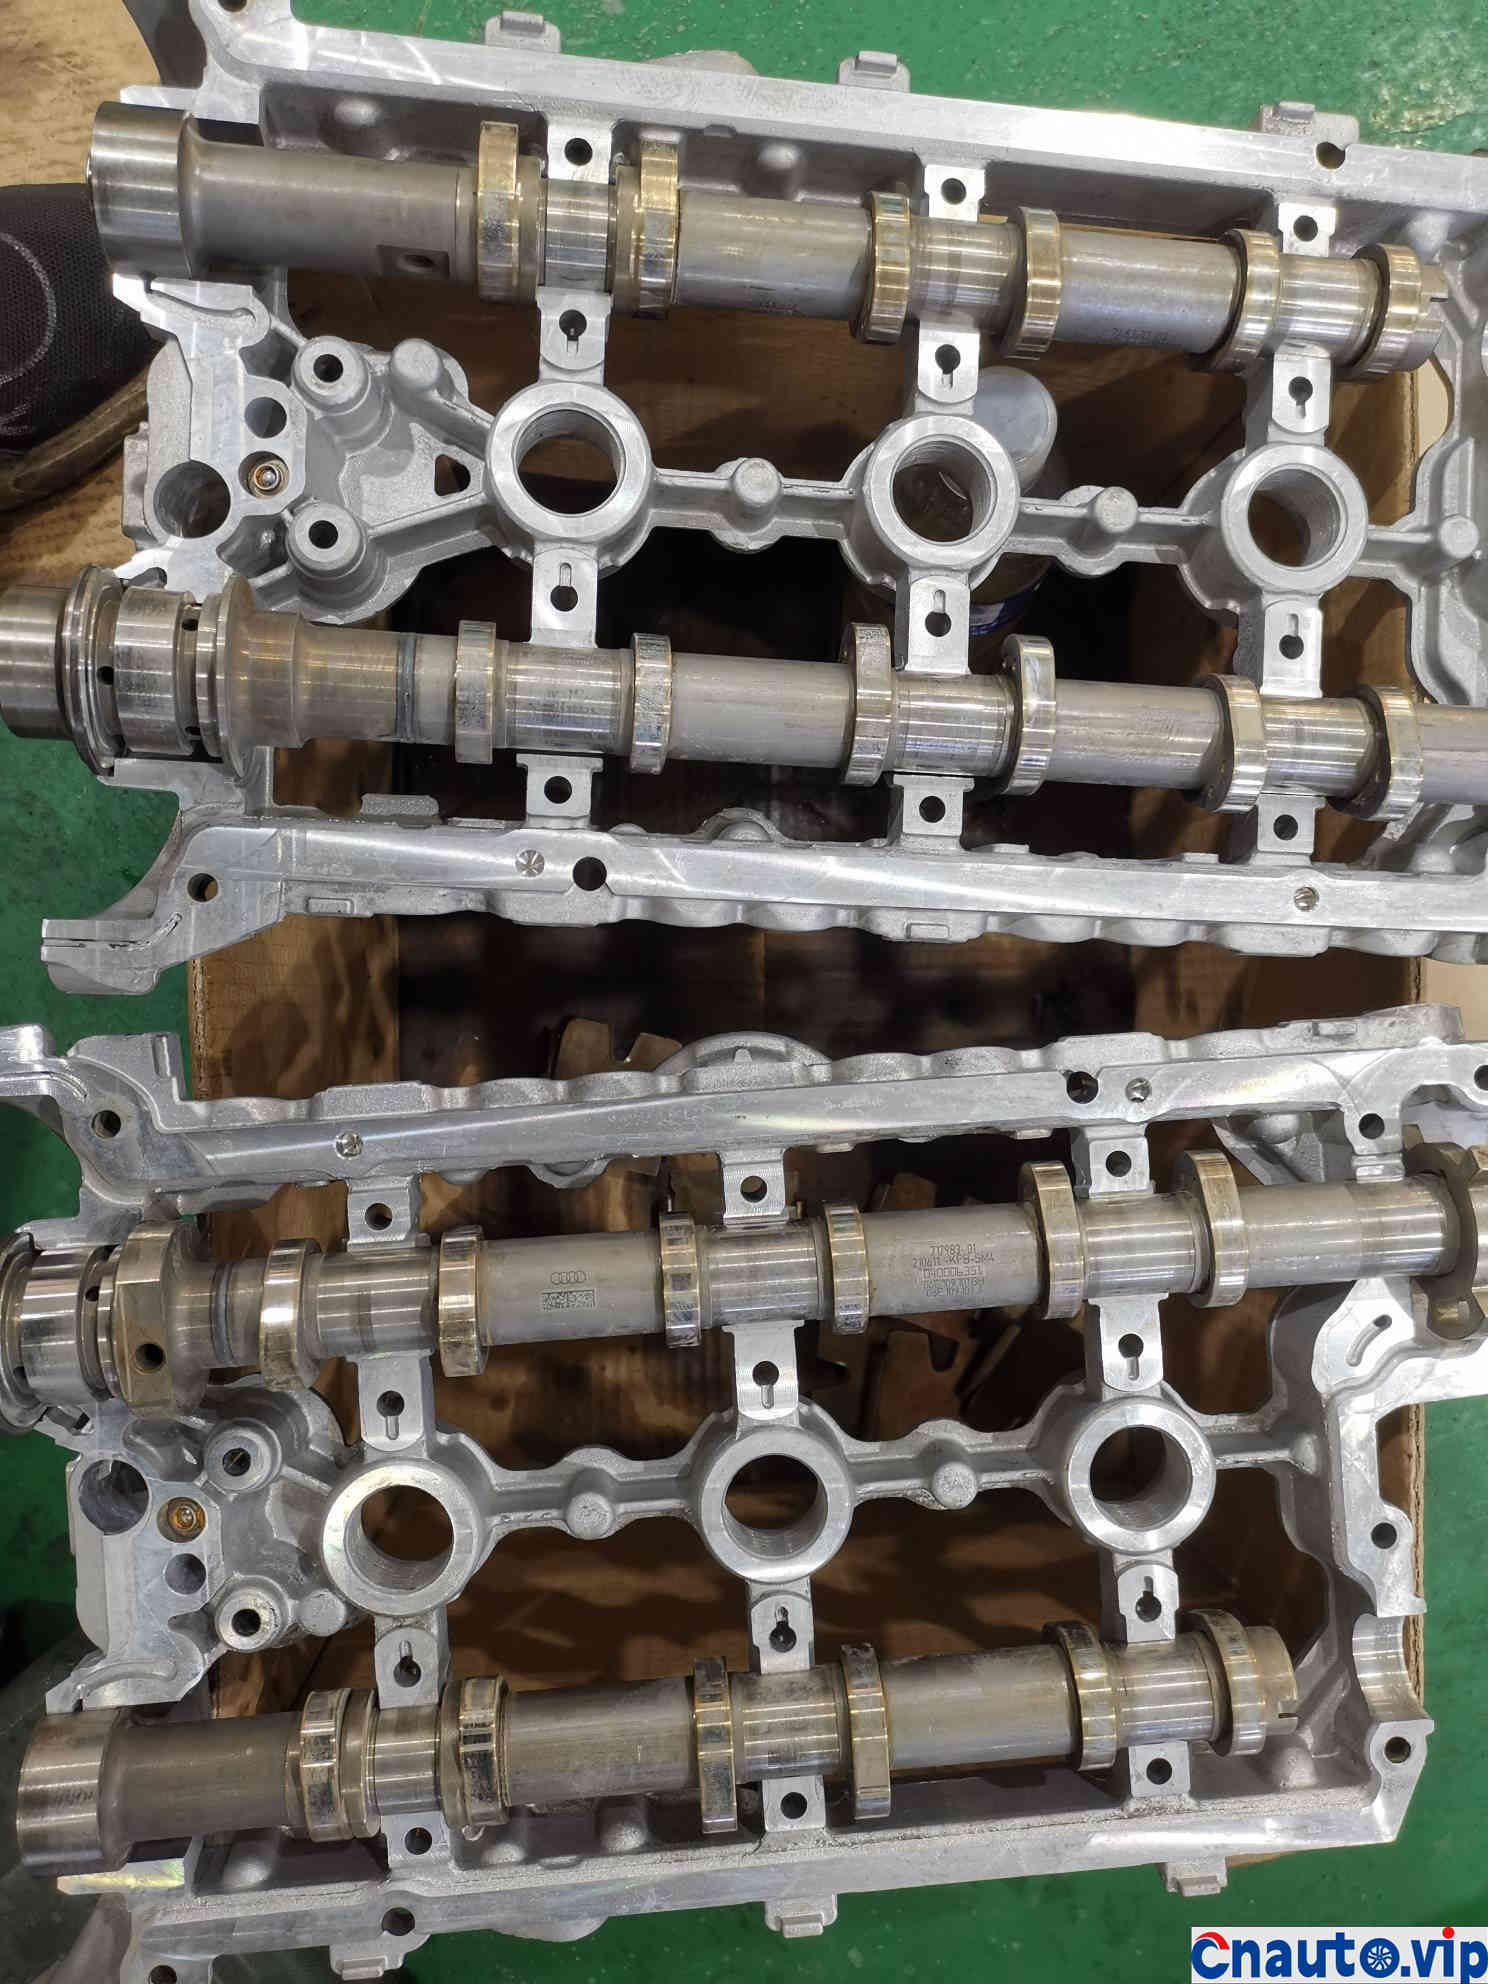
The camshaft is removed without wear
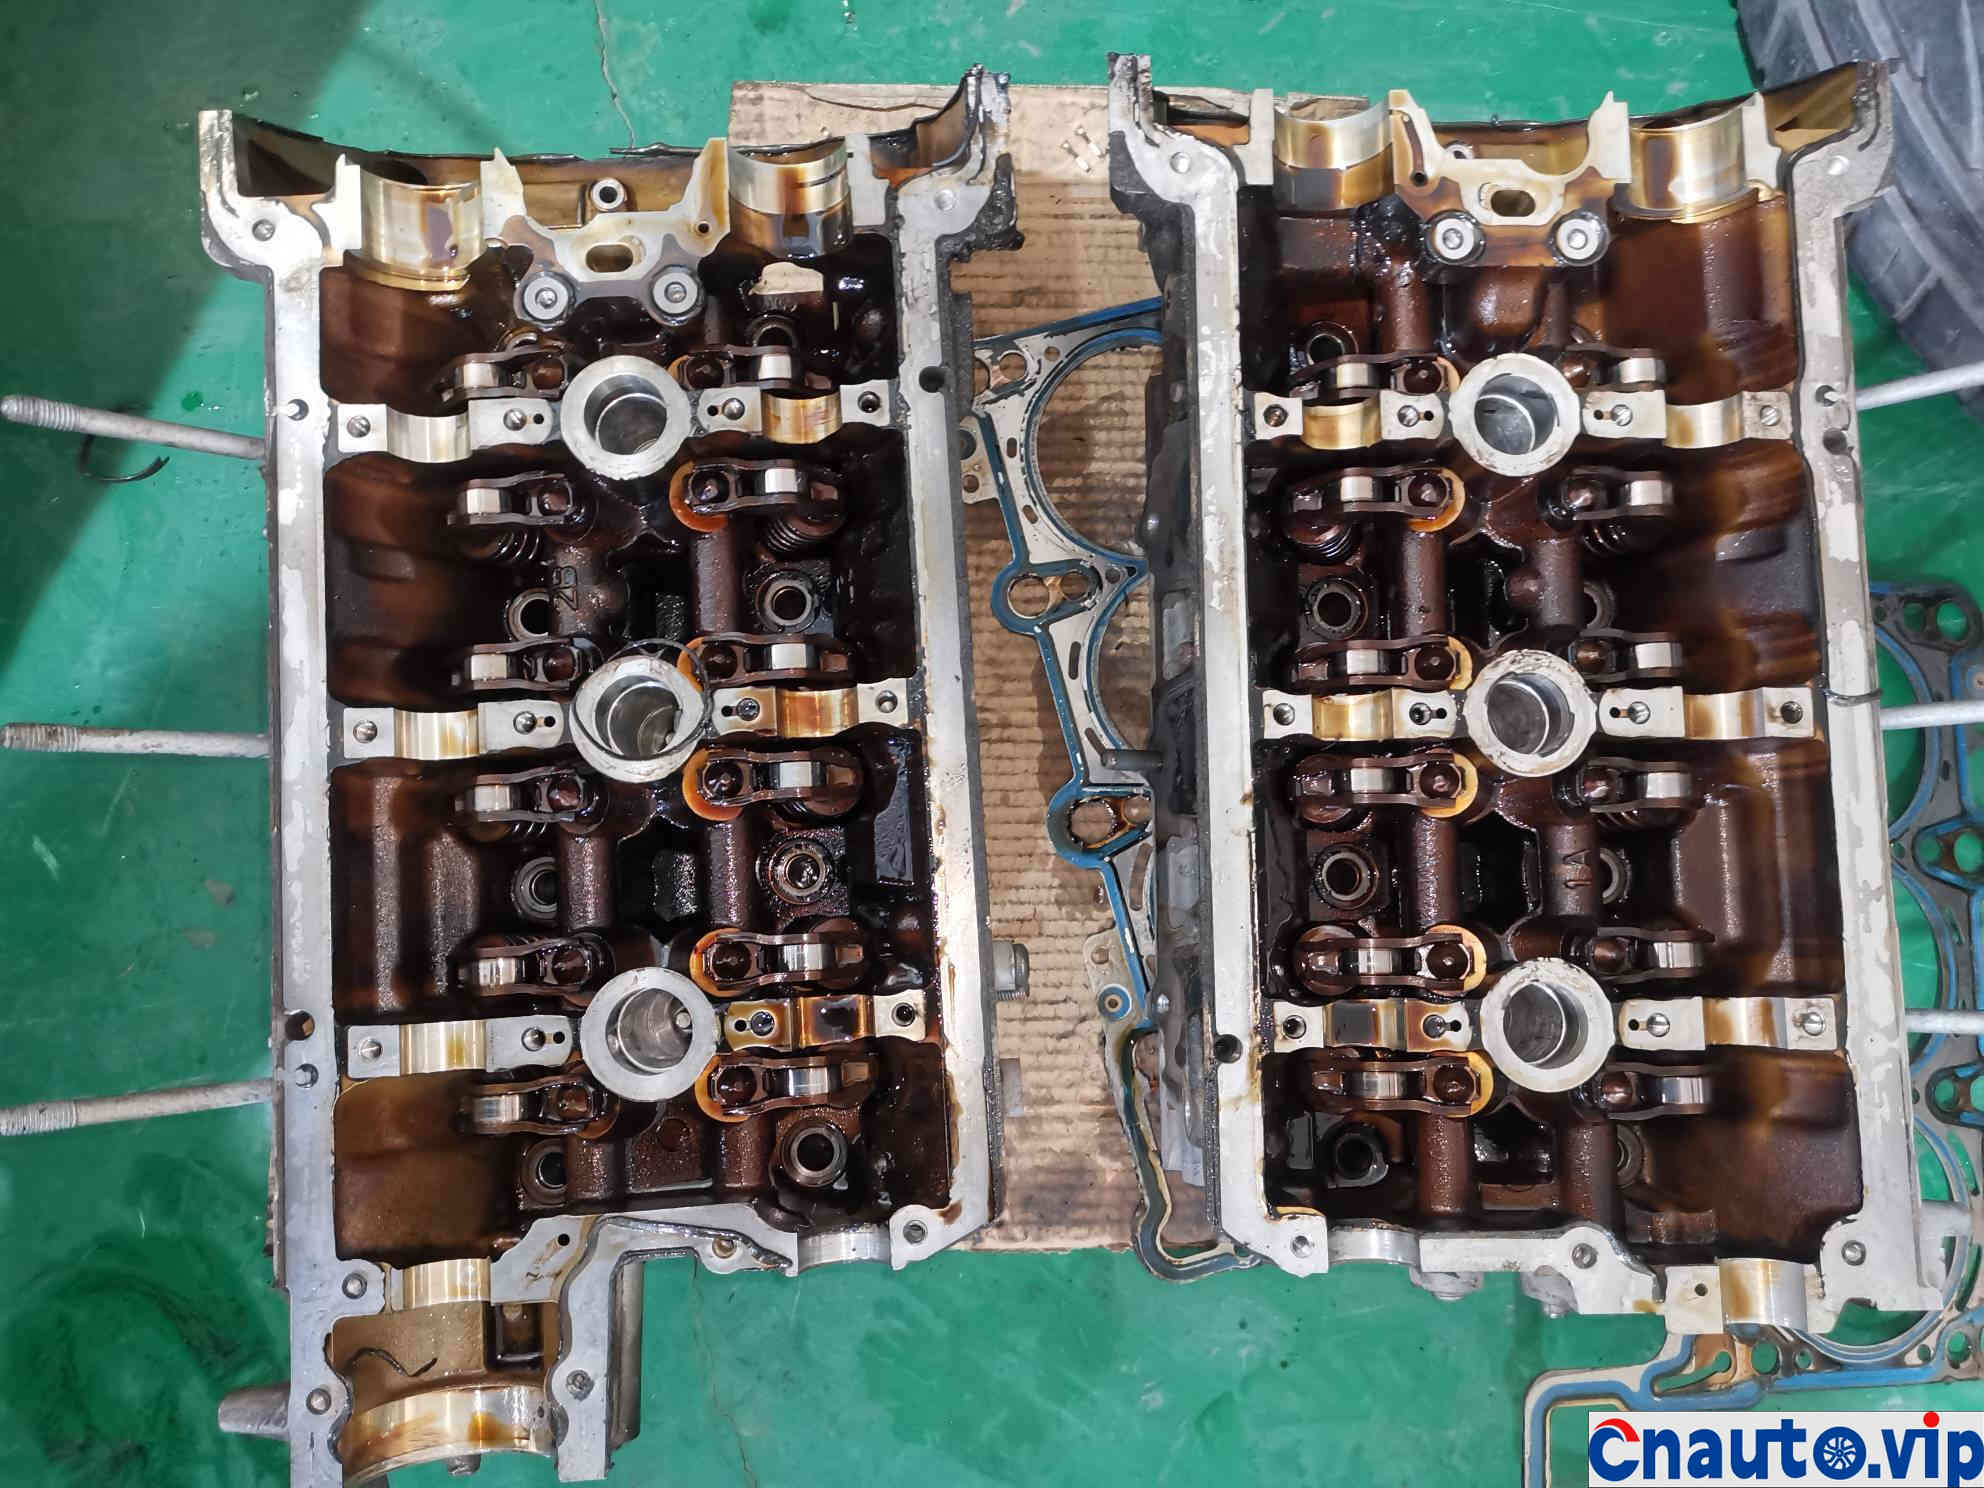
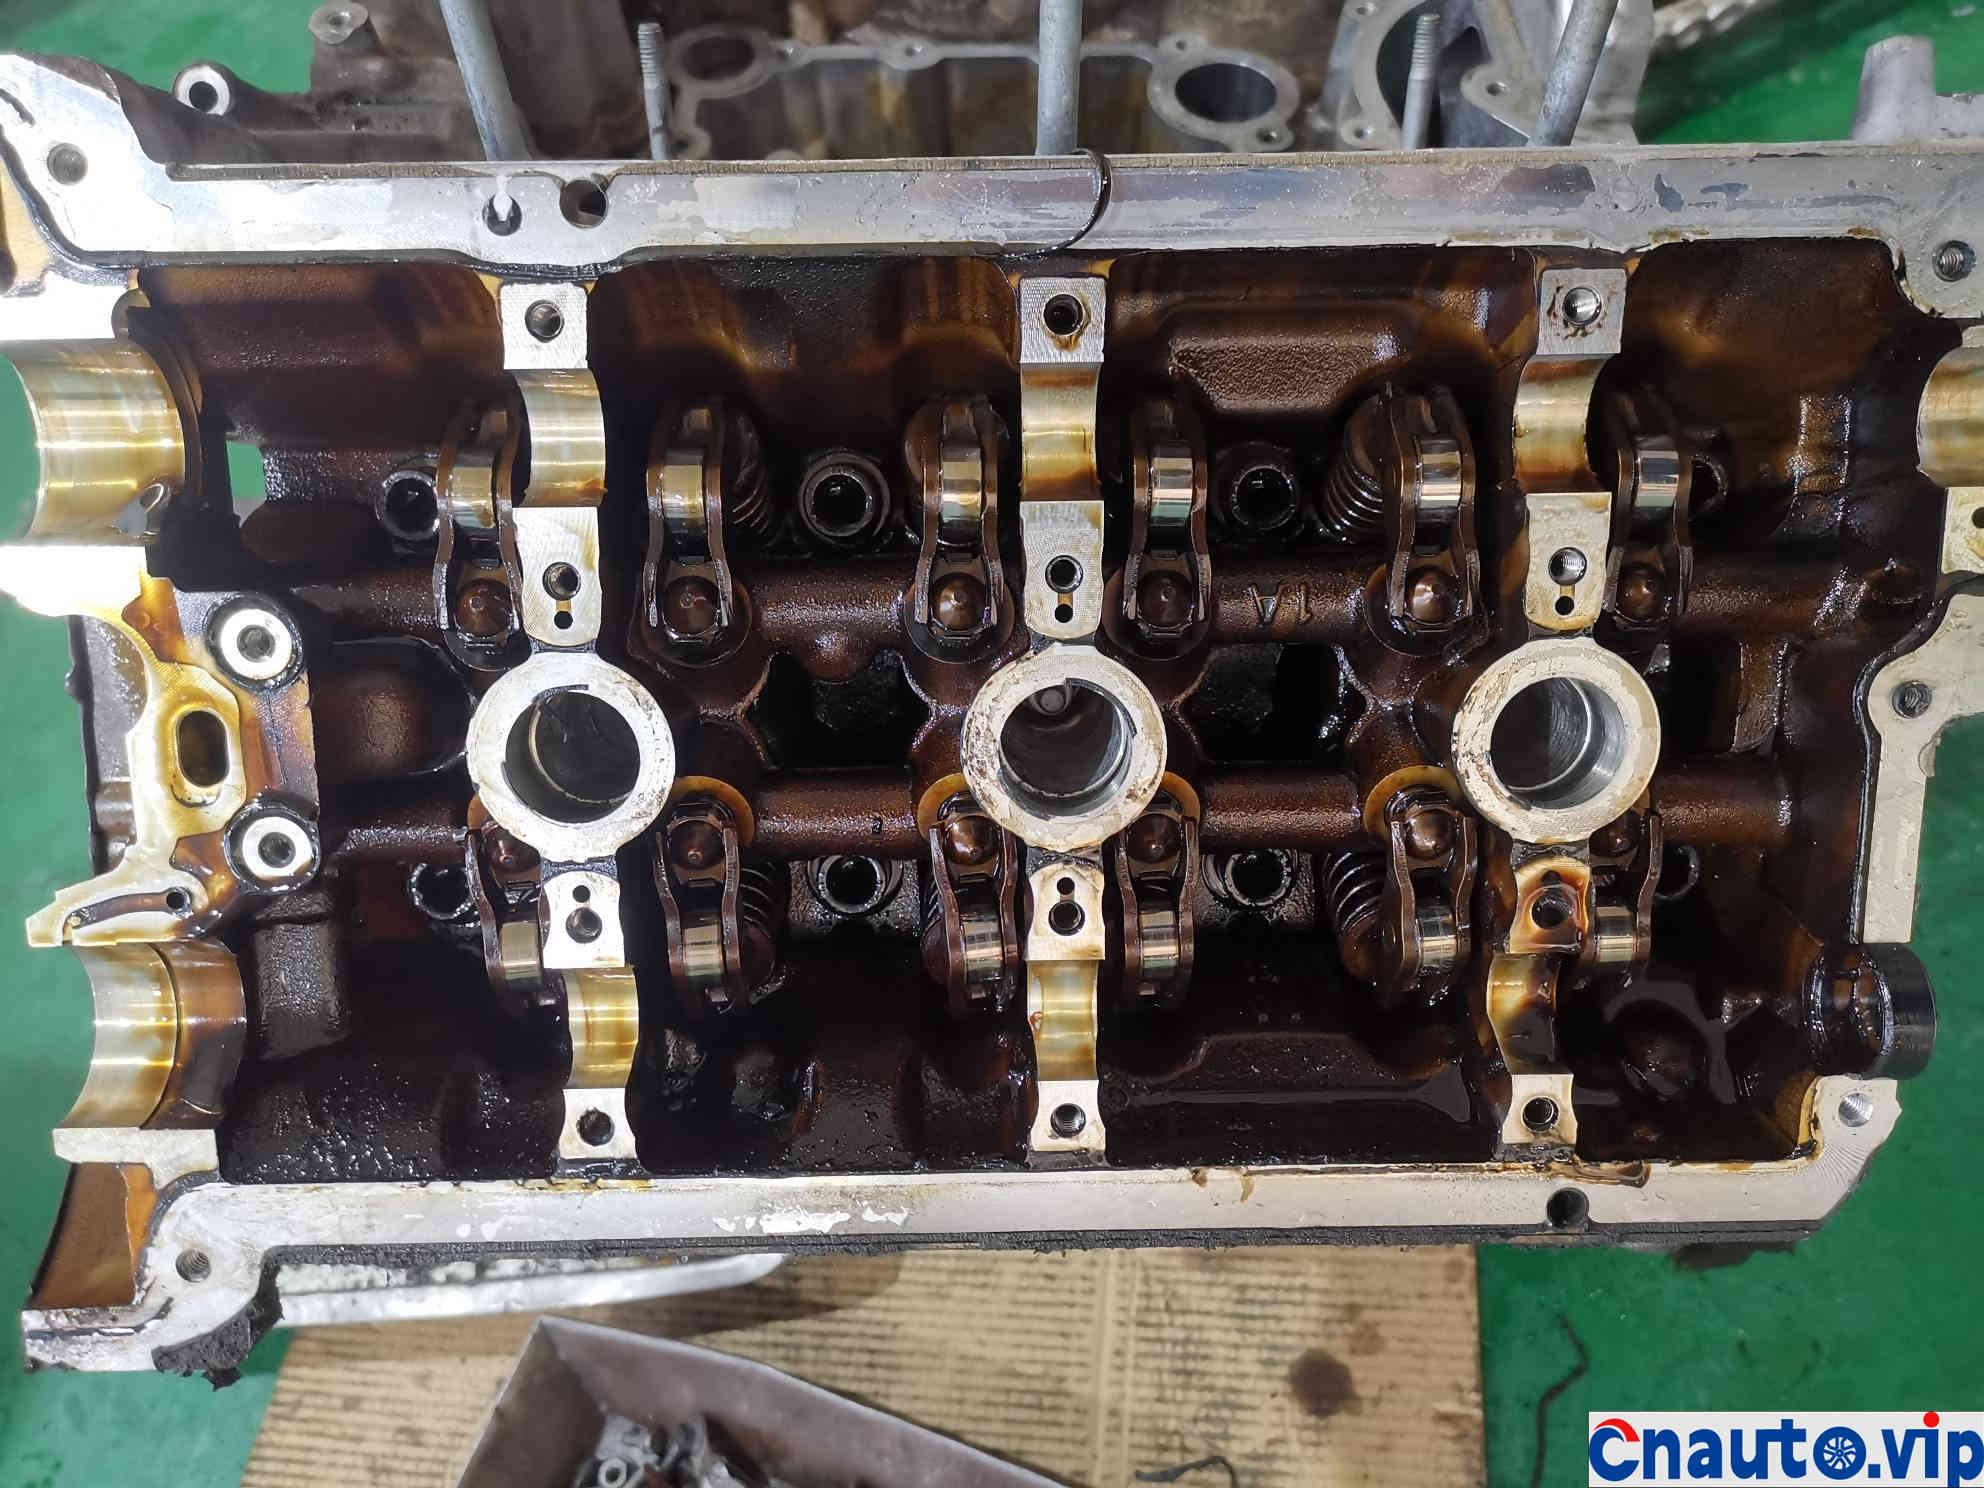
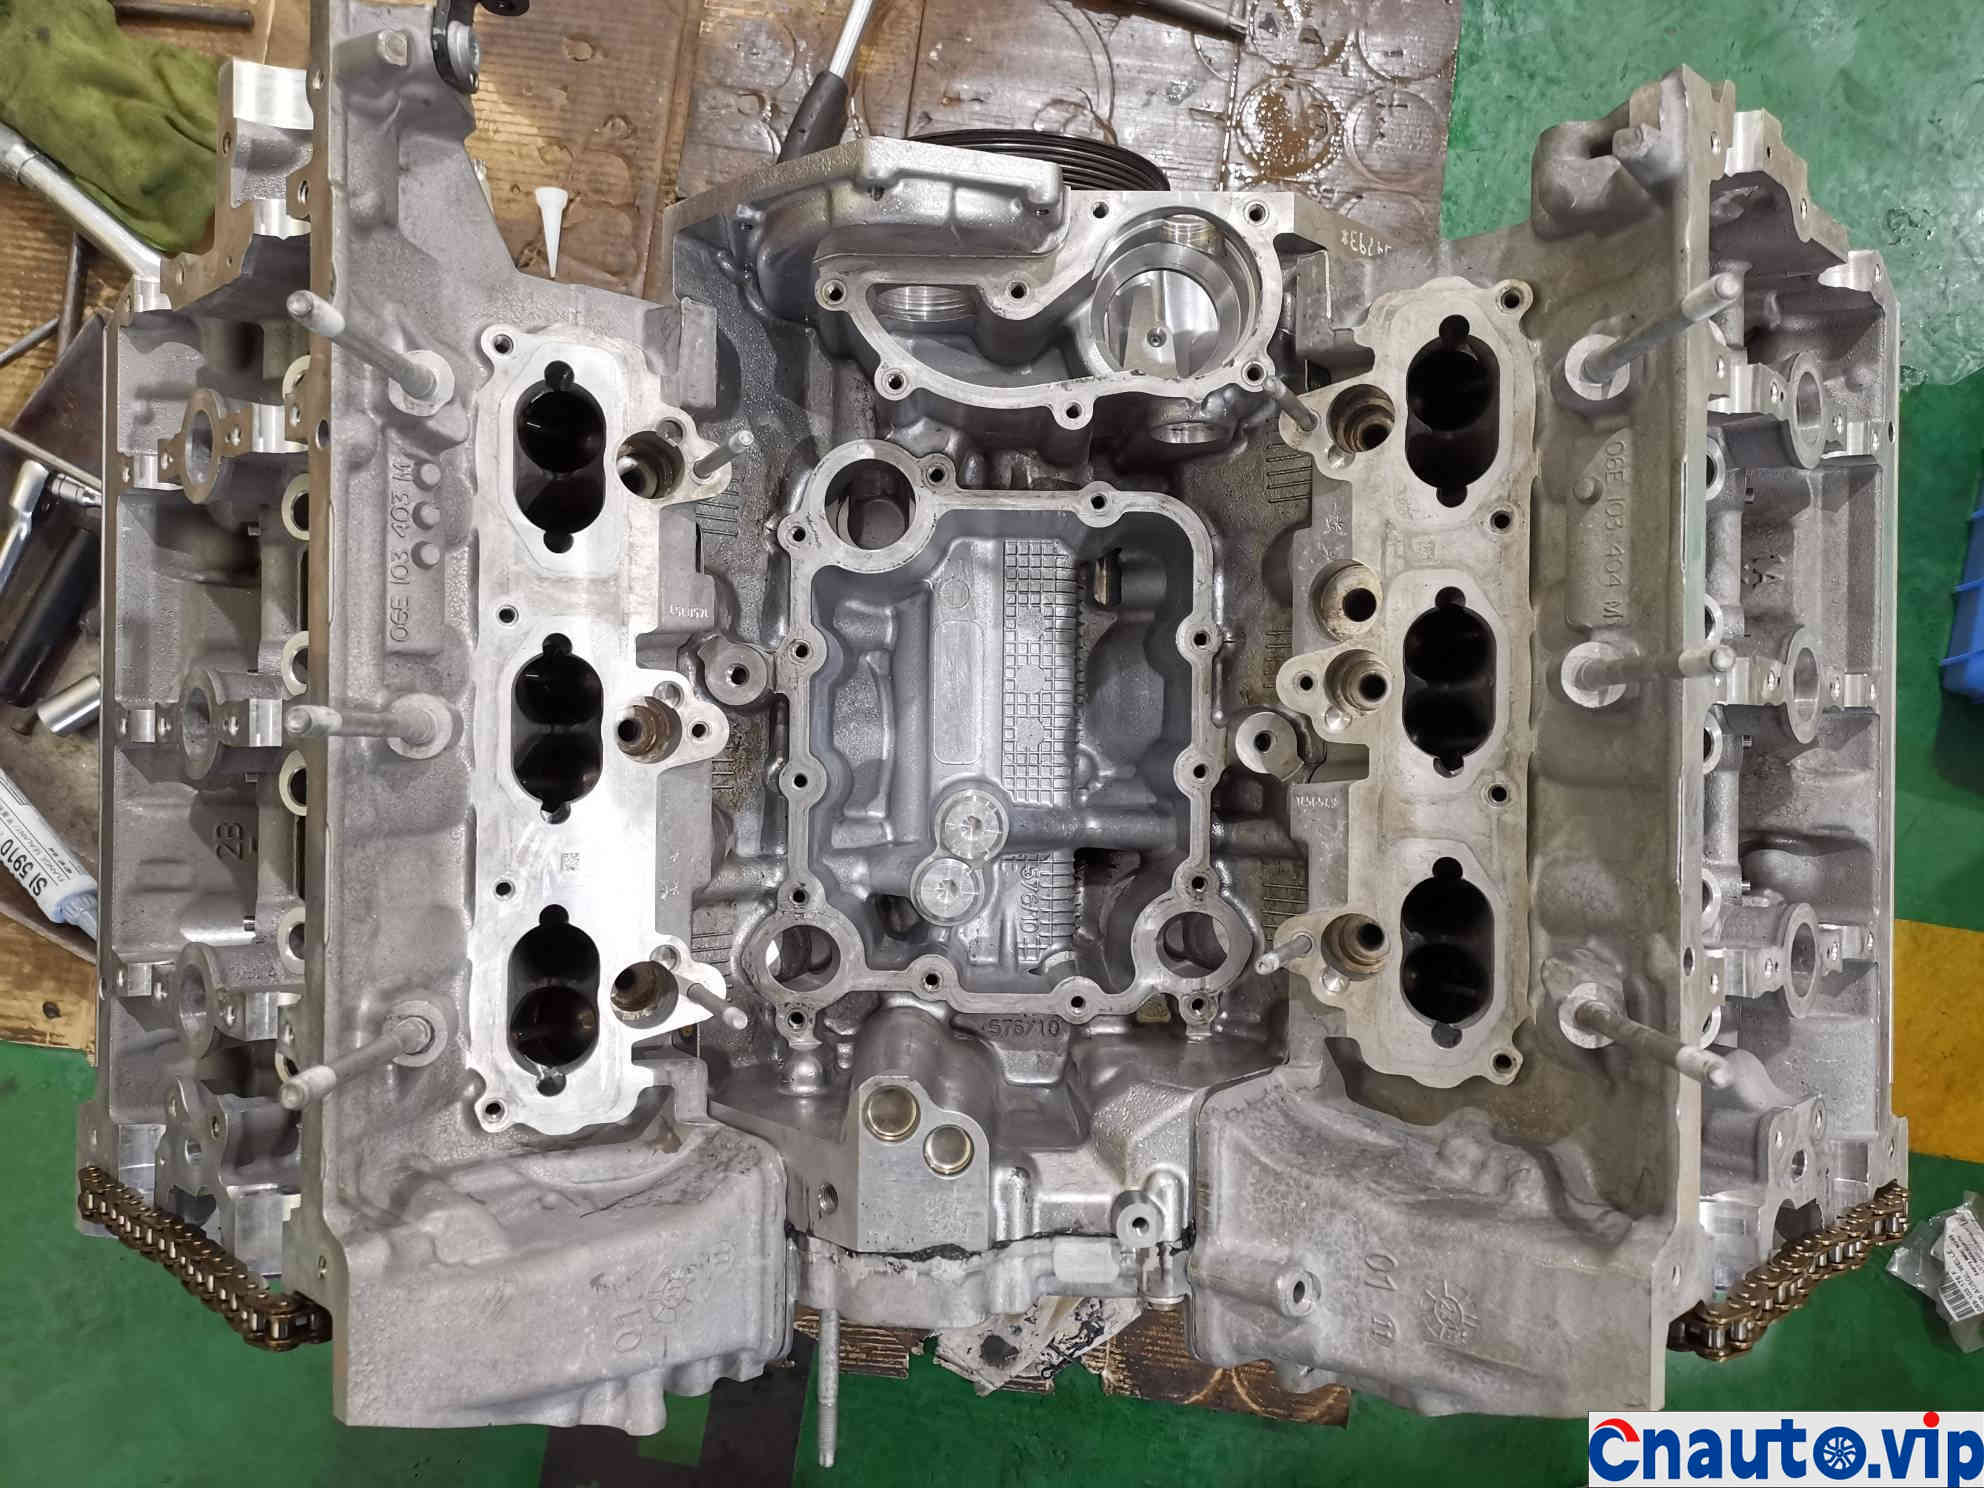
The cylinder head has been removed, except for the replacement of the valve oil seal, there is no abnormality
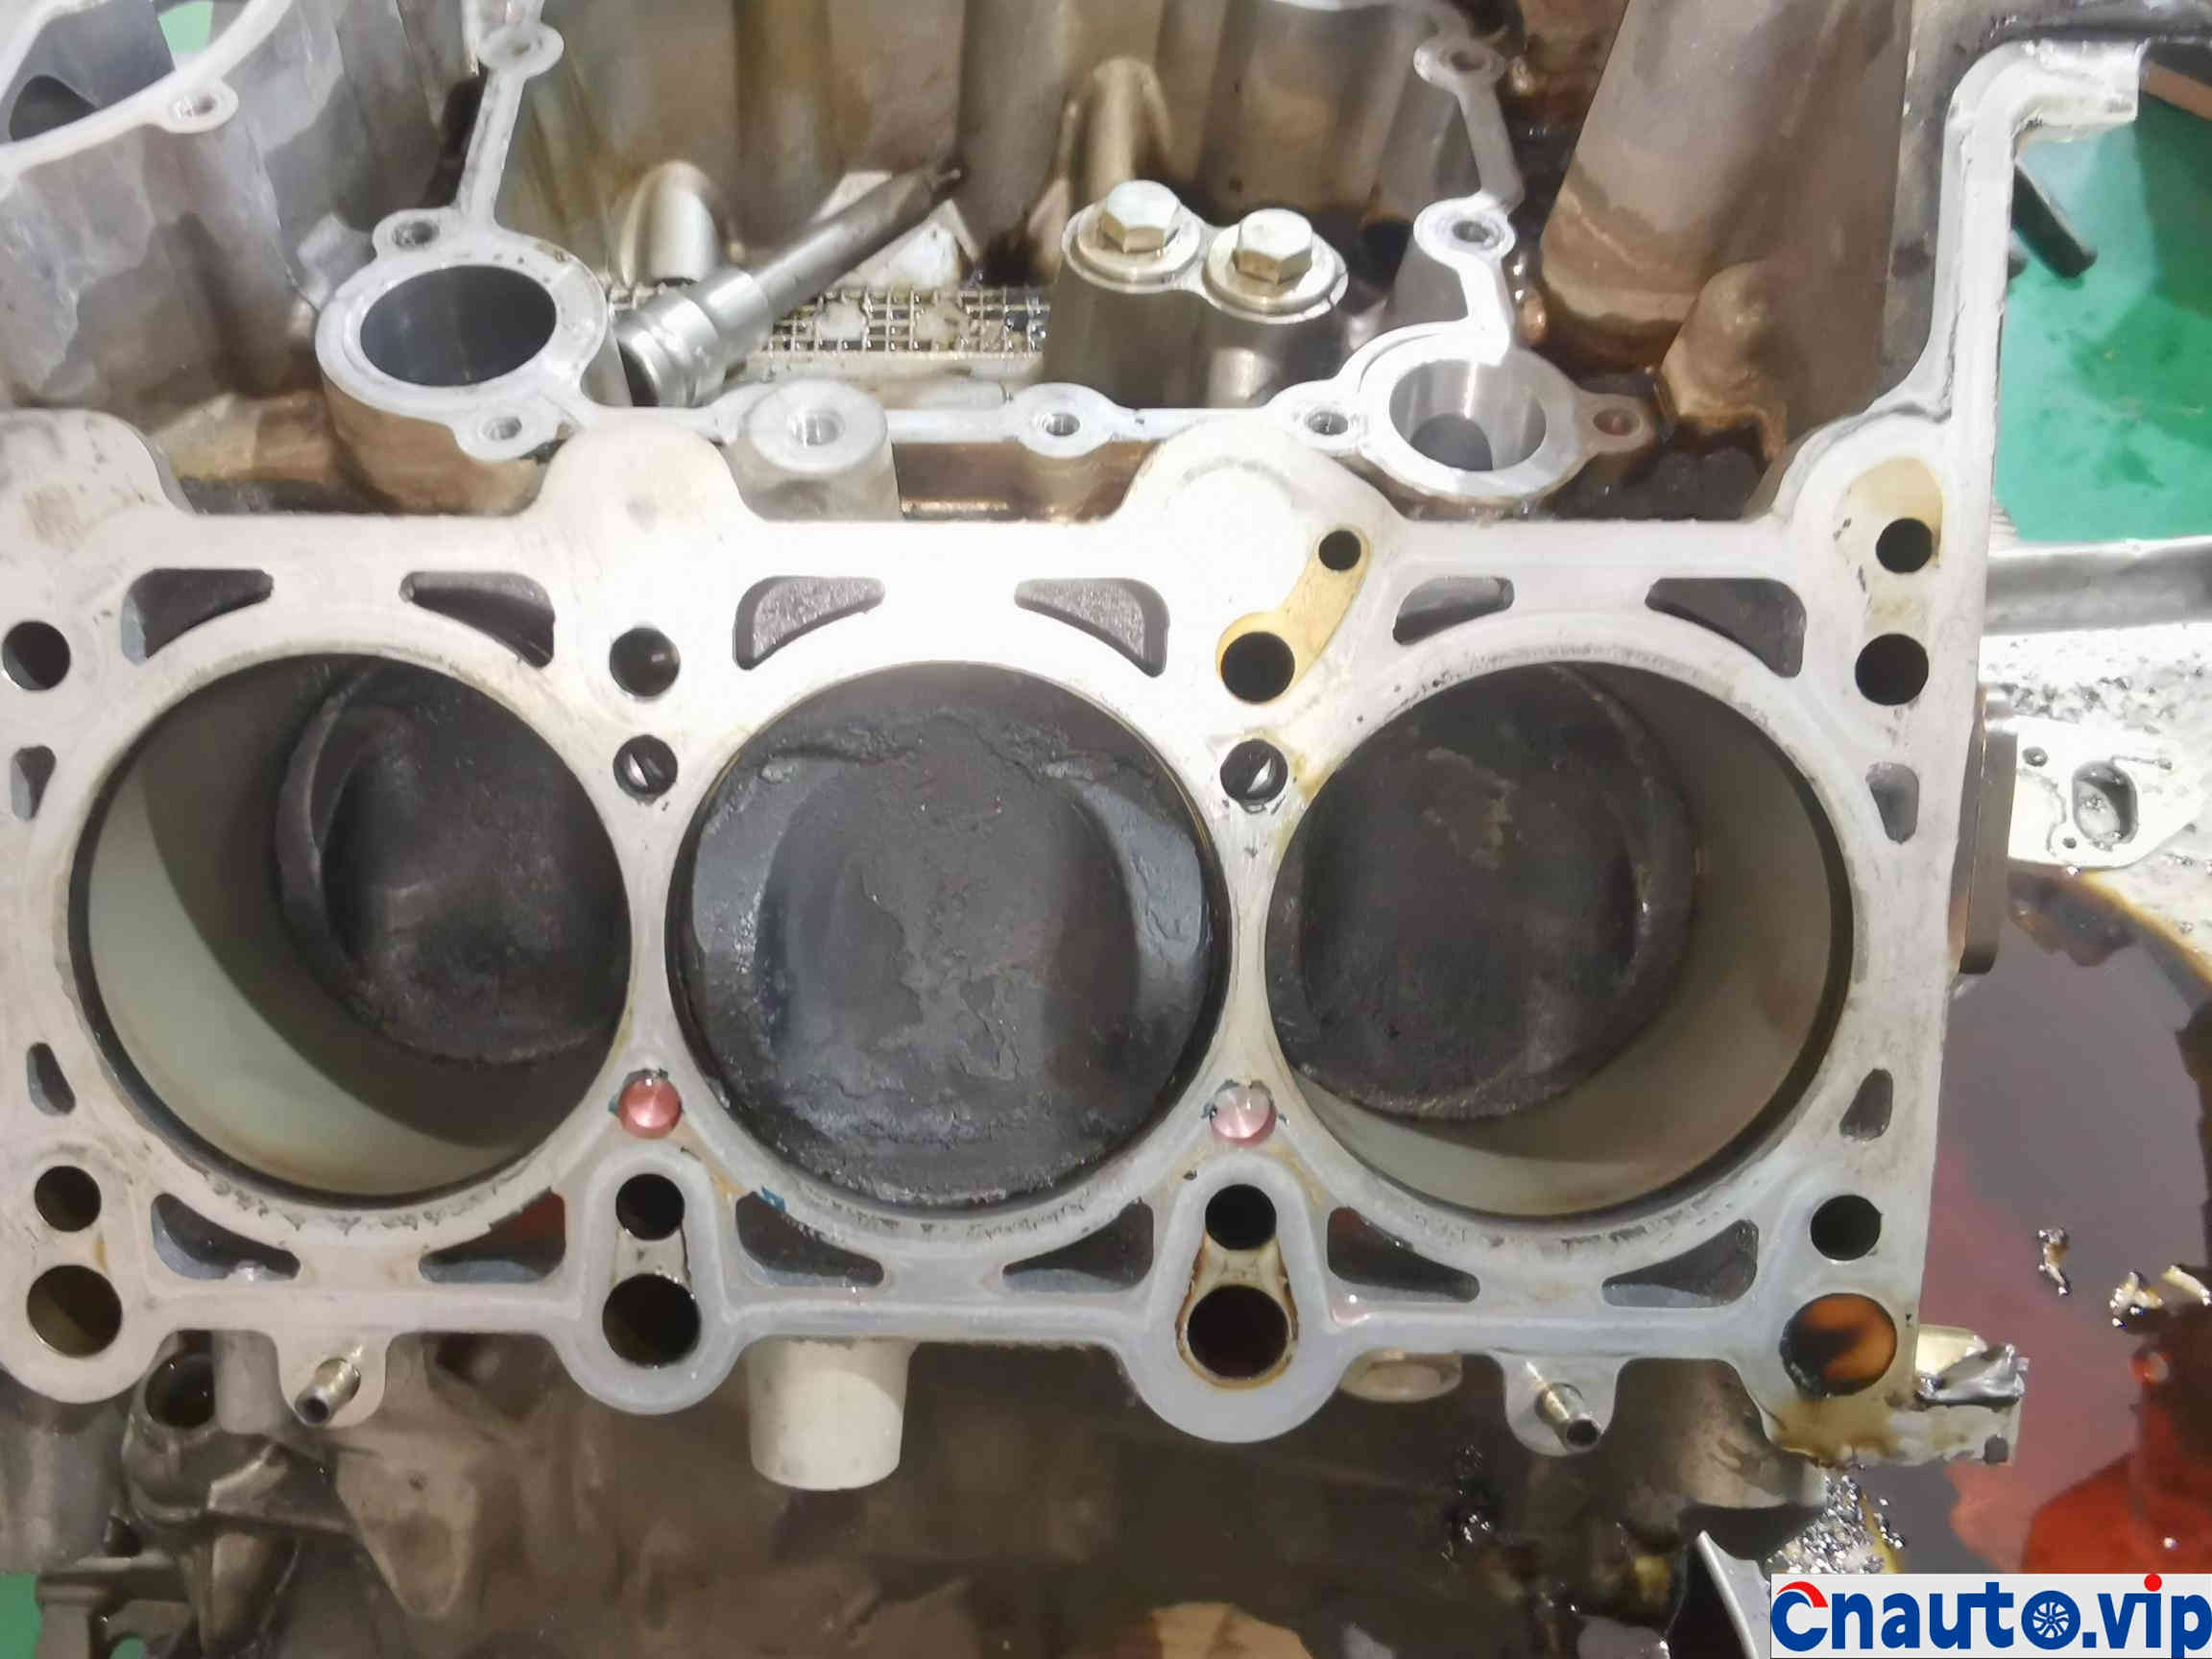
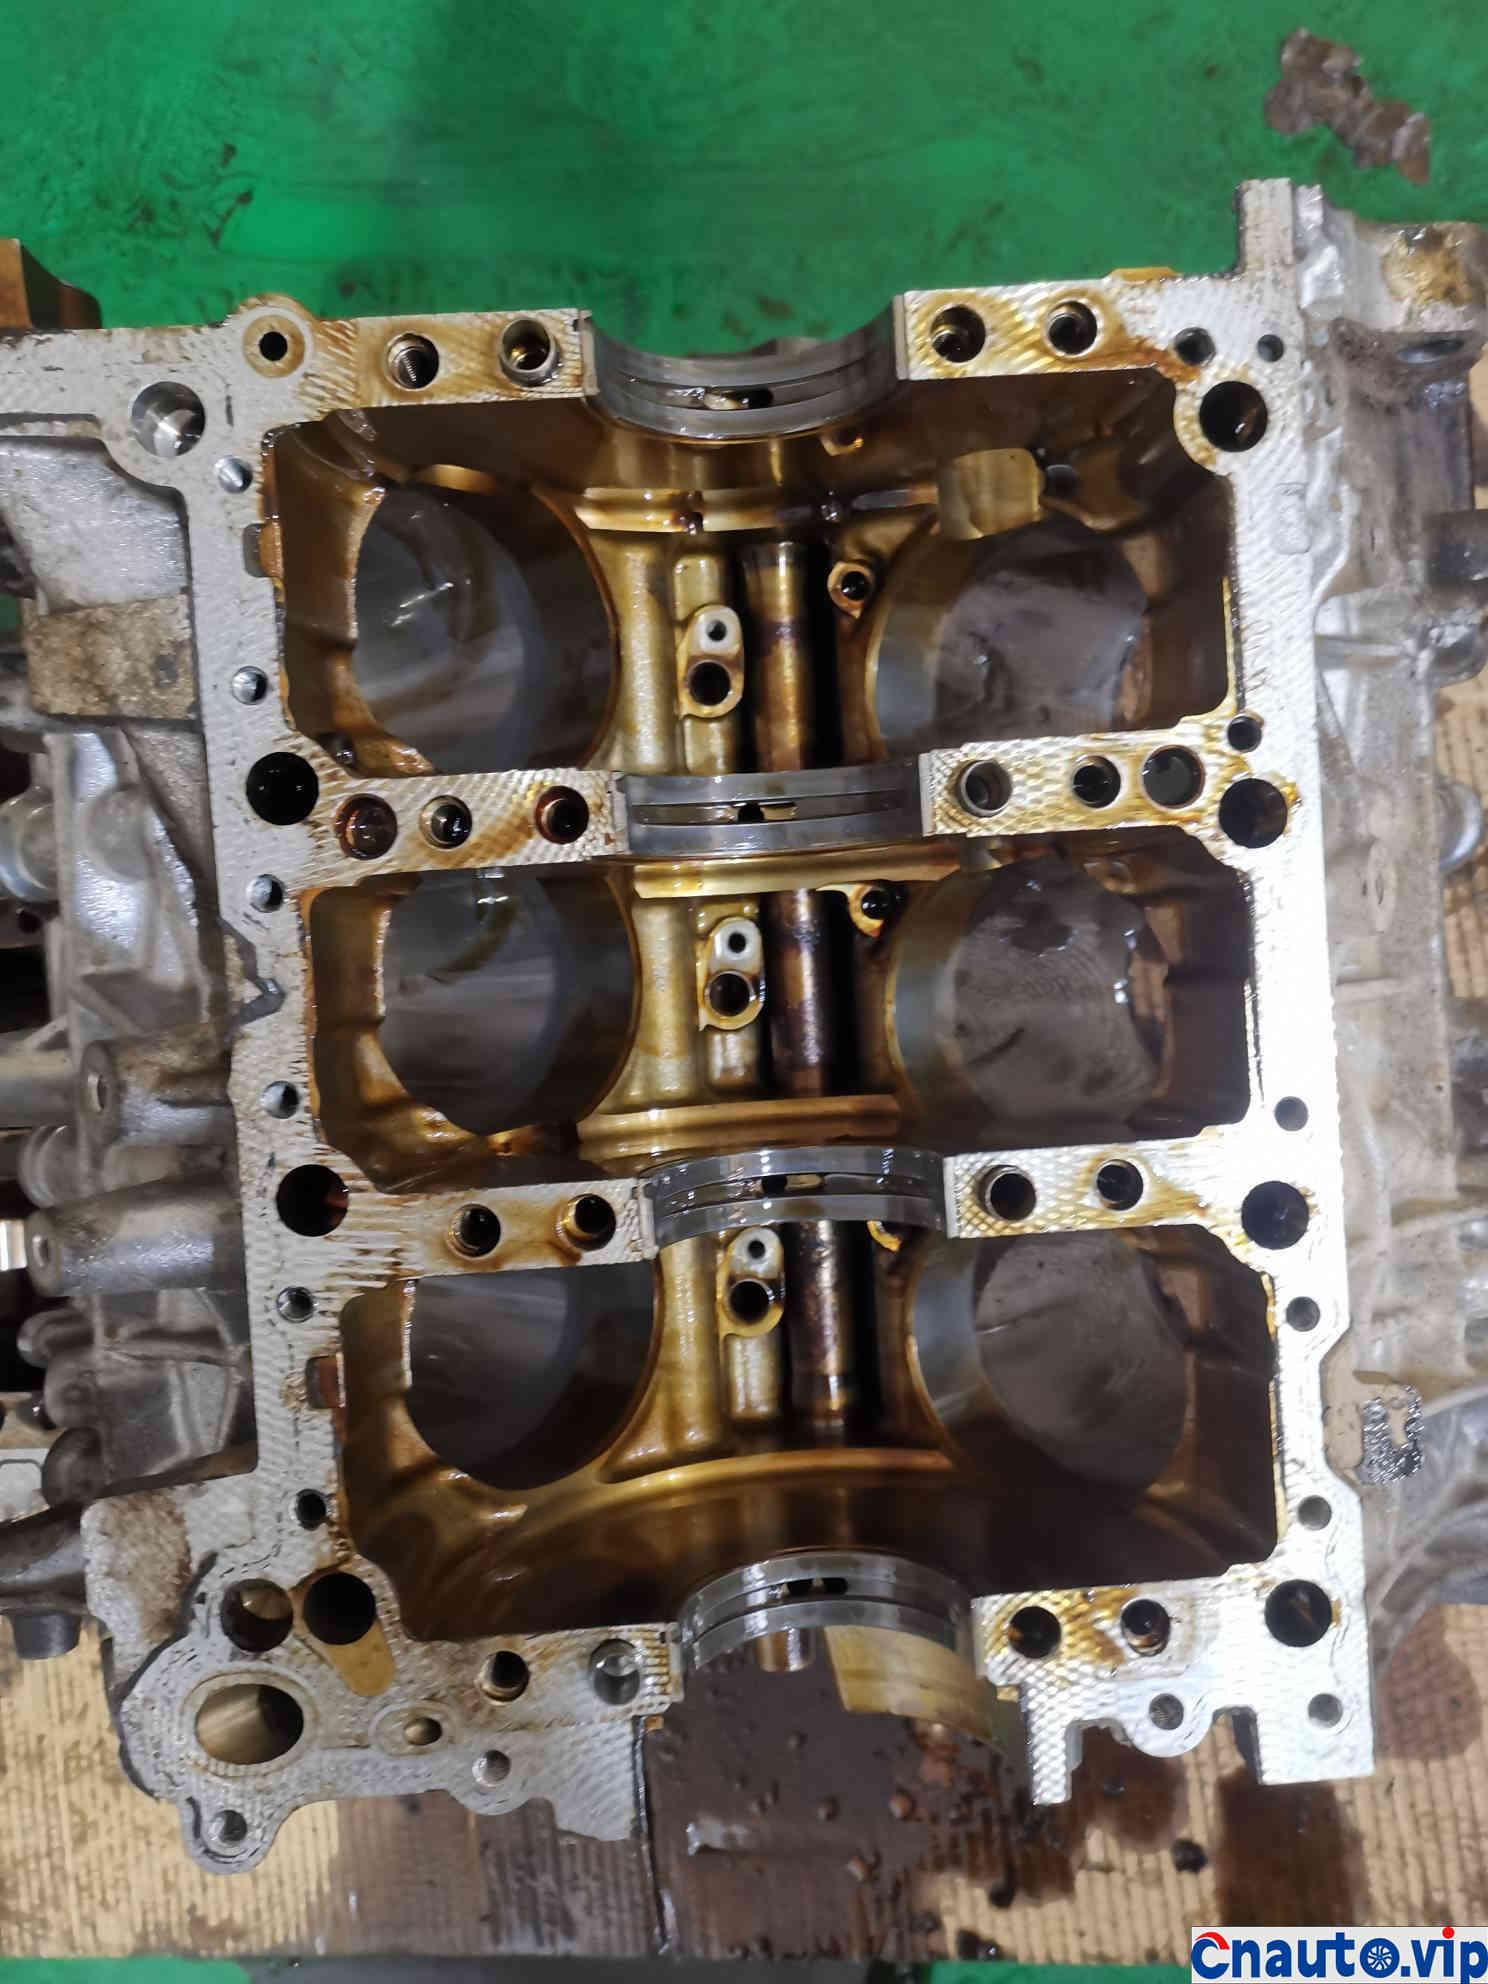
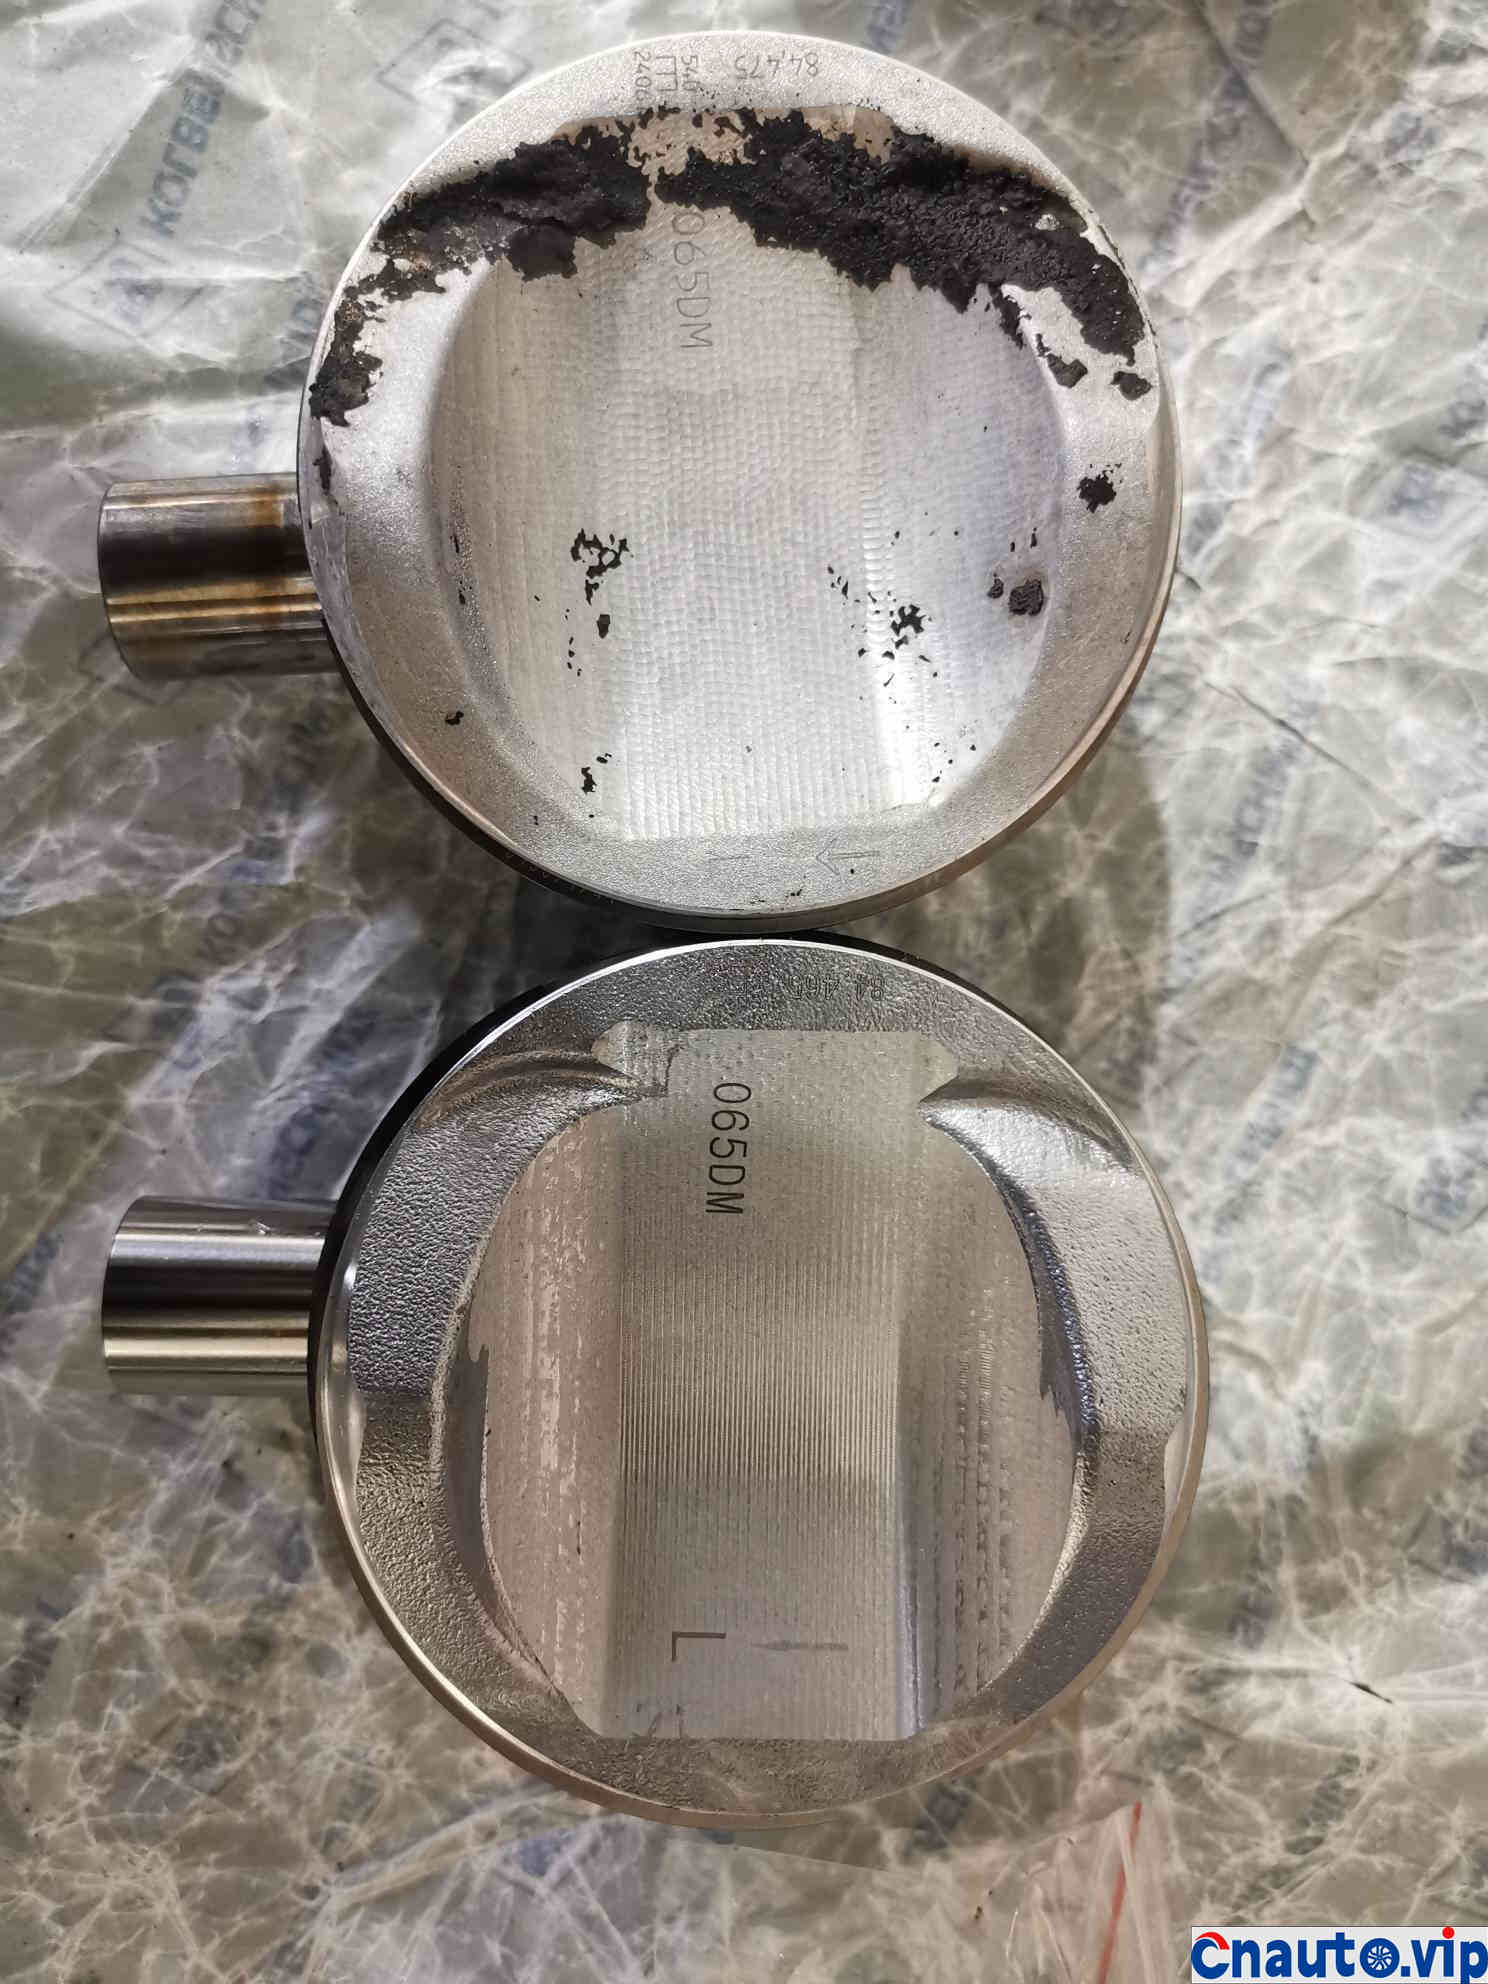
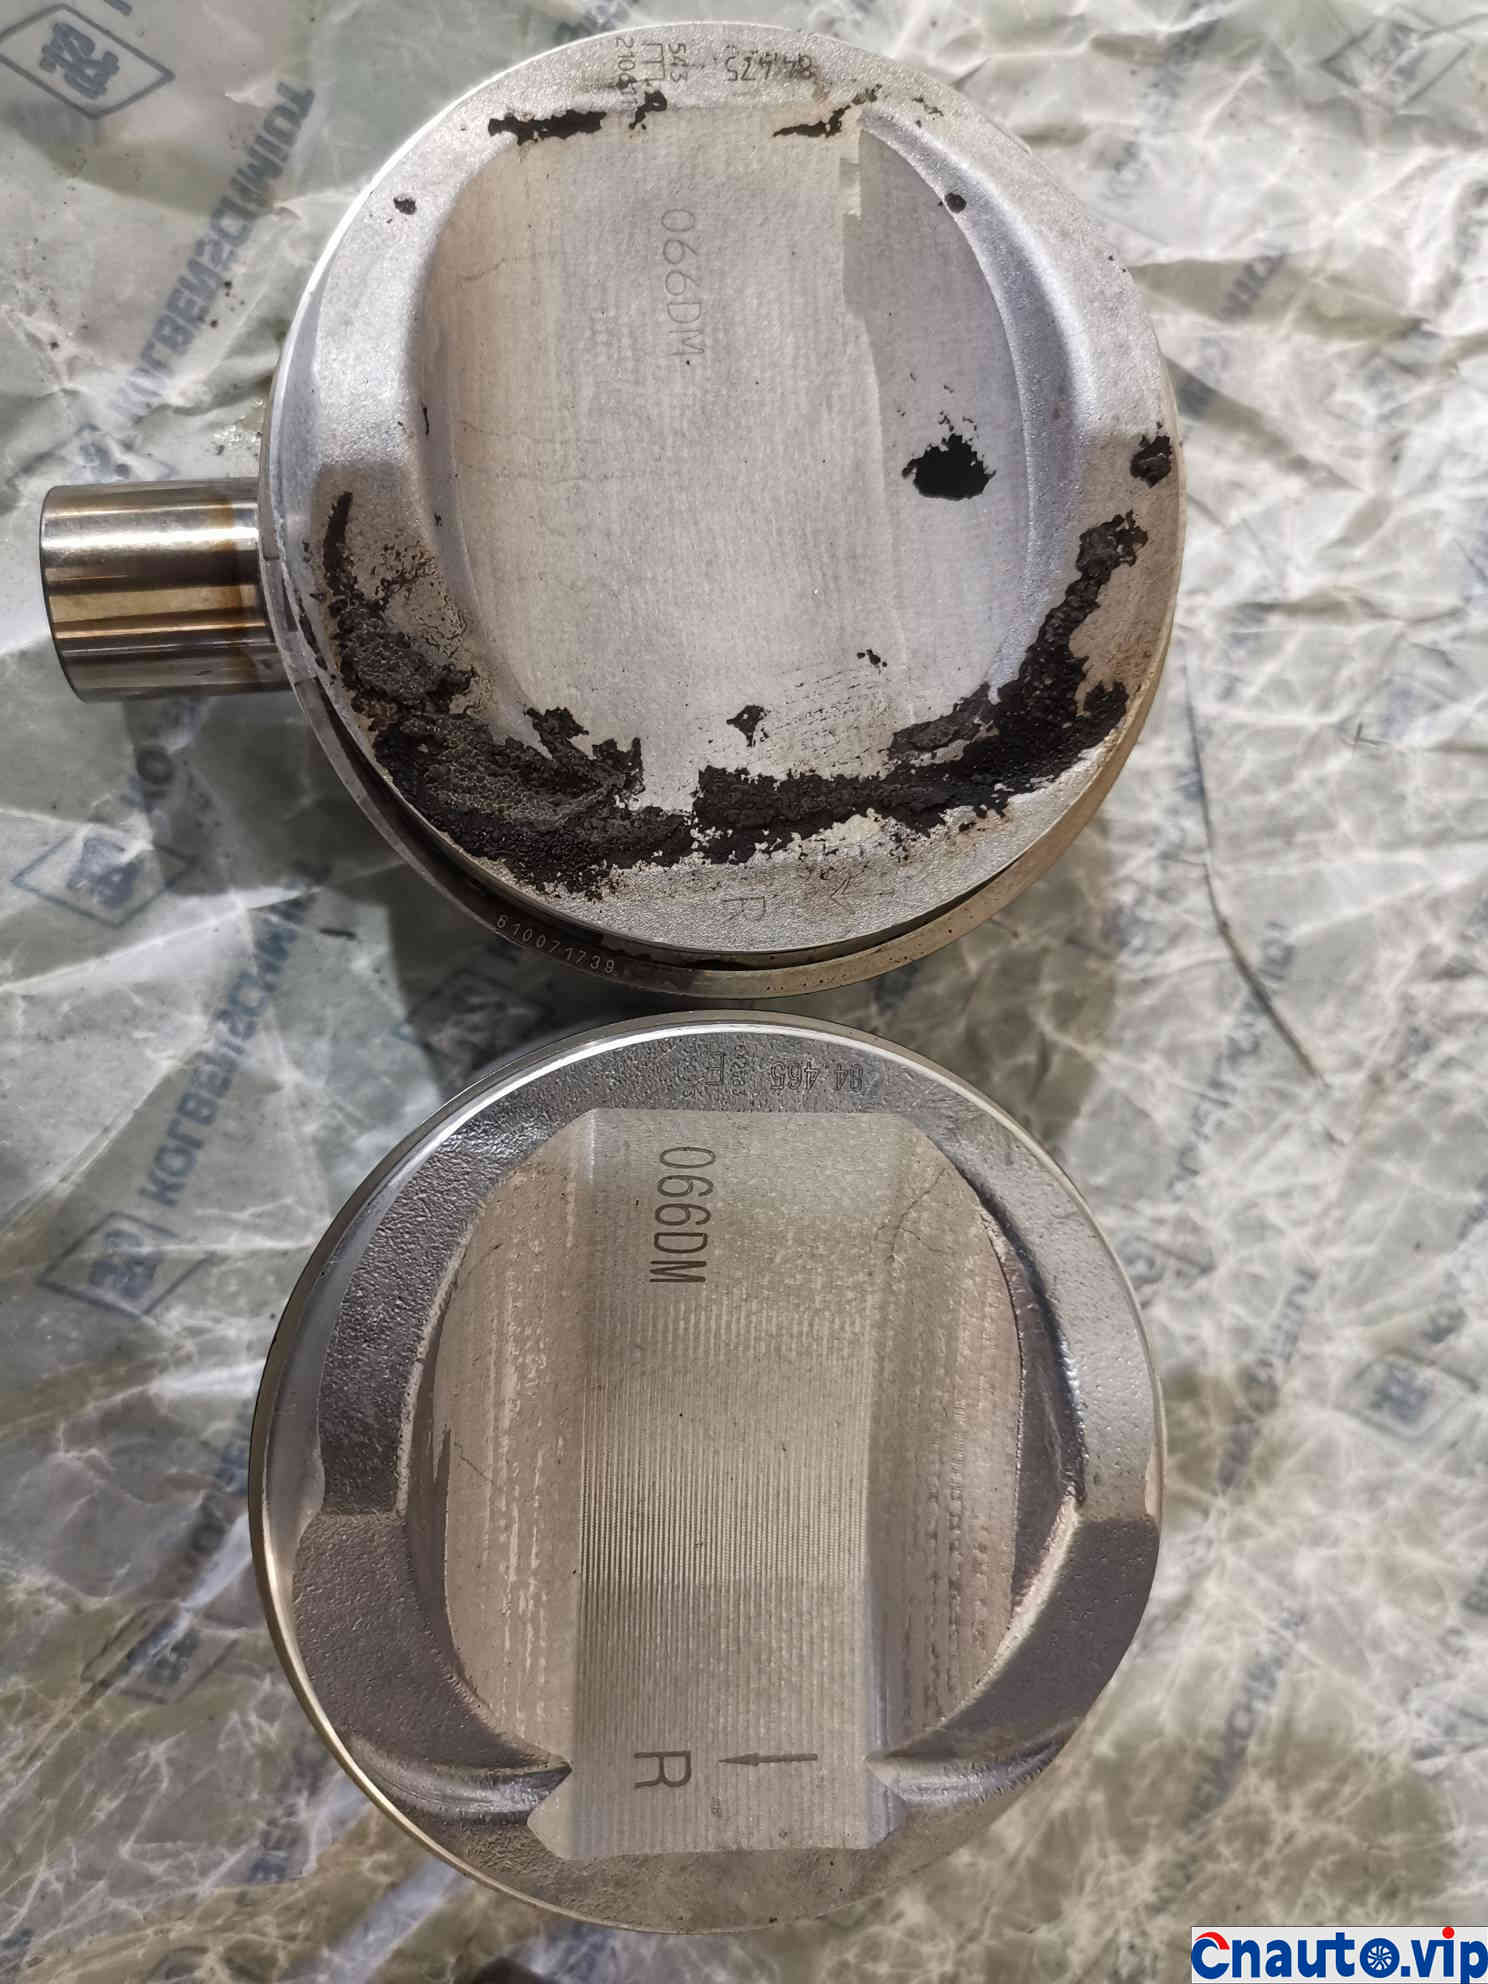
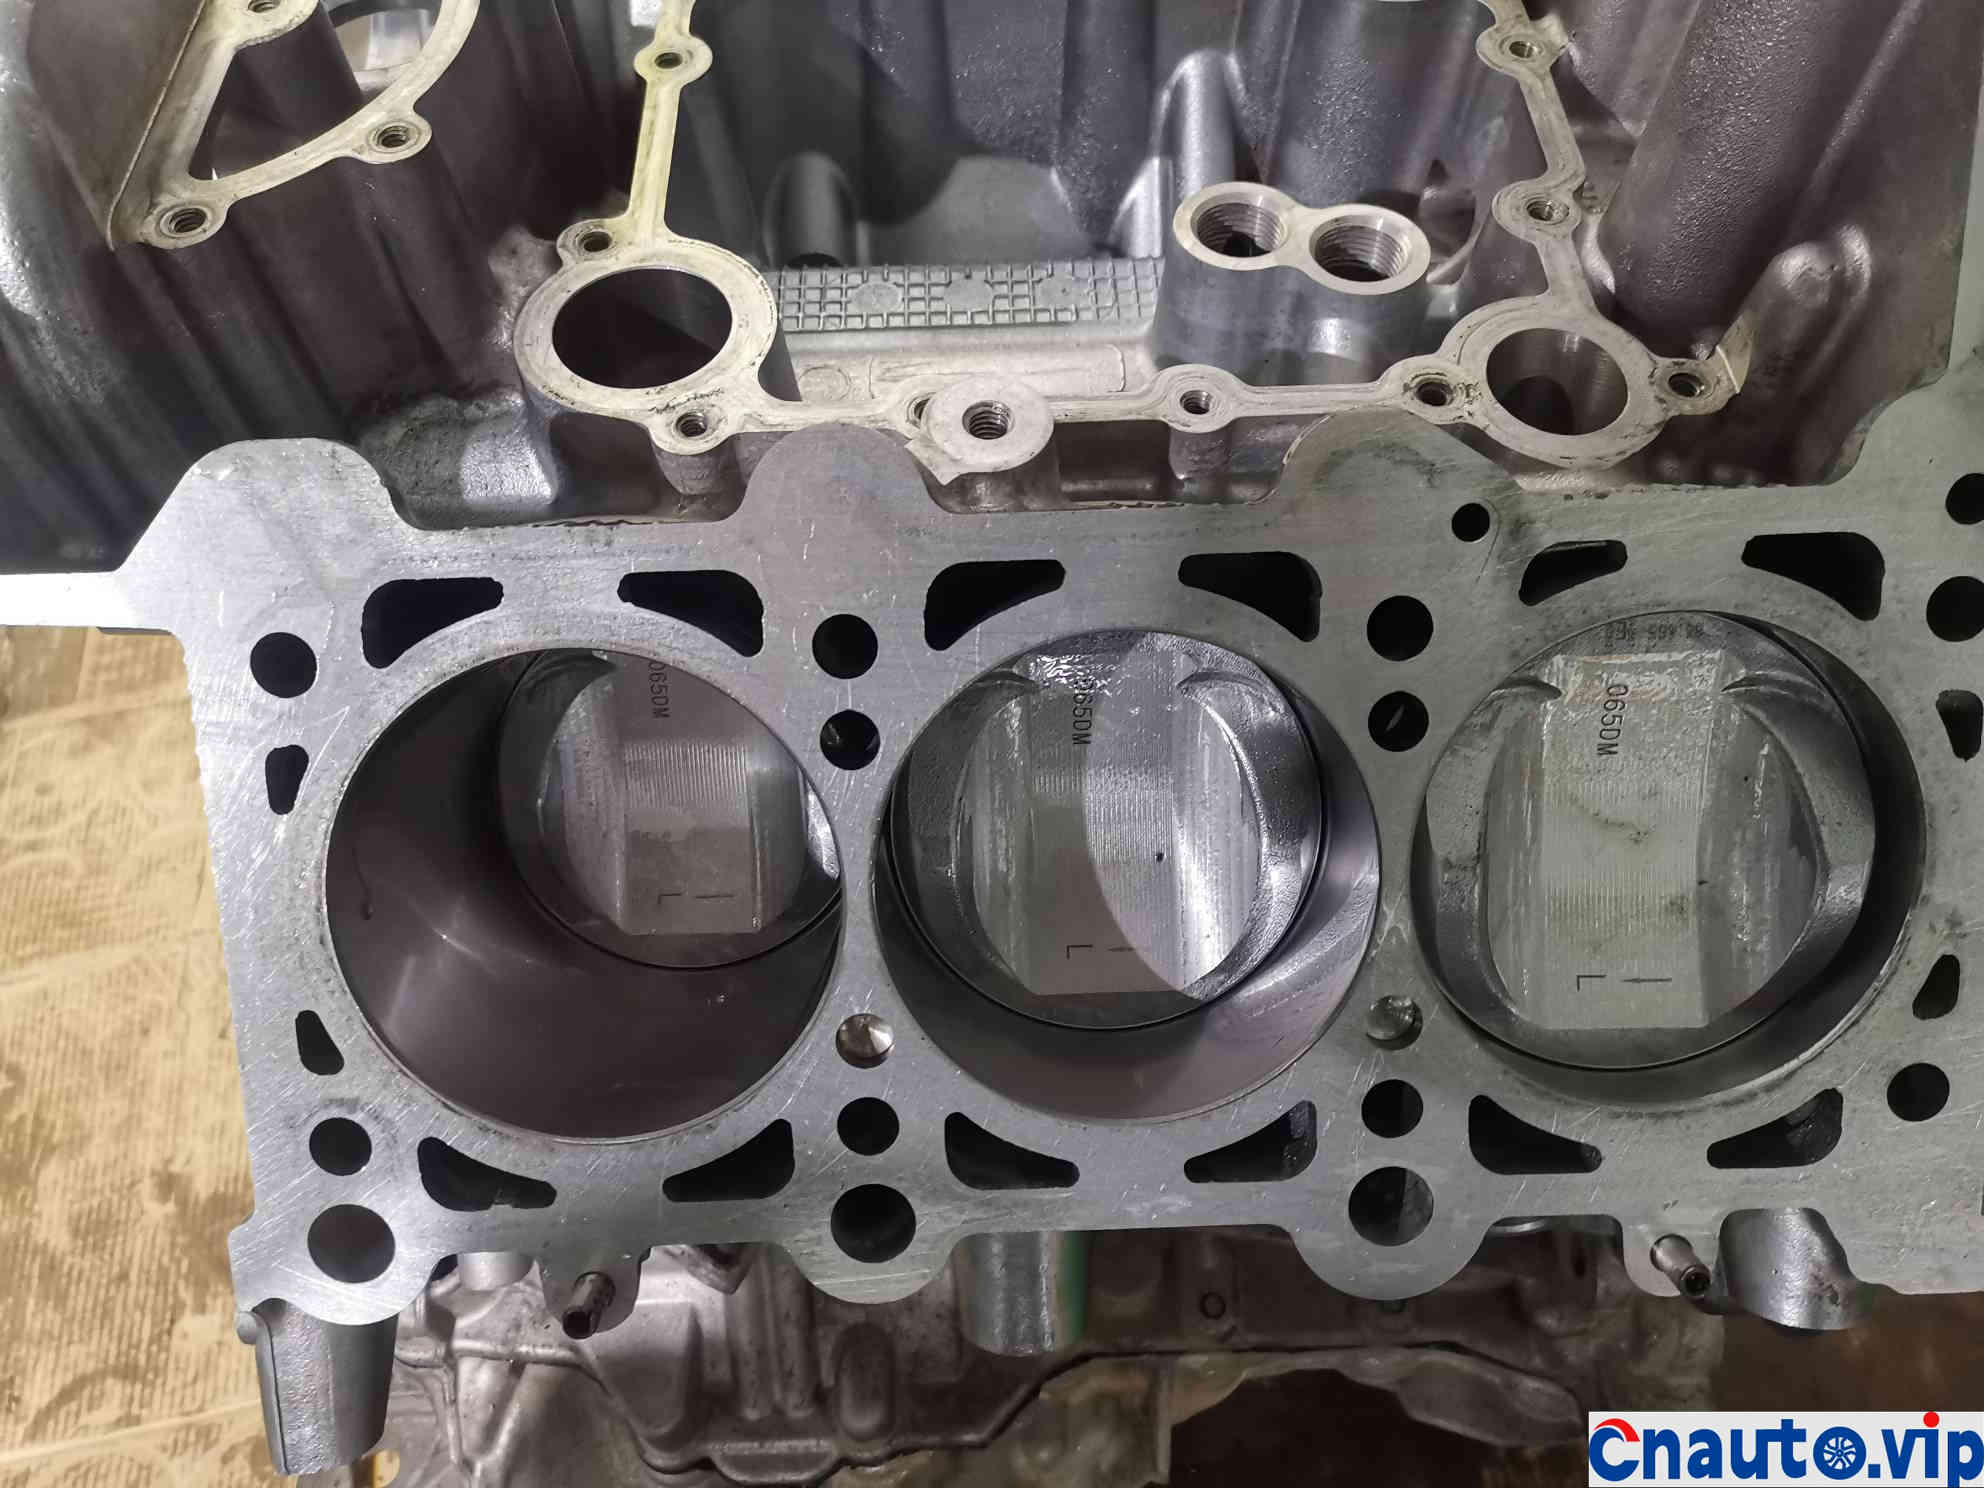
The cylinder head has been removed, and the piston has been severely deposited. Check the clearance of the piston inside the cylinder.
Large clearance between cylinder and piston
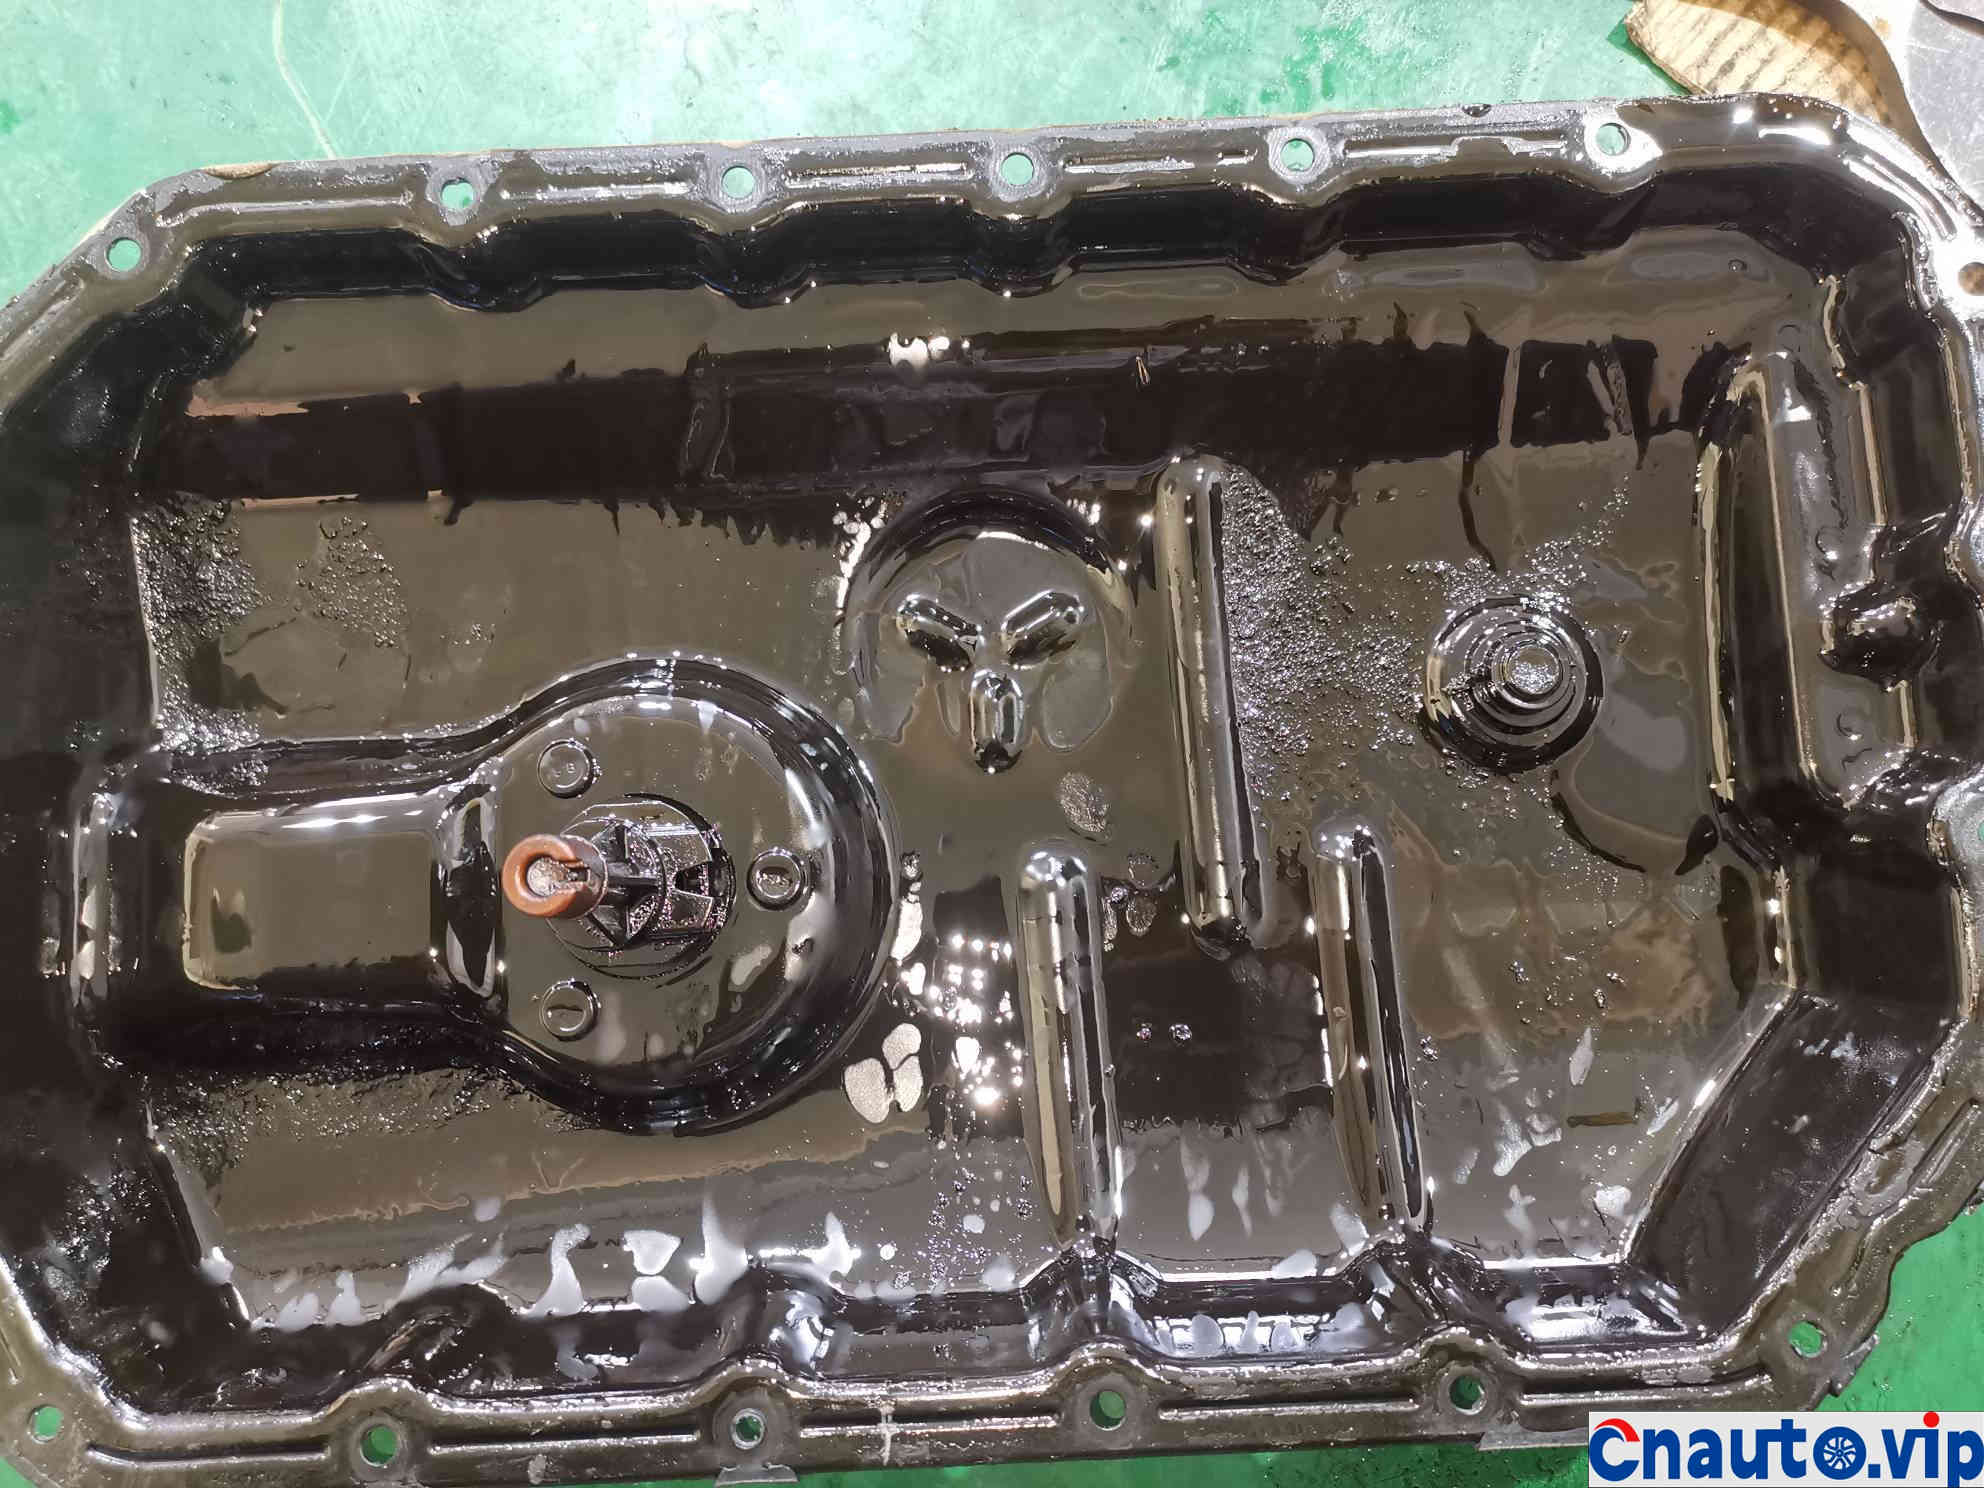
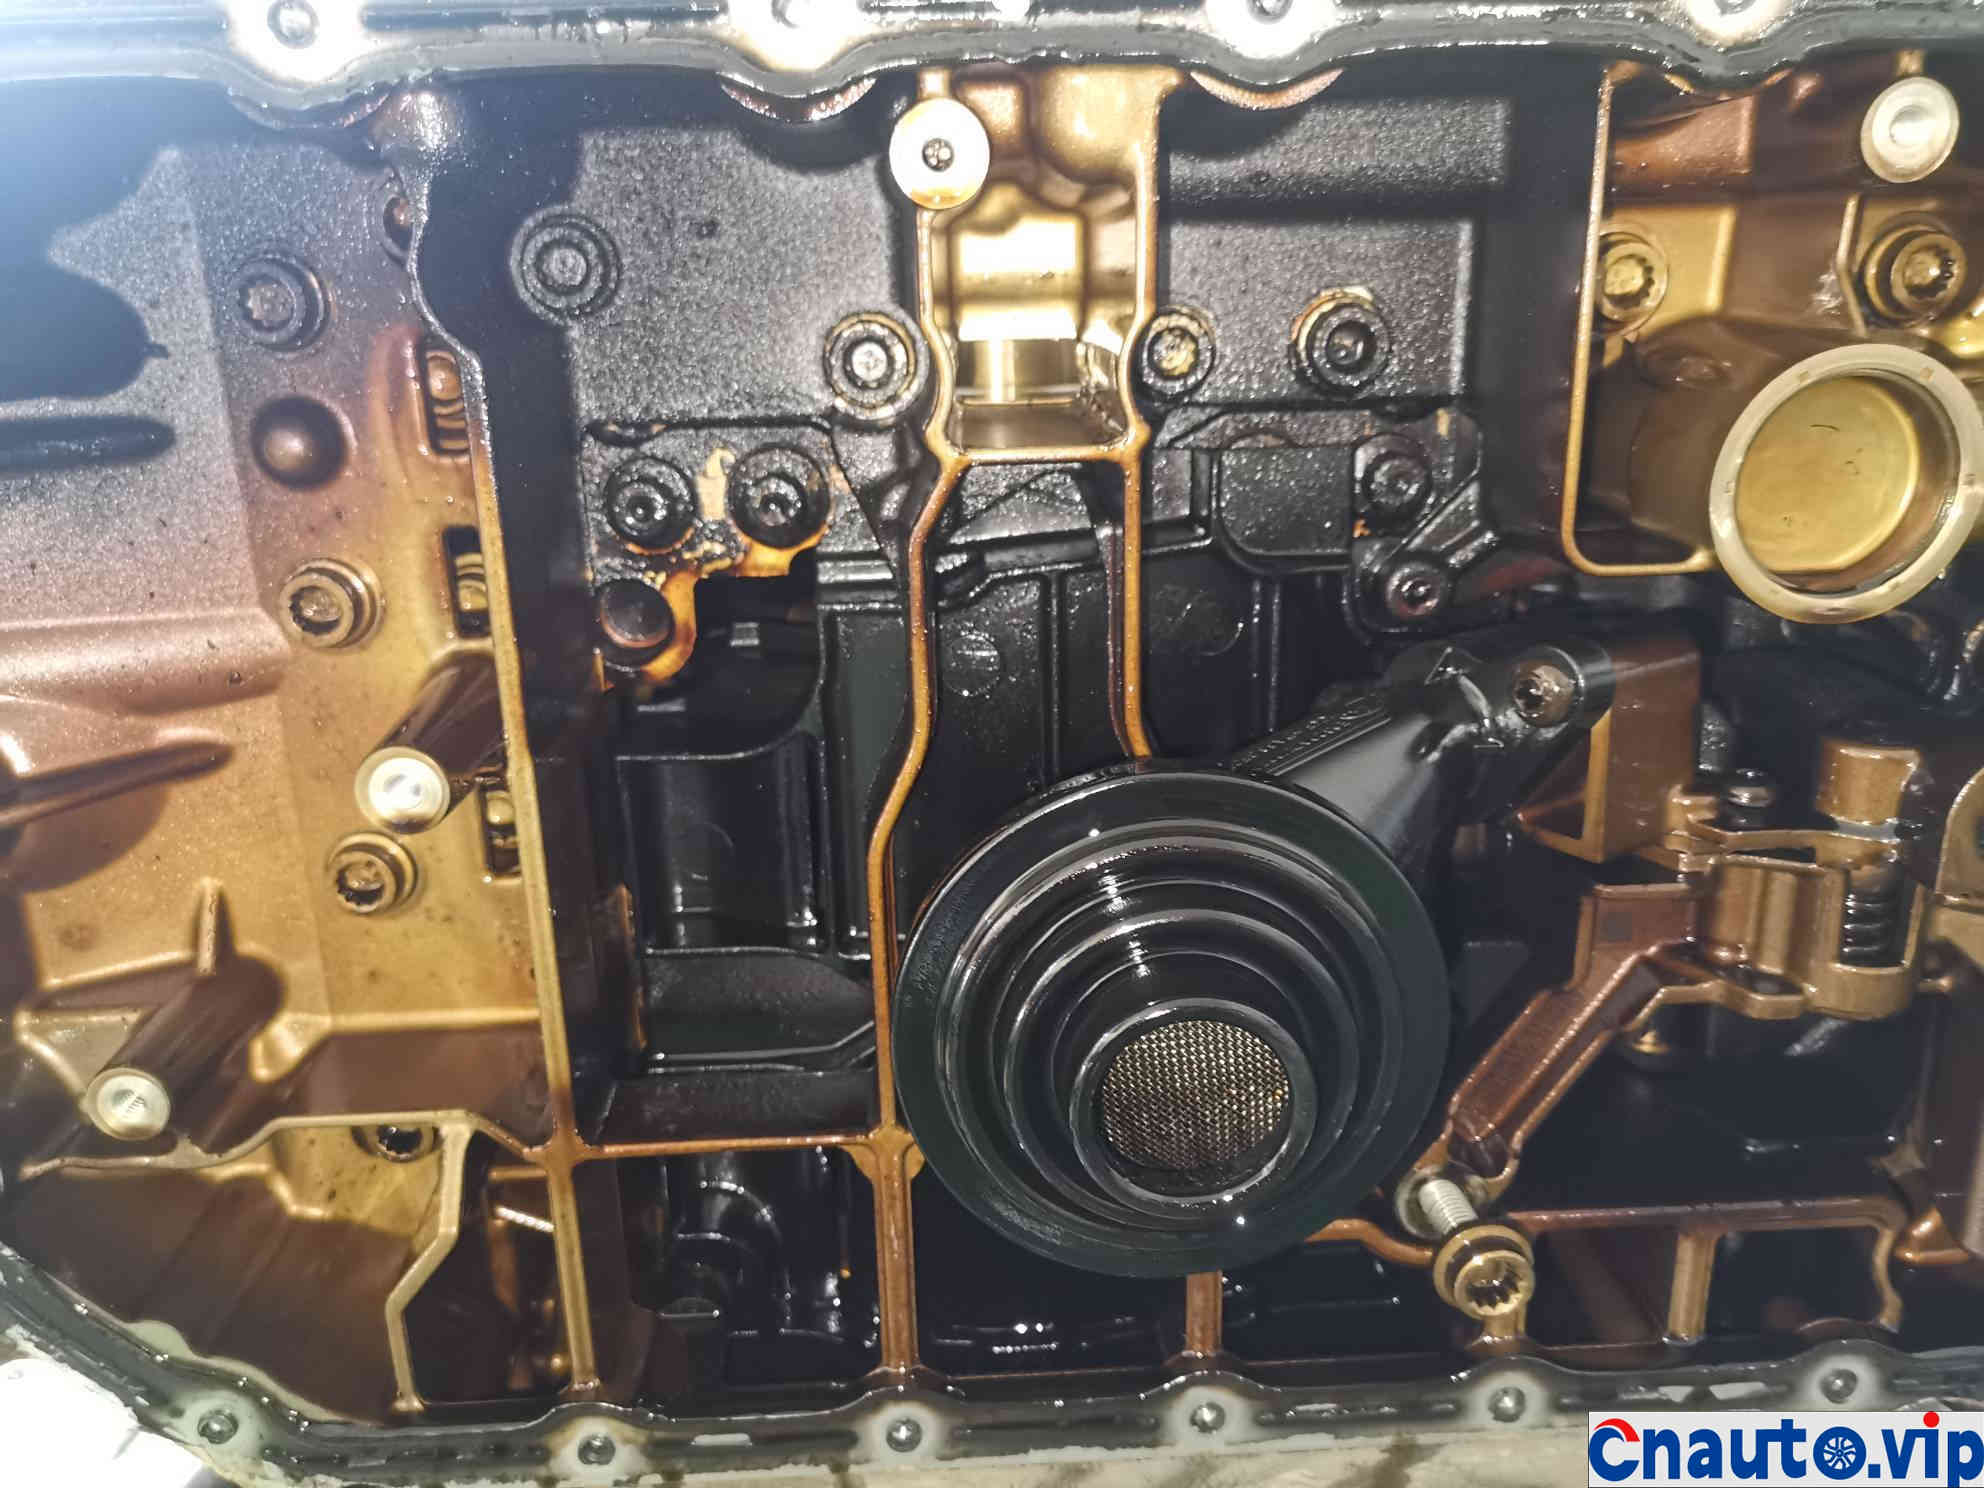
Severe oil pan sludge
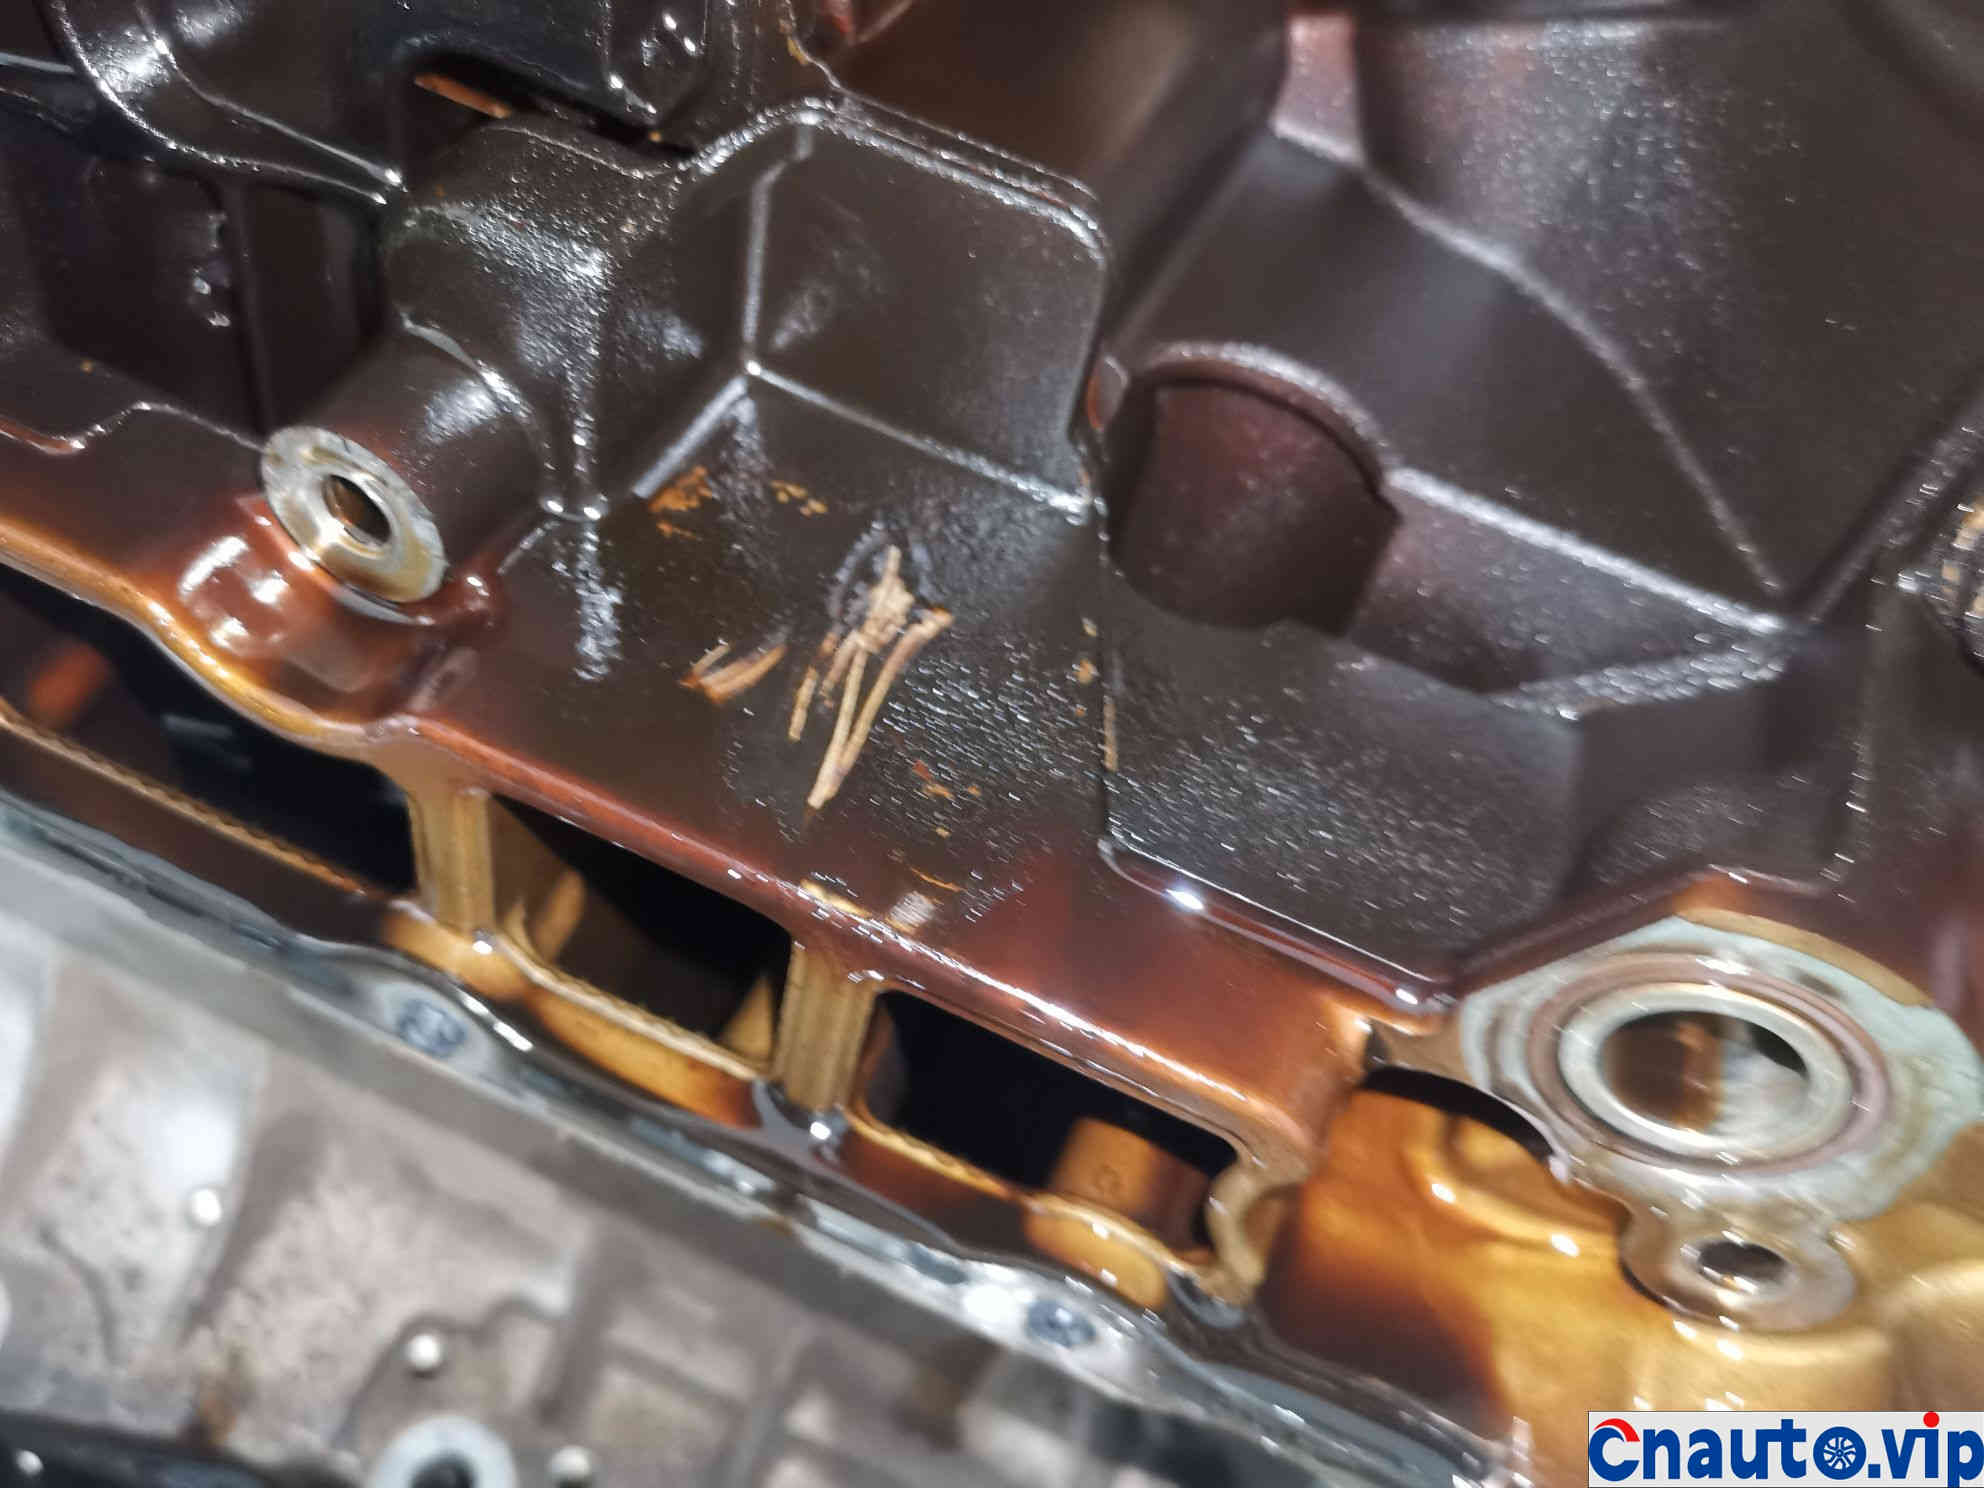
whole body sludge carbon
Sludge is surrounding the oil pump
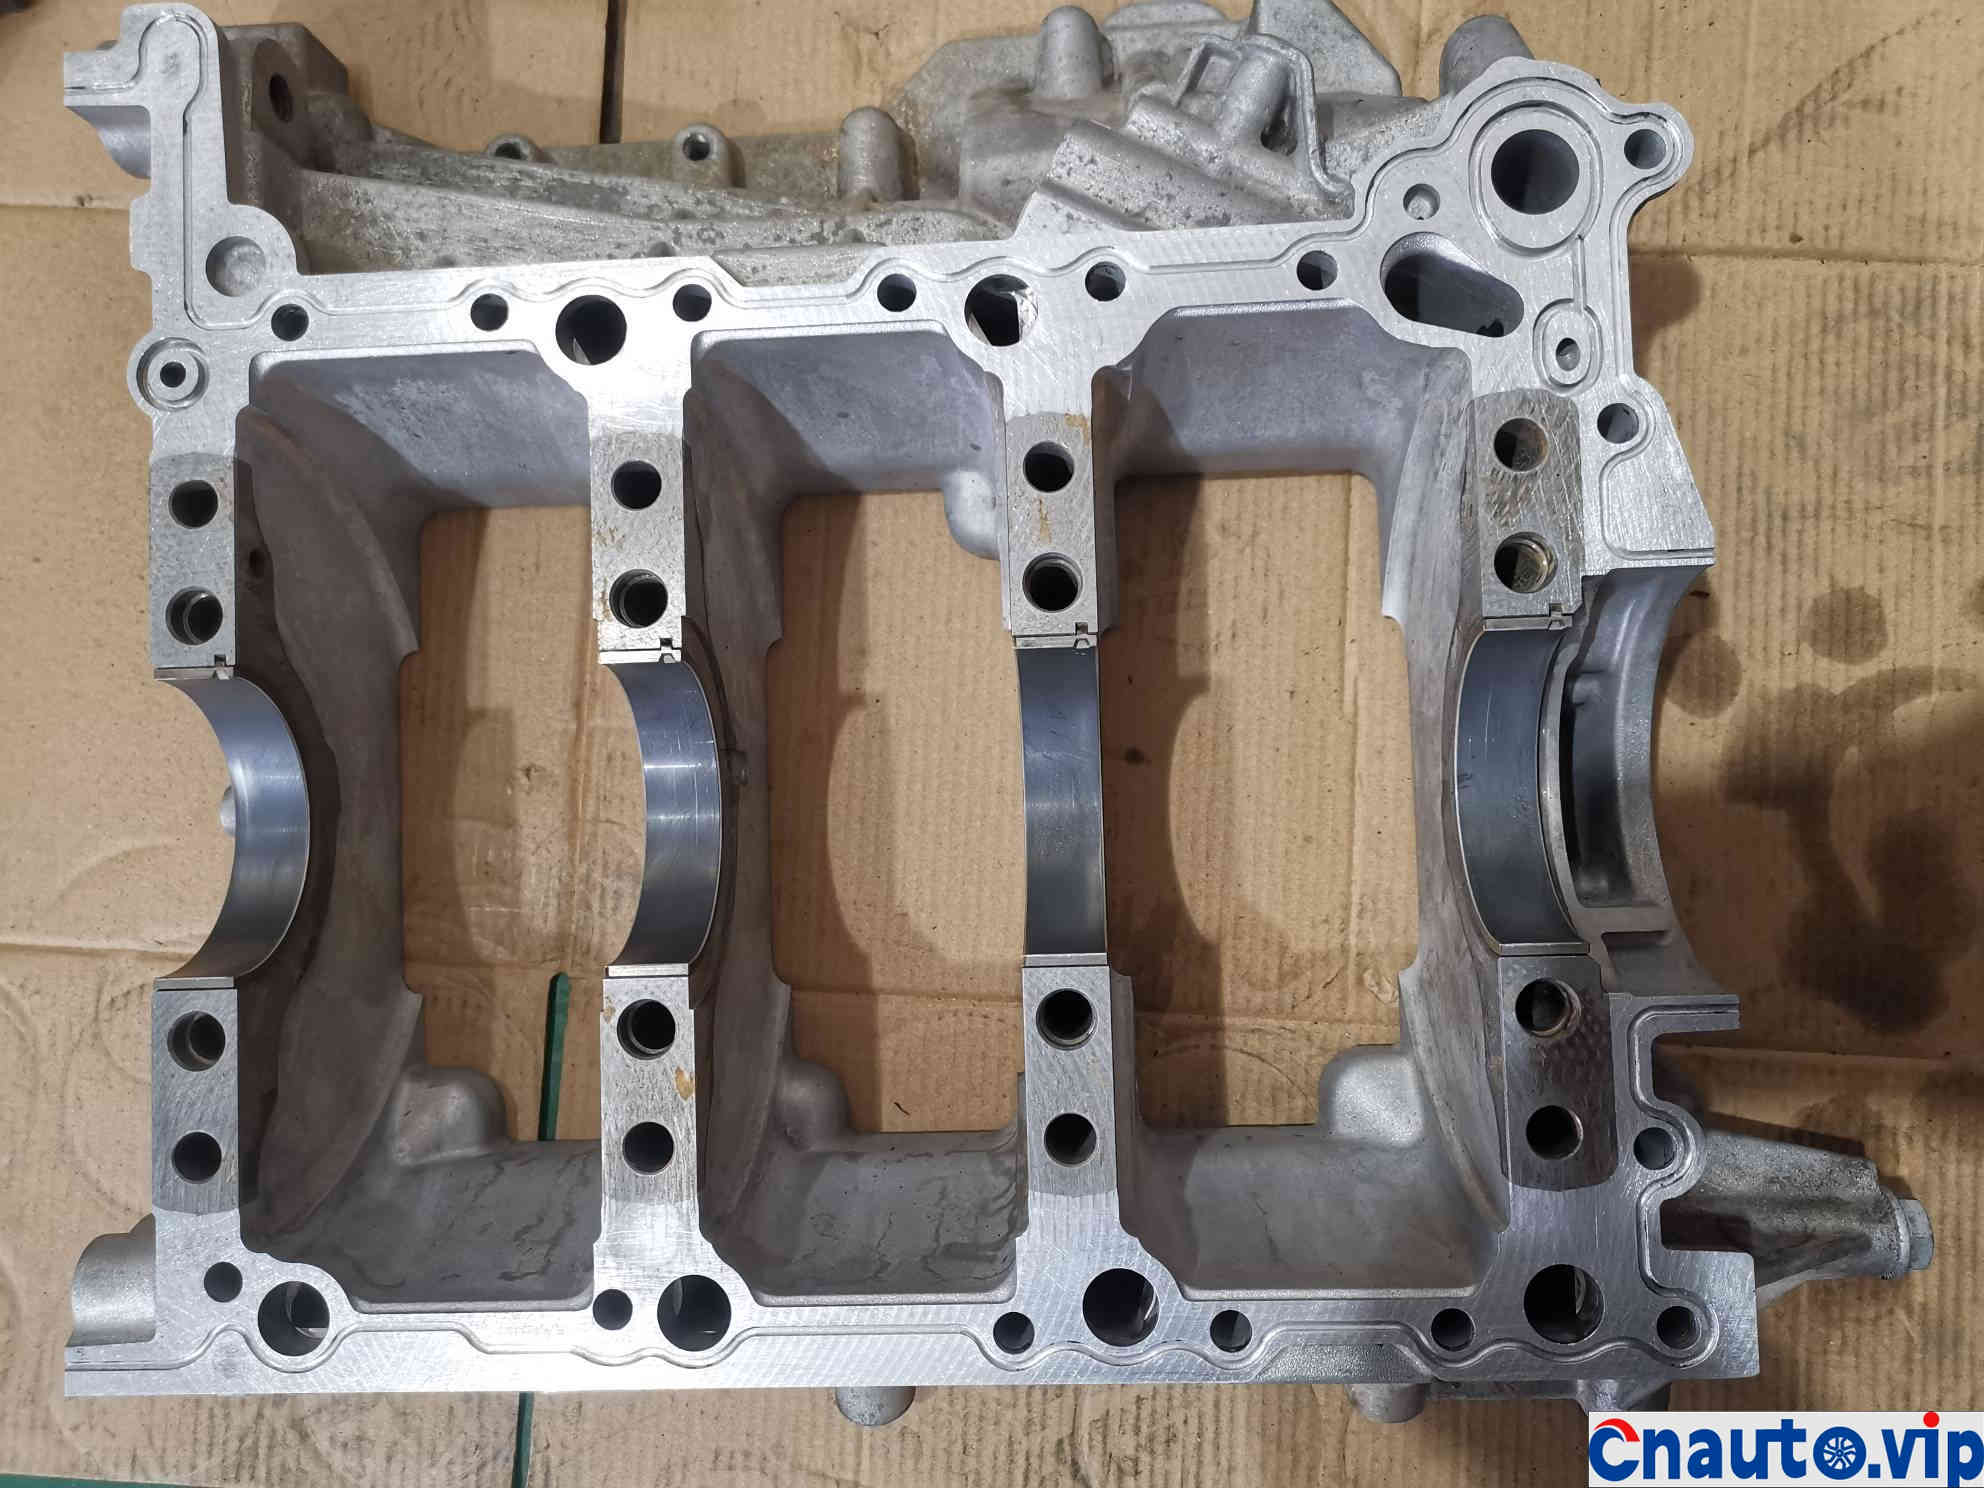
Engine casing sludge
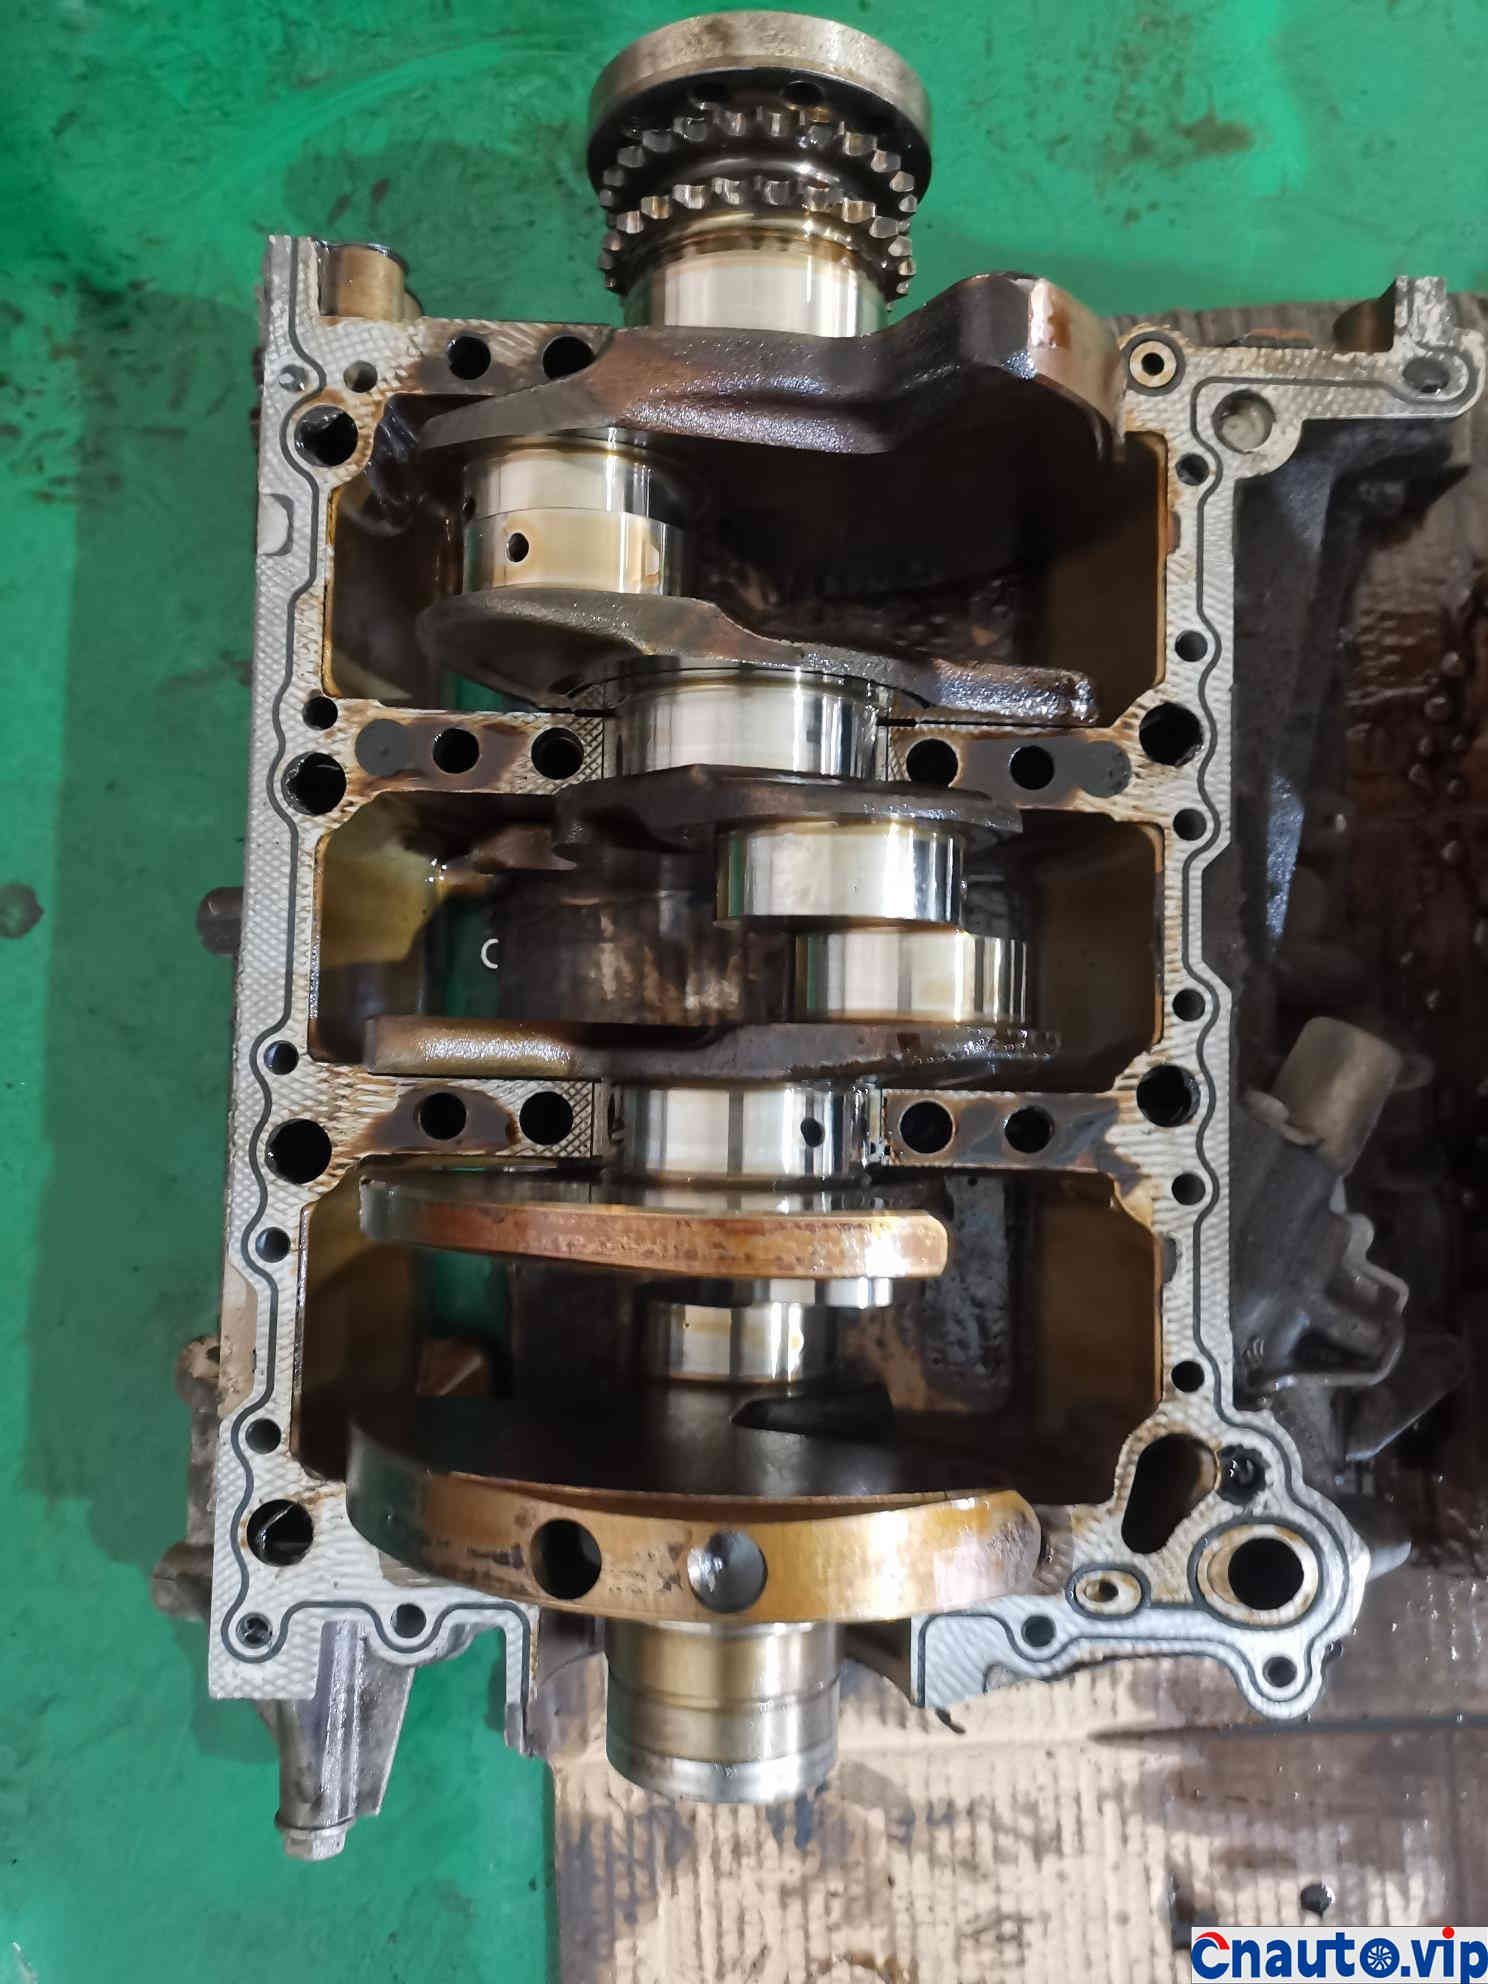
The crankshaft is fine
There is no problem with the crankshaft bearings
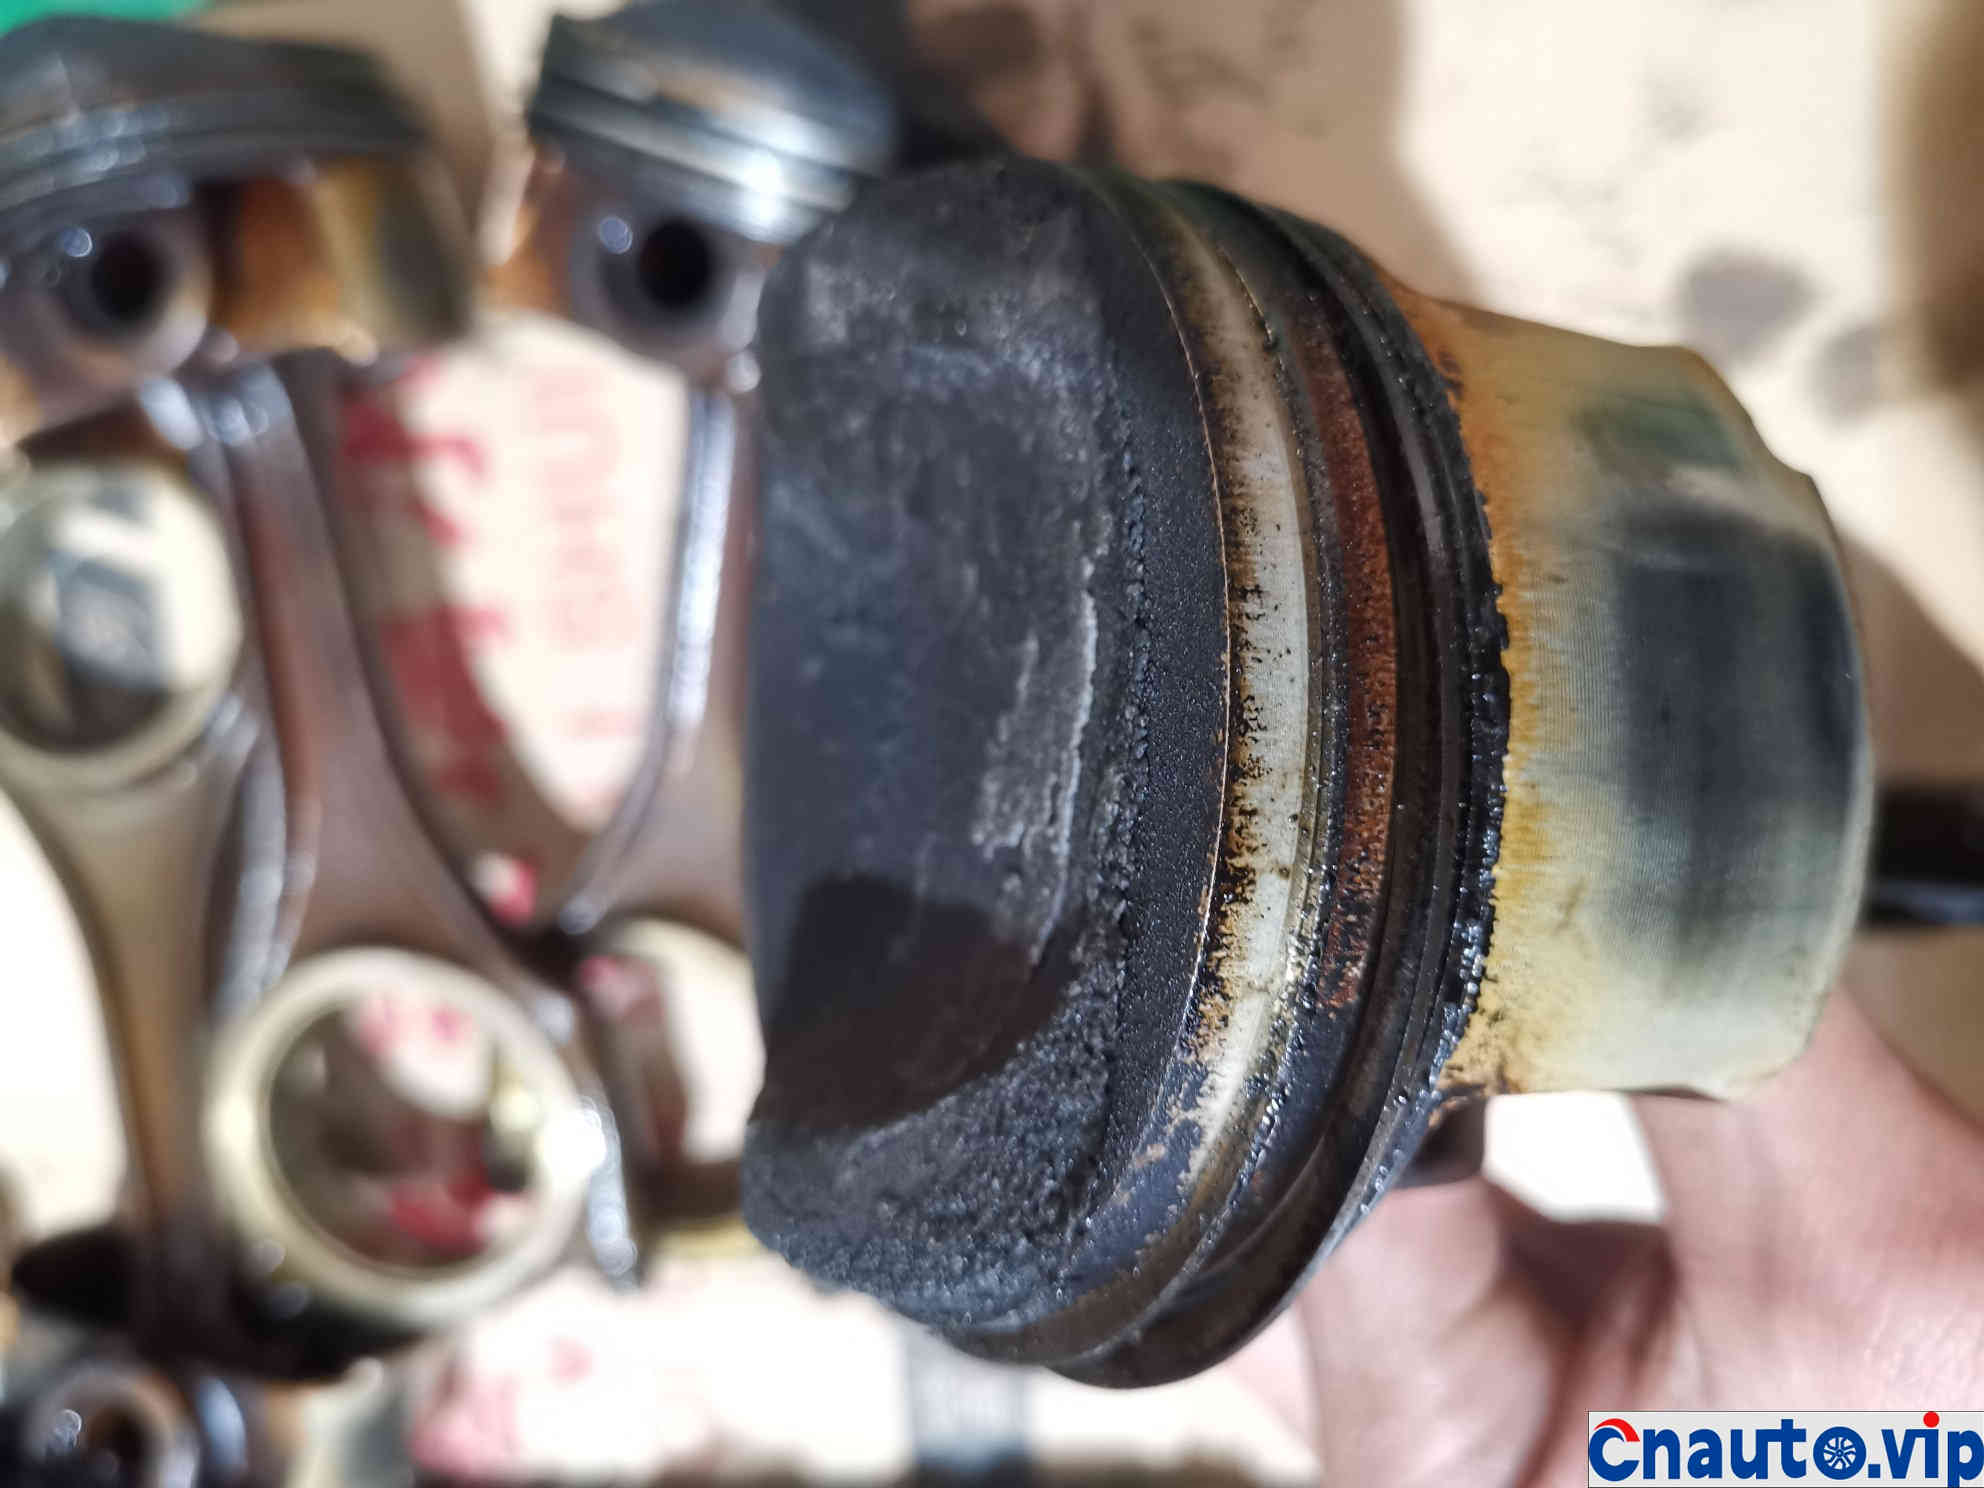
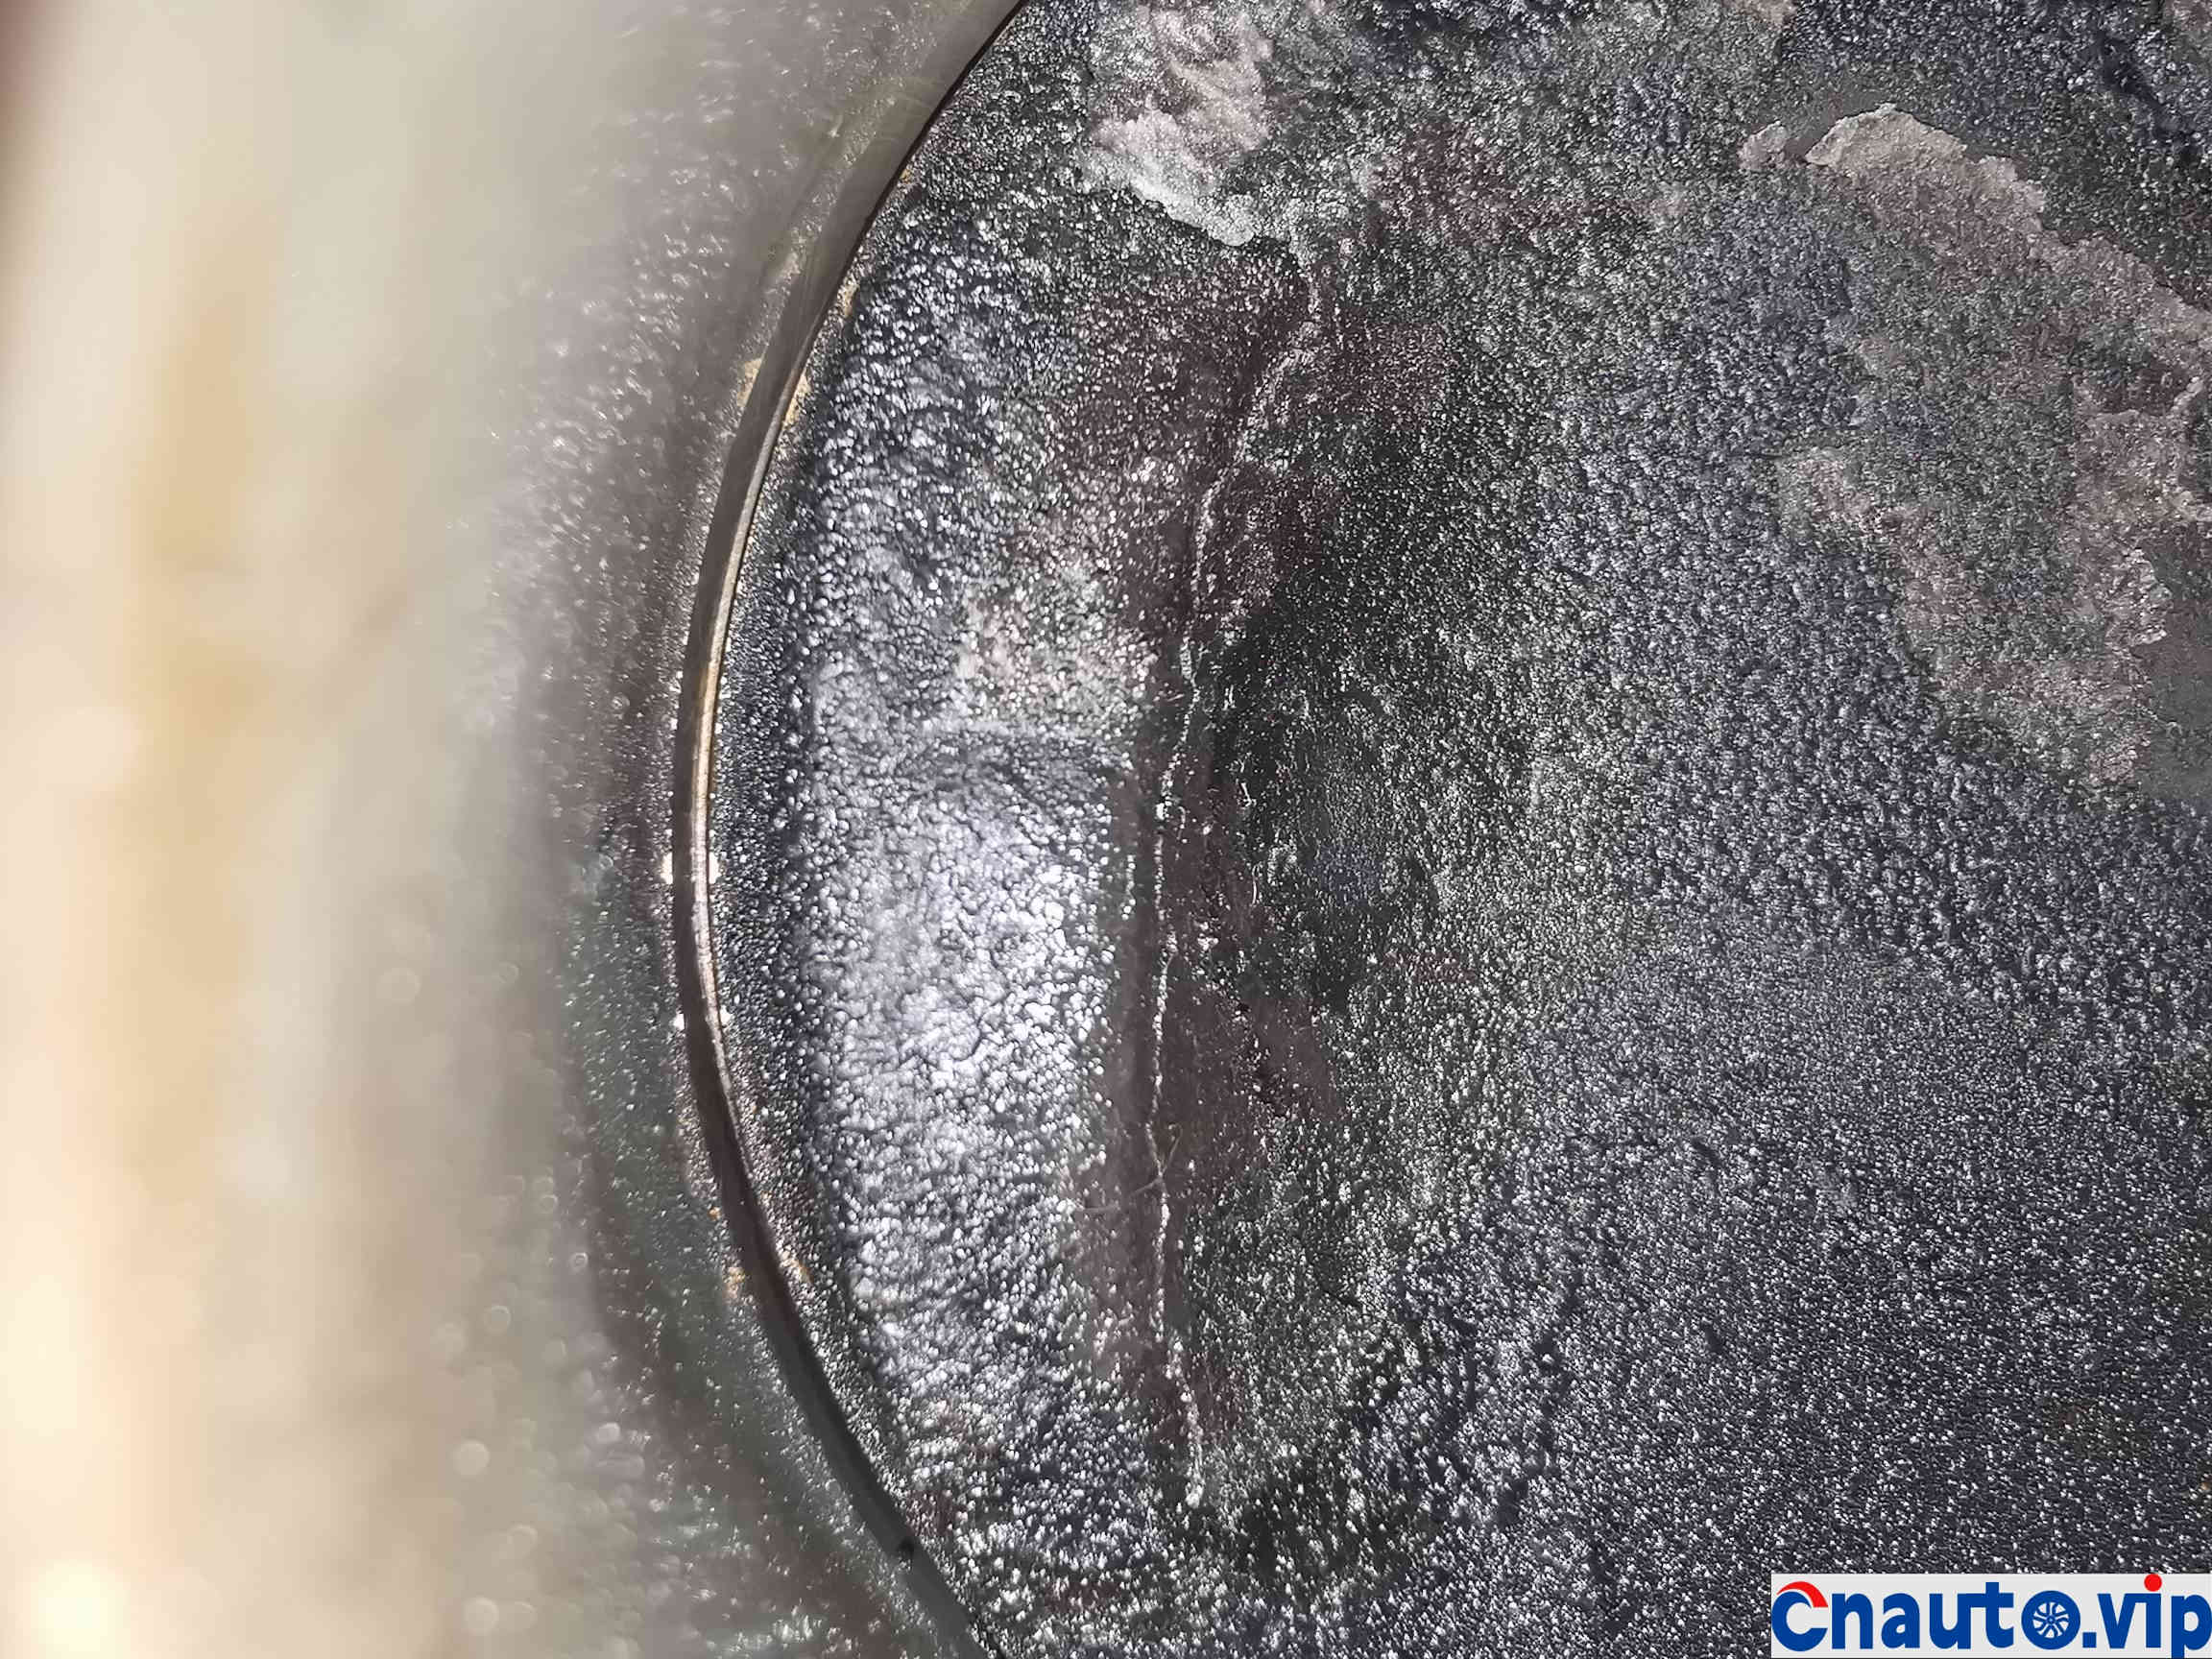
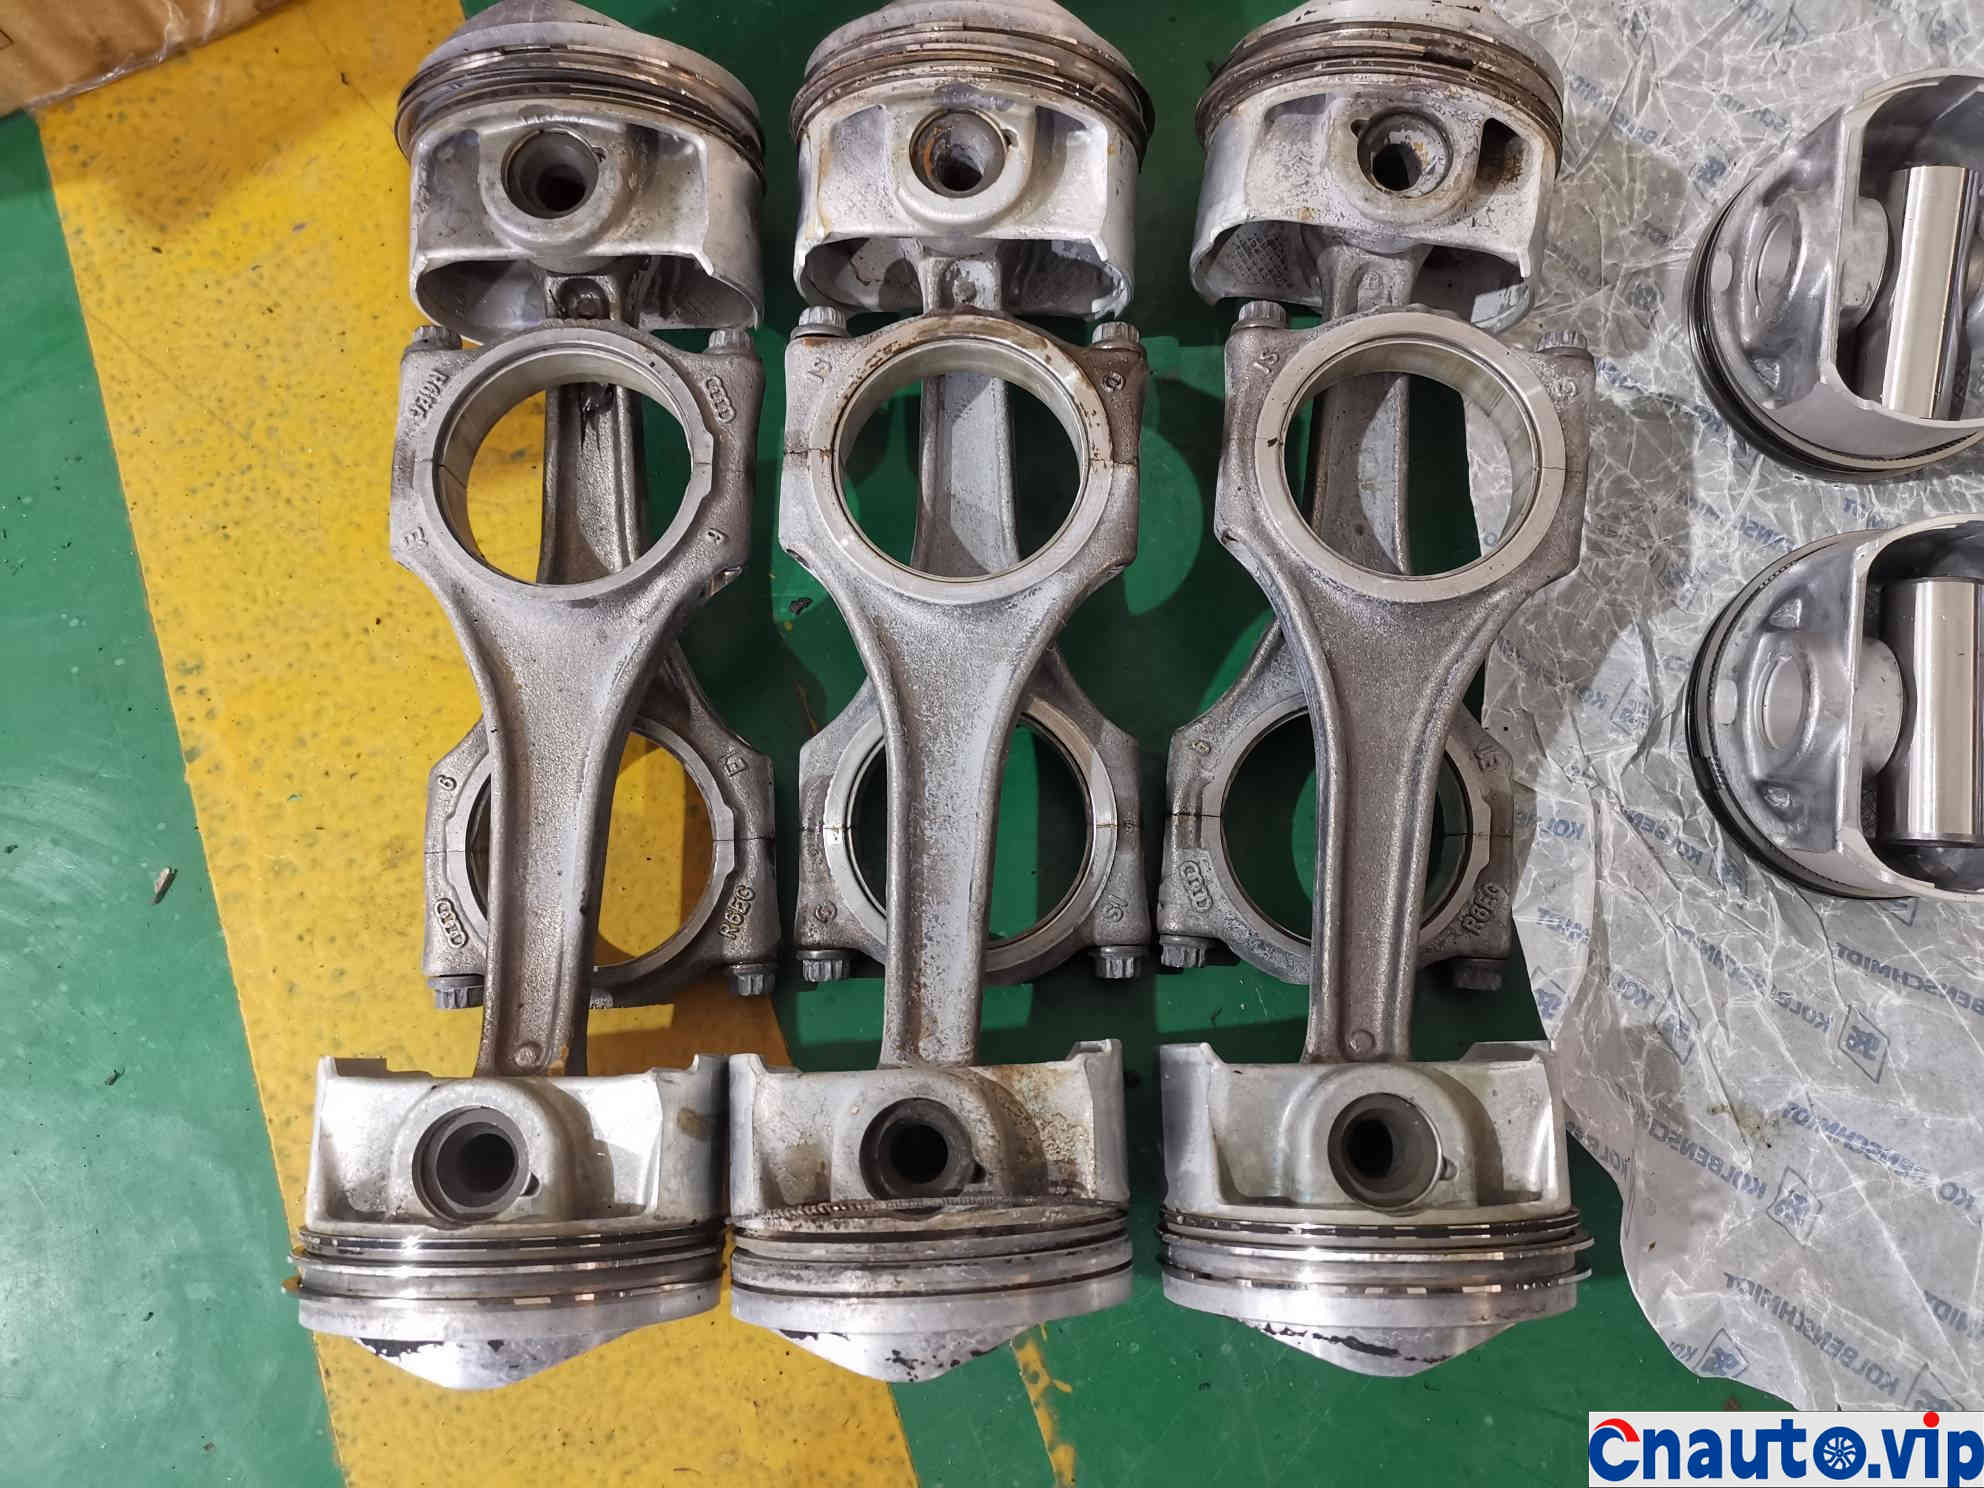
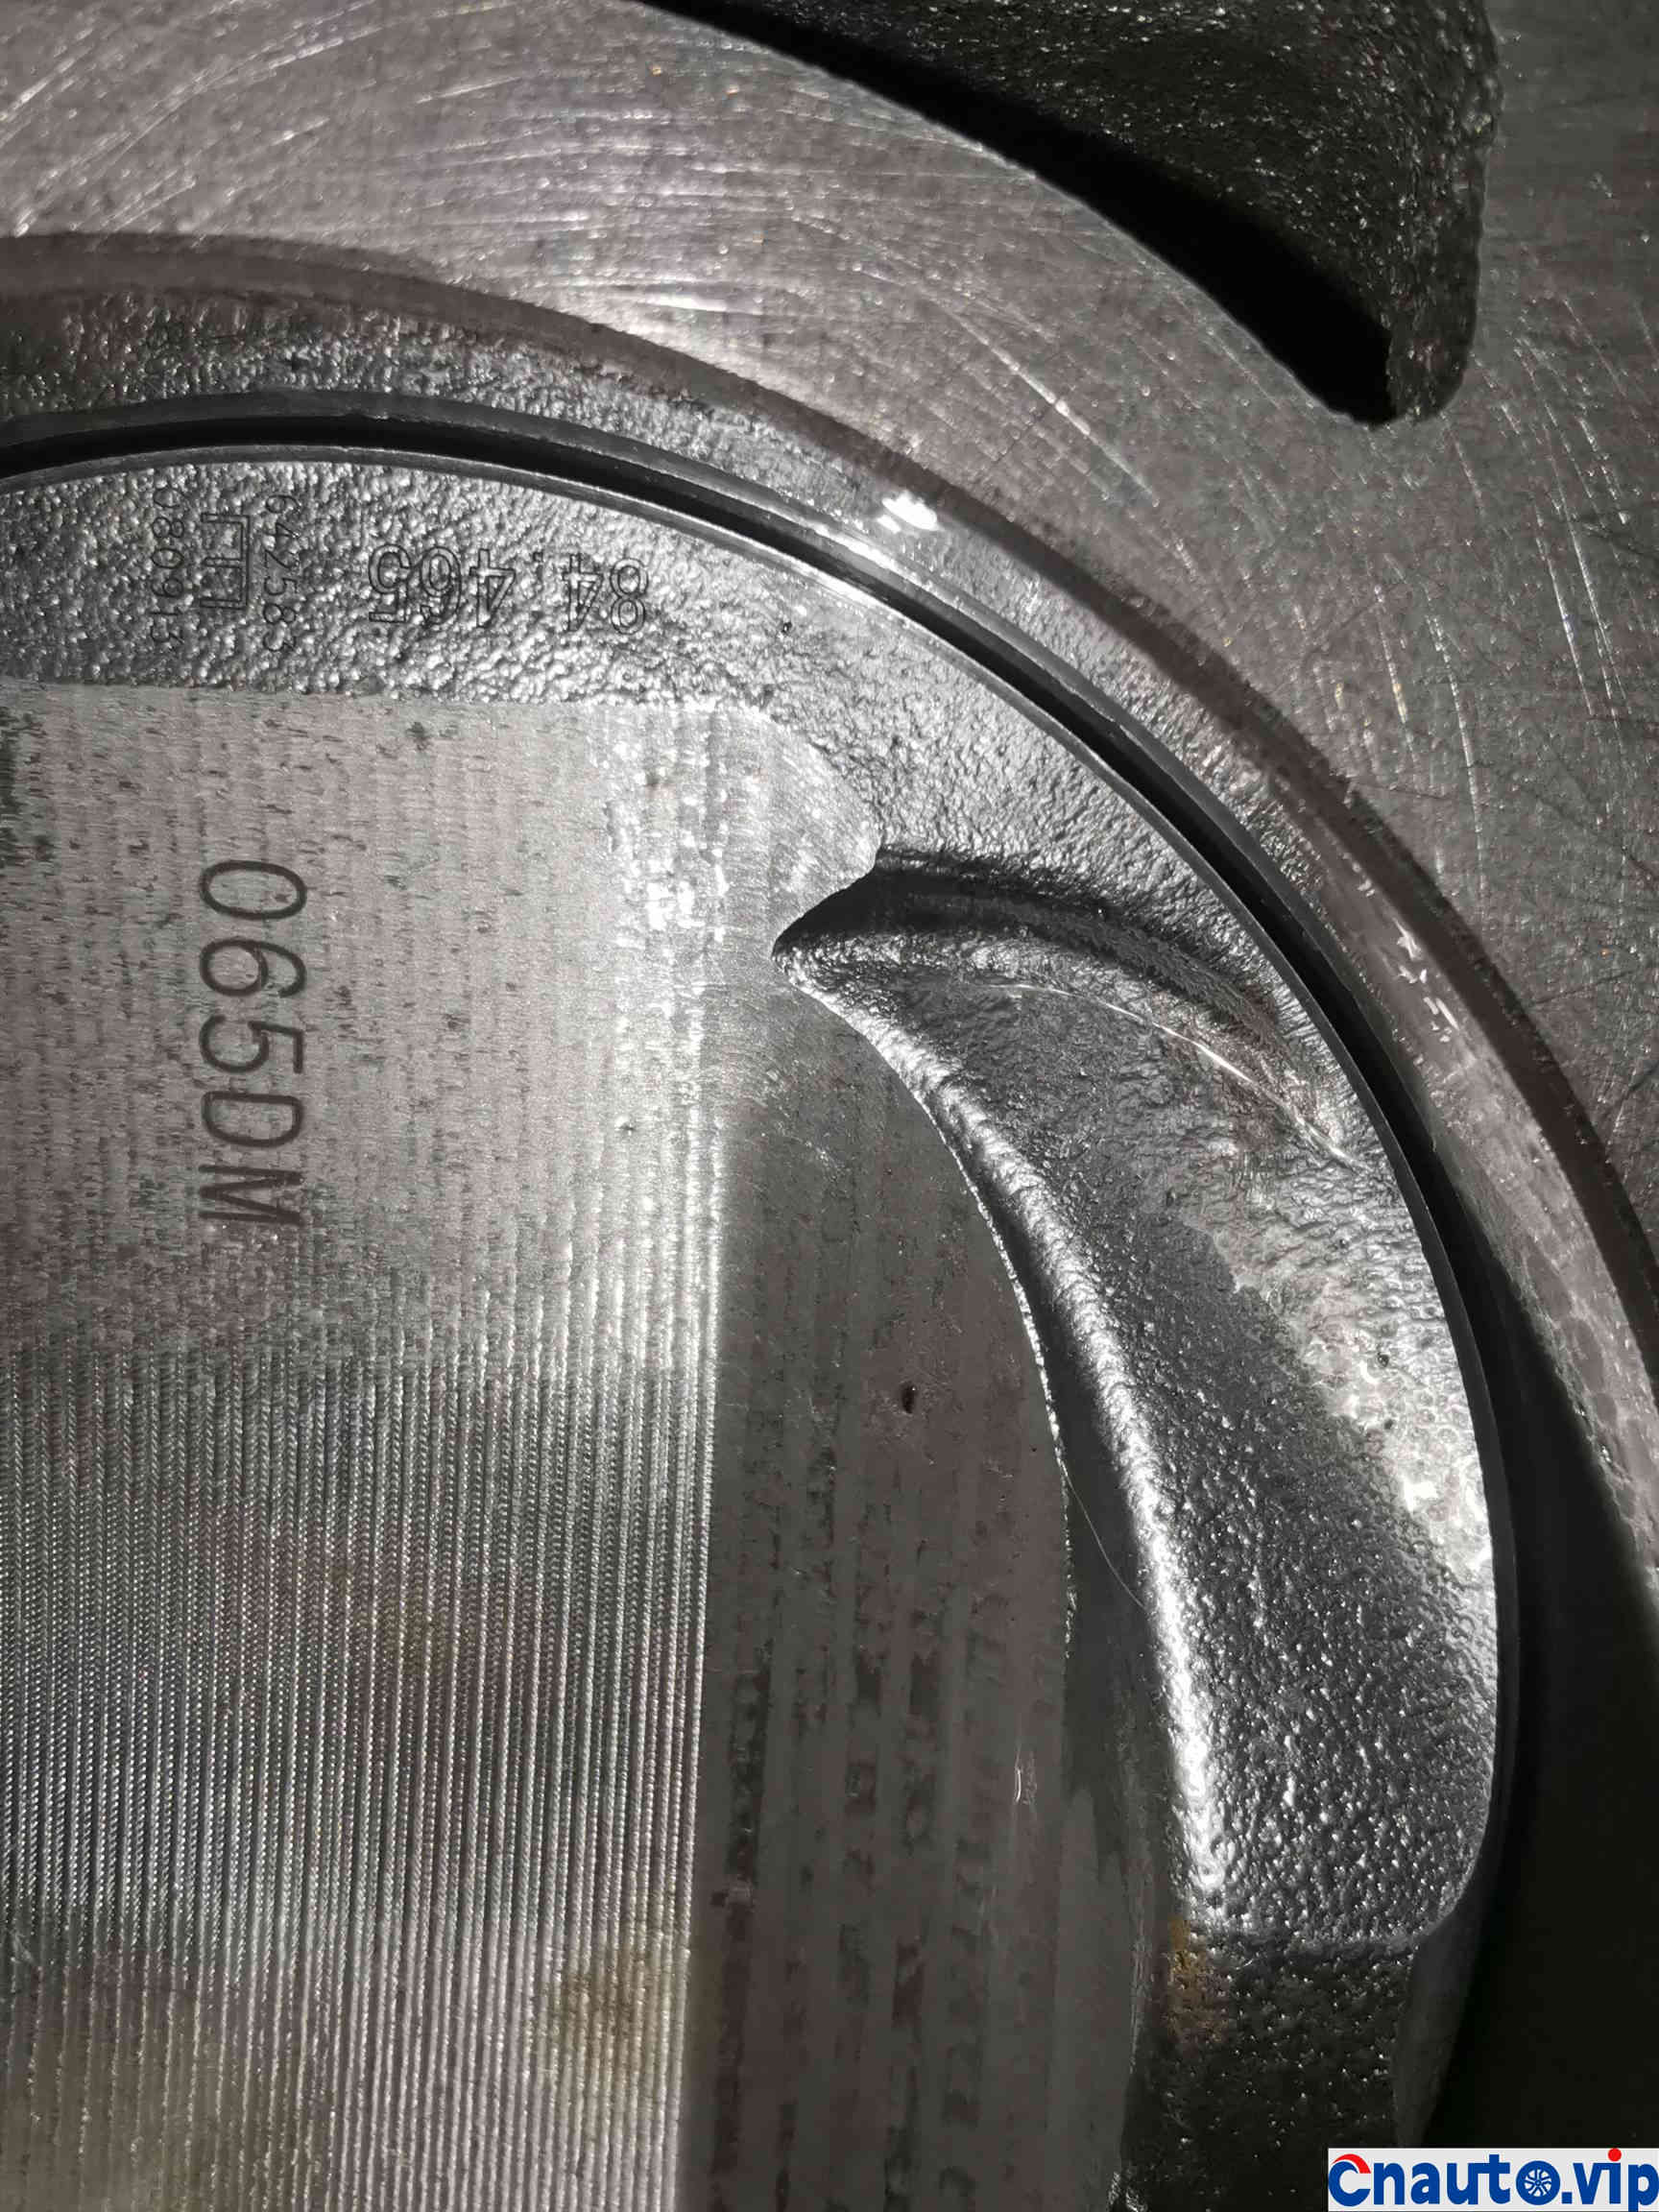
Carbon deposits on the piston are stuck
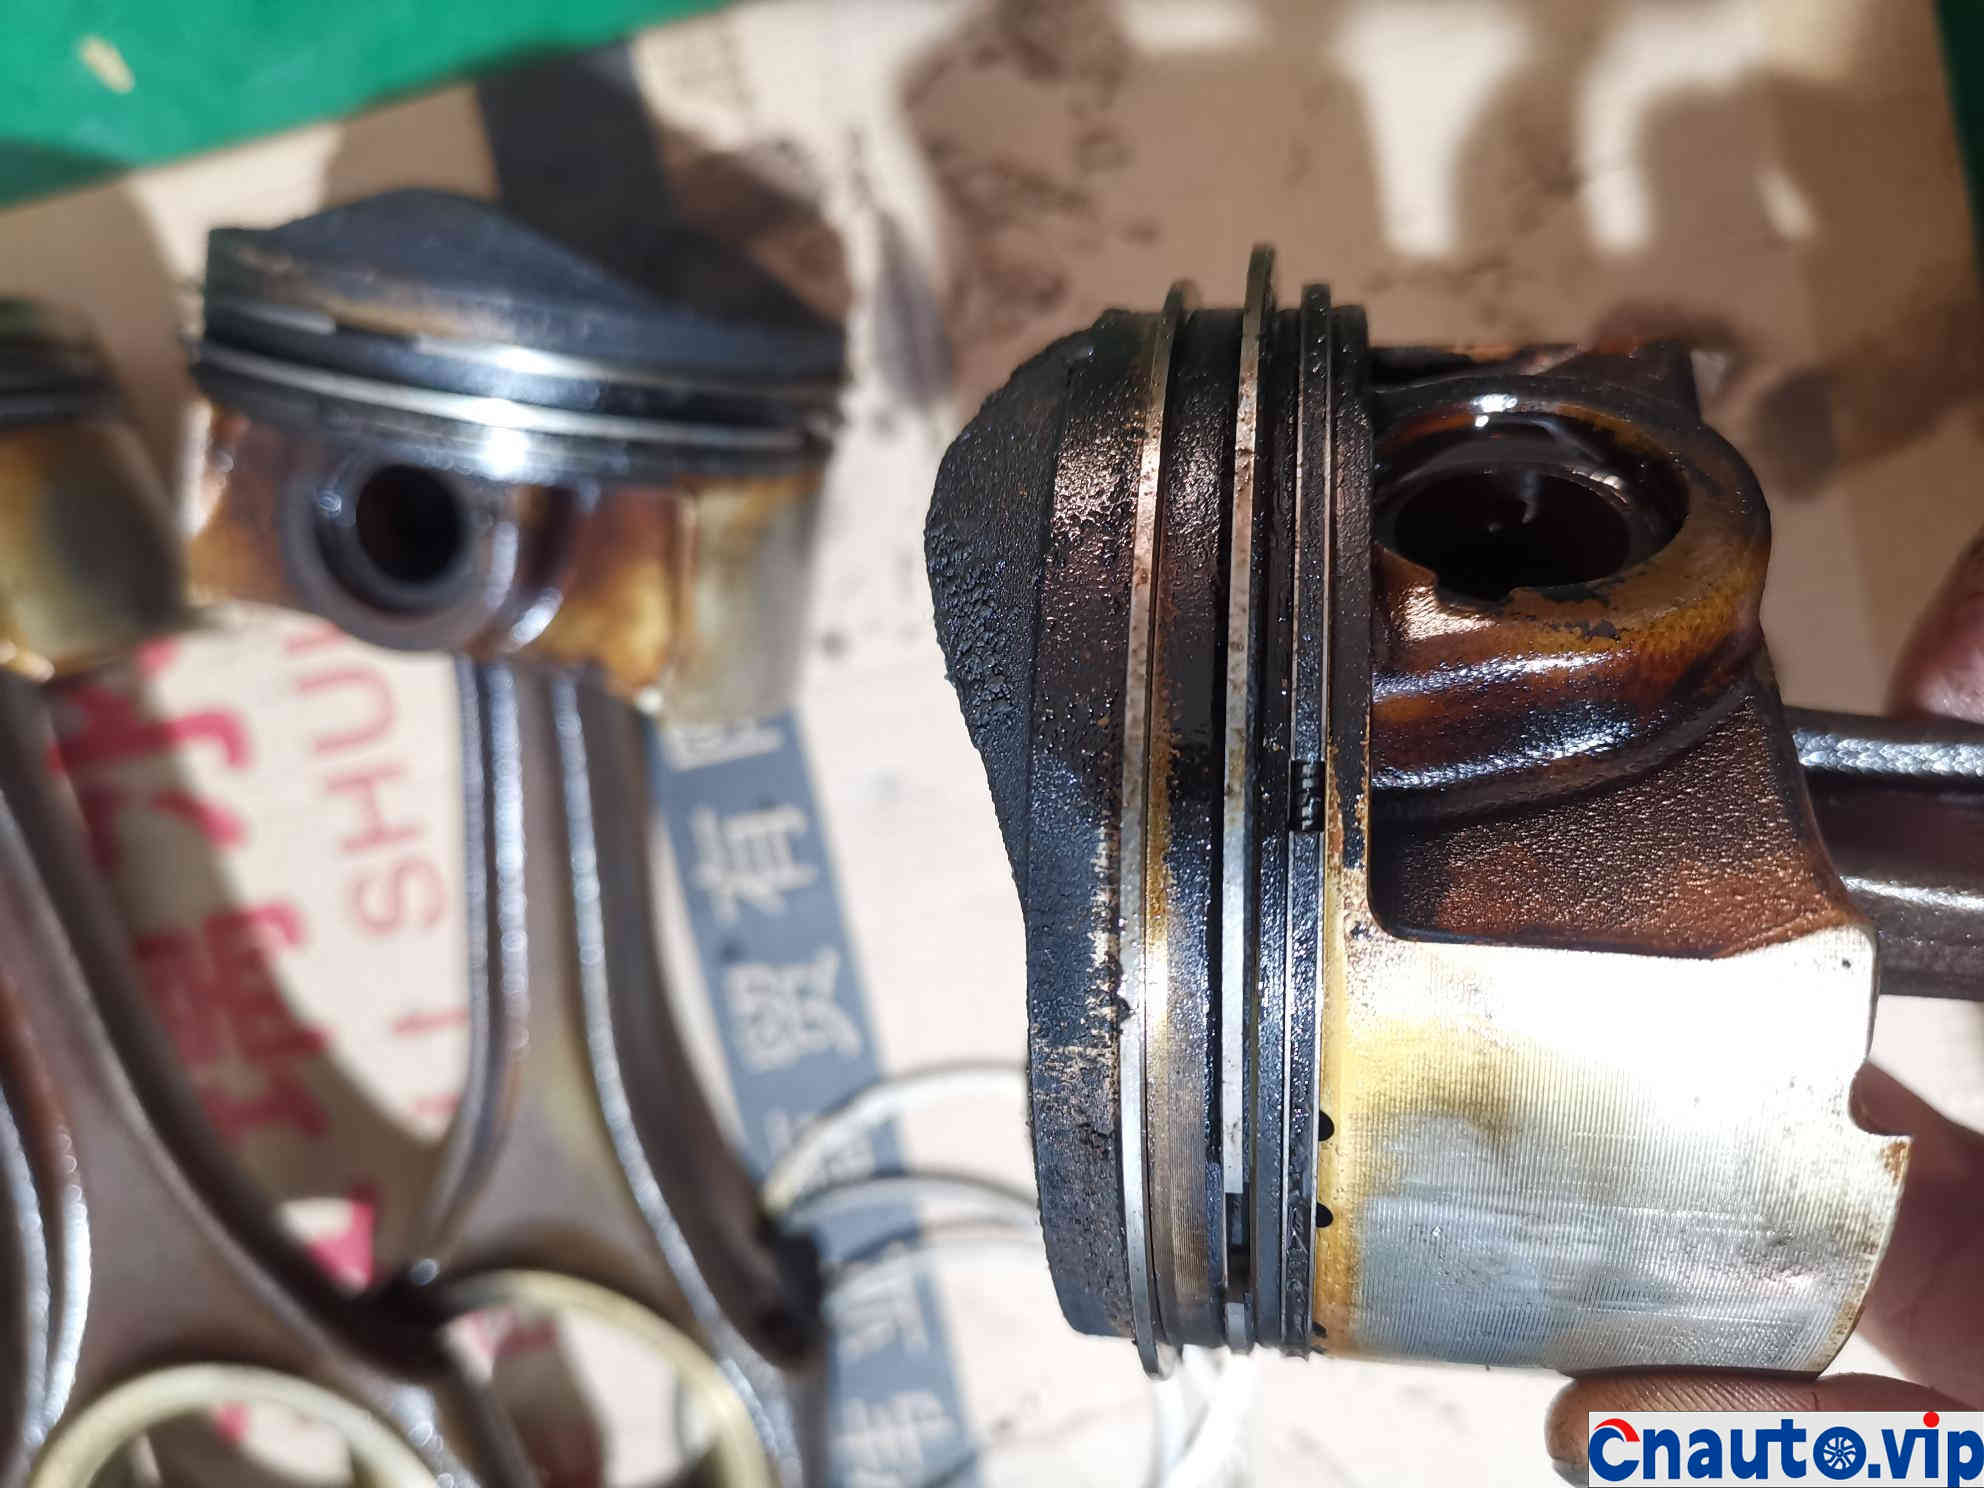
A thick layer of carbon deposits fills the oil ring
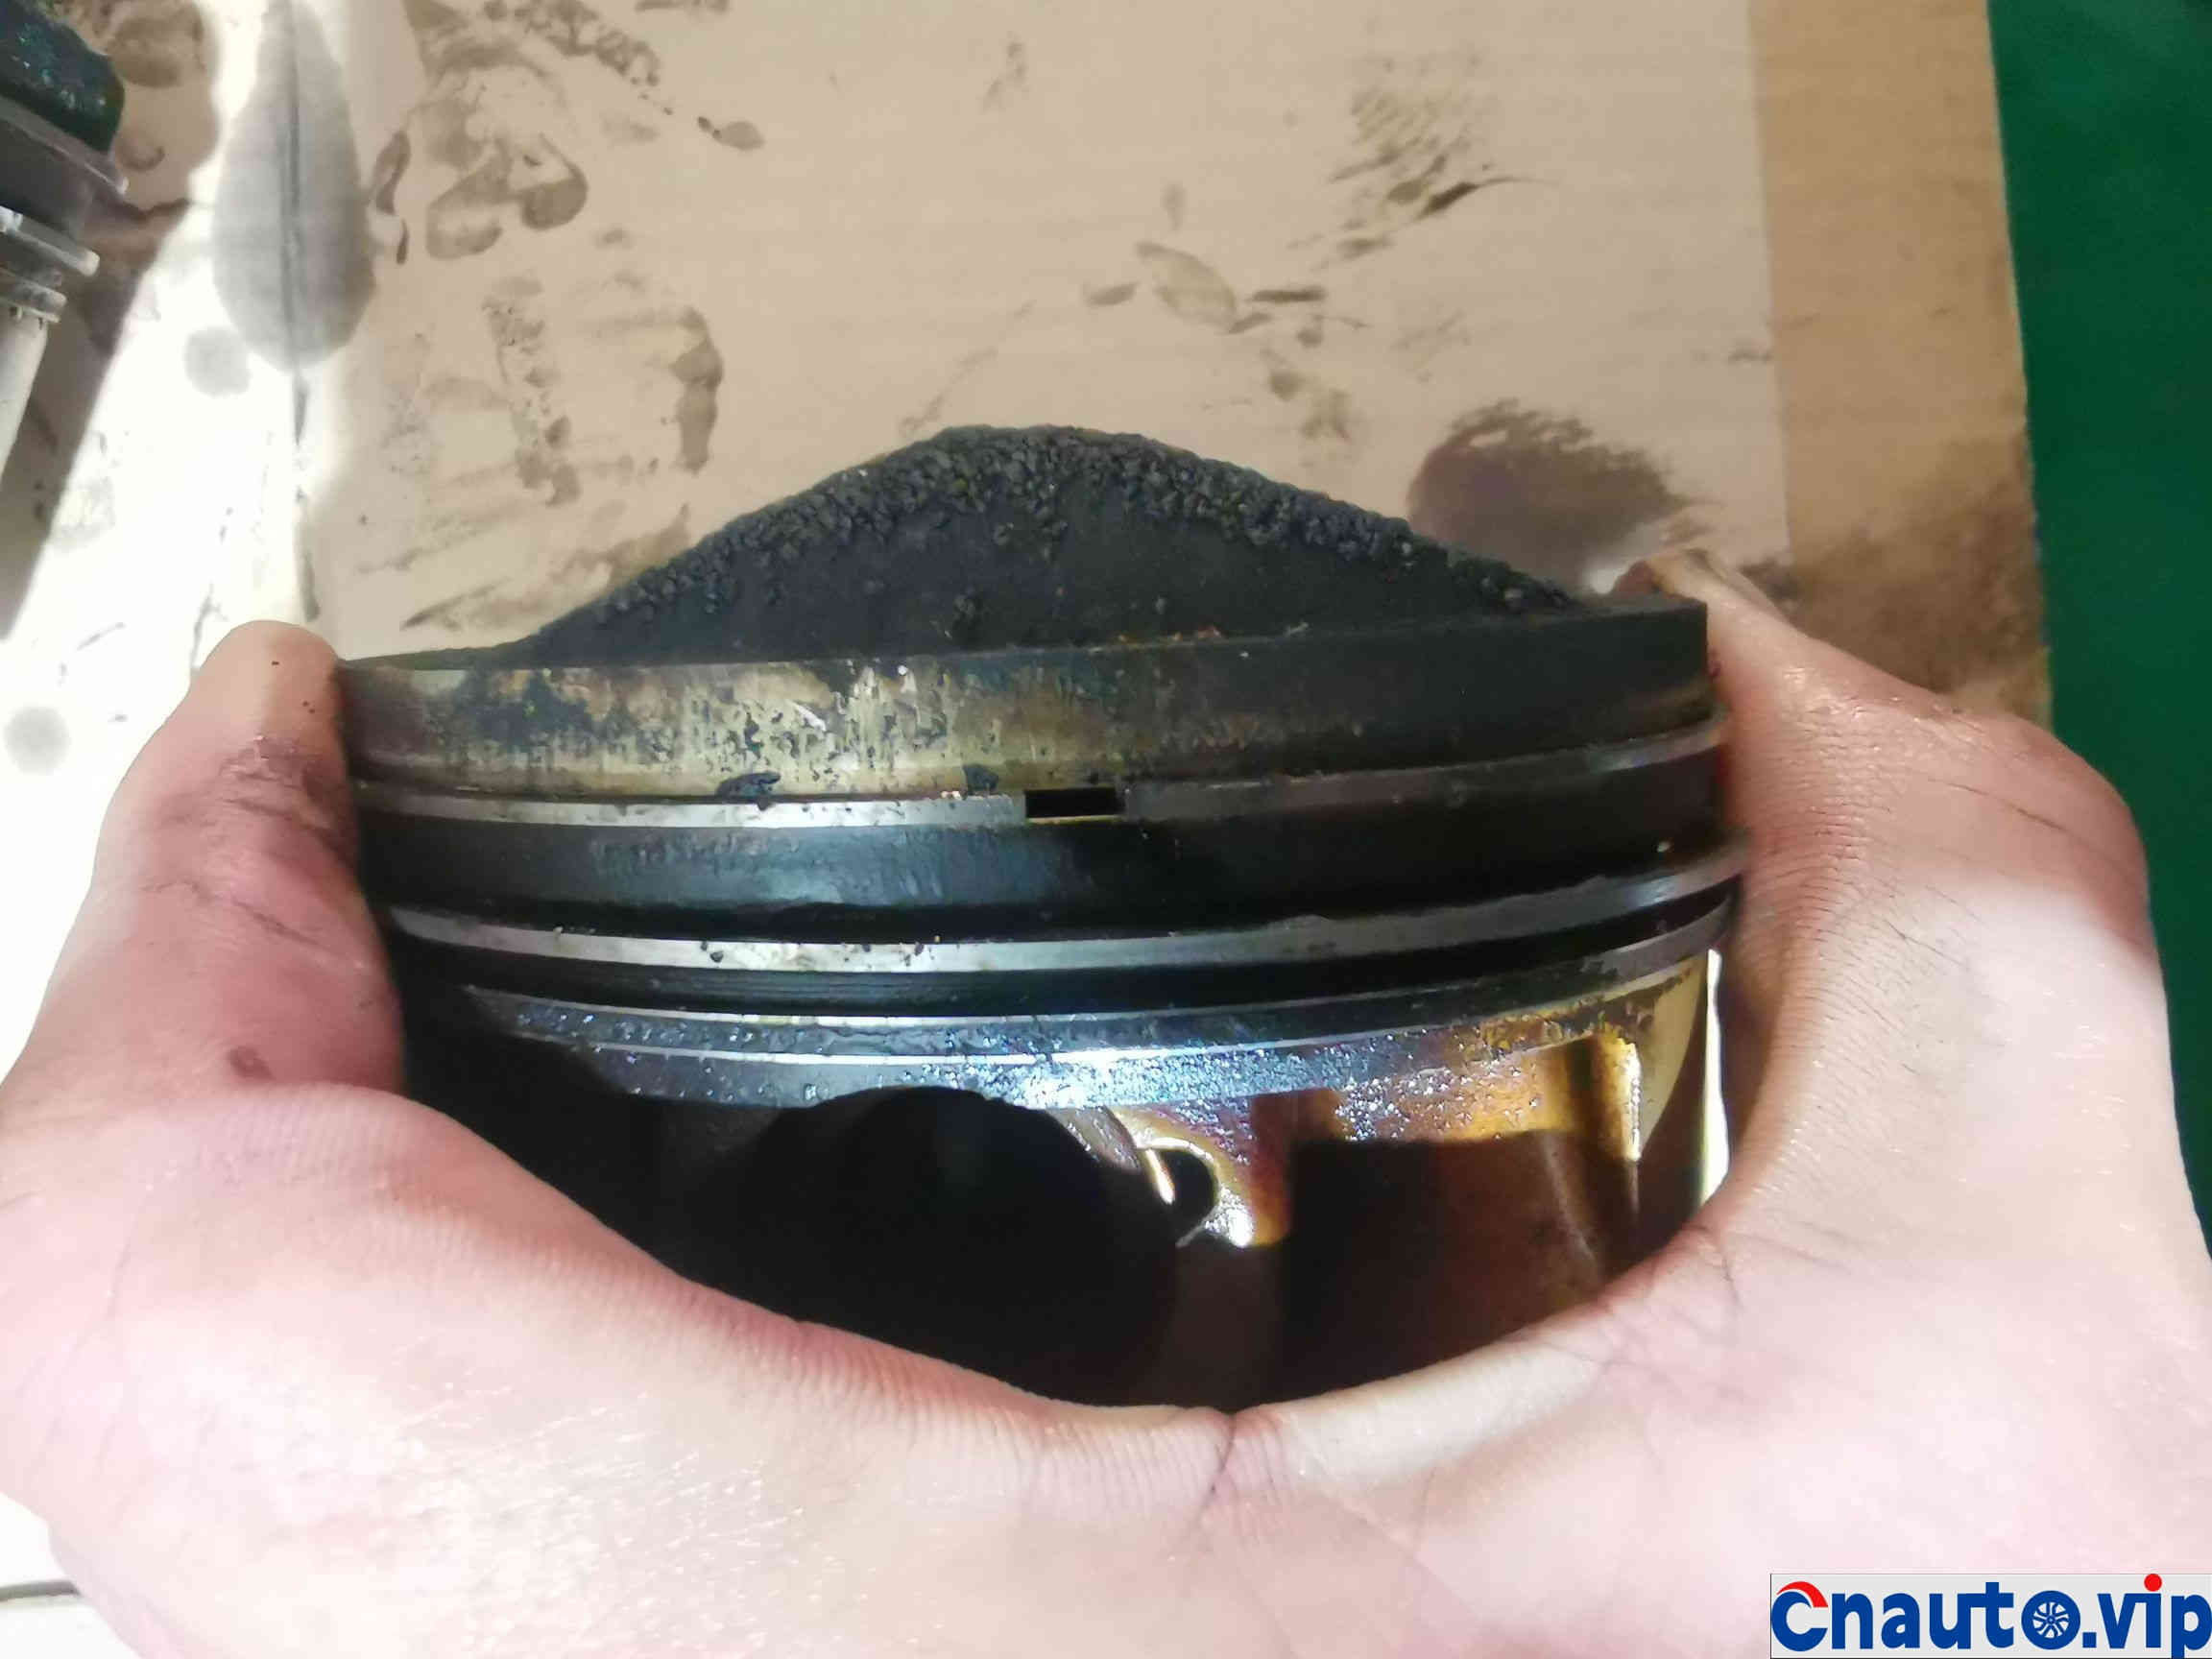
The piston ring elasticity is not enough and worn
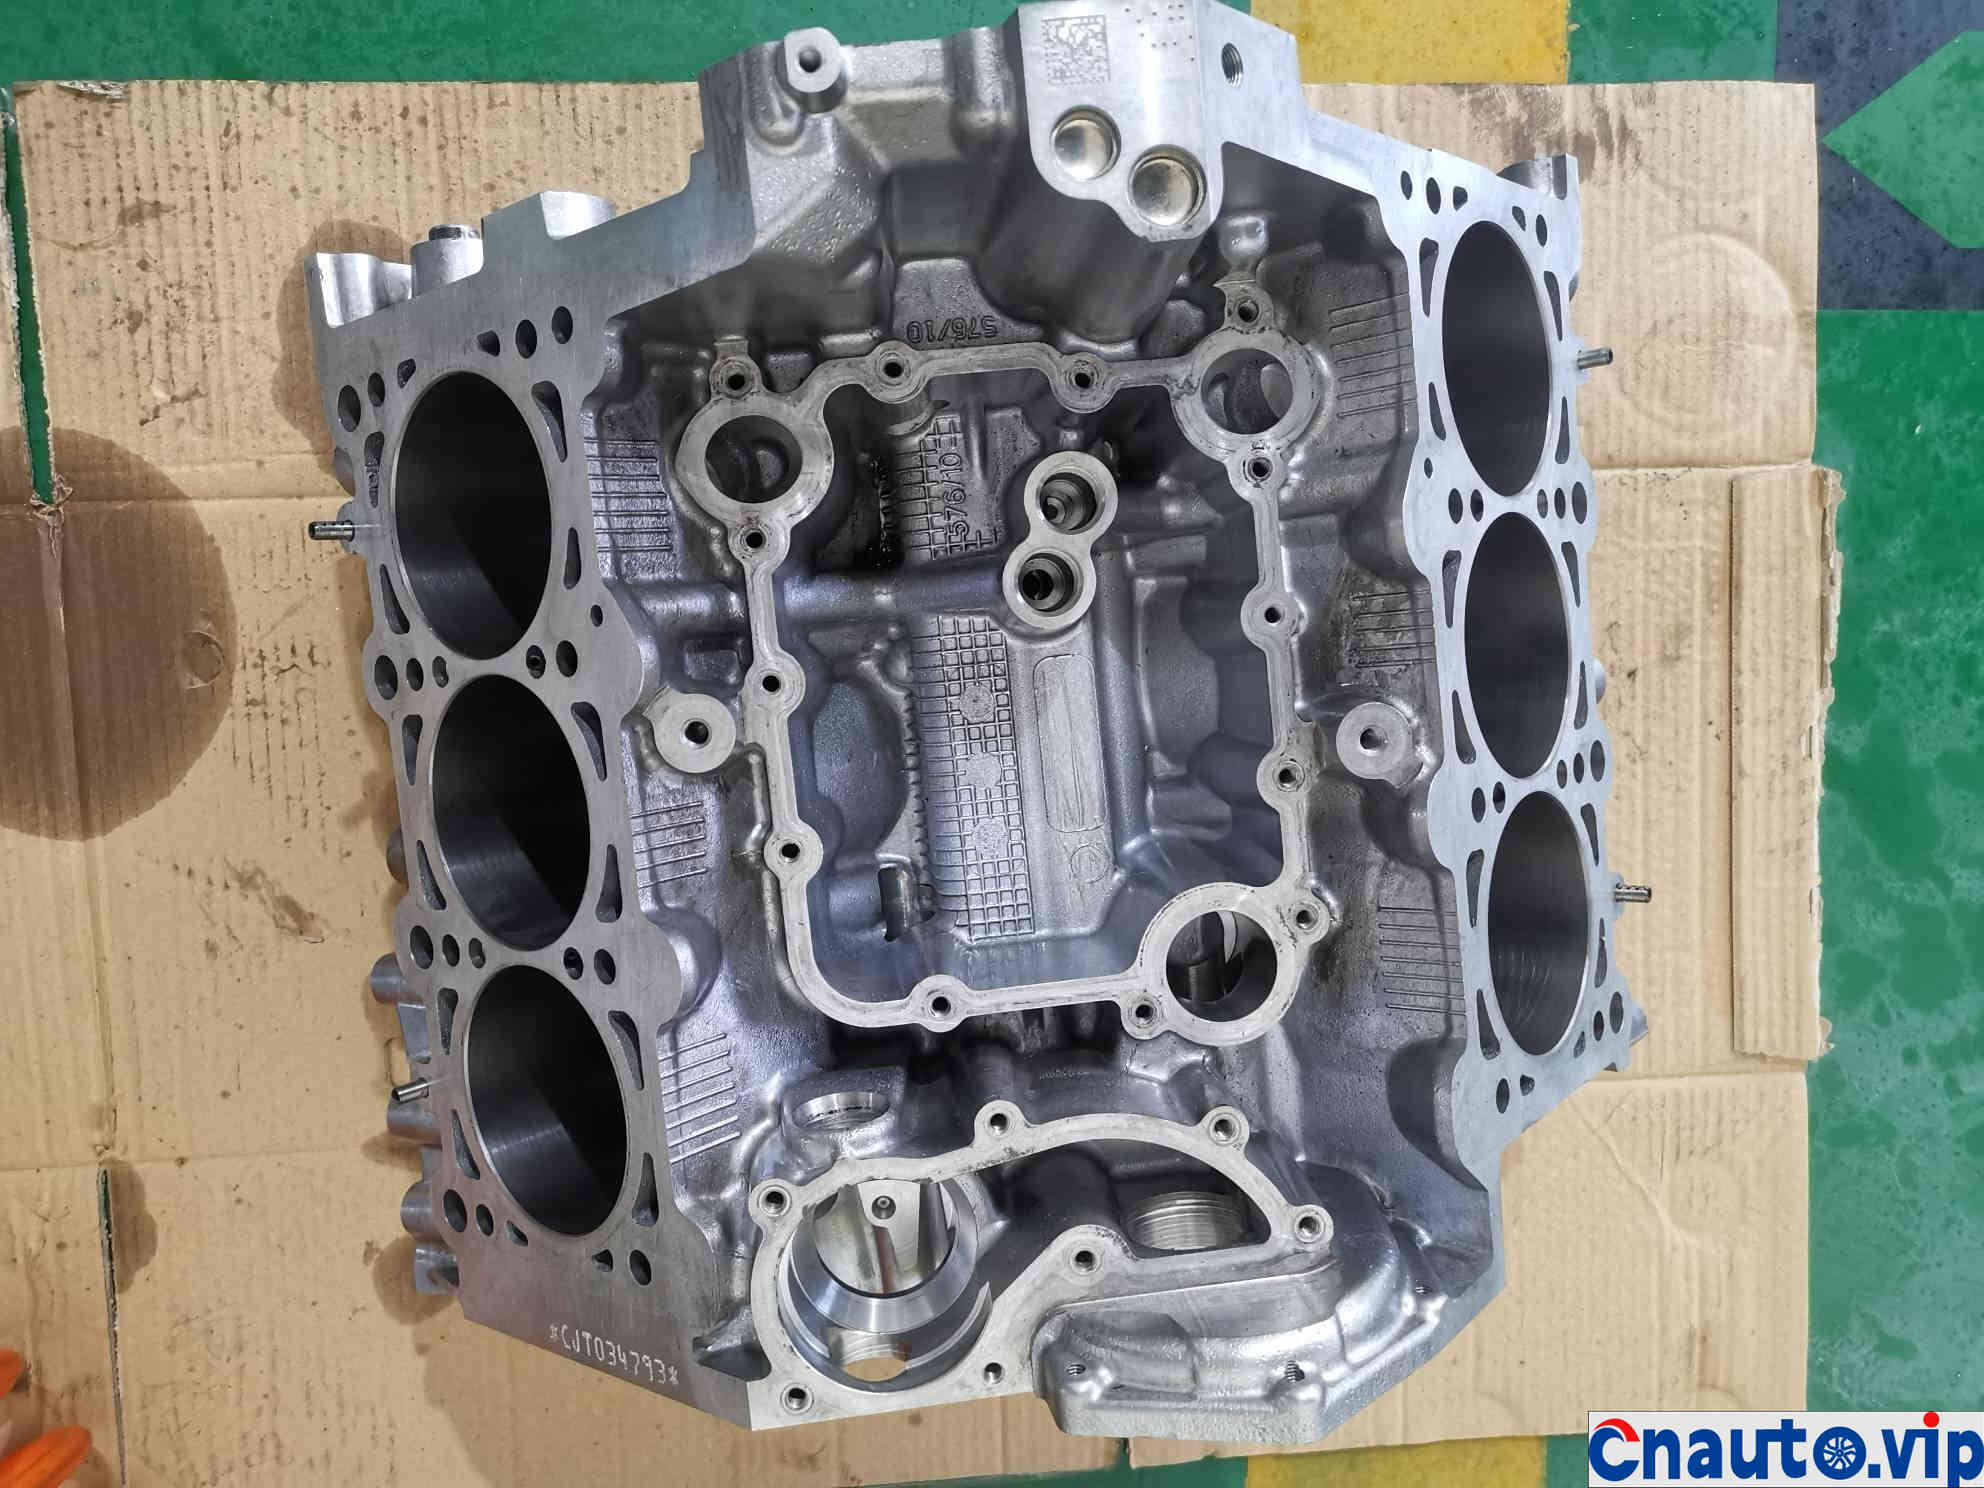
Replacement of cylinder liners (original car cylinders are made of aluminum) Cylinder blocks have been cleaned
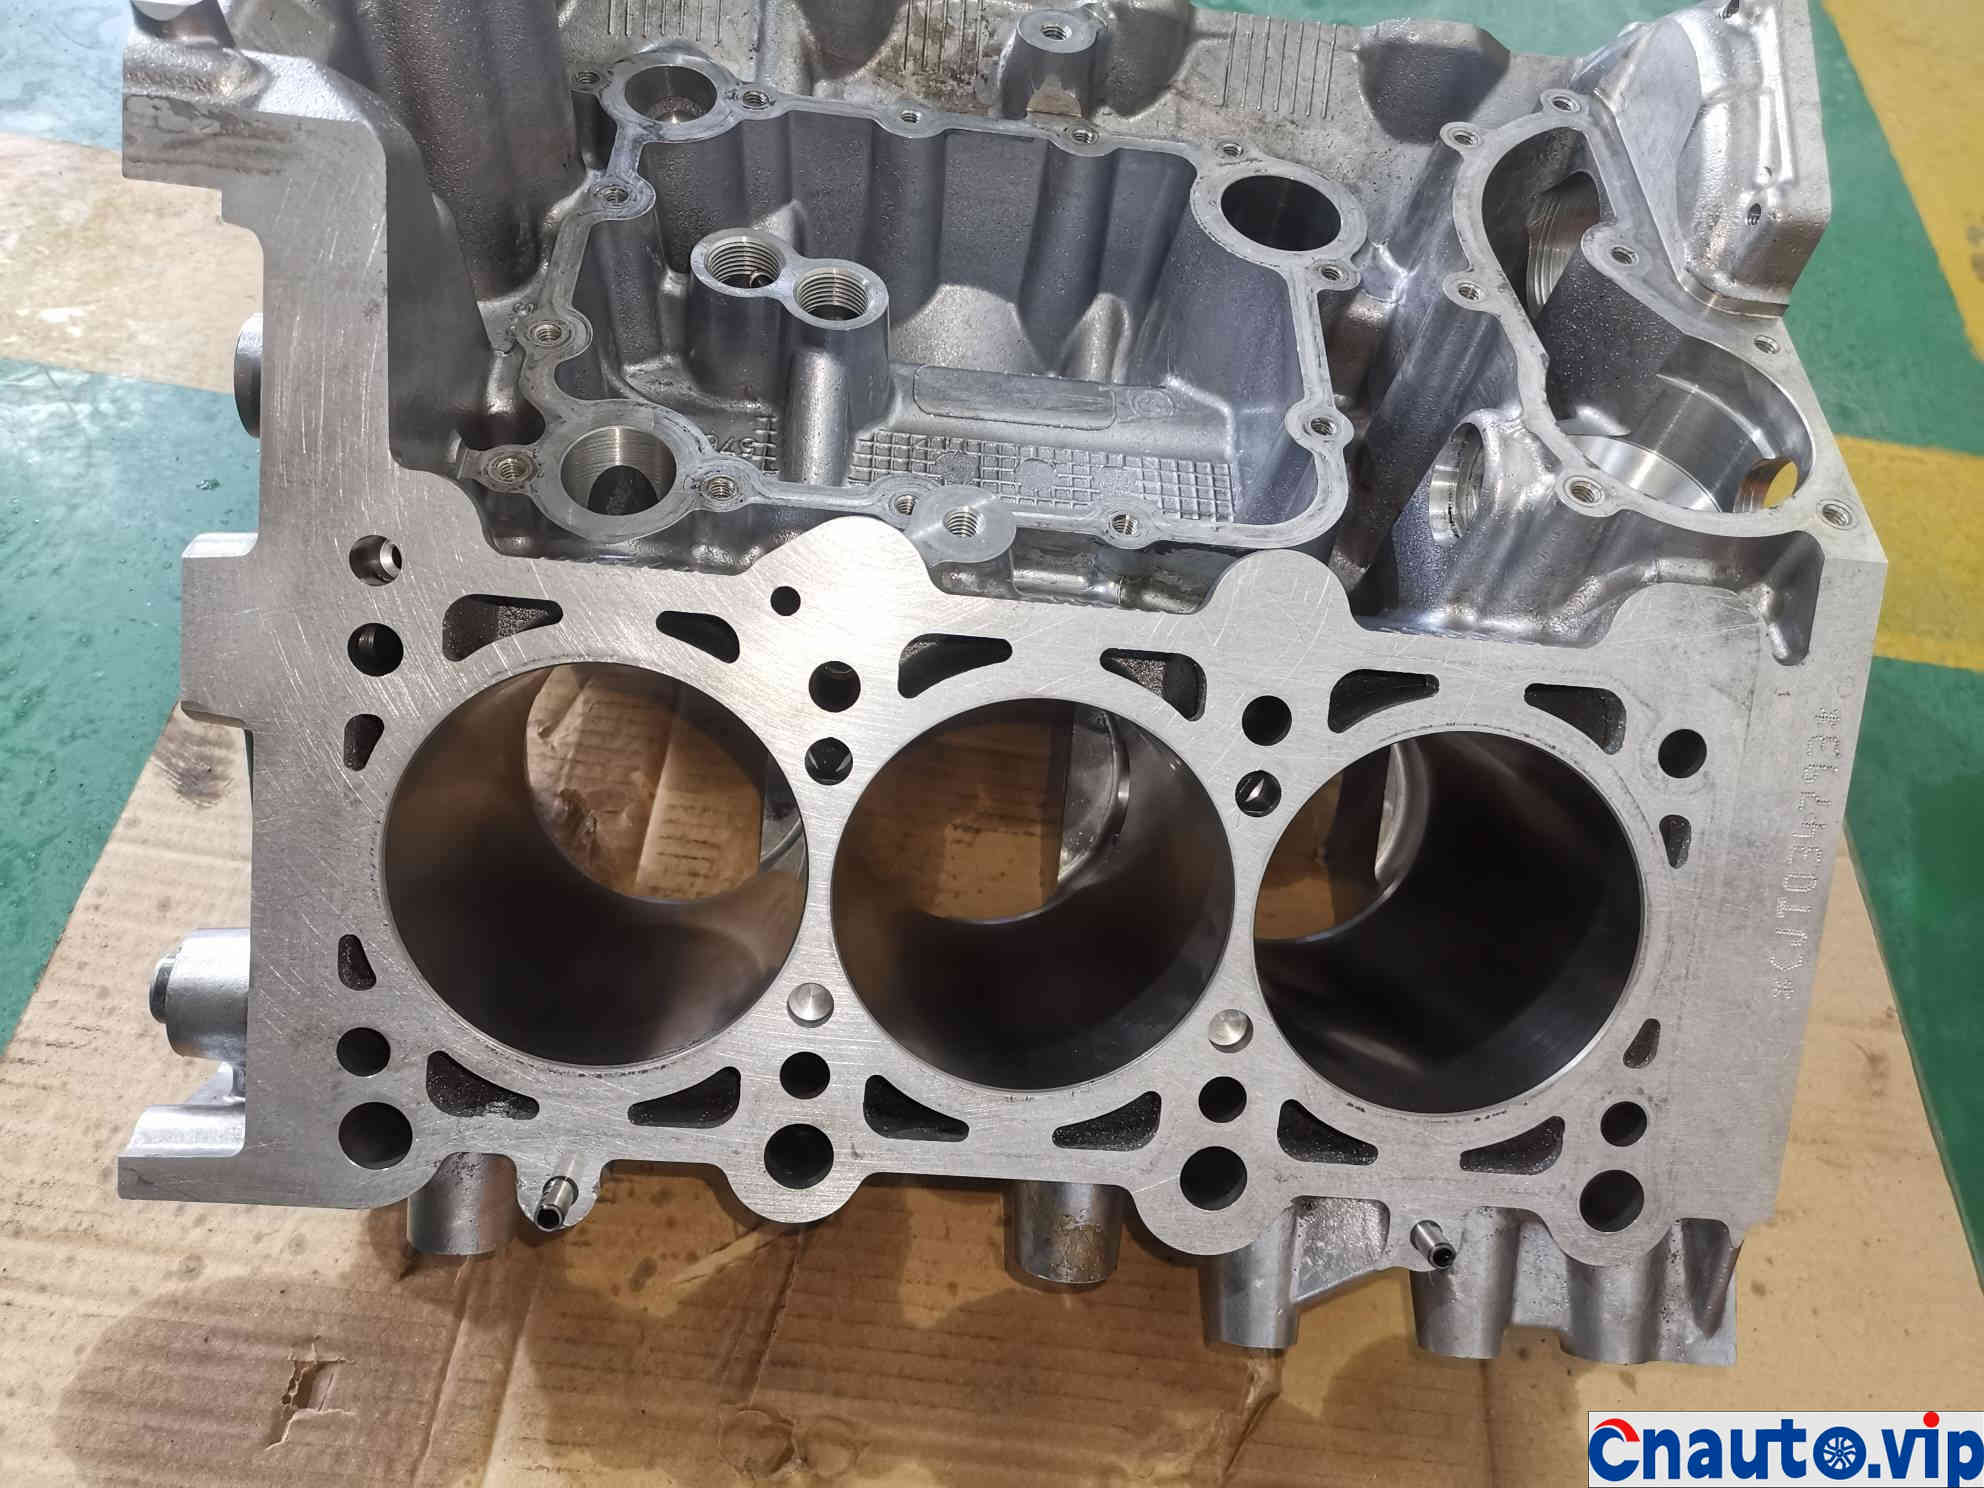
Replace the cylinder liner with a new one
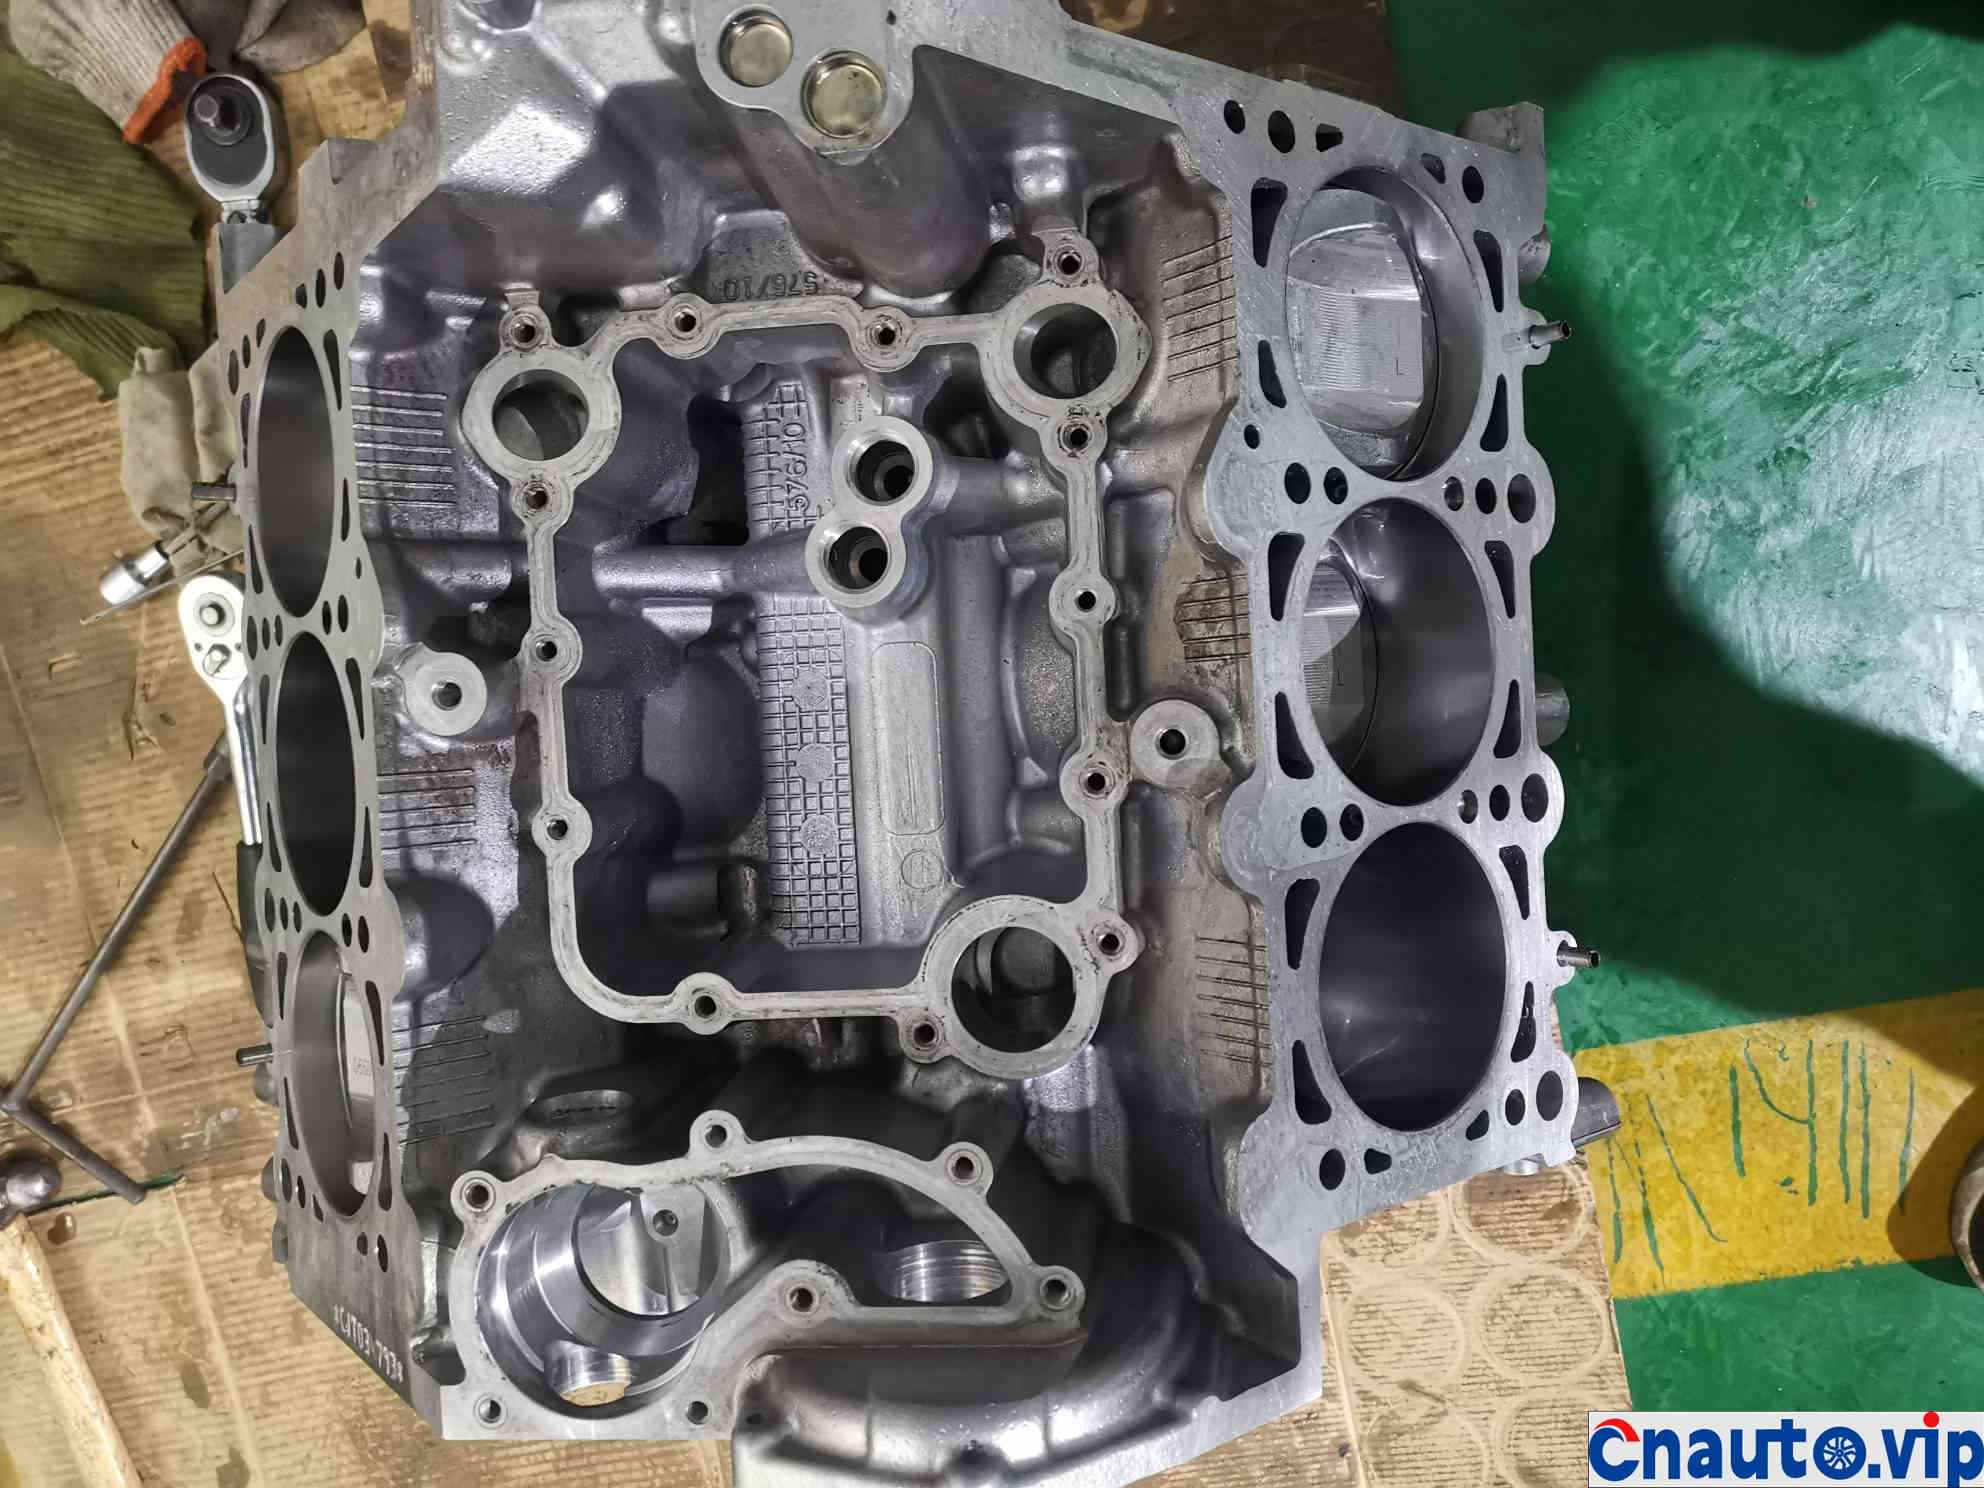
Is the middle section of the cylinder body clean after cleaning?
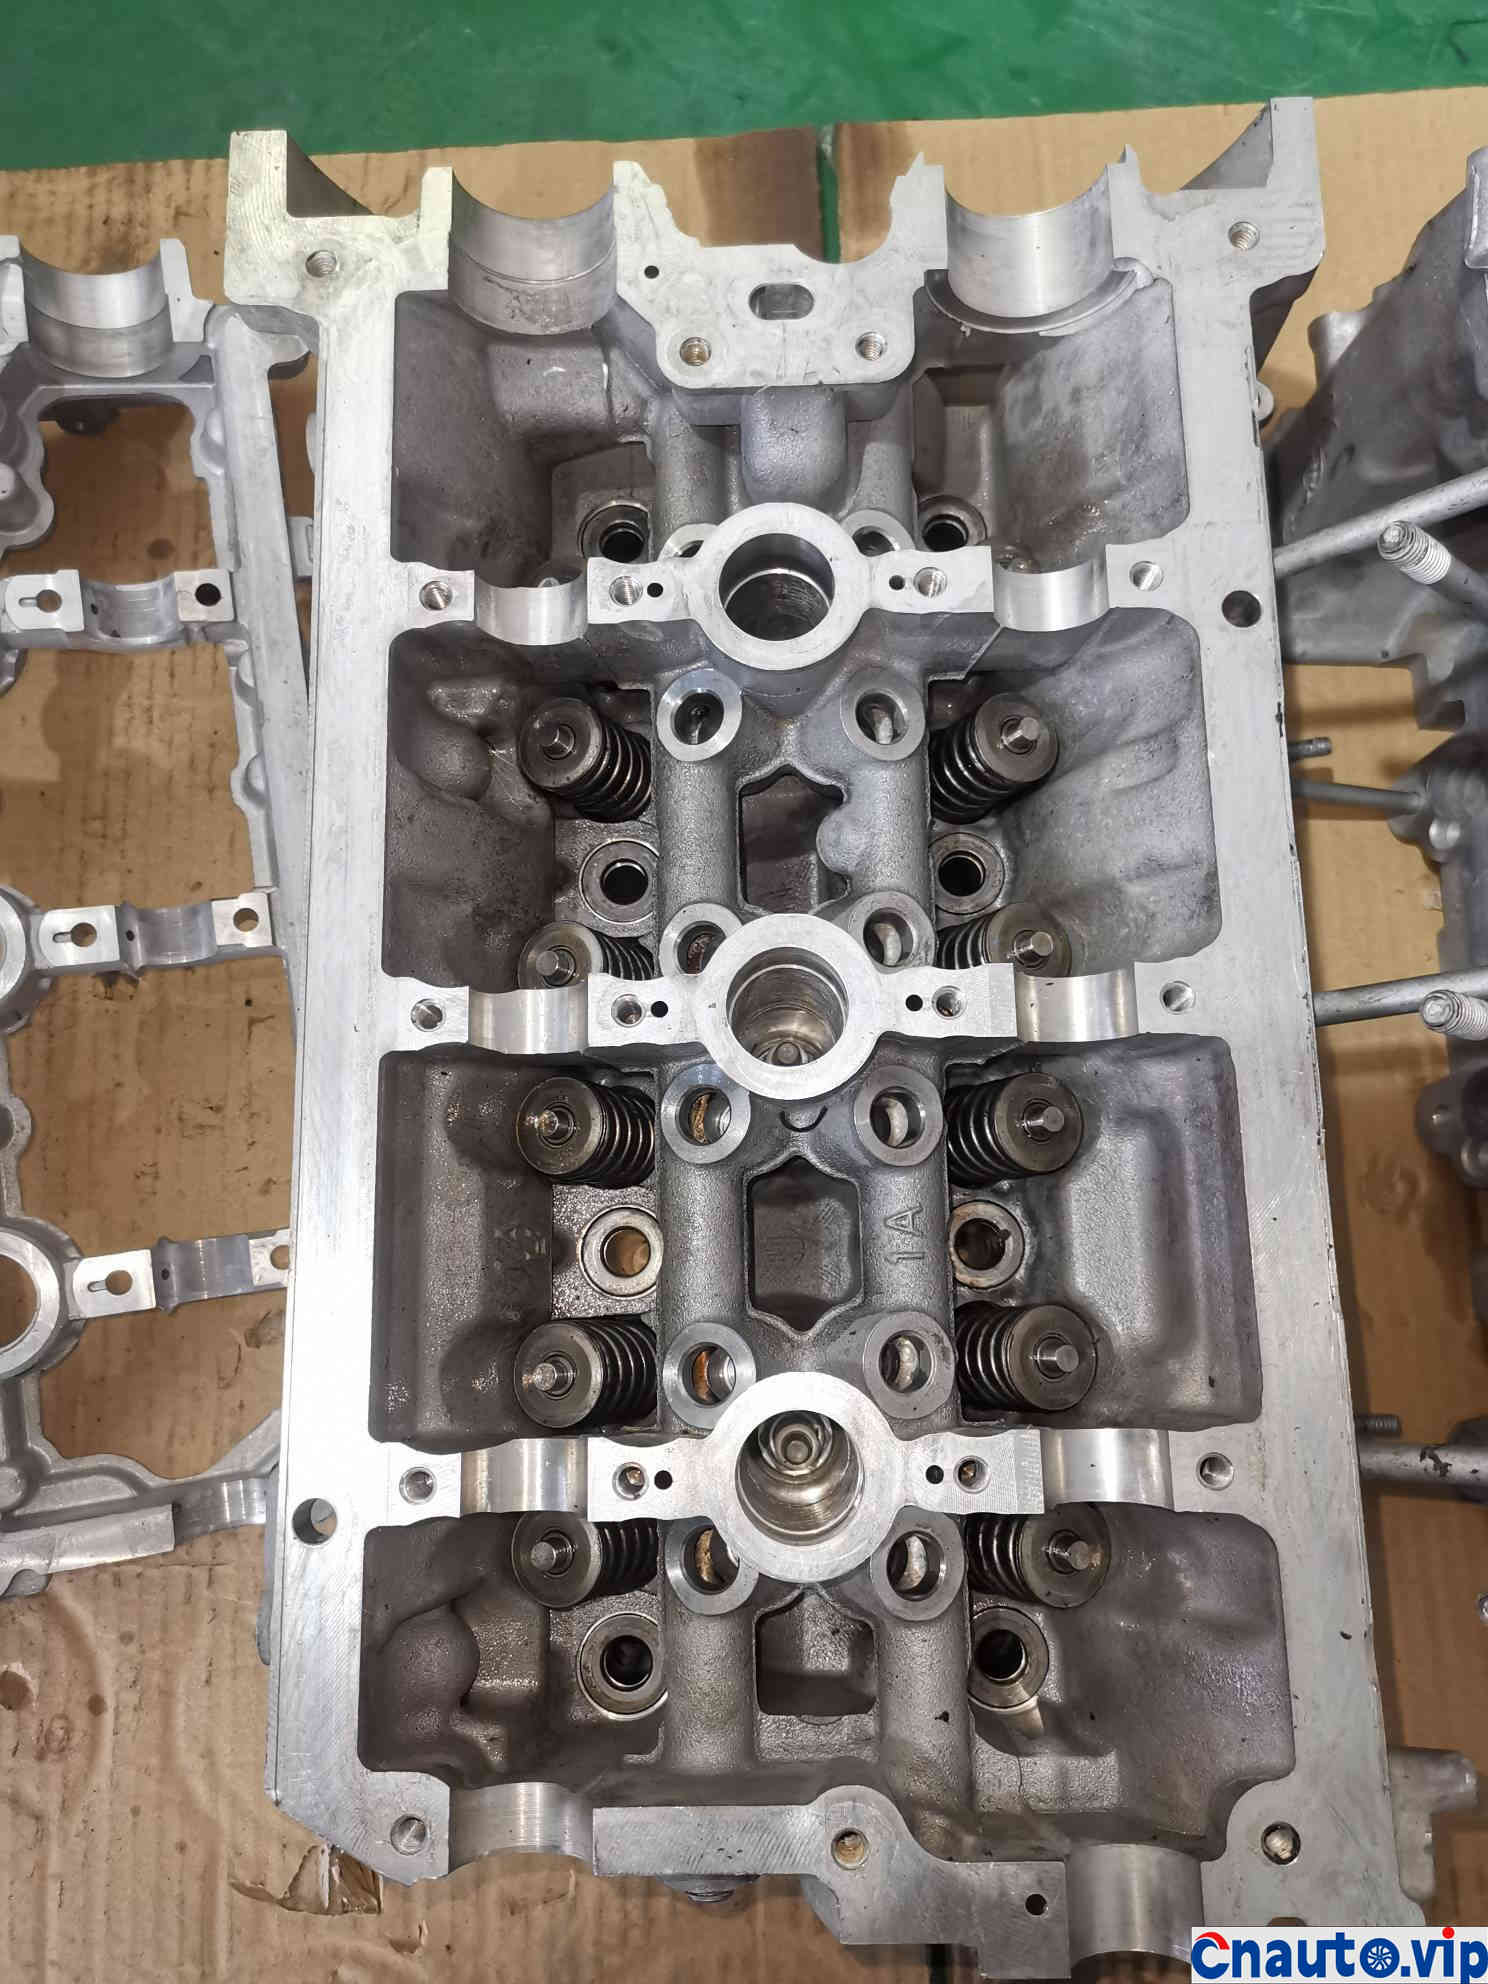
The cylinder head after valve oil seal replacement and improvement has been cleaned completely
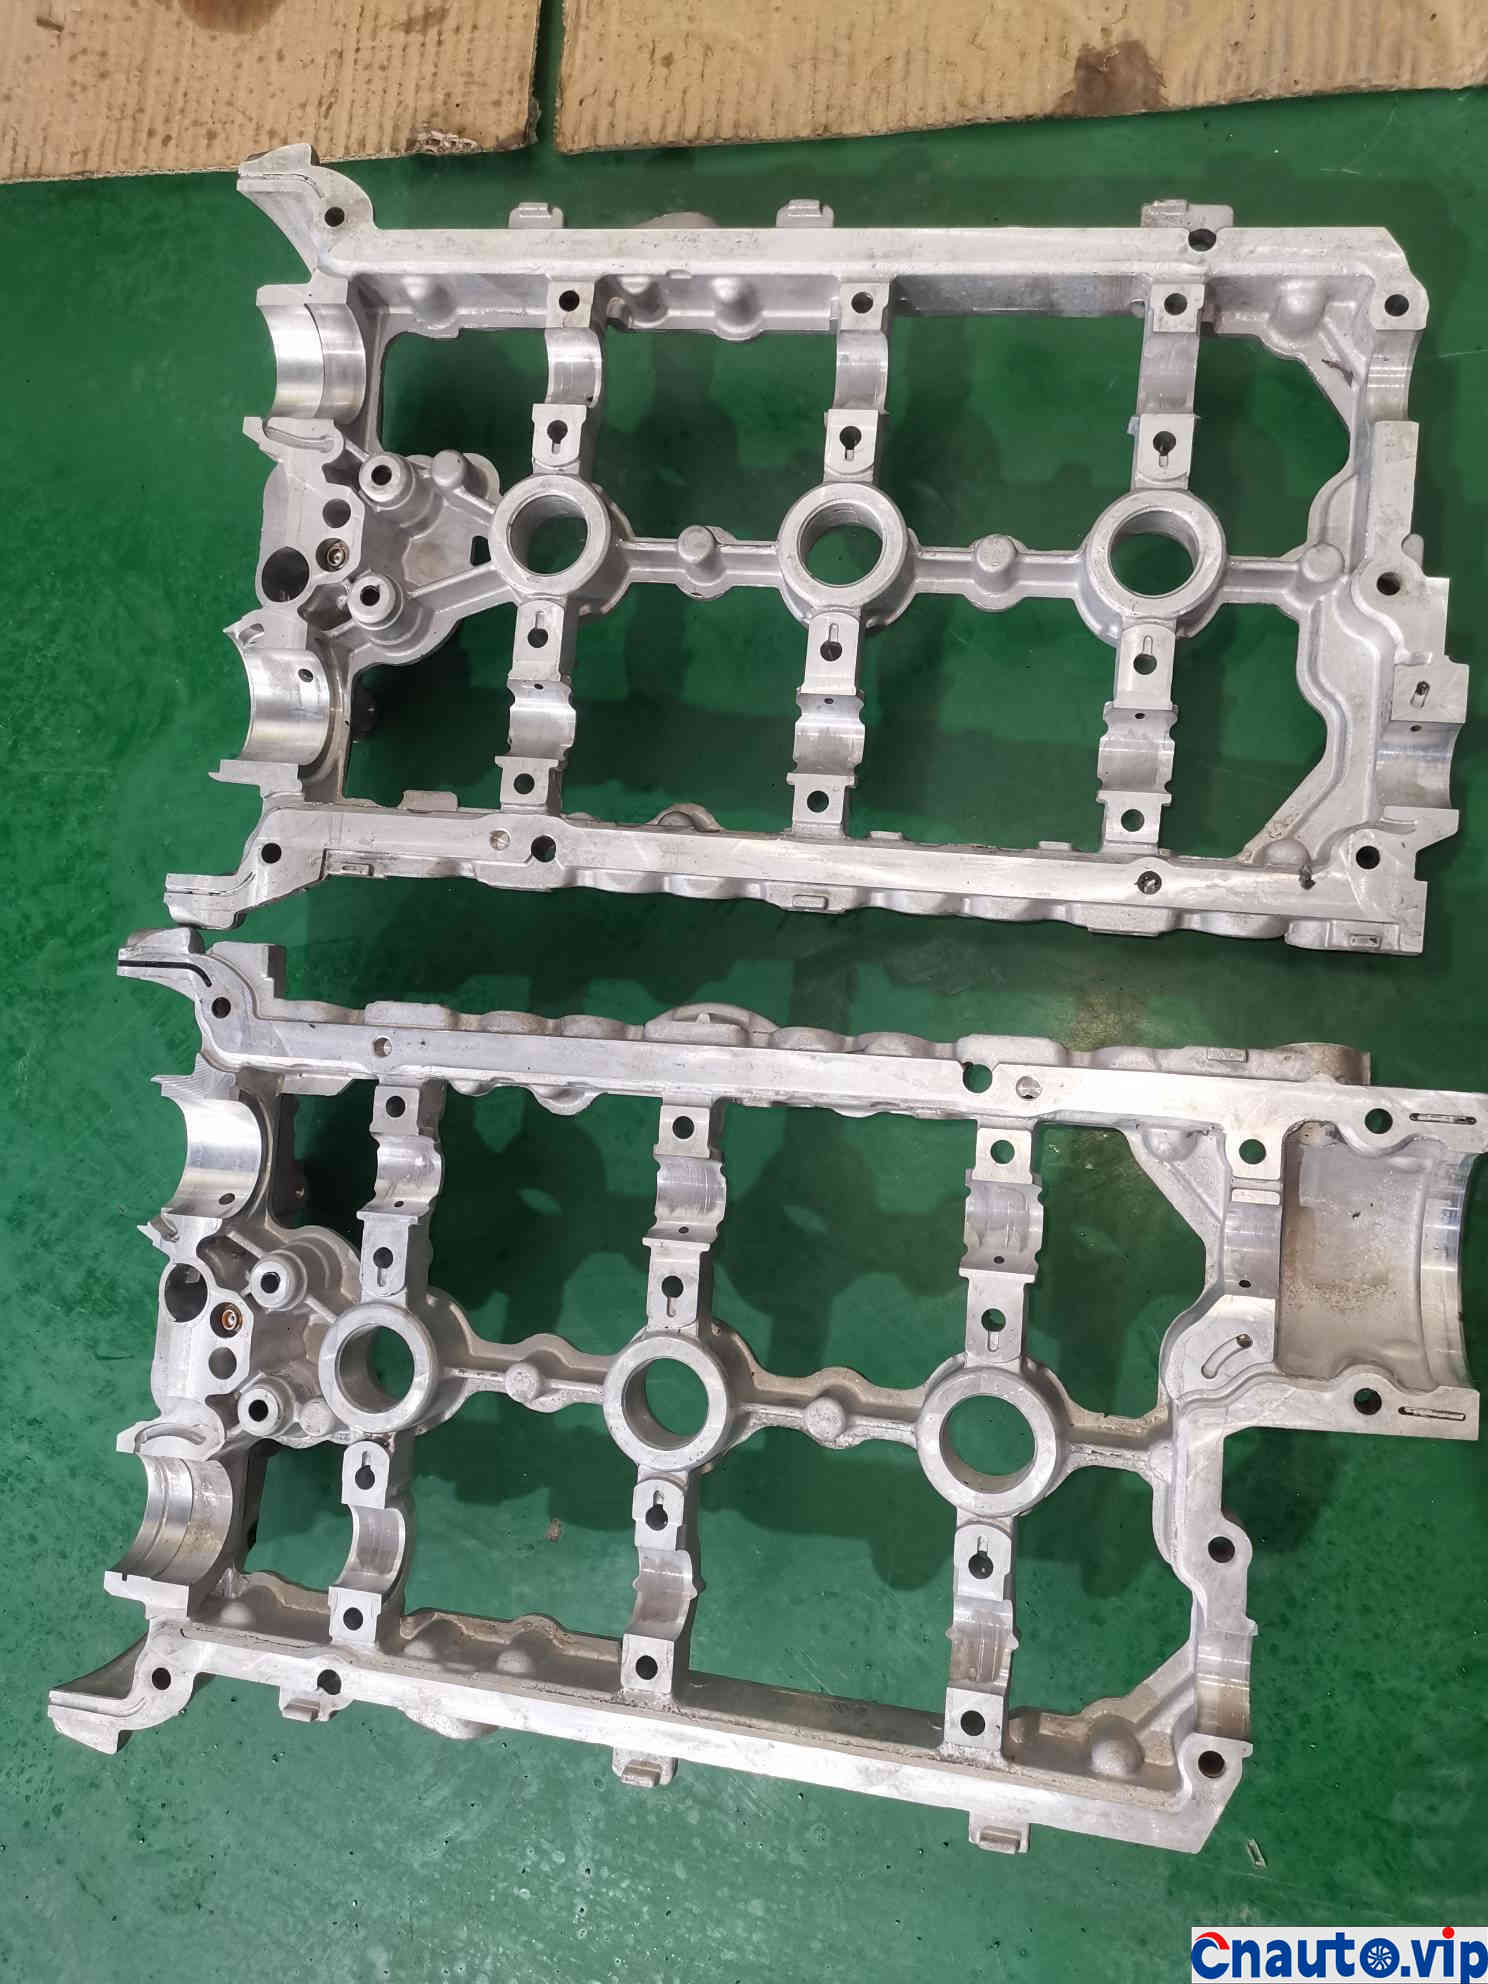
Cleaning of cam bearing cover
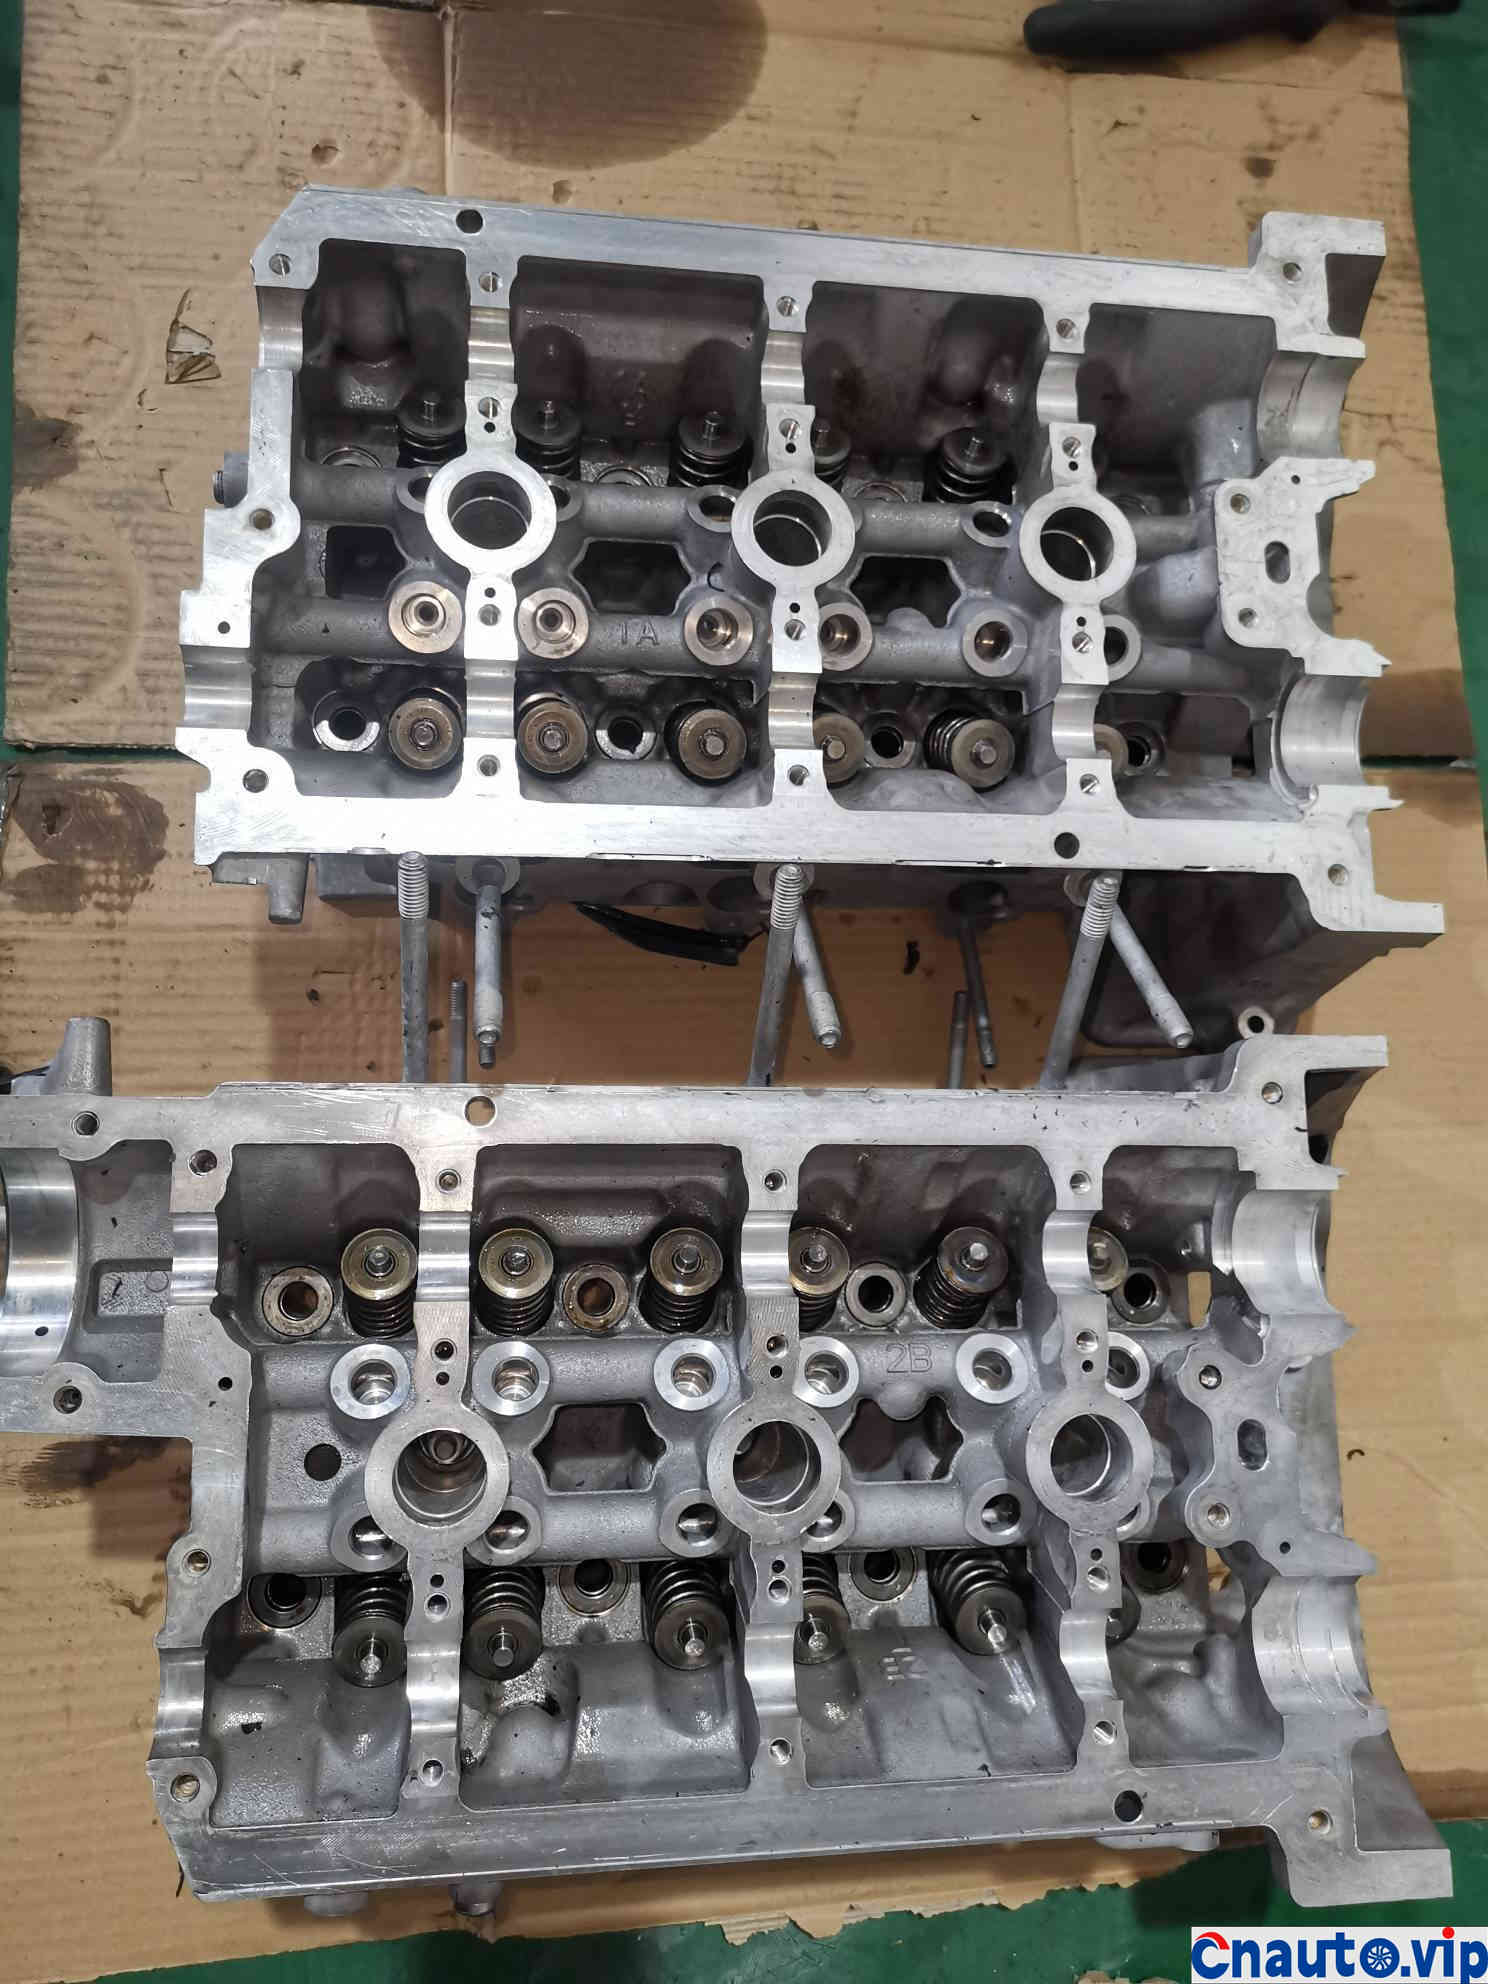
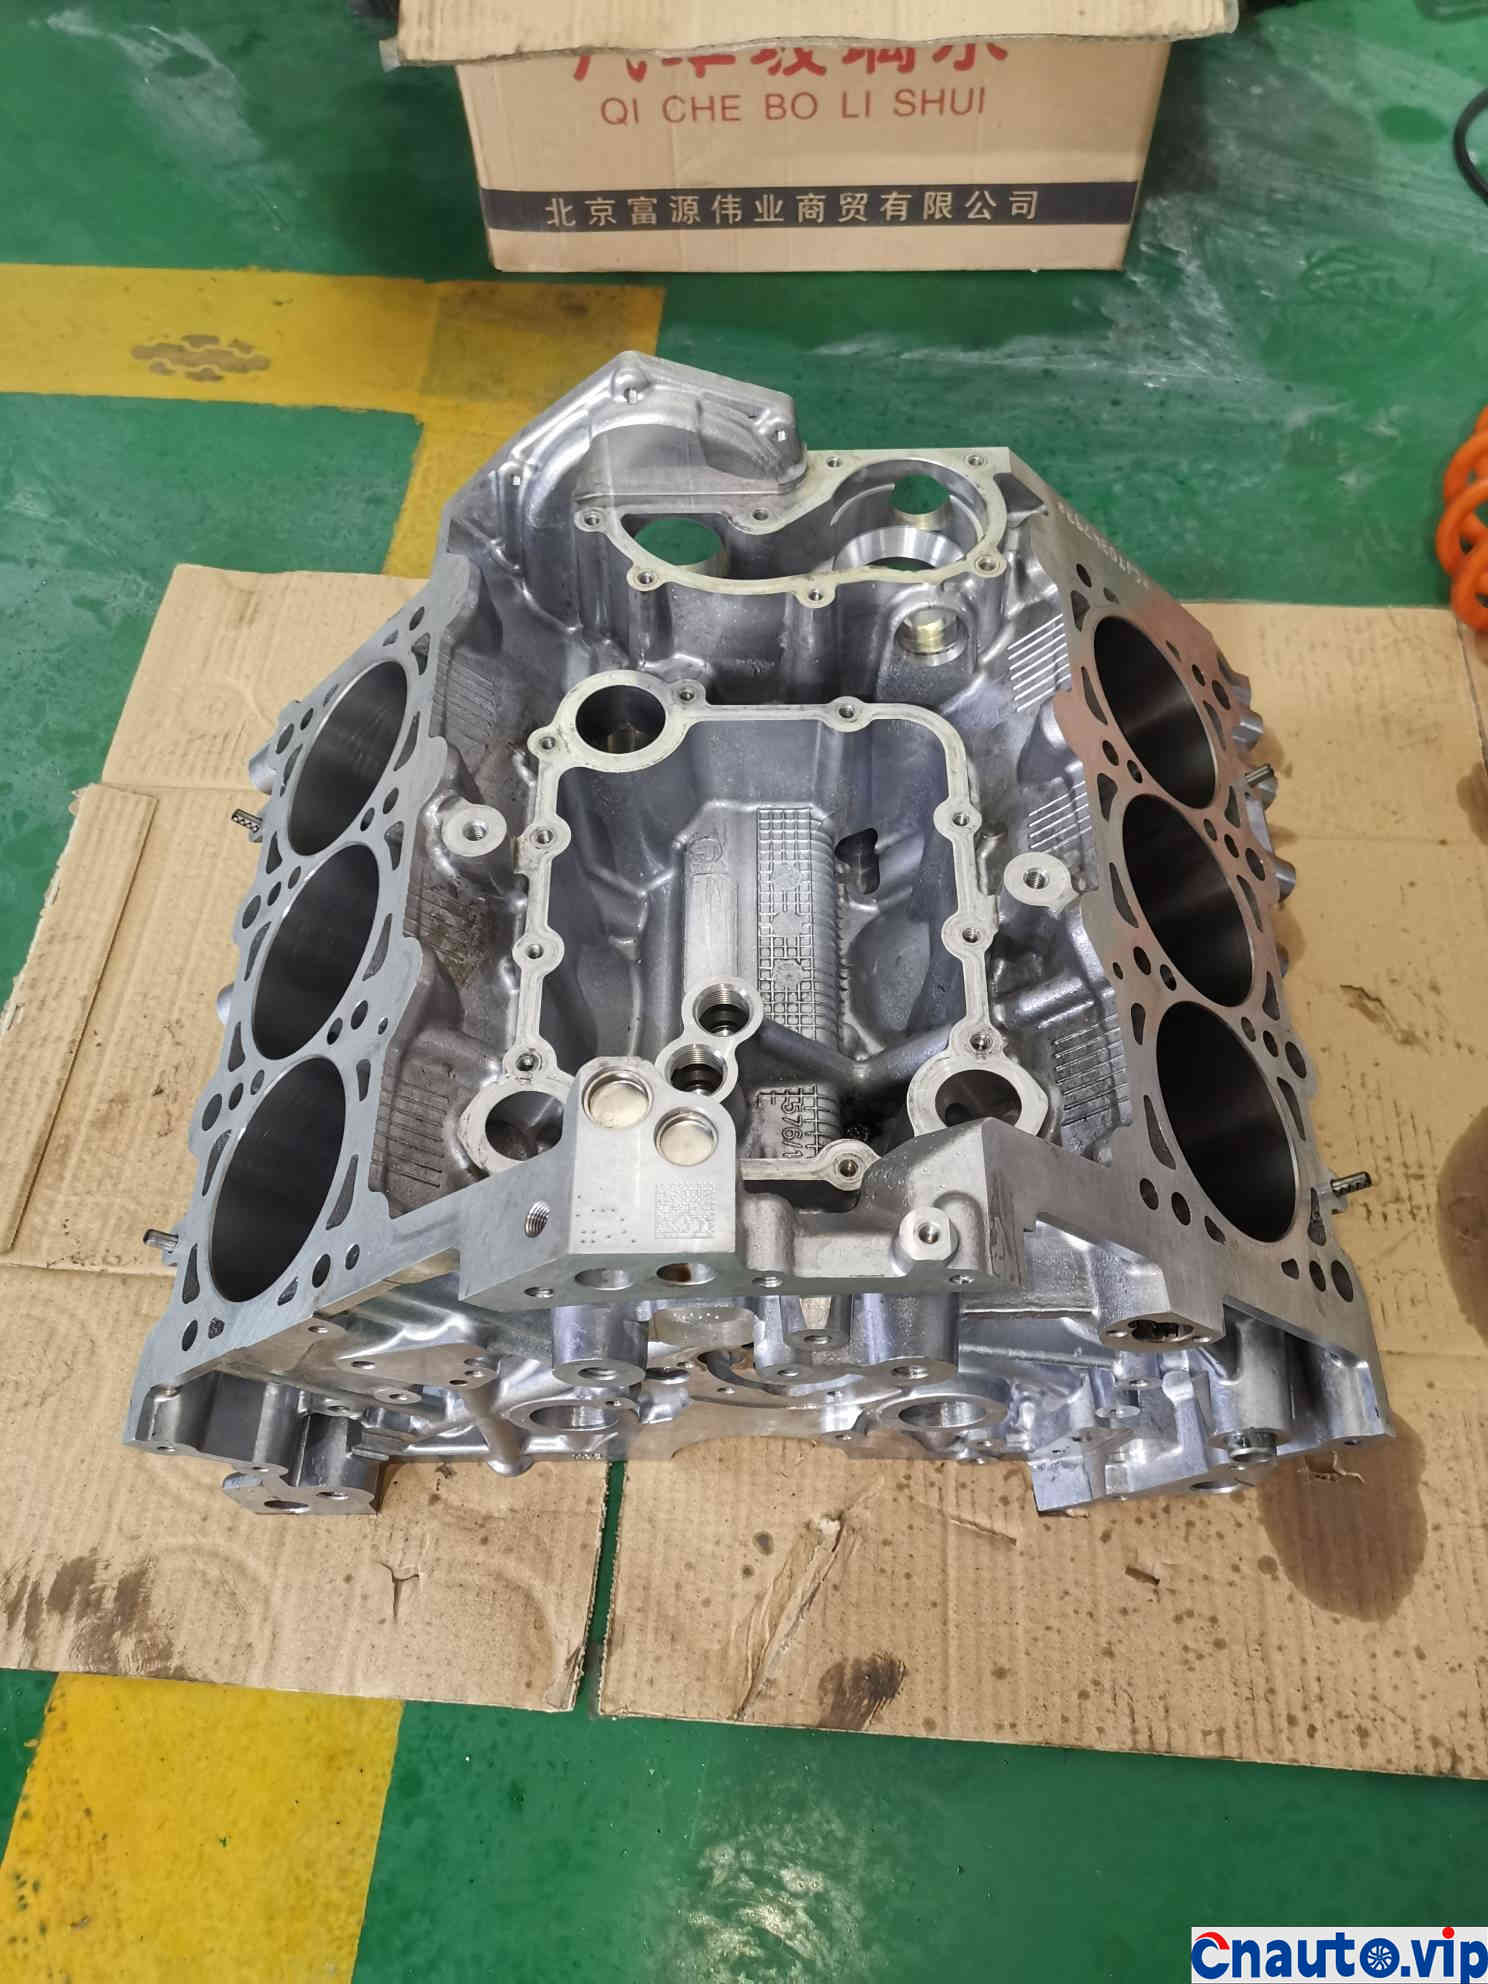
Clean the left and right cylinder heads
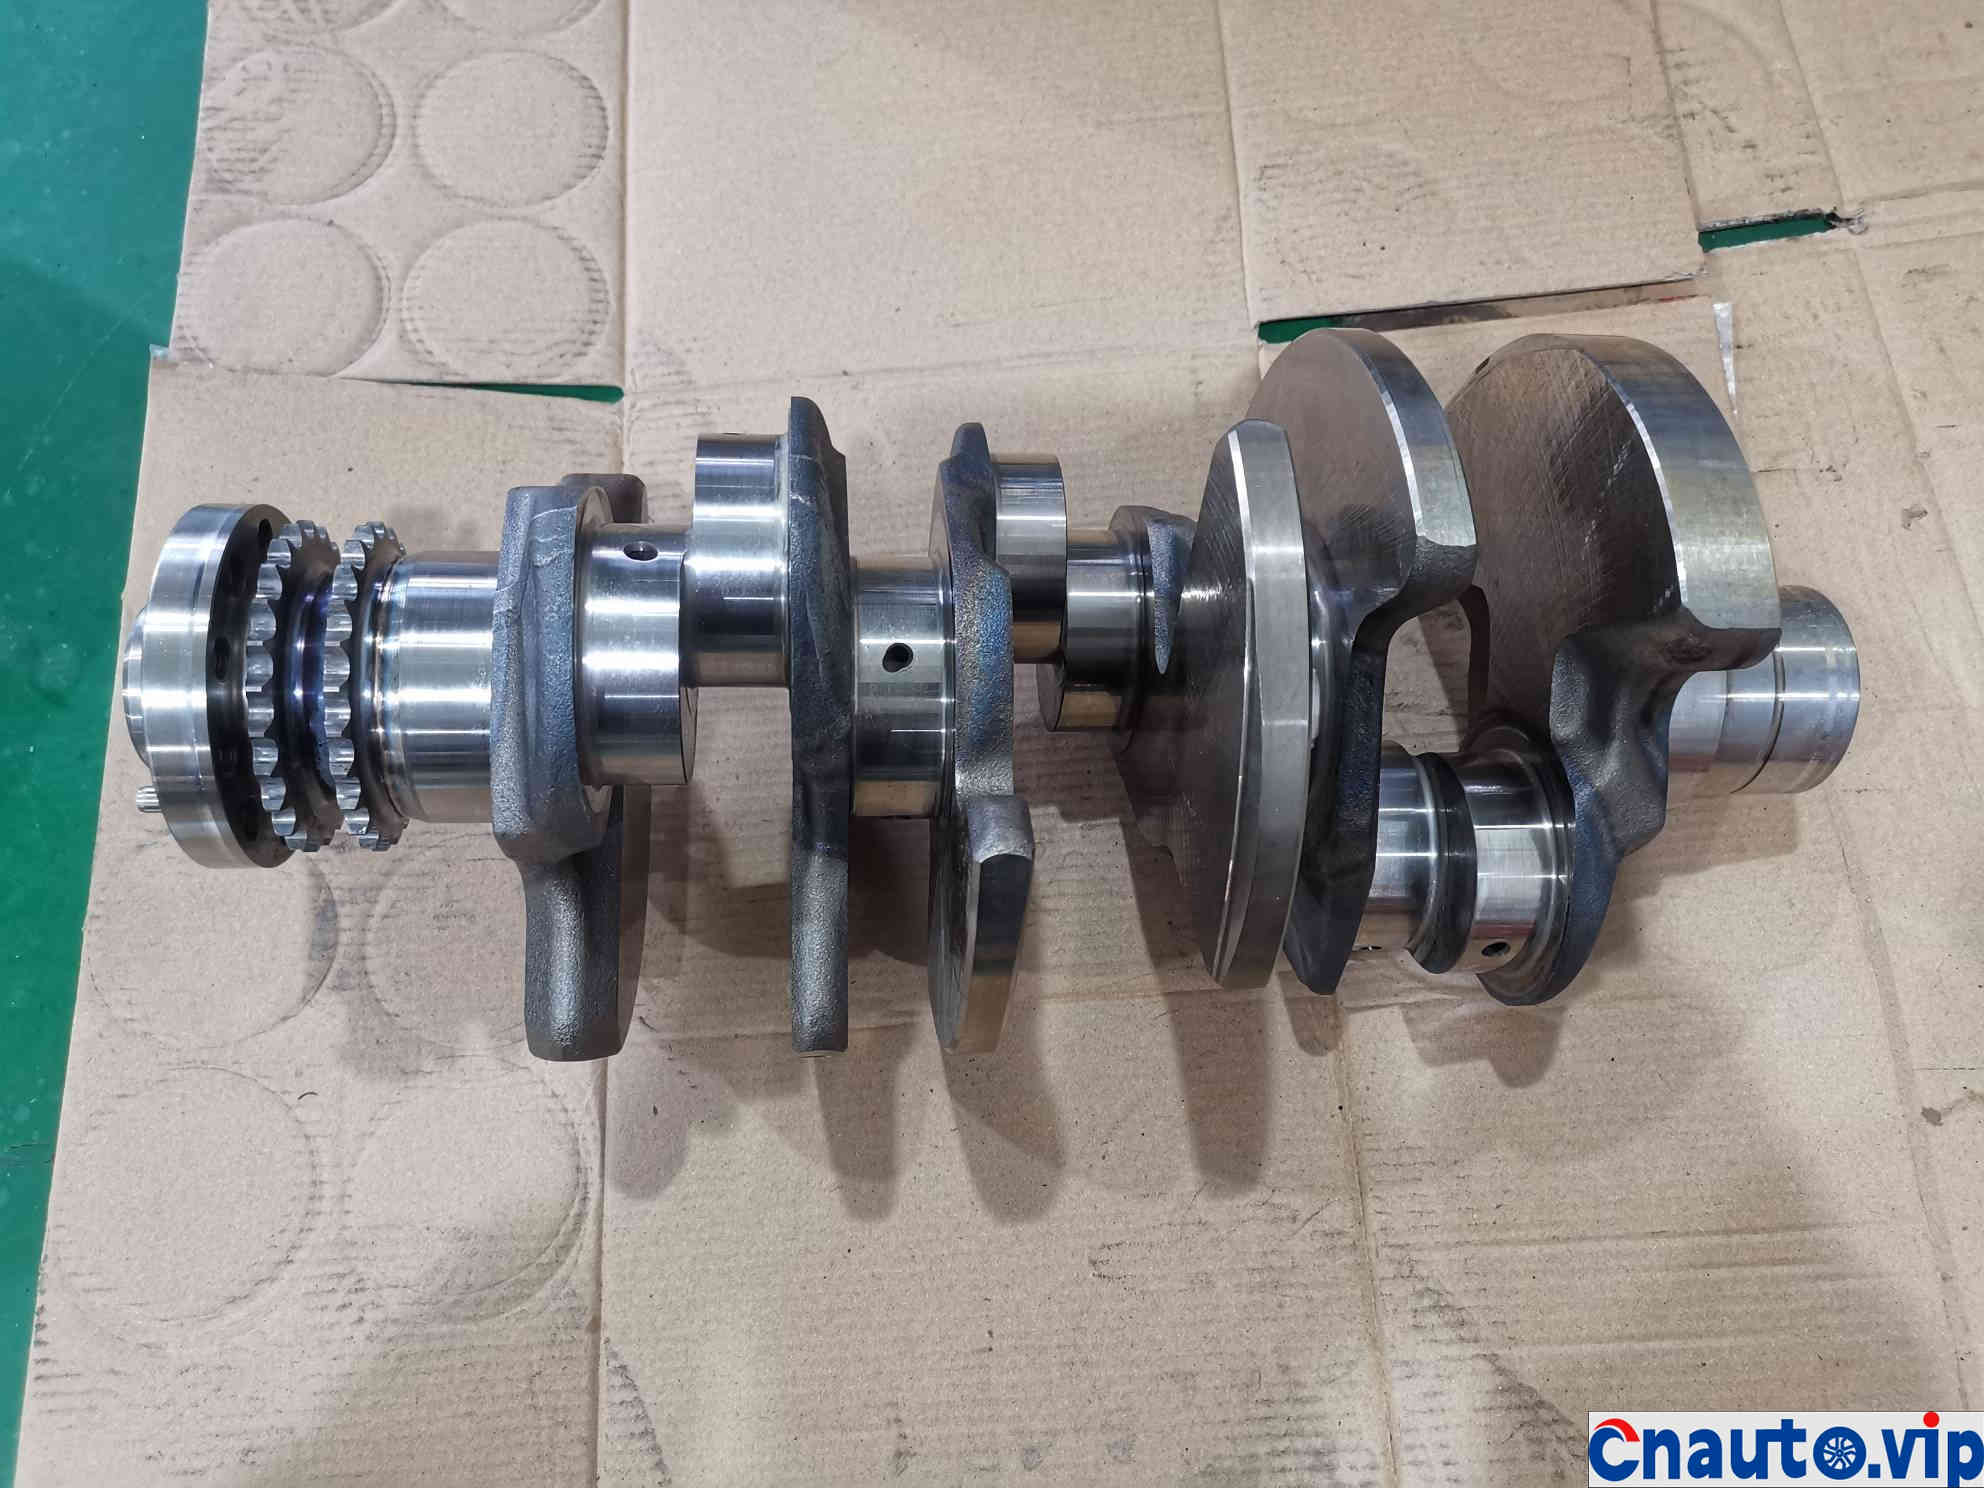
Crankshaft cleaned
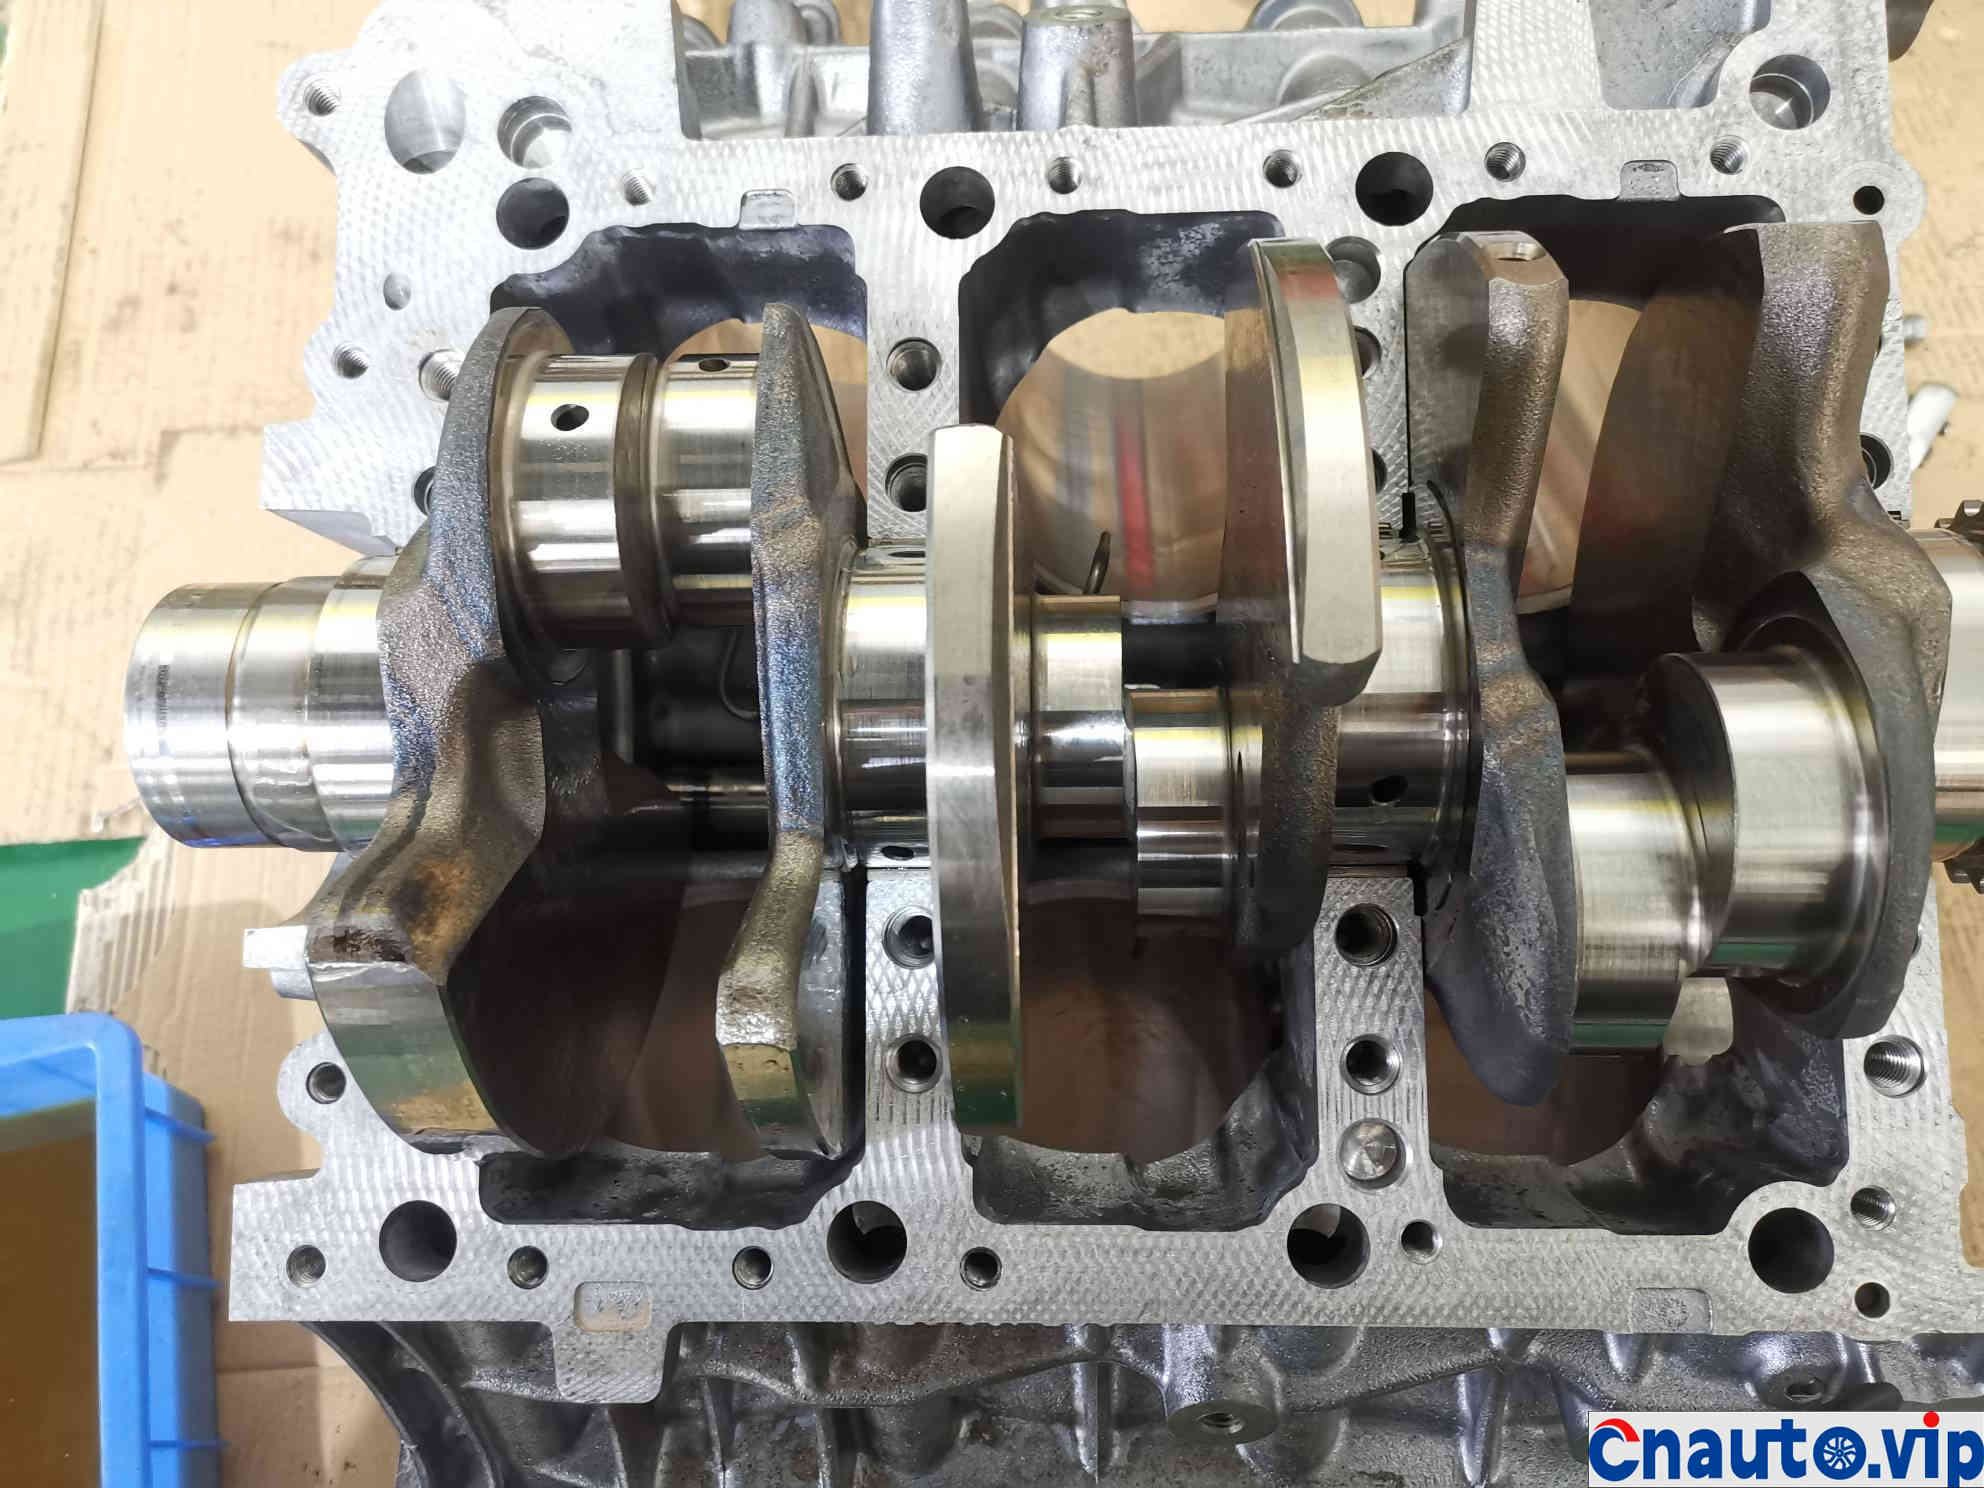
Start assembling crankshaft
Crankshaft large tile cover
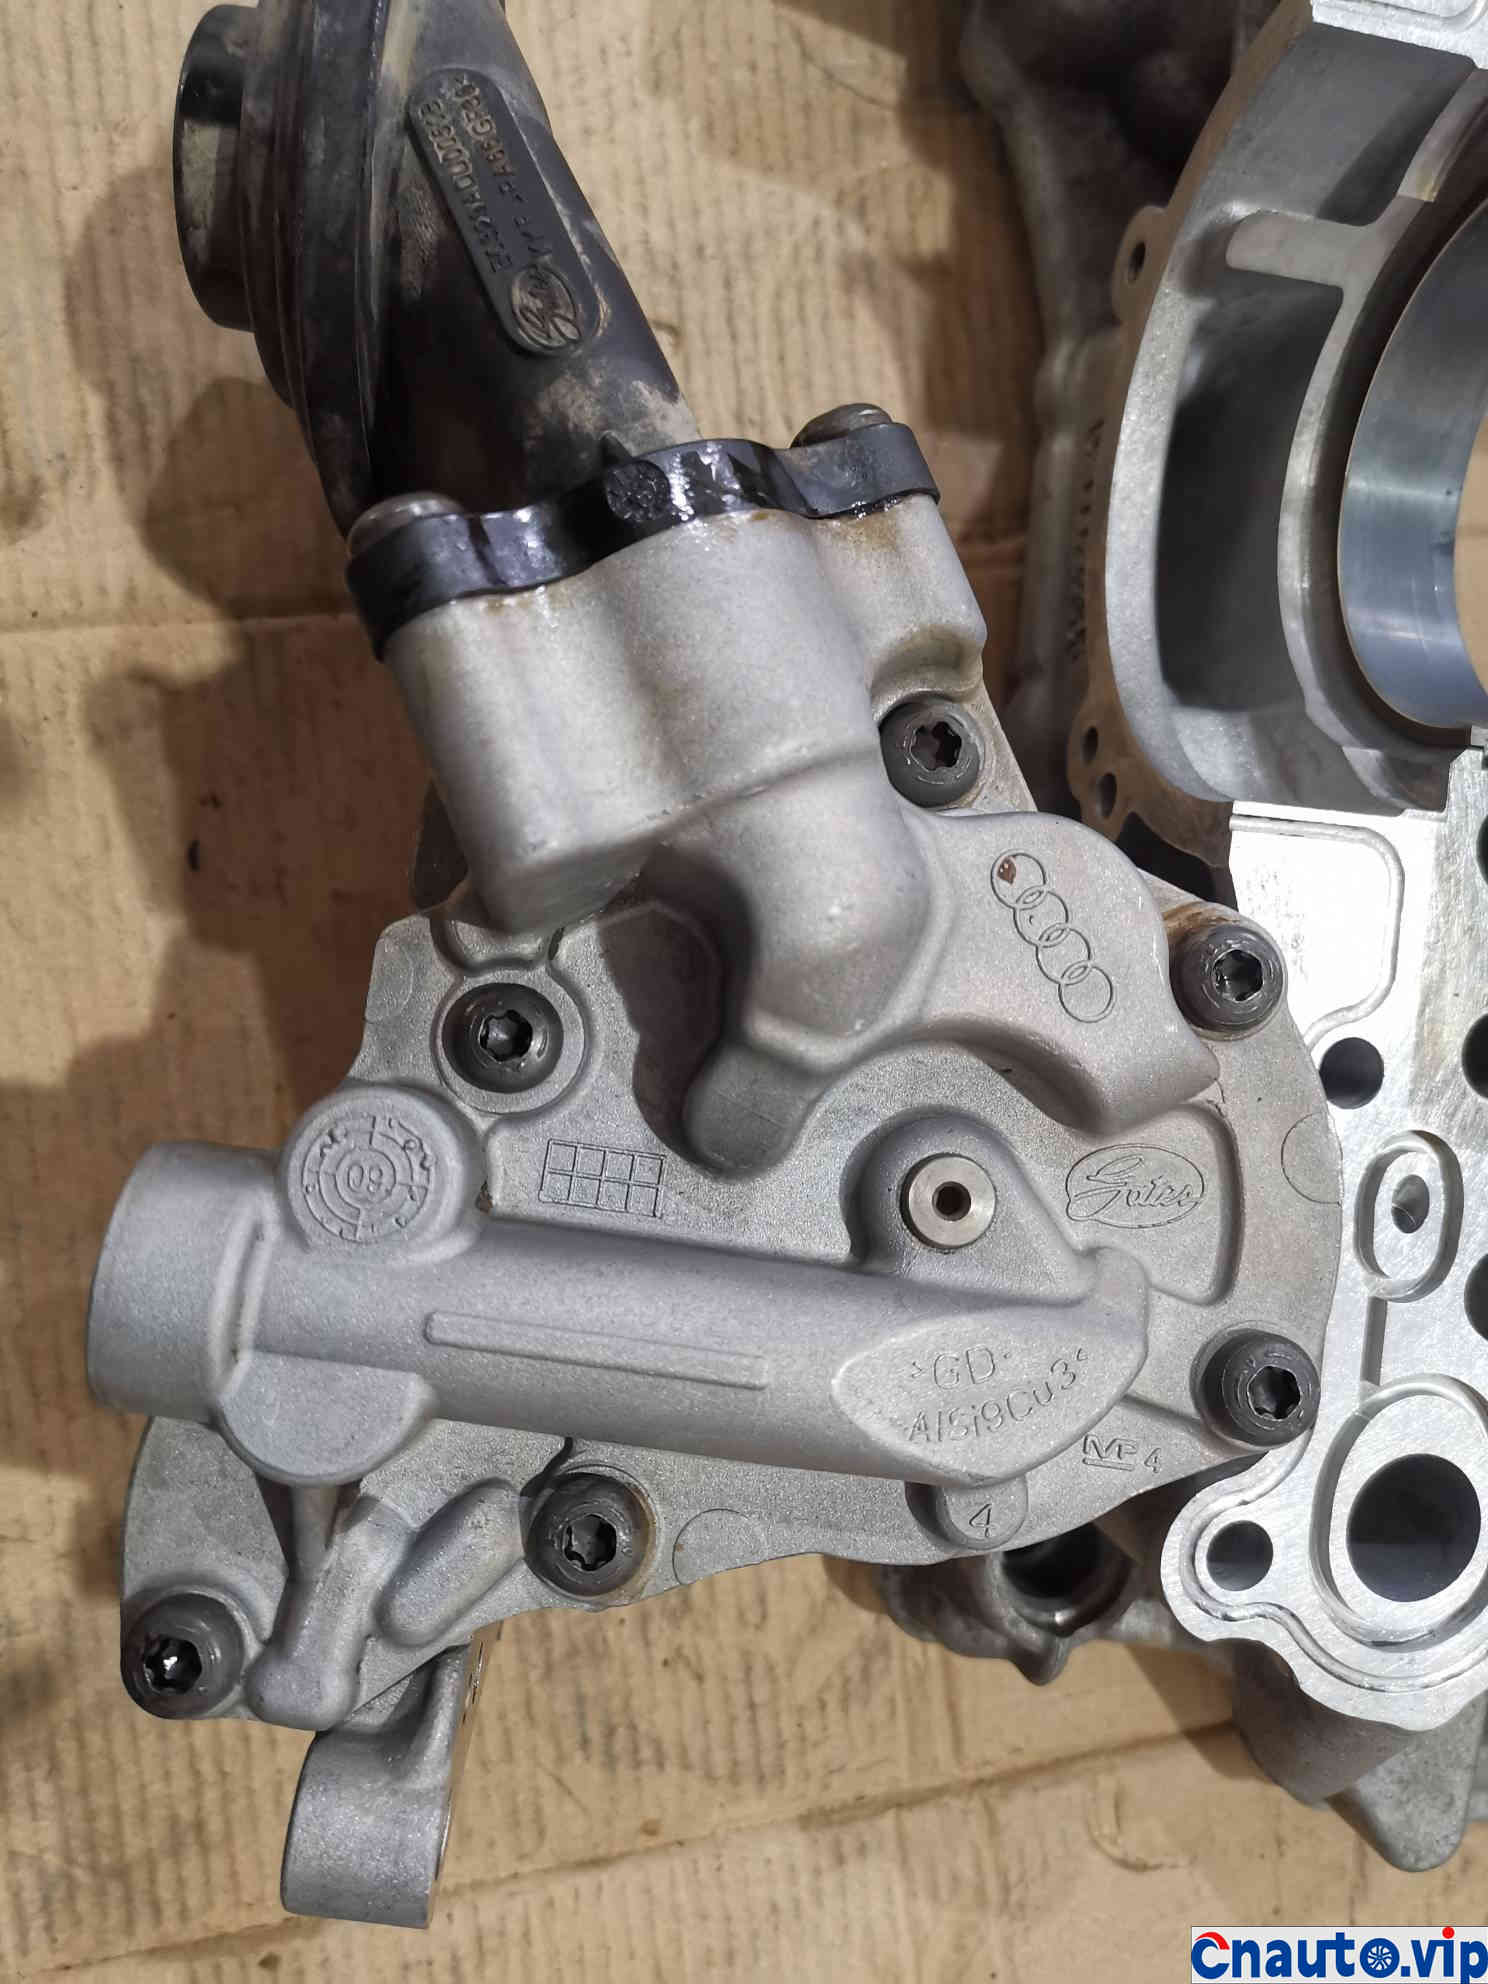
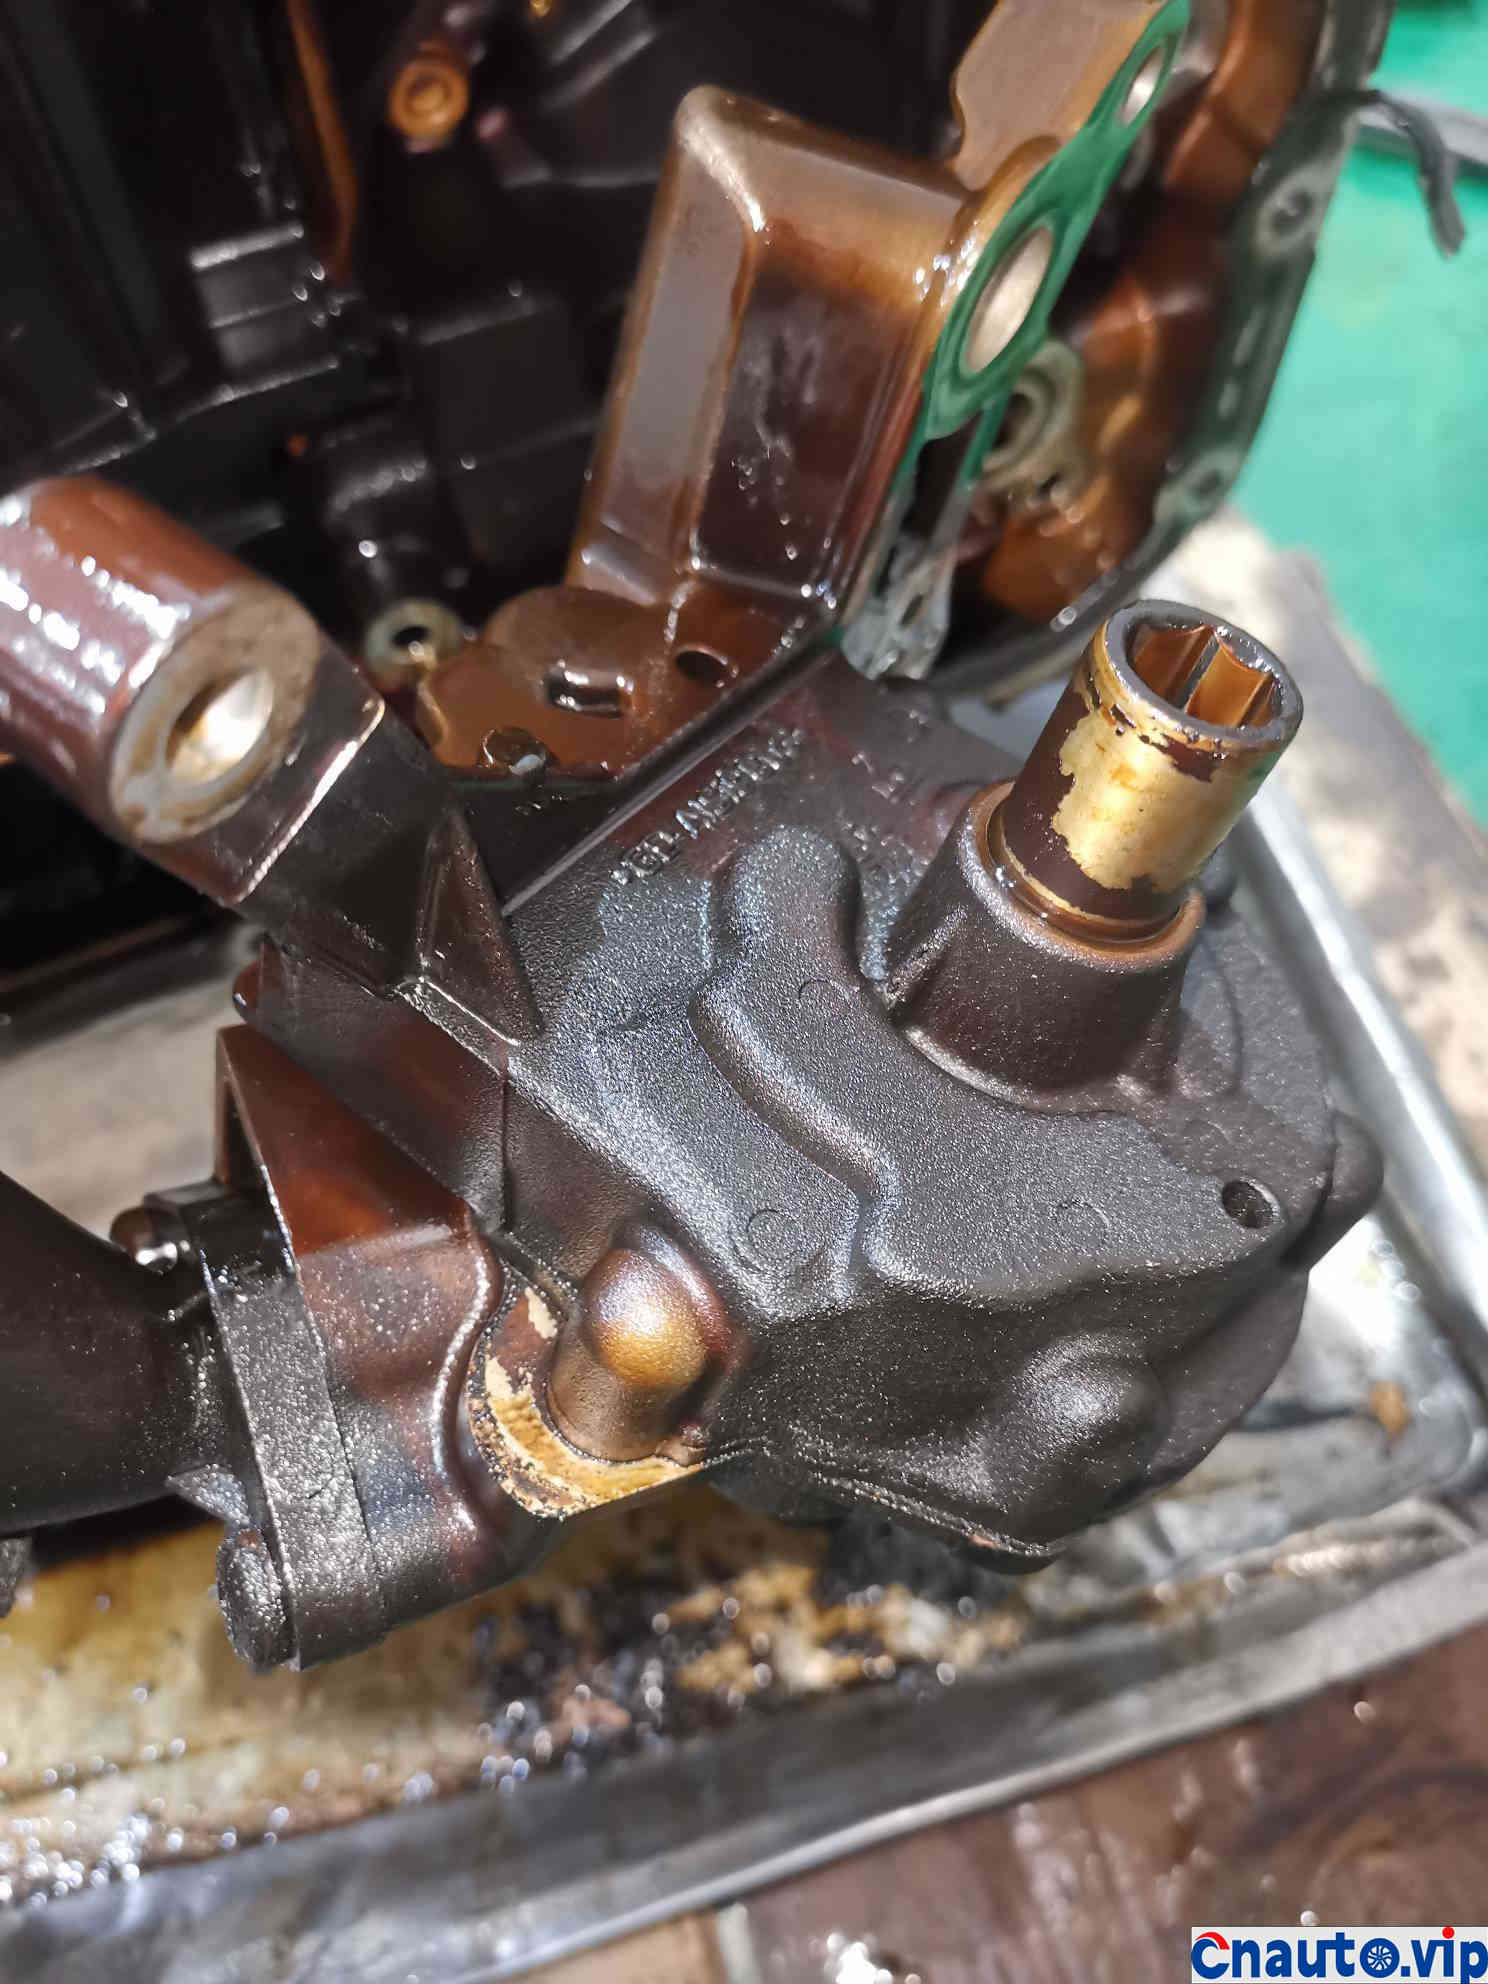
Clean oil pump
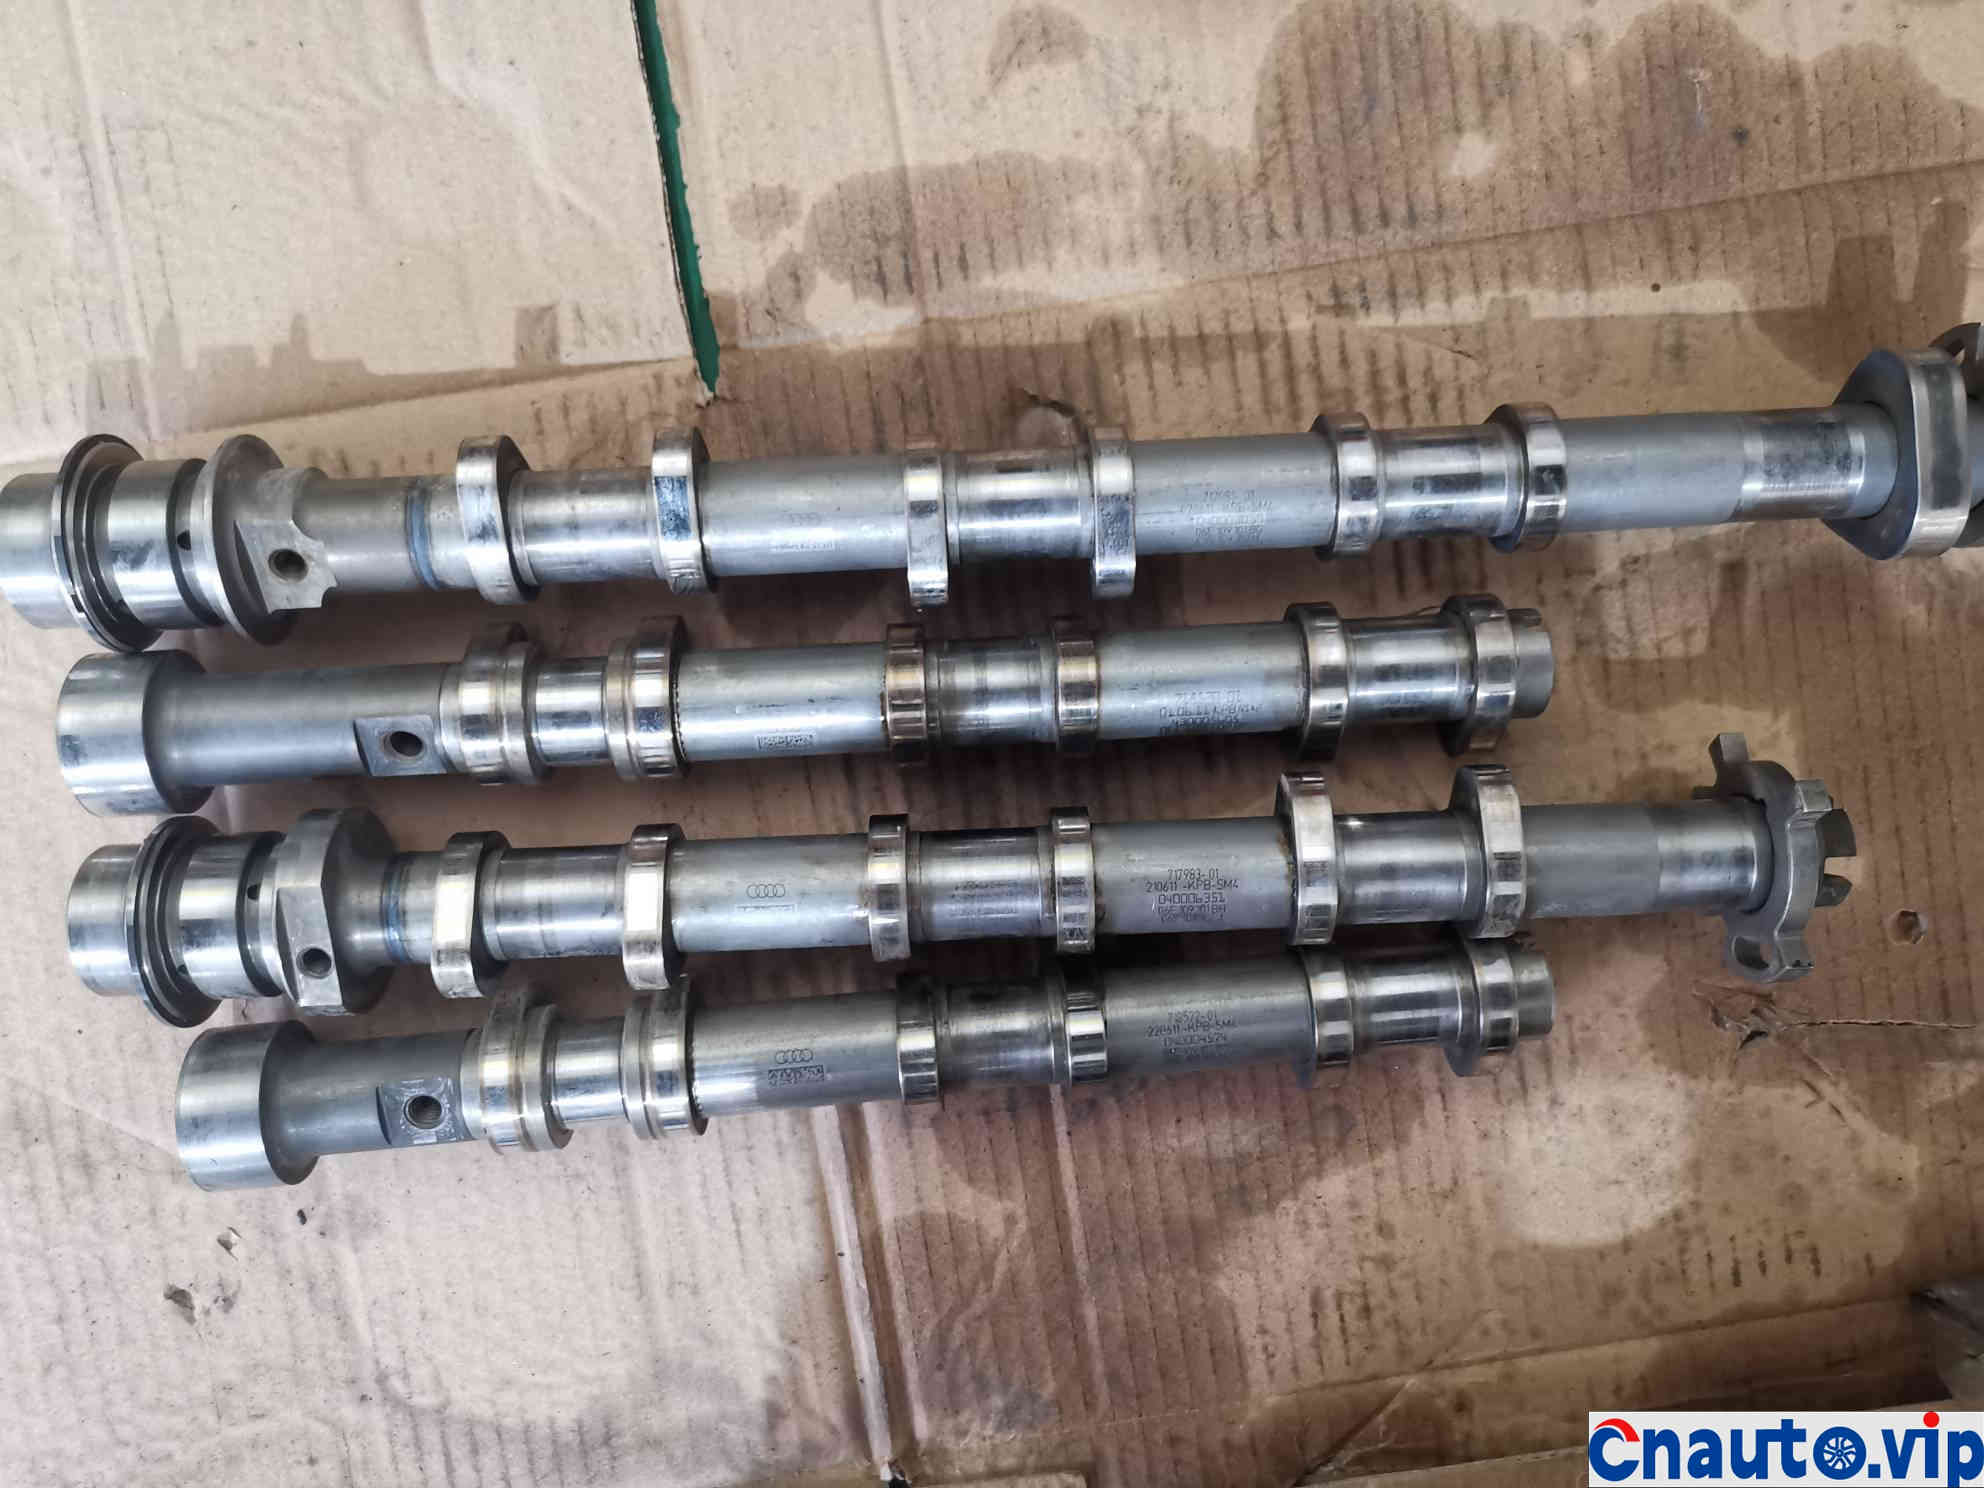
Clean the camshaft so that the original factory logo can be clearly seen
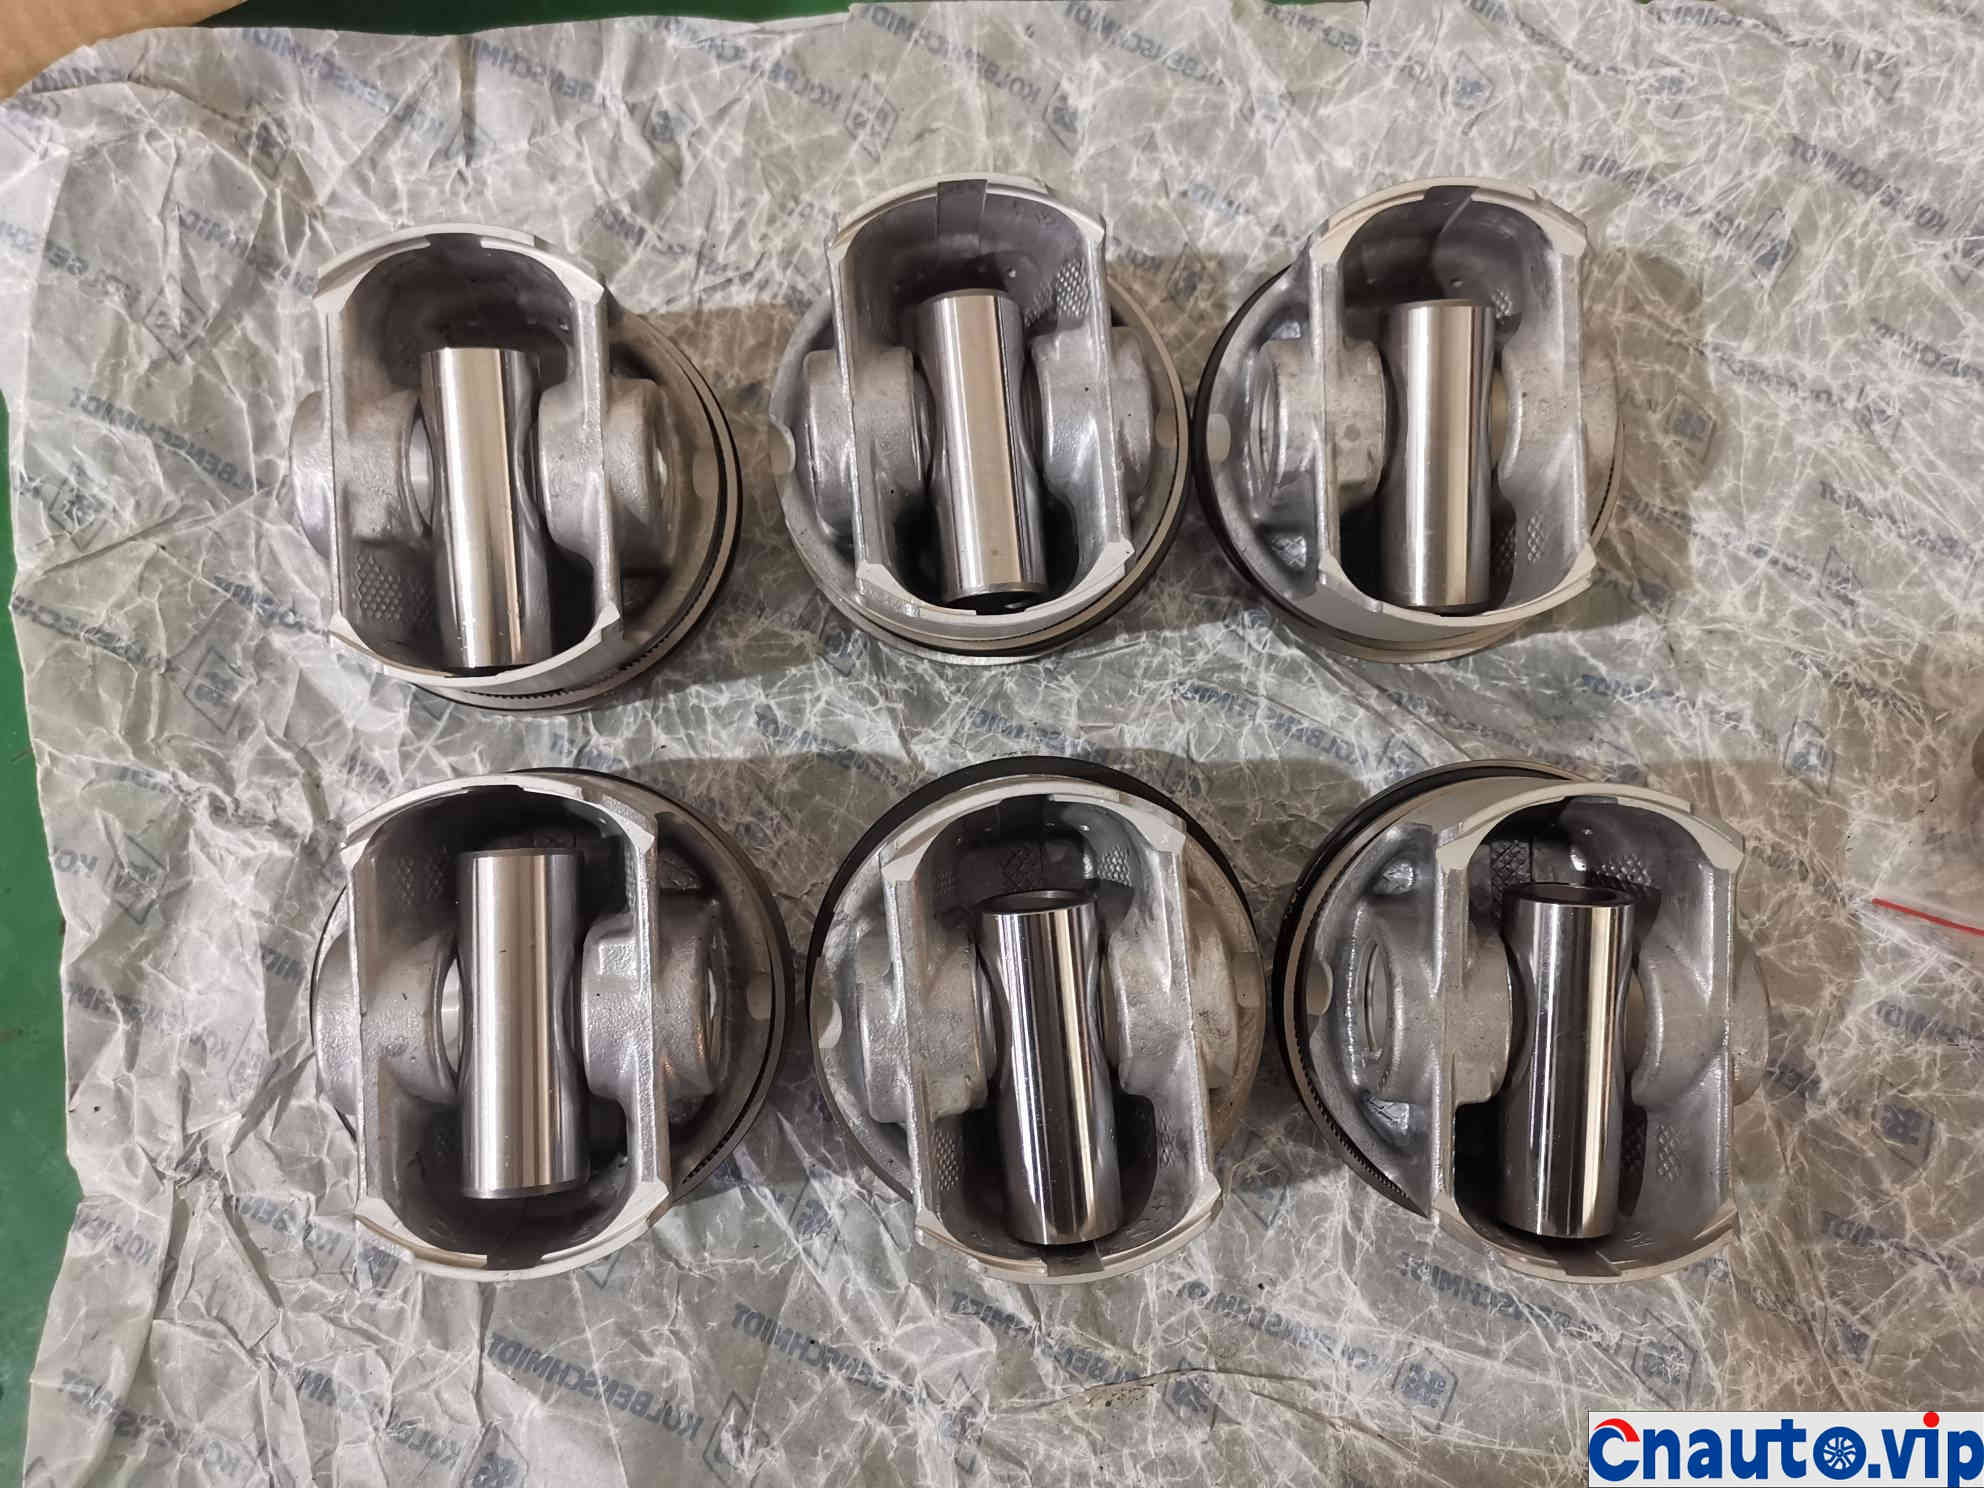
new piston
Connecting rod cleaning completed

New and old pistons
Comparison of old and new original piston on the left
Comparison of old and new piston on the right side
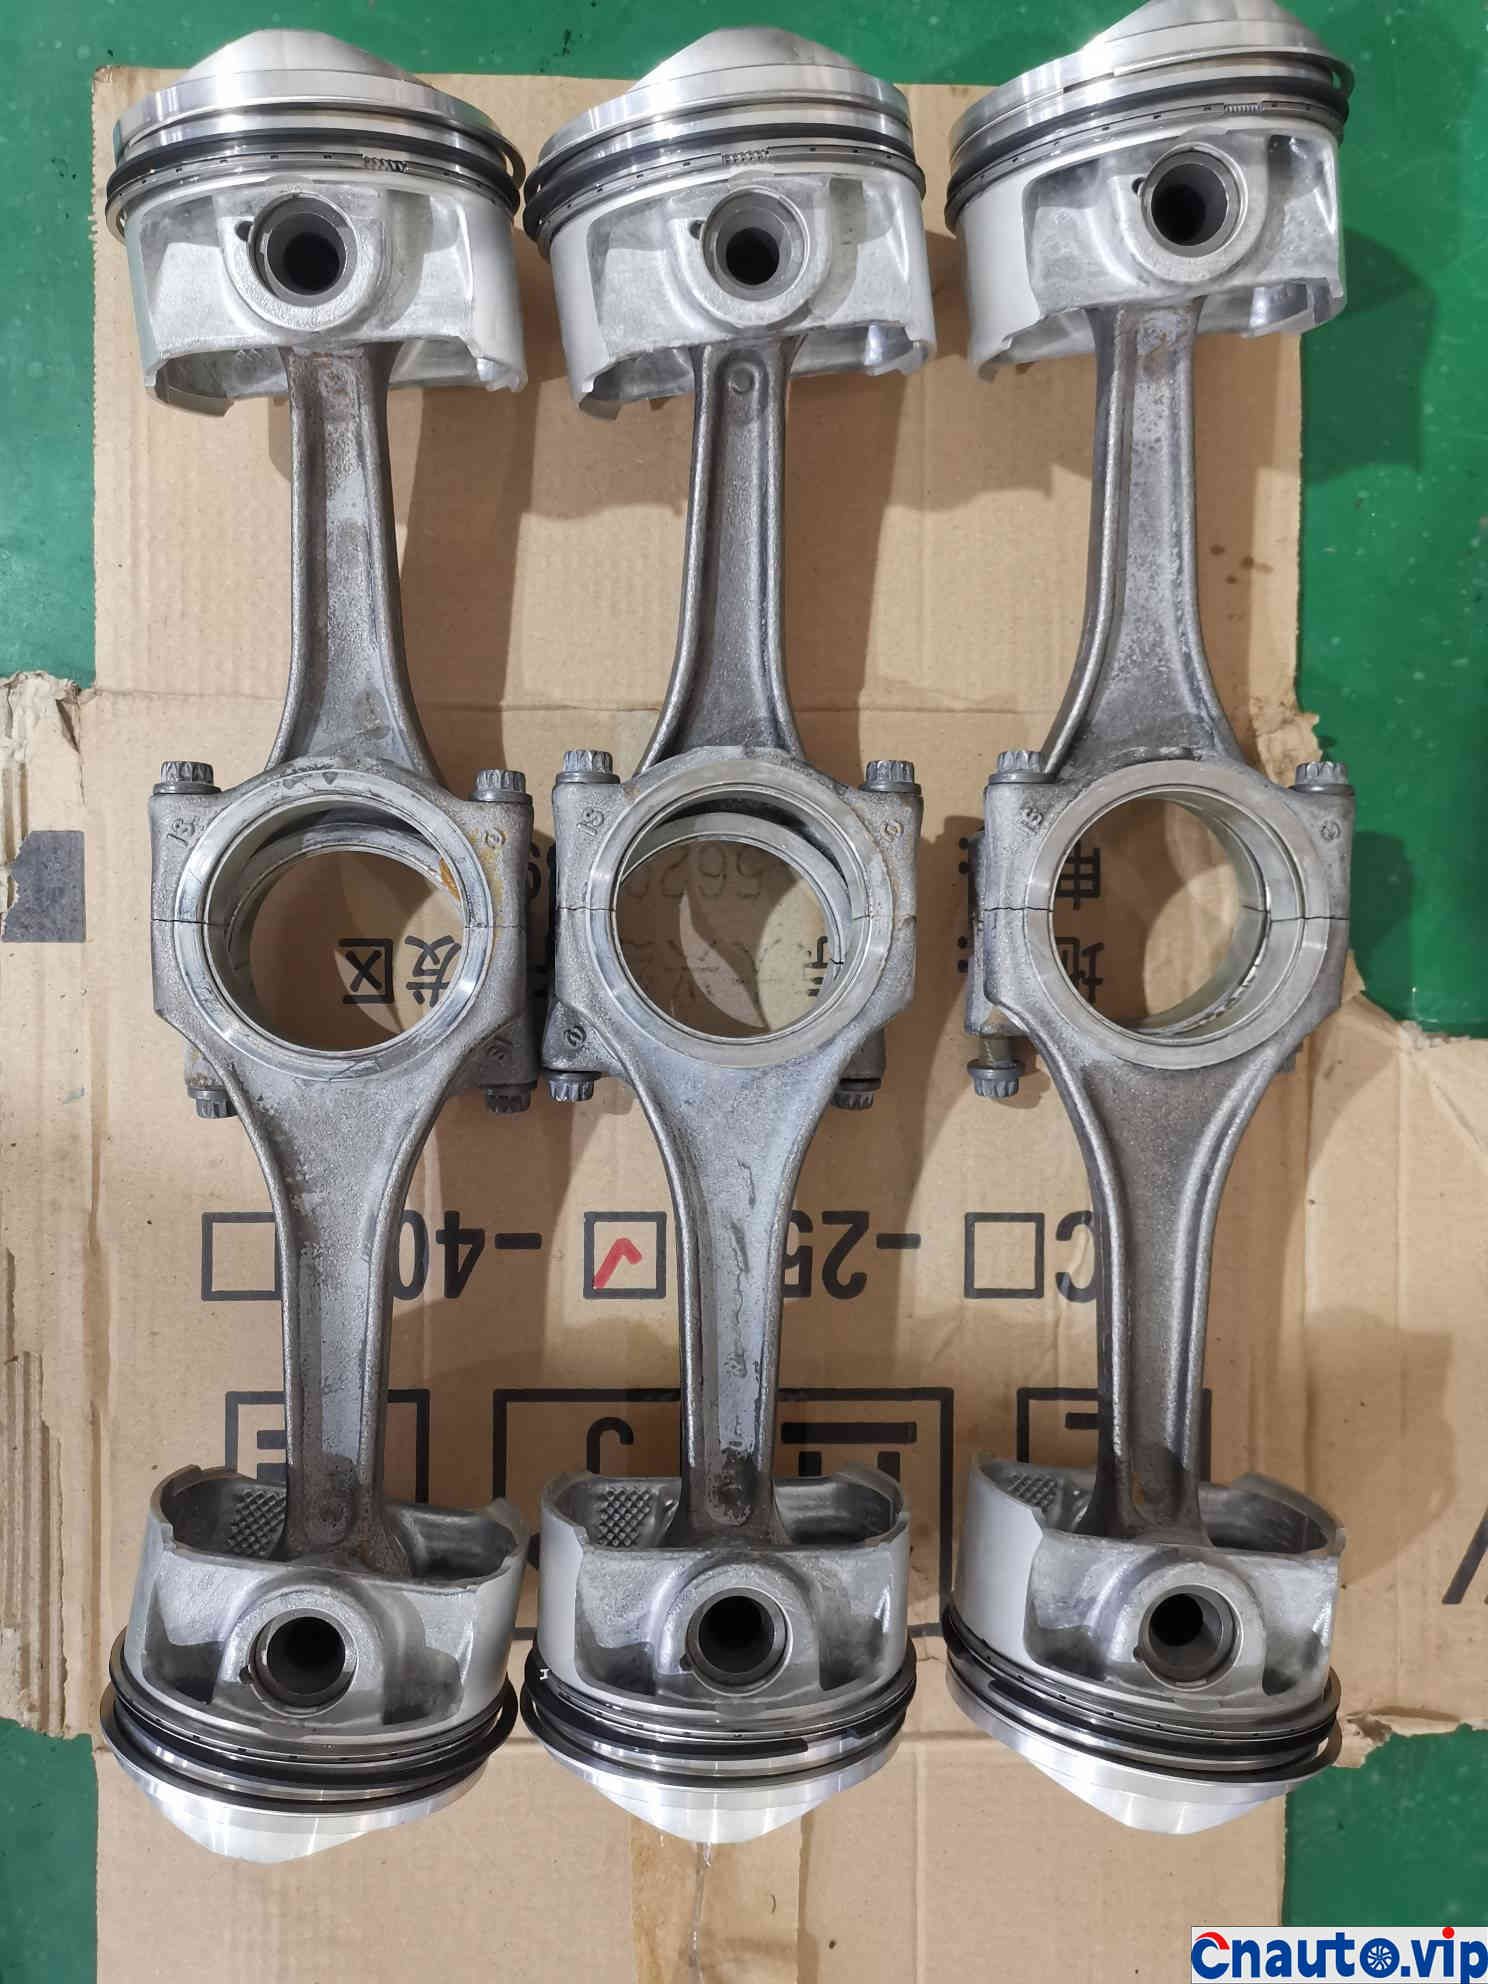
New piston installed
The next stage of cleaning and assembly is completed
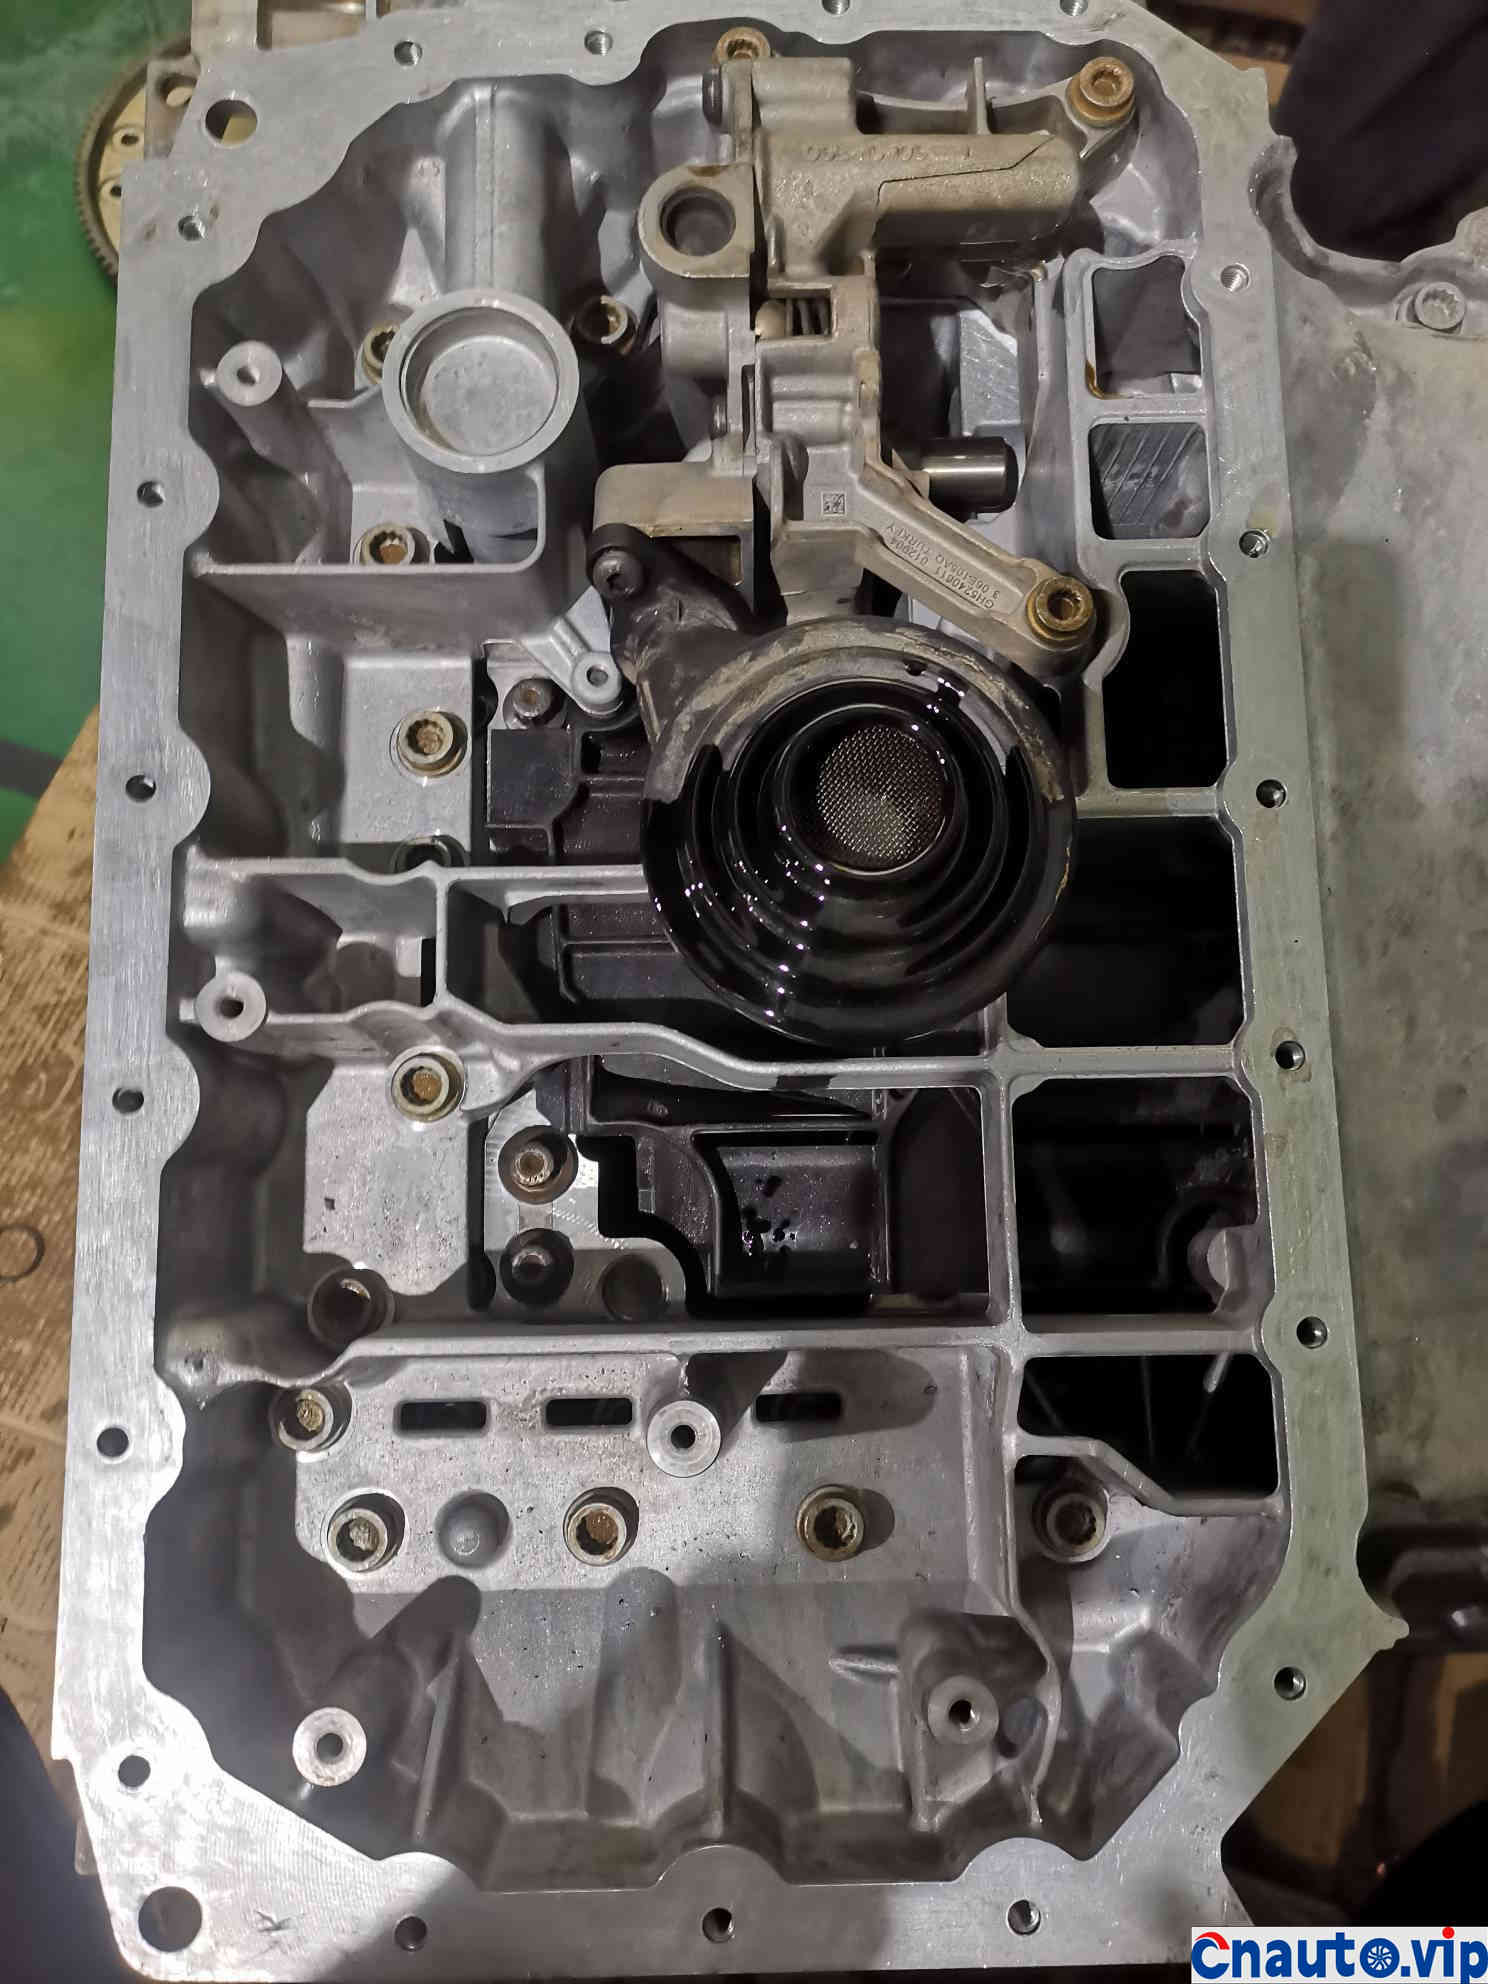
oil pump is mounted
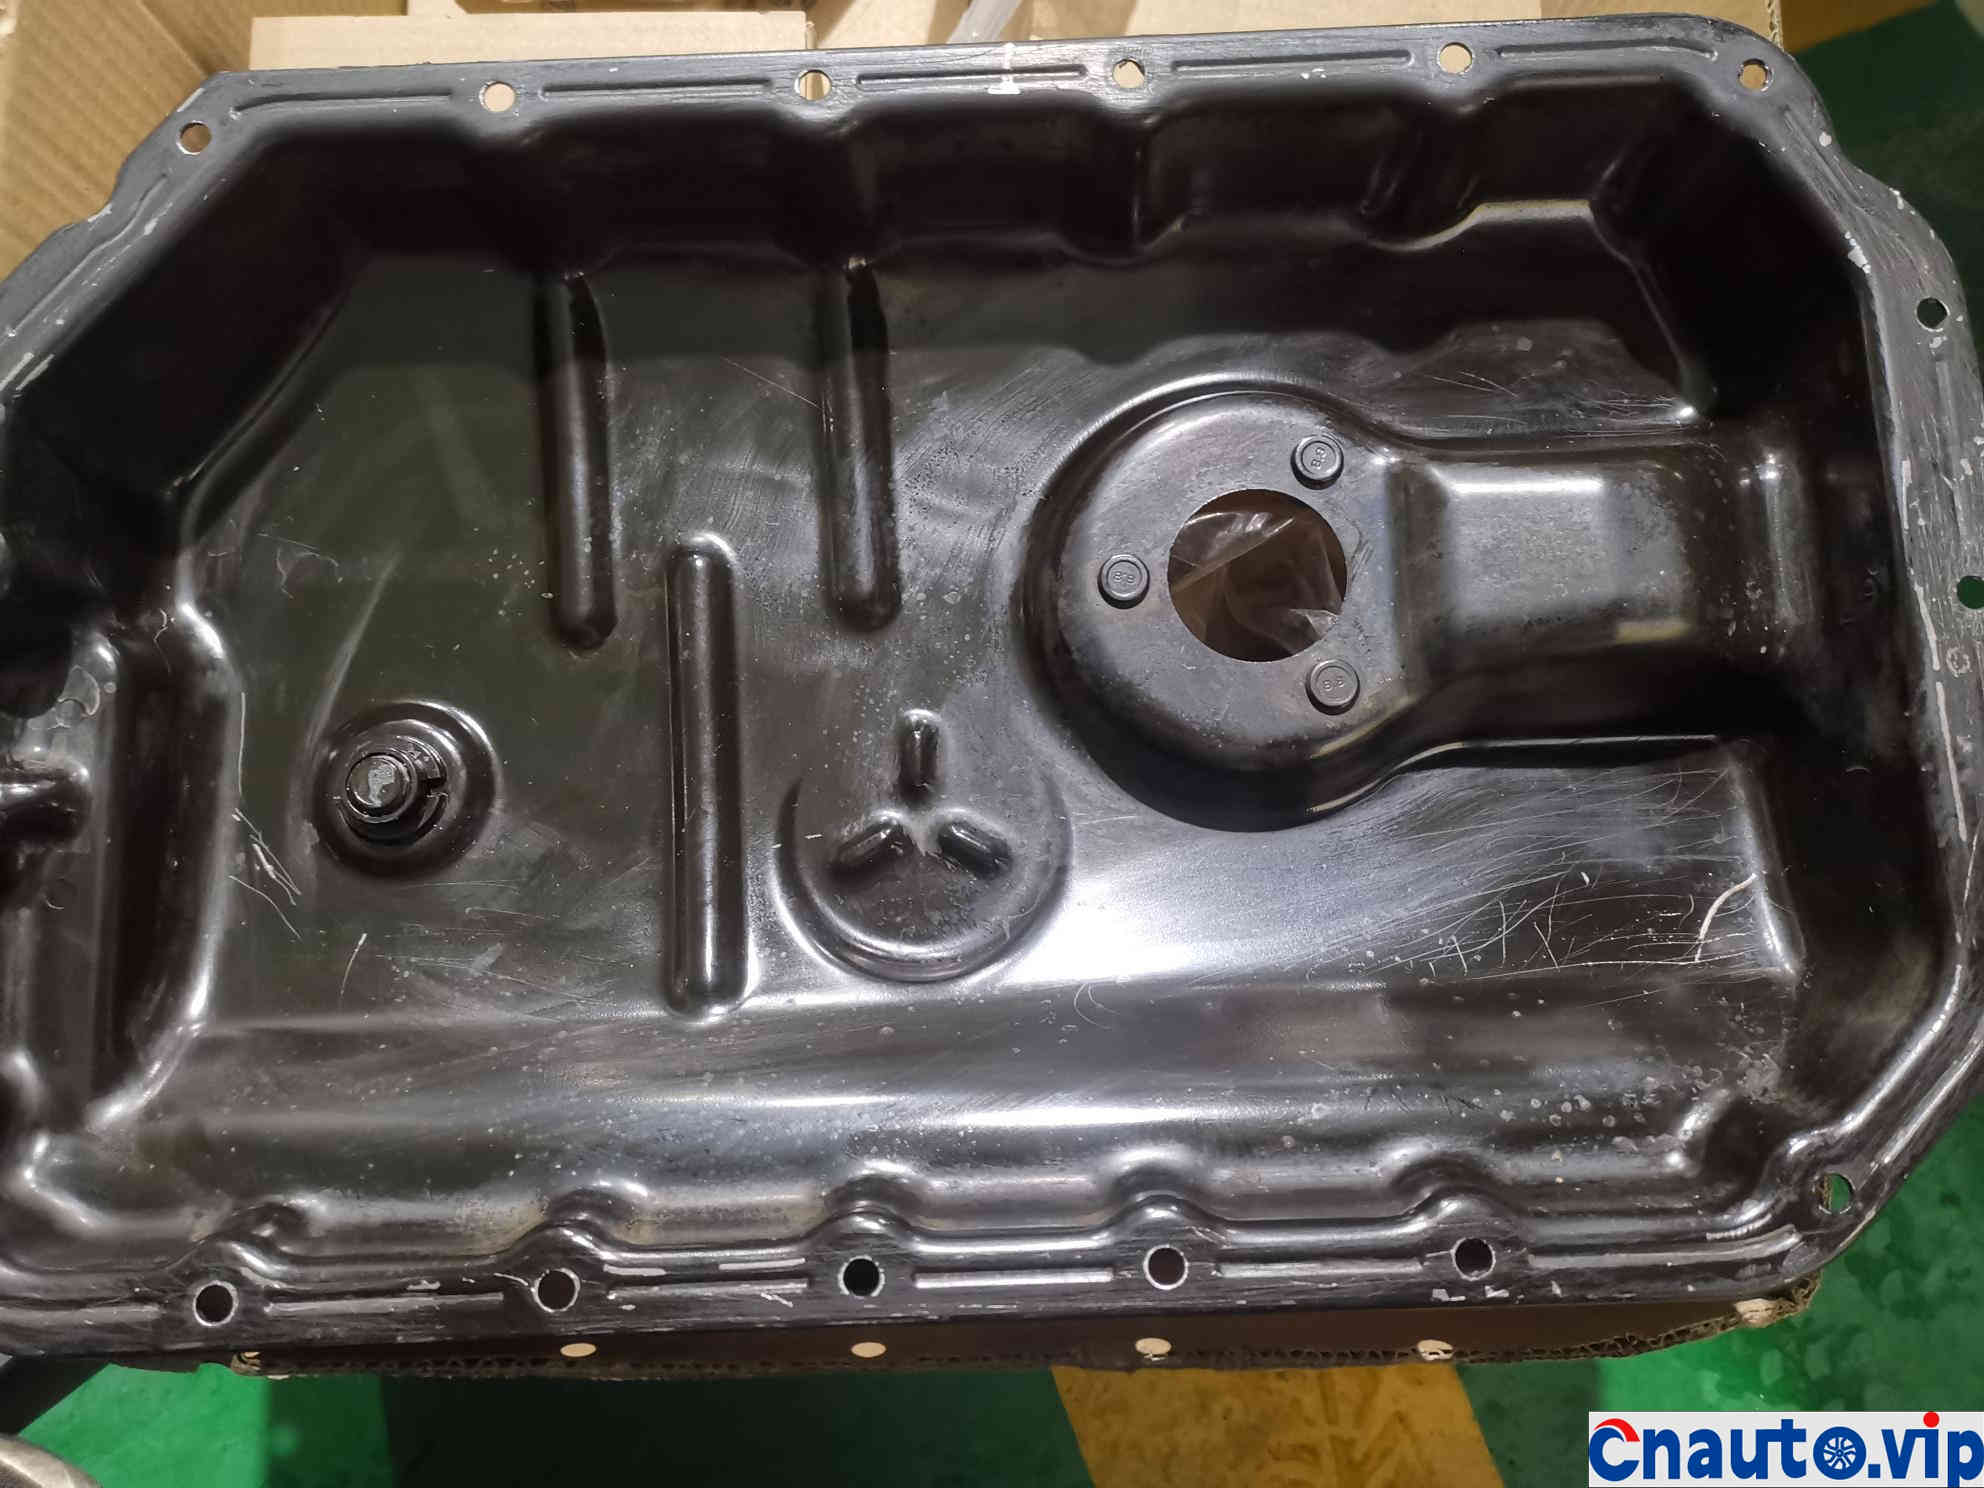
Clean the oil pan
The lower section is assembled and ready to install the cylinder head
left cylinder
The piston clearance is perfect
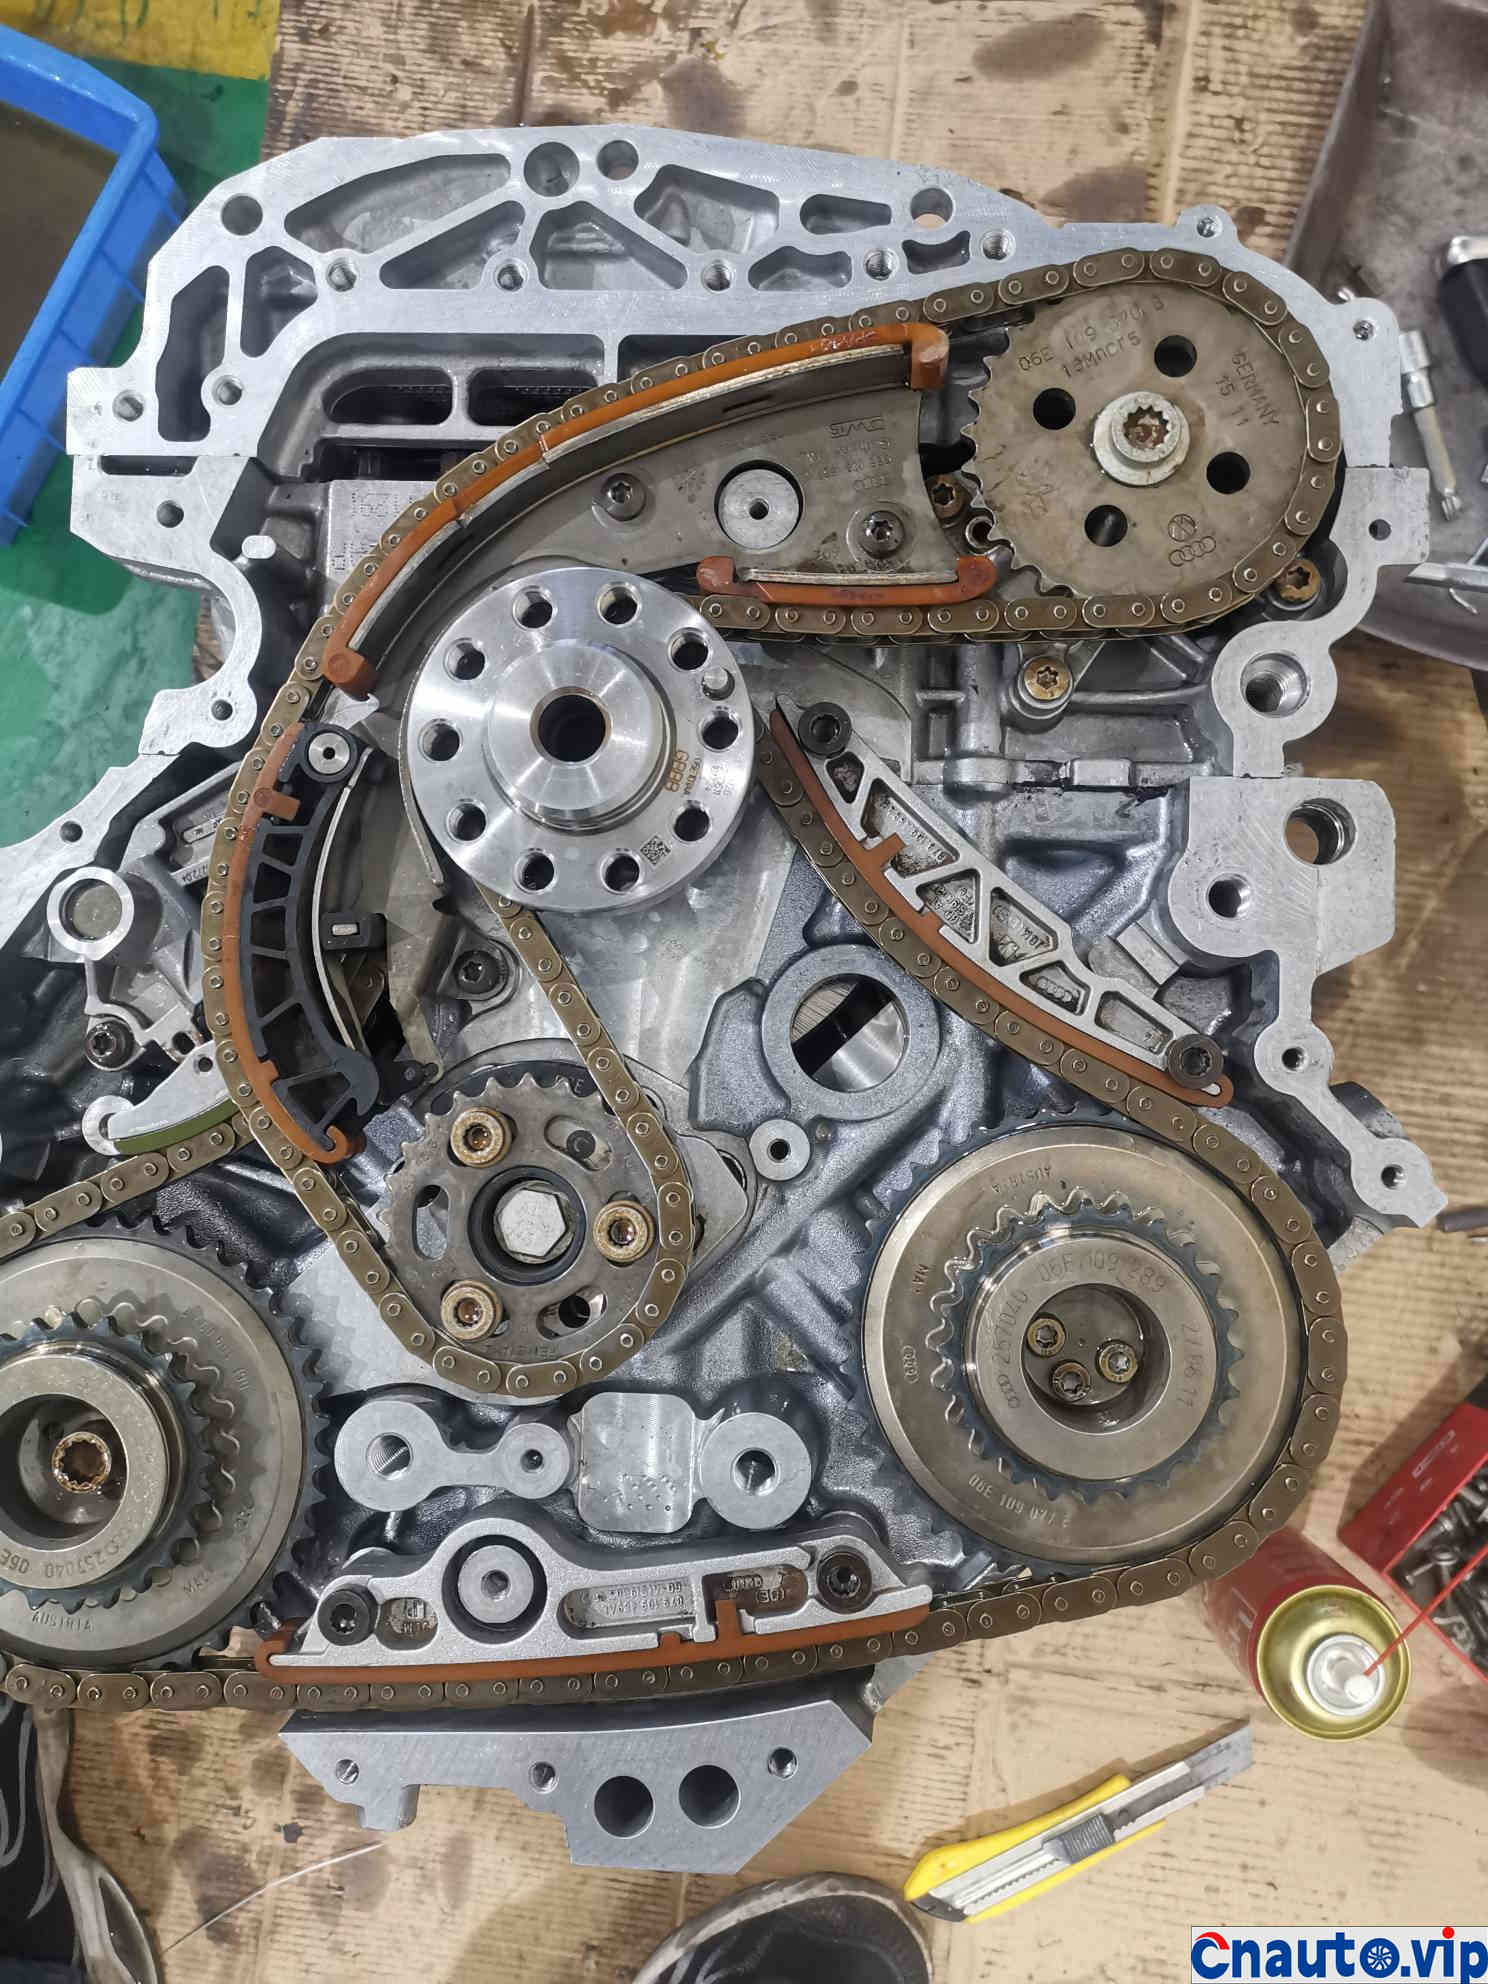
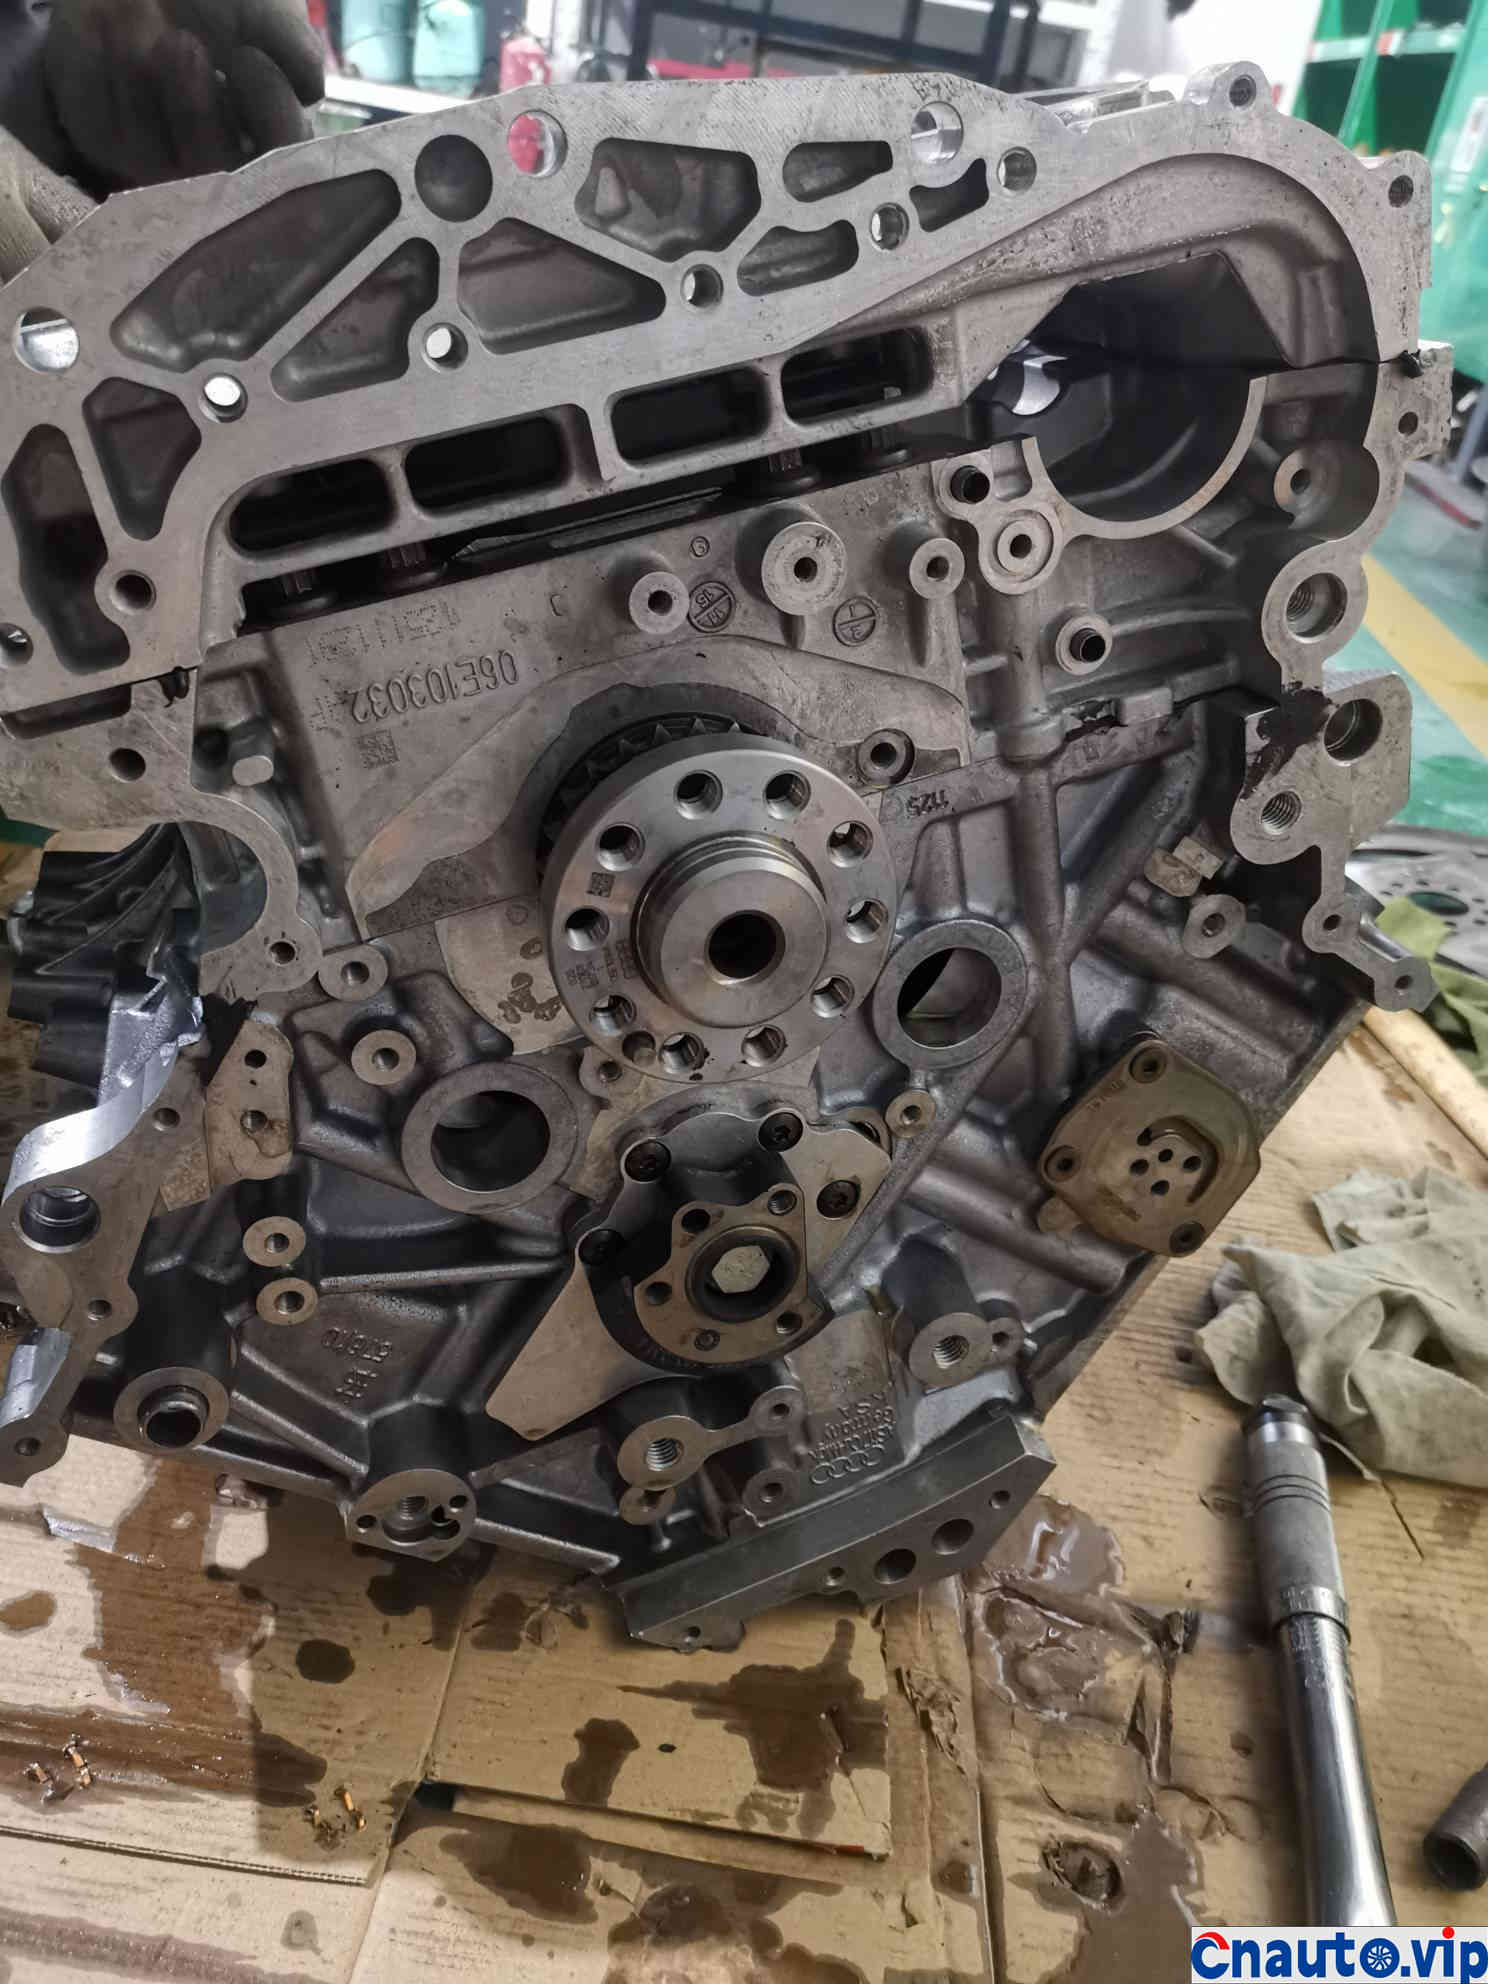
The lower timing chain has been cleaned and installed, and the timing rear housing is ready to be installed.
Rear shell cleaning and installation
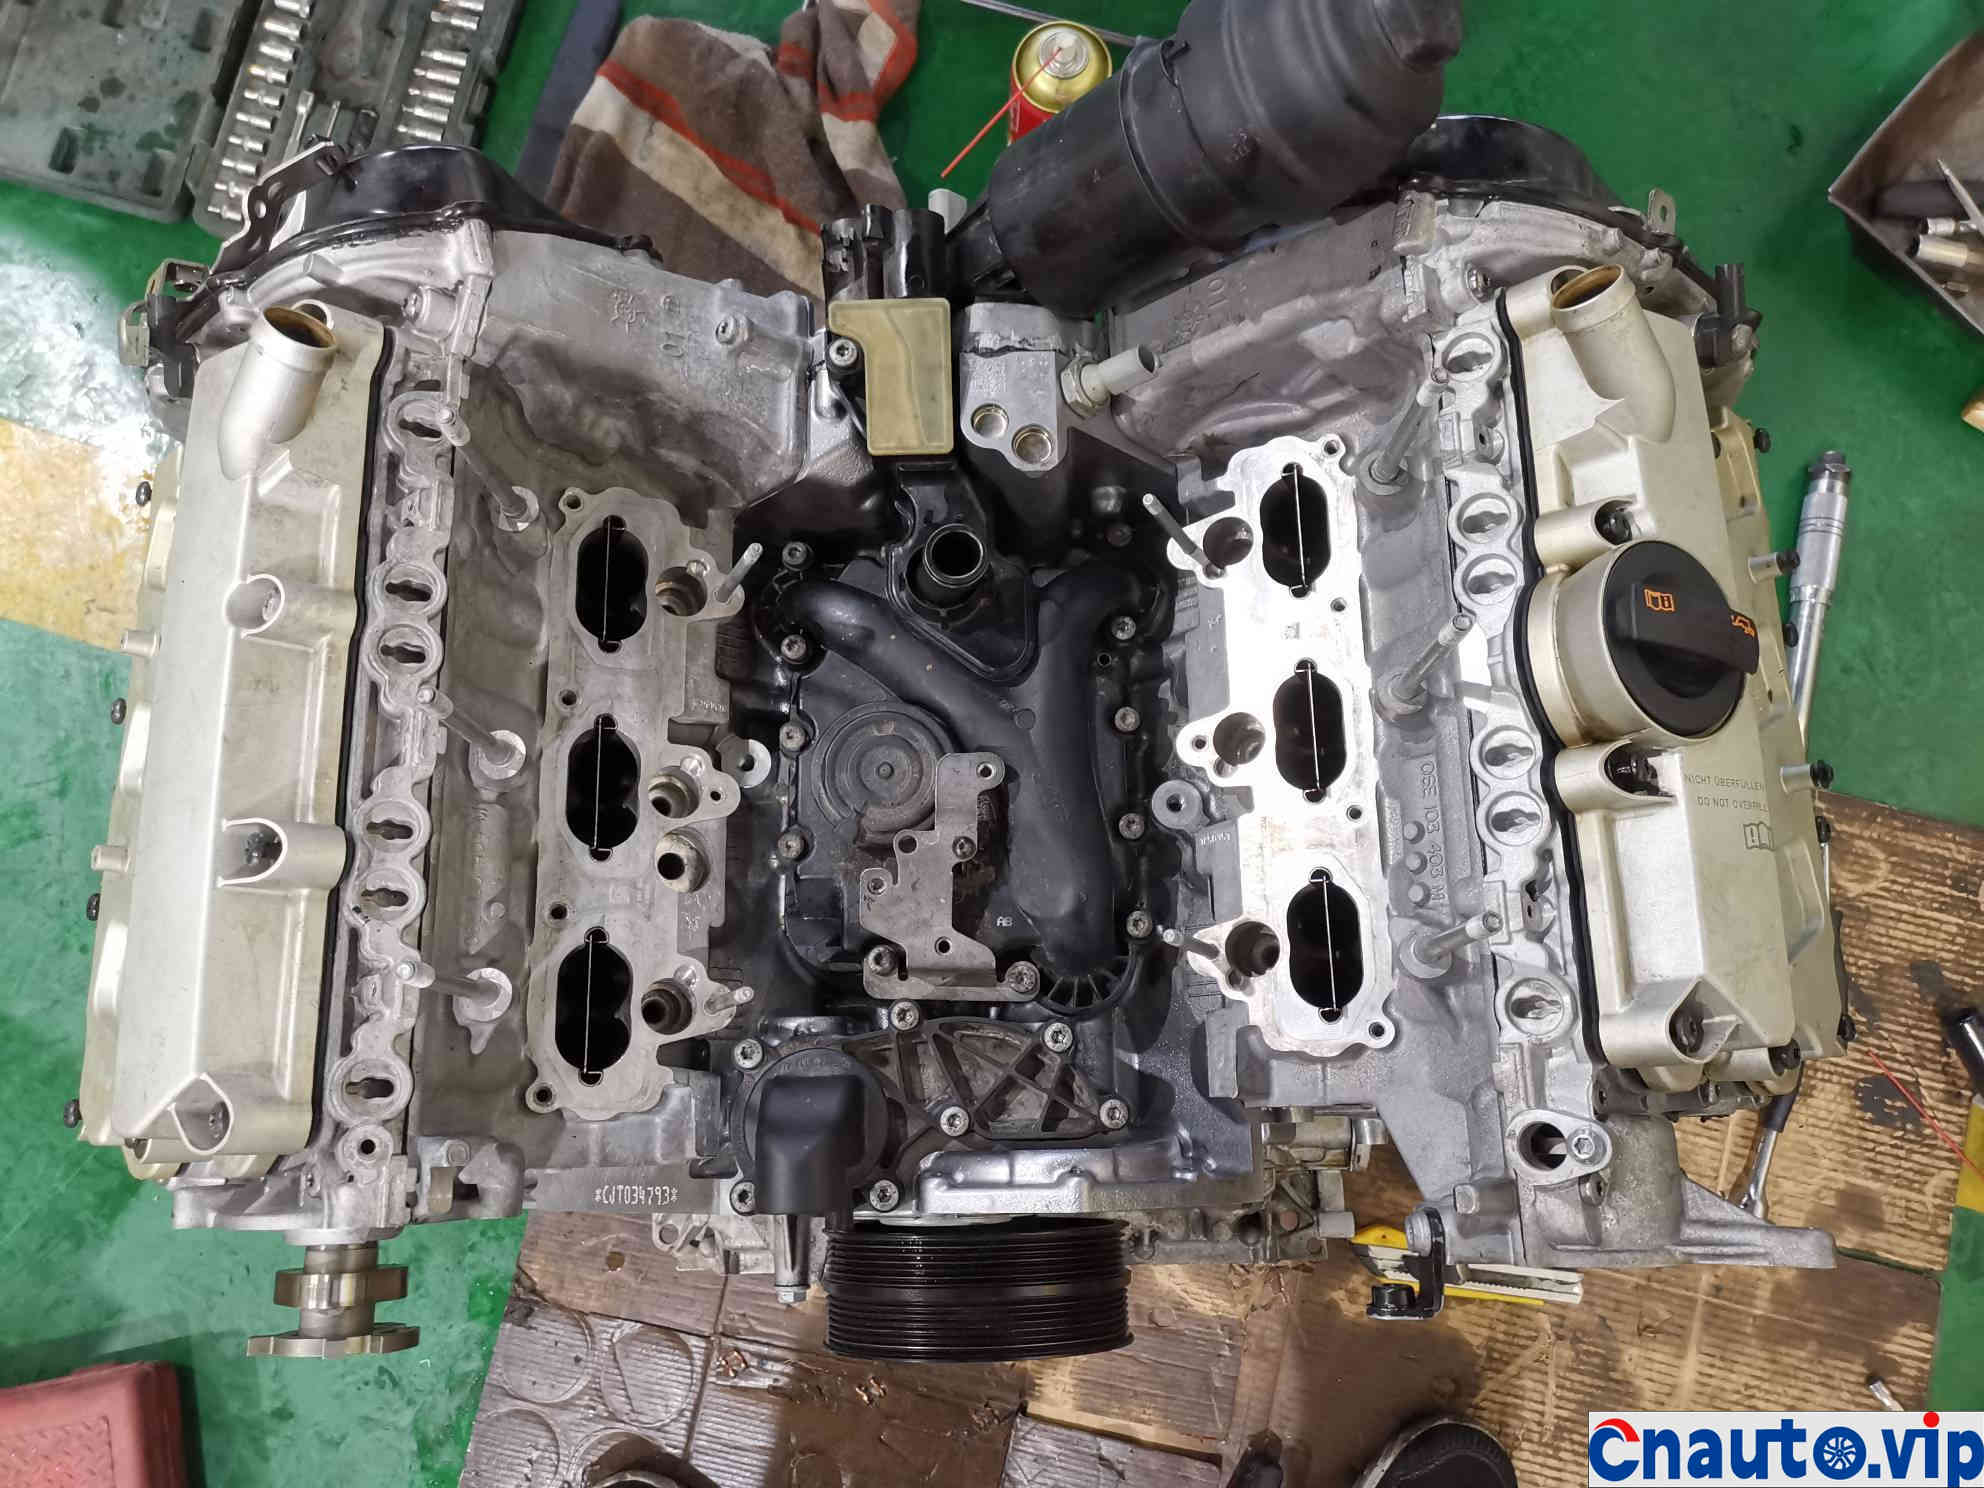
The left and right cylinder heads are installed
Two one-way check valves are installed on engines without one-way check valves in the original vehicle
Prepare to install the camshaft shoe cover after cleaning
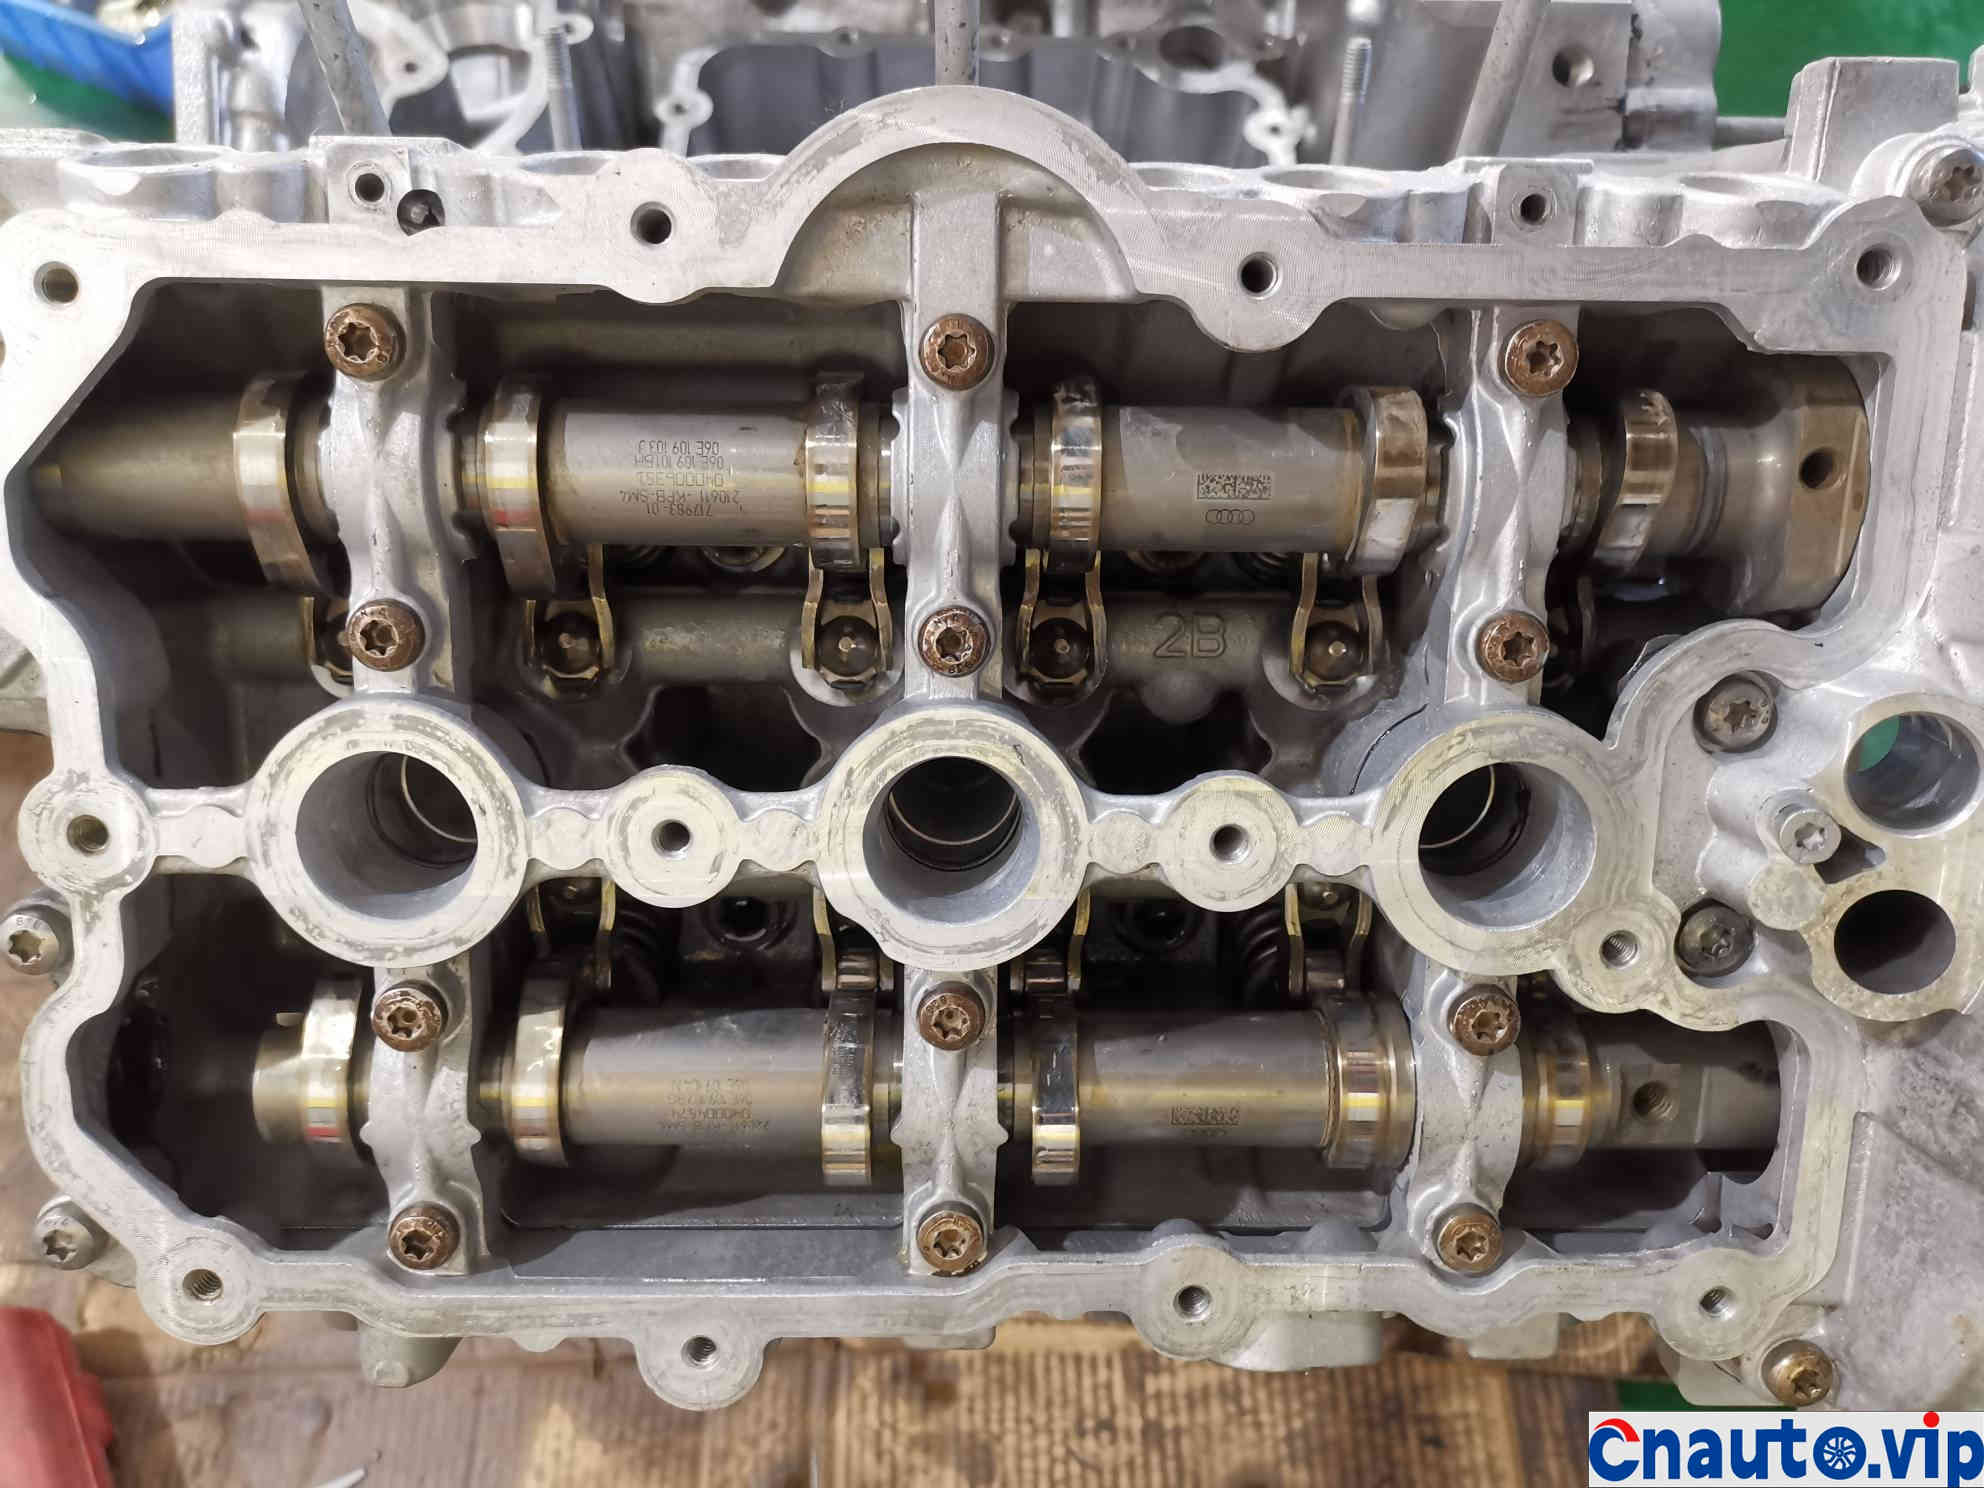
Camshaft shoe cover installed complete
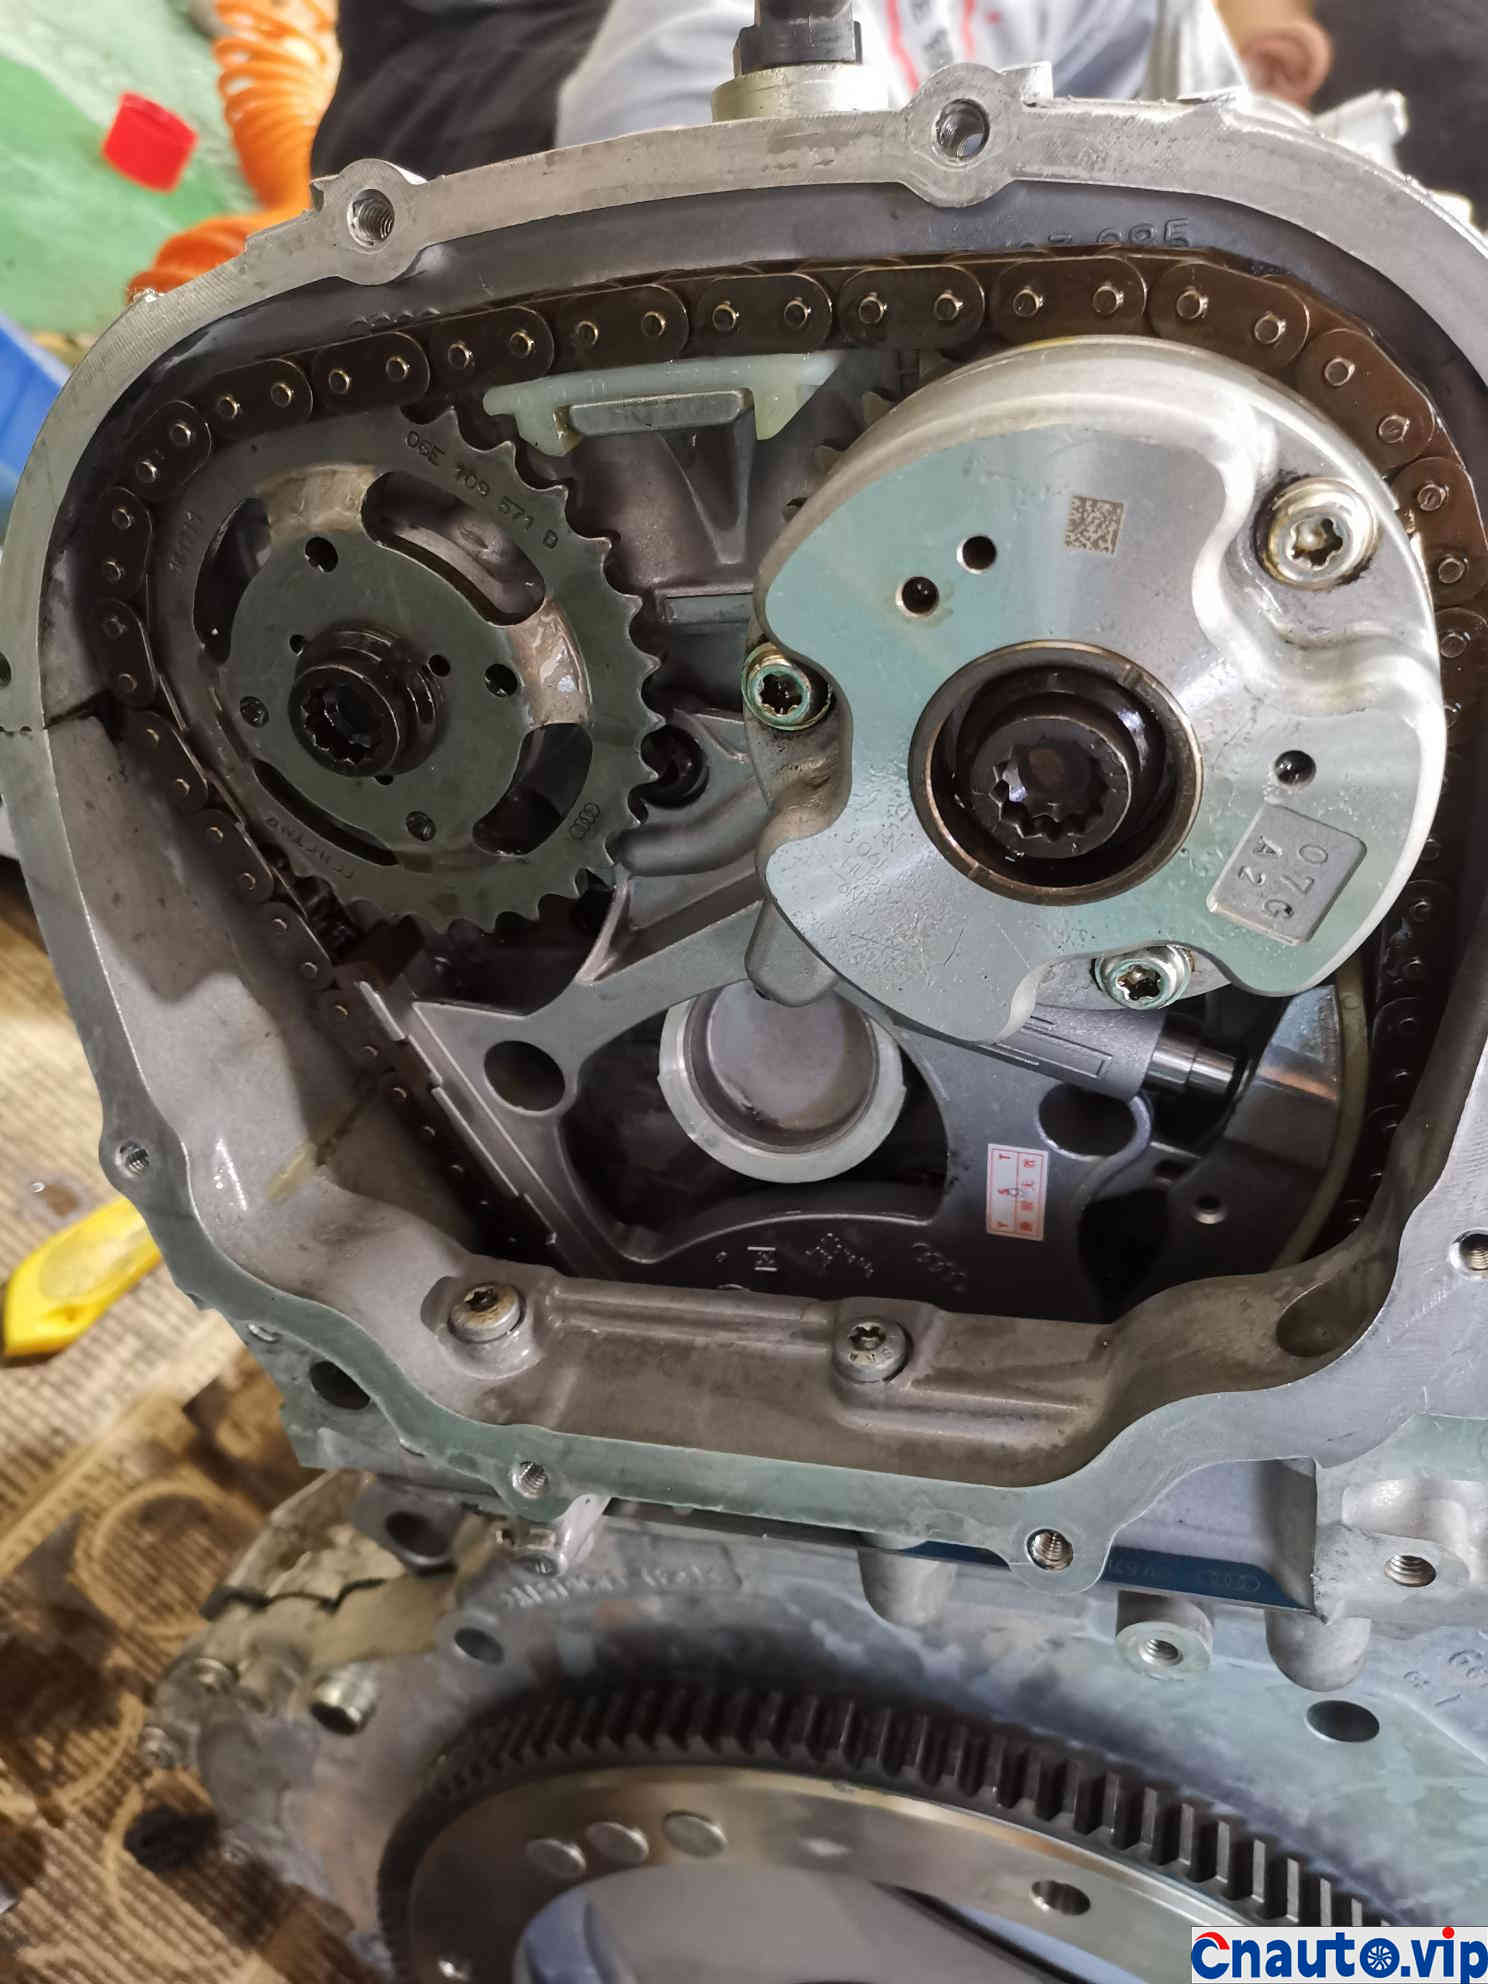
Clean the camshaft adjusting wheel and install the camshaft timing
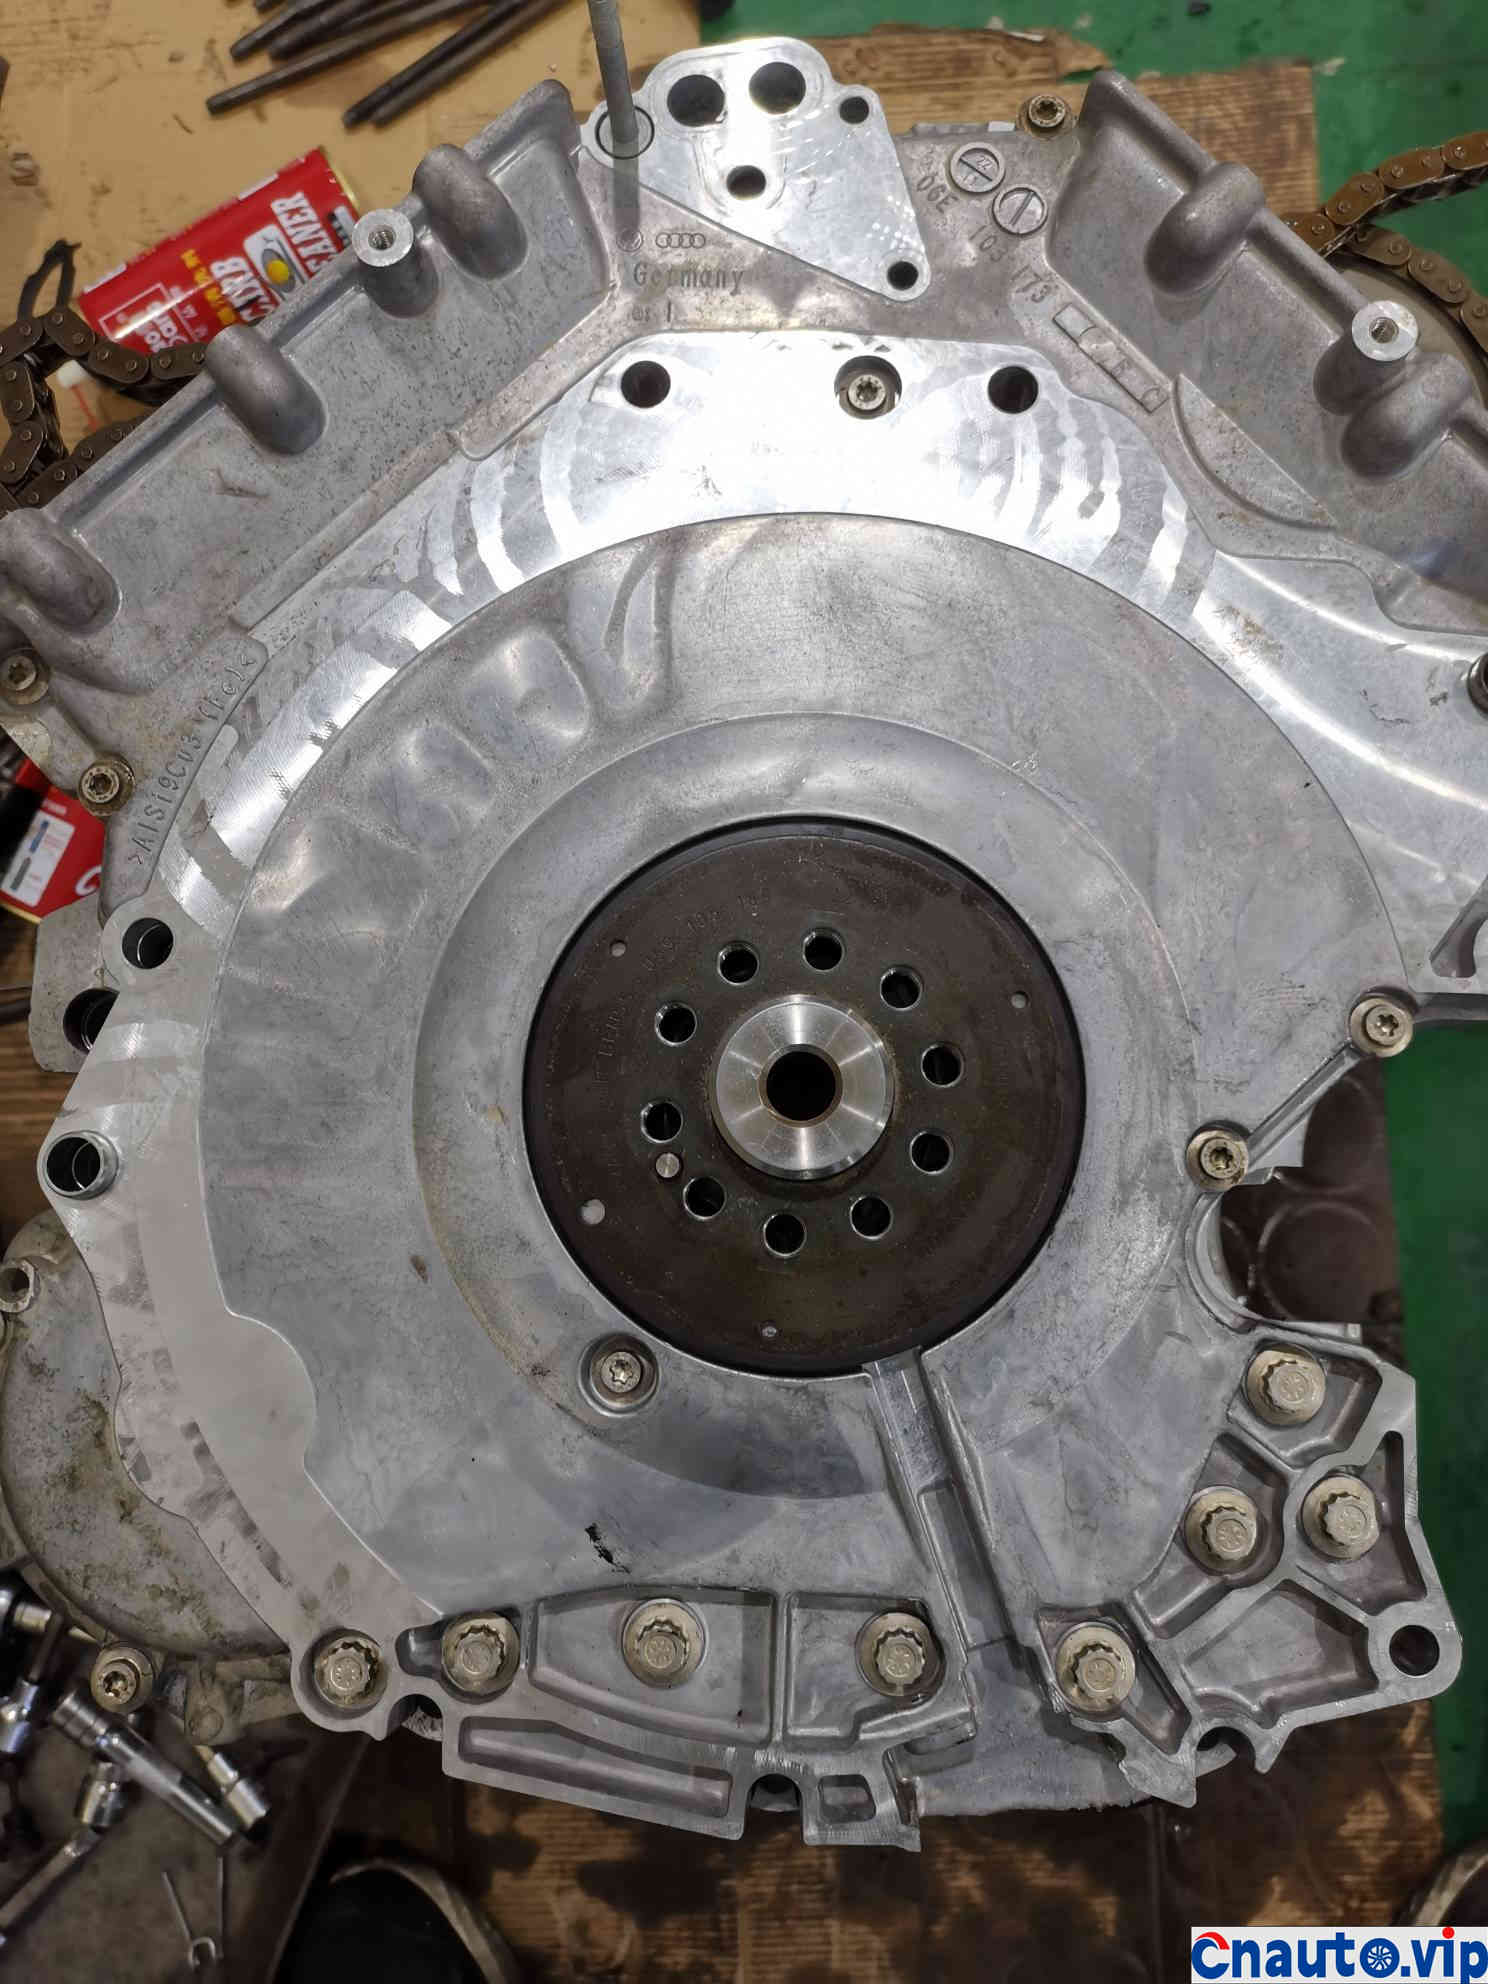
Engine boss assembly completed
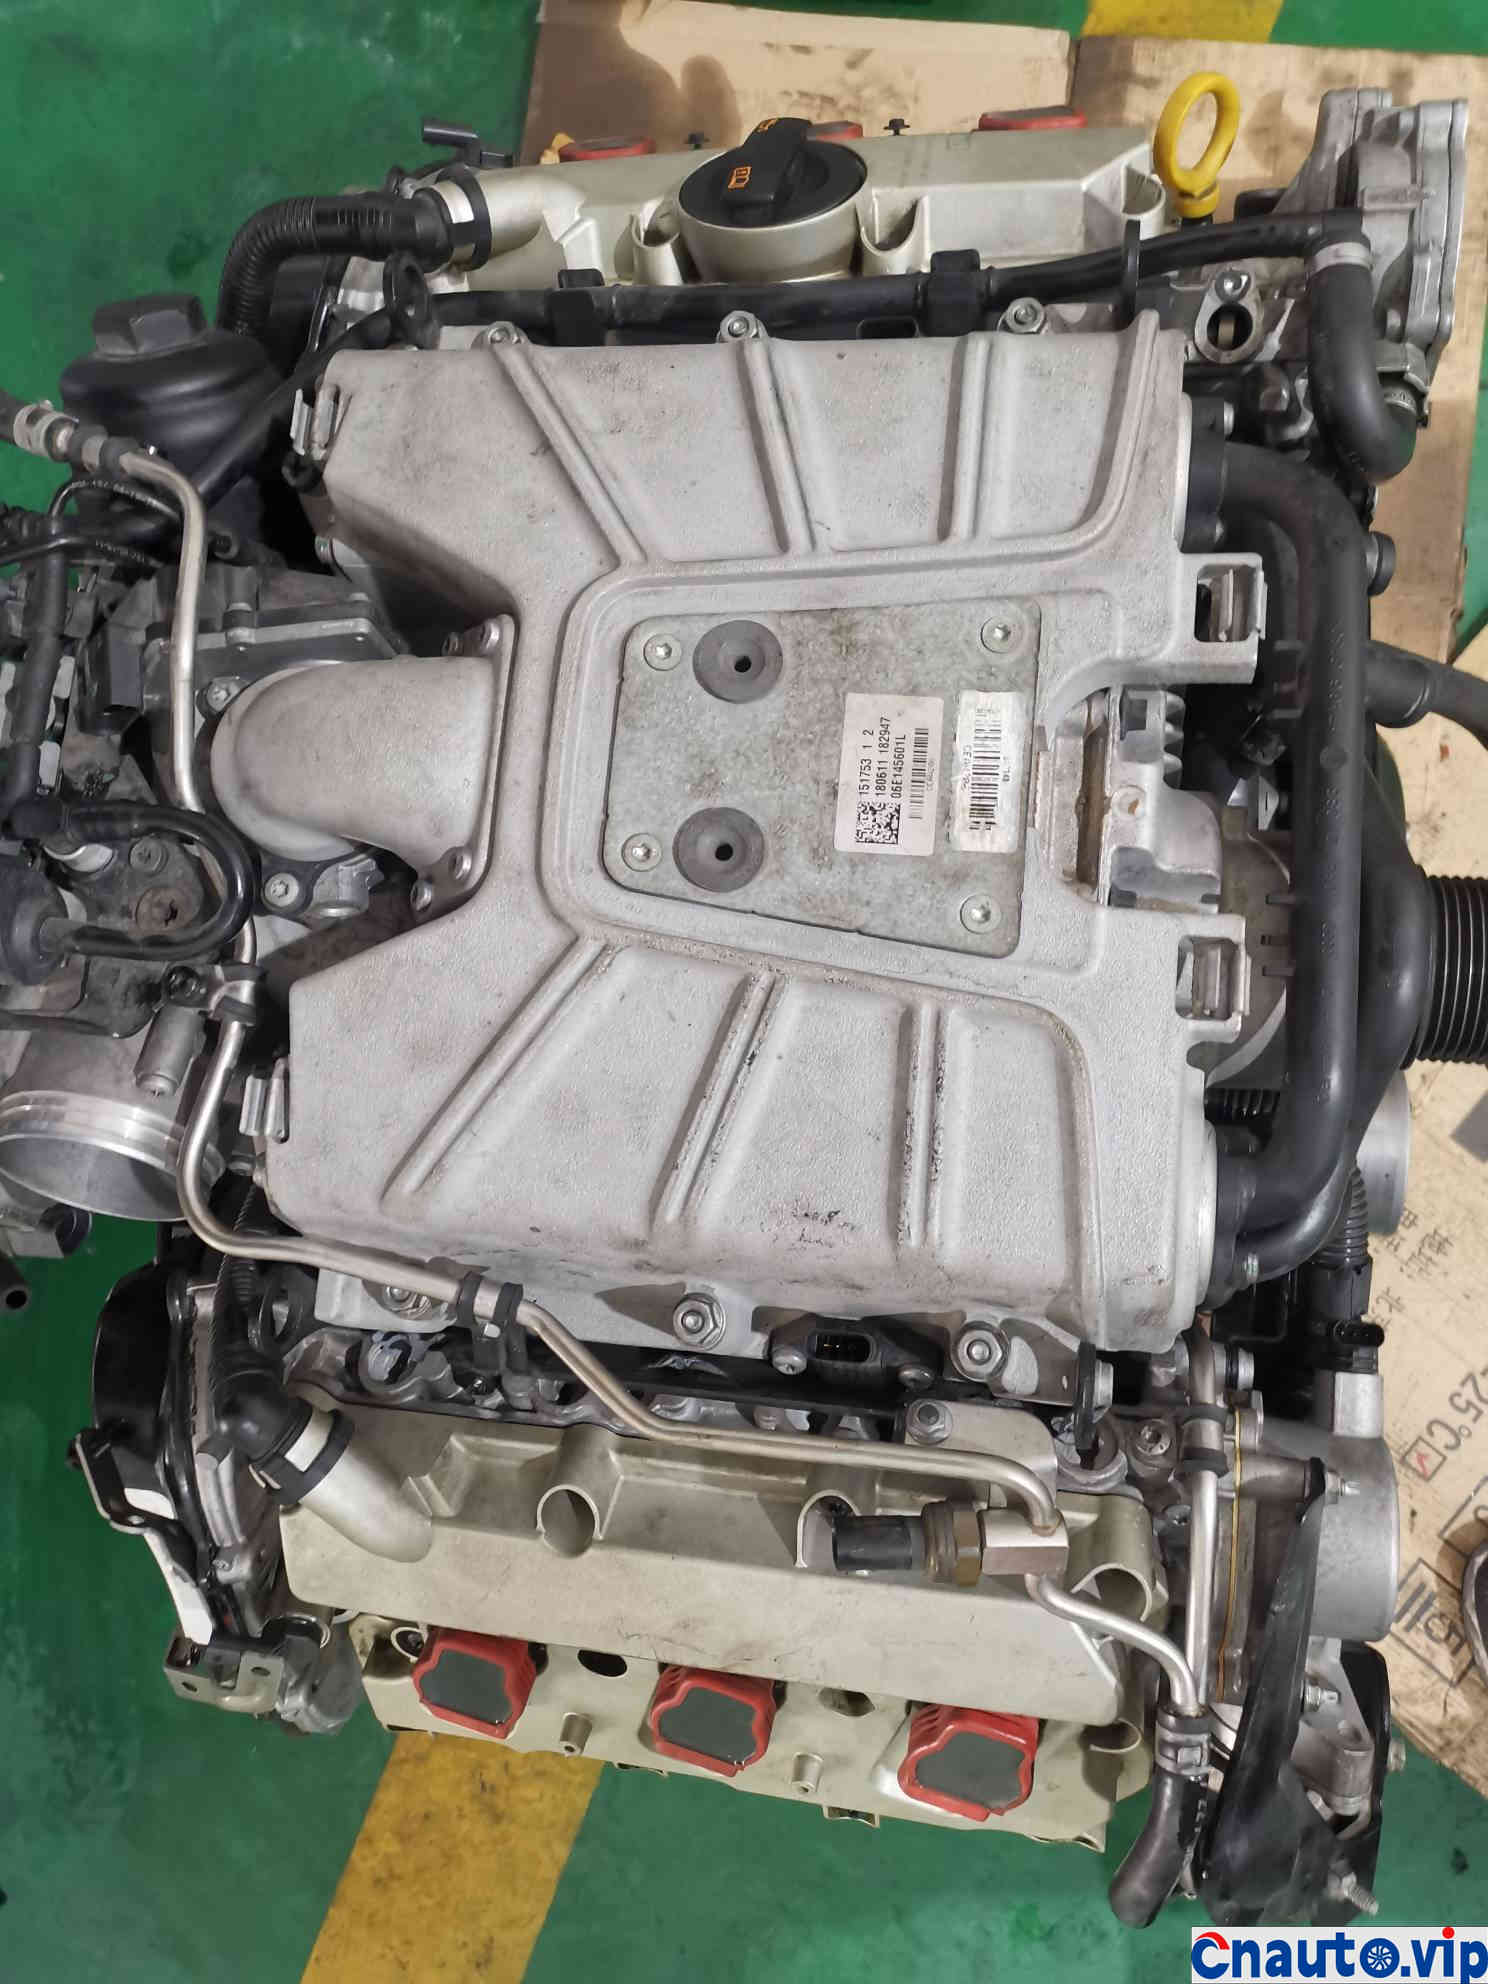
Supercharging installation
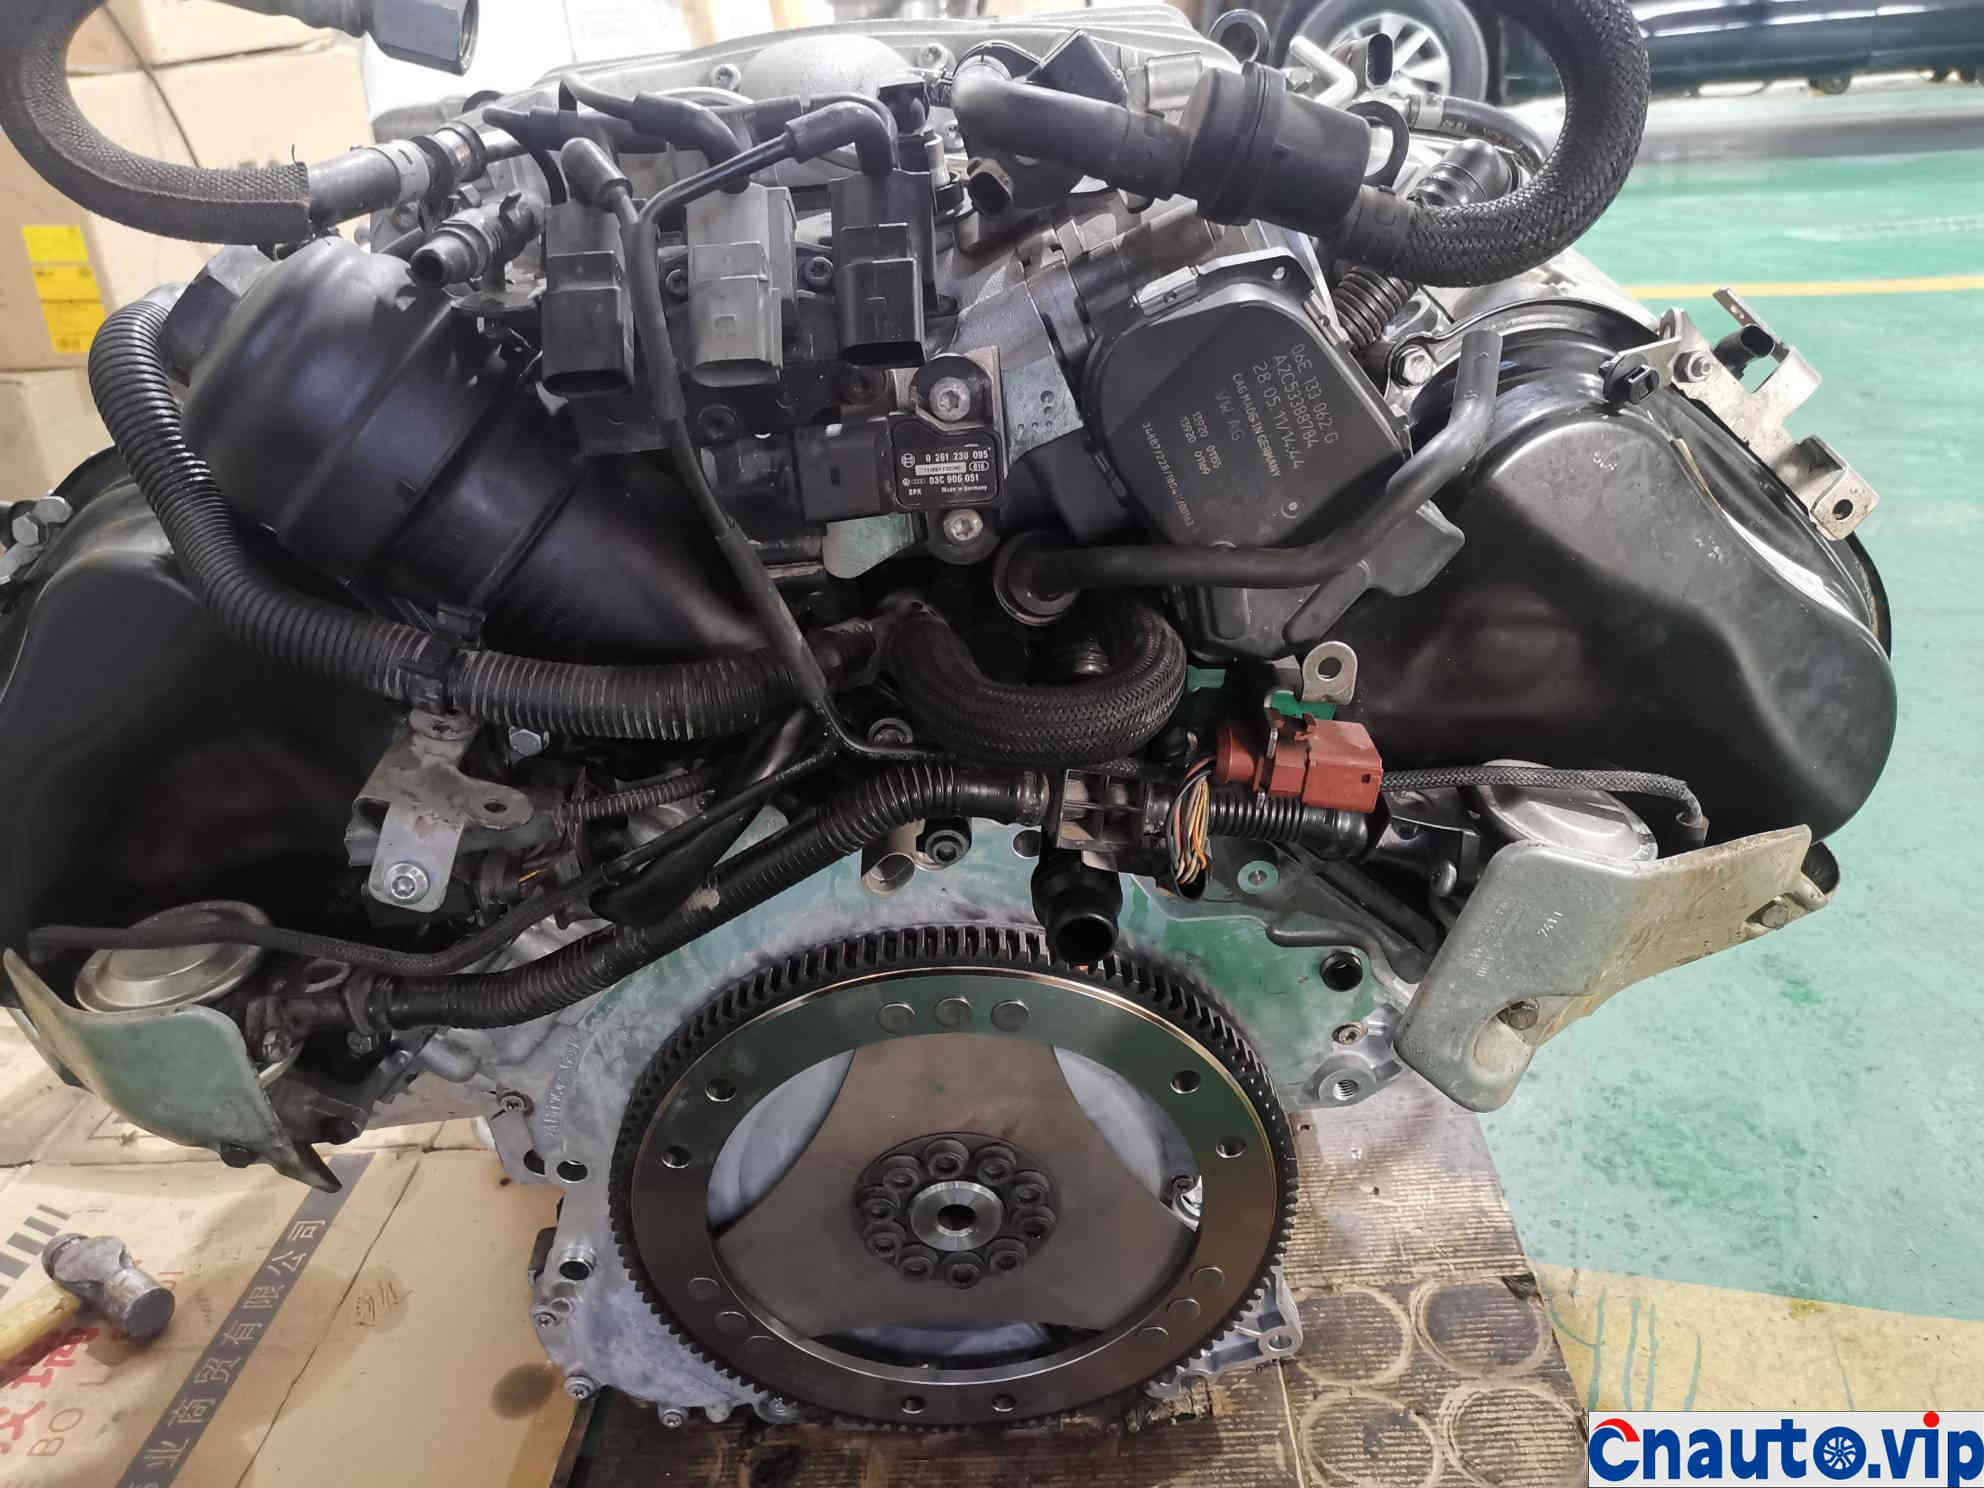
Install the engine after cleaning each component
Cleaning and supercharging after loading

The clean engine is on the bus and ready to start the engine


 April 1, 2024