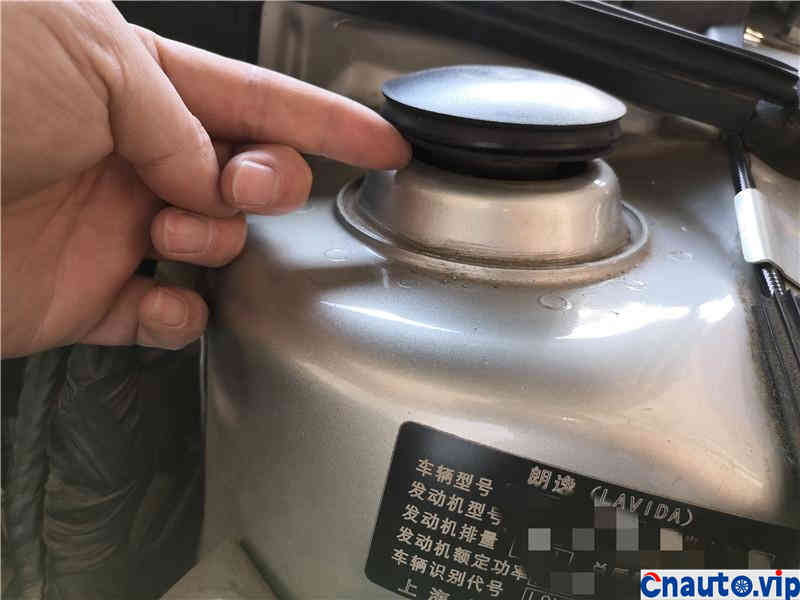
In 2010, Lang Yi is not young anymore. at this age, many people have given up their old cars. I am nostalgic and financially strapped, so there are some minor problems that need to be solved immediately. It has long been found that the front shock absorber sleeve protrudes a large piece, and the plane bearing has no abnormal sound, but it is considered that it has been in service for such a long time, so it should be replaced.
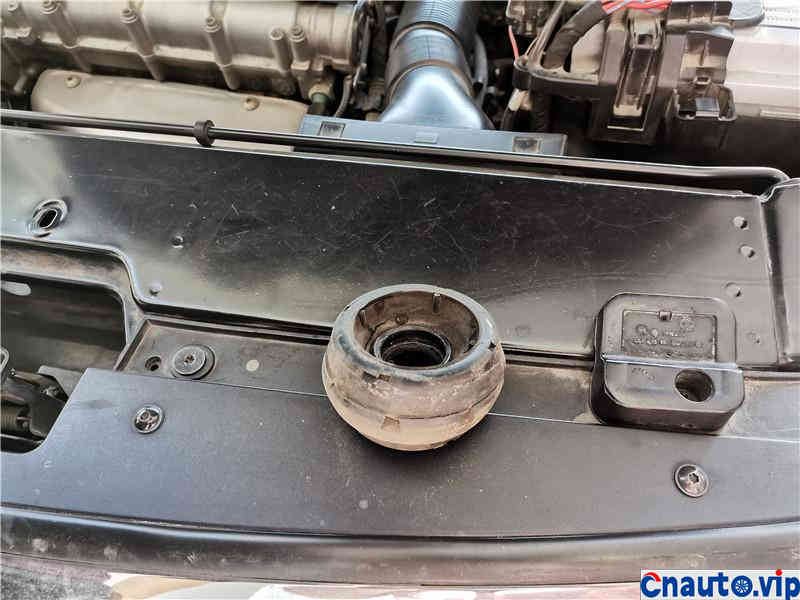
You can see such a protruding piece of rubber cover.
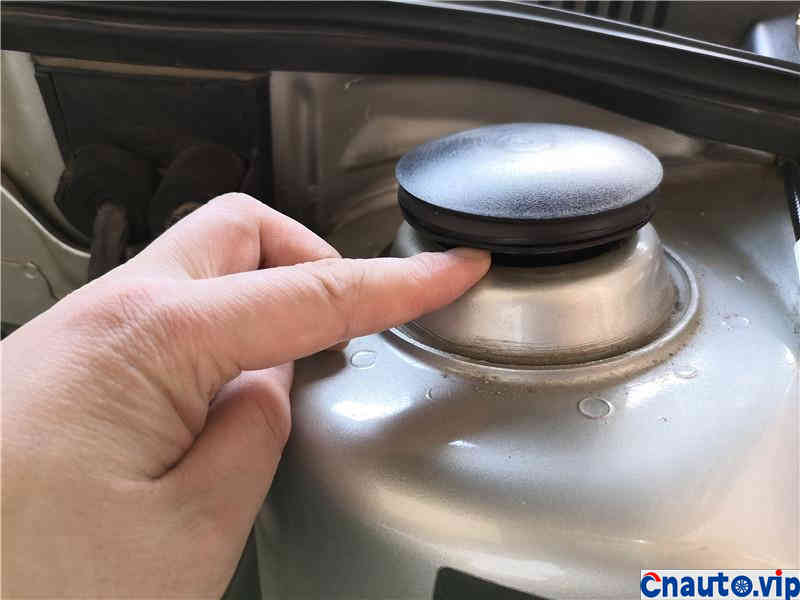
About the distance of one finger.
It is probably the distance of the 1CM. I feel that the car is also relatively loose, so I will replace it in time.
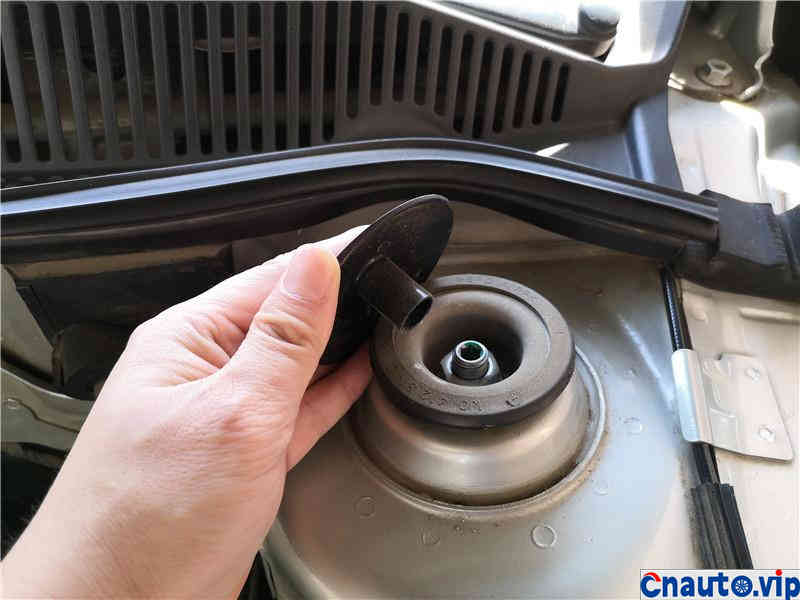
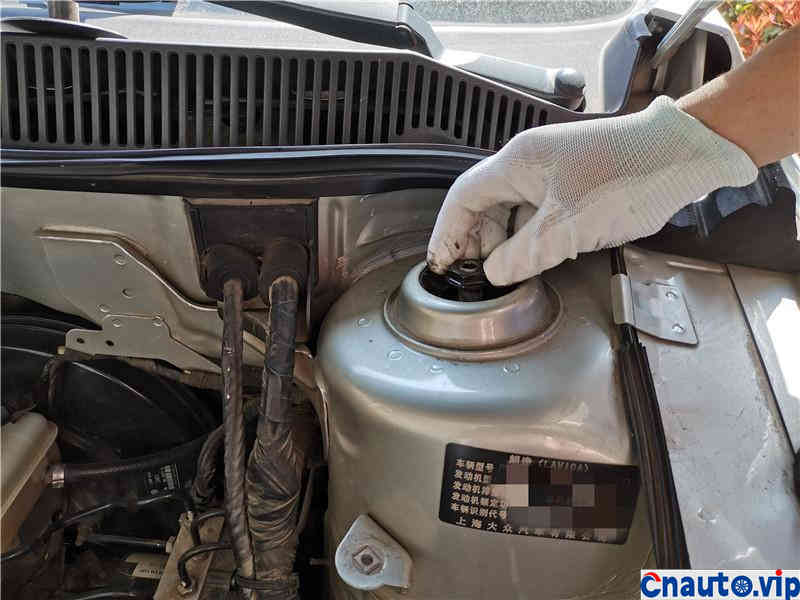
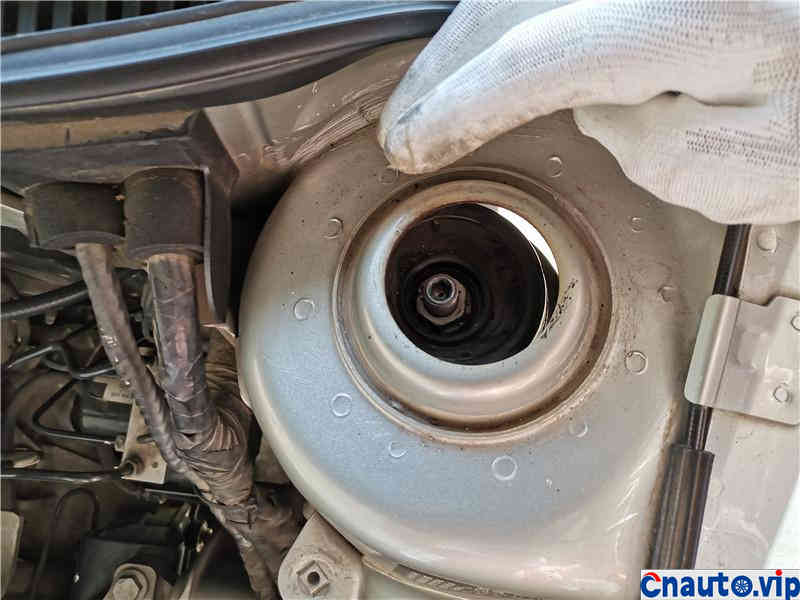
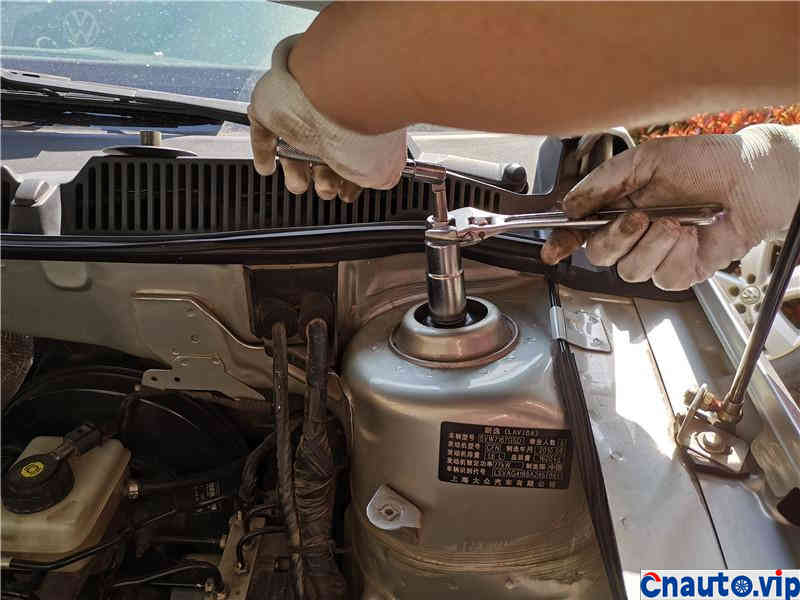
Just open the top lid.
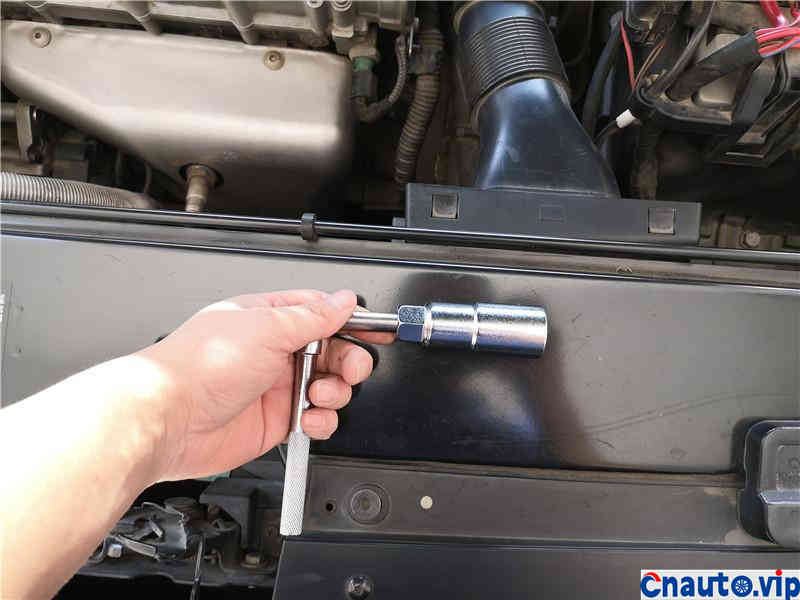
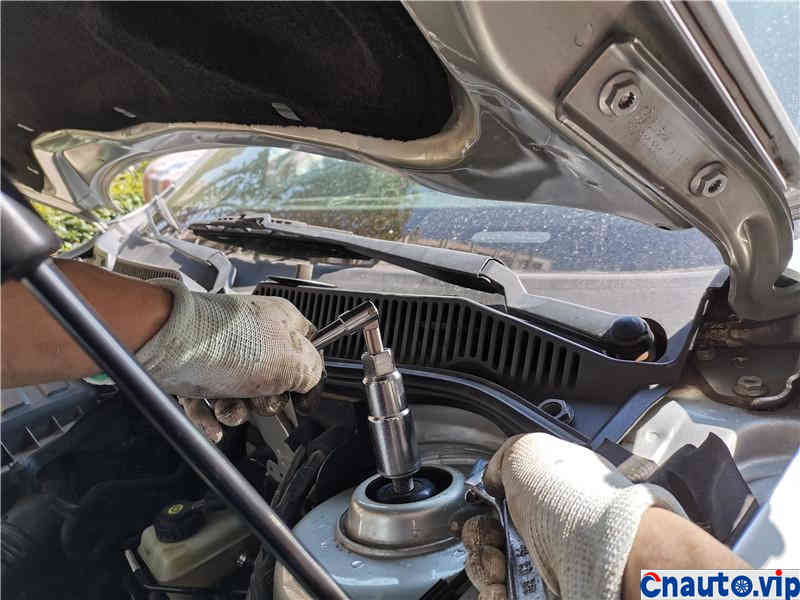
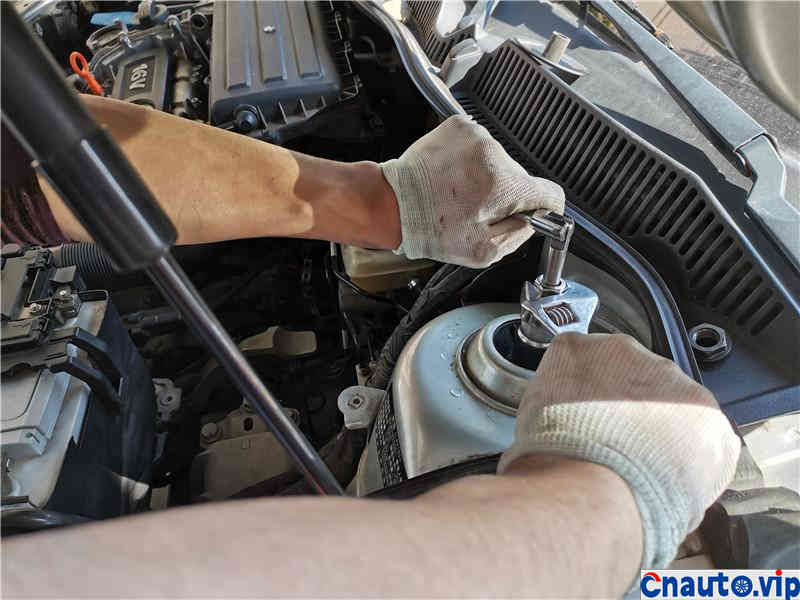
Need special tools, more than ten yuan, not expensive.
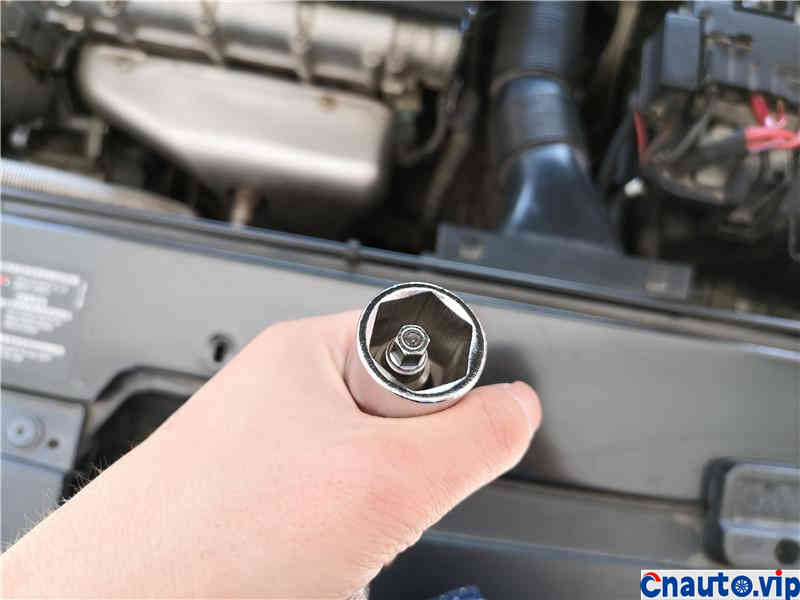
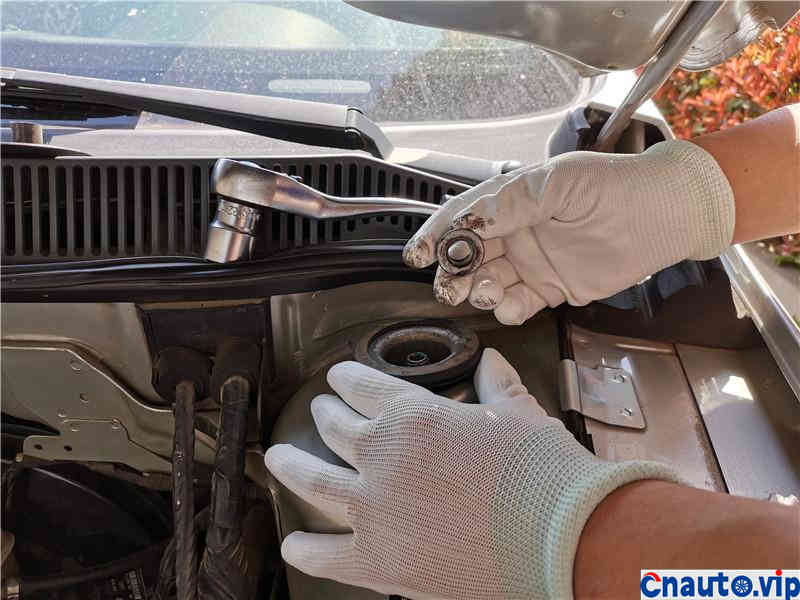
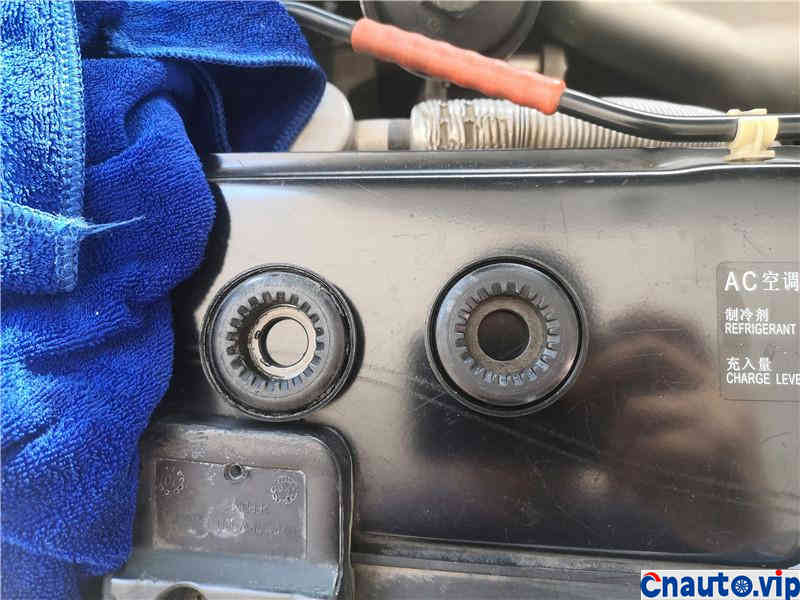
There are 22 nuts on the outside and hexagonal screws on the inside.
Buckle up directly, the principle is very simple, that is, fix the hexagonal screw inside, do not rotate at the same time as the 22 nut. If you don’t follow, you can loosen the screw.
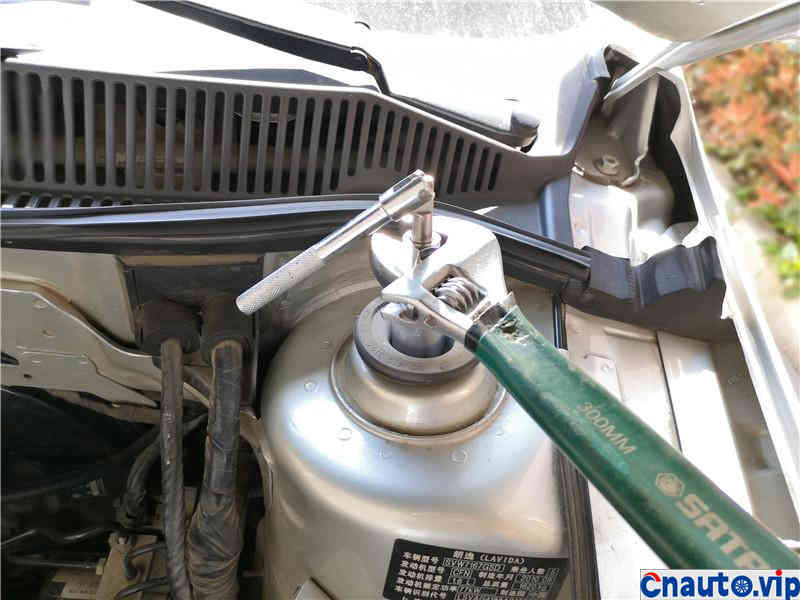
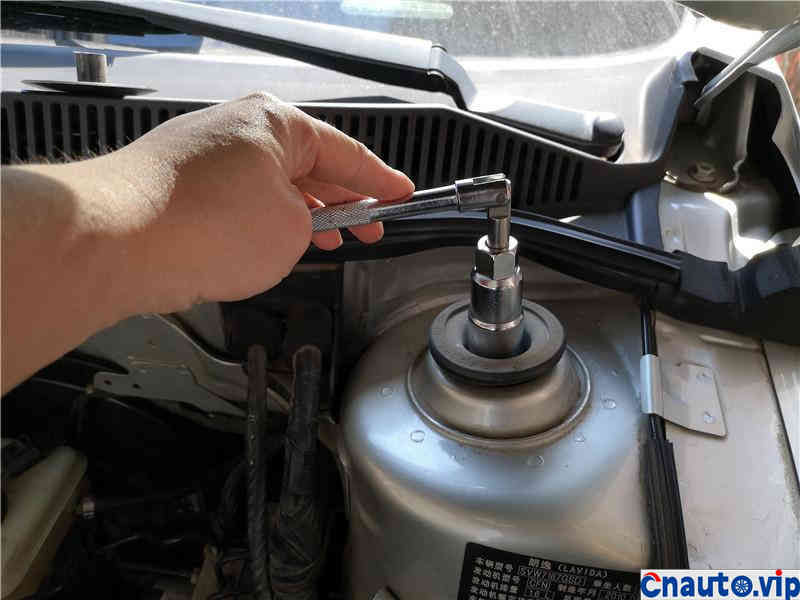
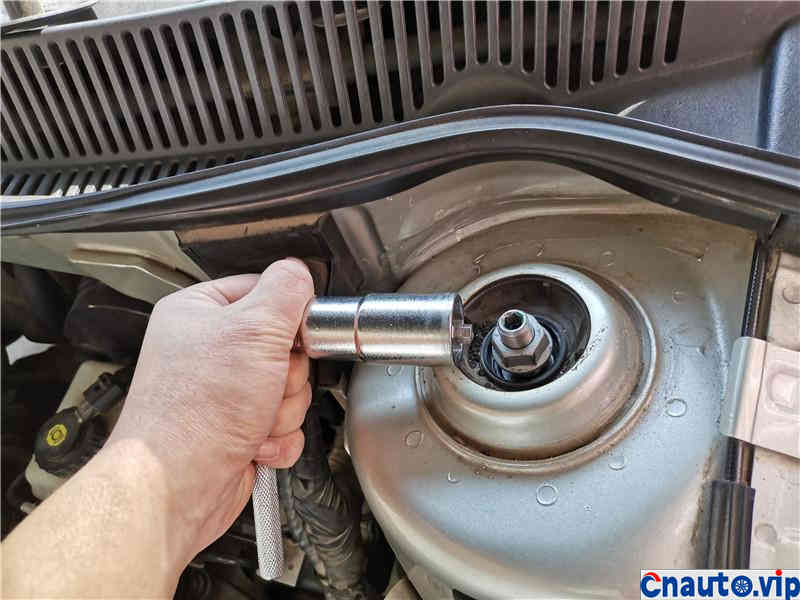
Hold the handle in the left hand and turn the movable wrench in the right hand to unscrew the screw.
If the screw is loose, you can be lazy and unscrew it with 22 Dafei.
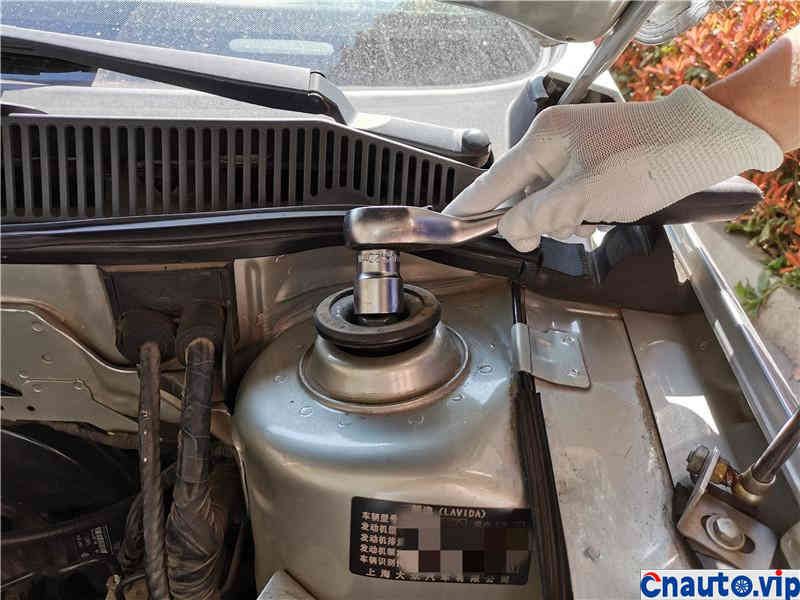
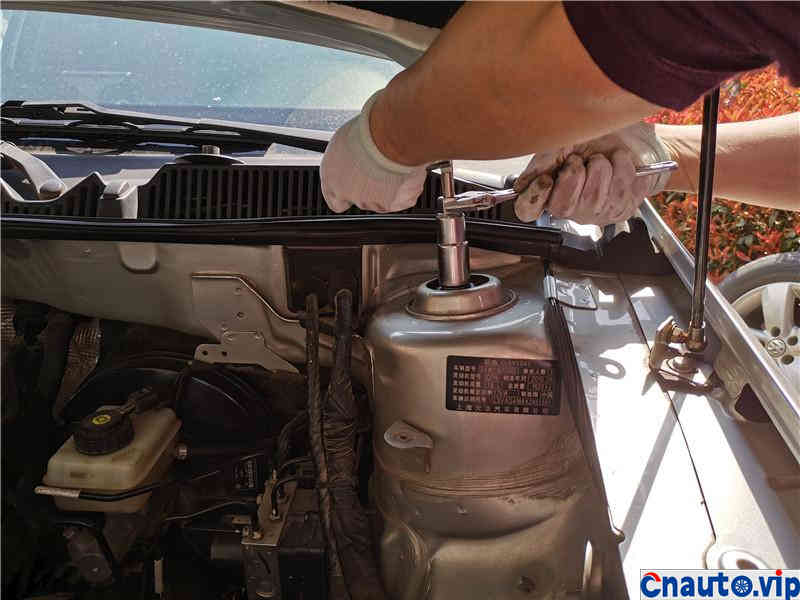
The first layer outside is a silver screw.
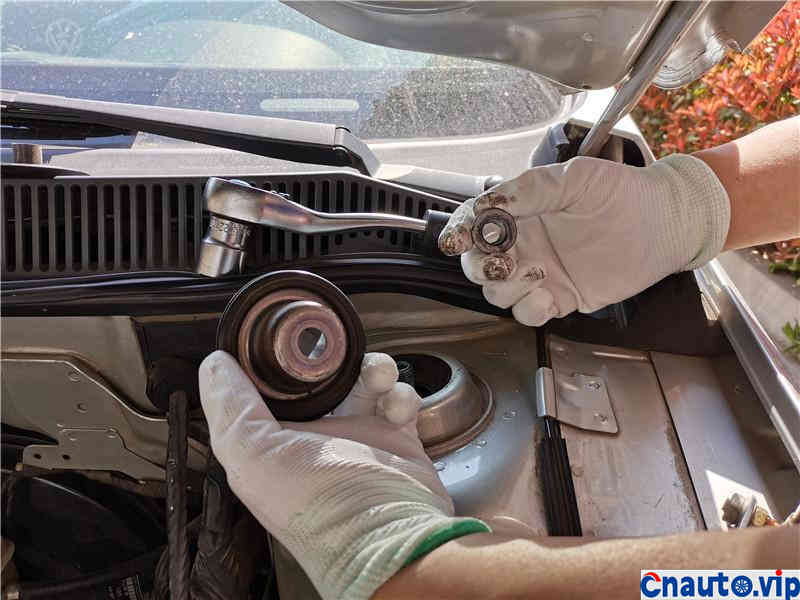
Then remove the outer fixed cover plate.
There is also a screw on the inside, which is similar to the screw on the outside, and the outer diameter is different.
In the same way, loosen.
Remove the screw.
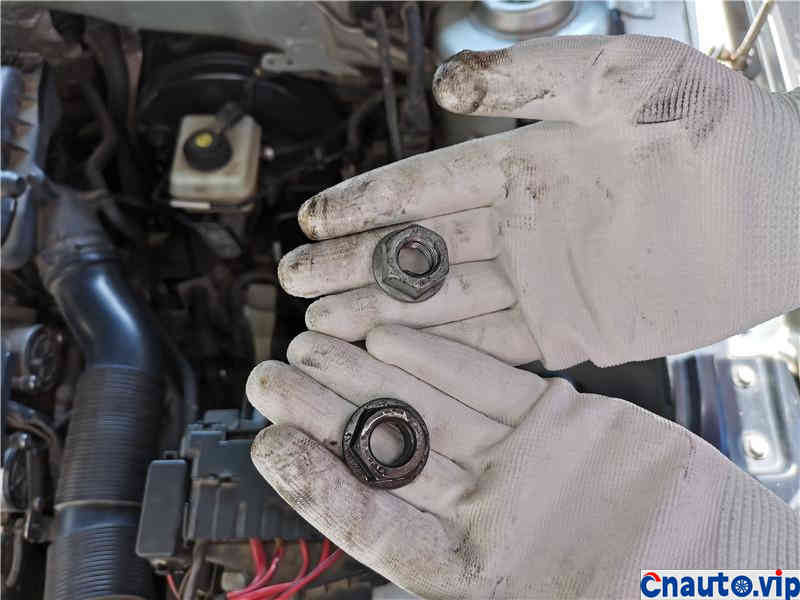
By contrast, the threads are all the same, and the prototype gasket below is larger in black than silver.
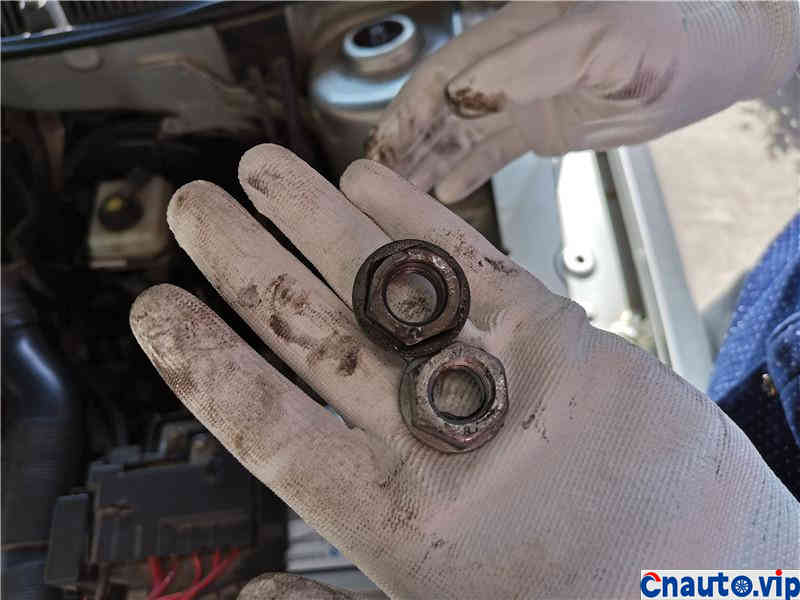
The following prototype gasket, the black one is larger than the silver one.
In order to press the spring, it is necessary to tighten the silver screw. this screw is cleverly designed to penetrate the top glue, but it can also press the flat bearing. although the black one also presses the bearing, it cannot penetrate the top glue.
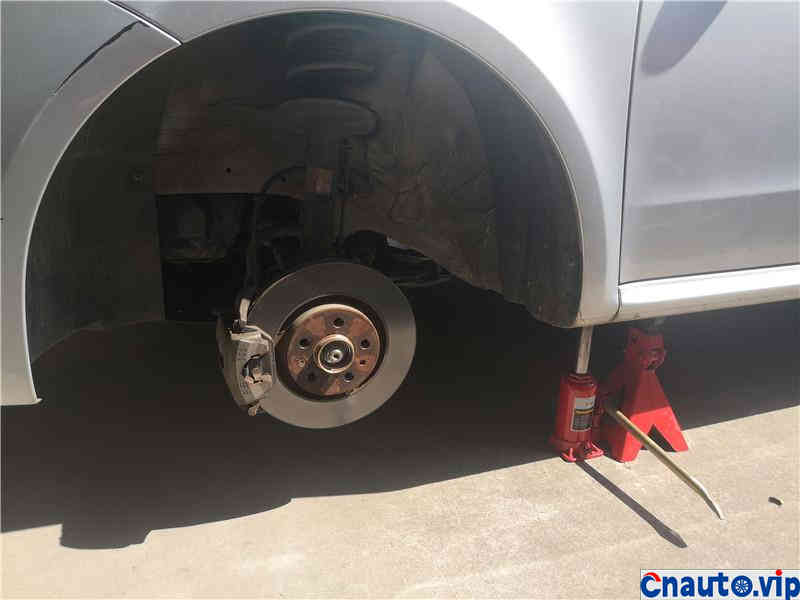
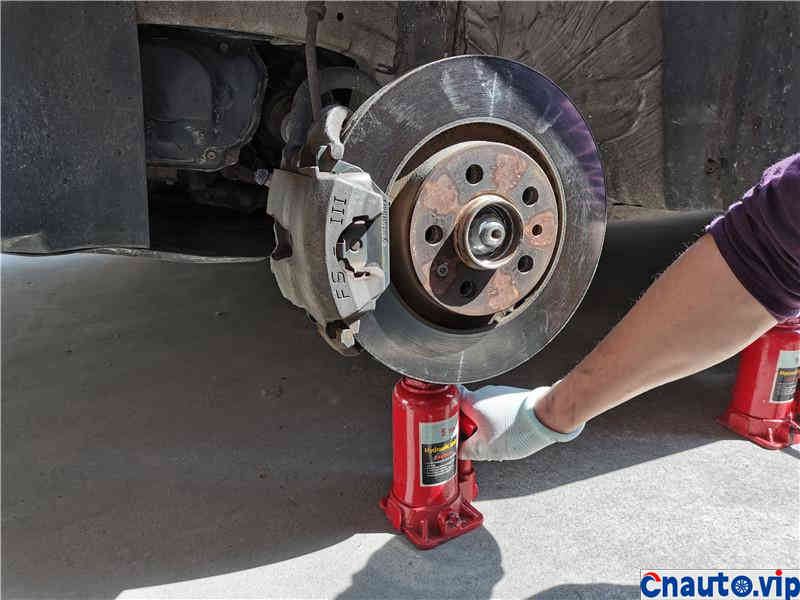
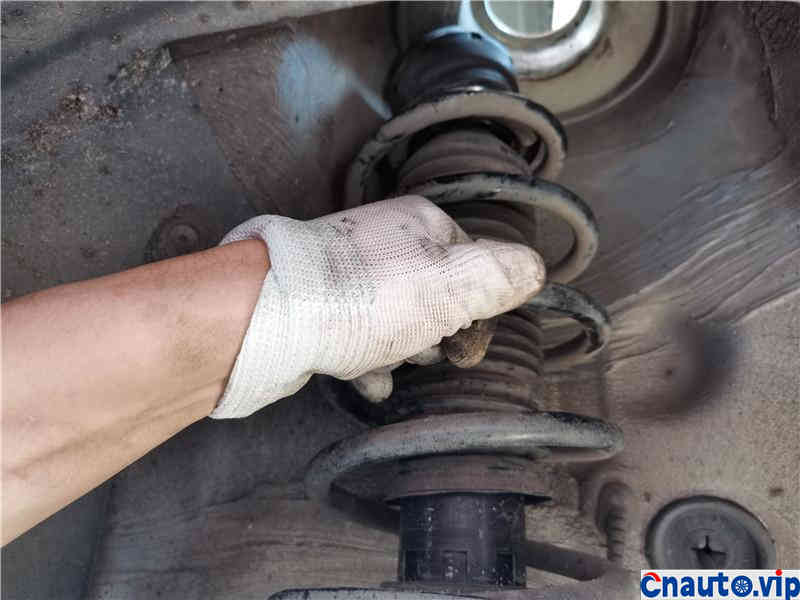
Next, it will be difficult. According to the previous description of the rider, stepping on the tire and pressing down can make the shock absorber fall, and the top glue can be removed from below. I’m standing up there. It’s useless. Is there any skill? No way, the most corny way, I take apart the parts. Take off the wheels and lift the car up.
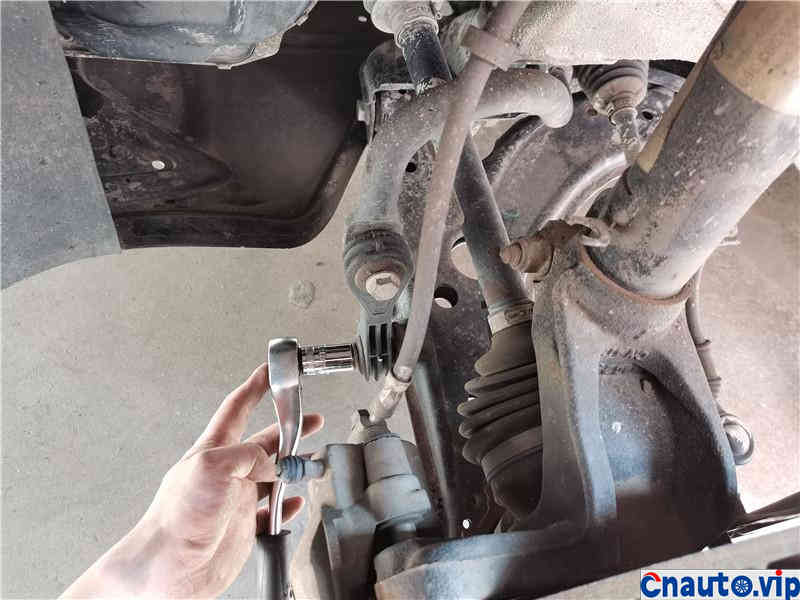
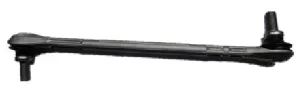
Then loosen the balance rod with the sleeve of 16. What I loosen is the place connected to the lower arm, which is easy to operate here.
Notice that when the car is lifted, the shock absorber is relaxed and the balance rod is under force, so use a Jack under the hem arm to compress the spring so that the balance rod is subjected to less force.

Finally, the balance rod screw is removed correctly, if there is no Jack below, the hem arm will fall all of a sudden, which is more dangerous.
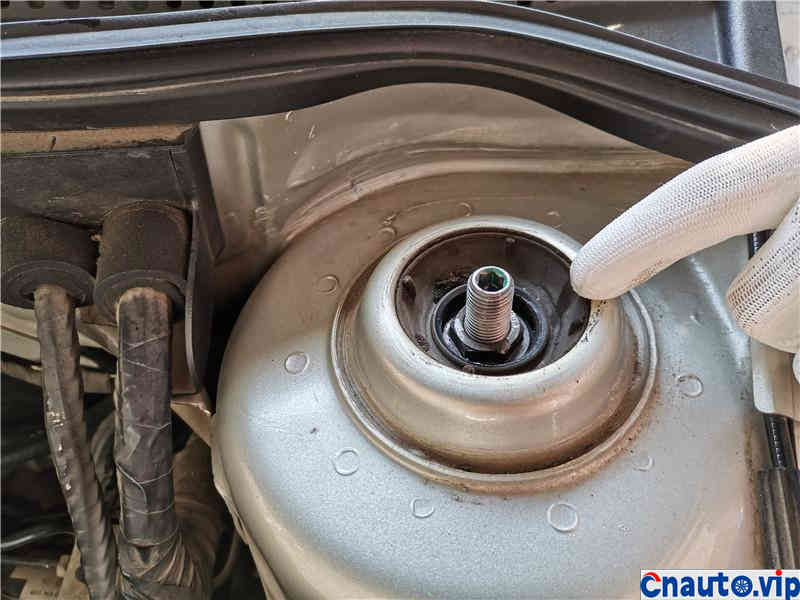
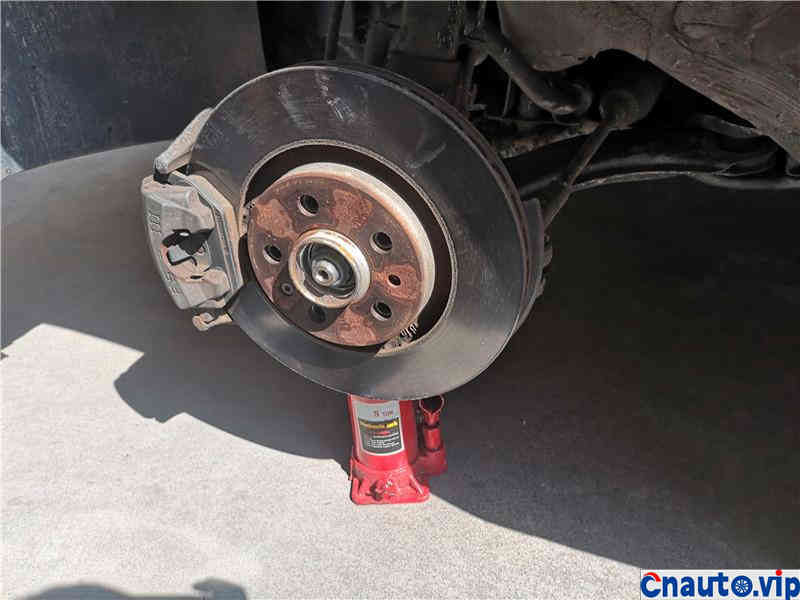
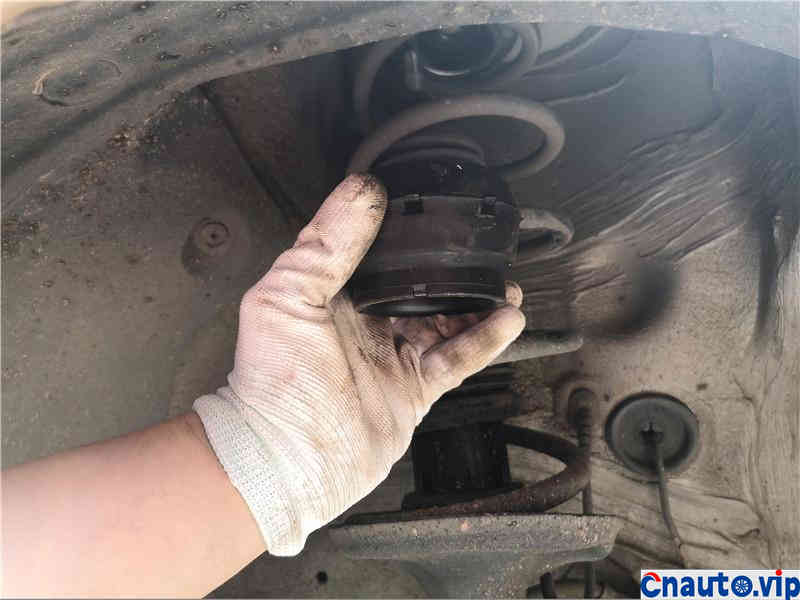
Then the Jack under the hem arm loosened, the shock absorber fell, and the top glue was loosened and reached out from below.
After taking the top glue, but also take out the plane bearing, at this time lift the Jack again.
Lift the Jack and restore the shock absorber to its original state so that the silver screw can be loosened.

Then put down the Jack, avoid shock and fall, and the top plane bearing is loosened.
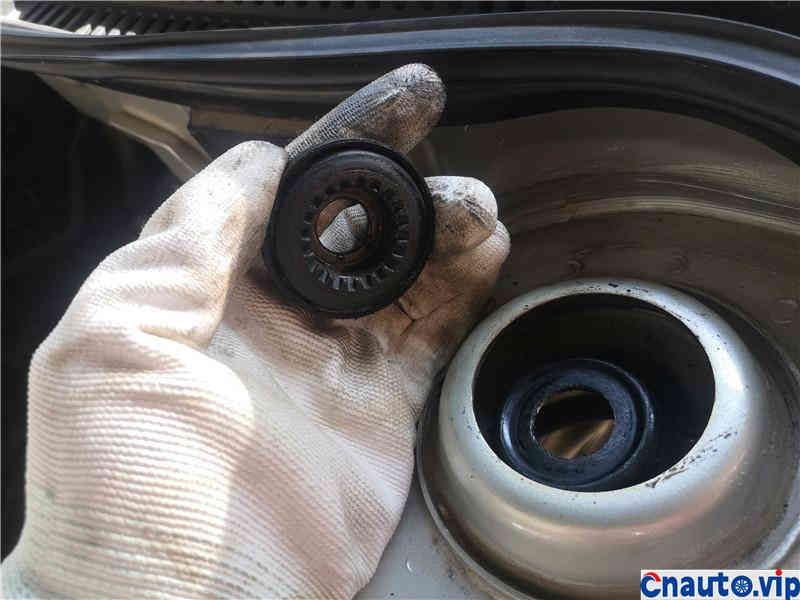
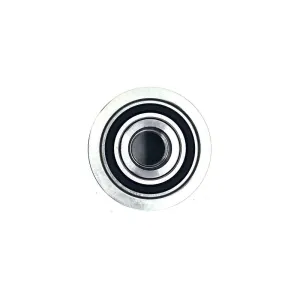
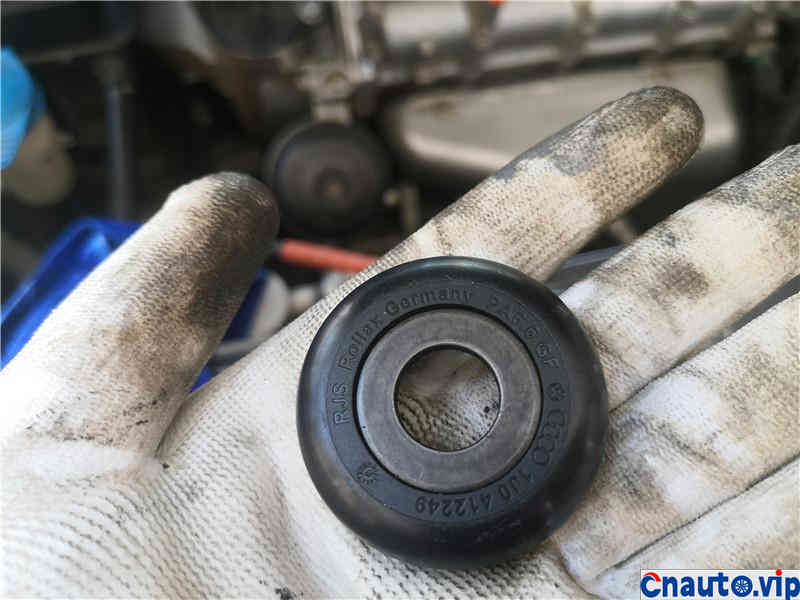
This is the plane bearing.
Compare it with the new one.
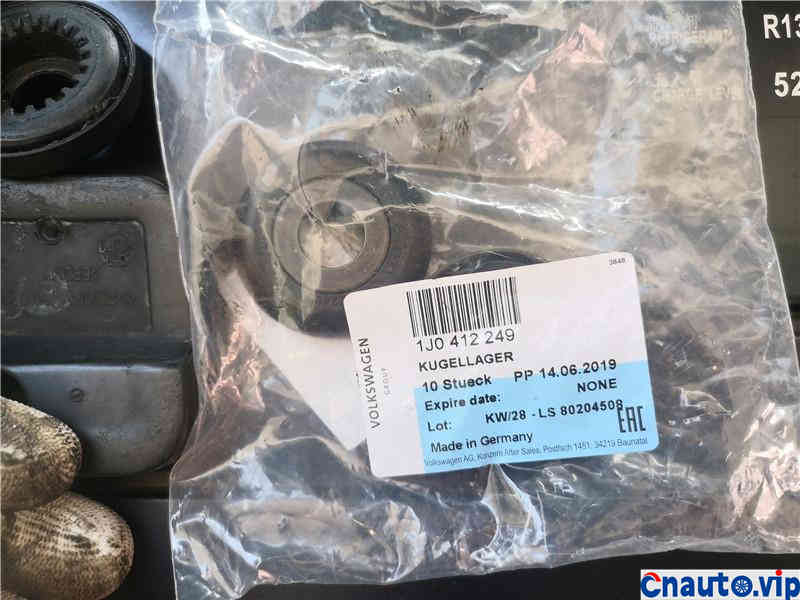
Regular goods, made in Germany, more than 100 yuan each.
The new bearings are also marked made in Germany.
The reverse side is with teeth, many riders buy without teeth, I suspect that what they buy is domestic, and the original car is also made in Germany, with teeth.
Compared with the old and new, in fact, the old one is OK, but it is simply changed at once.
Compared, all the details are exactly the same.
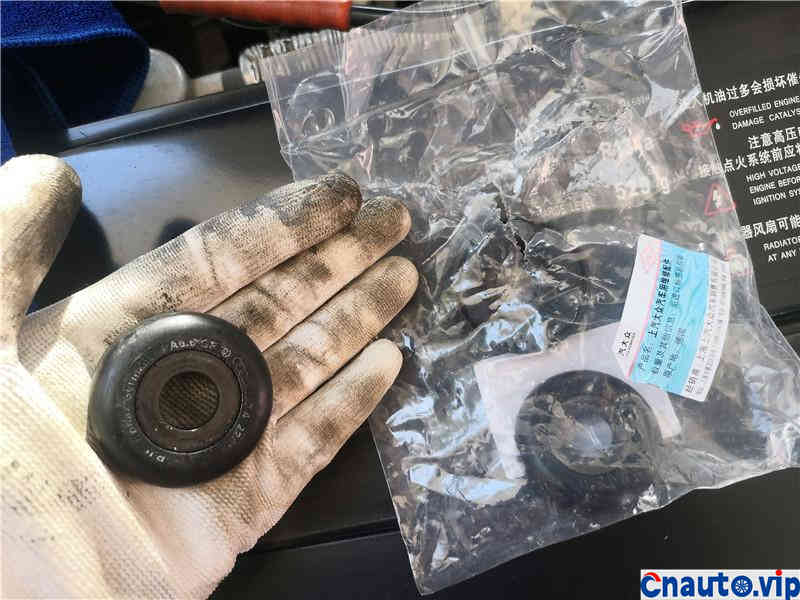
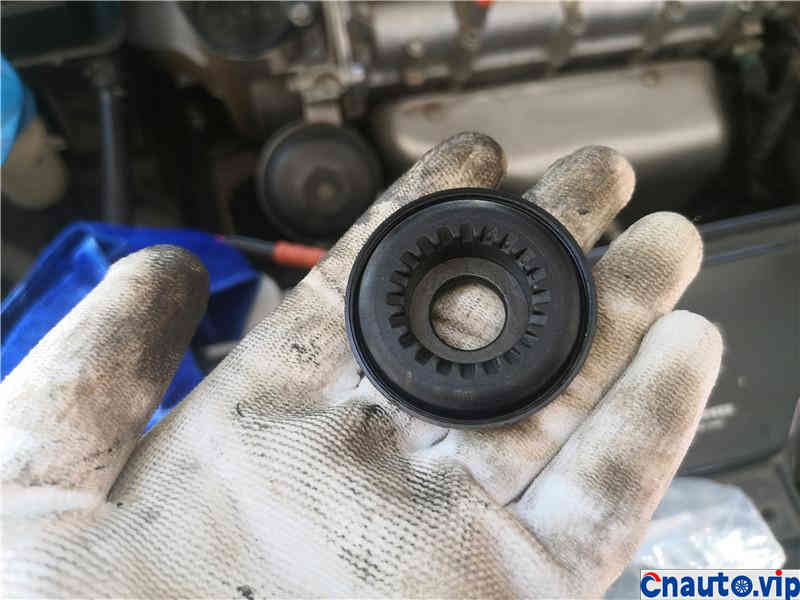
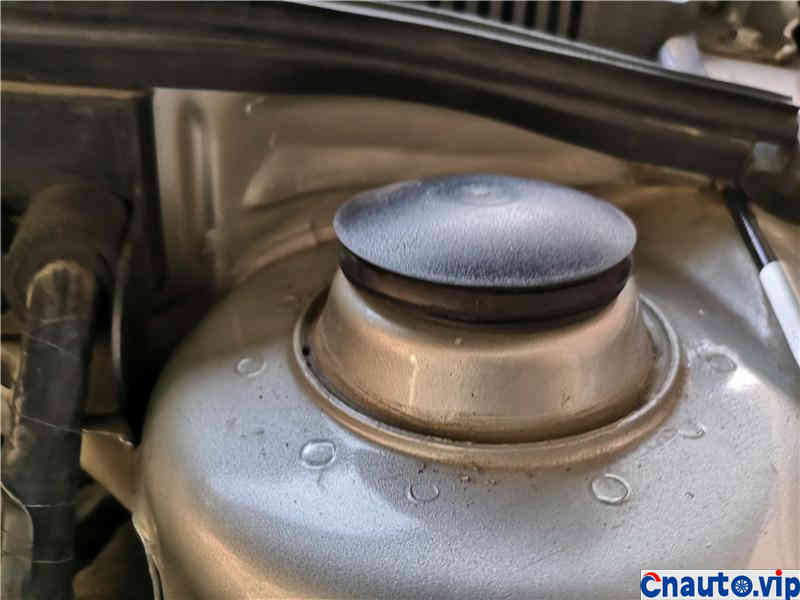
The rubber cover changed is the top glue.
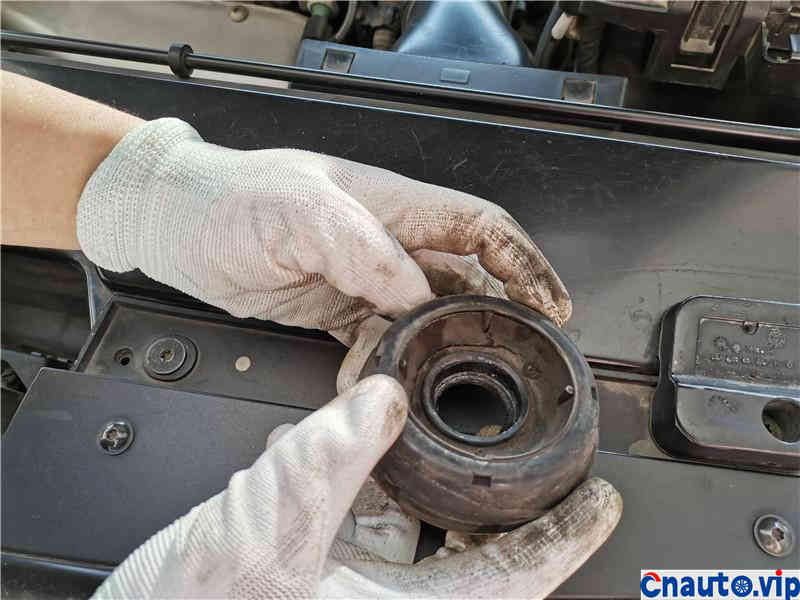
It’s cracked inside, as a result of long-term stress.
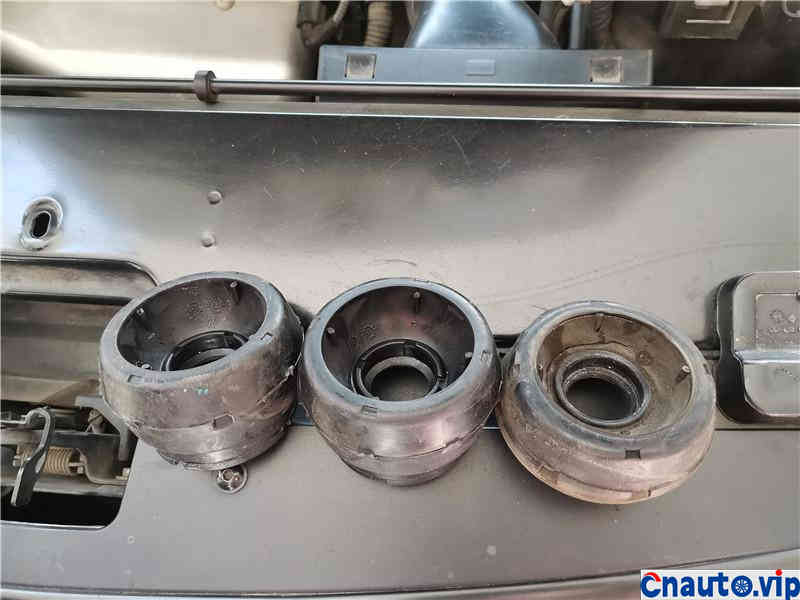
Compared with the old and new, the top glue is also a regular product, so the details are exactly the same, you can see that the original fat and short, is actually squashed.
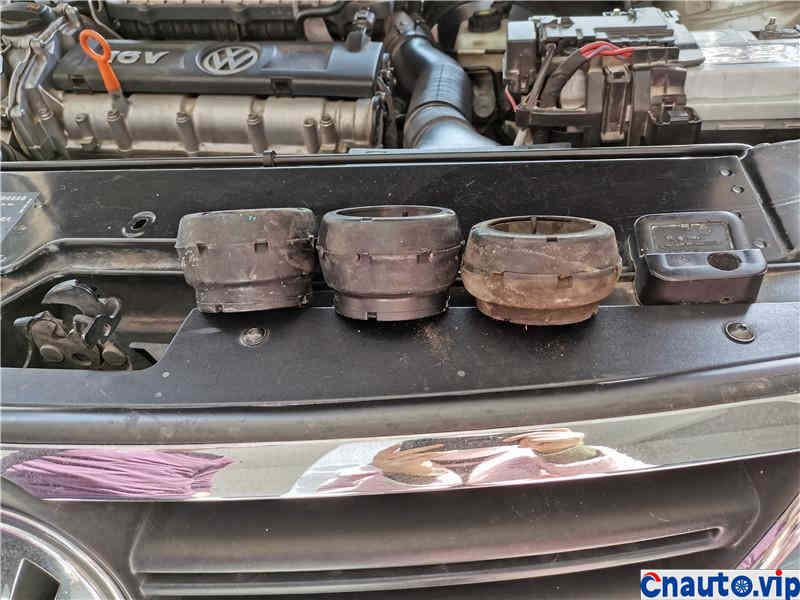
The side contrast is more obvious.
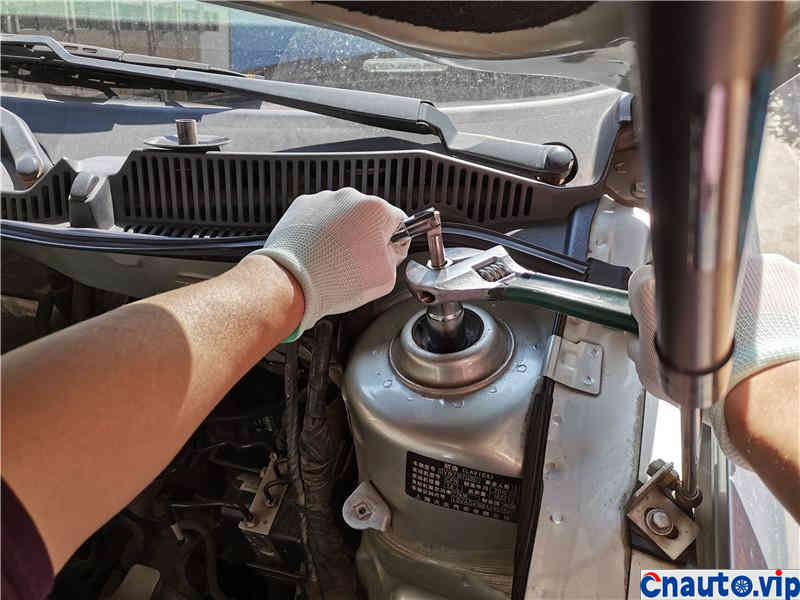
Lift the Jack below, then put the new bearing in and press in the silver screw.
Then the lower Jack is put down, and at this time the shock absorber is suppressed by silver screws, so it falls synchronously, and the top glue can be put in from below. (note that the picture was not taken at that time, which is really inconvenient. The difference between this picture and the actual one is that the shock absorber spring is not pressed with silver screws.)
Put the glue on the top, slowly raise the lower Jack and adjust the direction.
Then loosen the silver screw and fasten it with a black screw.
Finally, put on the silver screw and cover, and it will be fine.

Restore it to its original state.
You can see that as before, there is basically no gap.
After the change, specially found a winnowing road test, much better than the original, no longer loose, more compact, high fit, obvious feeling.
It is a relatively large project. I feel that I have changed the rubber cover and learned to change the shock absorber basically. all I need is a shock absorber fixing tool. In addition, there were several problems in the picture, that is, the situation of setting silver screws back and forth, a muddy brain, made a mistake, and finally corrected it for less than half a day, hehe. I exercised myself.


 April 1, 2024