#Remove the central control
Prepare the required disassembly and assembly tools
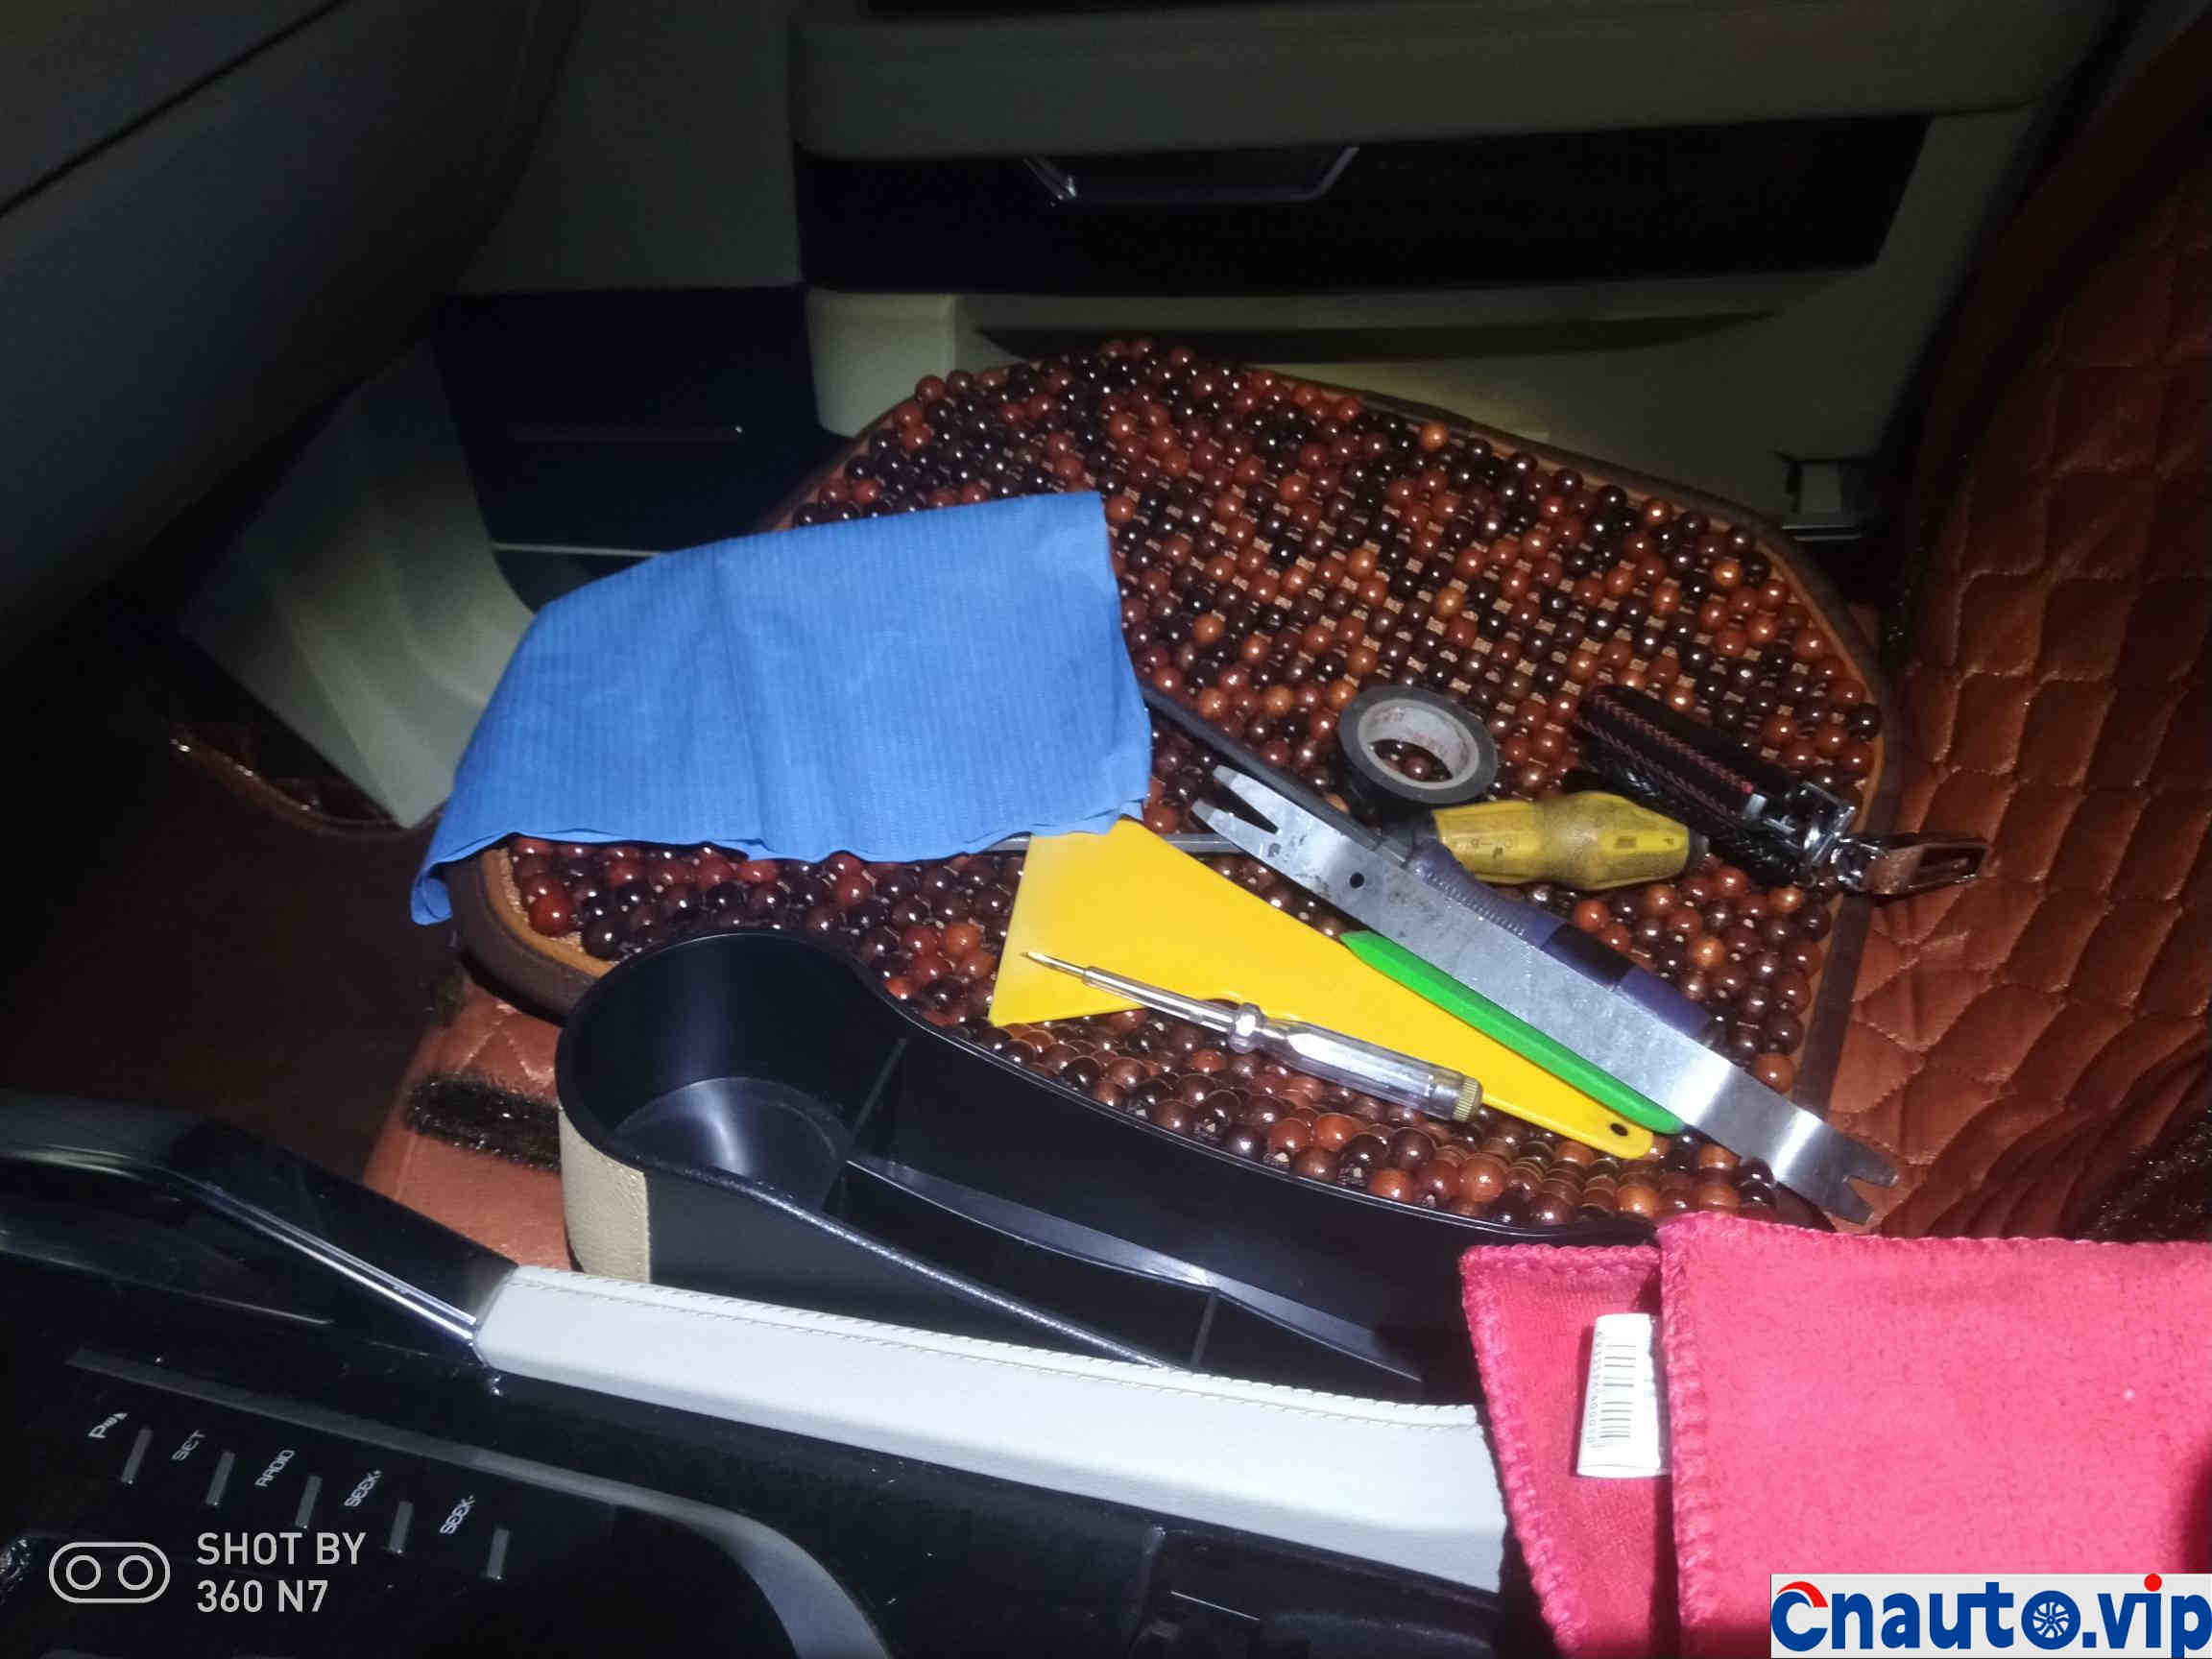
Scraper, flat mouth, plumx screwdriver, crooked knife, electric tape, woodpecker blade, a piece of thin cloth.
First, start with the instrument cover. First, use the tip of the blade to gently pry open the decorative screw cover of the instrument cover, and remove the screws directly when you pry open them.
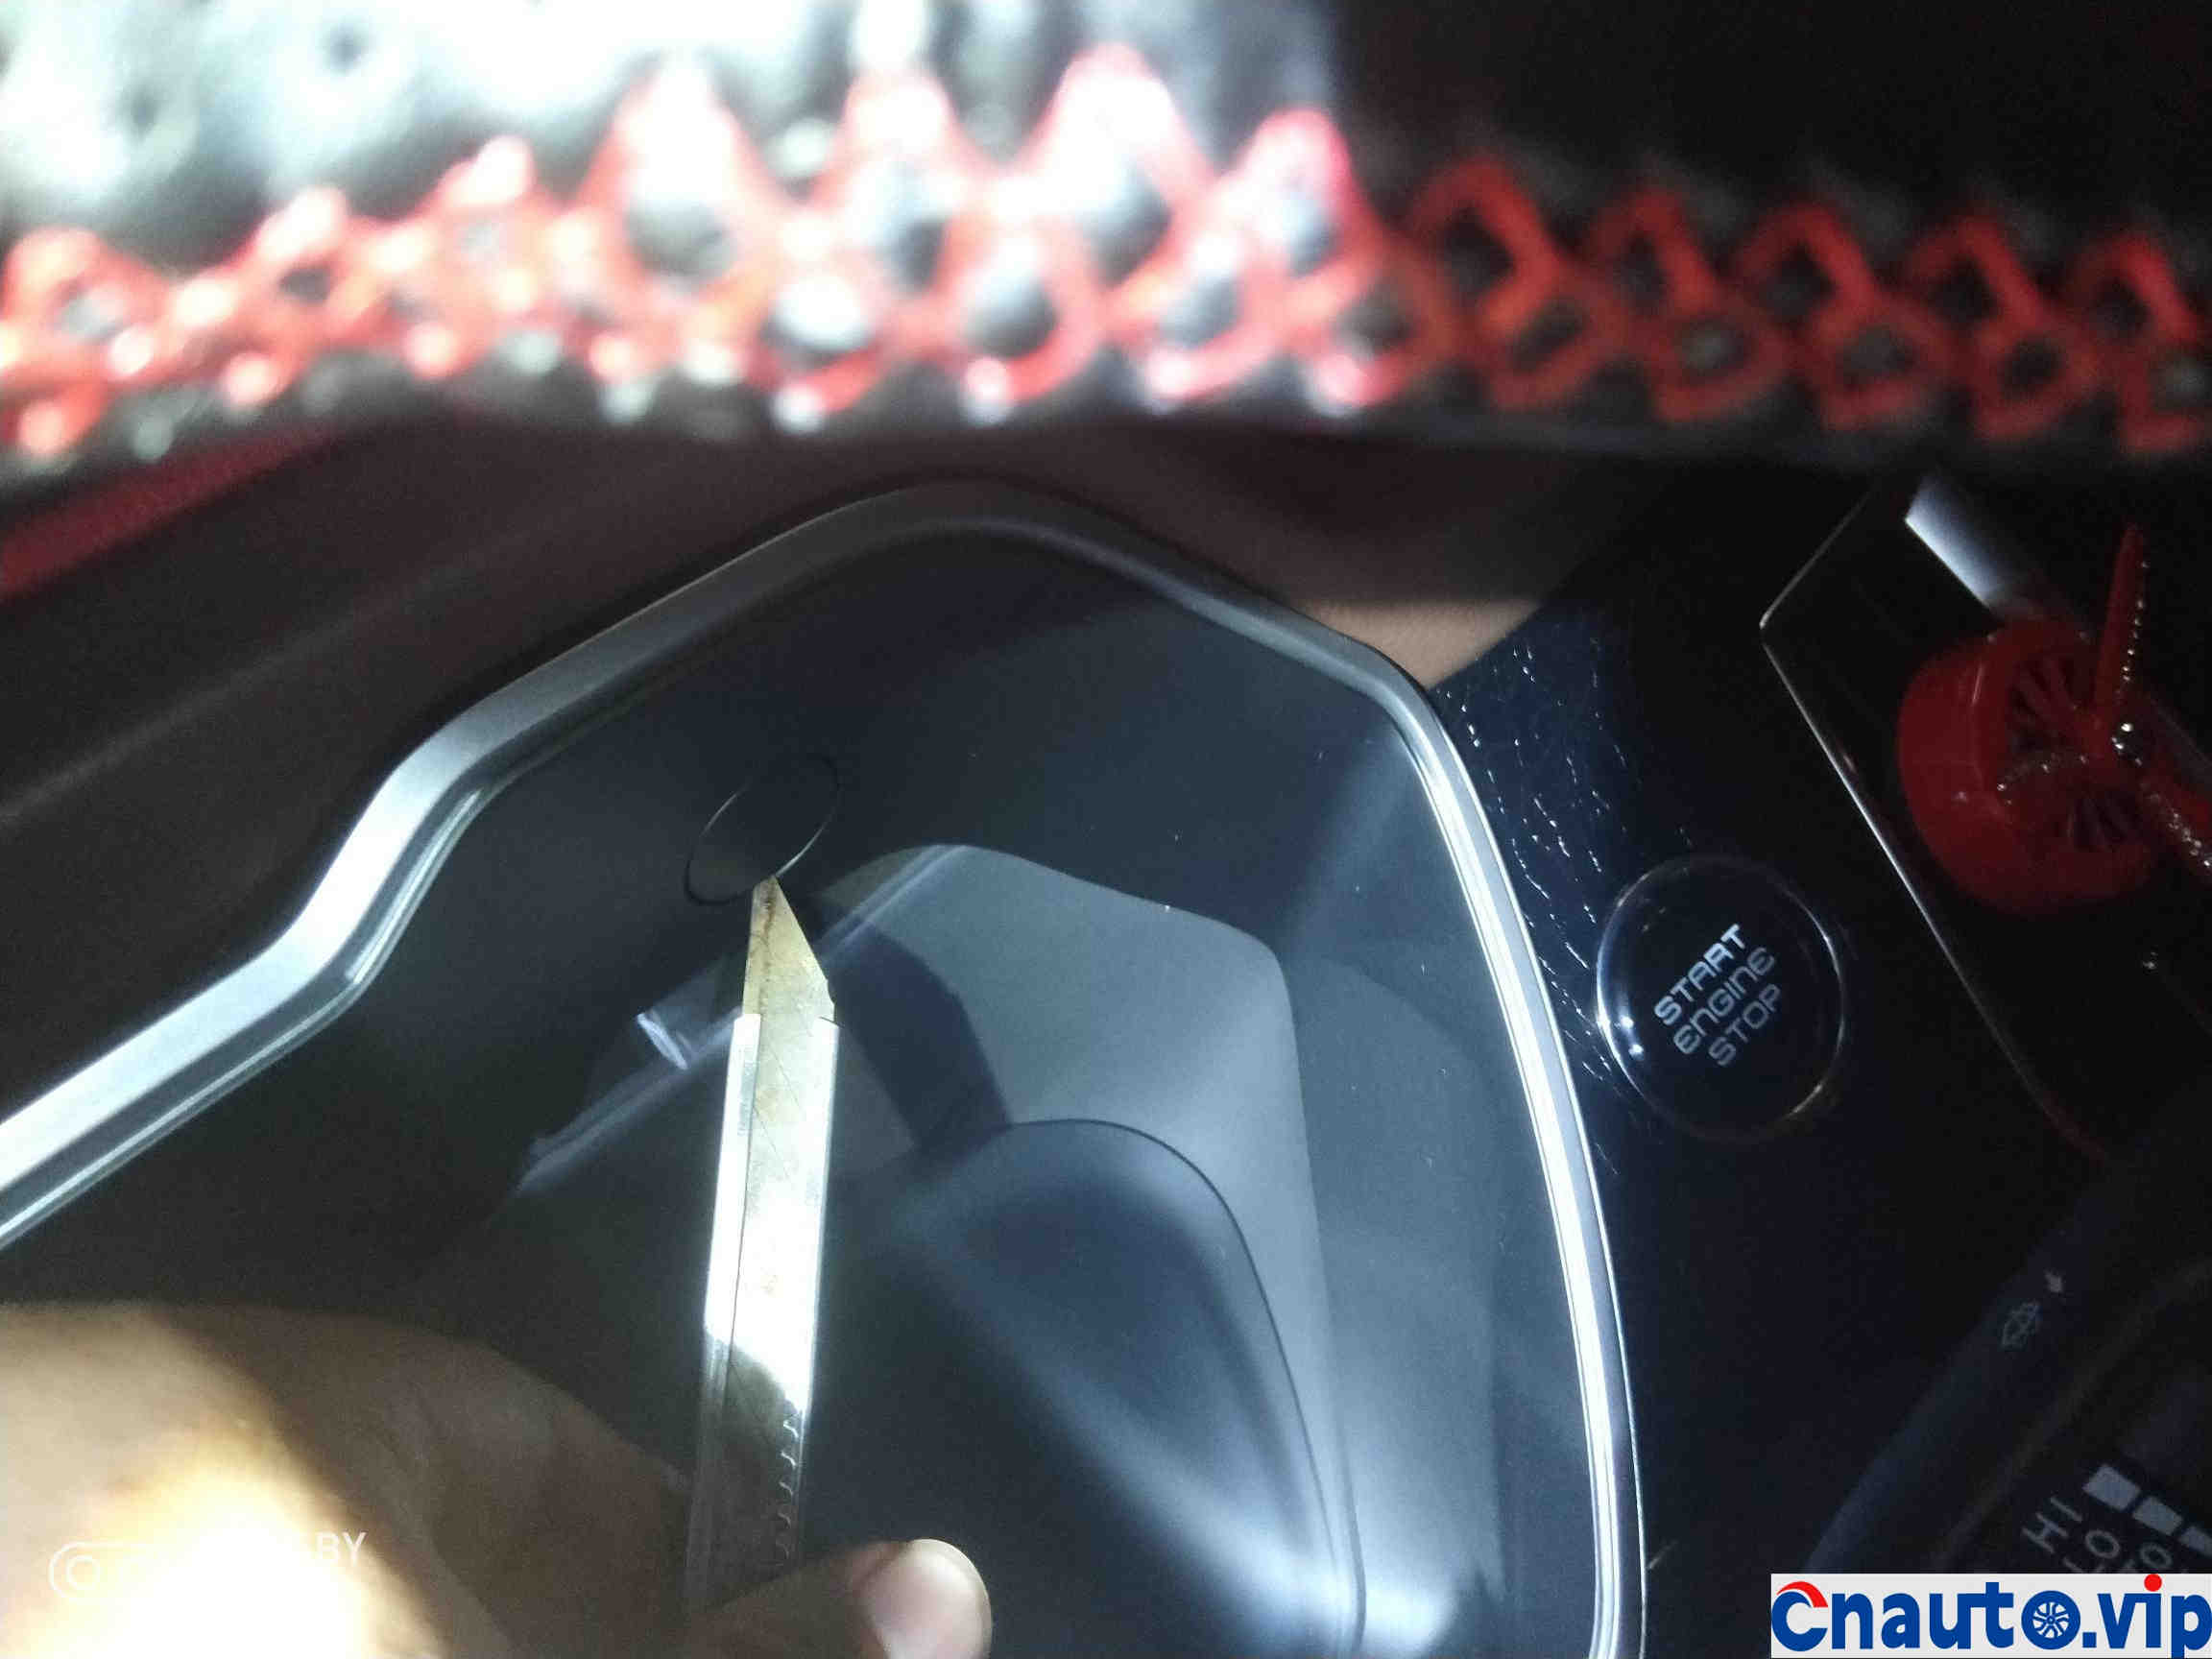
The tip of a woodpecker is relatively long, which is easy to operate.
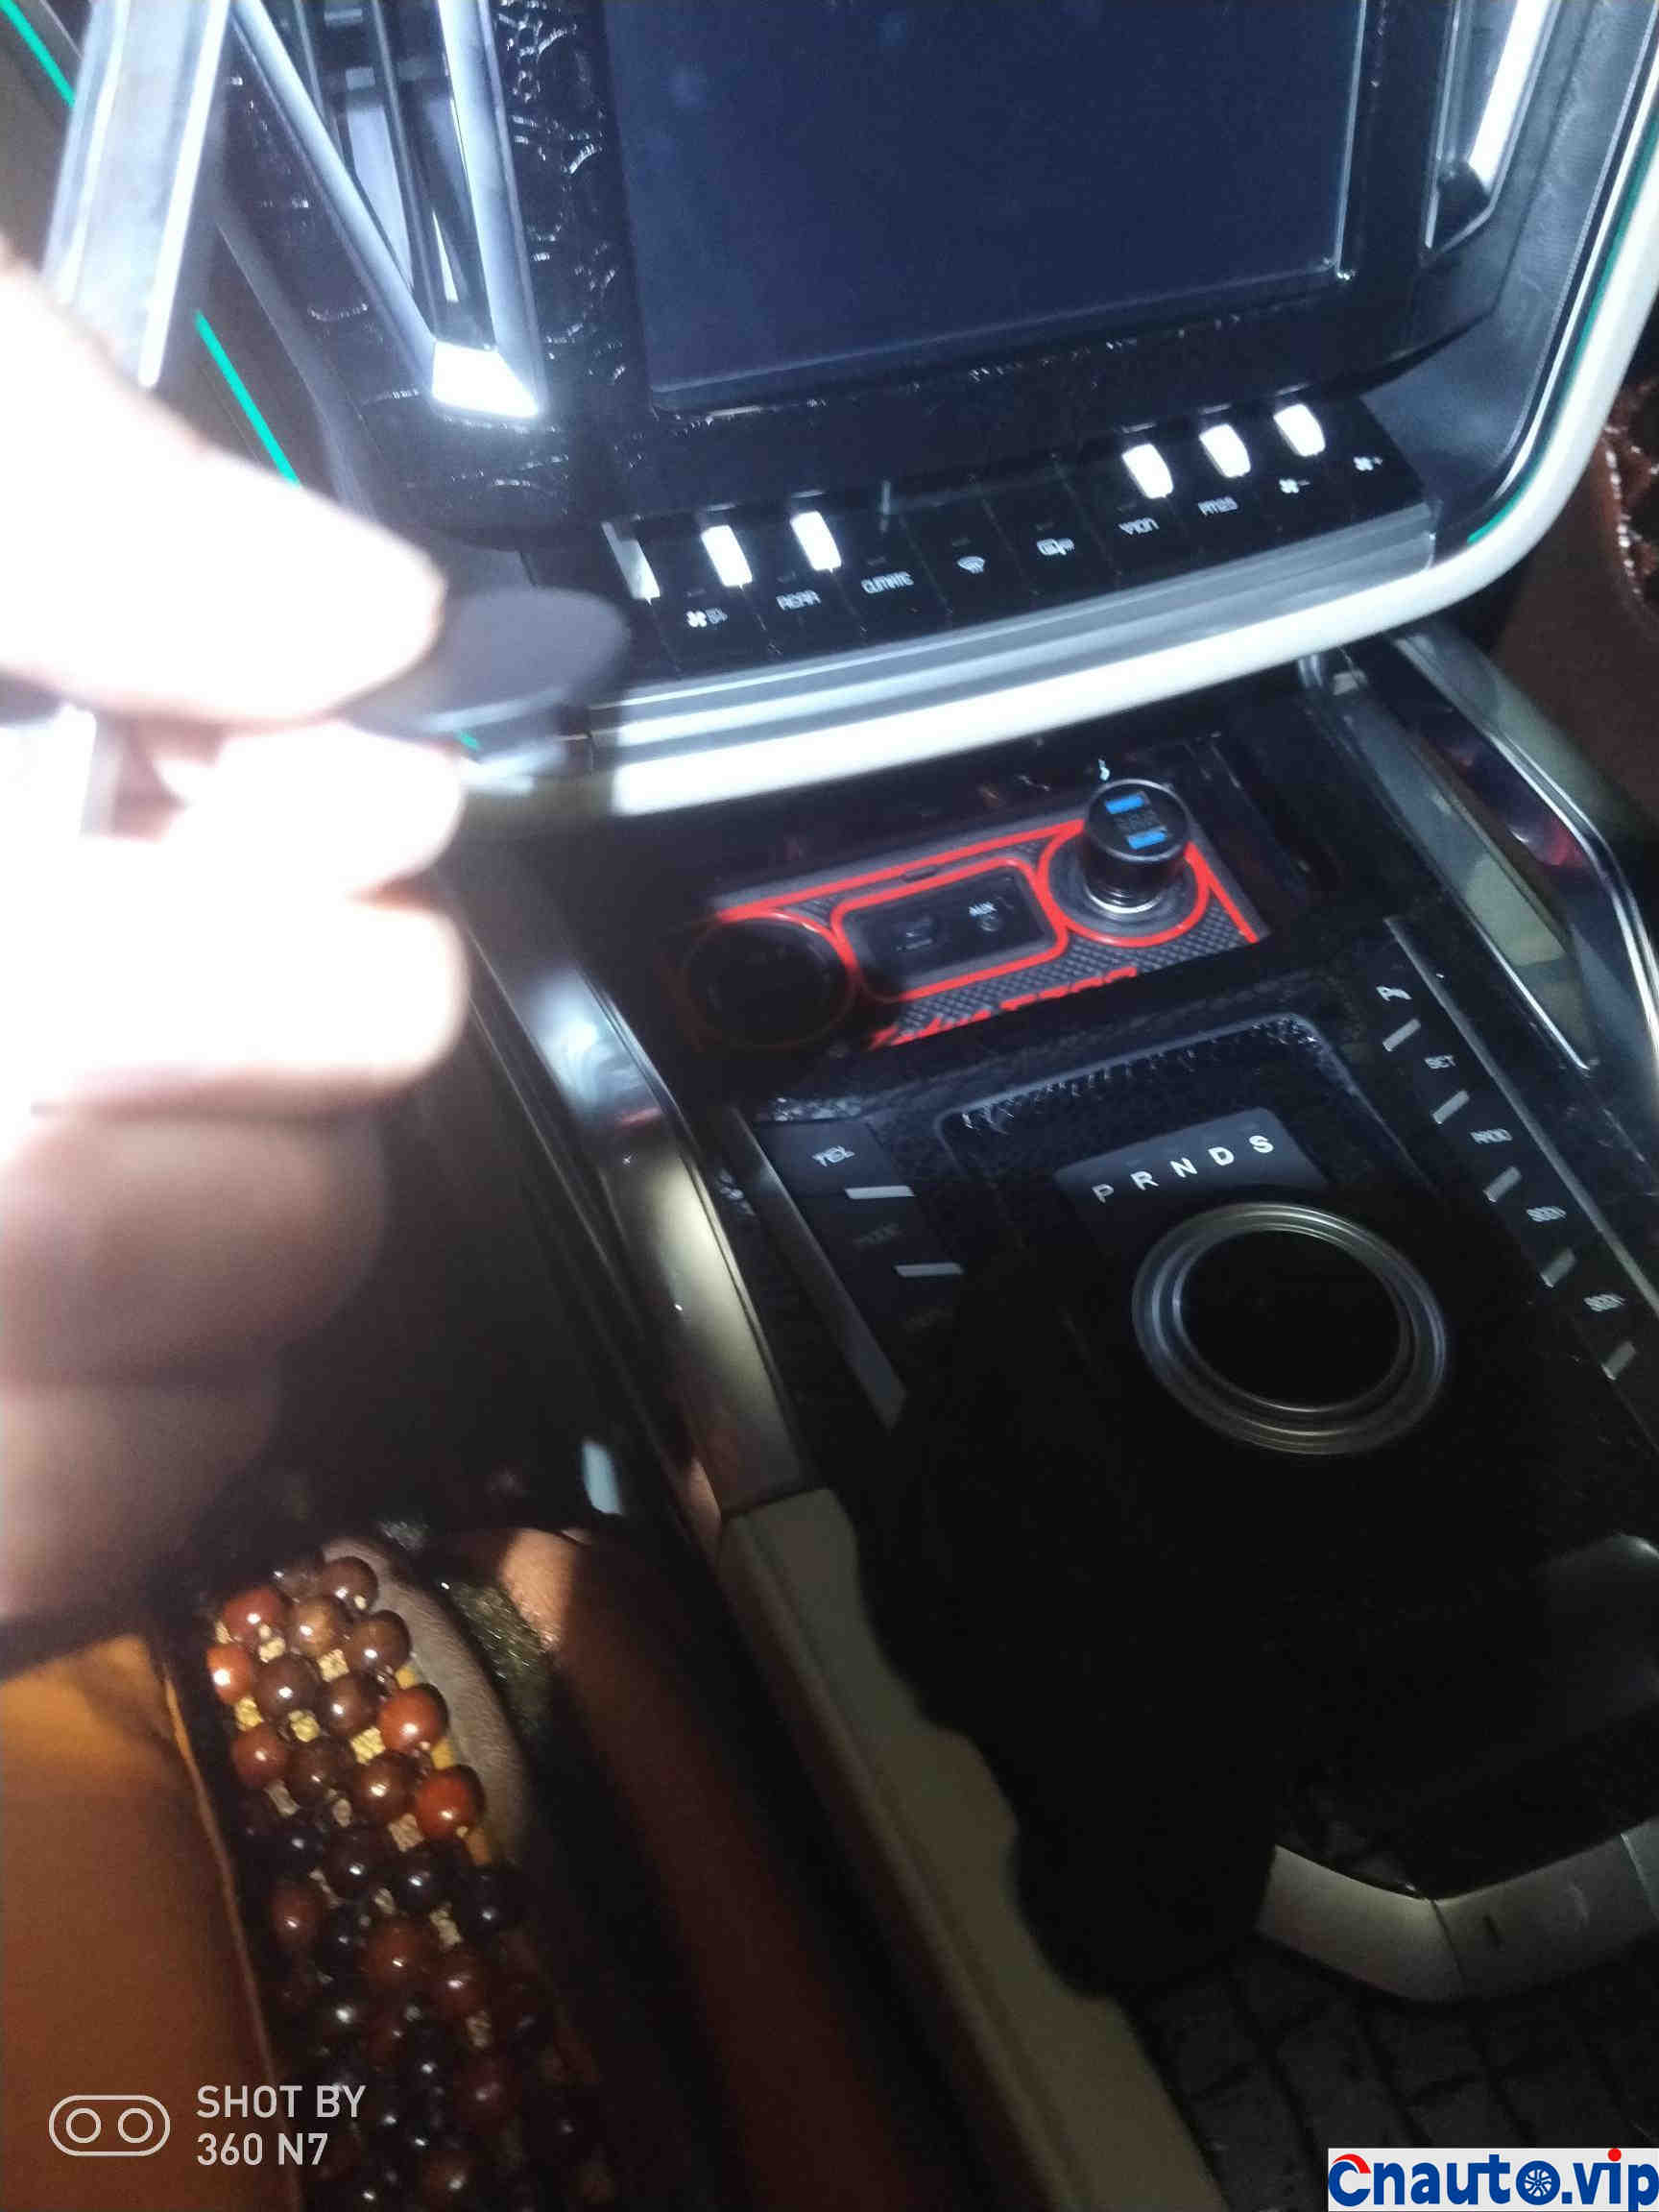
The removed decorative cover has almost no traces.
Remove the screws, we use a scraper to cut in from the upper edge of the instrument cover, and gently pry them with force, once on each side, as shown in the picture.
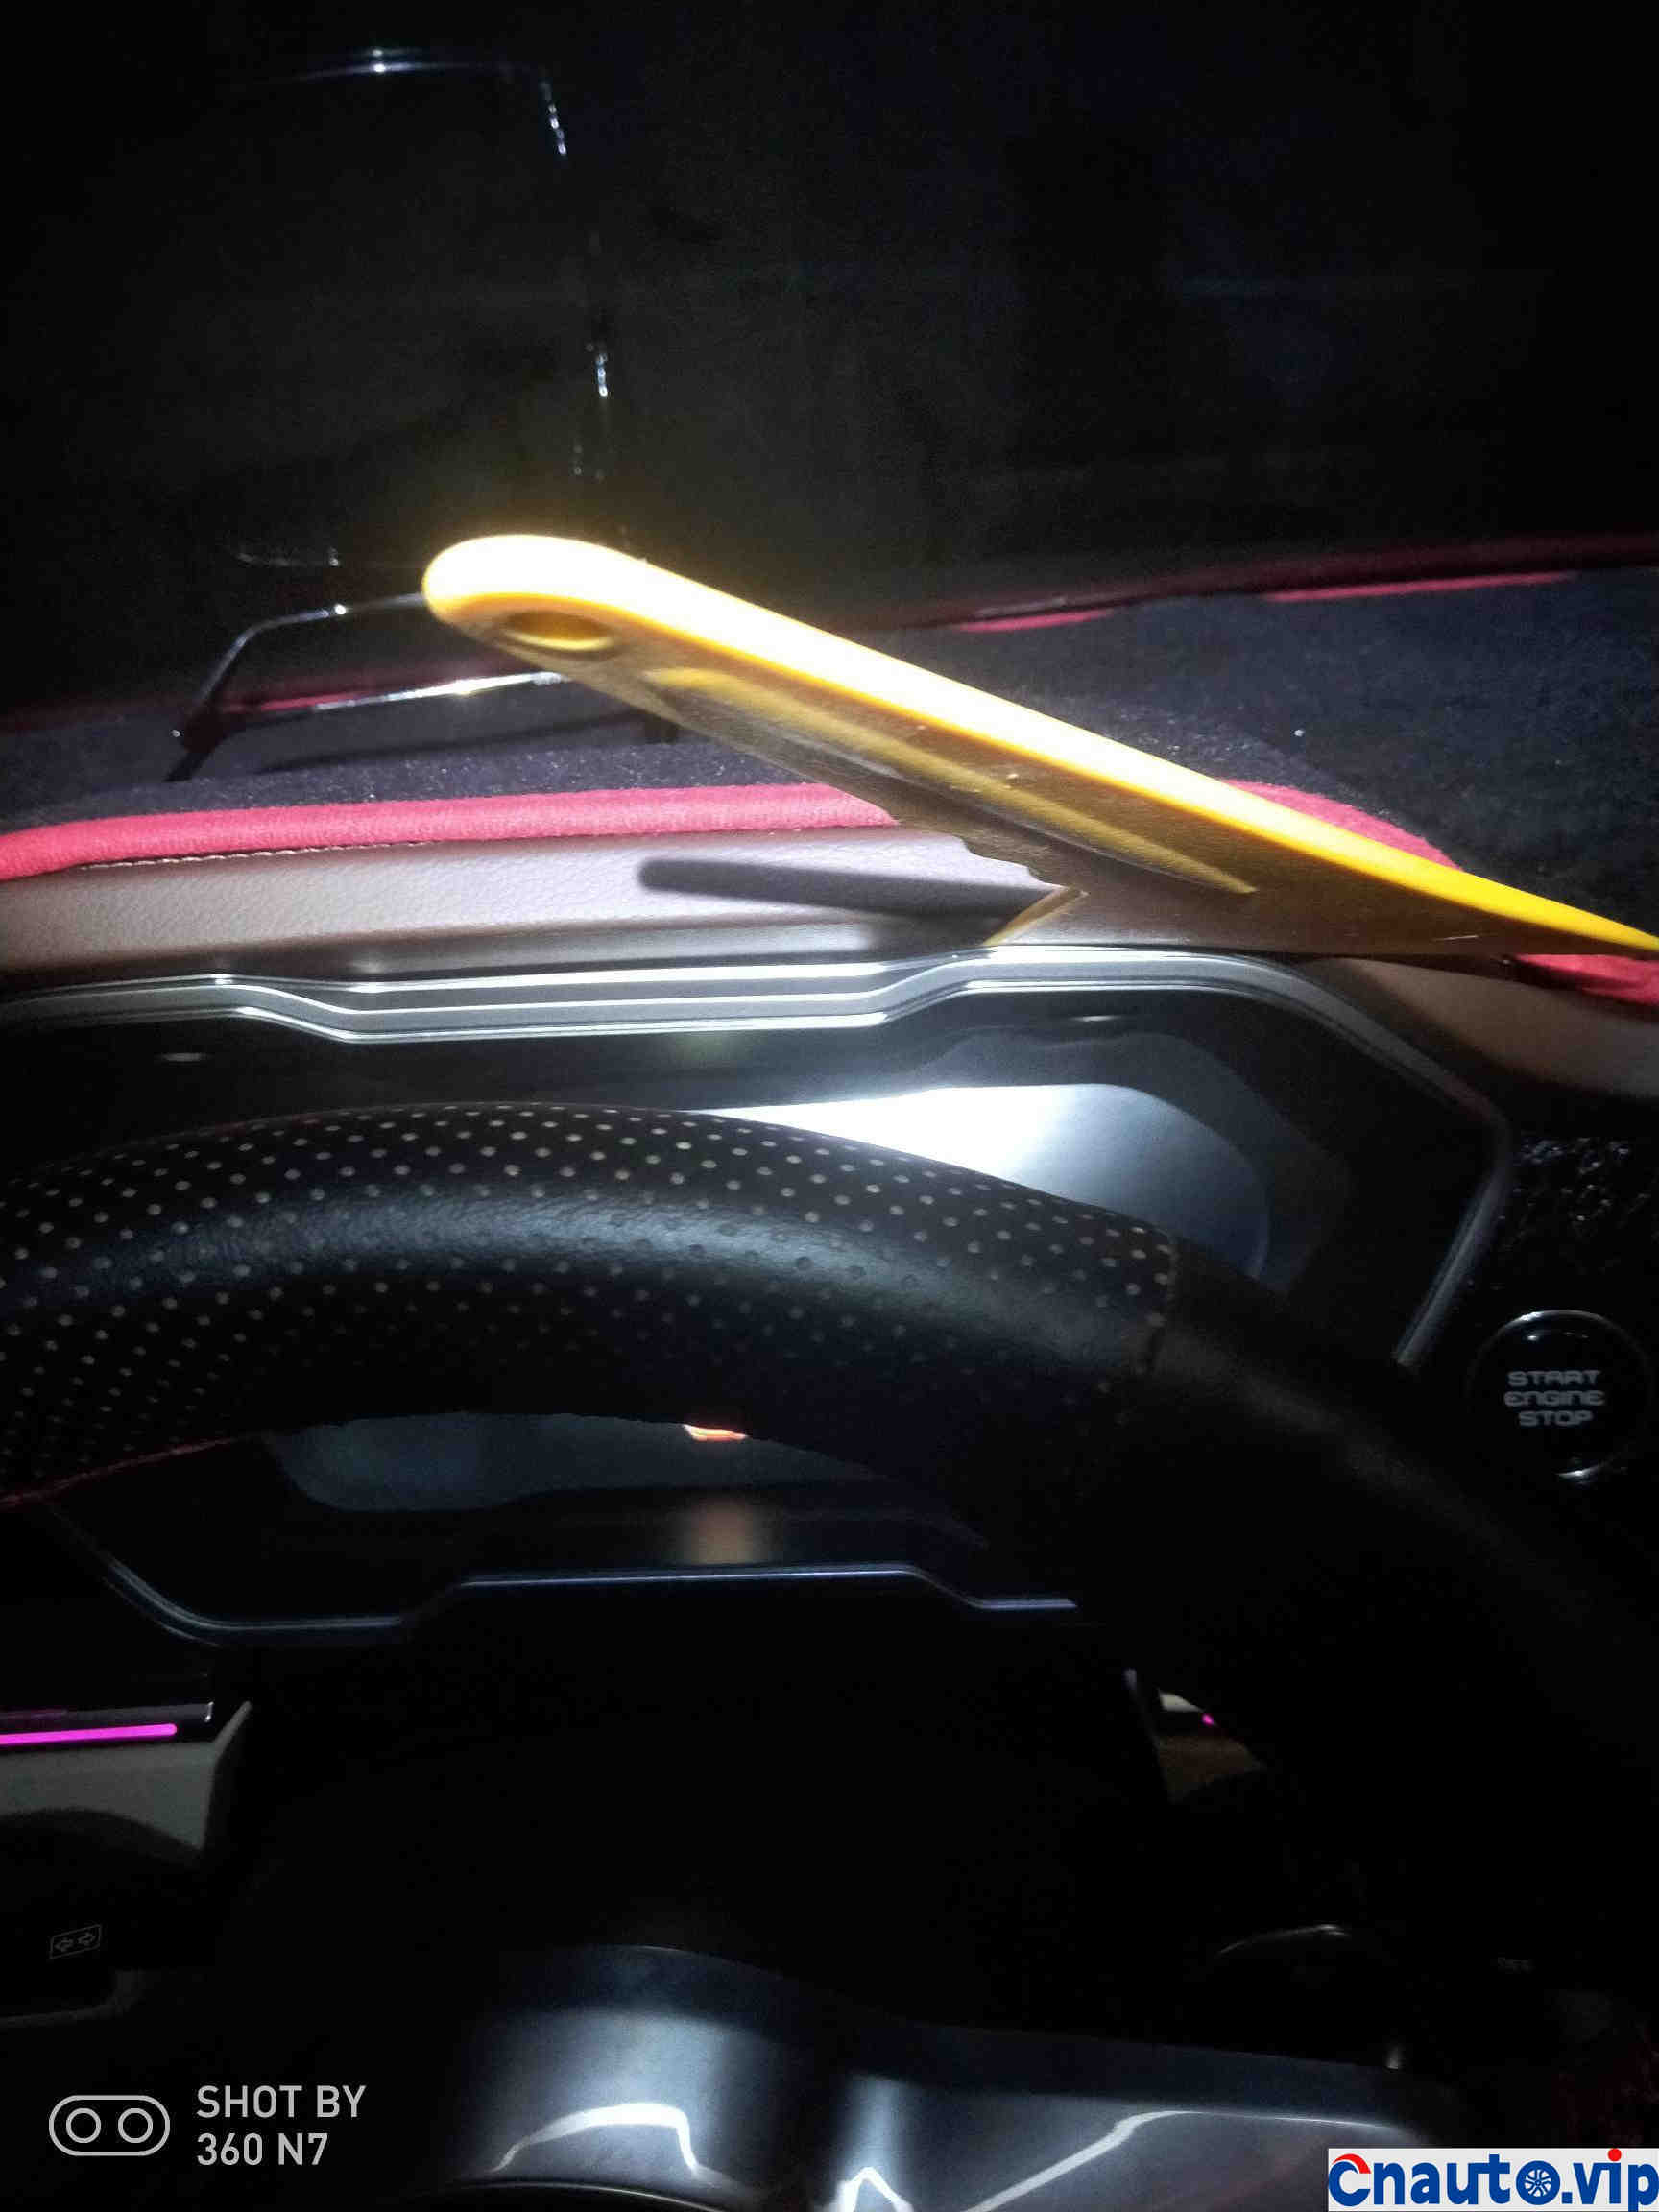
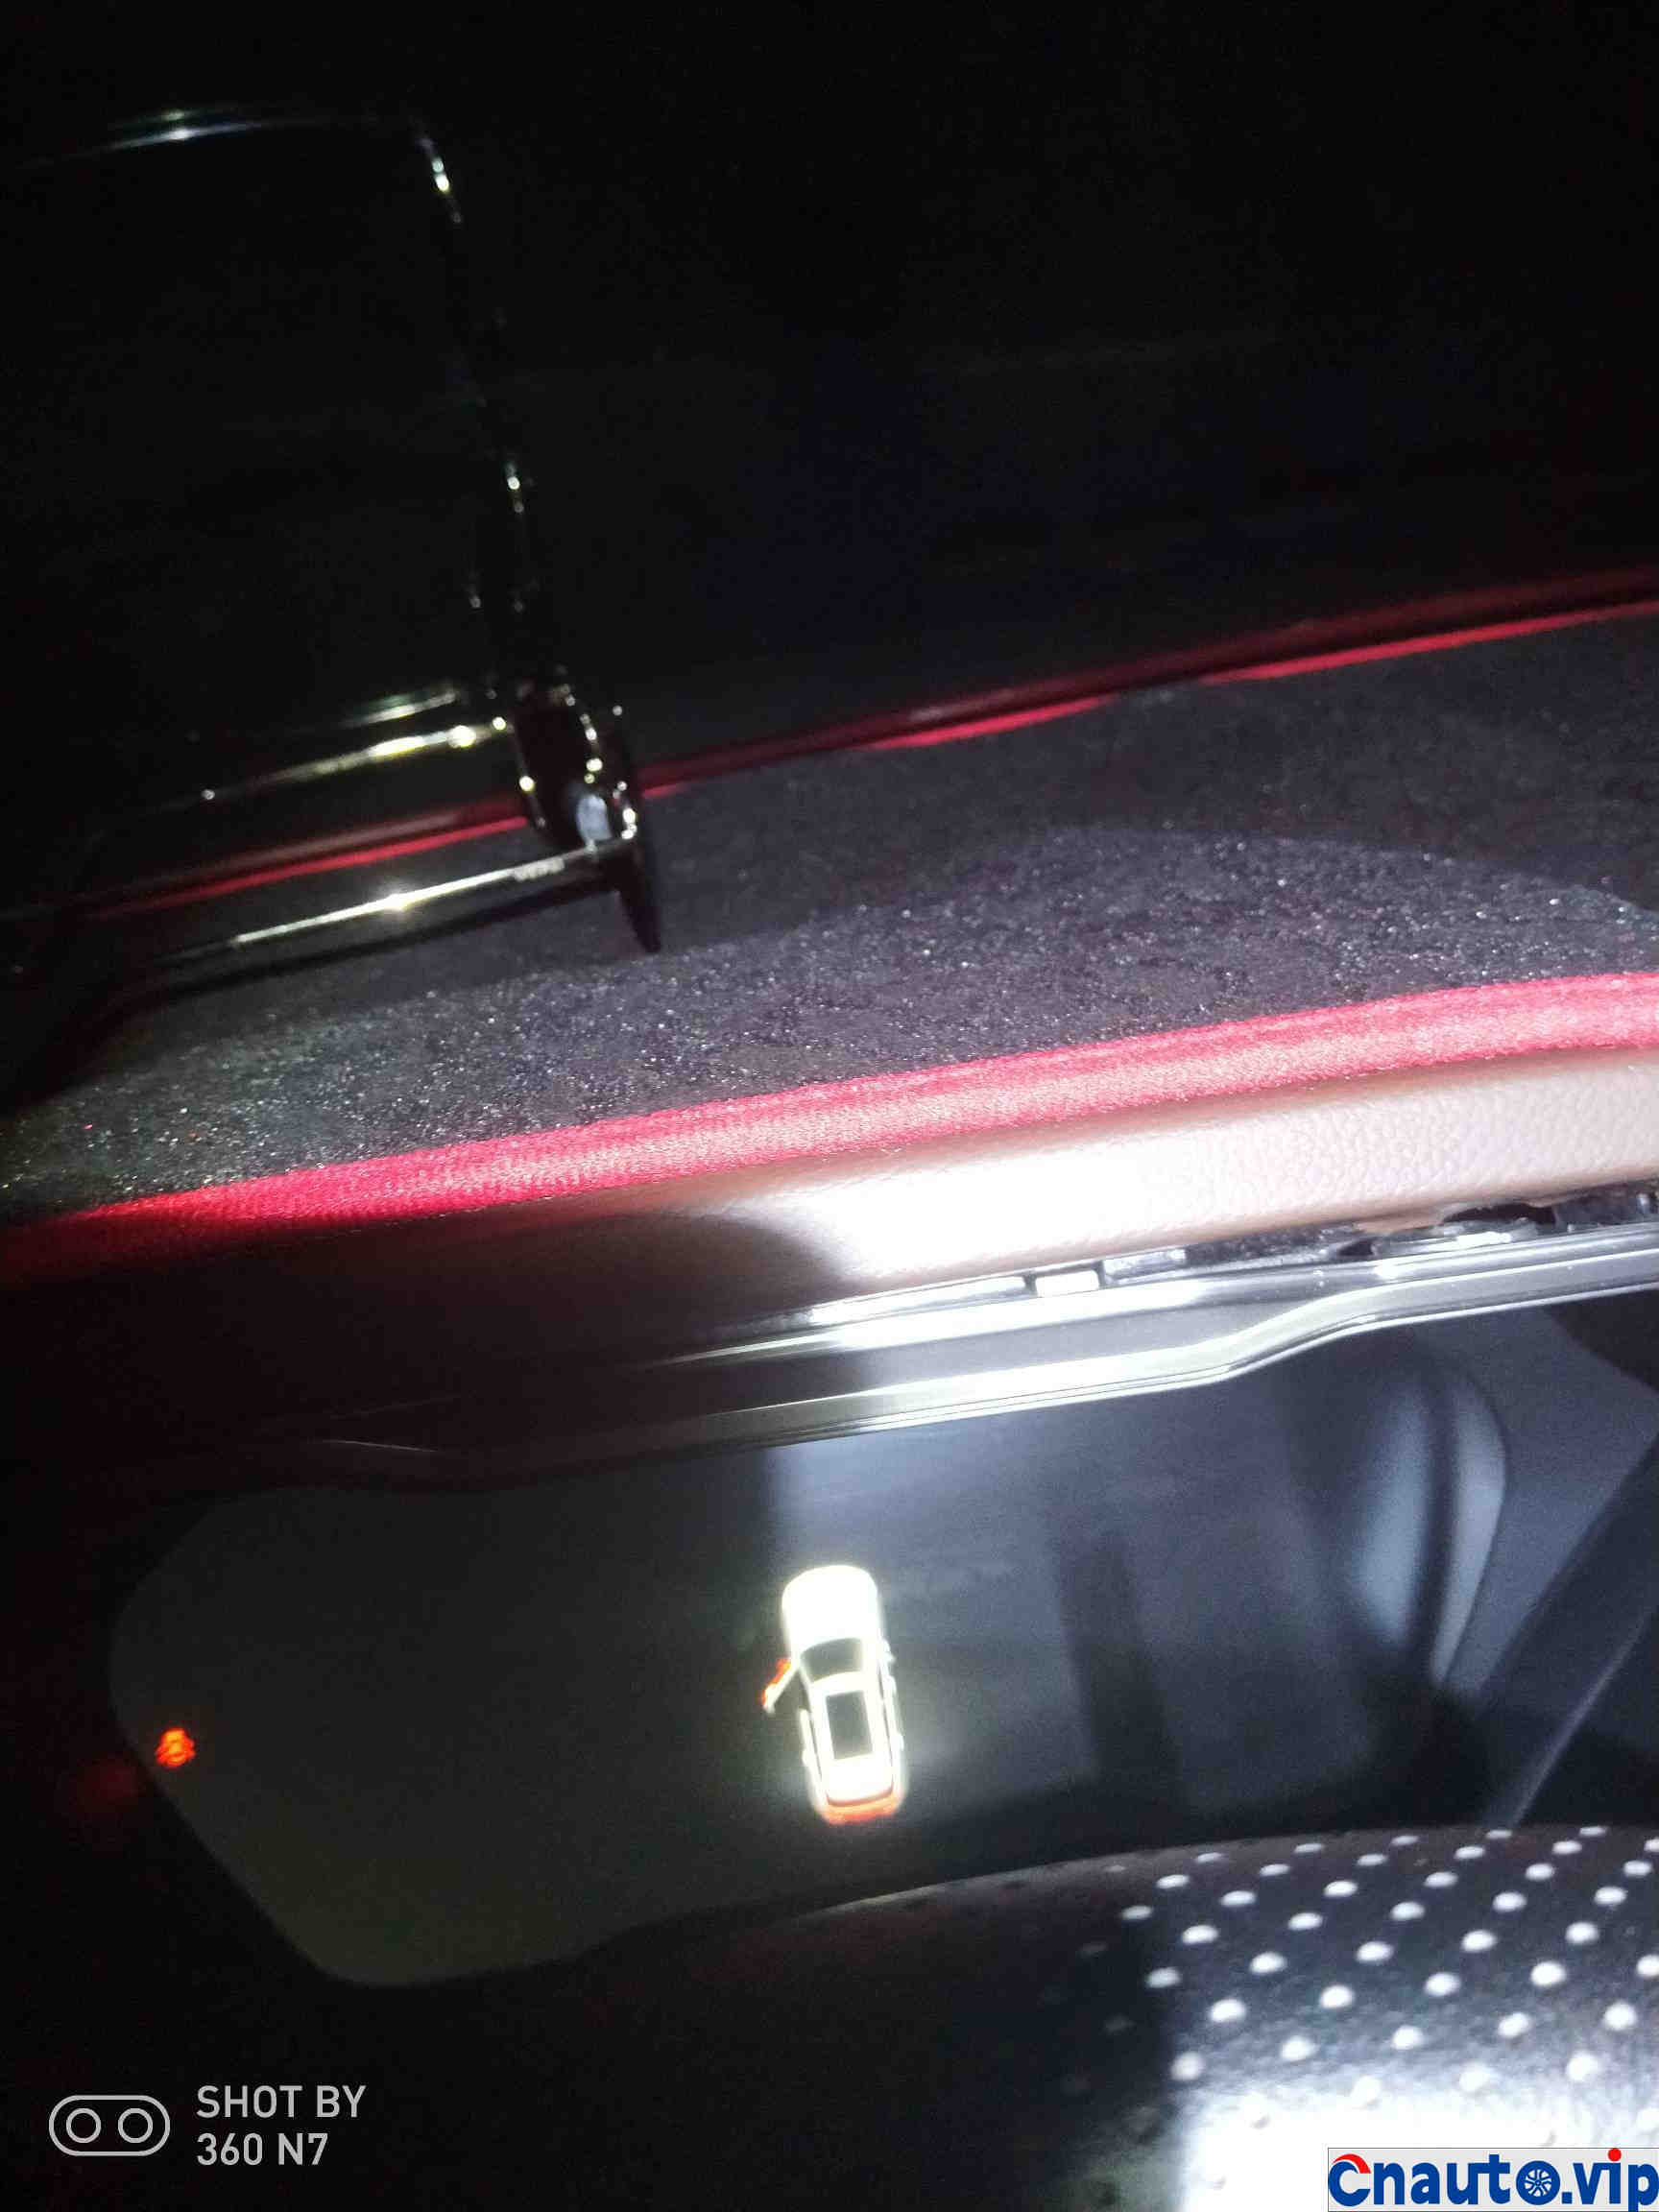
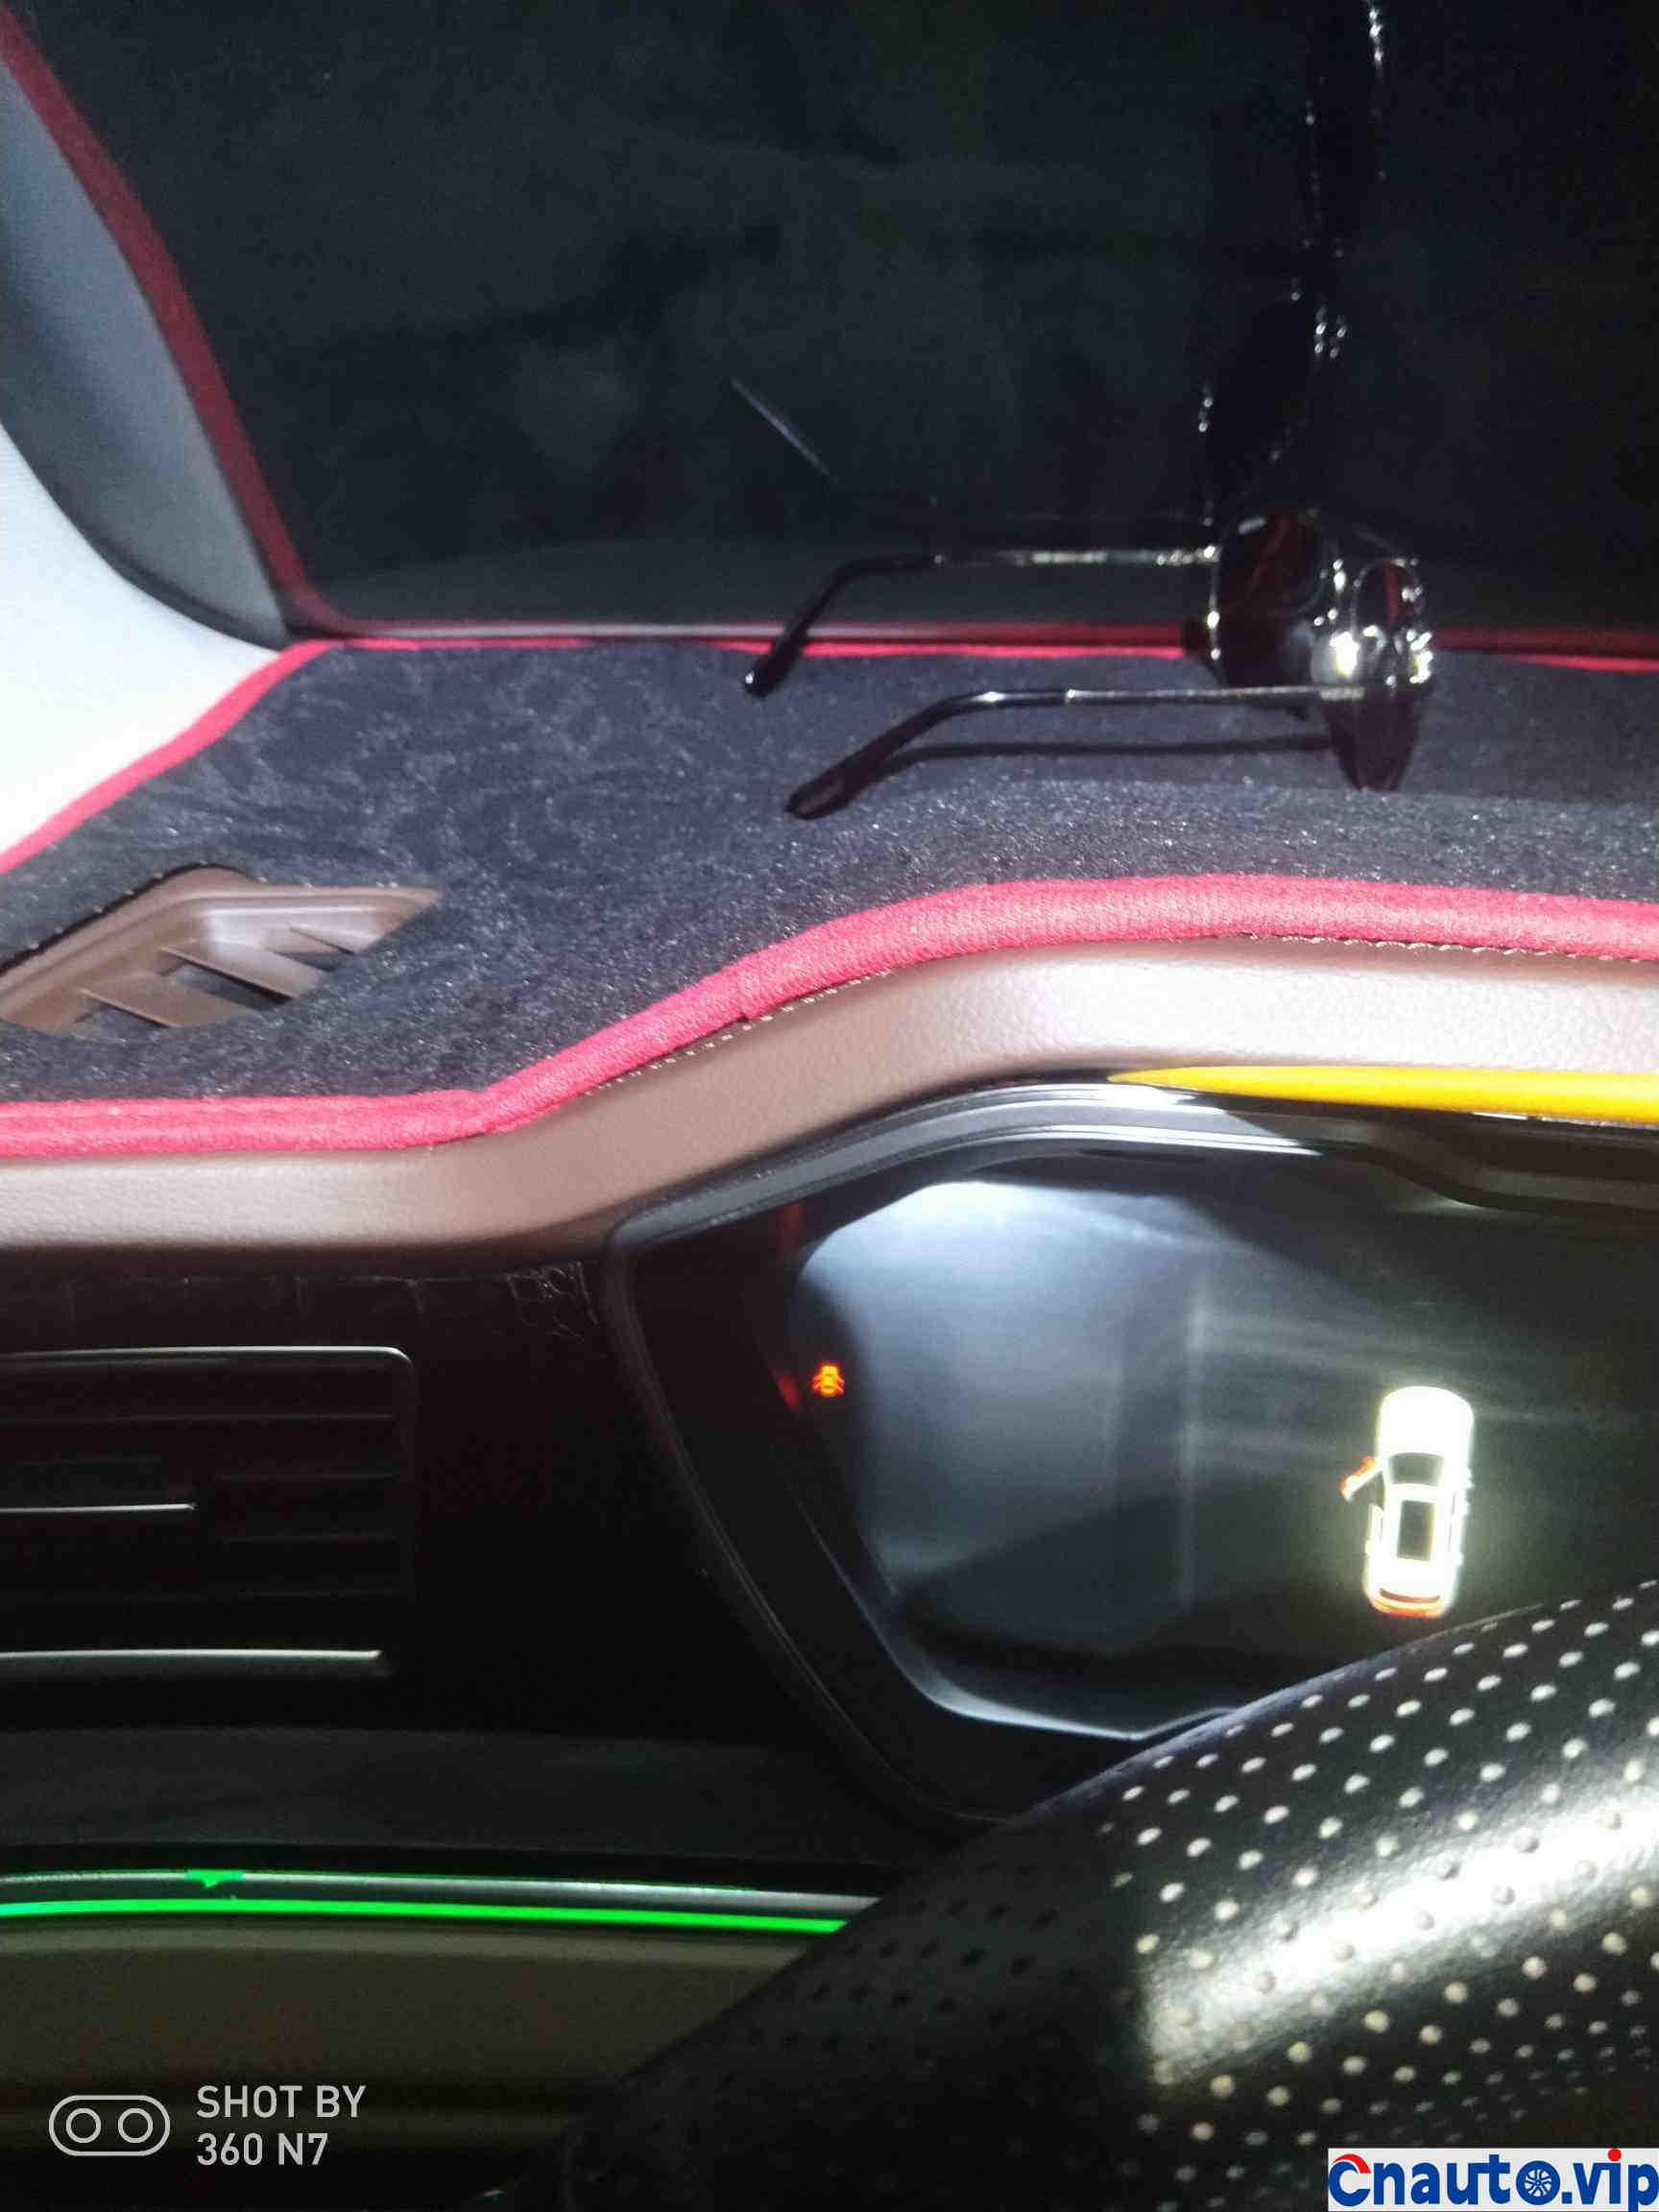
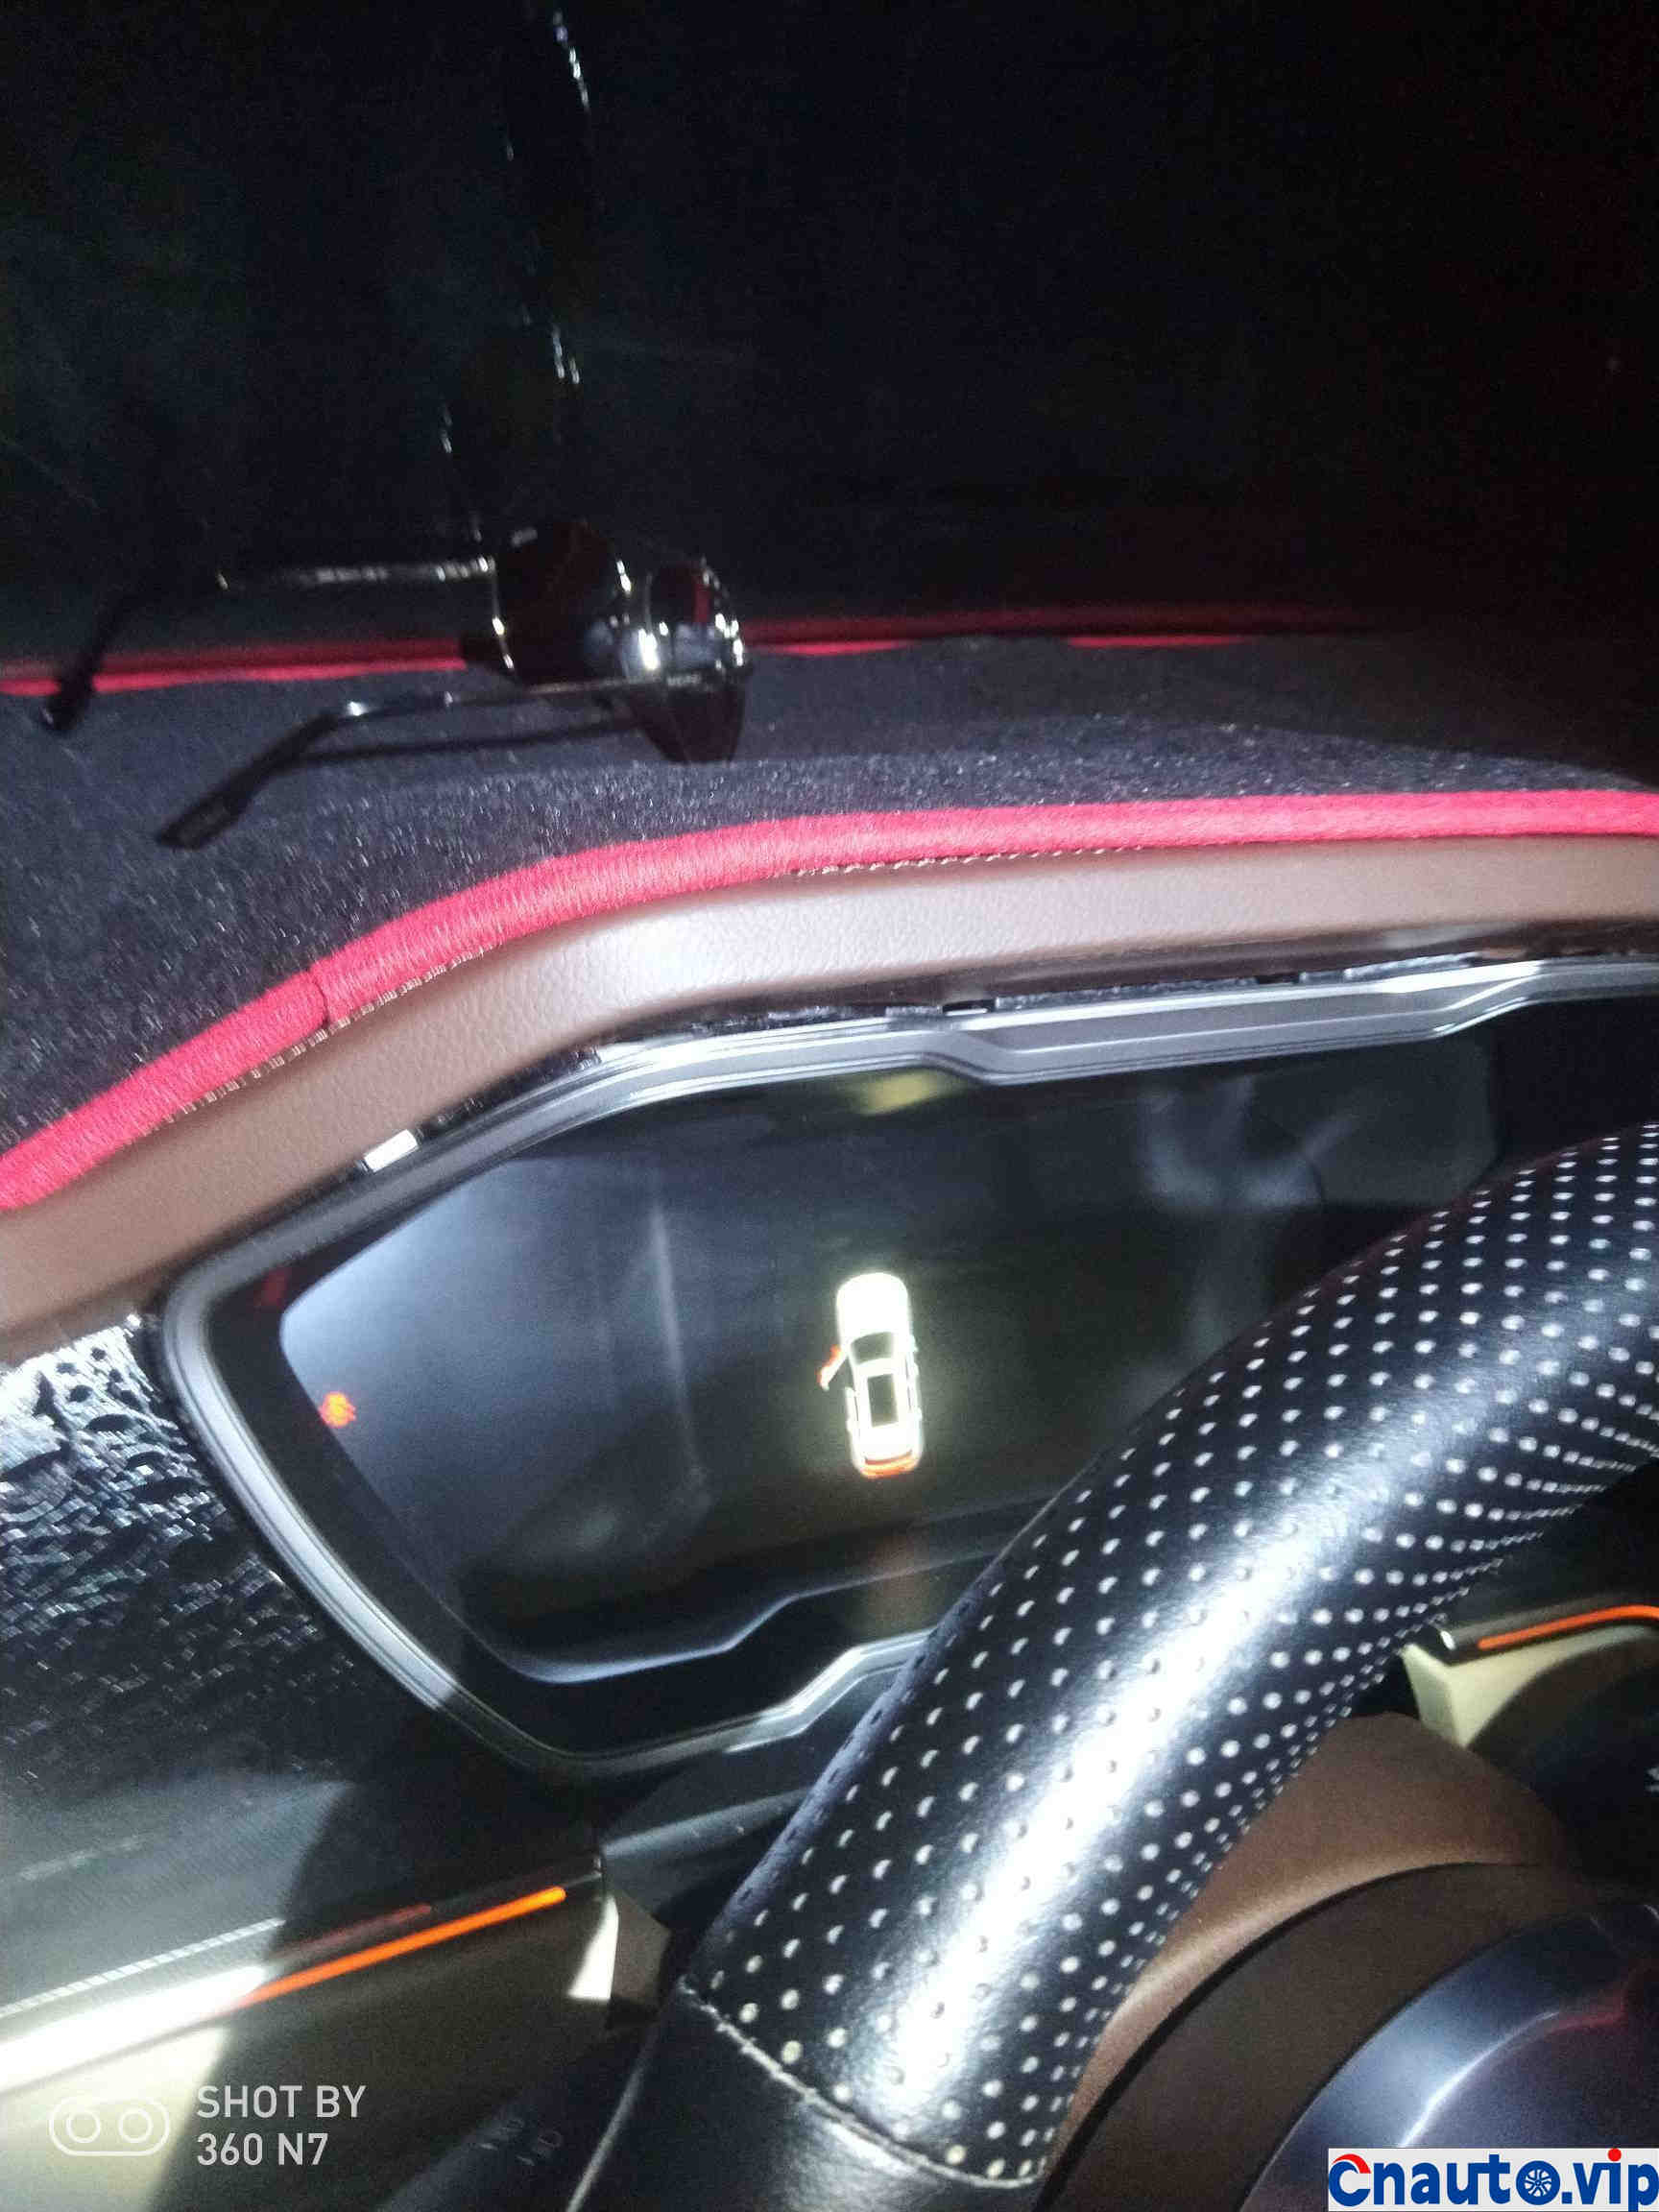
When you see this, you can buckle it with your hands![]() Just use gentle force along the inside circle. Note that there is a piece of dustproof leather connected to the steering wheel that does not need to be removed. Just remove the instrument cover a little.
Just use gentle force along the inside circle. Note that there is a piece of dustproof leather connected to the steering wheel that does not need to be removed. Just remove the instrument cover a little.
It is also easy for us to continue to remove the air conditioning control panel below. Use a scraper to apply force along the gap, and both sides need to be pried. Fig.
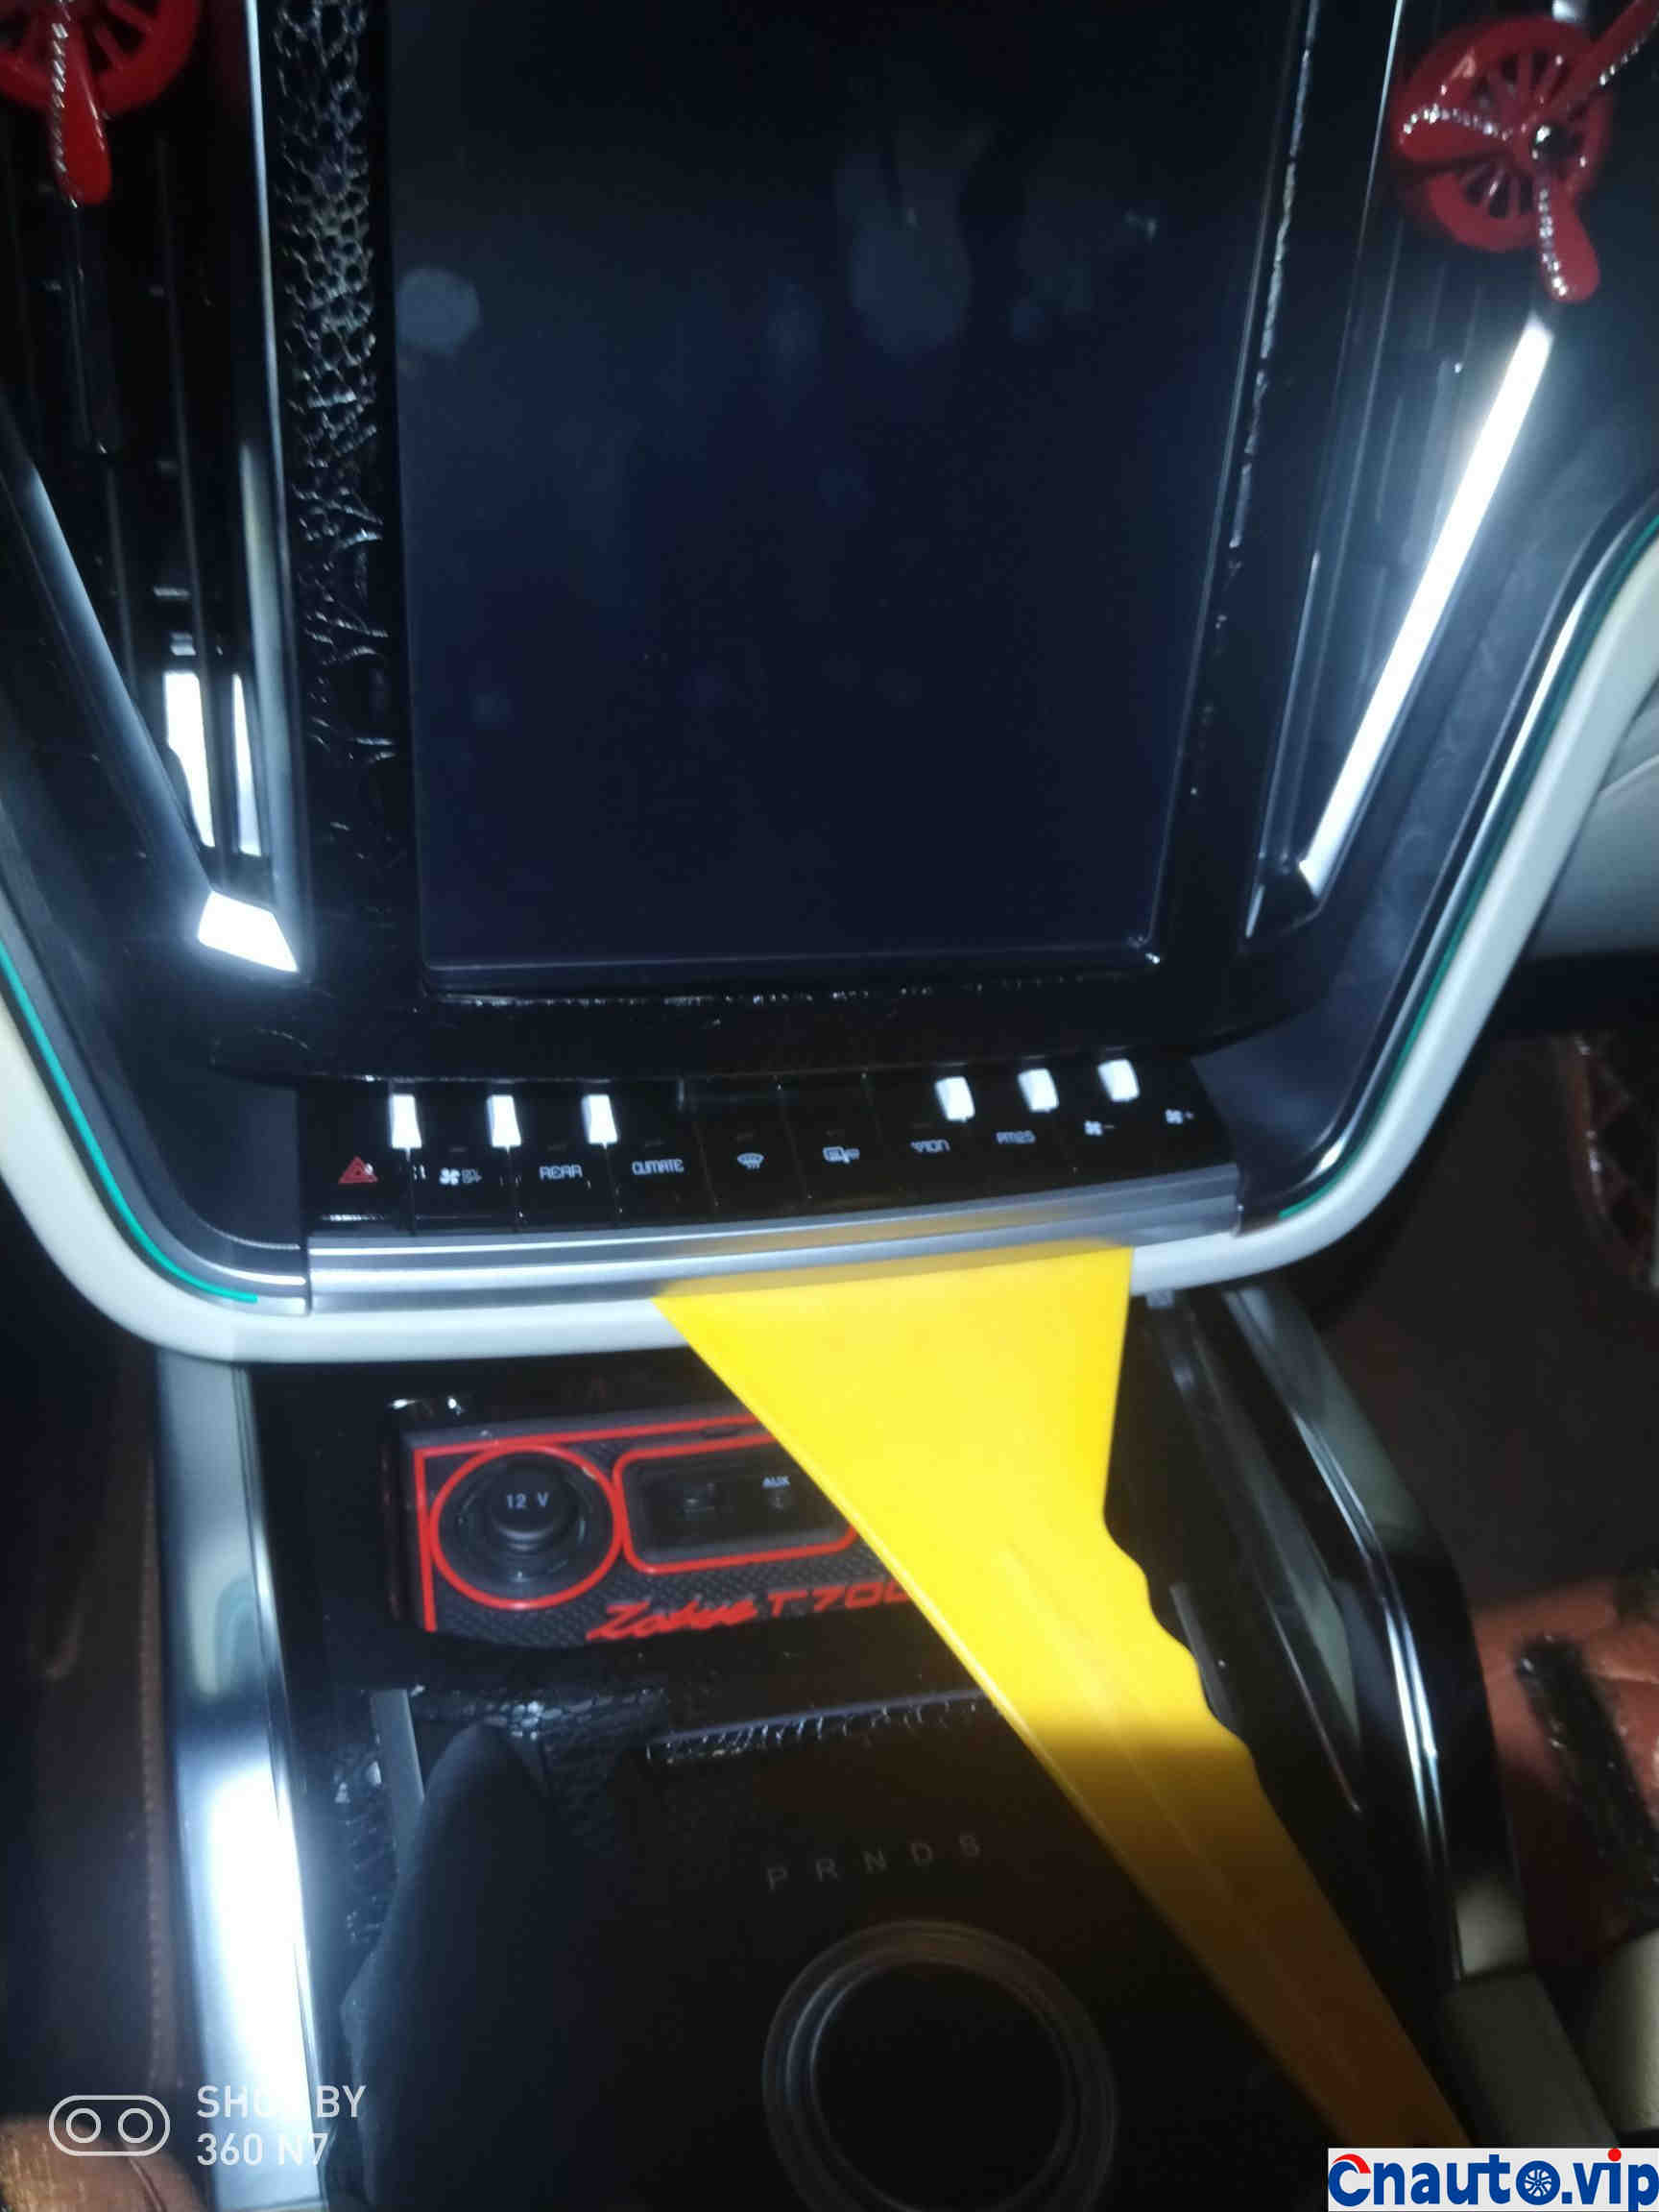
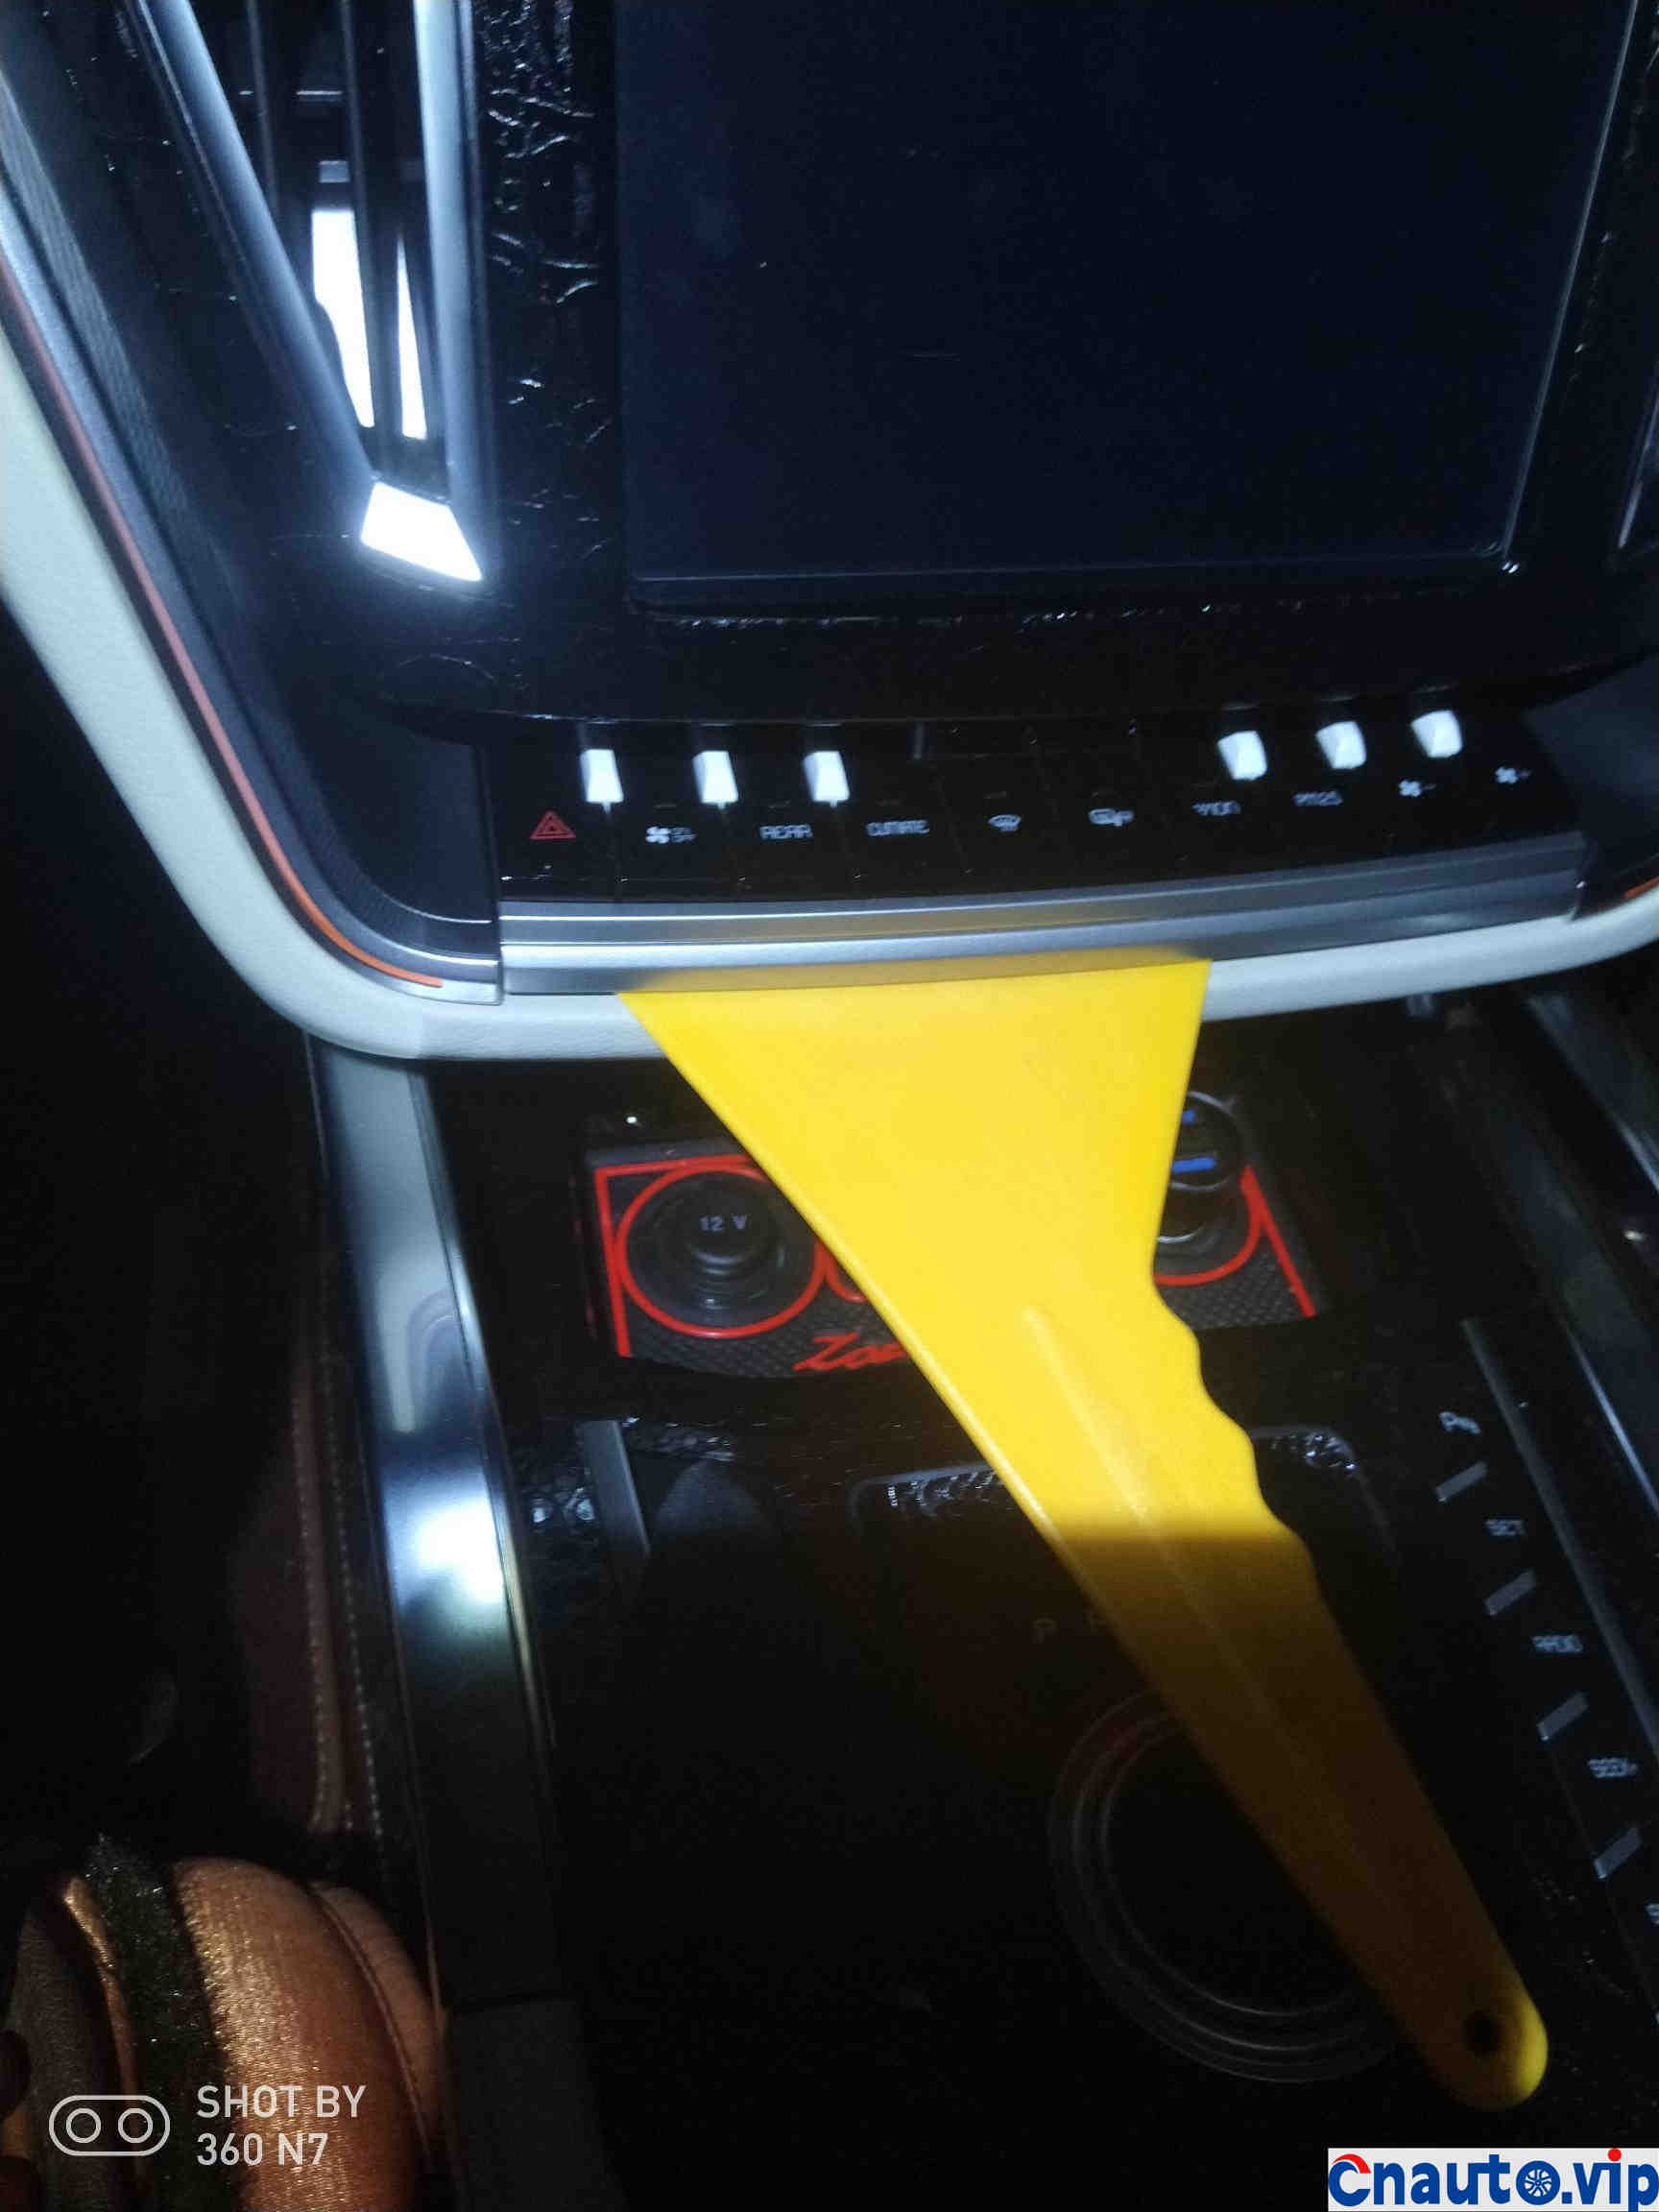
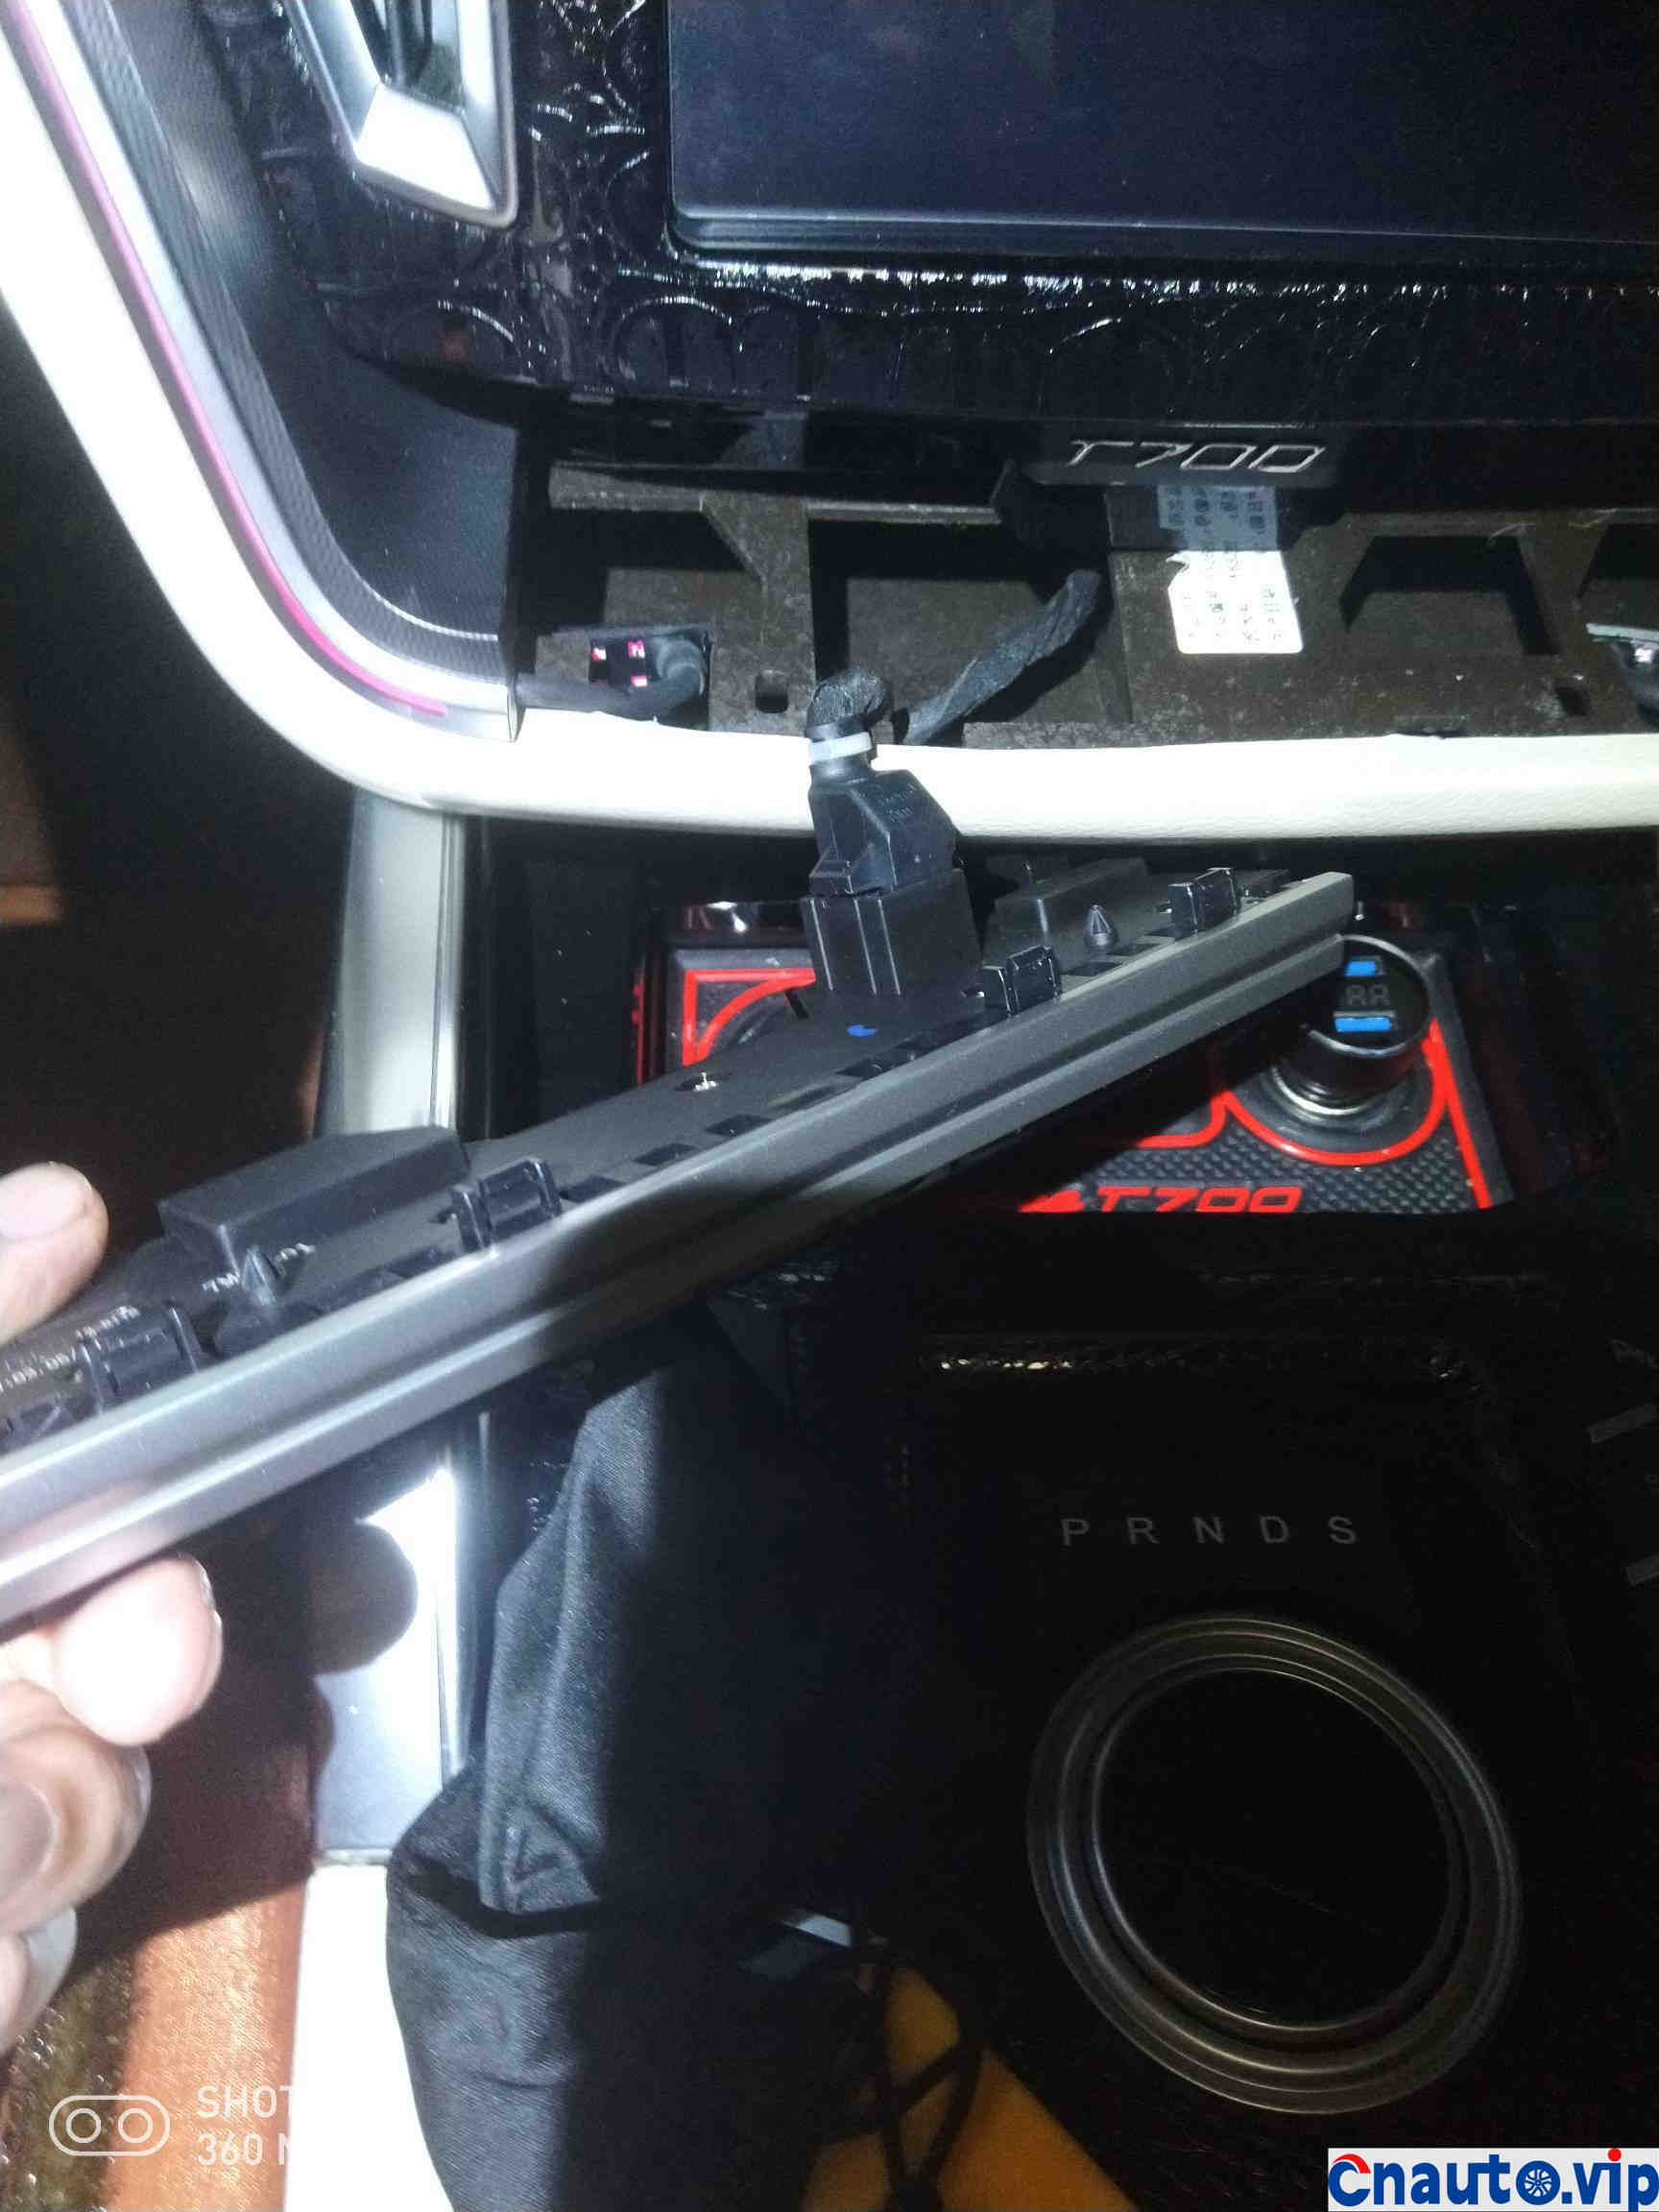
Just pry out a large gap and lift it up with your hands.
Next, remove the decorative surface frame of the central control large screen. This buckle requires force, and the new car is a bit tight.
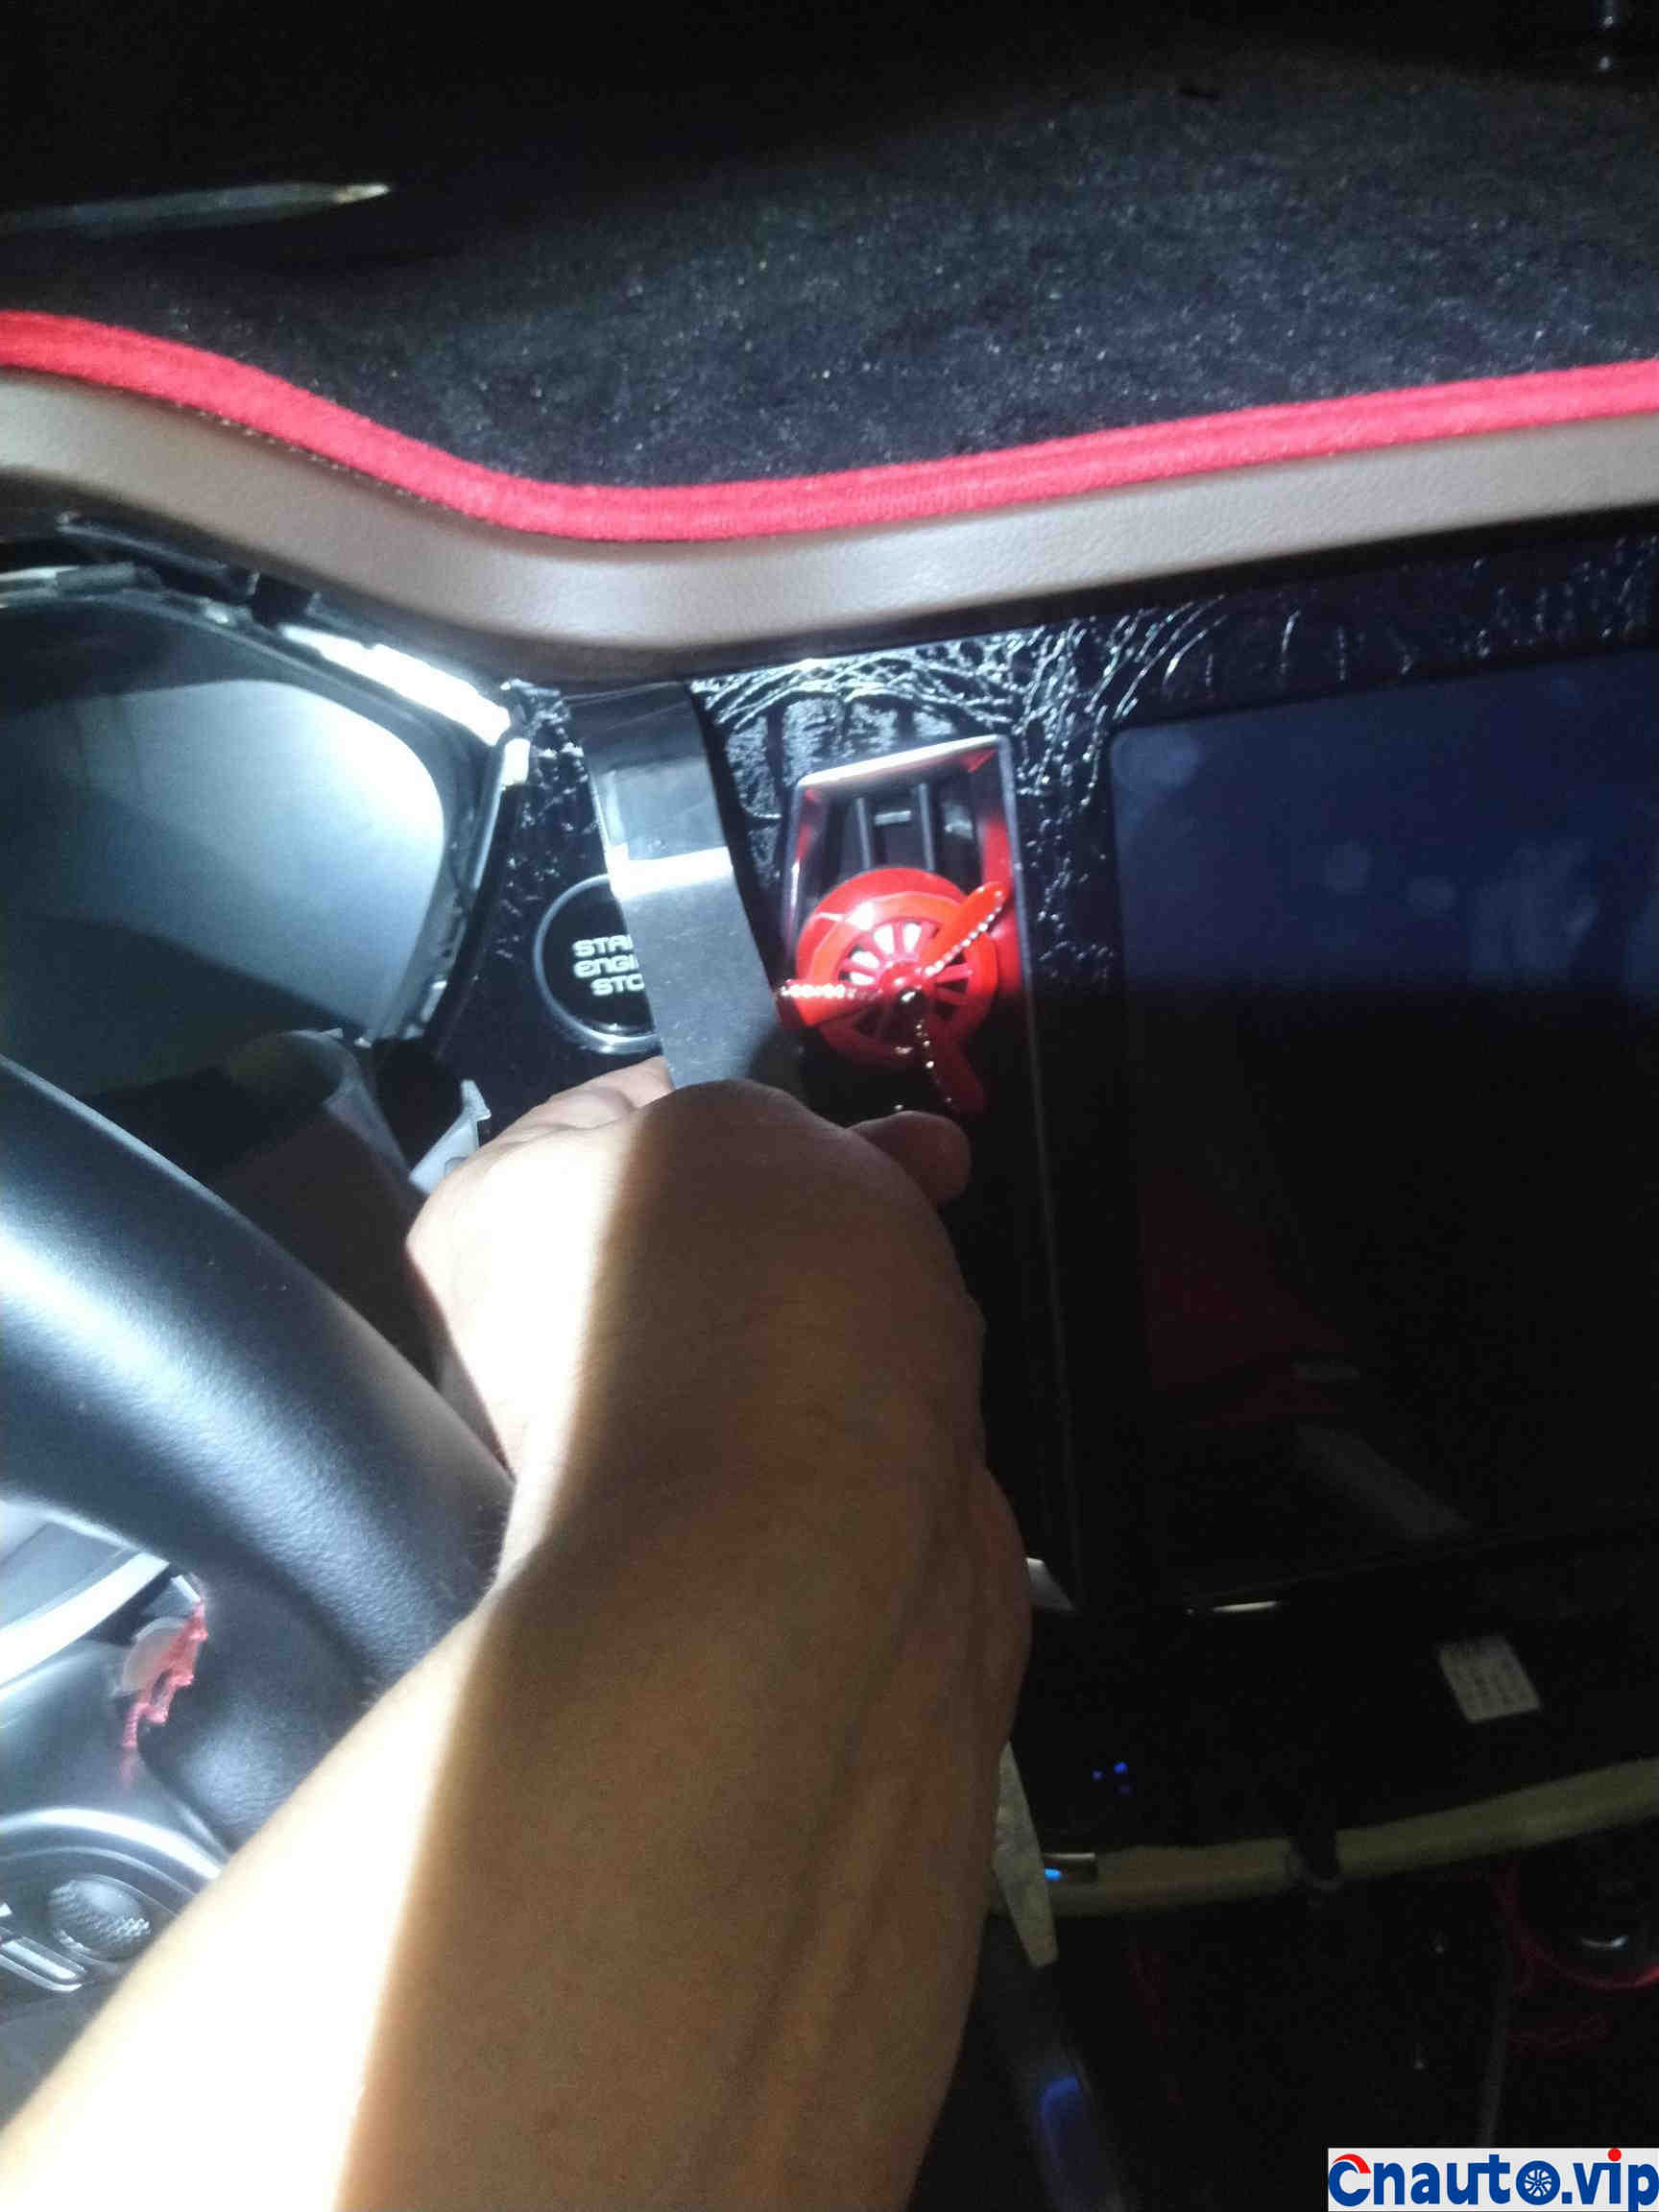
Be careful to wrap the tool with electric tape to avoid damaging the leather of the instrument panel. You need to use your other hand to put it inside and exert force together.
The buckle has been pried out.
Then at the other end,
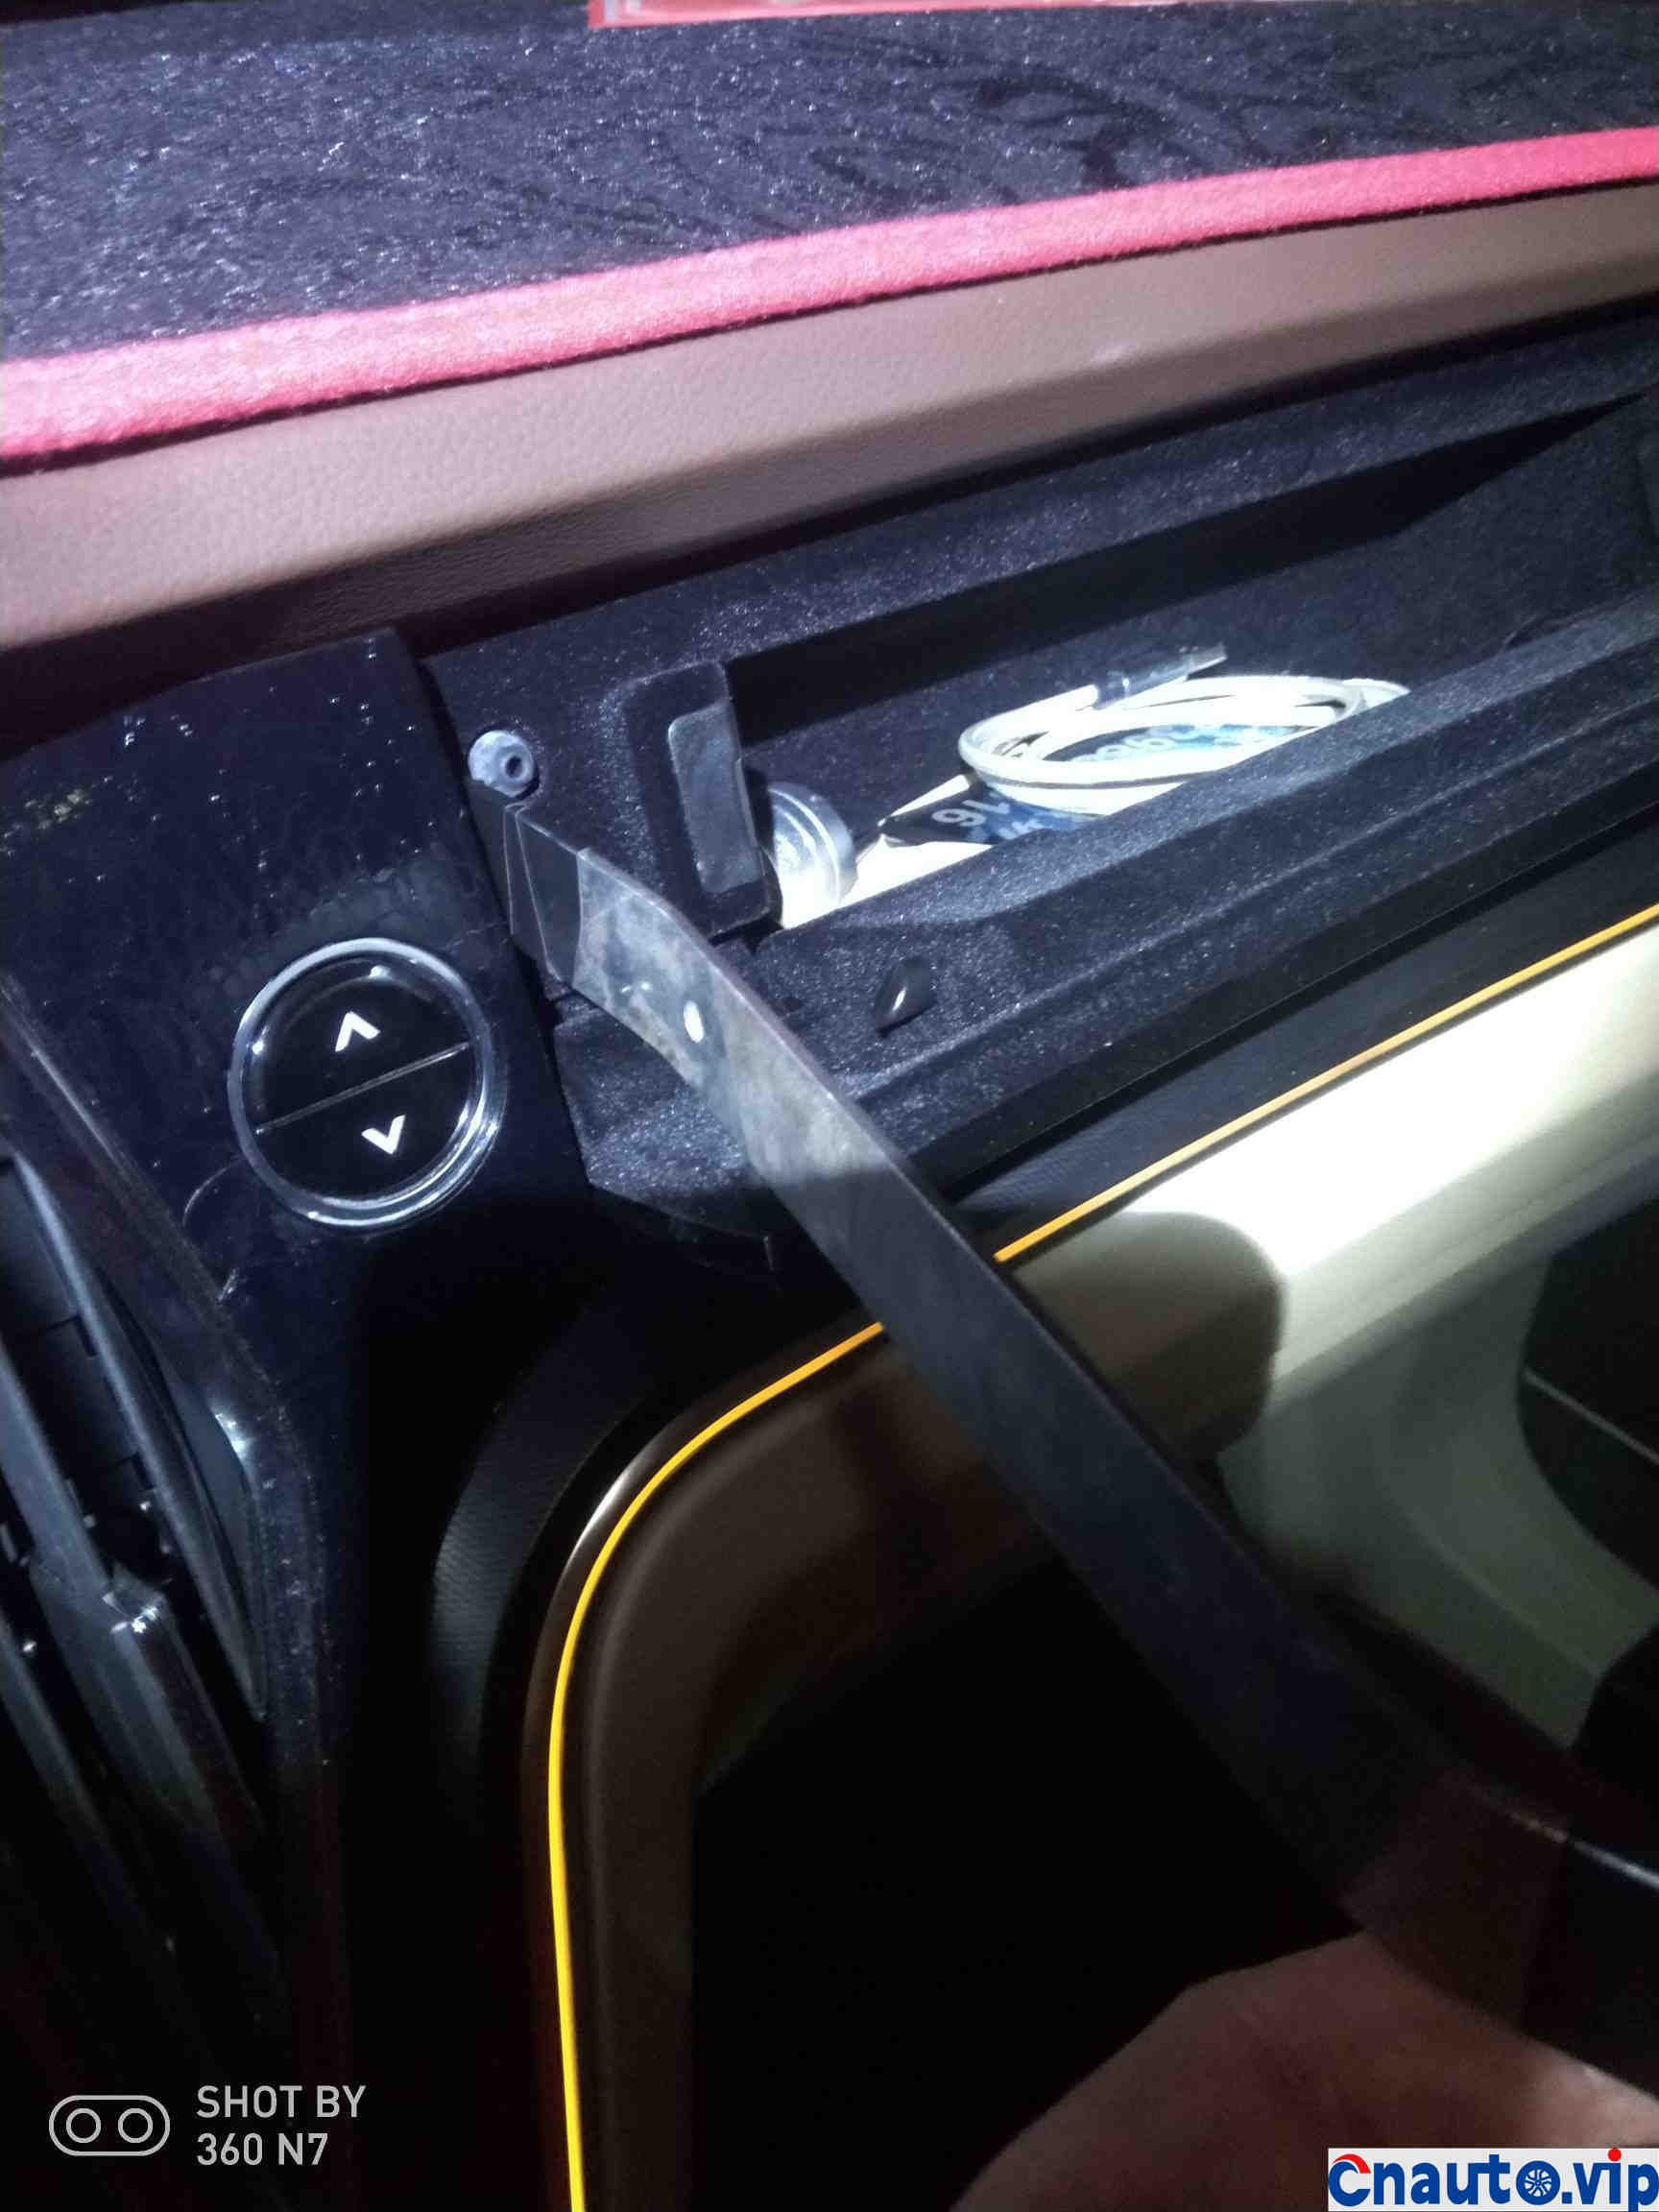
The gap was too small, so I gave up prying at this position.
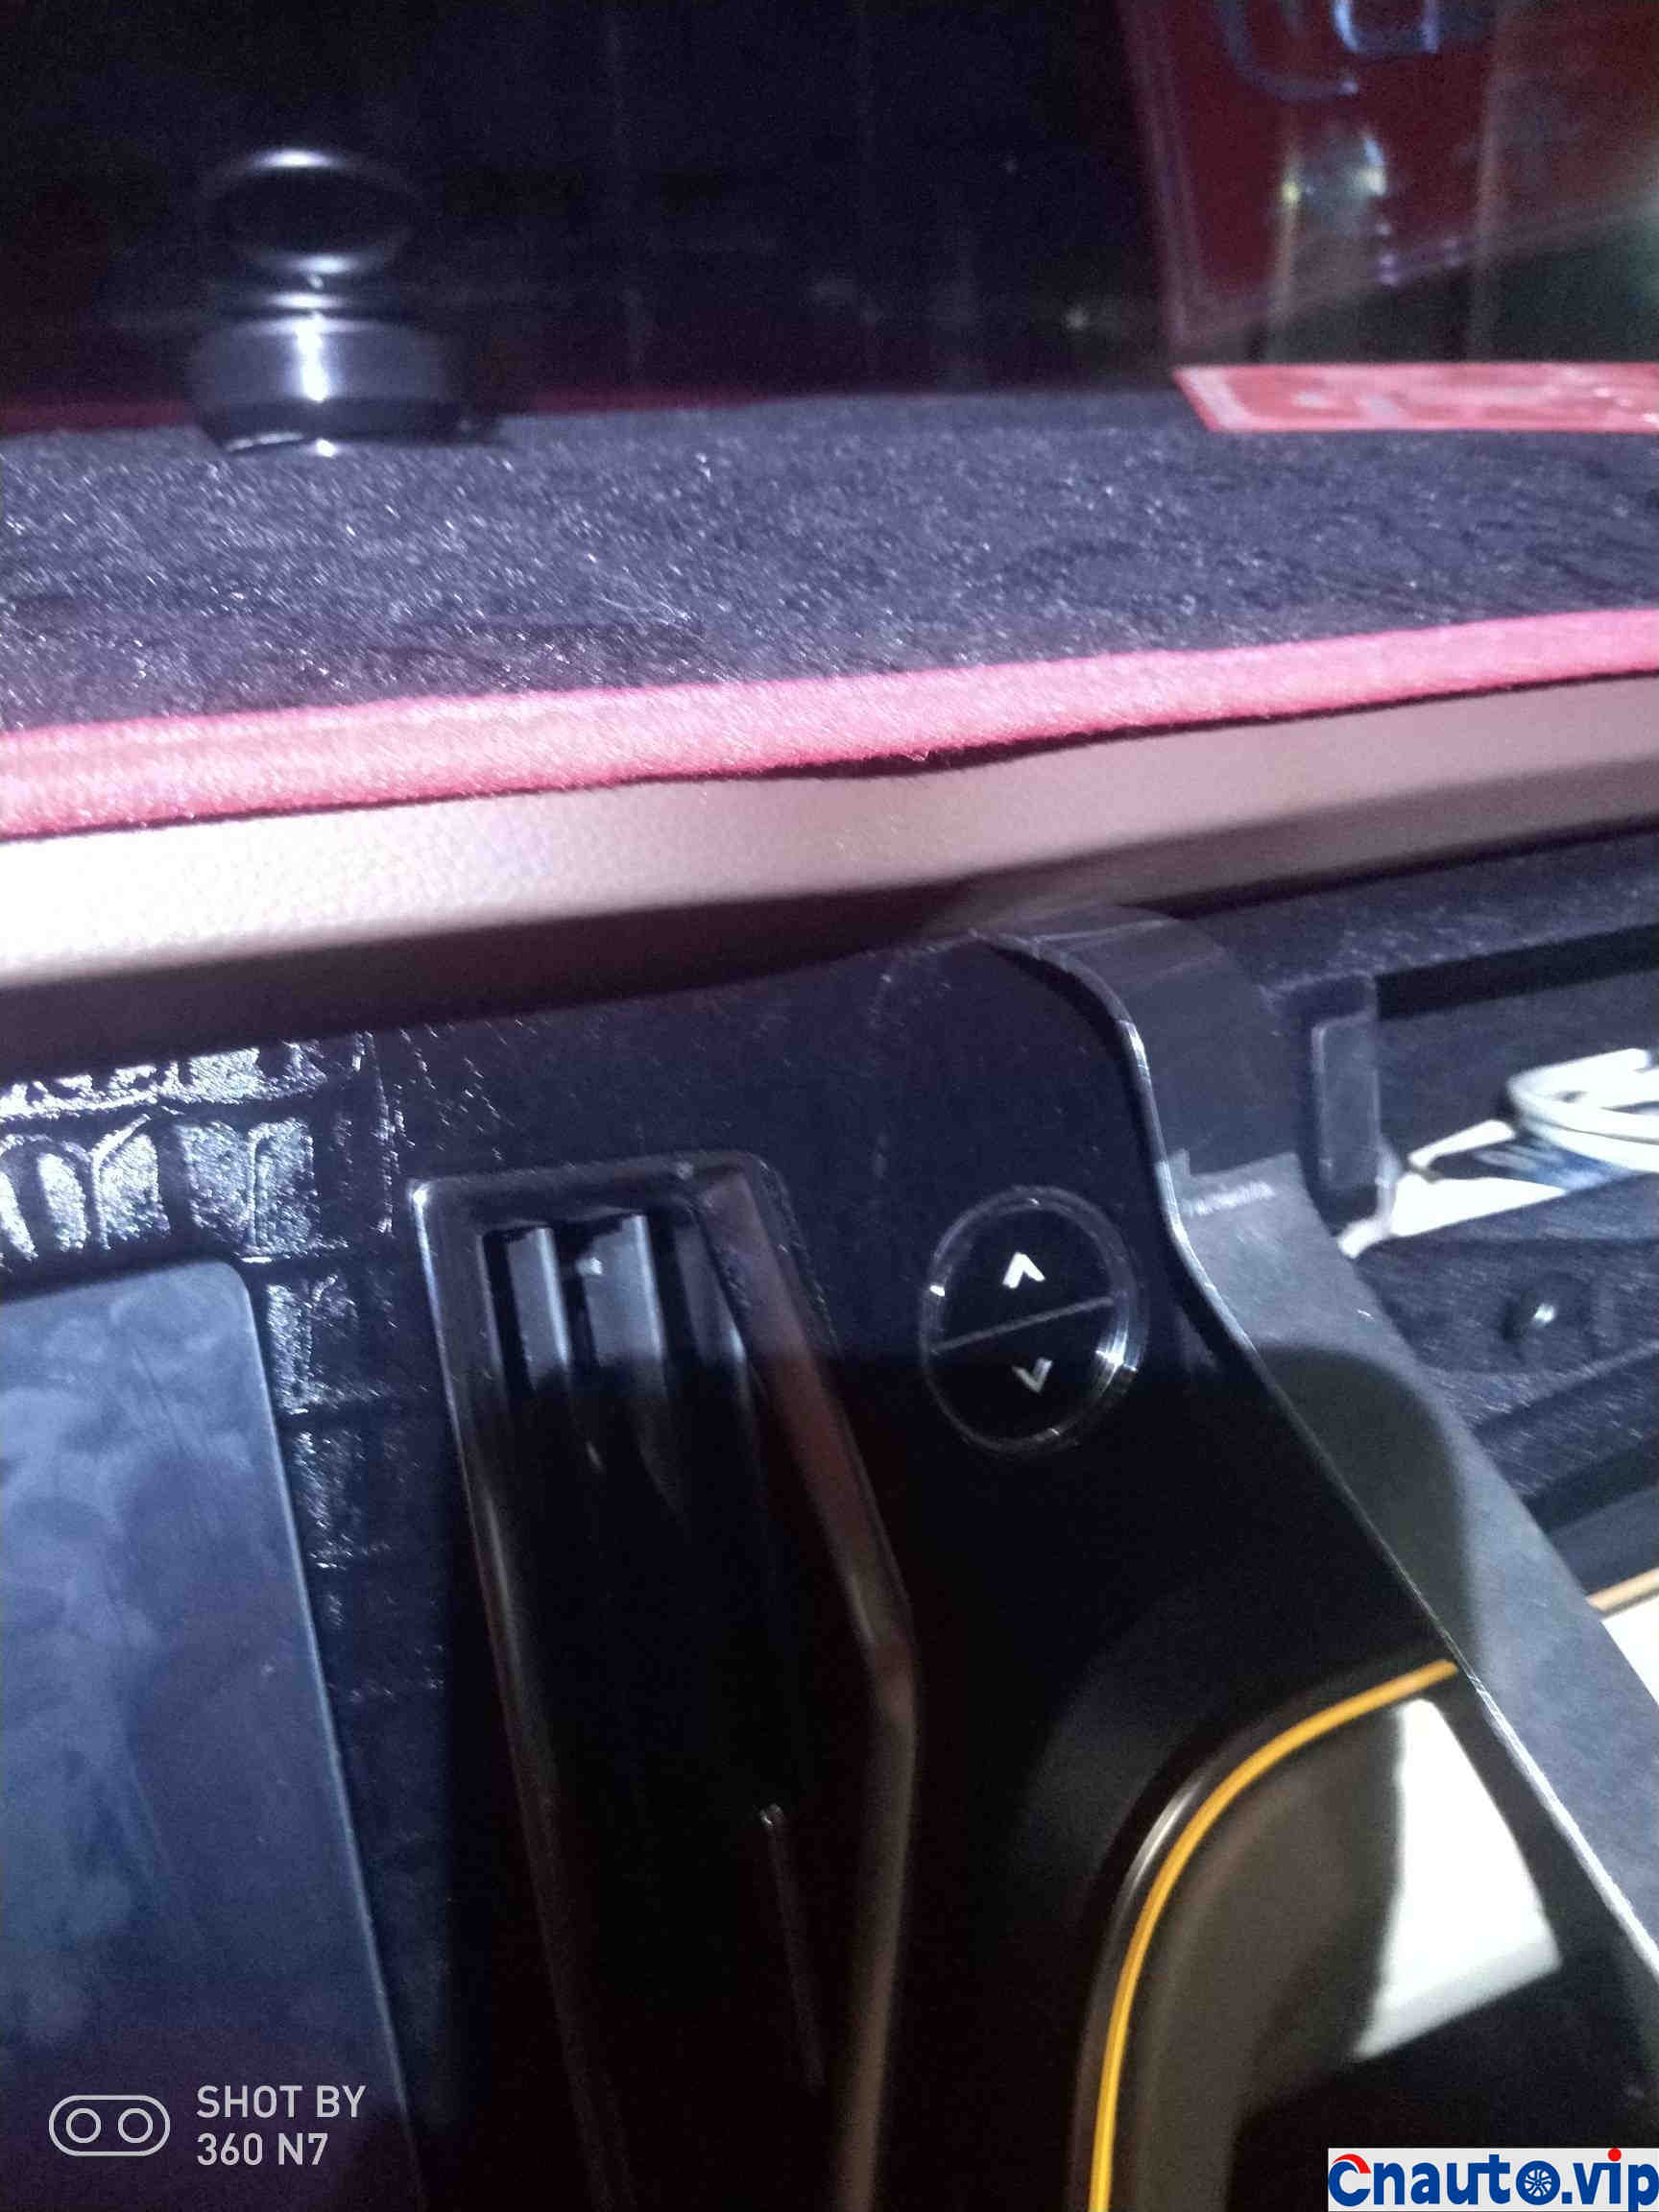
Change it to this position
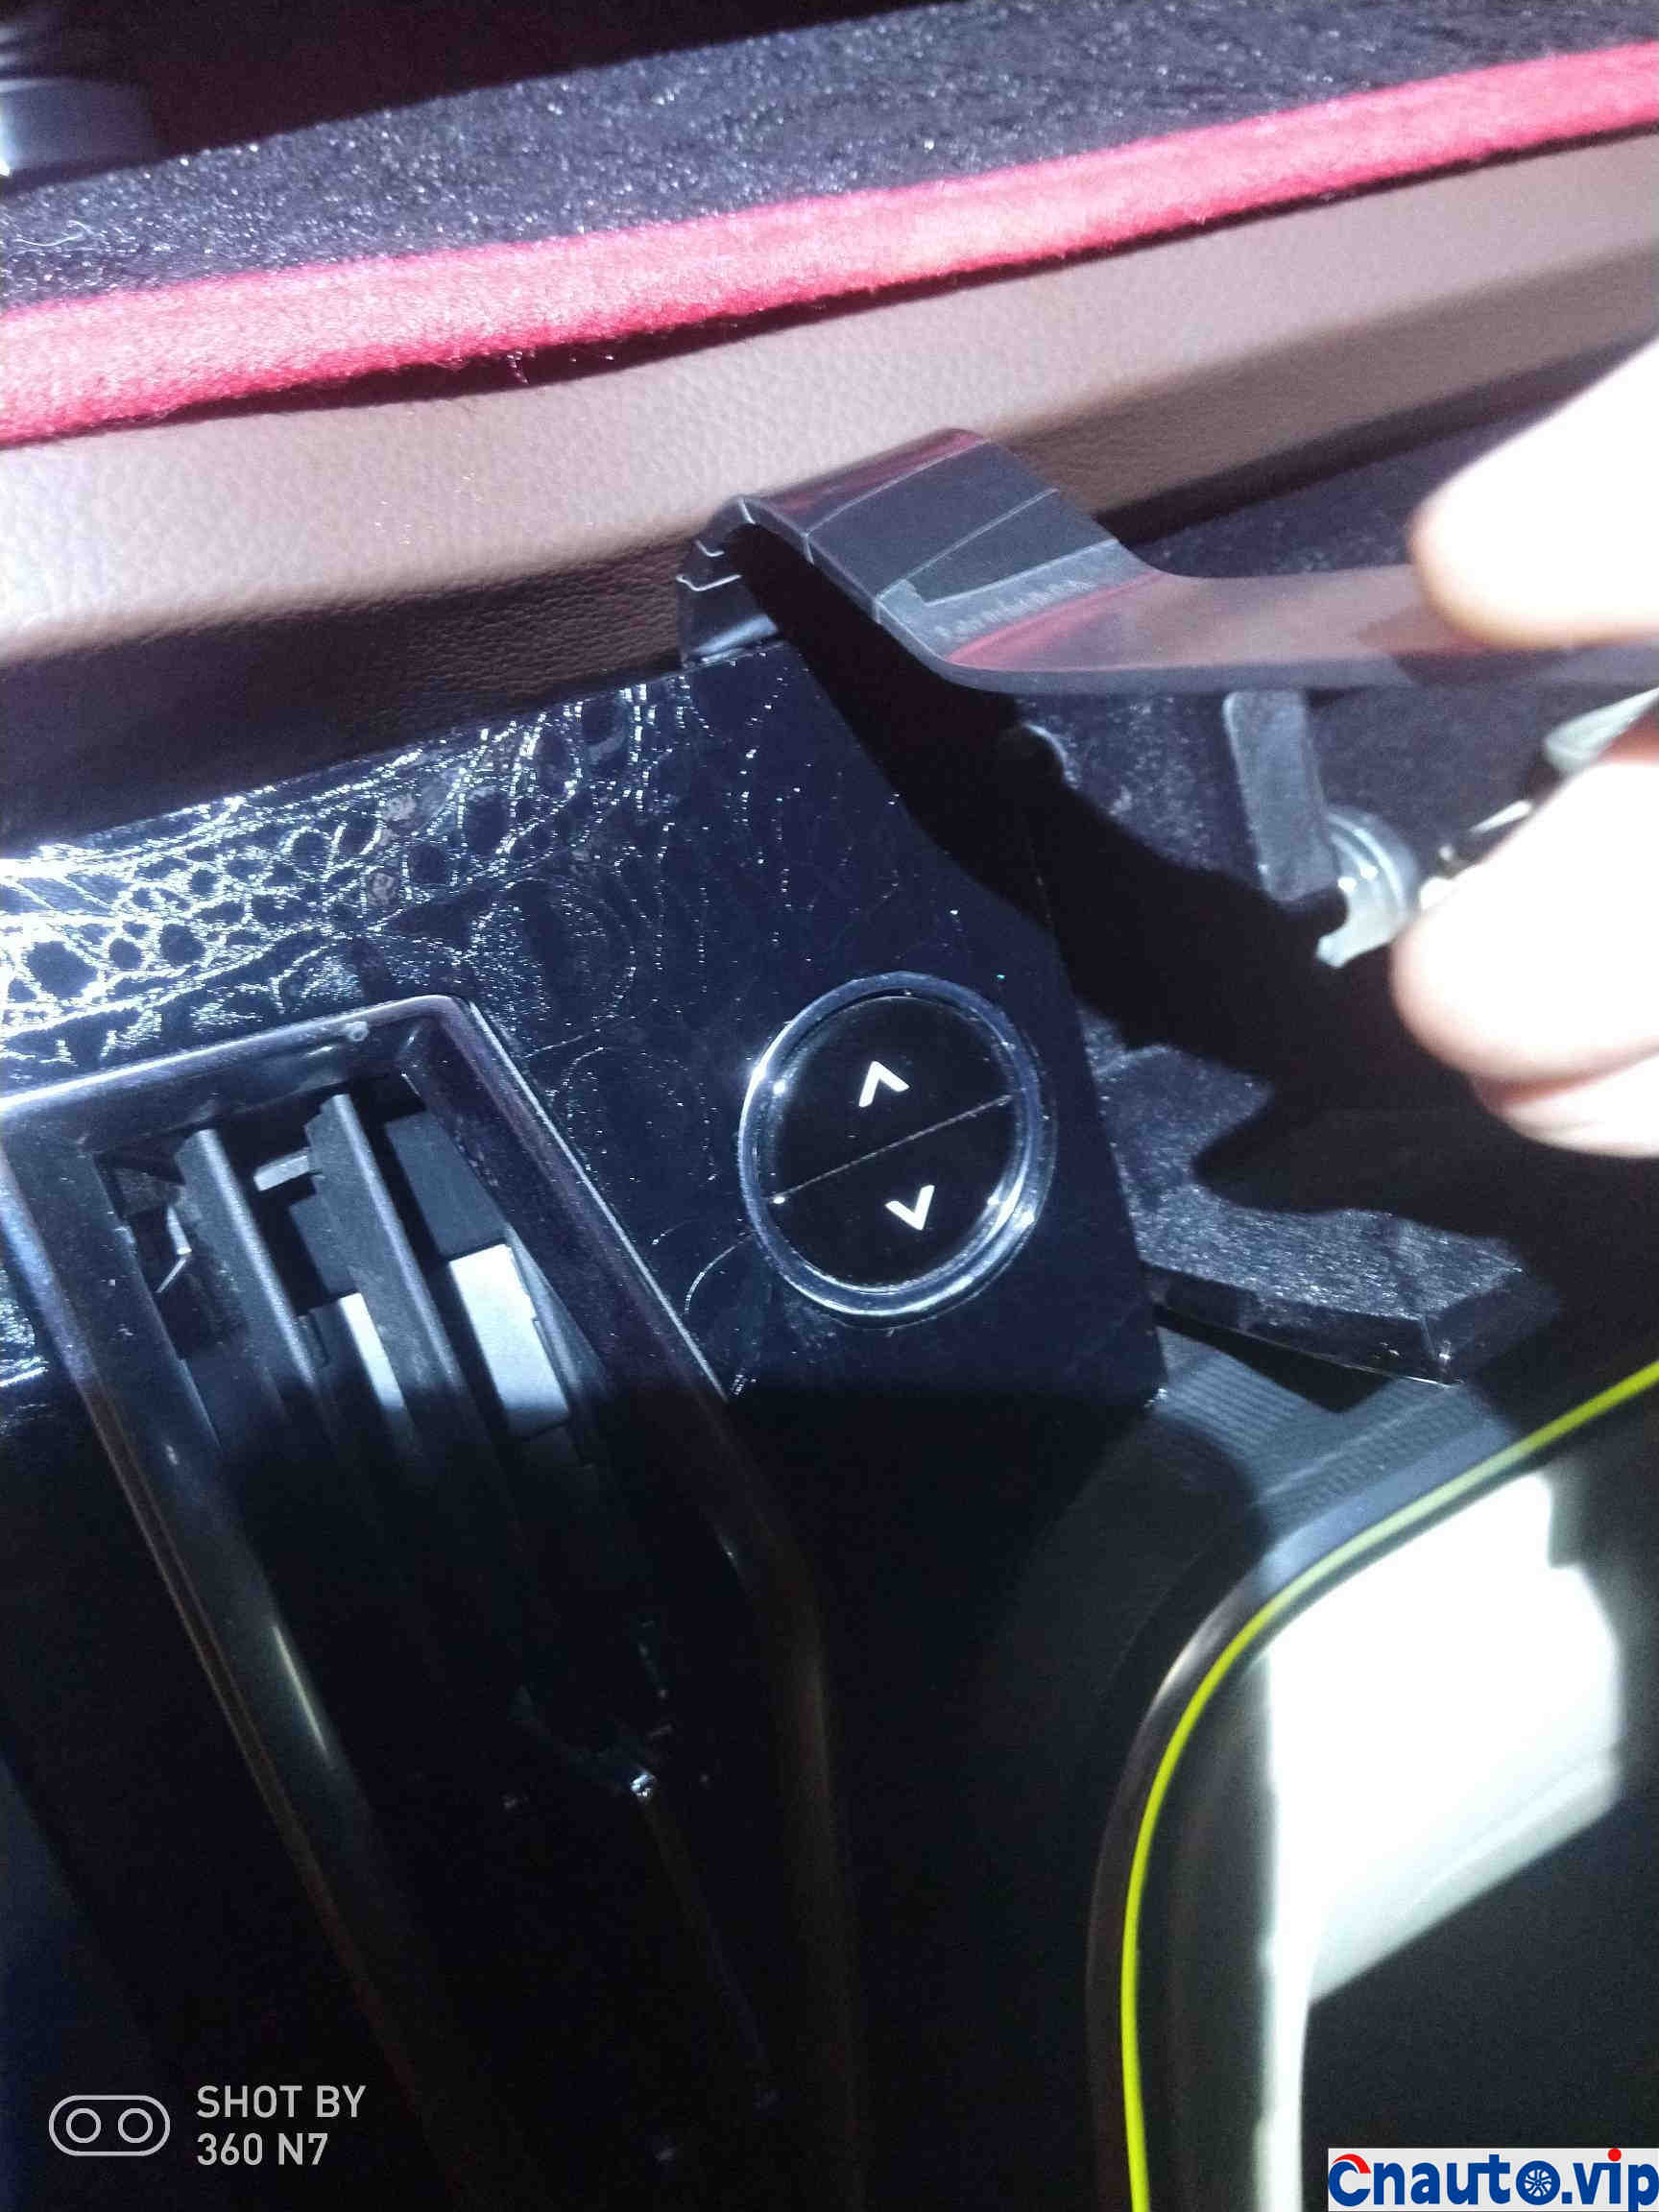
Pry hard
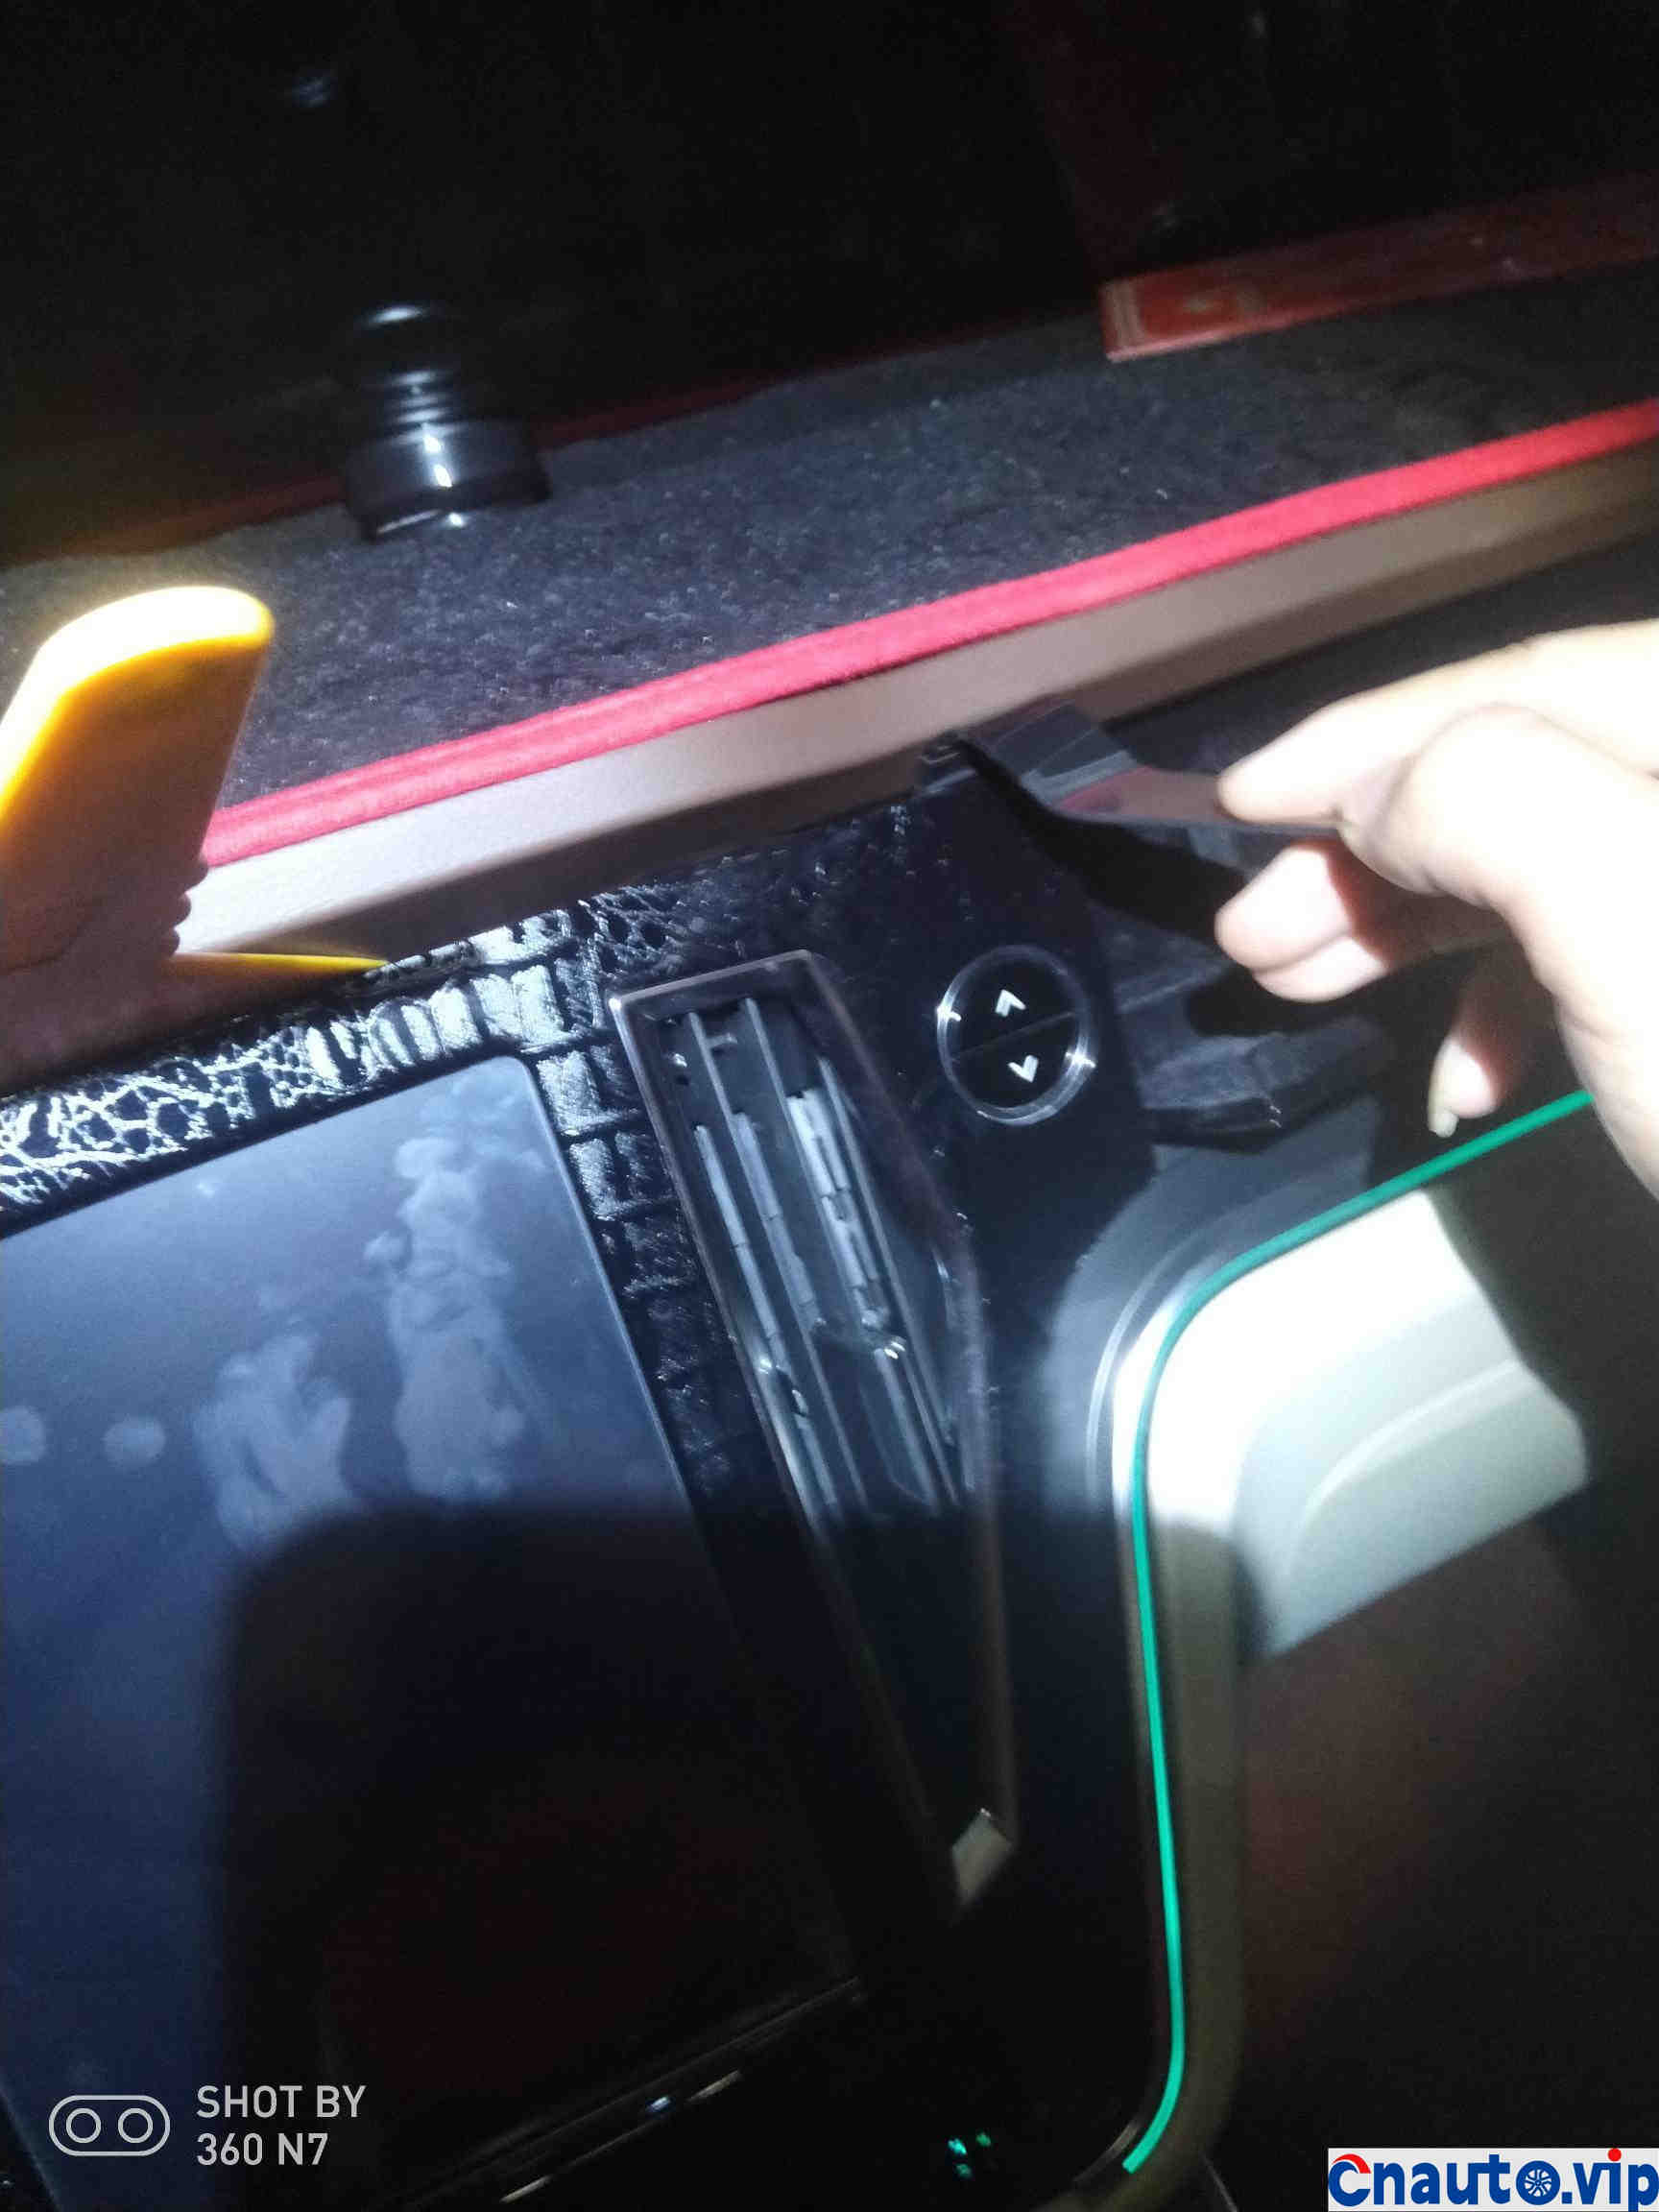
The scraper pulls together
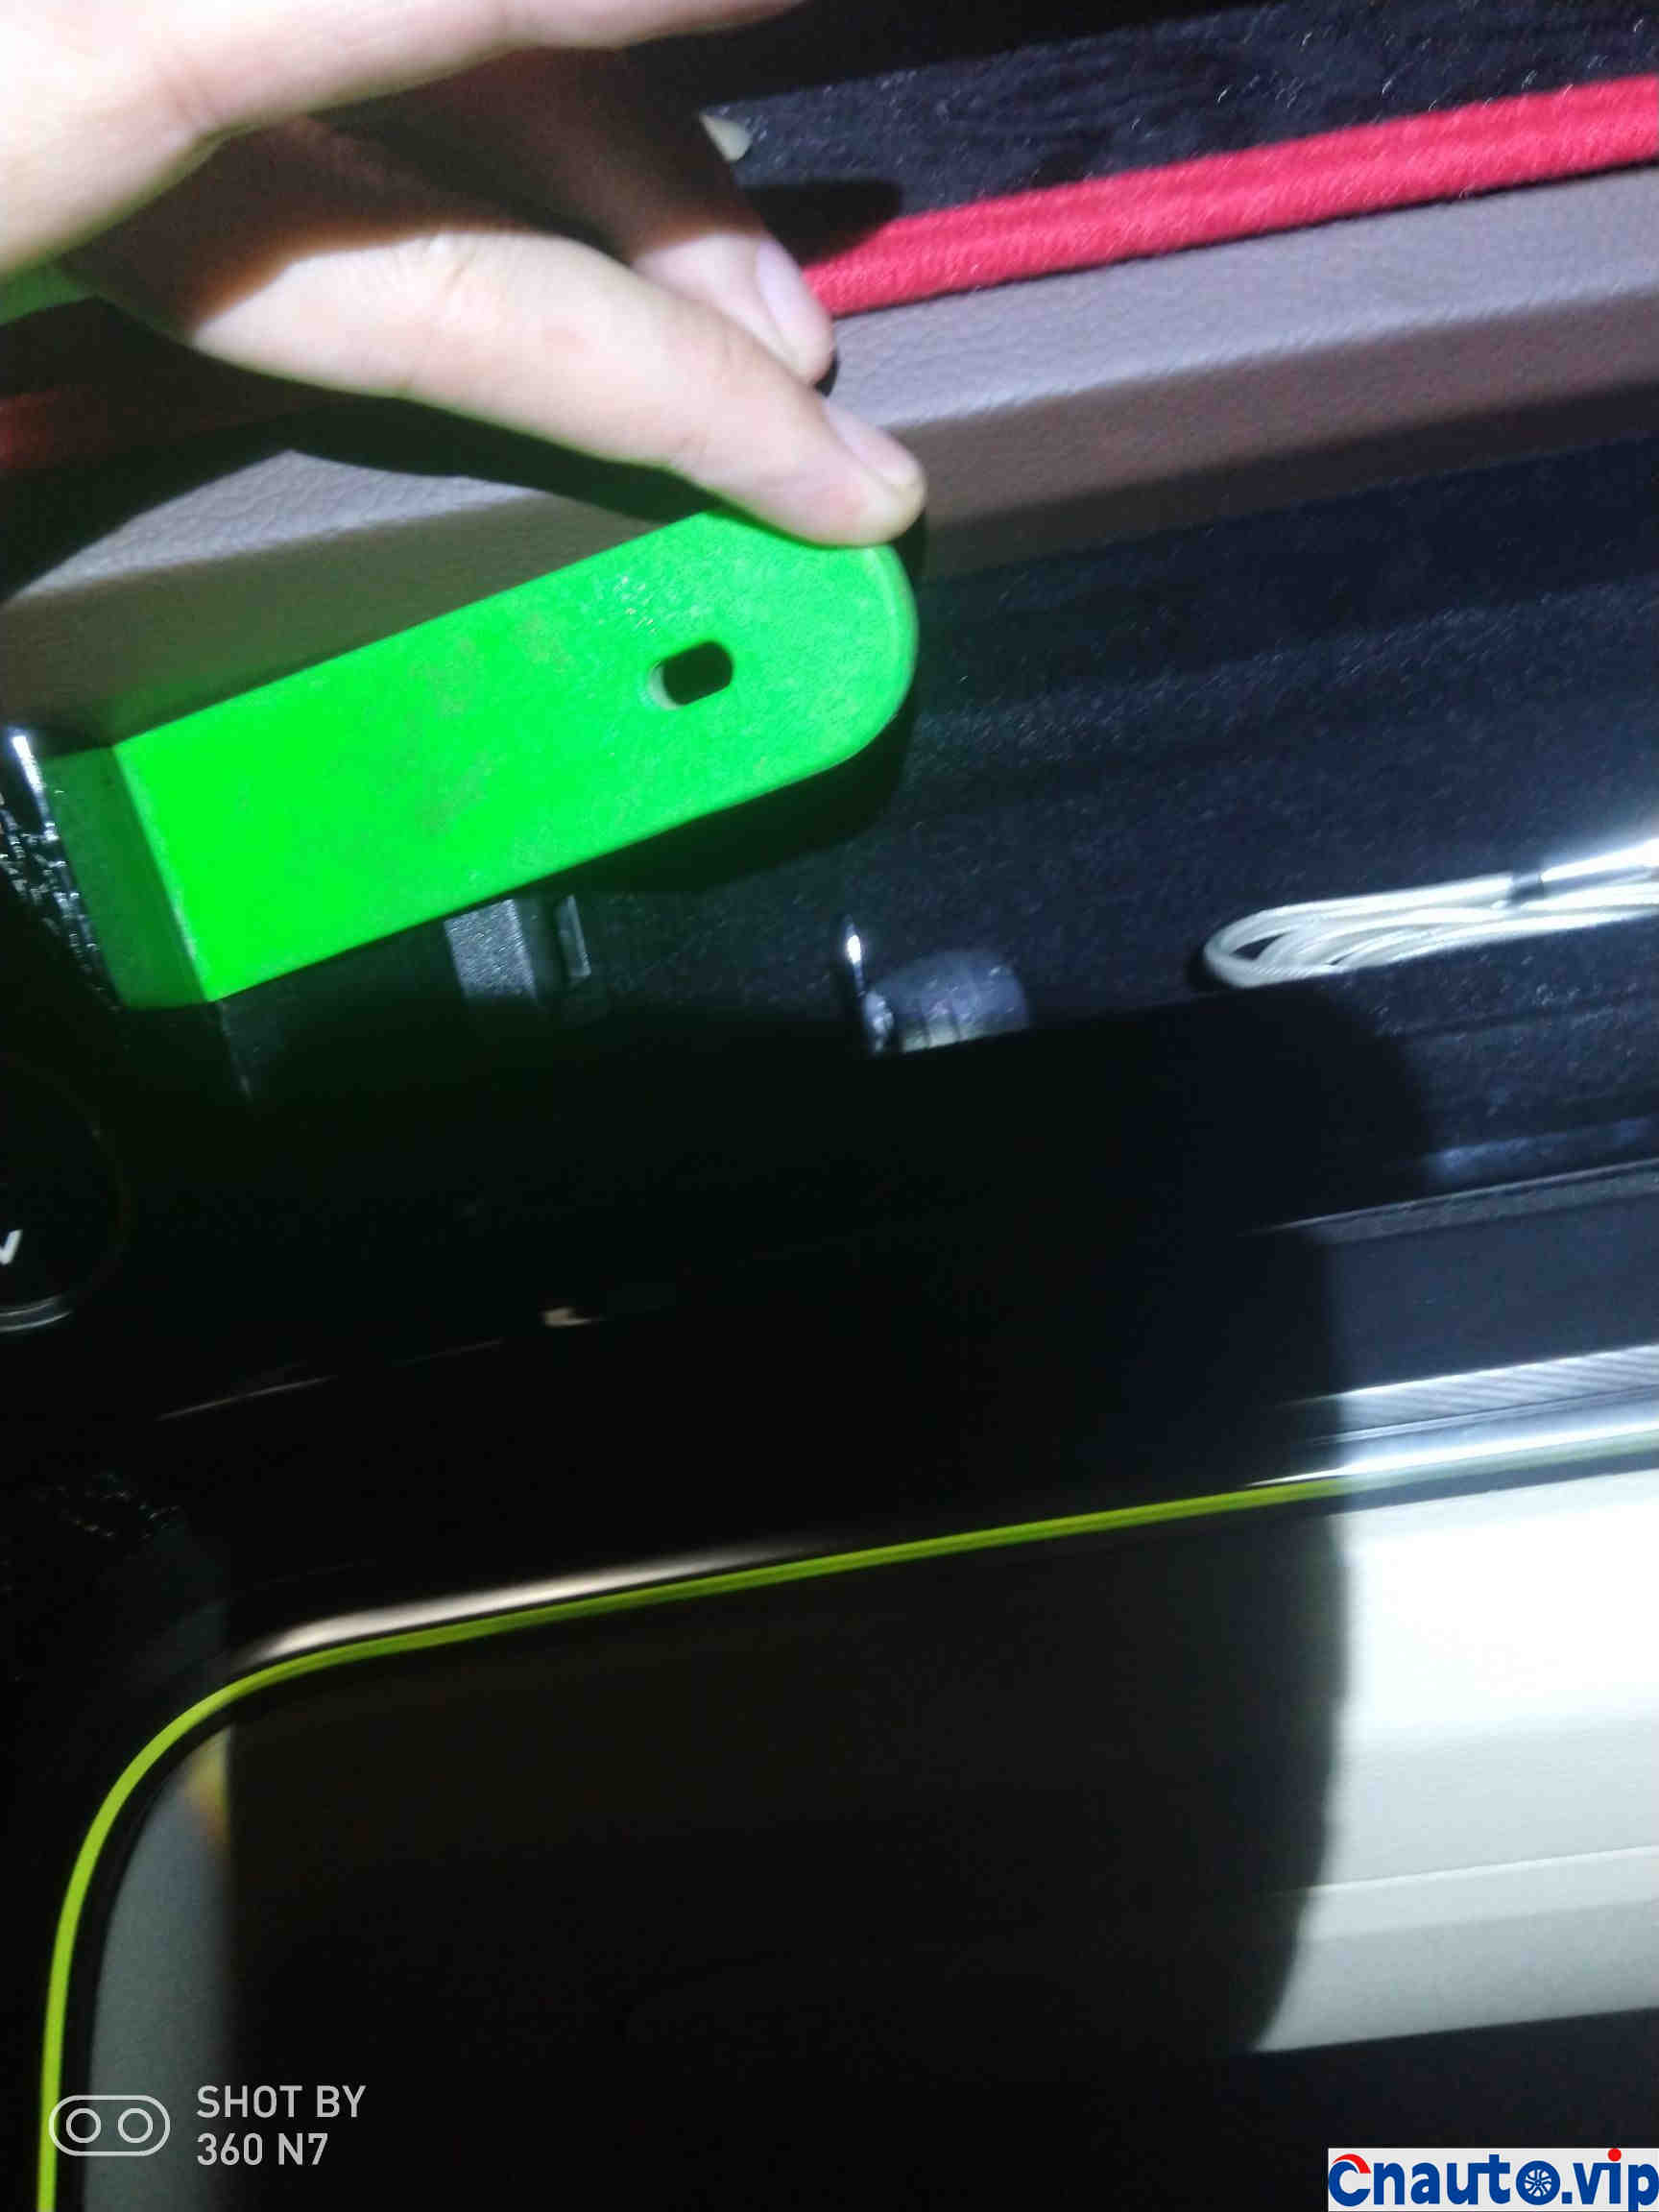
Hearing a sound, a gap could be seen on the side of the buckle when it came out. Use a pry knife to pry it.
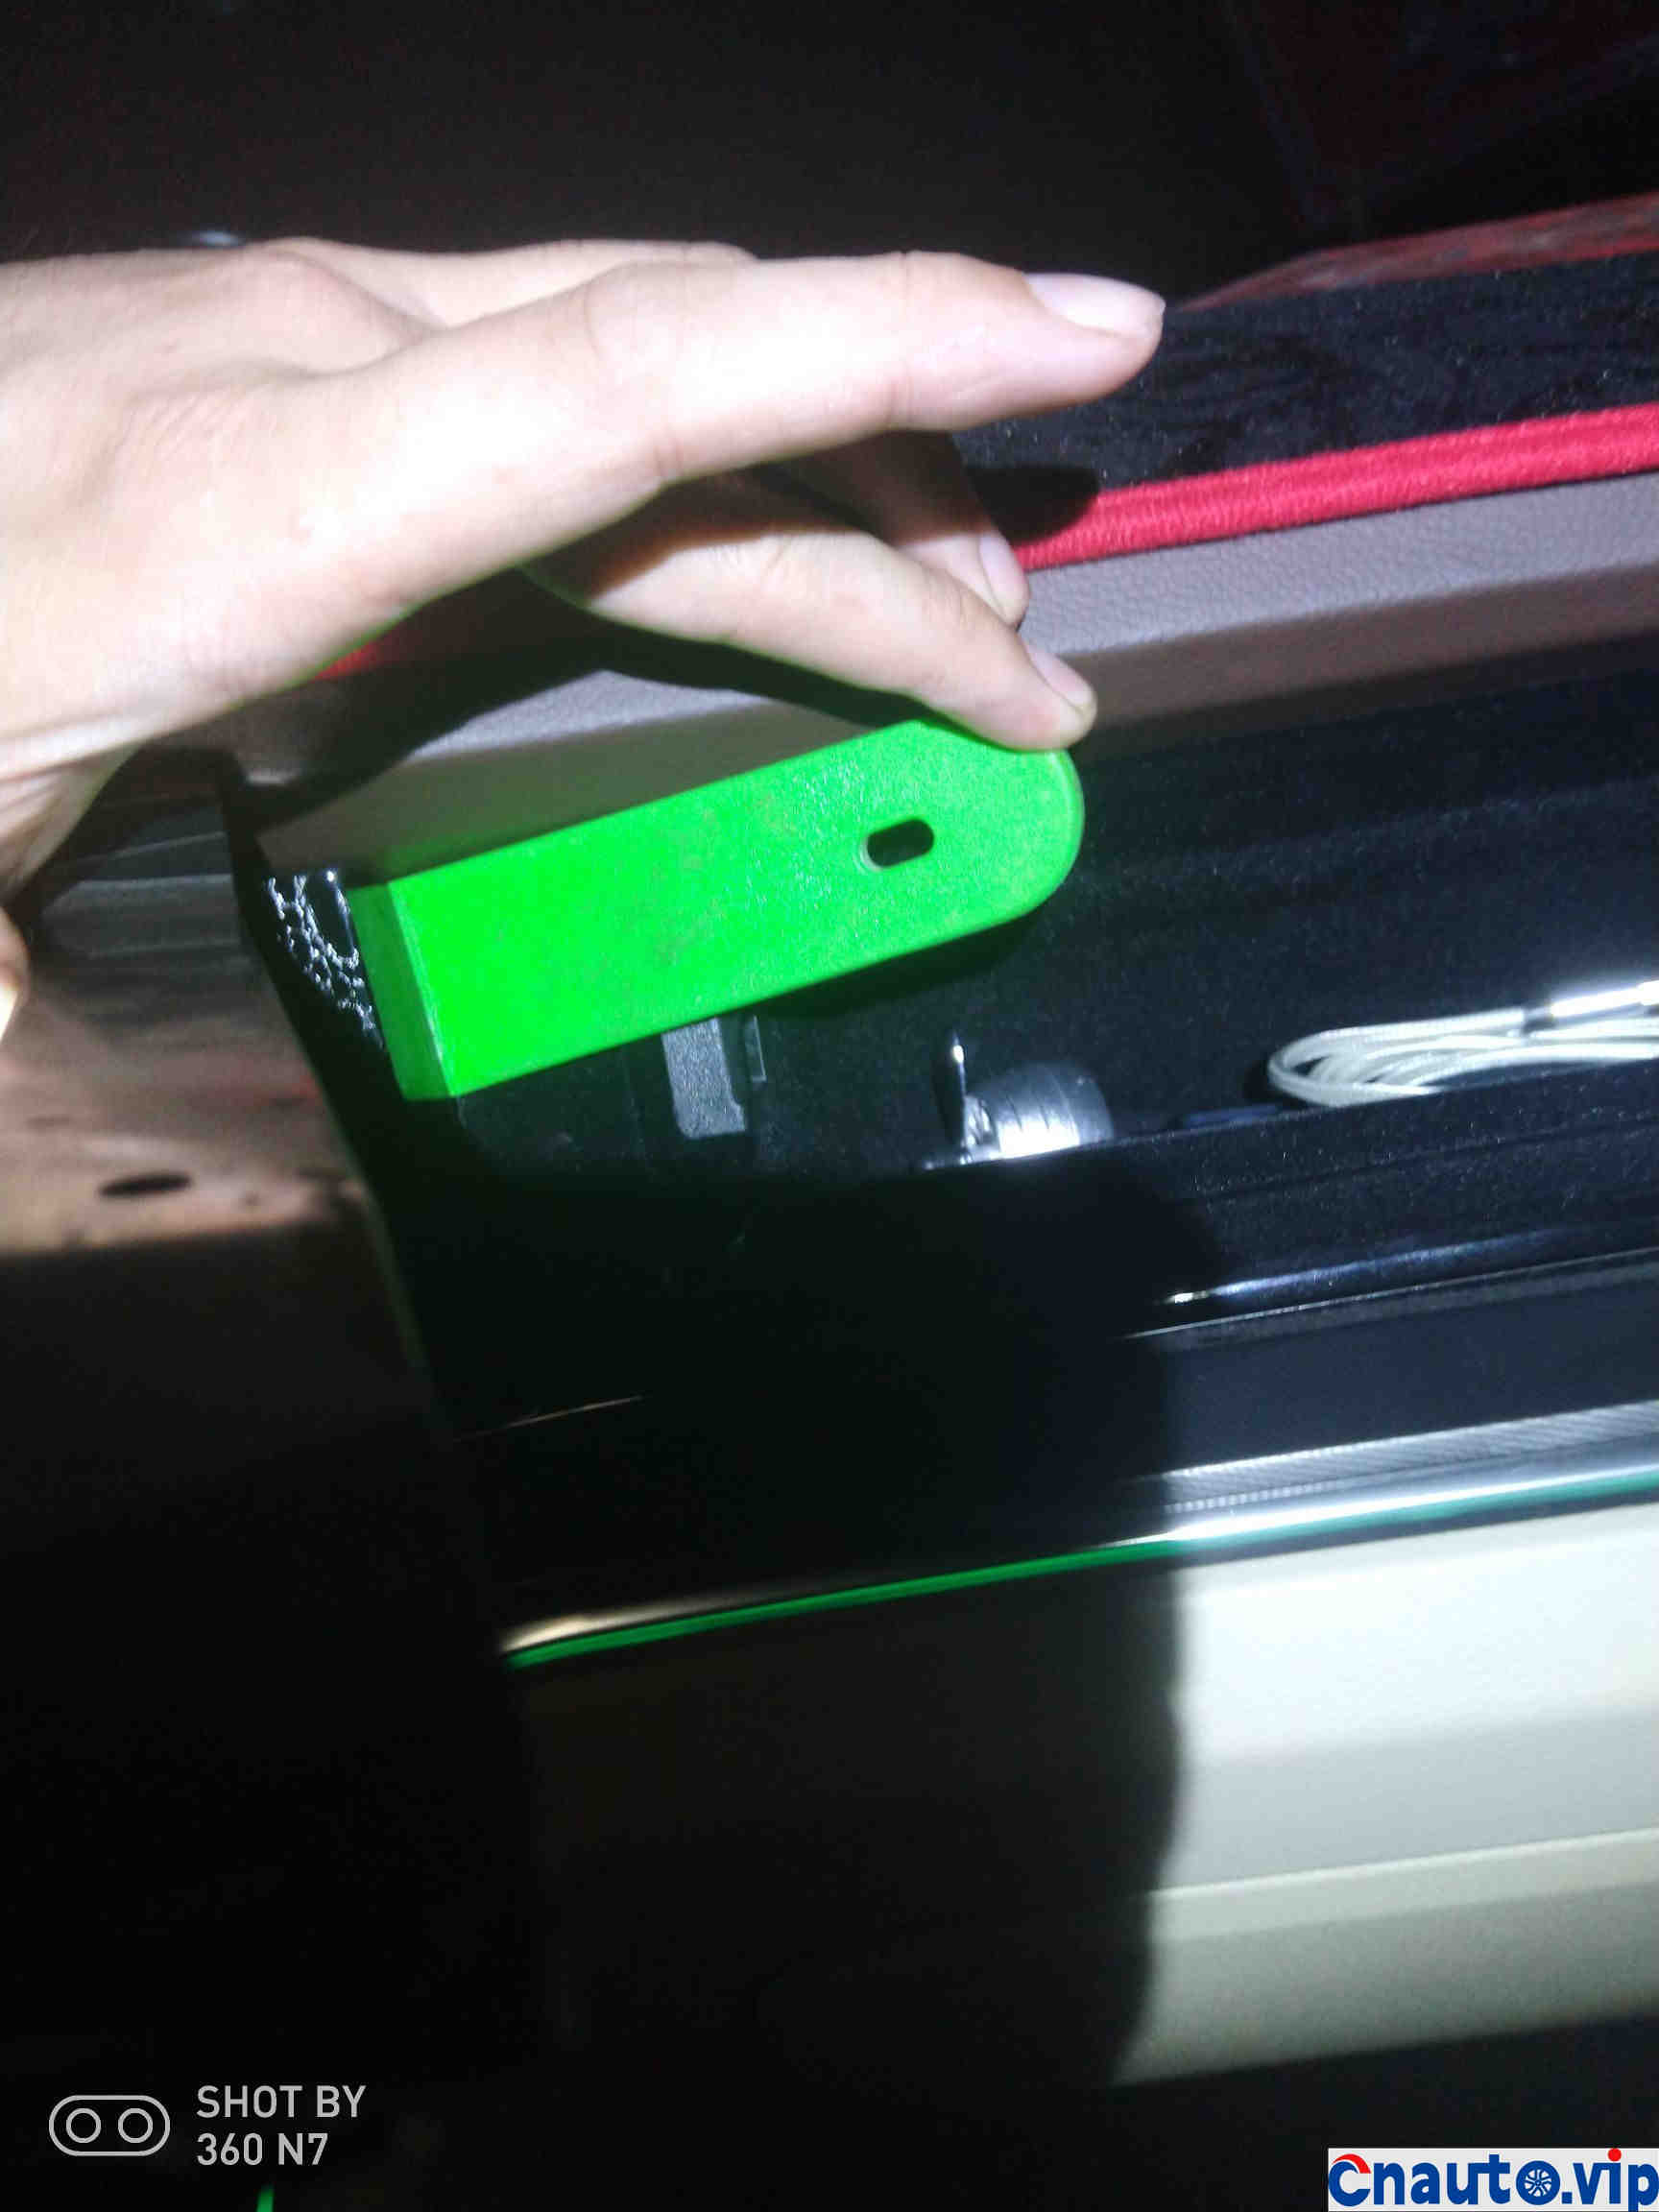
that’s how
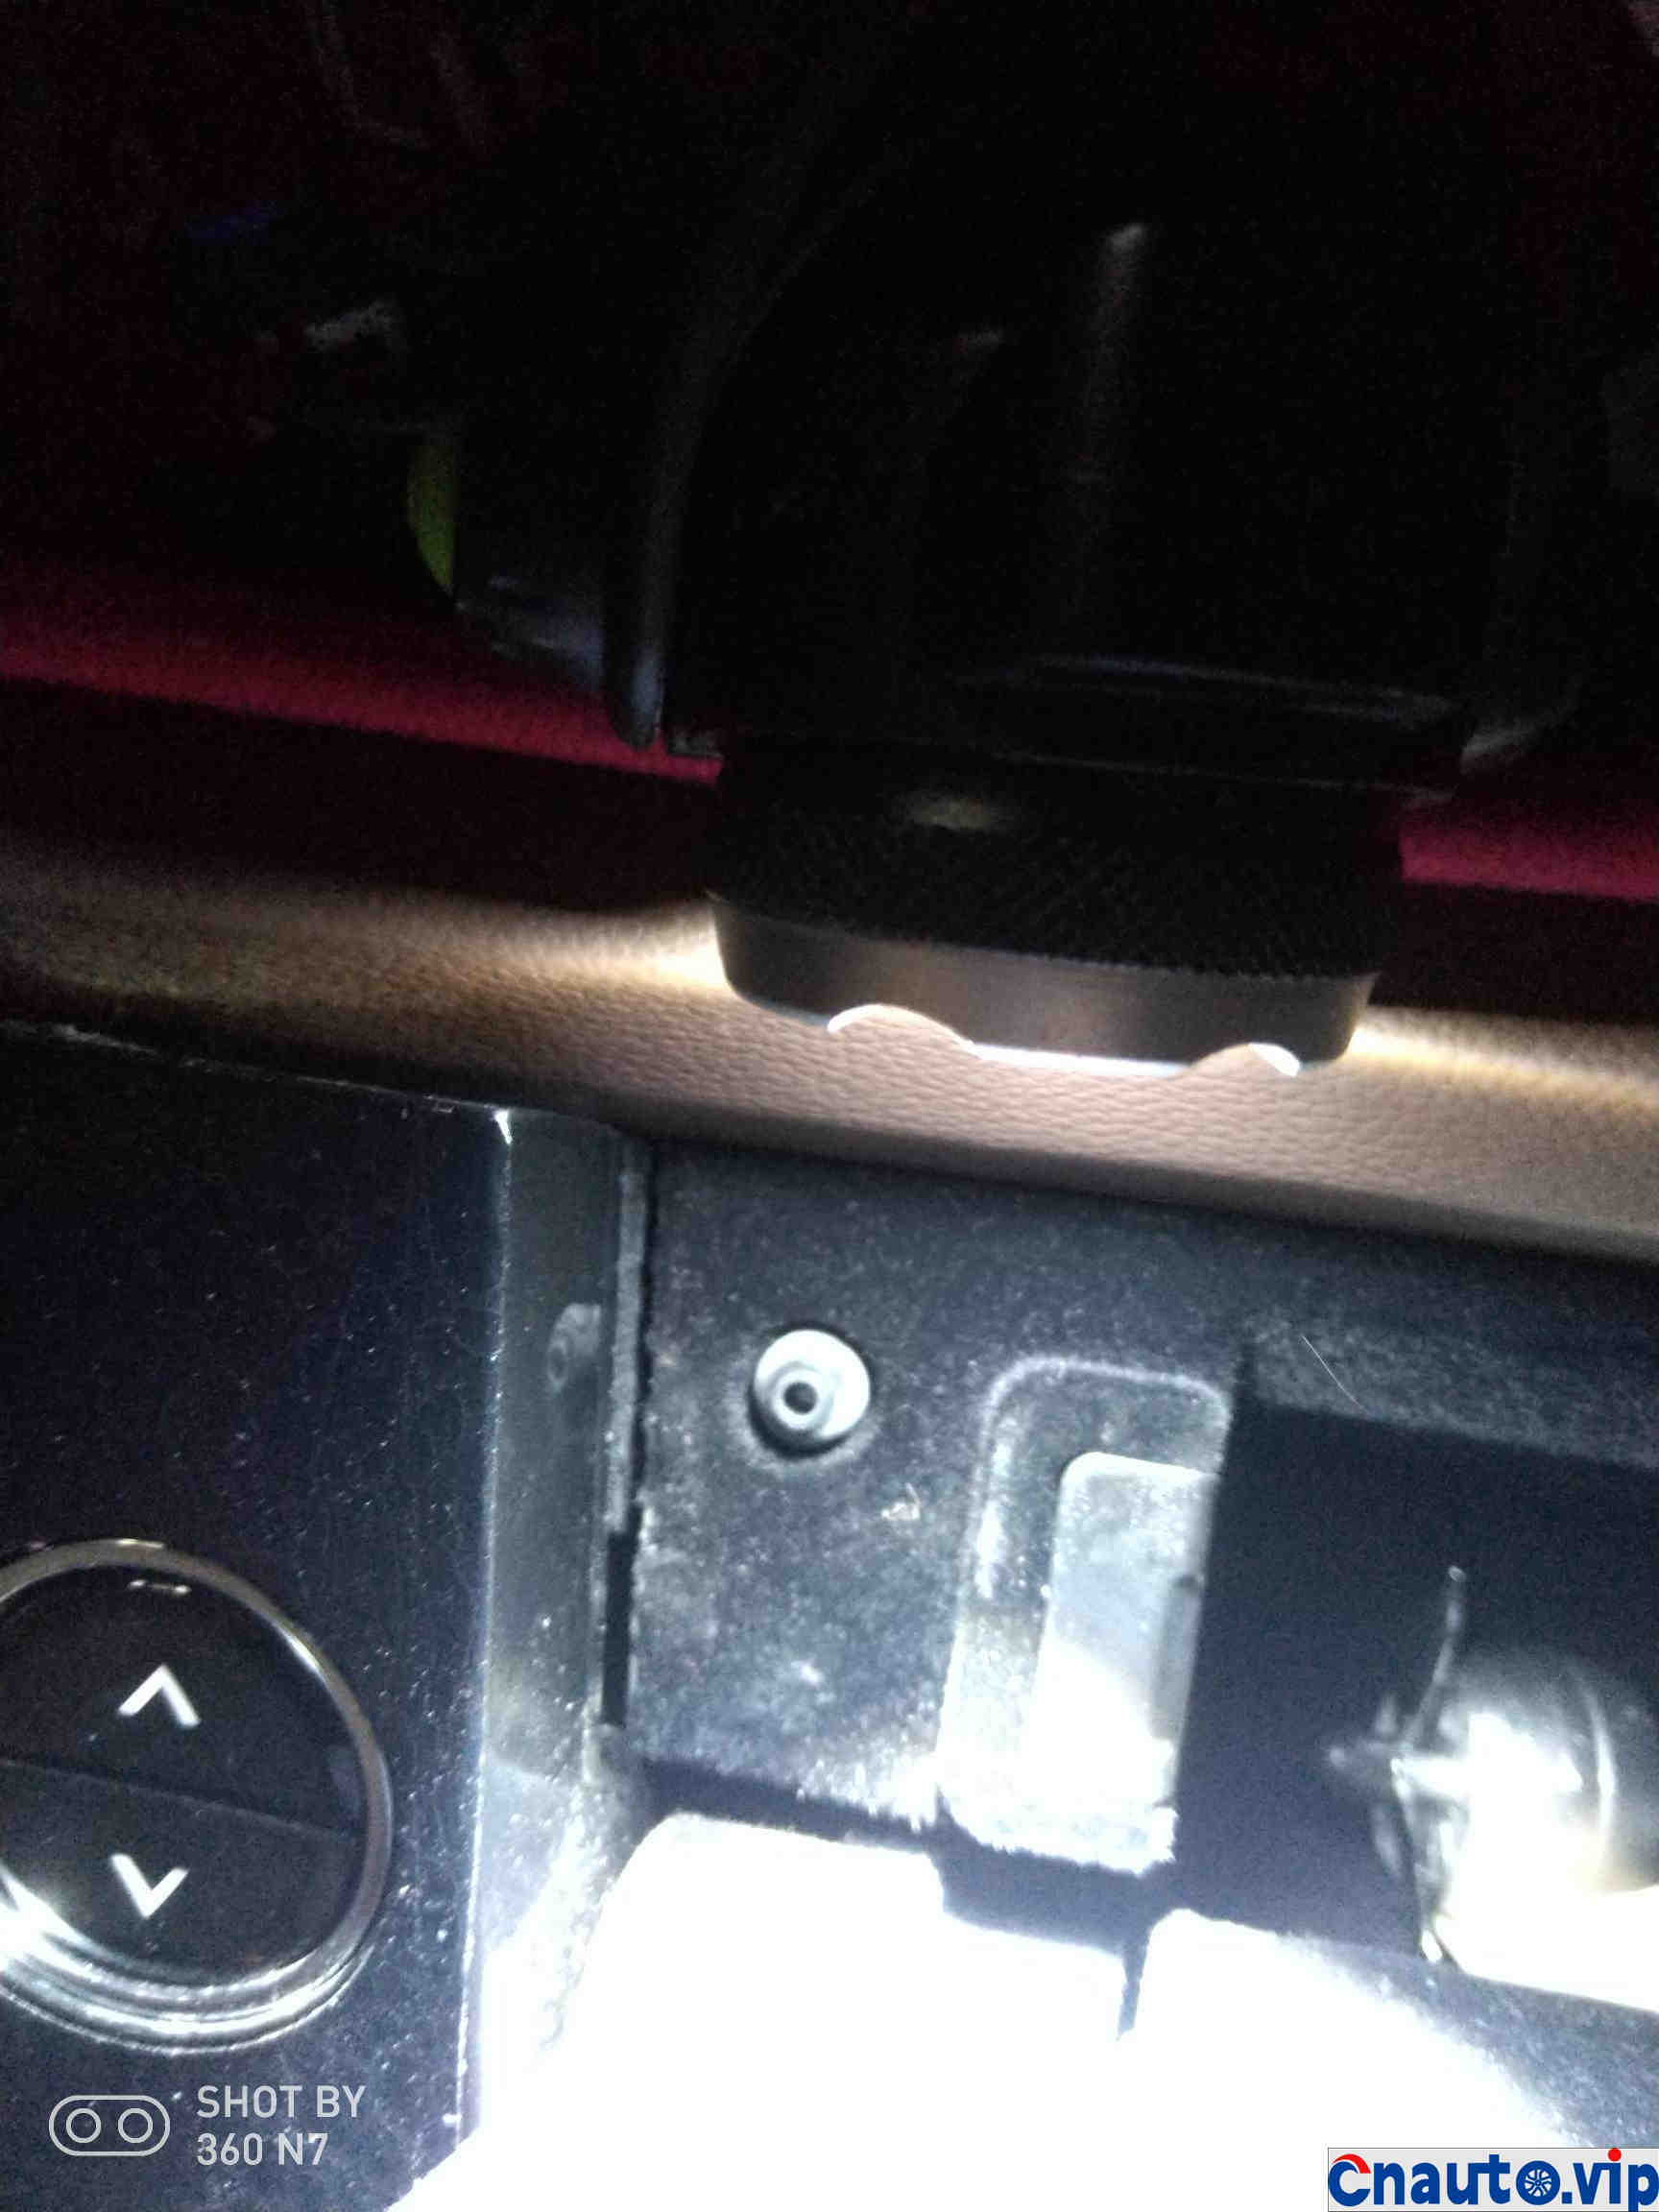
Just pry it like this.
Continue to pry under the face frame.
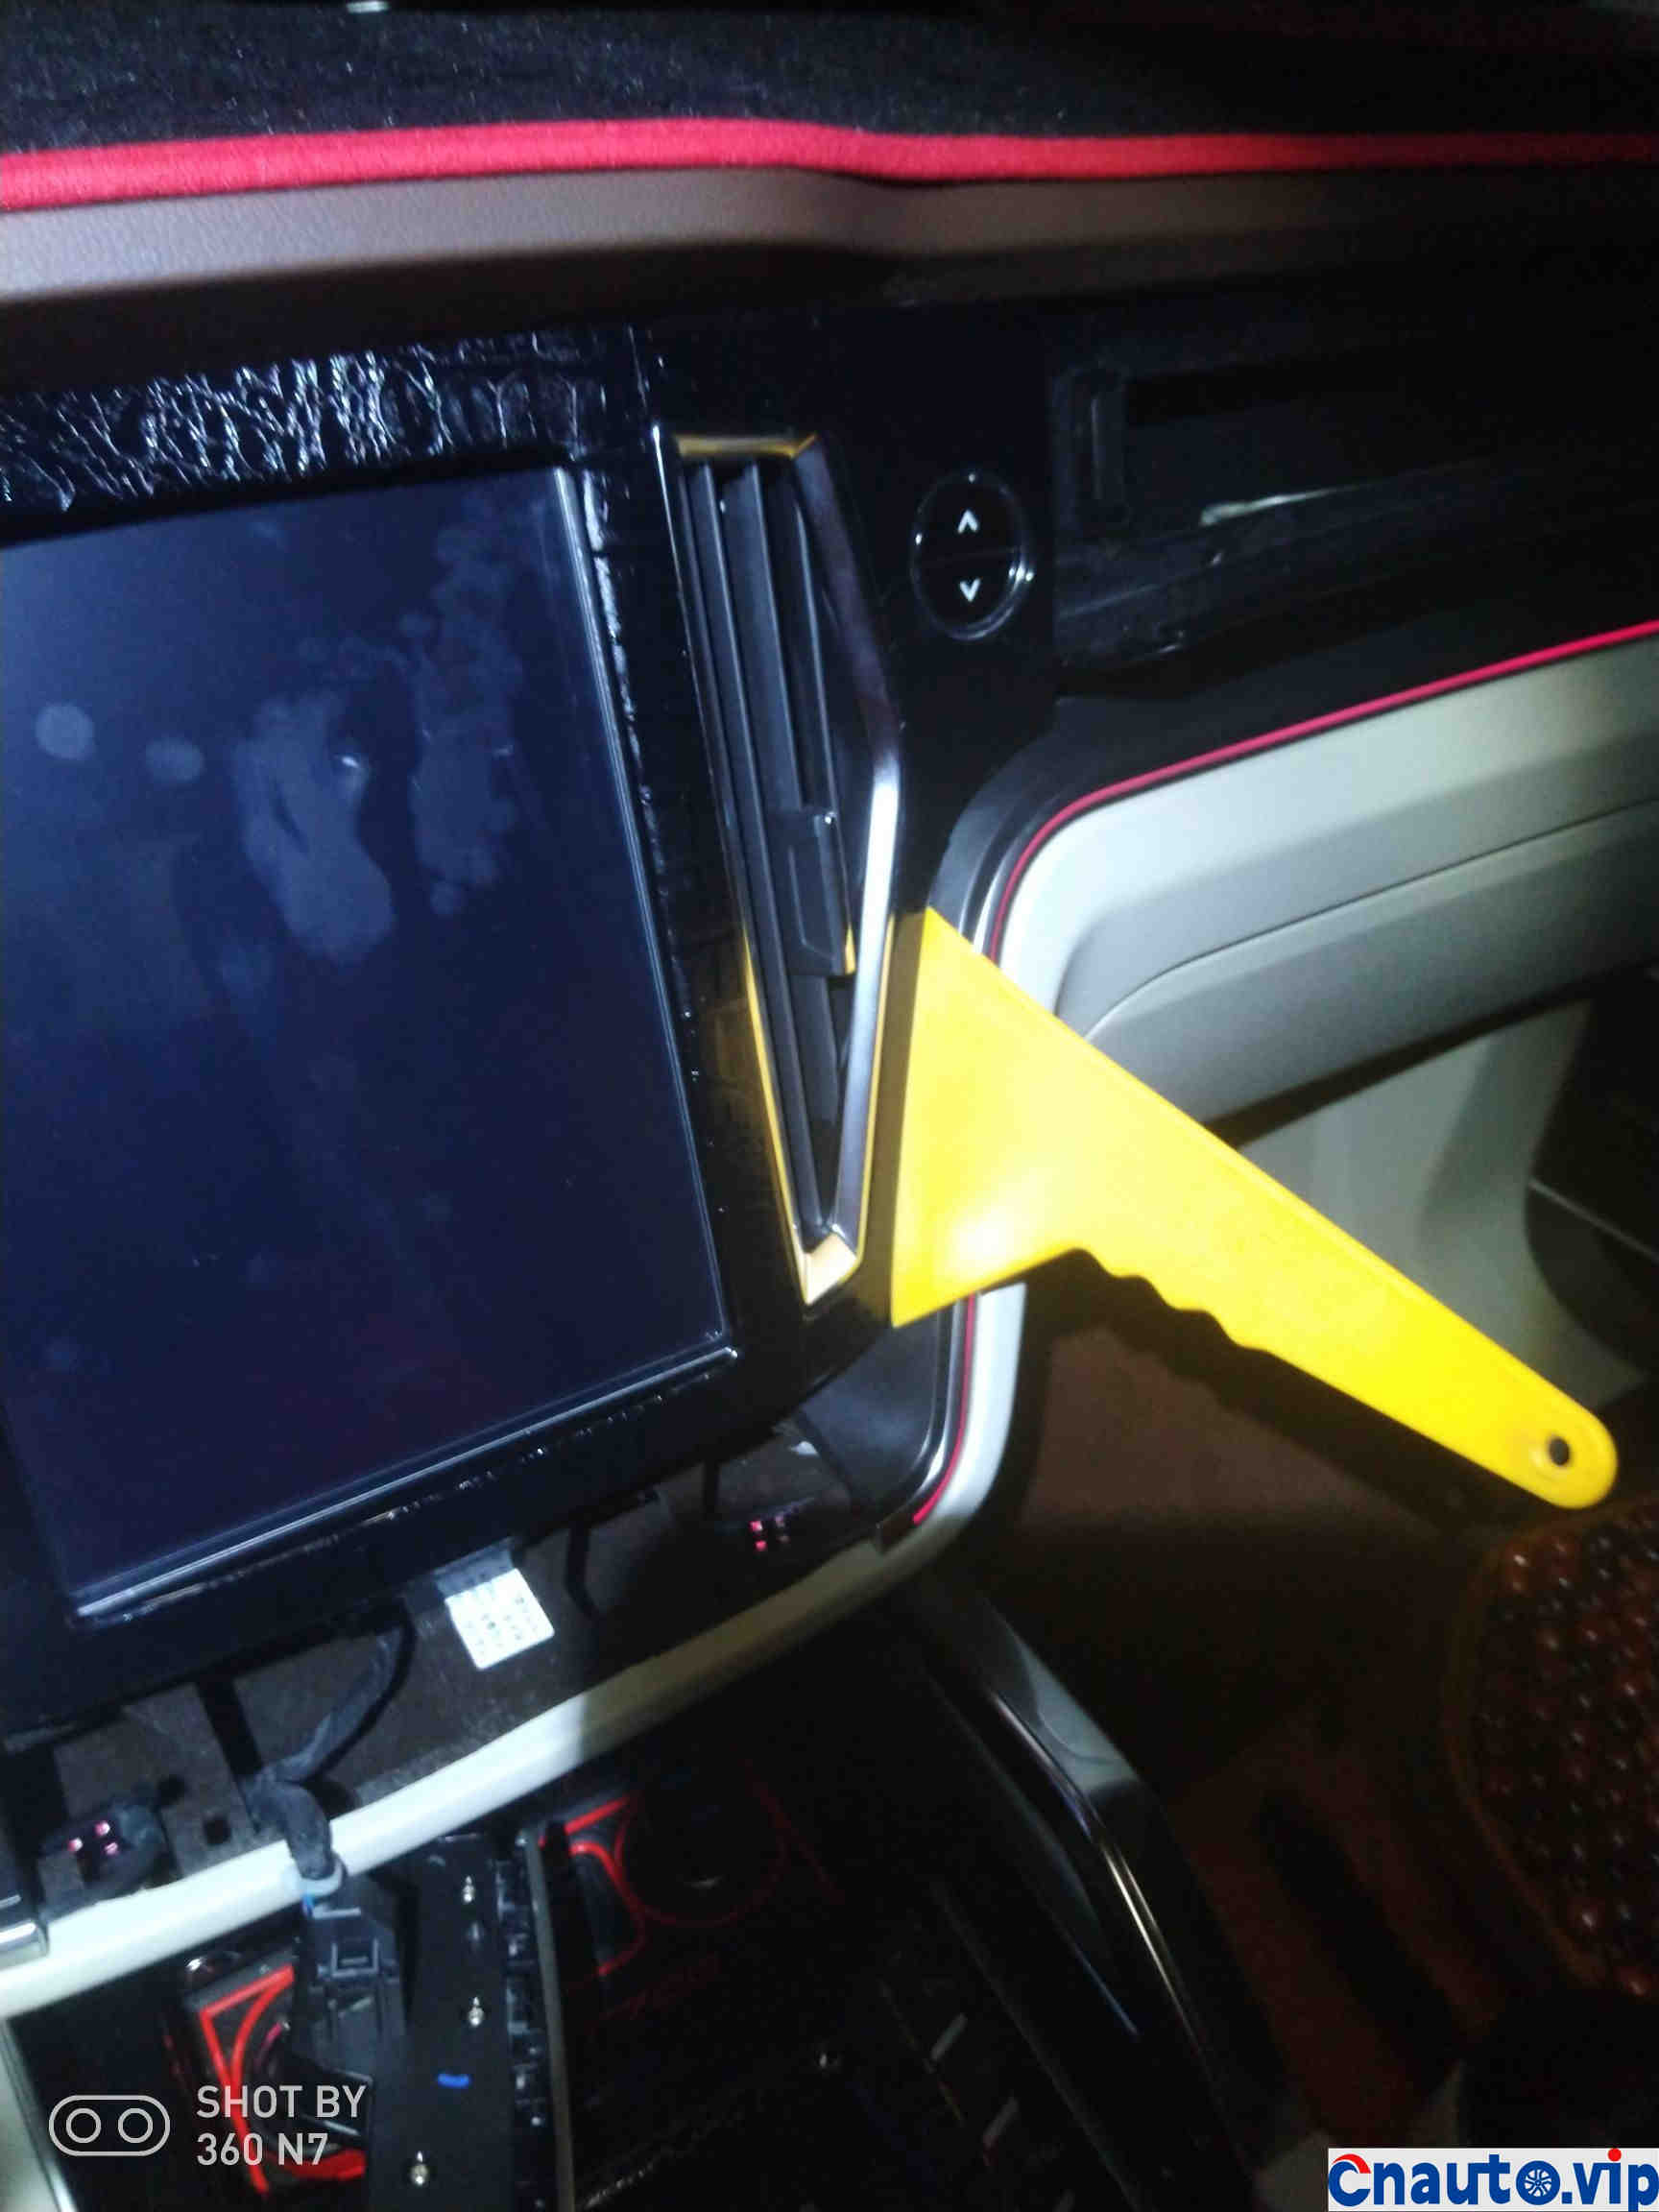
Use this to pry a few times first
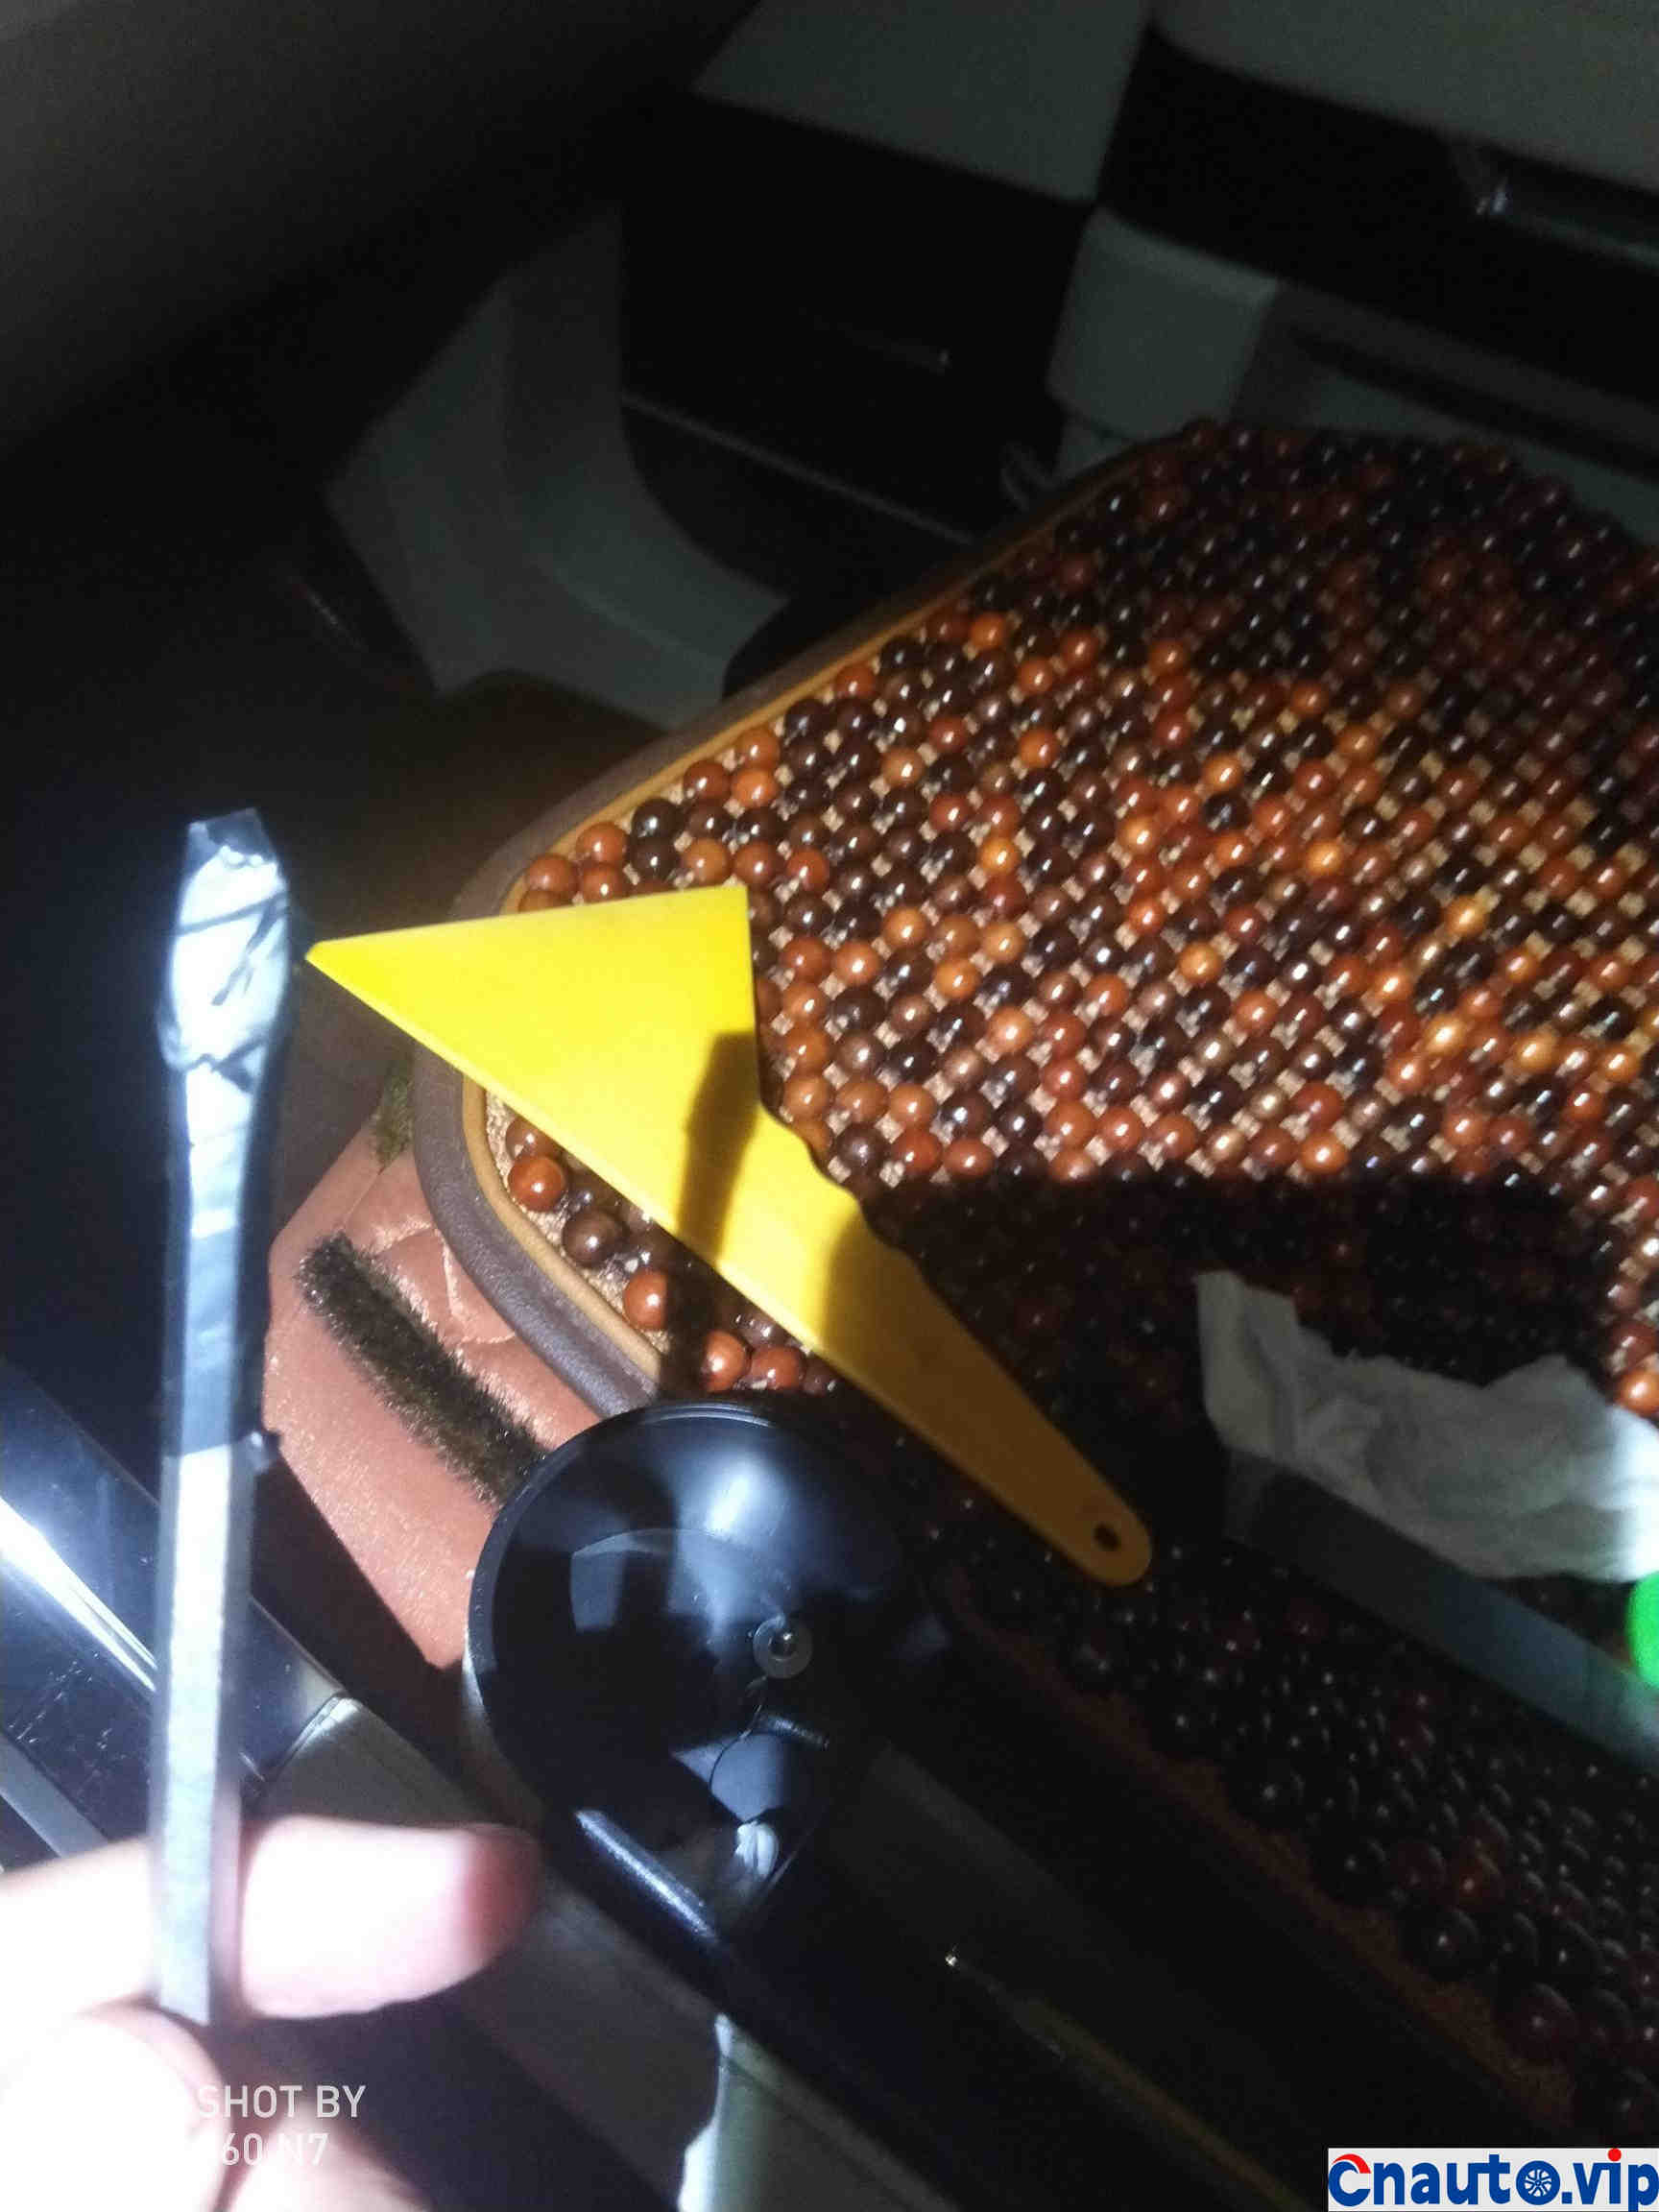
Put some tape on a flat-faced screwdriver and use some force to continue prying.
Both sides need to pry the same way.
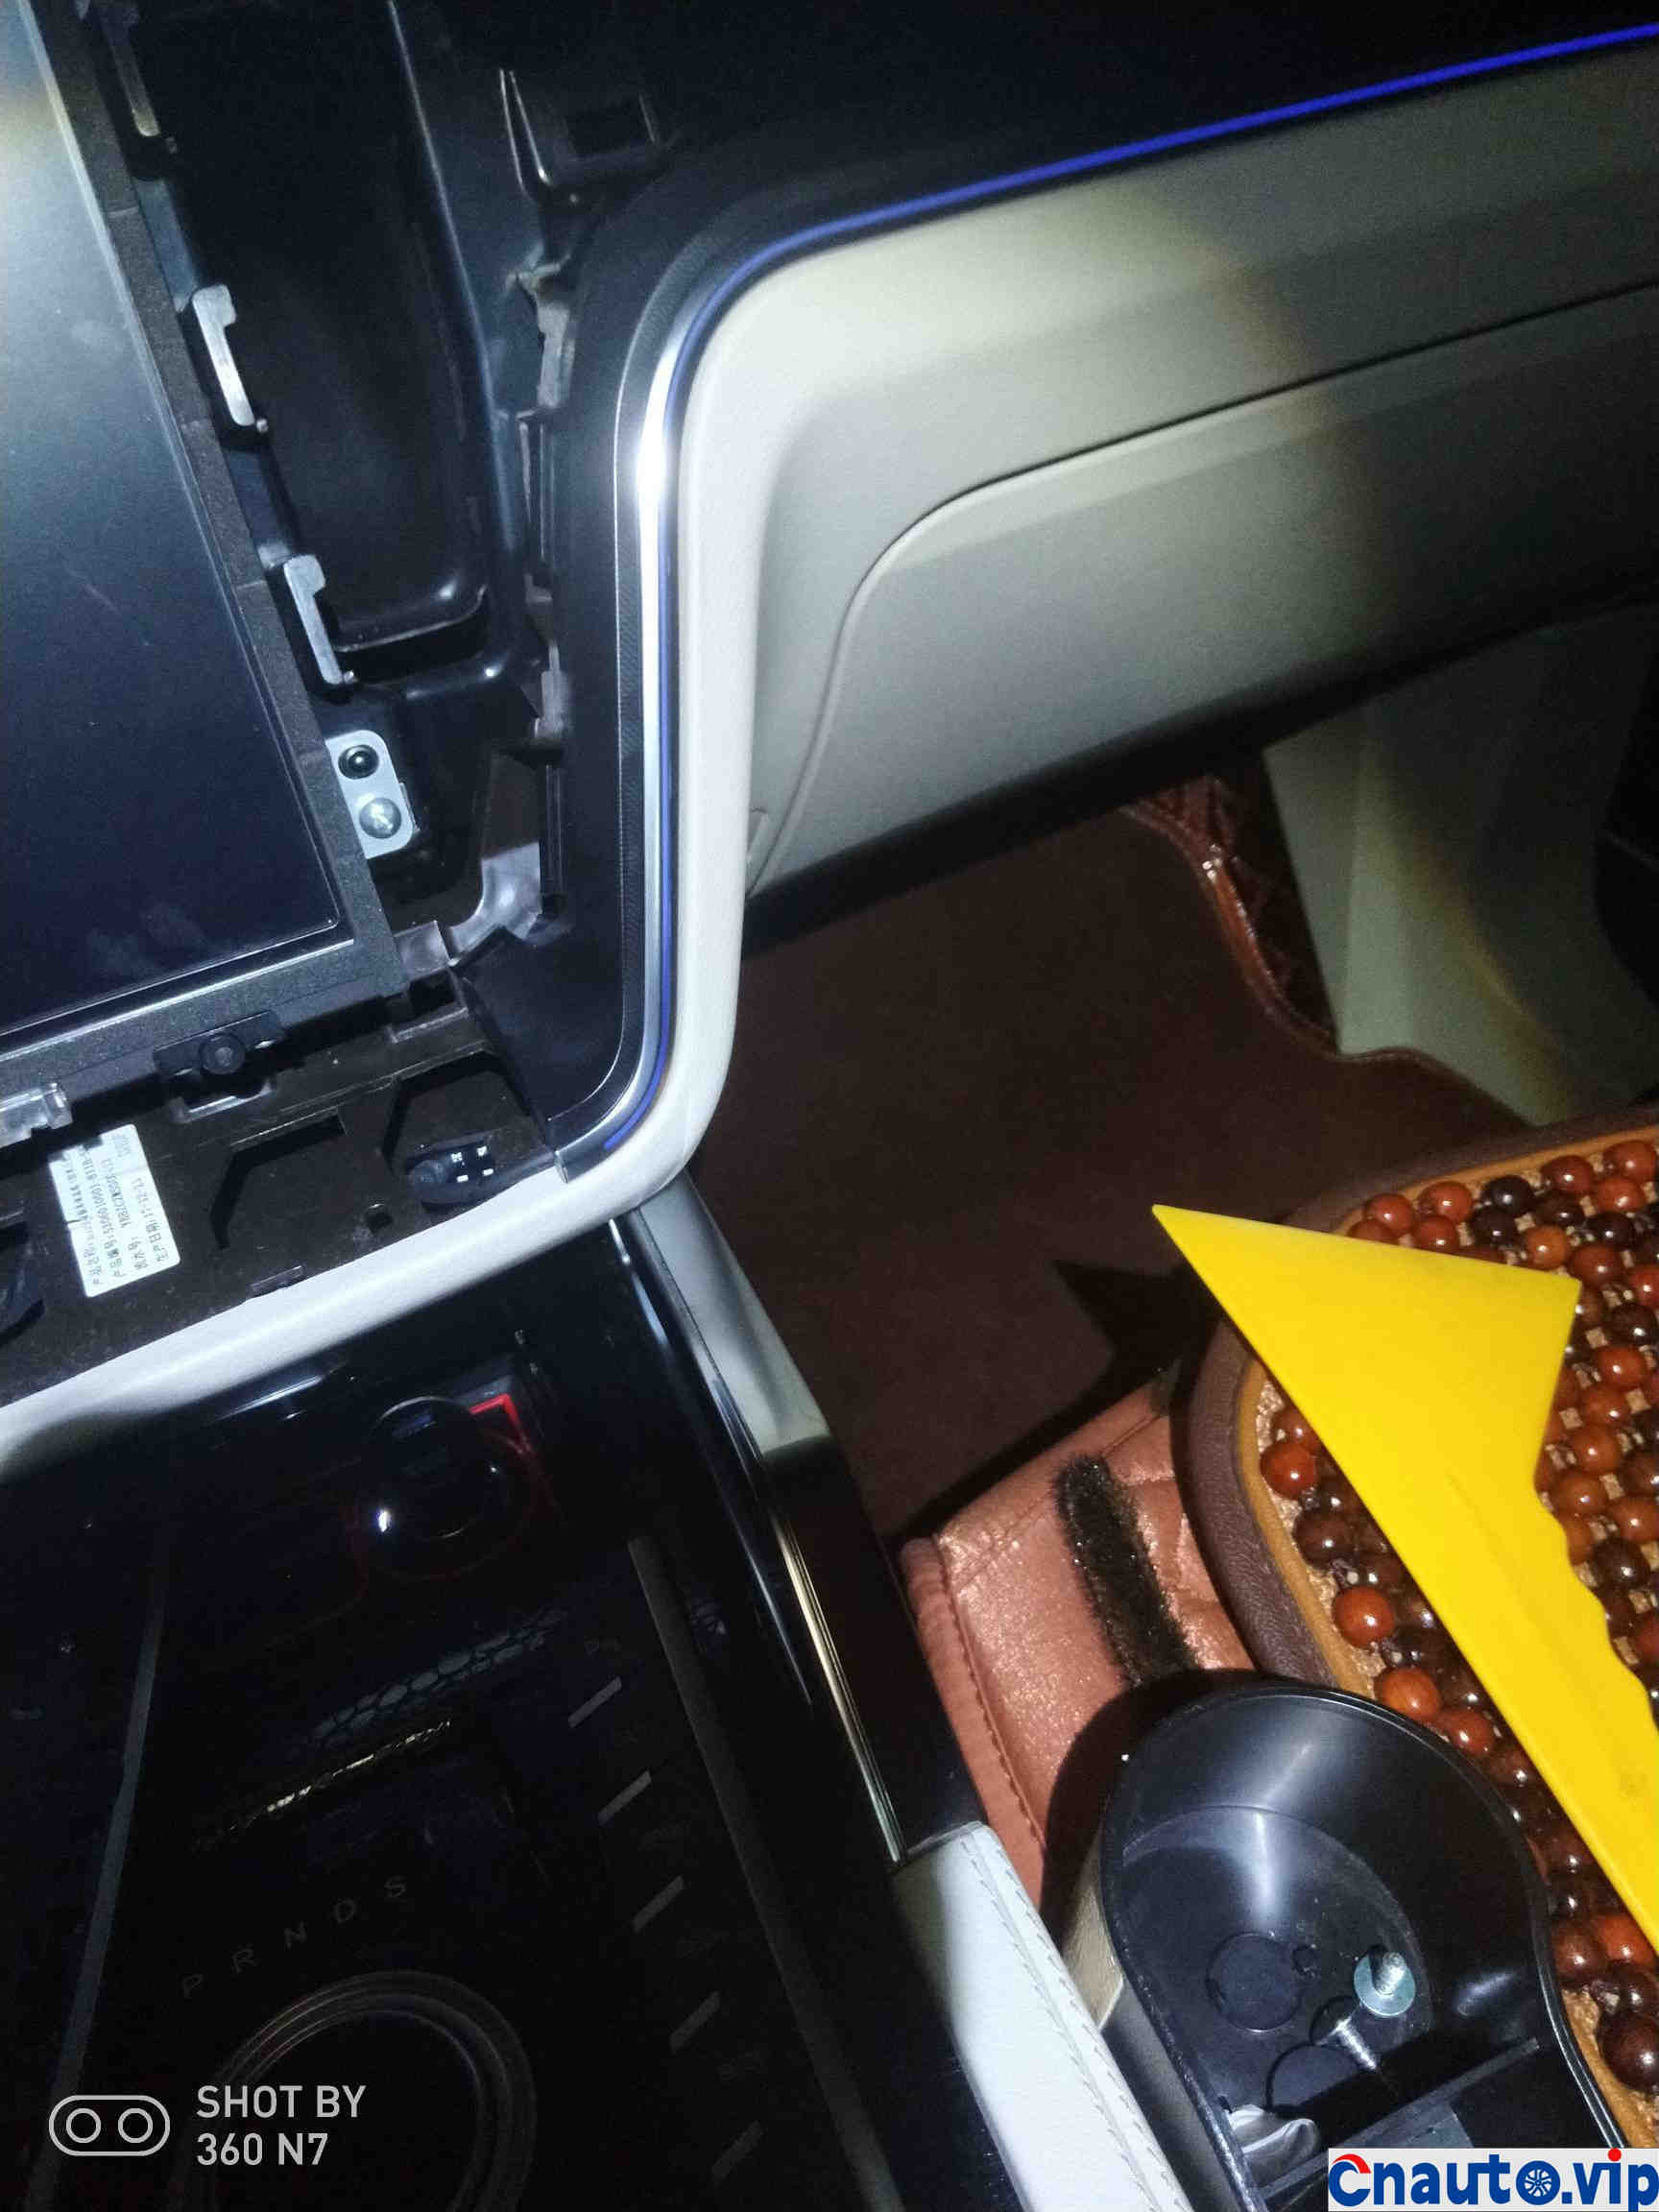
They can be removed after prying both sides. I put them directly on the meter without pulling the cord.
Next, just remove the four screws on the central control screen with a plumx screwdriver.
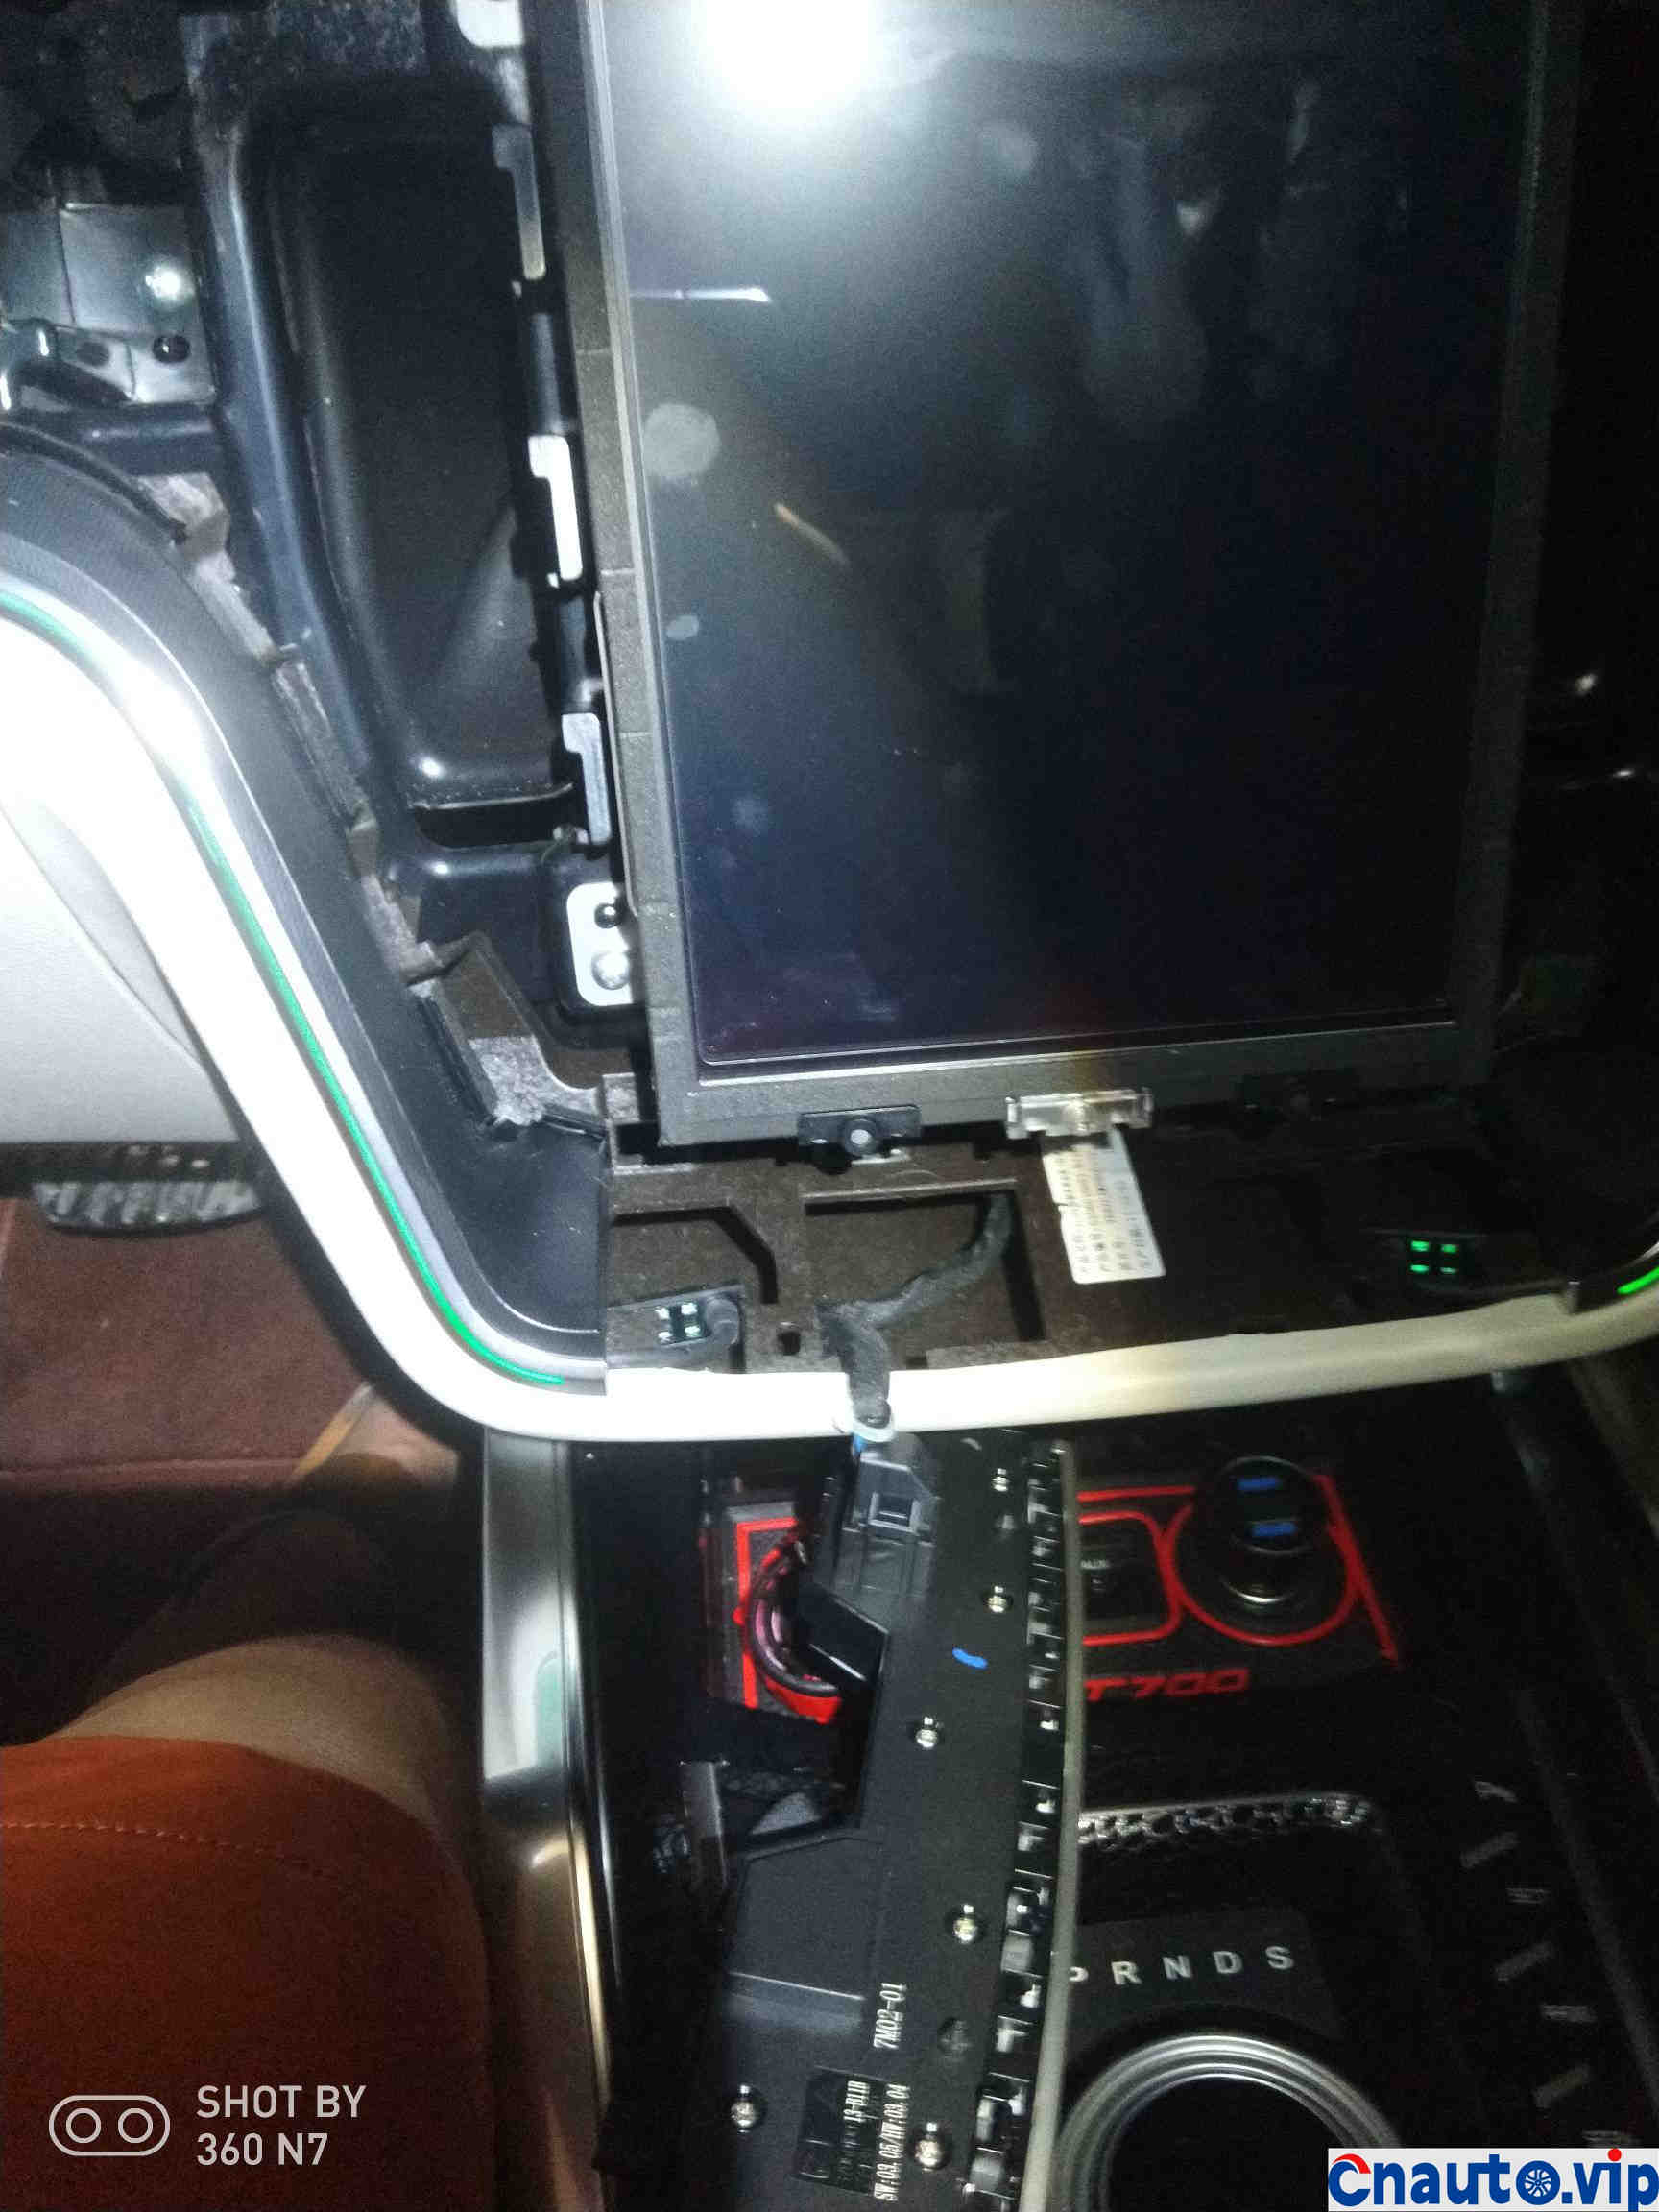
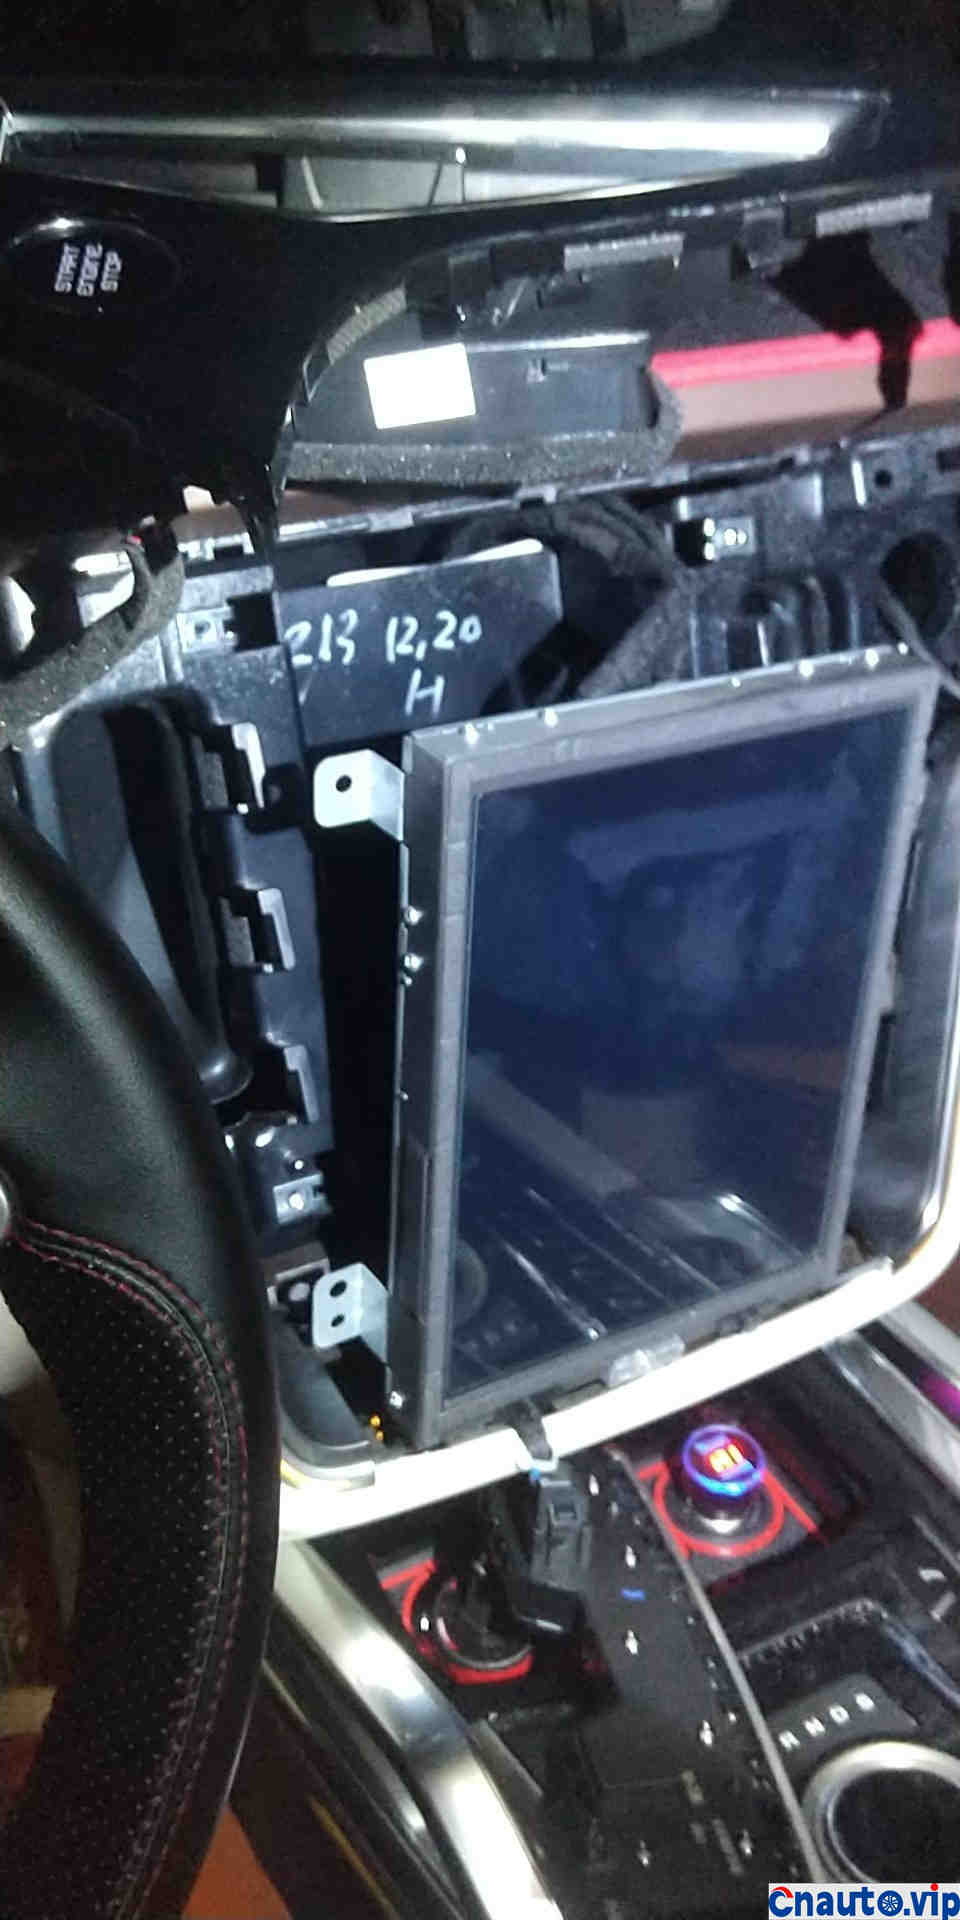
Take it out gently![]()
I worked overtime at night, and the pictures are not very clear. One person uses a flashlight and one takes it apart. I hope everyone likes it, but don’t spray it if you don’t like it.![]()
![]()
Hot Information
Tesla Autopilot and similar automated driving systems get ‘poor’ rating from prominent safety group
 April 1, 2024
 Localization of EV parts without production scalability may not help cut EV price, says President, Amara Raja
 March 27, 2024
JCTSL may turn bus stands into charging points for e-buses
 March 27, 2024
 You May Like

