Try dismantling and cleaning the Touan blower
If there is a gap between heaven and earth, it is just all of a sudden. Unwittingly, my Tuan has been with me for more than 6 years and has traveled 60,000 kilometers. It’s time for big insurance. The air blower has been used for more than 6 years and has never been removed and cleaned. It is time to take it off and clean it. Take it down today and clean it yourself. Here we need to remind friends that we must disassemble and clean the blower carefully and wash the fan patiently to avoid damaging the blower motor and fan. Otherwise, that would be terrible!

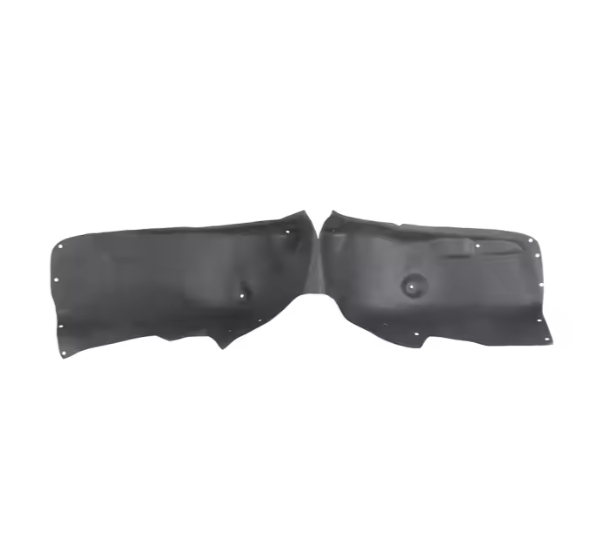
The air blower is located behind the glove box of the co-driver, lying on the back of the co-driver’s foot space, spin out the two plastic bolts that fix the isolators under the glove box, remove the isolators, and you can see the blower.

The glamorous posture makes many friends ponder.
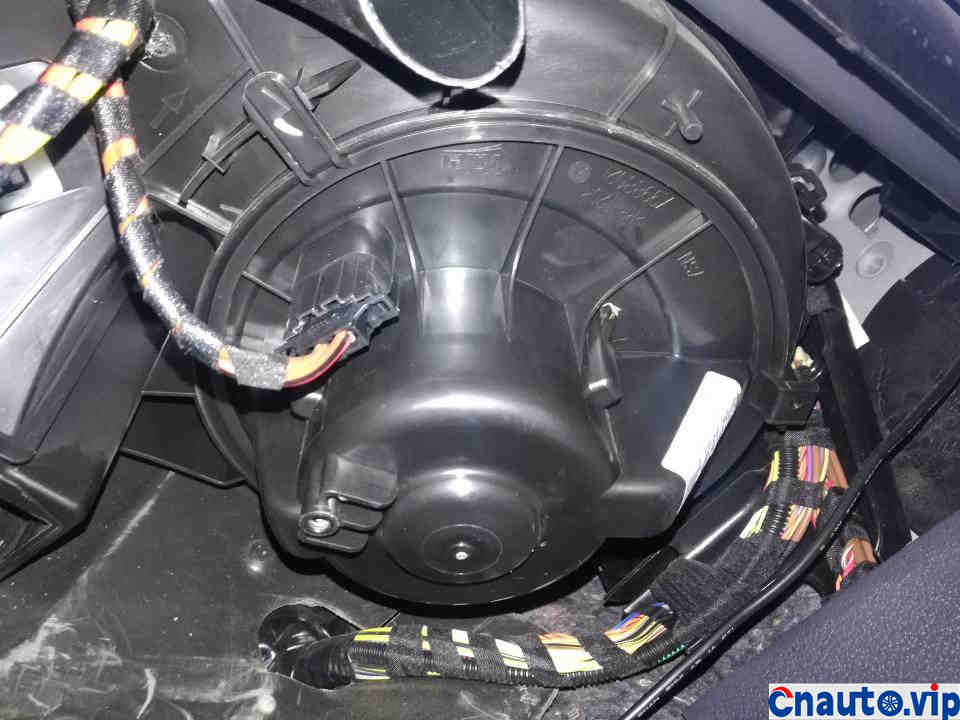
The blower of Tuan adopts rotary buckle structure, no screw fastening, know the method, and it is not difficult to disassemble. The whole process seems very difficult, but in fact, you only need to know the square, everything will become very simple!

To remove the blower, the first step is to remove the blower power plug. Press and hold the plug clips on both sides and remove the plug down.
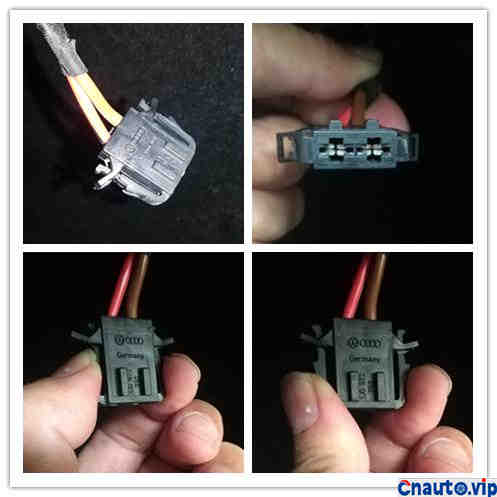
The blower power plug is directional, so you don’t have to worry about mistakes.
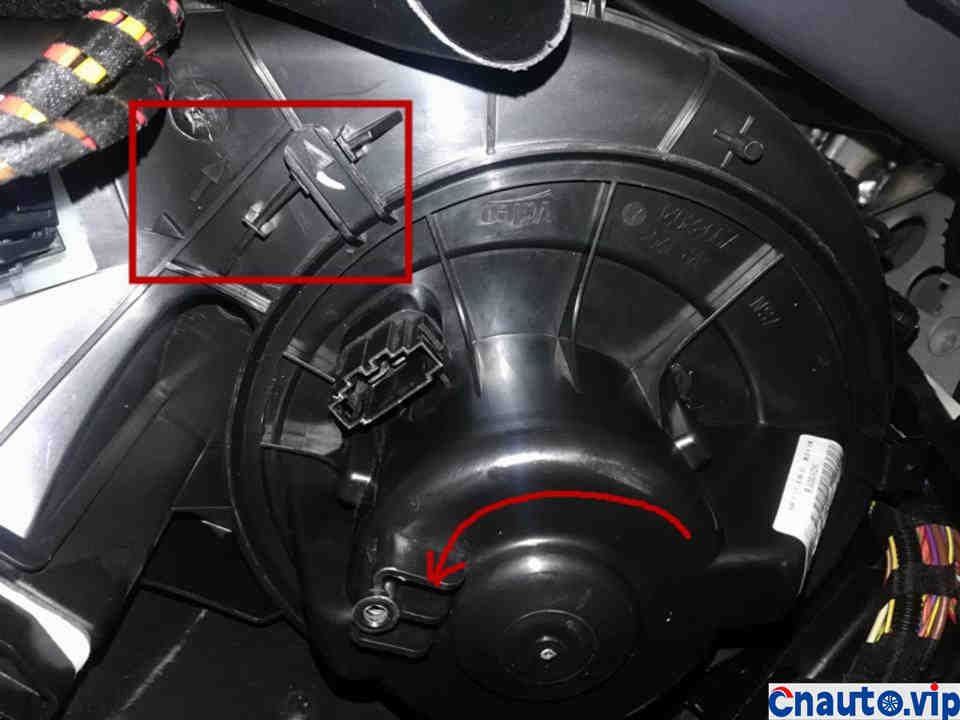
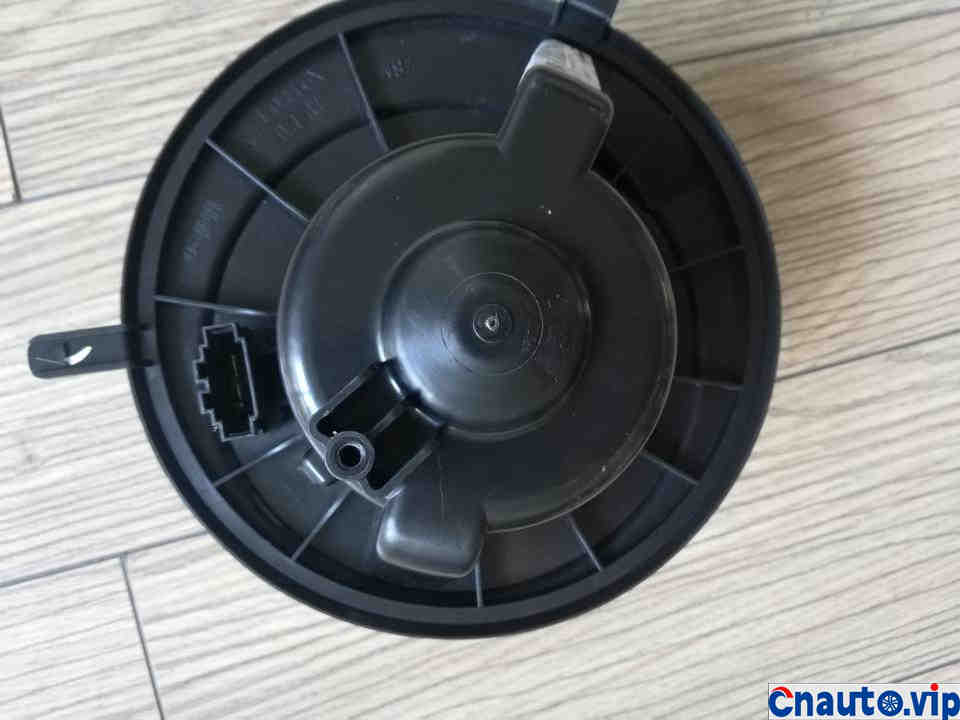
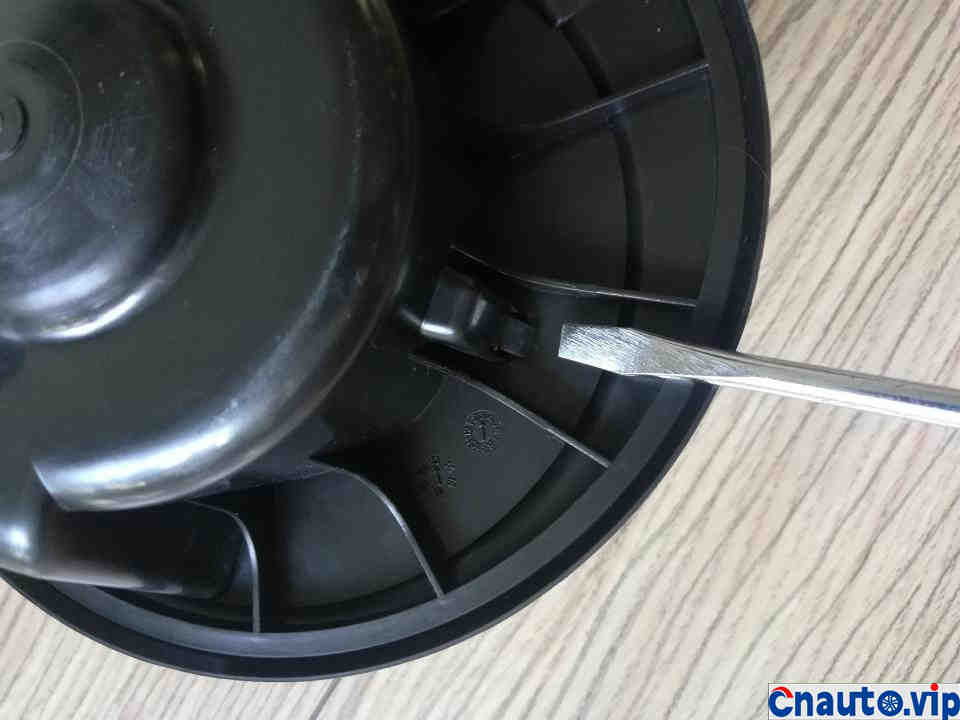
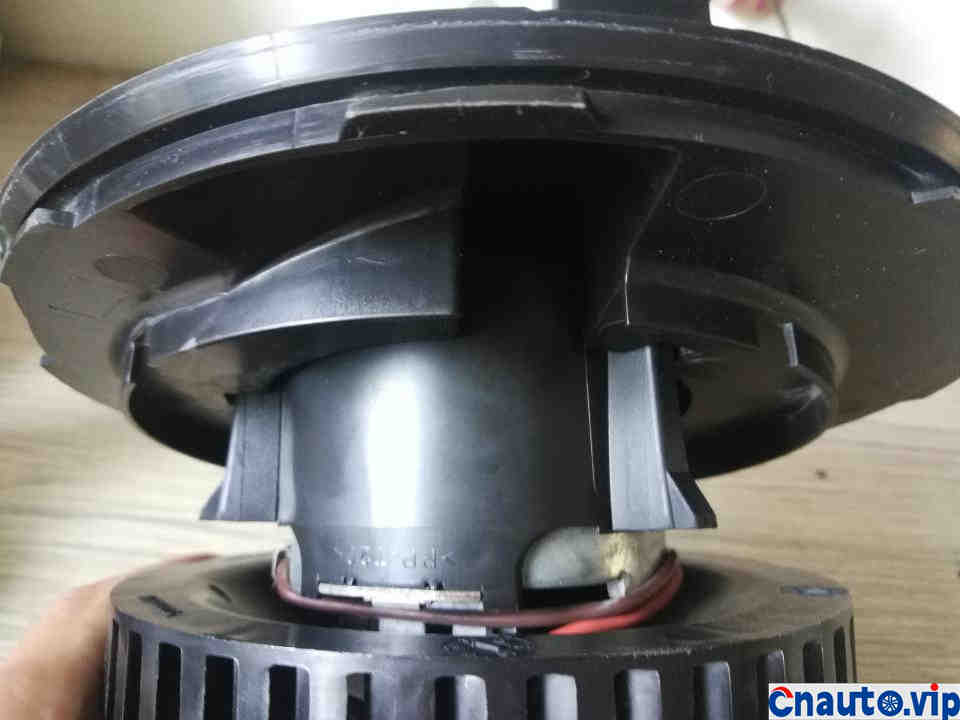
Remove the power plug of the blower, rotate the blower counterclockwise and take it out. Before rotation, you need one hand to gently break the plastic baffle in the stop groove down to clear the stop groove, and the other hand to rotate the blower counterclockwise, to a certain angle, you can take out the blower, otherwise it is ineffective to rotate the blower directly.

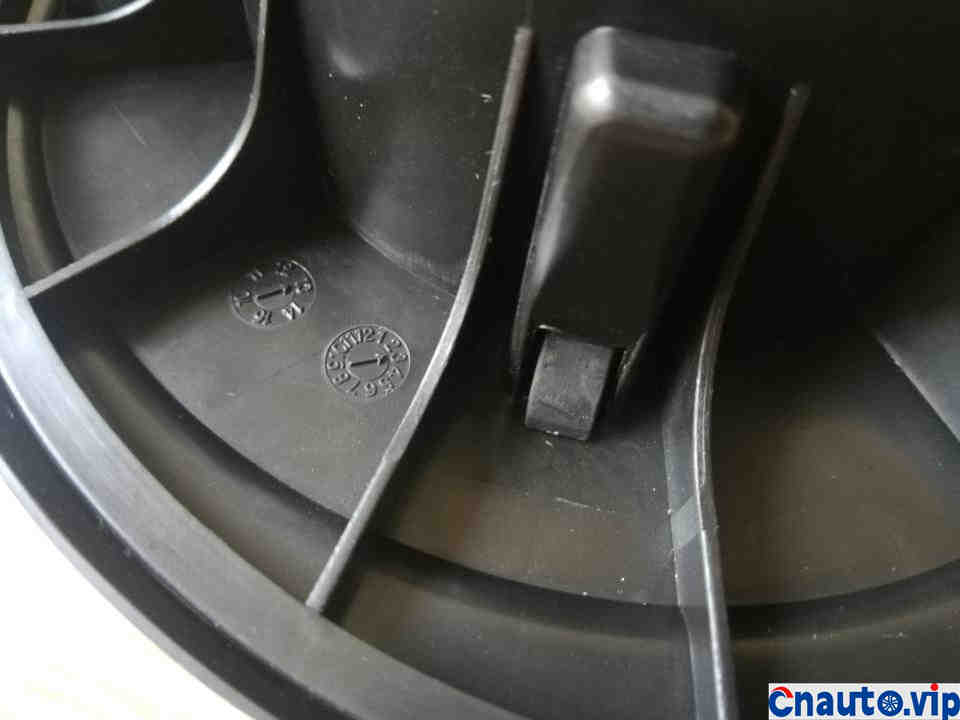
What you need to remind you here is to pay attention to the triangular arrow marked on the outside of the blower, and the current diagram shows the tightening of the blower. Gently break the plastic baffle in the stop groove down around the stop groove and rotate the blower counterclockwise. When the pointing triangular arrow on the baffle is aligned with the triangular arrow marked on the outside of the blower, the blower can be removed.
Removal and installation of the blower, the alignment of the two pointing triangular arrows is a very critical element.

The blower removed also dropped a lot of dust and sundries.
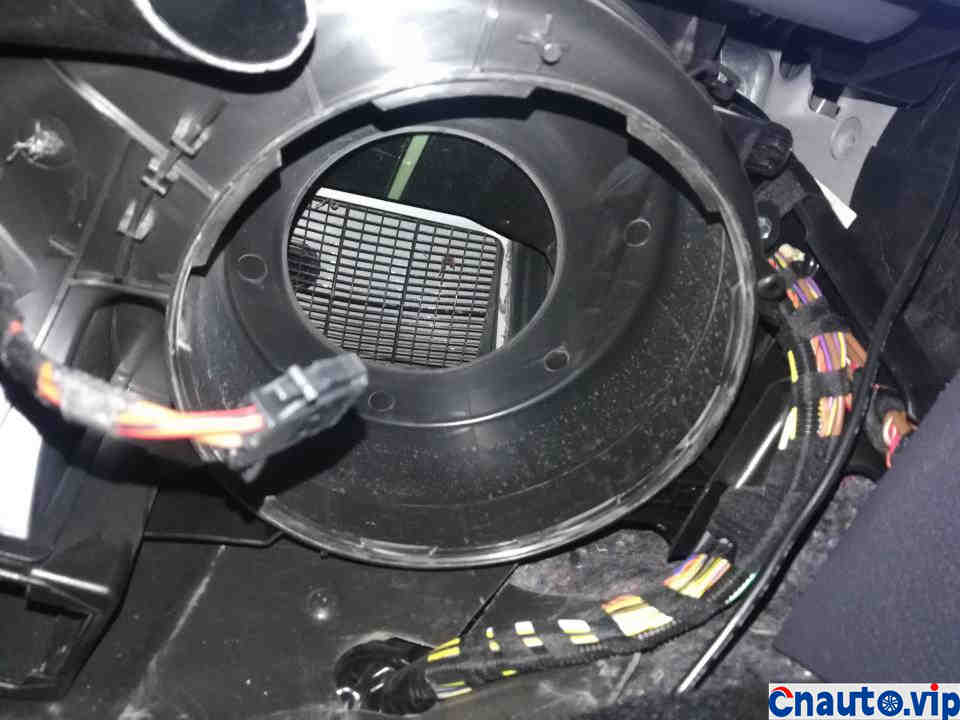
Remove the blower, through the blower port, the grille exposed is the air inlet in the engine compartment. Because there is no external filter element installed, withered leaves are still hanging on the grille.
Judging from the dust marks on the inner wall of the blower mouth, the sundries under the front windshield must be cleaned in time. Once the drain is blocked, the stagnant water can easily be poured in from the intake grille, and the motor circuit of the blower also has a great risk of short circuit.
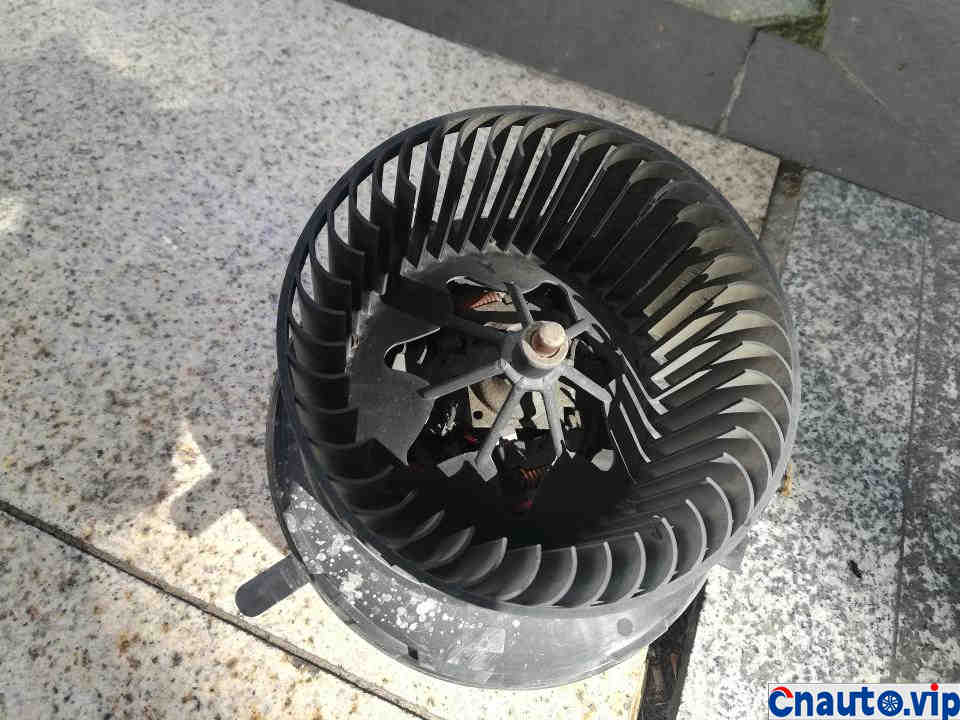
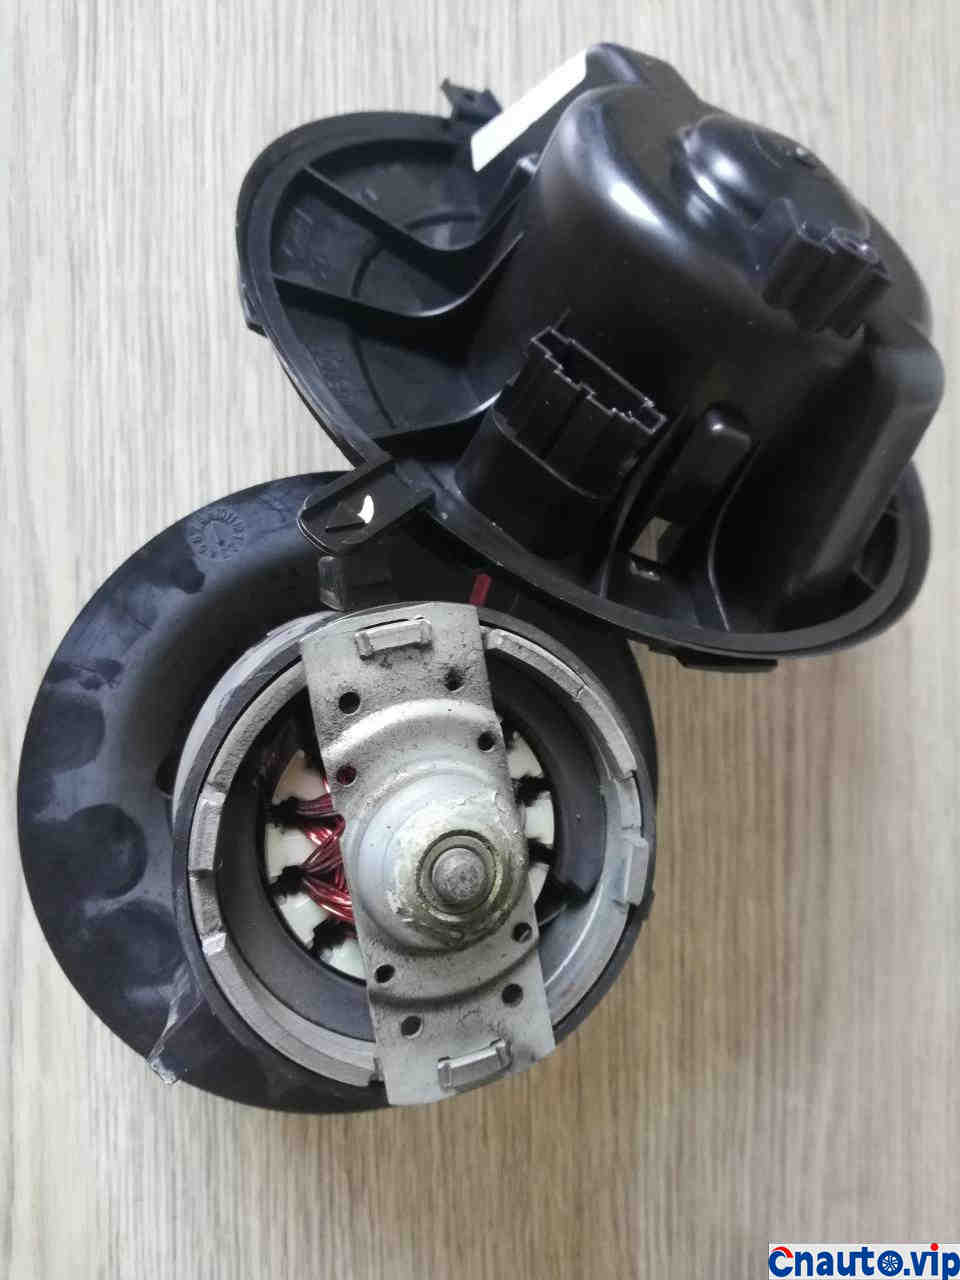
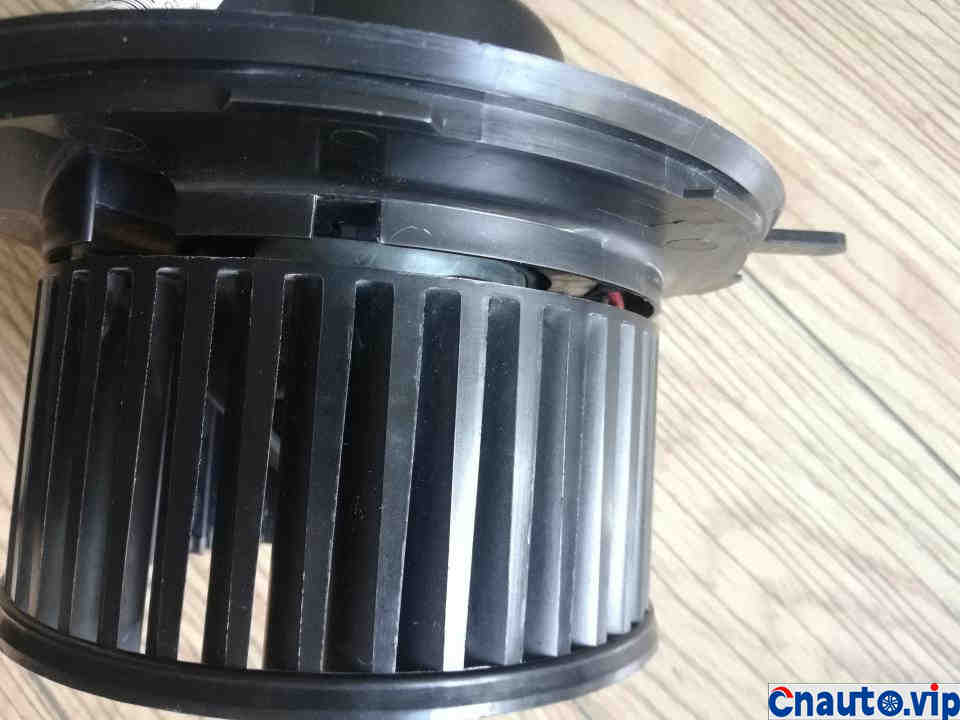
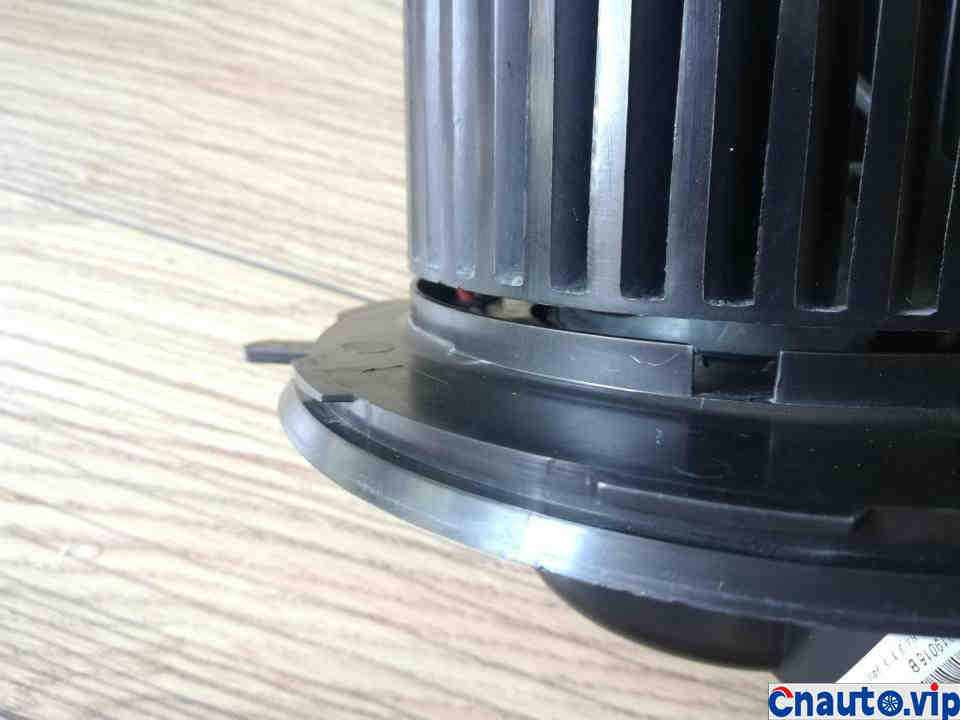
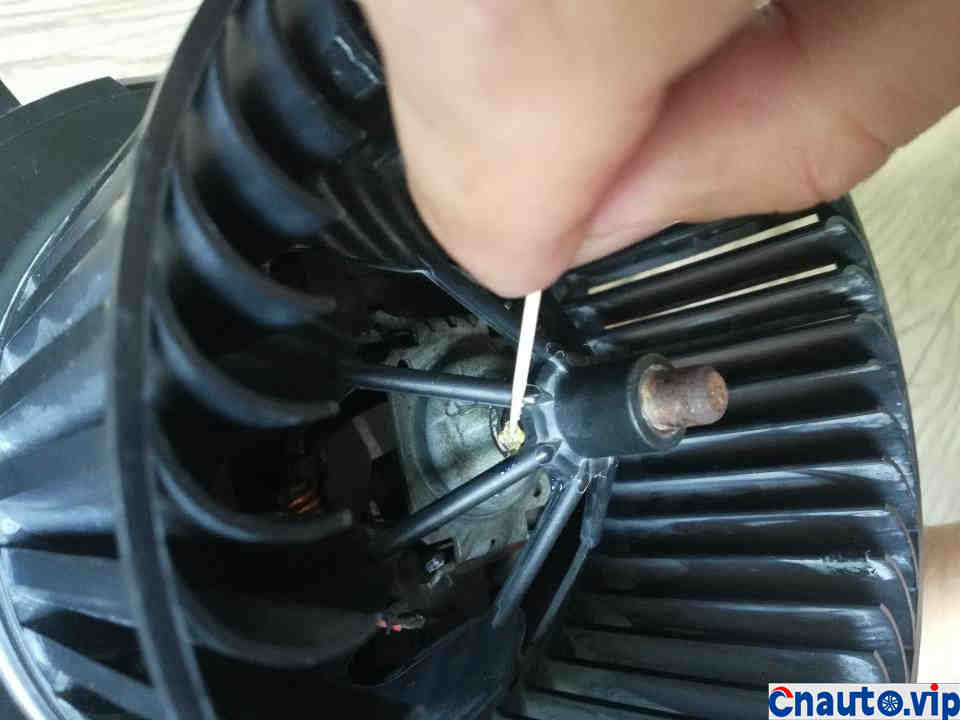
The rotation of the disassembled blower is smooth and there is nothing abnormal, but the bearing is rusted and the fan is covered with thick dust.
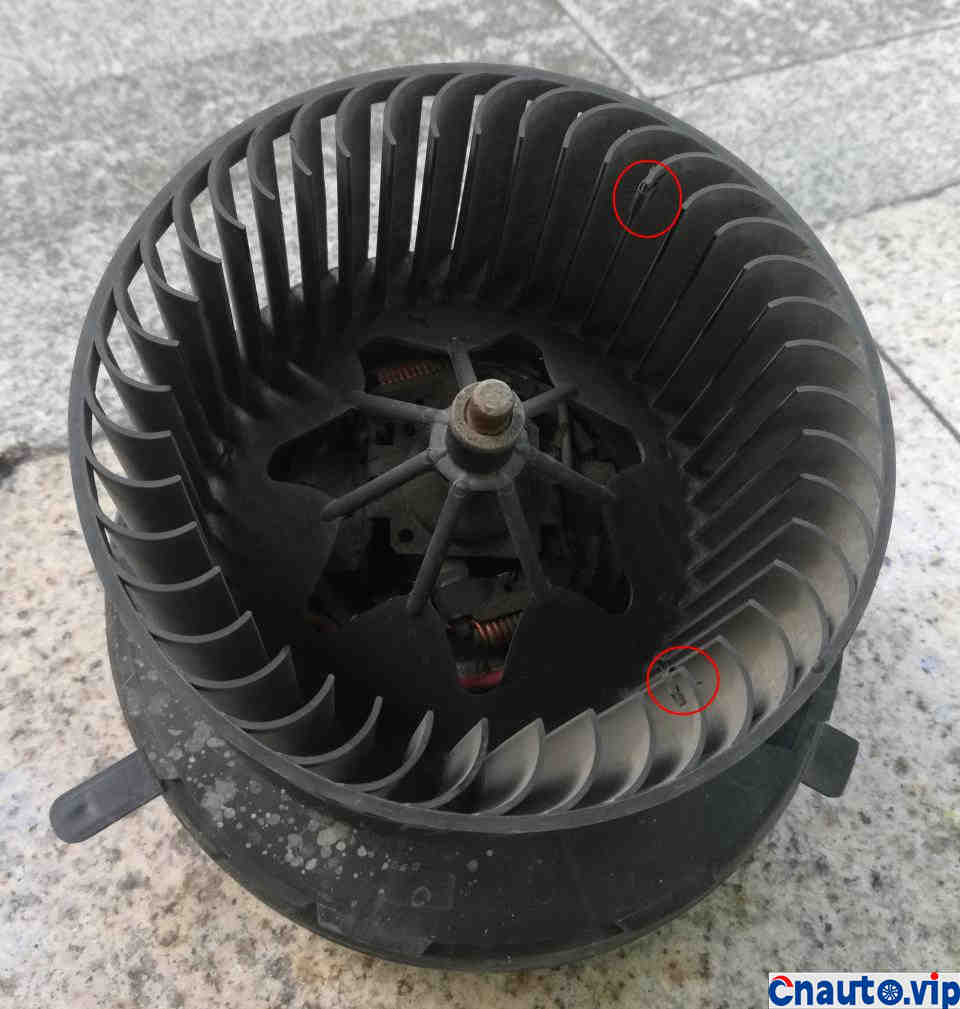
Look carefully and be careful not to move the two balance clips on the blade.

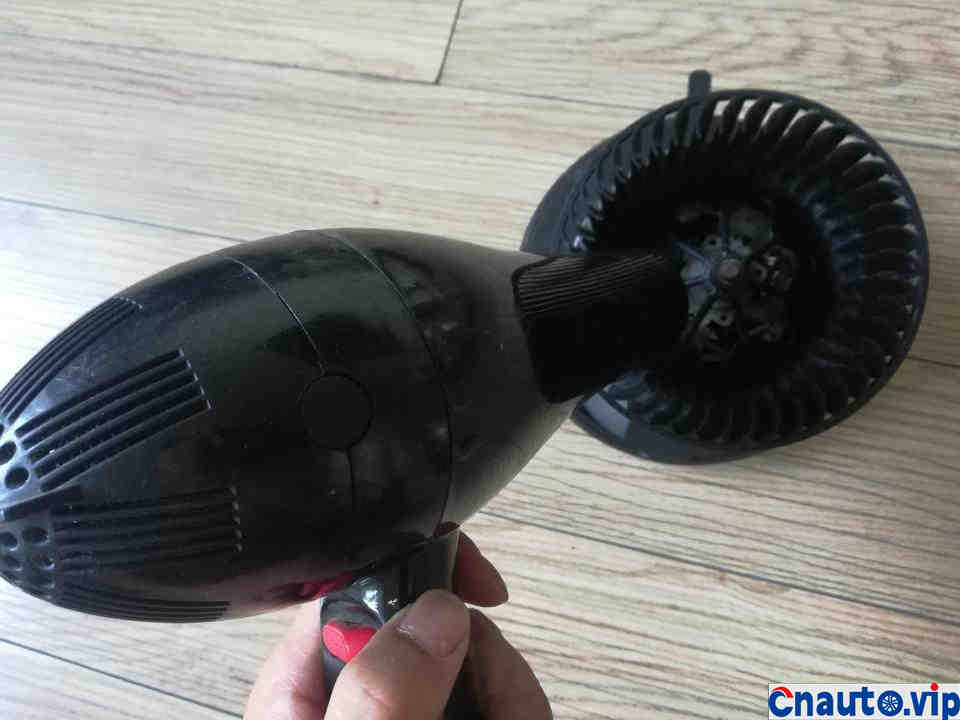
Blow the dust from the blower with a hair dryer.

Foam cleaner was sprayed on the fan. What should be explained here is that the fan should go down quickly to avoid damage to the water intake of the blower motor circuit!
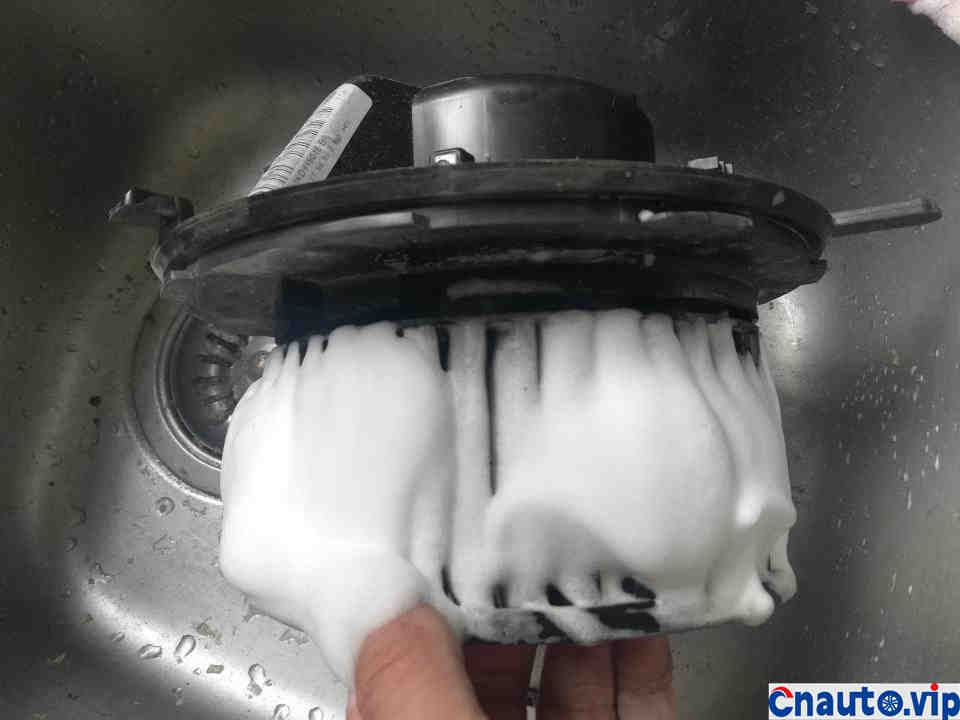
We must pay attention to avoid water damage to the motor line!
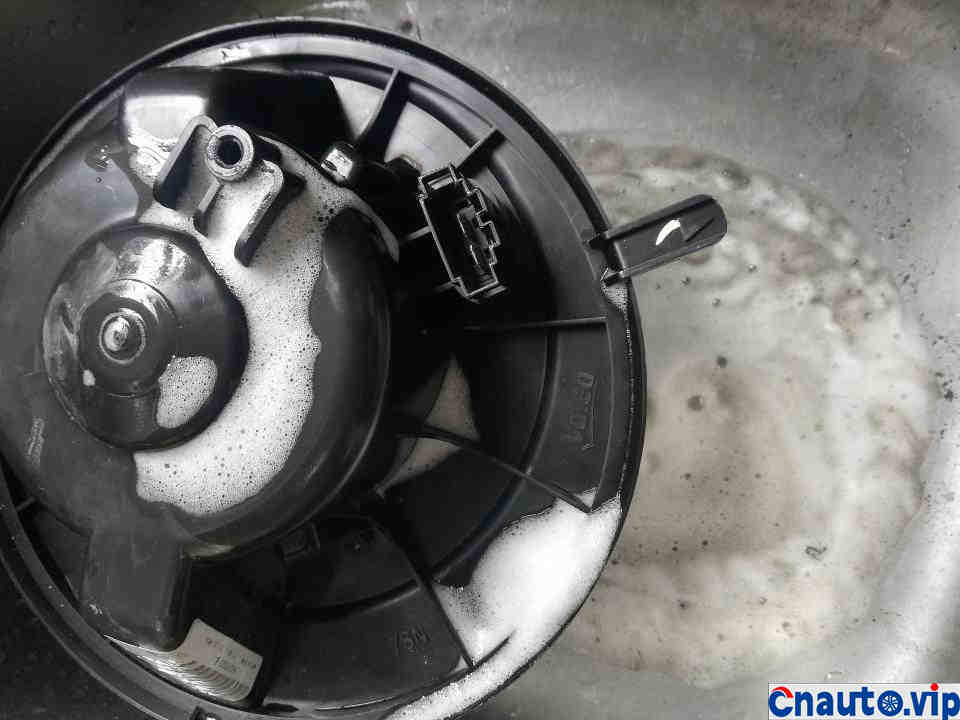
It’s really dirty. After all, it hasn’t been cleaned for six years. Wait a few minutes, wipe the detergent on the blower with a soft cloth and let it sit for a day. This is a patient process.

Use a screwdriver to wrap the rag to clean the inside of the fan. Do not push too hard, be careful to damage the fan, the loss will outweigh the gain. A blower is close to a thousand smaller!
The next day, the blower motor was blown with the hot air of the battery, in order to avoid the short circuit of the motor. The cleaning process is over, don’t worry, there is a lubrication process!
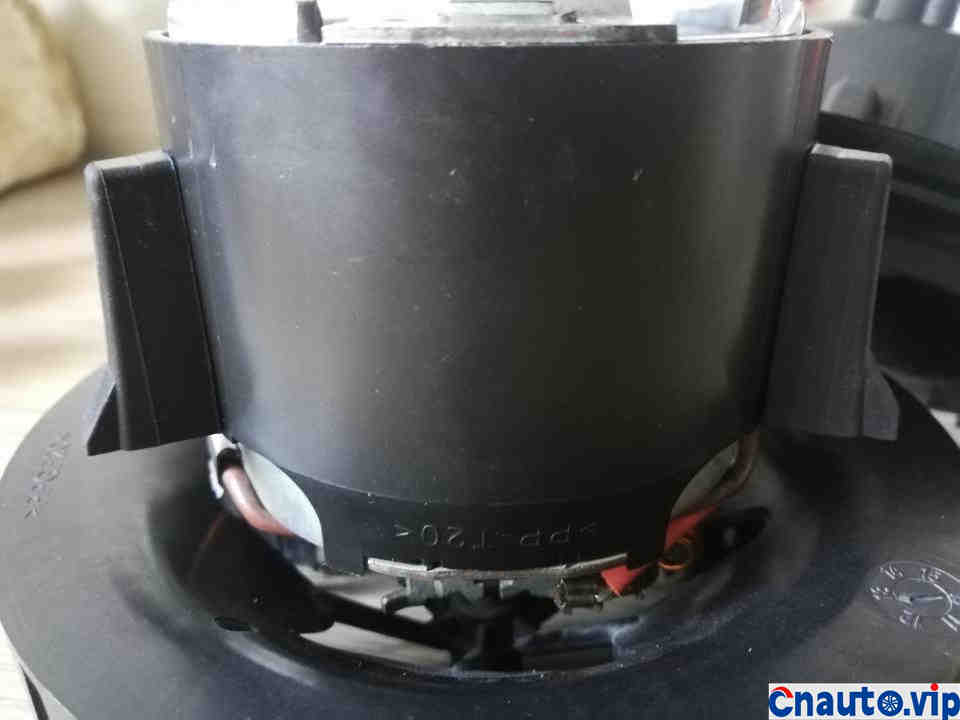
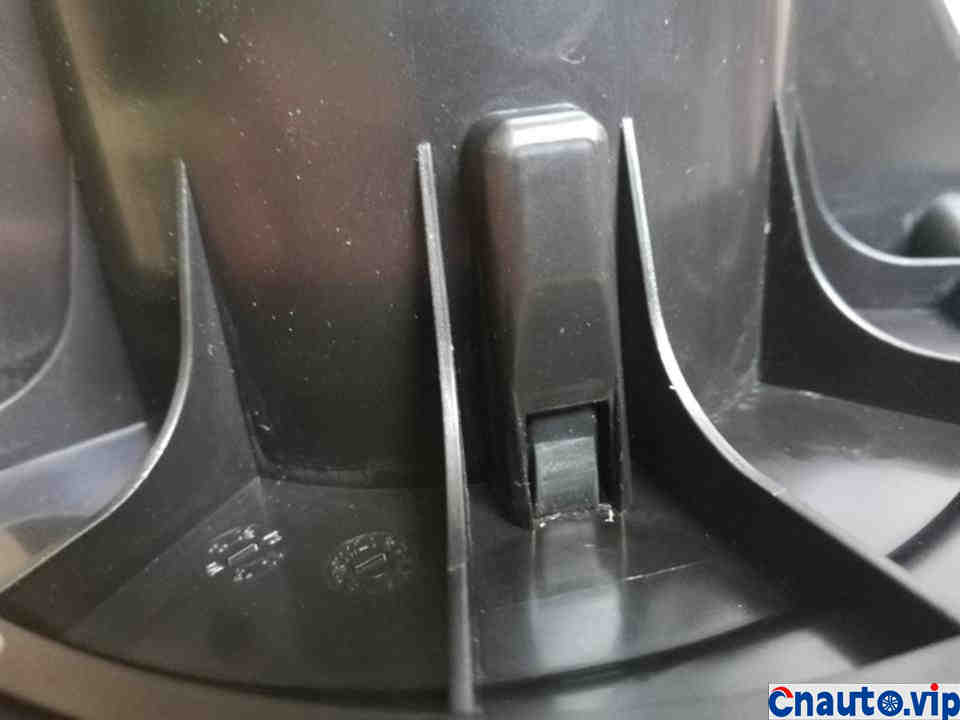
There are three rubber clips on the back of the blower to fix the back cover of the blower.
There are three holes in the back cover, and the rubber card is stuck here. Push the three rubber cards inward with a word screwdriver in turn, and the back cover can be opened when the rubber card exits.

Three rubber clip grooves on the back cover and rubber clips on the blower.

Clean the back cover, too.

Lubricate the bearings with a little butter.

Three rubber clips can be removed. The rubber card is small on top and large on bottom, and the big end is stuck at the opening of the slot of the back cover card.

Clean the rubber card and install it on the blower.
Align the card slot on the rear cover to install and restore.
It is easy to disassemble, but there is a problem when it is installed. Because the structure of the card plus the elasticity of the rubber, the rubber card can not be pushed to the end and the card is not in place.
There is a big gap, so it certainly won’t work!
Rubber card card is not in place
Or use a word screwdriver to push the rubber card upward so that the rubber card is in place.
Finally, the bearing at the blade is also smeared with a small amount of butter.

How’s it going? It’s pretty clean!
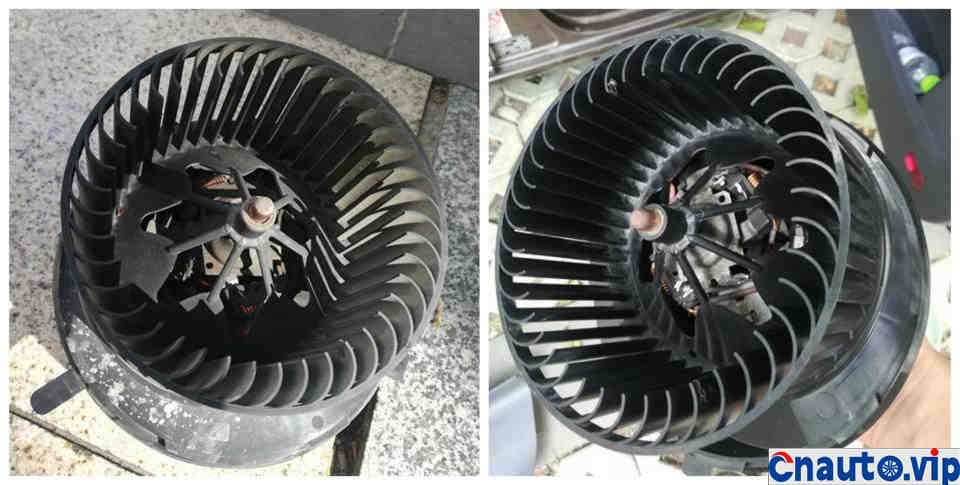
Compare and see the effect.

Don’t forget to clean the inner wall of the blower mouth!

If you reinstall the blower, you won’t talk about it. But when you put it back, remember to handle it gently and pay attention to the direction.
Power on the test machine, everything is fine!

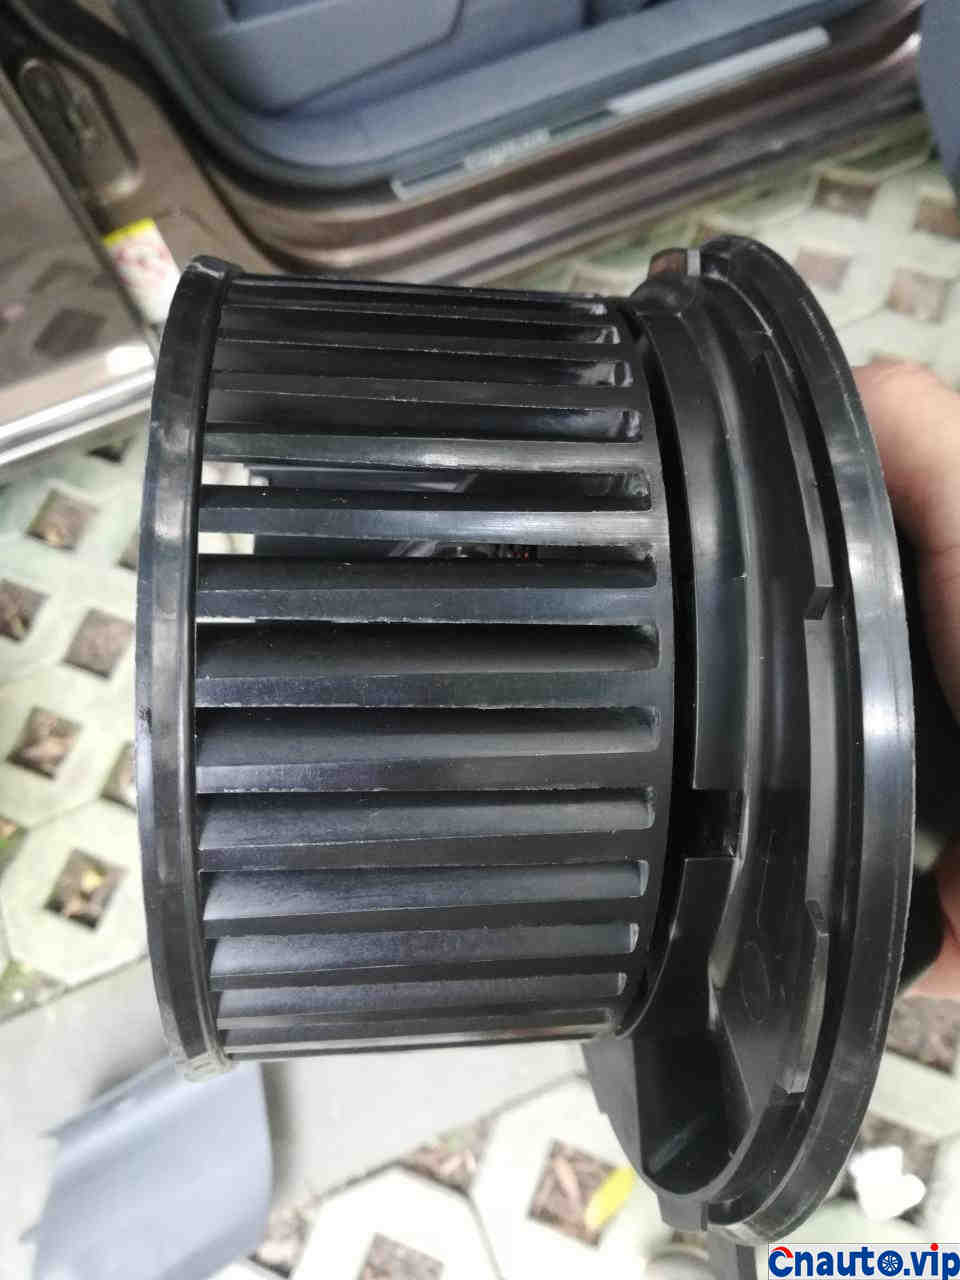
The rotary buckle design of the blower is also easy to disassemble. The blower is located outside the filter element of the air conditioner. Air enters from the engine compartment and is filtered into the car through the air conditioner filter, so it is necessary to change the air conditioner filter element frequently. Everything is healthy.
Hot Information
Tesla Autopilot and similar automated driving systems get ‘poor’ rating from prominent safety group
 April 1, 2024
 Localization of EV parts without production scalability may not help cut EV price, says President, Amara Raja
March 27, 2024 
JCTSL may turn bus stands into charging points for e-buses
March 27, 2024 You May Like