[DIY] Repair the glove box air outlet regulating valve
A car can usually accompany us for many years. It is inevitable that we will have some minor illnesses during use. If we have to go to a professional repair shop every time, it will take time and hurt money. In fact, some minor problems can be solved by ourselves. Isn’t this another car experience?
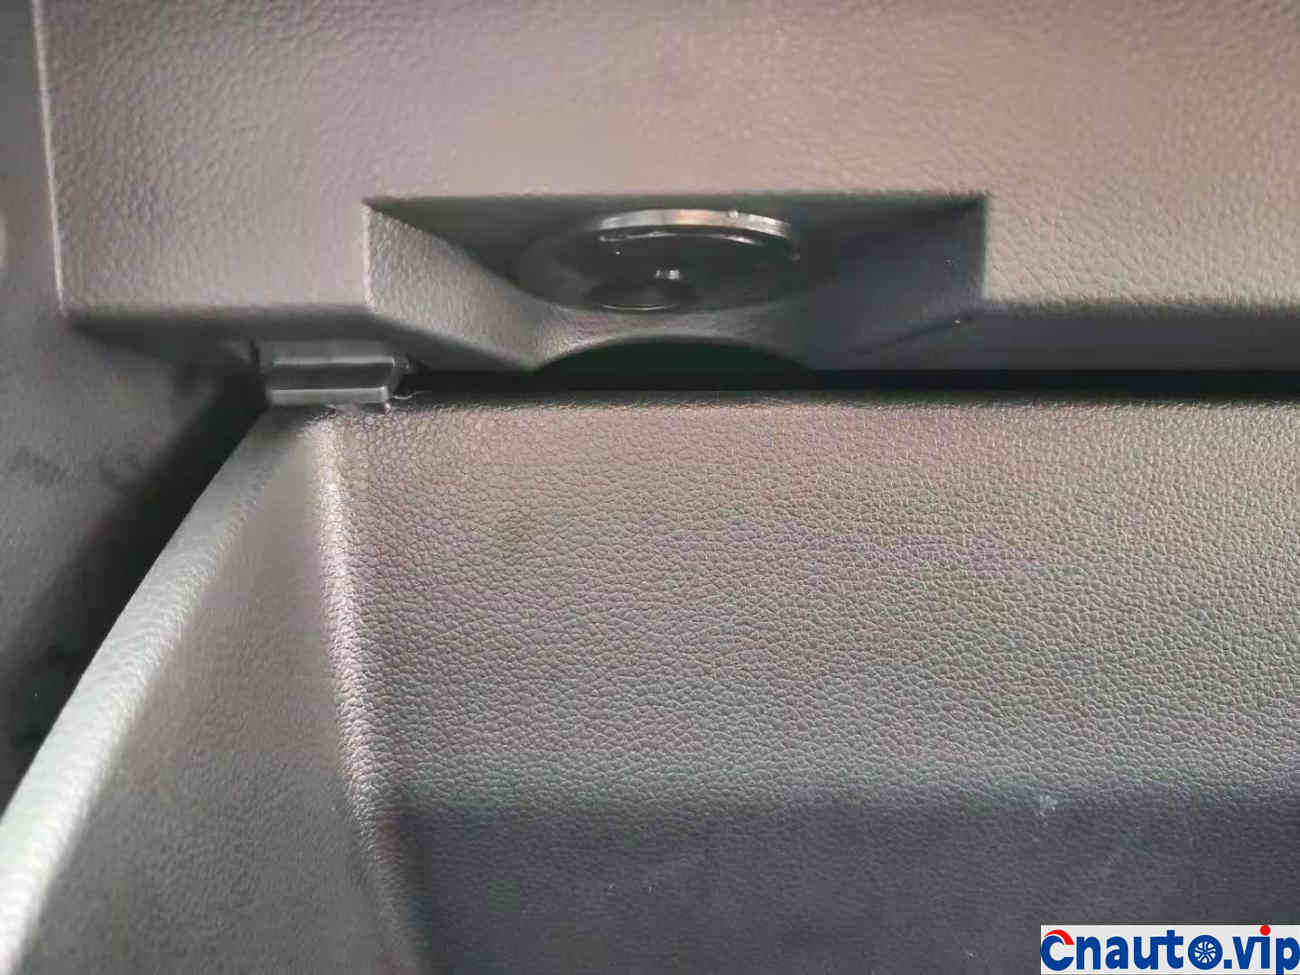
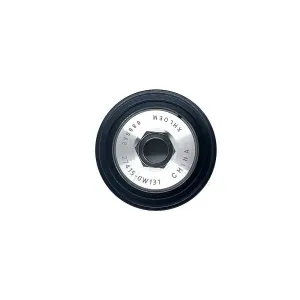
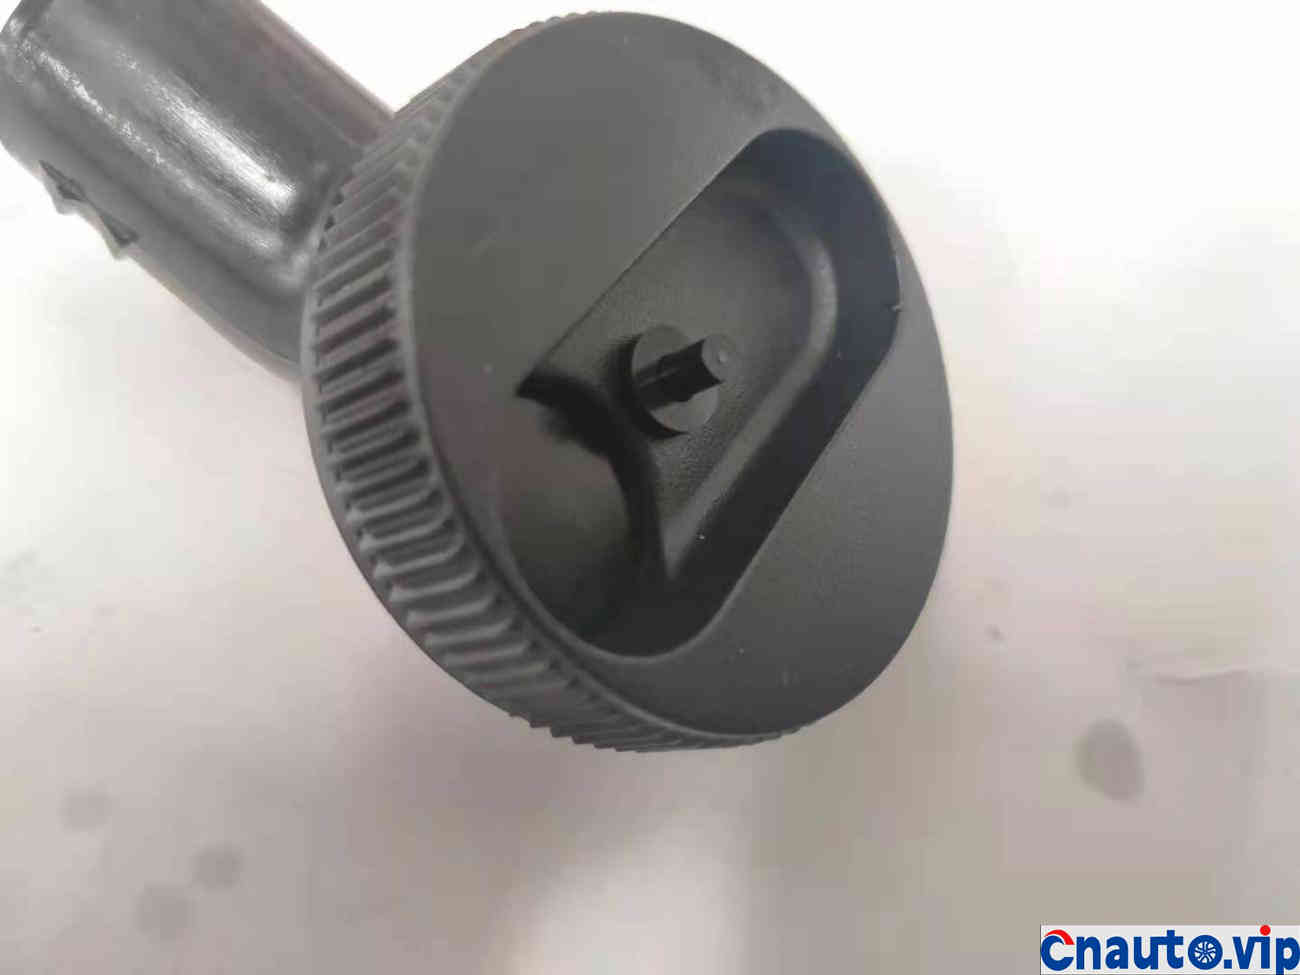
One day, I was sorting out debris in the glove box and found that something had fallen into the glove box. On closer inspection, it turned out that the adjustment knob for the air outlet of the glove box had fallen off.

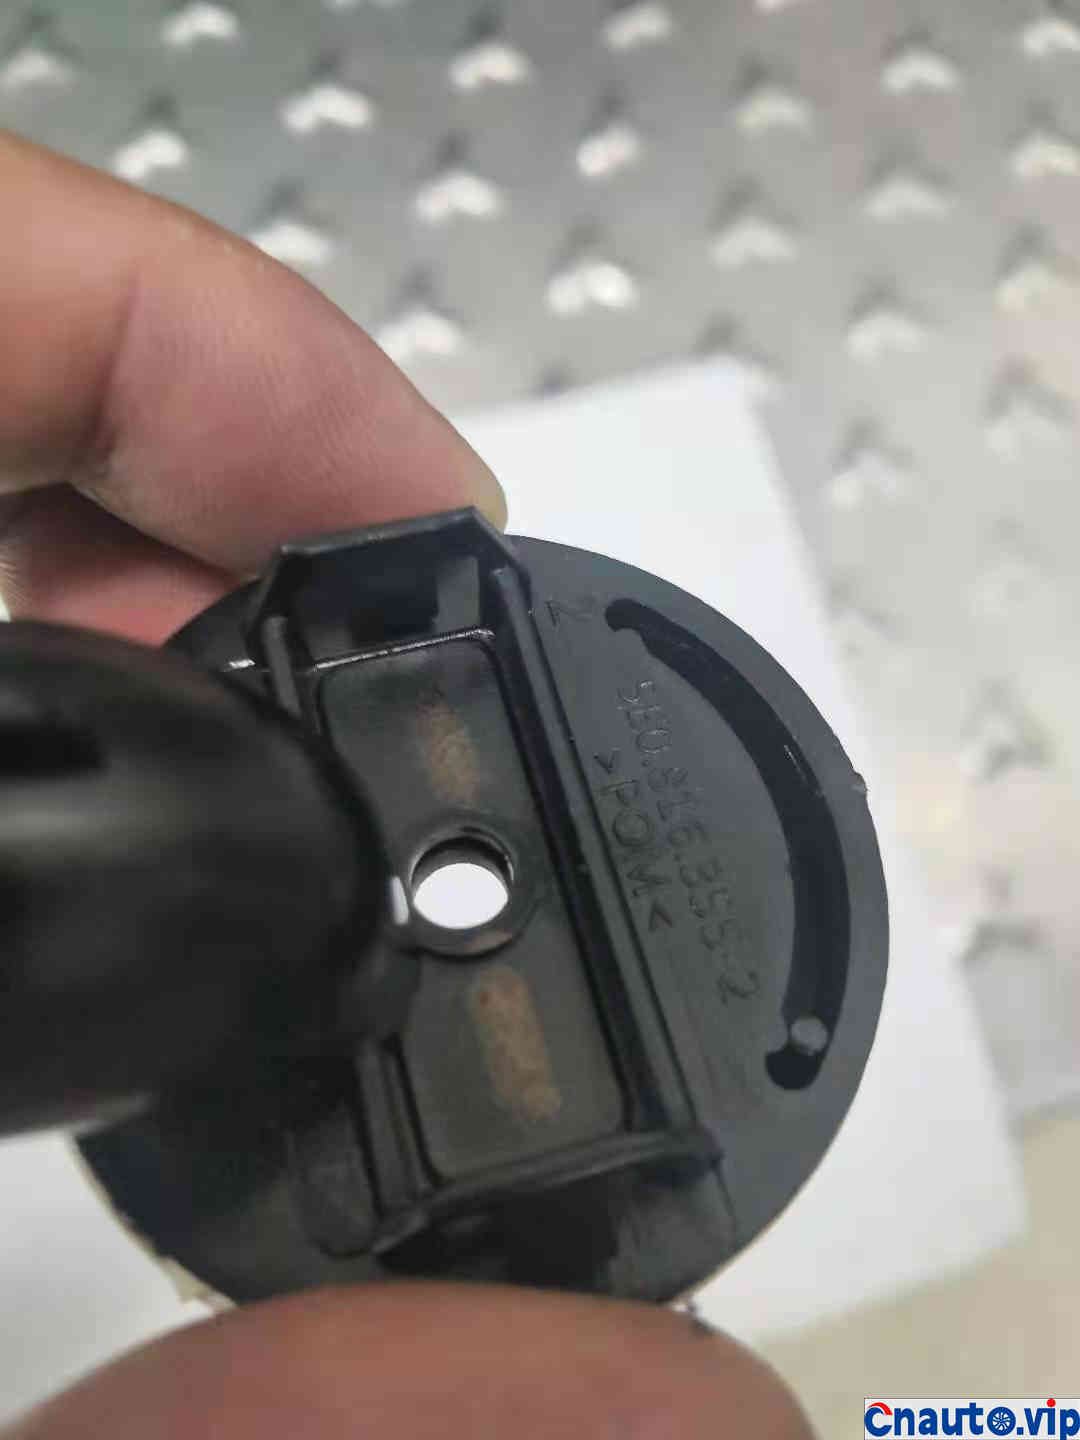
You can see that the claws on one side of the glove box knob are broken. It is a bit unexpected that the accessories on the vehicle rely on this little bit of plastic to fix them!
After checking, I found that this accessory only sells for a few dozen online. Although it is not expensive, I am really unsure when I see this plastic buckle. I thought about taking apart the other half first and seeing if I could repair it myself.

Open the glove box and you can see that there are three screws on it.
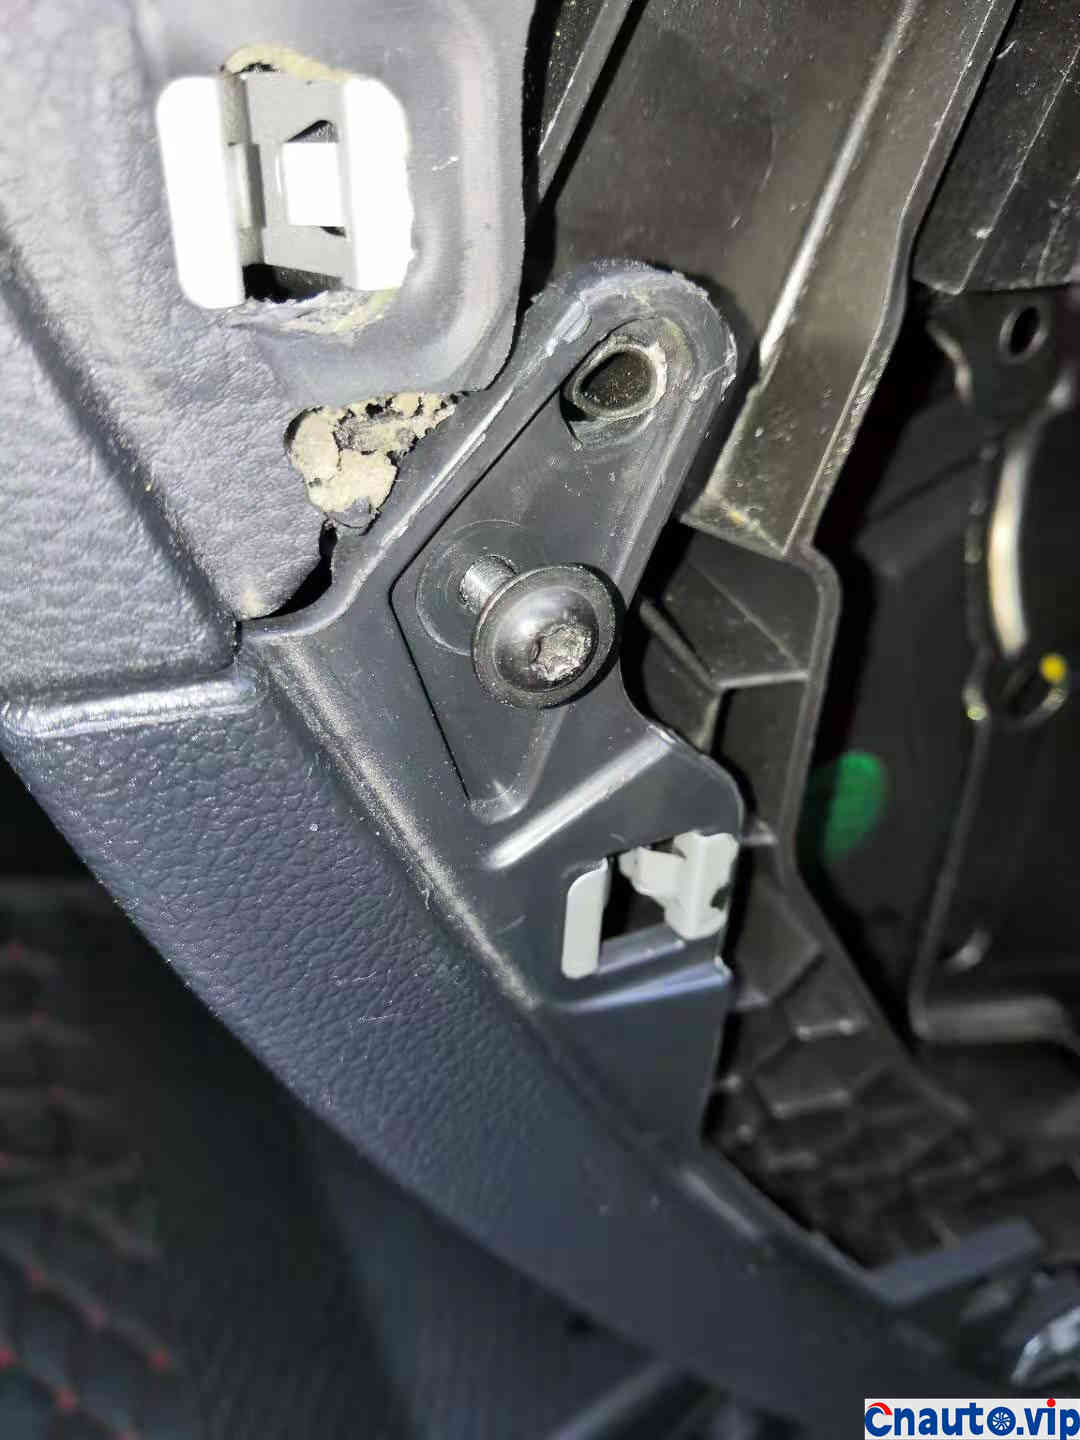
These three screws require T15 batch head

Remove the screws
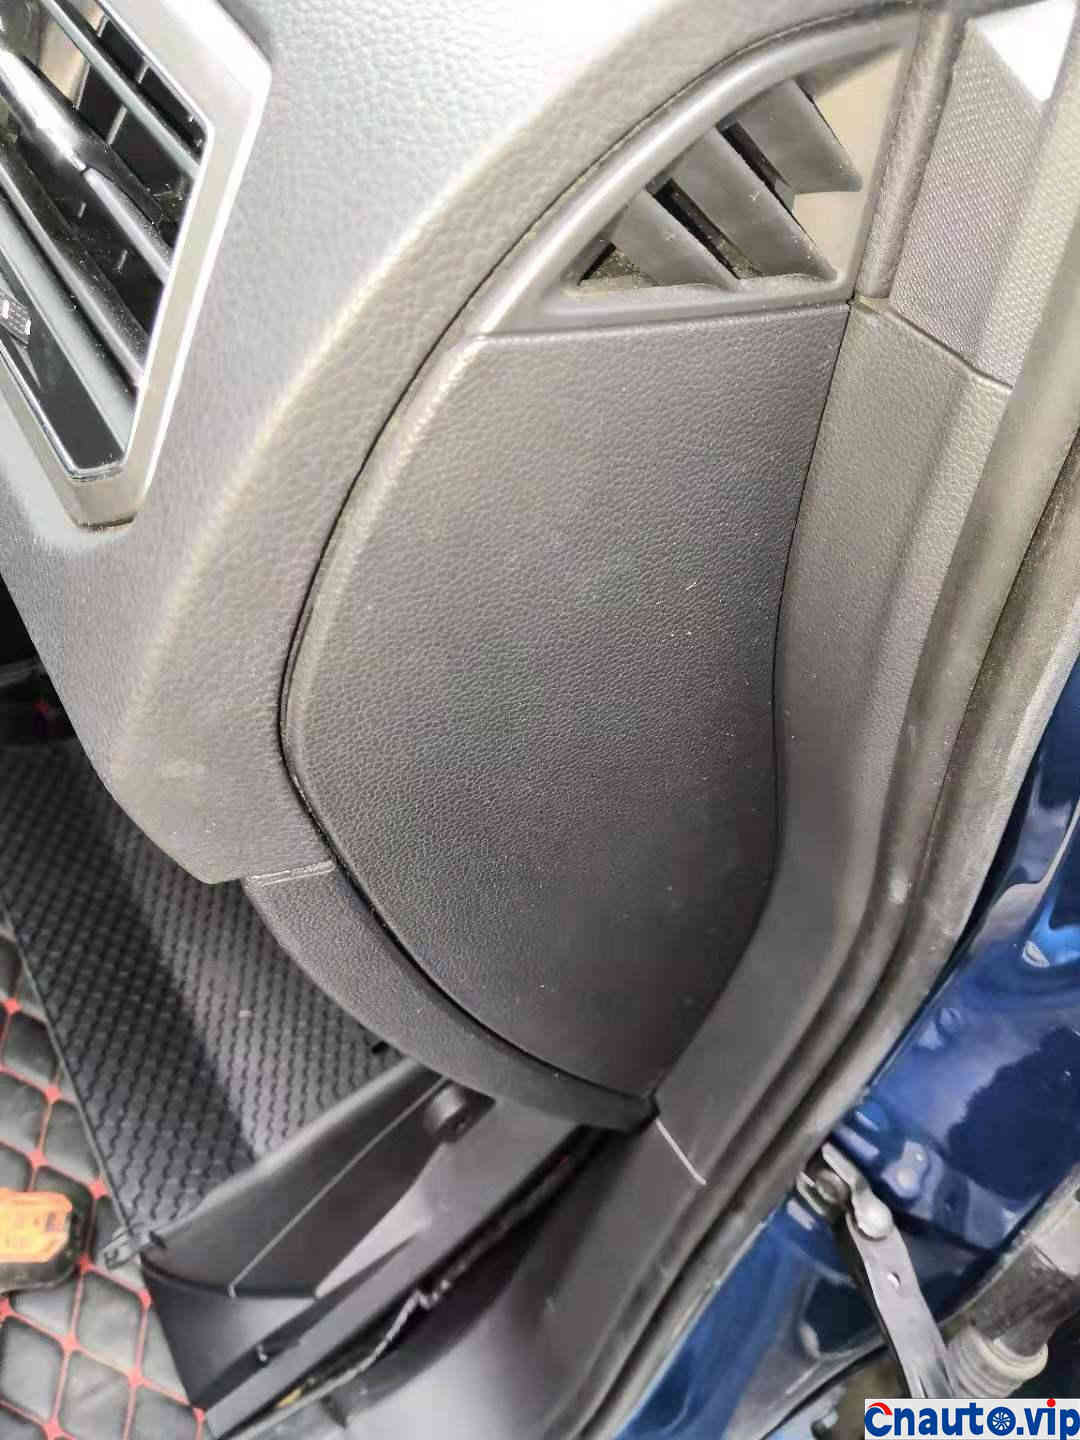
Open this side cover
There’s one here too. Remove it!

You don’t need to take off the baffle, just break it a little and you can see the air outlet regulating valve connected to the pipe.
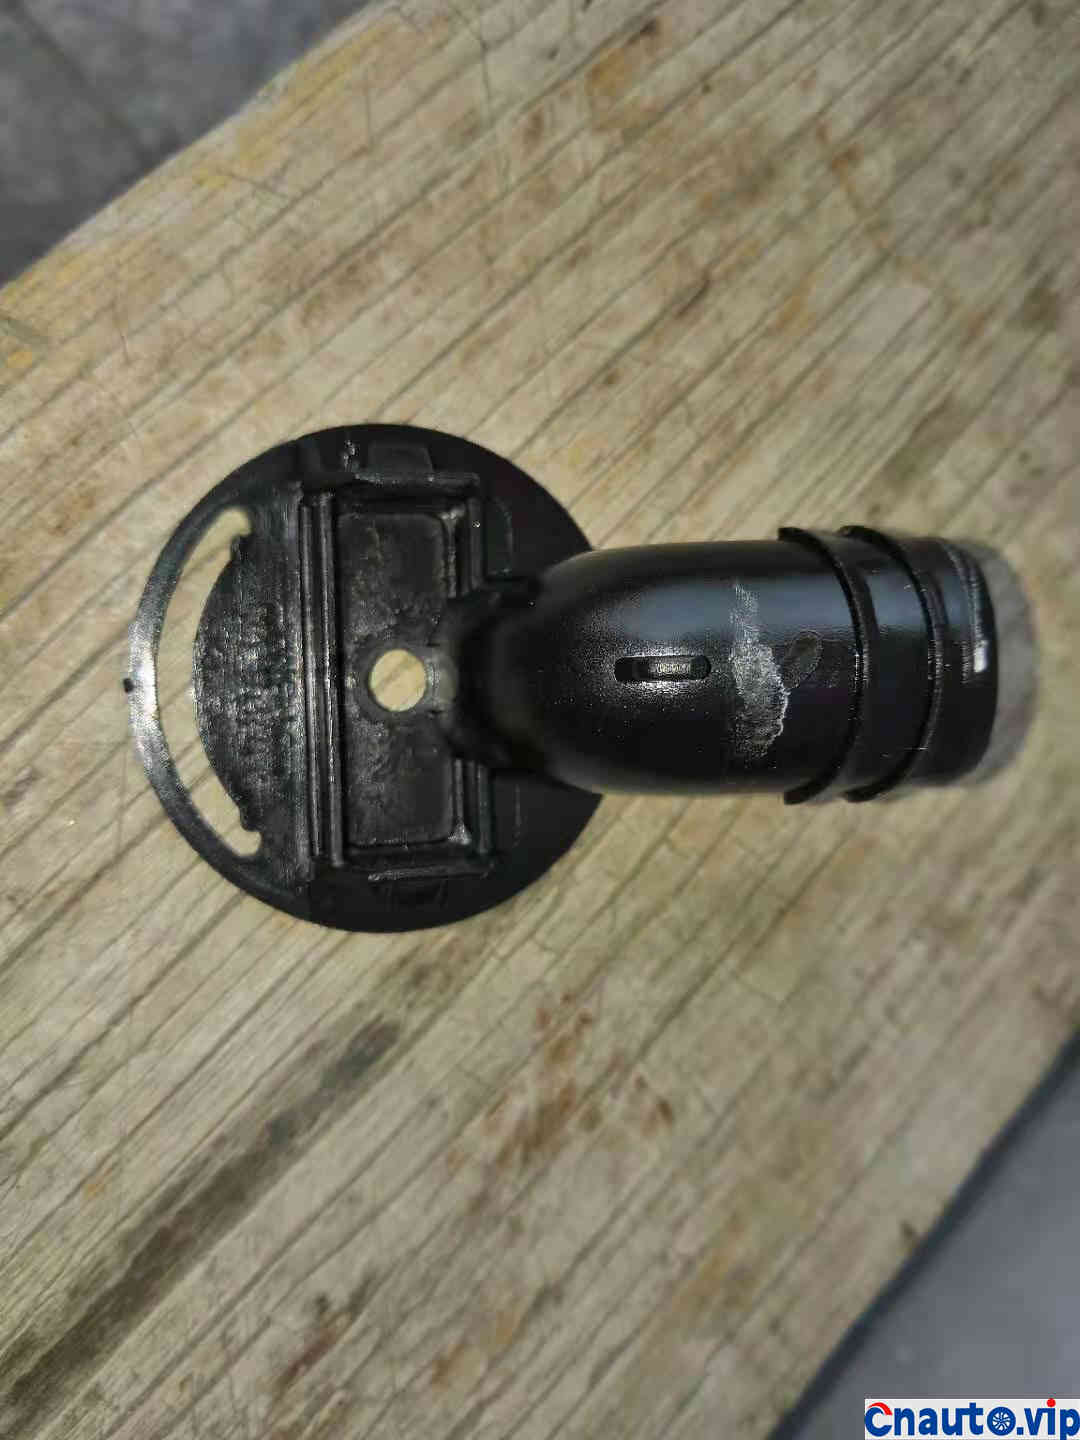
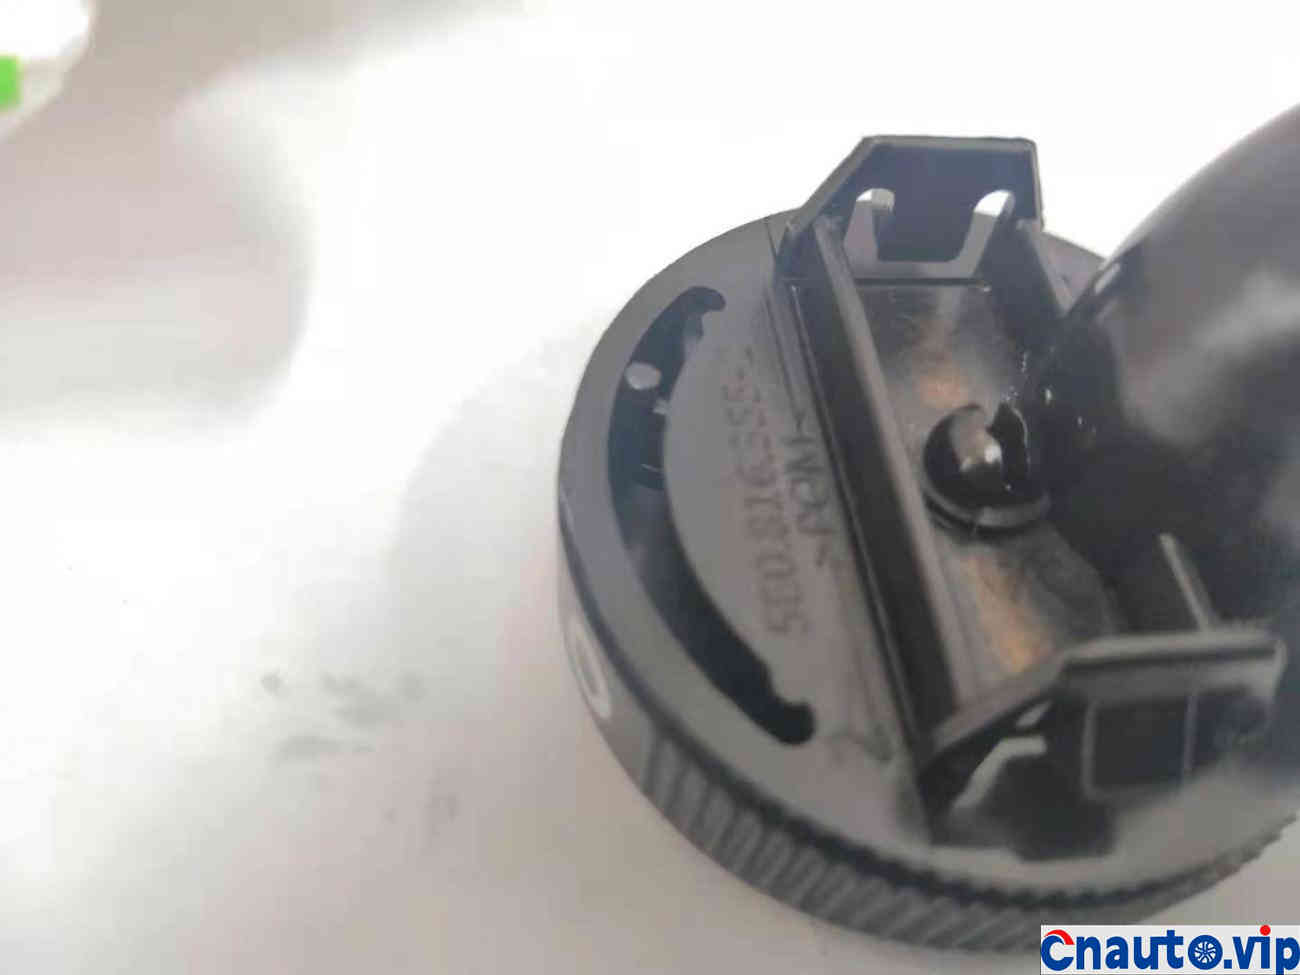
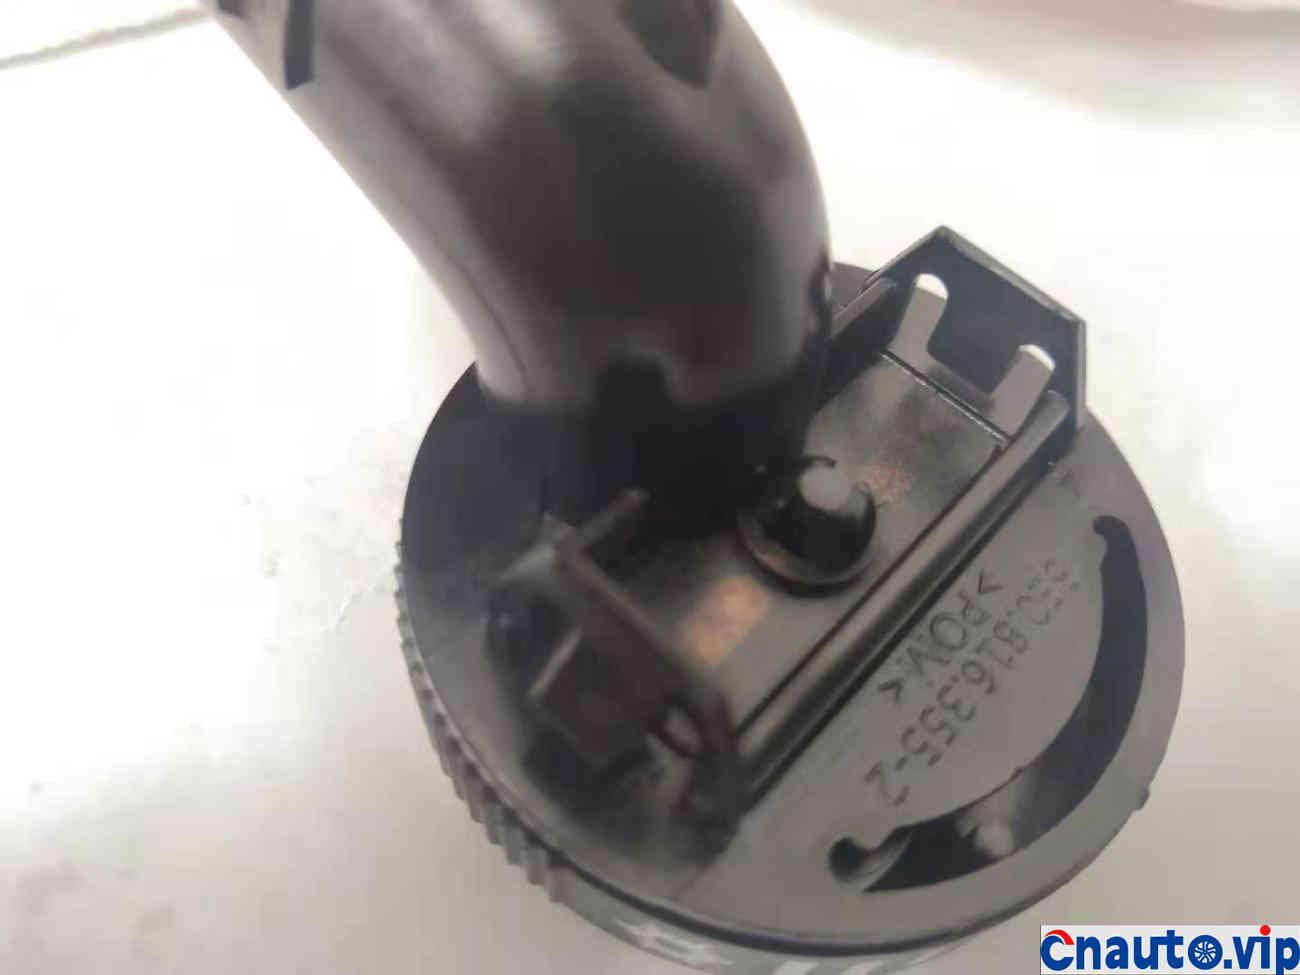
Remove the air duct and pinch the snap regulating valves on both sides to remove it.

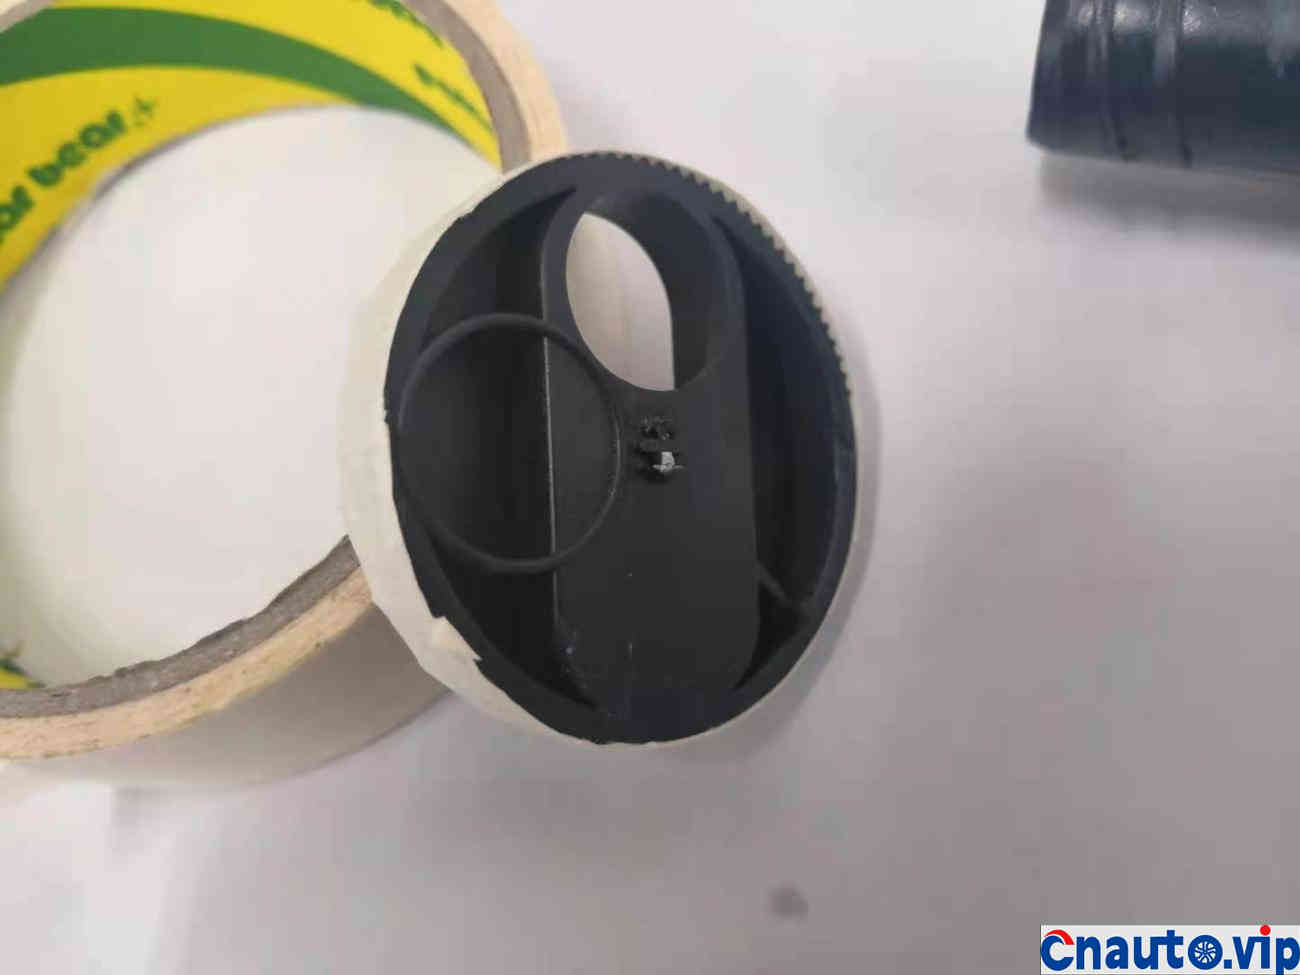
The middle claw is broken.
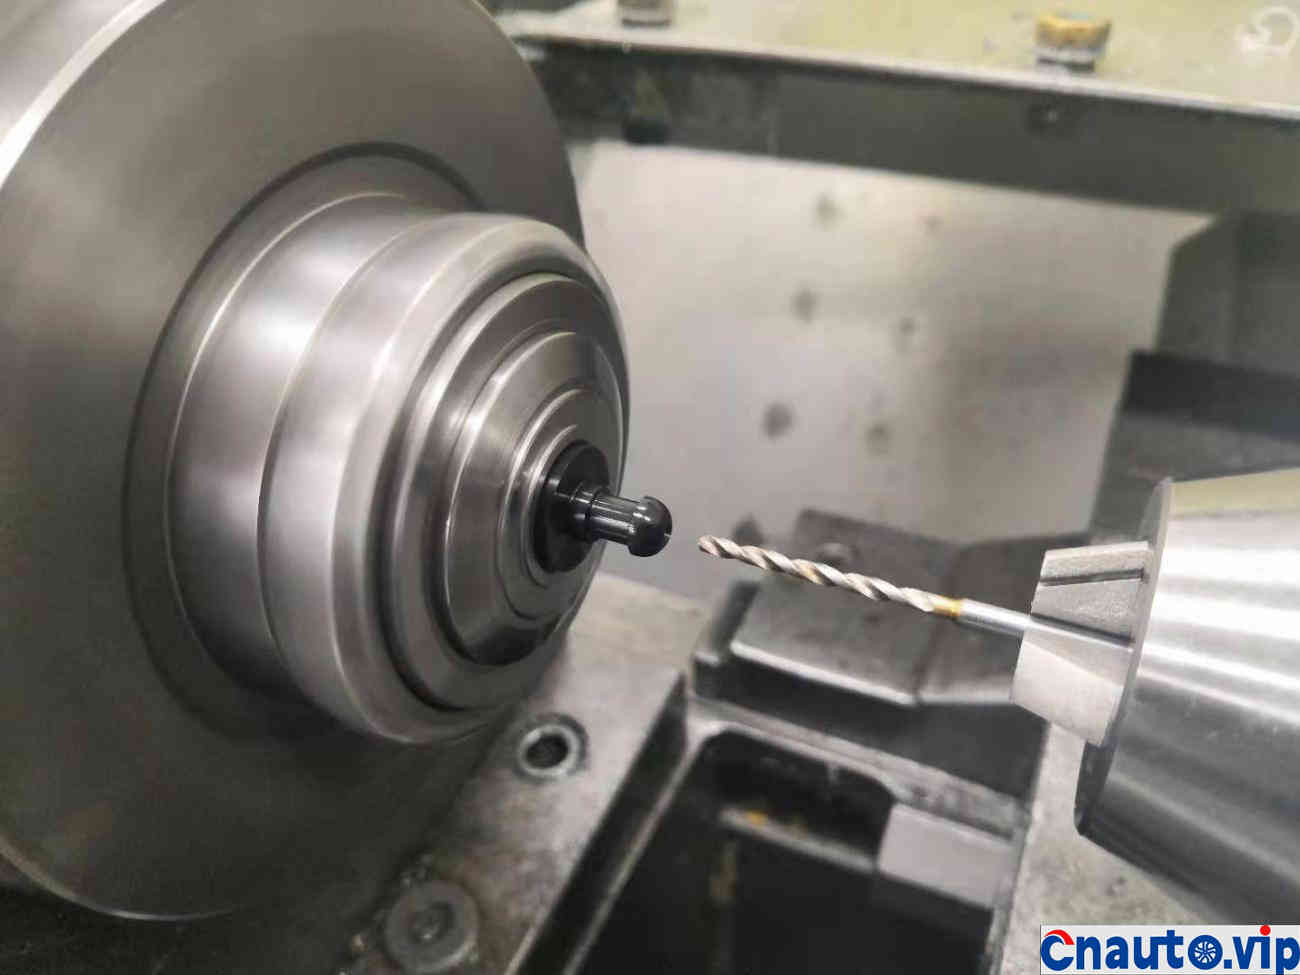
Next, start the repair operation and protect the edge of the knob with tape to prevent scratches.

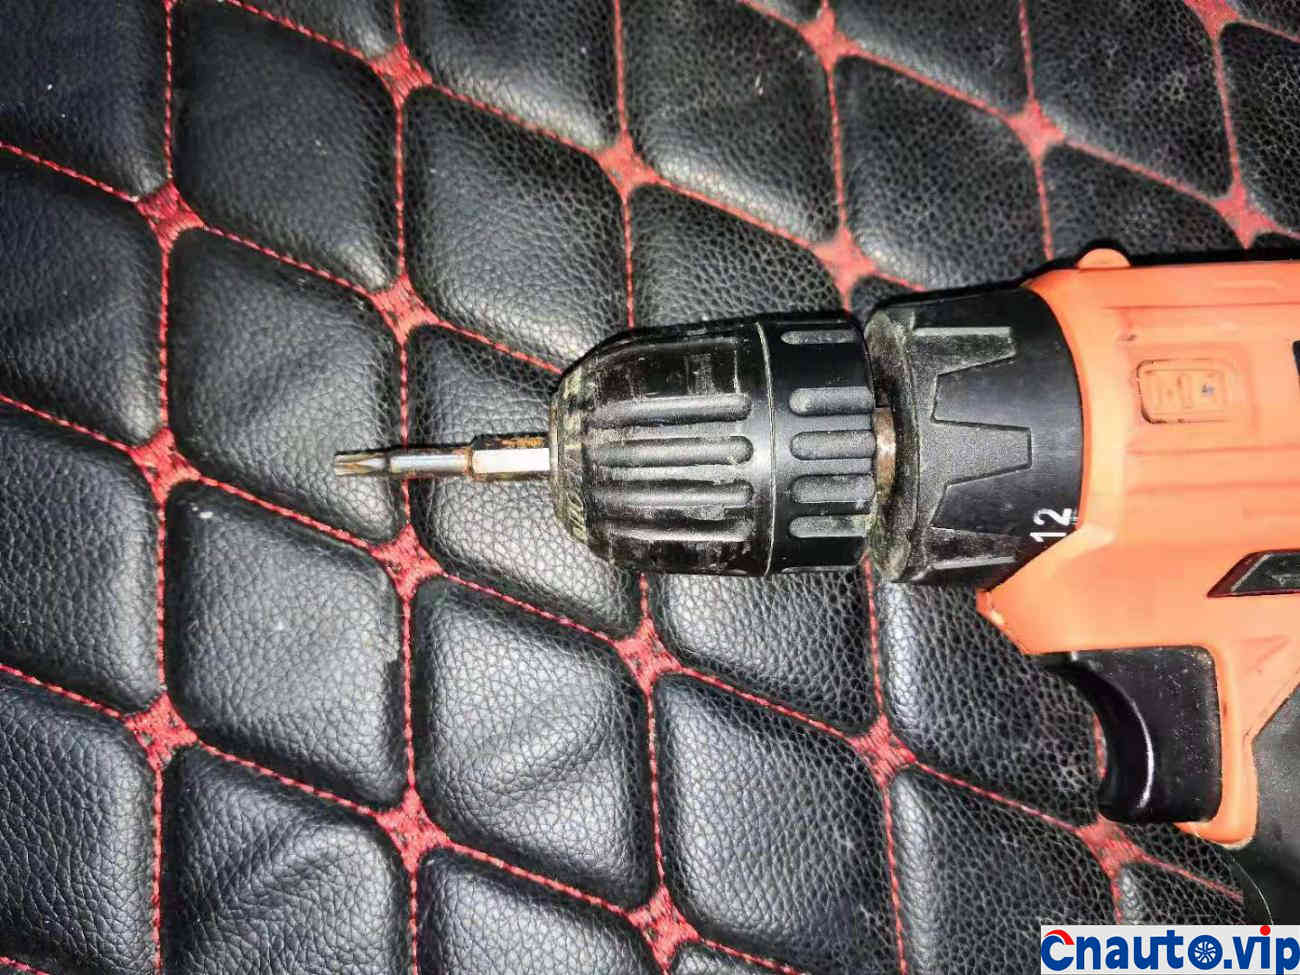
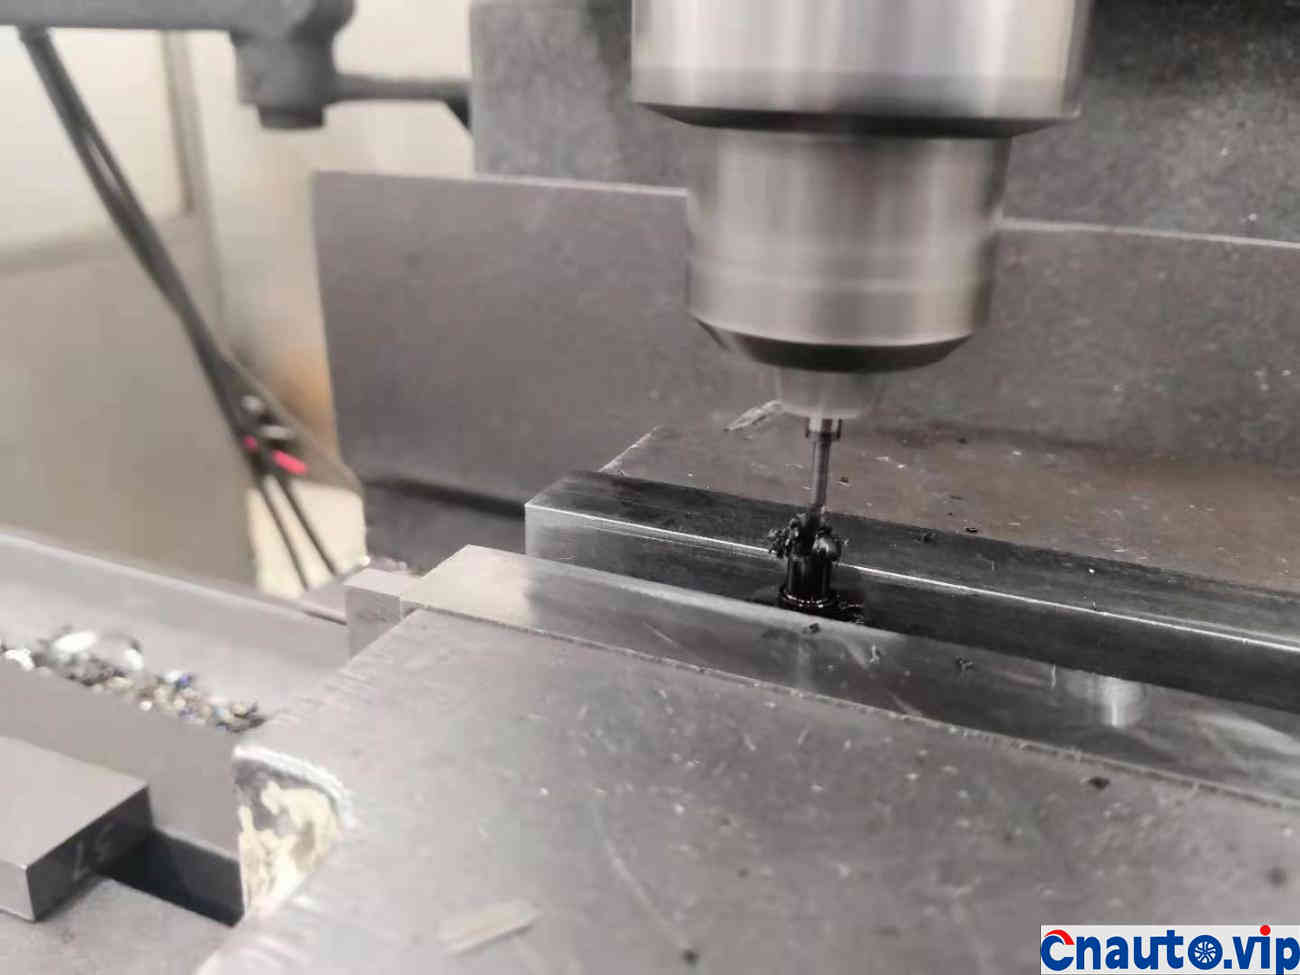
Drill directly in the middle.
Close the pre-equipment and the holes align perfectly.

Depending on the measured size, such an accessory needs to be made.

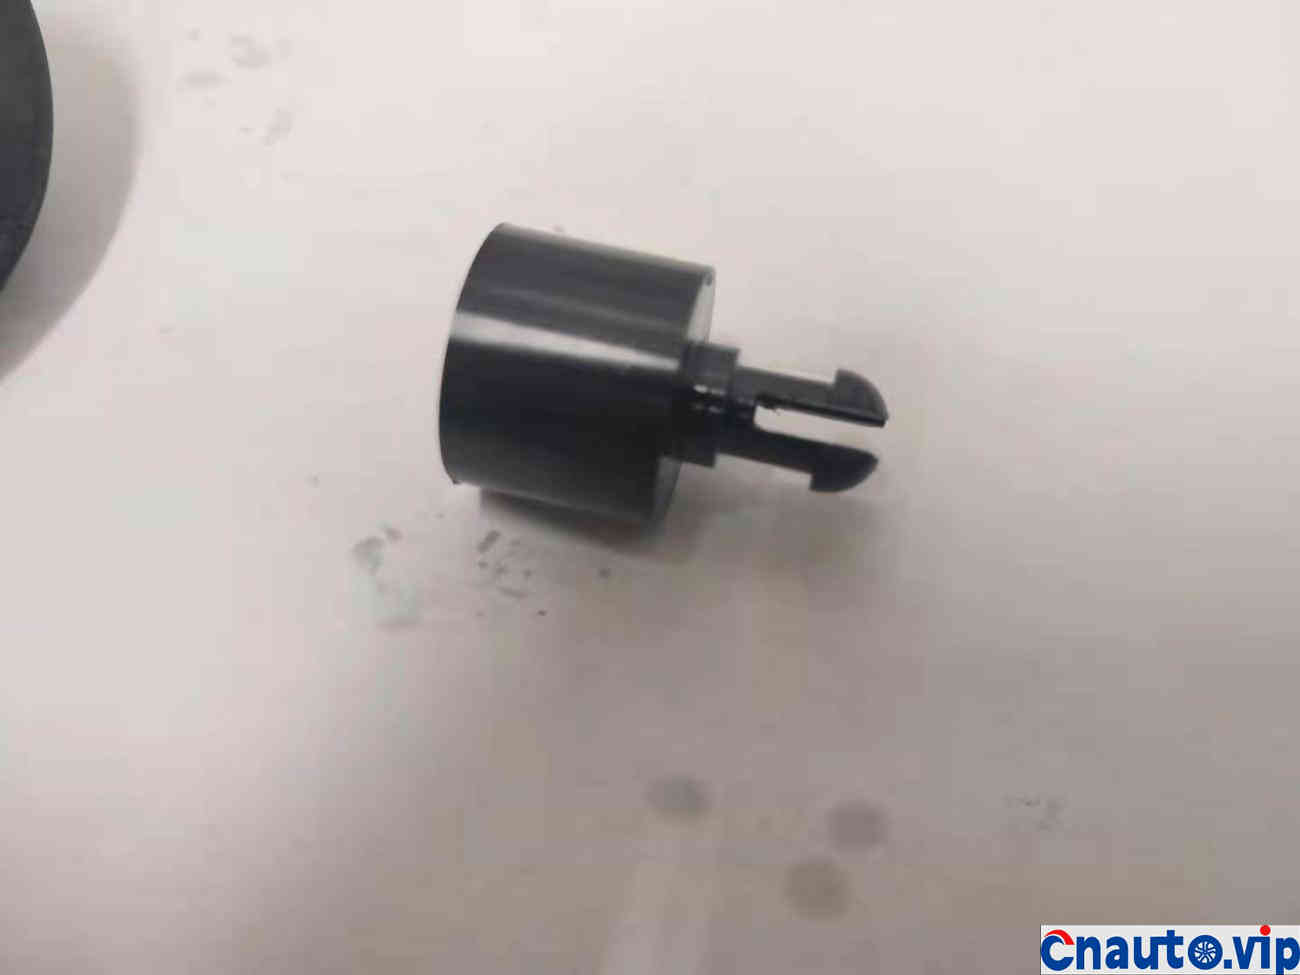
This is a semi-finished product.
Drill a small hole in the middle, which will eventually be useful.
Slotted in the middle.
This is what it looks like after the grooving is completed.
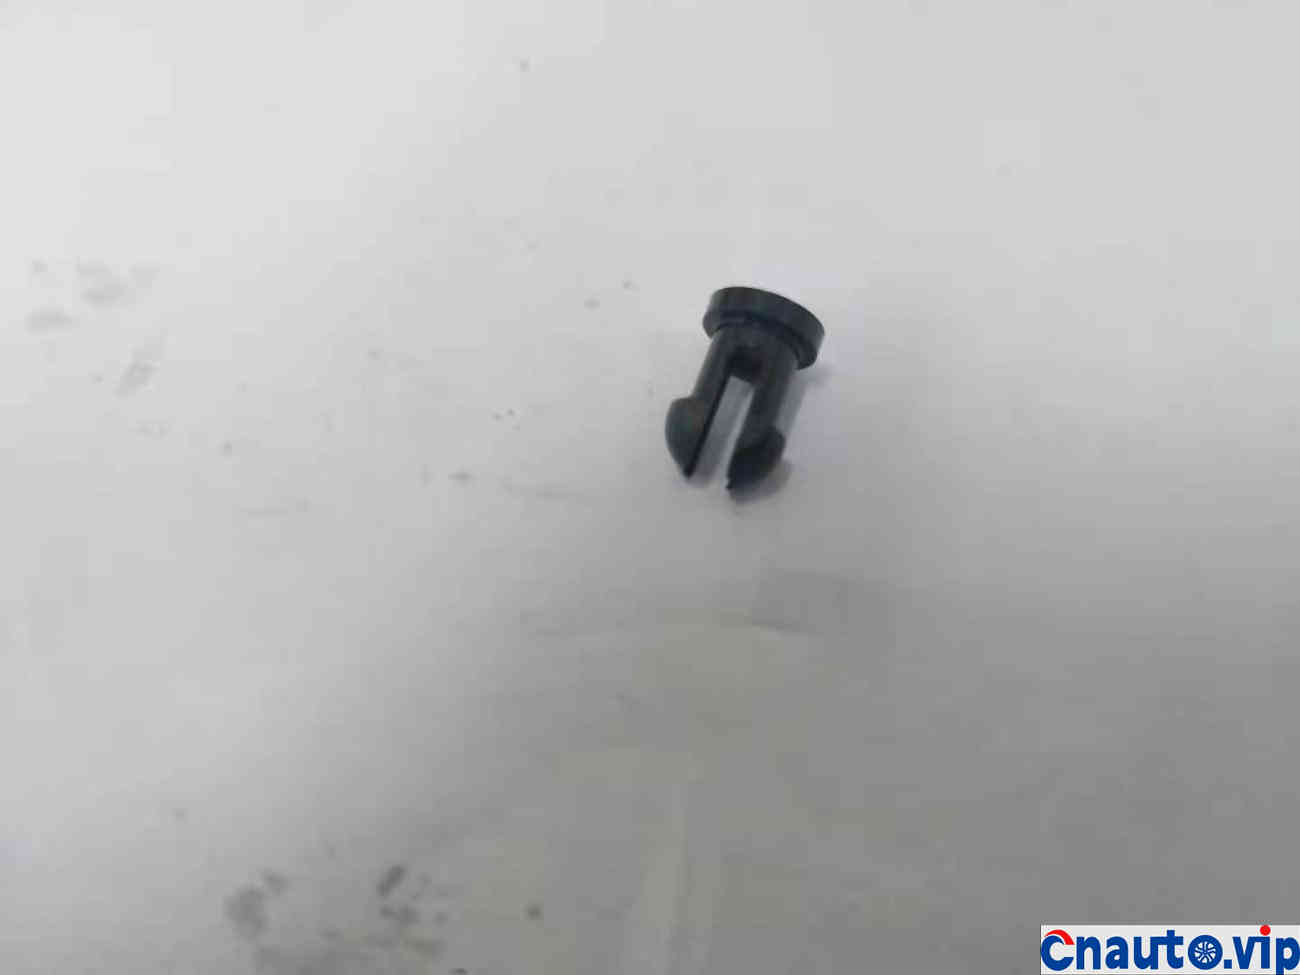
Cut off the extra parts and this is the finished part.

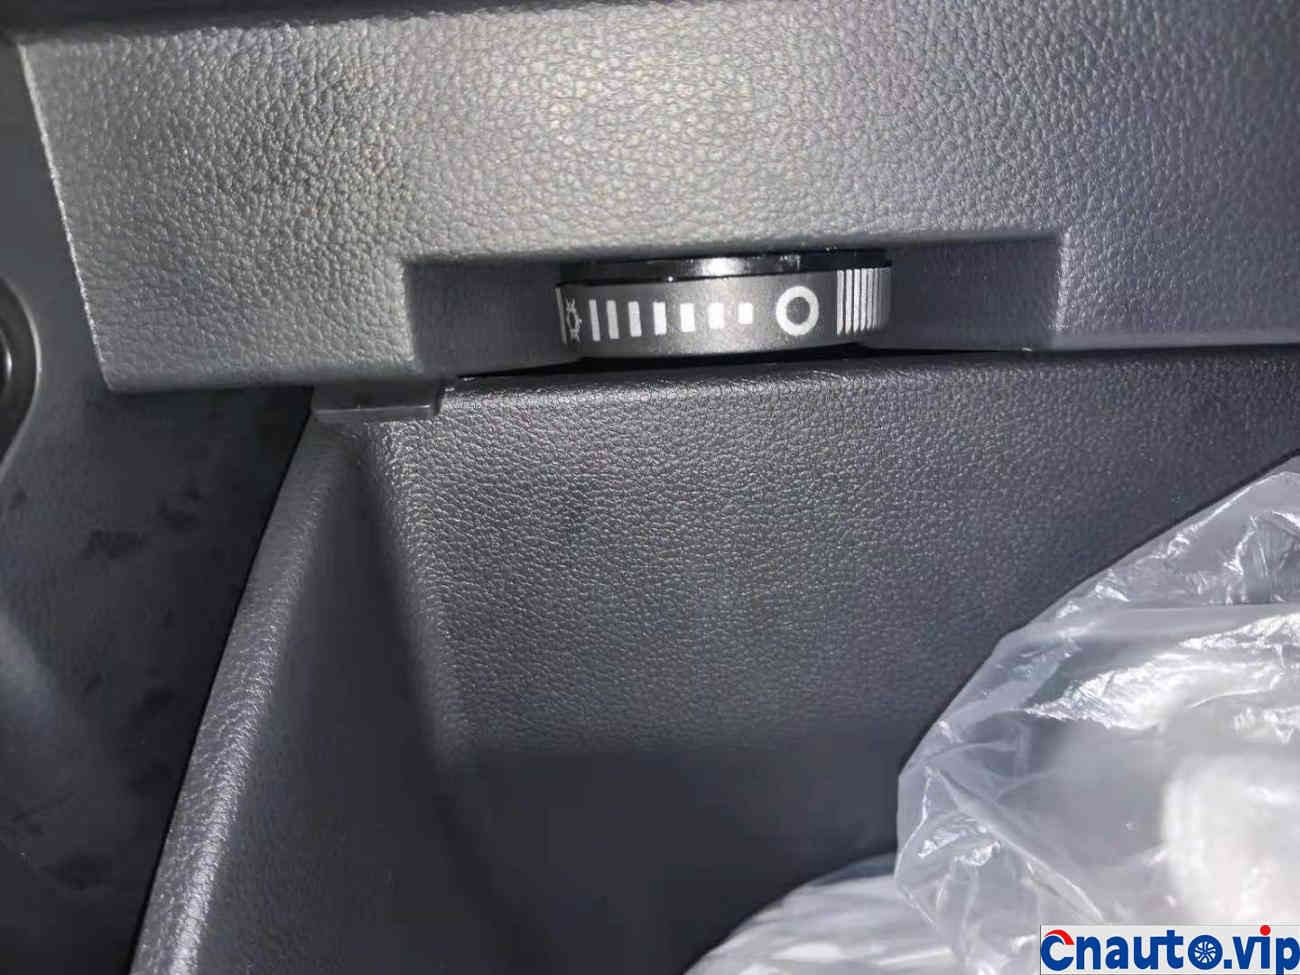
Installation is very simple, just press the new accessory into the hole on the knob.
To increase firmness, press a pre-machined round rod into the middle hole.
The repair is completed here, and the adjustment valve is loaded according to the reverse operation of disassembly and it is complete.
This homework ends here. Please give me a lot of advice from your fellow riders.
Hot Information
Tesla Autopilot and similar automated driving systems get ‘poor’ rating from prominent safety group
 April 1, 2024
 Localization of EV parts without production scalability may not help cut EV price, says President, Amara Raja
March 27, 2024 
JCTSL may turn bus stands into charging points for e-buses
March 27, 2024 You May Like