As a result of this maintenance encountered a small problem, the inner ball cage can not be removed (later detailed reasons), worried to death, fortunately enthusiastic riders are very supportive, car maintenance is happy, let’s exchange and learn, use your hands to share the fun of your own maintenance gains and losses.
The problem of this maintenance is relatively clear, because the dust cover of the ball cage on the left is rotten, and the left drive shaft is maintained. First of all, the above picture, the pace is up, I would like to thank the car friend brother Xiaoqiang’s guidance, so that the maintenance has more confidence.
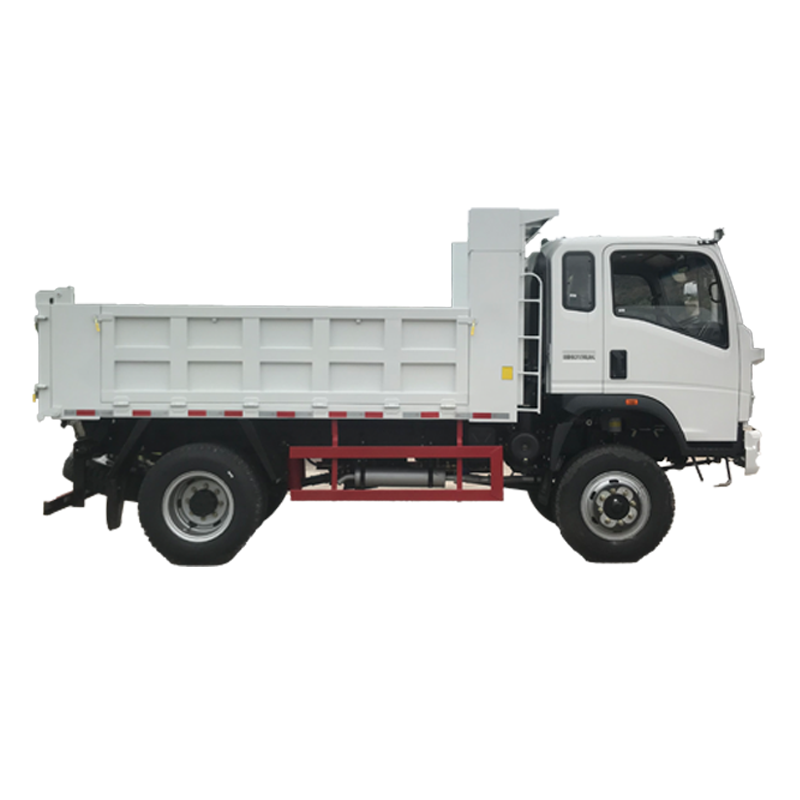
The difference between the left and right transmission shafts is large, not only short on the left and long on the right.
The most important thing is that the small inner ball cage on the left is not easy to remove, and the large inner ball cage on the right is much easier to remove.

First look at the rotten look, the lubricating oil has been thrown out, it is really ugly

First look at the rotten look, the lubricating oil has been thrown out, it is really ugly

I bought it for more than 80 yuan online. I asked my car friends that it was authentic.

First look at the maintenance of the transmission shaft, this is the result of this very difficult maintenance. It just looks like fun.
Let’s start the official maintenance. There are eight steps altogether.
The first step.
Lift the car on the lift frame and unload the tires. This is simple, not detailed, is the most basic operation of car maintenance.

Step two, remove the brake calipers.
There are two plastic lids in the back. Open the plastic lid and loosen the two inner hexagon screws. Because the brake caliper is connected to the brake hose. Don’t break the brake hose and can’t bear gravity, so remove it and hang the brake caliper on the shock absorber spring.

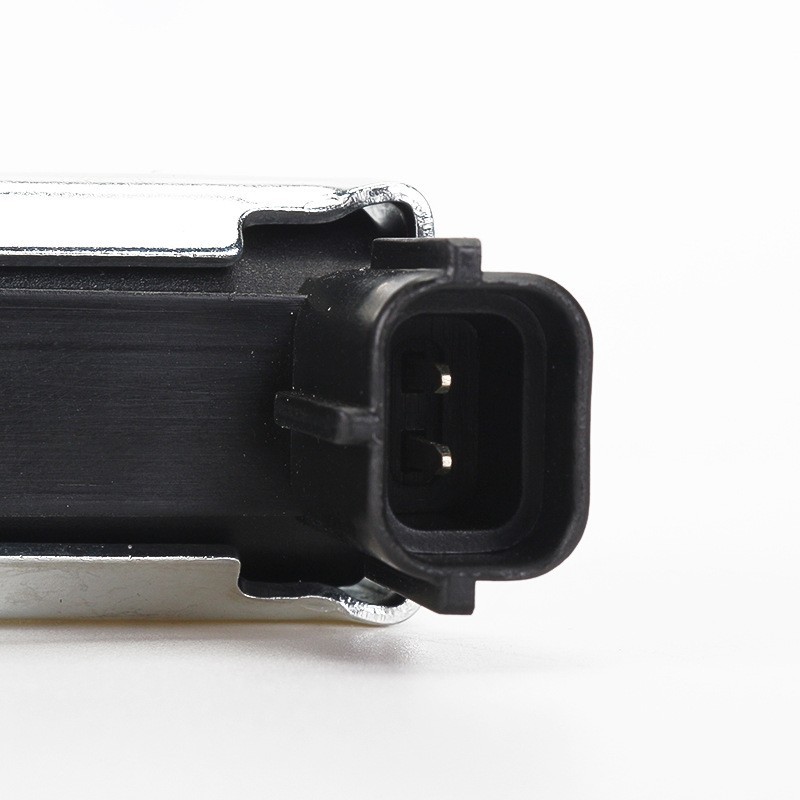
The third step is to unscrew the outer ball cage retaining screw and remove the brake disc.
Above the outer ball cage, there is a large spline screw fixed in the middle of the shaft. If this screw cannot be removed by a general tool, a special disassembly tool should be used.

This is the tool.

Tools are easy to use. It was taken down at once.
For the brake disc is relatively simple, there is also a small positioning screw (the blue place in the picture). Unscrew the positioning screw and the brake disc can be taken off.

Step four. Remove the steering rod screw, away from the steering rod, after removing the screw is still a little urgent, use a special tool to squeeze it out. It is estimated that the hammer will come out as well.
Then remove the three large screws from the chassis bracket as shown.

Direct screw is a little tight, can not be screwed, the lengthening rod lengthens one will save effort. There are always more methods than problems.

The fifth step is to get out of the outer cage.
Tap the center screw of the outer ball cage. The whole lower part of the shock absorber is gently pulled out, and the outer ball cage is detached. It’s been going well so far.

Step six, get out of the inner ball cage.
This is one of the most difficult problems encountered this time. According to the guidance of Xiao Qiang, use a crowbar. You can pry out the inner cage. With a hard pimple, the inner ball cage disengaged. But no matter what. You can’t pry it off with a crowbar. Because the crowbar has no fulcrum, it cannot bear force.

Looking ahead, there is little space.

Look down, the space is small.

If you look carefully, you have to pry into this position, there is little space.

No matter how to pry it down, push in and let the cage out, but even if the force is not used, it can not be stuck, and there is no fulcrum. The space is too small.

The inner ball cage is broken, the drive shaft comes out as soon as it is pulled, and the inner ball cage is left on it.

Take a closer look, it is actually a No. 14 clasp, a very simple structure, but can not pry it out, it is such a simple operation baffled me.

No experience, can not pry down, in the face of the crowbar, how a sad word.

On the contrary, I looked at the ball cage on the right and learned to pry. It was very easy to pry.

There is no way to pry it down, so I have to make a pose, rest and eat, and have a simple meal in the canteen. Maybe this is to experience the life of a maintenance worker.

There is no way to pry it down, so we have to make a pendulum, clean up the inner ball cage during the rest time, install the new dustproof cover, and quietly wait for the inner ball cage to come out.
When changing the dustproof cover, you have to remove the three-flower-shaped universal joint (in the picture, the left three-flower universal joint), first remove the clasp, install it and replace the clasp, which comes with matching when you buy this clasp.

Finally, I called Master Zhang from the maintenance shop. He and I work together. Divide it into two and pry it out. The original two people work together, much easier, how to pry can only press the small strong brother said the feeling, a hard pimple, the inner ball cage out, do not know how to use words to express other, to practice on the spot.
Boy, inside the 15th ball cage, this is what it looks like now. If you look at the trace, you can see that there is a lot of prying in front of you, which is also futile.
Pay attention to the top, there is a clasp groove on it, replace the new clasp.

Look again at the appearance of the repairs, and it is done. Two packets of grease, one in the ball cage and one in the dustproof cover. There are two clamps, which can only be tightened with special clamp pliers. The pliers with the green handle in the upper left corner of the picture are bought by yourself.

Step seven. Install the inner ball cage.
In fact, it can be installed in reverse order step by step here, but there is also a small problem, so this step is explained.
It is very easy to install the inner ball cage. As long as the top is tight, use a hammer on the outside ball cage. Knock twice and go in.

The inner ball cage hasn’t been pushed in yet.

Put it in.

But there’s a problem here. Due to lack of experience, the hammer used at the beginning was small and the gravity was not enough, so I hammered several times without hammering in. As a result, the first circle of the screw of the outer ball cage was reduced, and then the screw could not be screwed in. We have to resort to pneumatic grinding and grabbing. After grinding off the inner ring screw. The screws can be easily installed.

Step 8, other installations can be installed in reverse order. I won’t elaborate on it. At this point, the left drive shaft is maintained.


 April 1, 2024