Langhang replacement of LED taillights
The riders in the group have all replaced the LED taillights, which are indeed very beautiful, and the brightness has also been much improved, and the safety has also been improved. Although many people say that taillights are for others to see and are useless, personally still feel that it is most important to like them. As long as the things you like are not illegal, you will be done. There is no need to worry so much. There is a good saying, I am happy to have money that is difficult to buy, haha, that’s what it means.
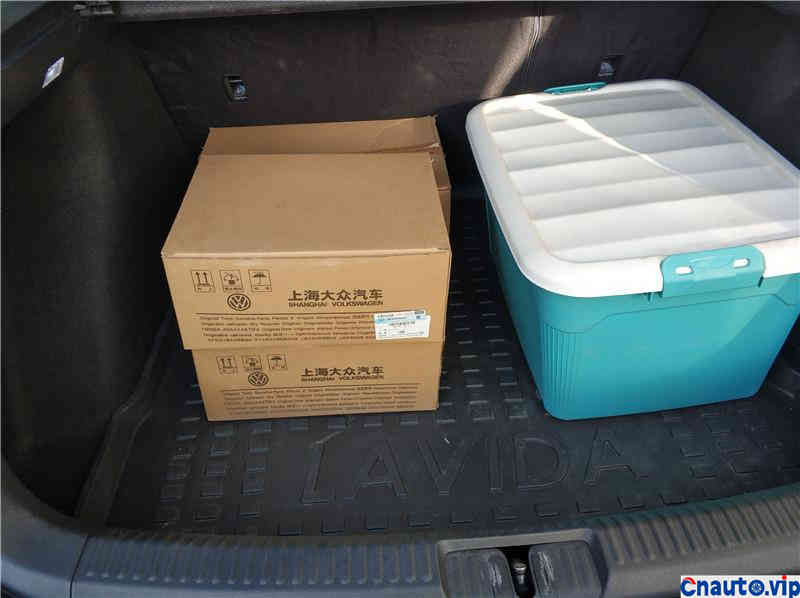
The taillights arrived and drove directly to the store. I originally planned to replace them in the store, but the working hours were really expensive and there was no discount. I asked the repairman to replace the taillights. It was not difficult to replace them. There were eight screws in total. So I decided to take it home and replace it myself.
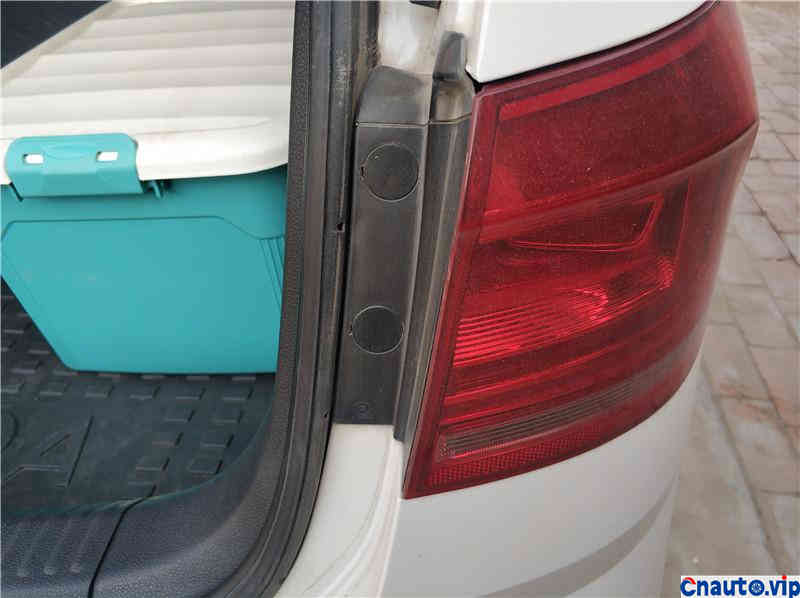
Two corner lights are relatively easy, so start with the right corner light first.
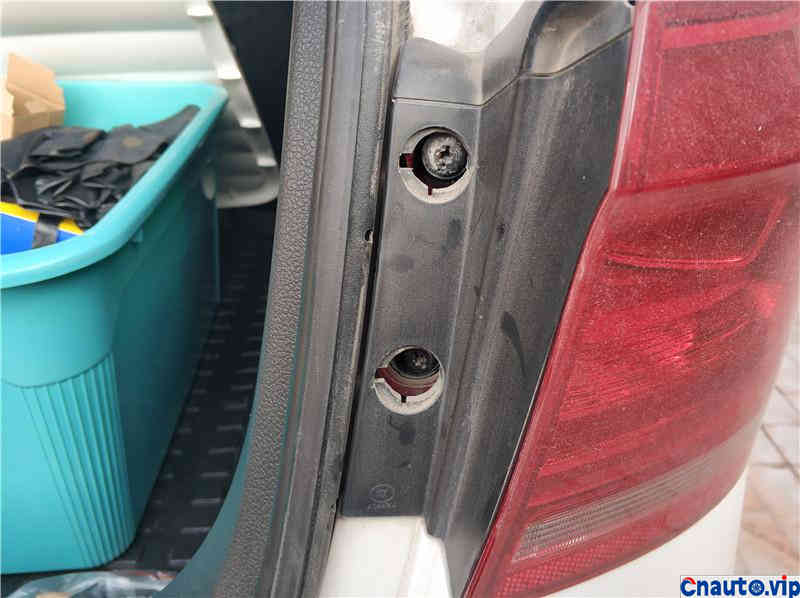
Remove the decorative cover and you will see the two screws
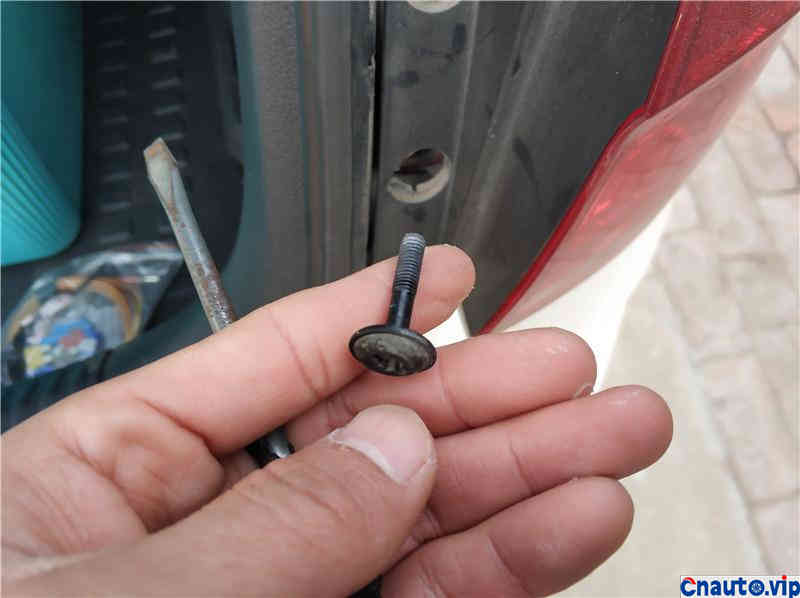
Remove two screws
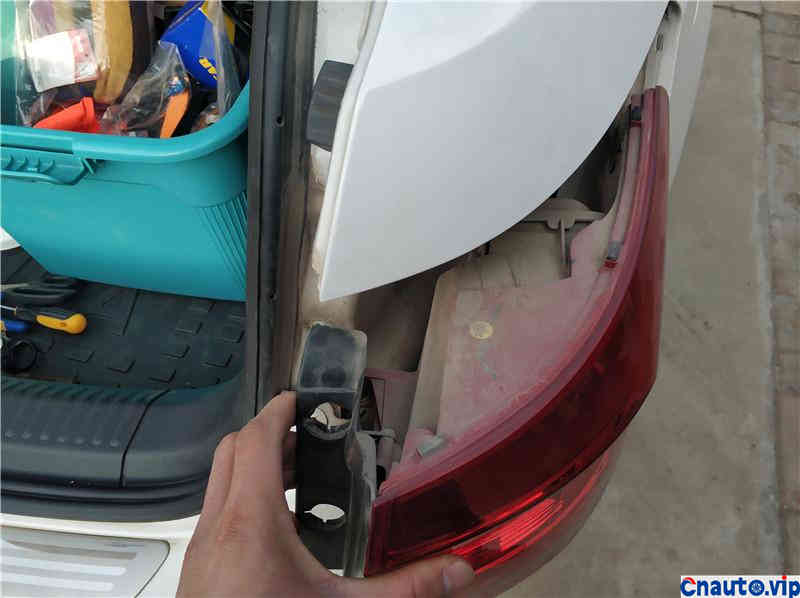
The taillight is pulled back vertically and slowly
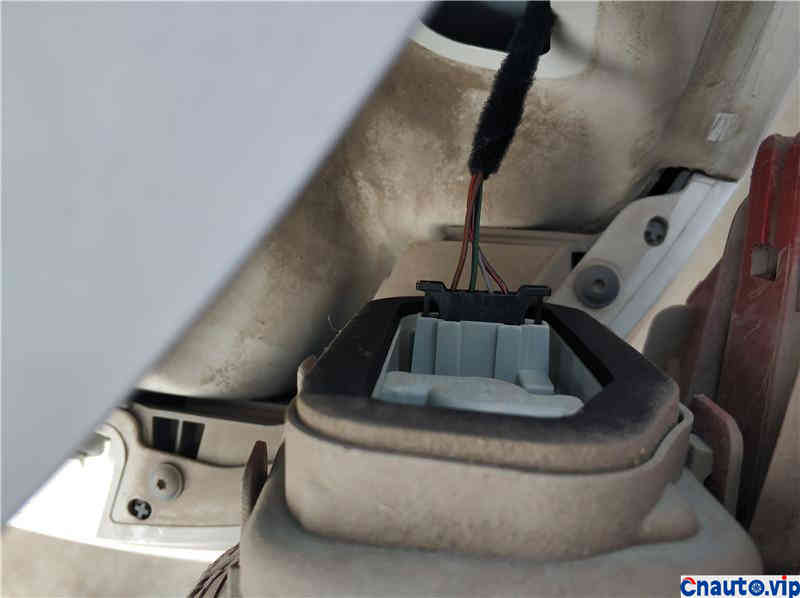
Remove the plug
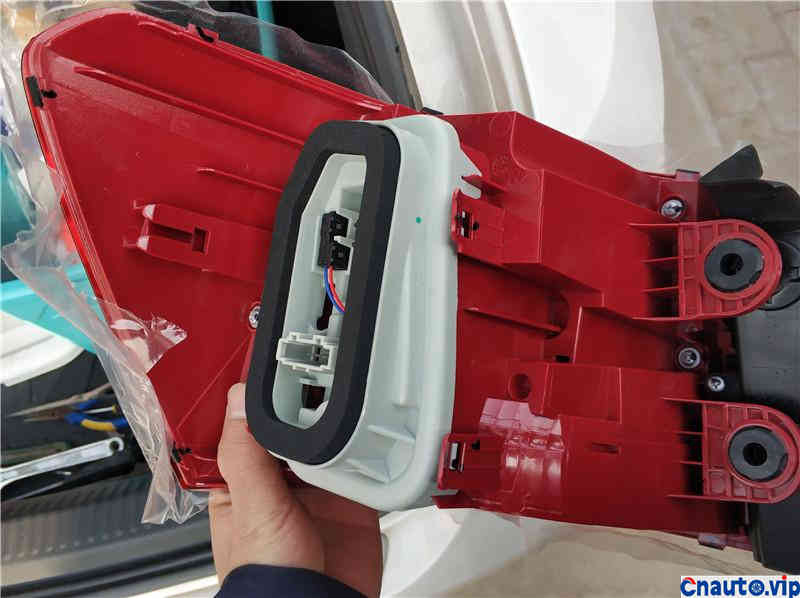
New right-hand corner light
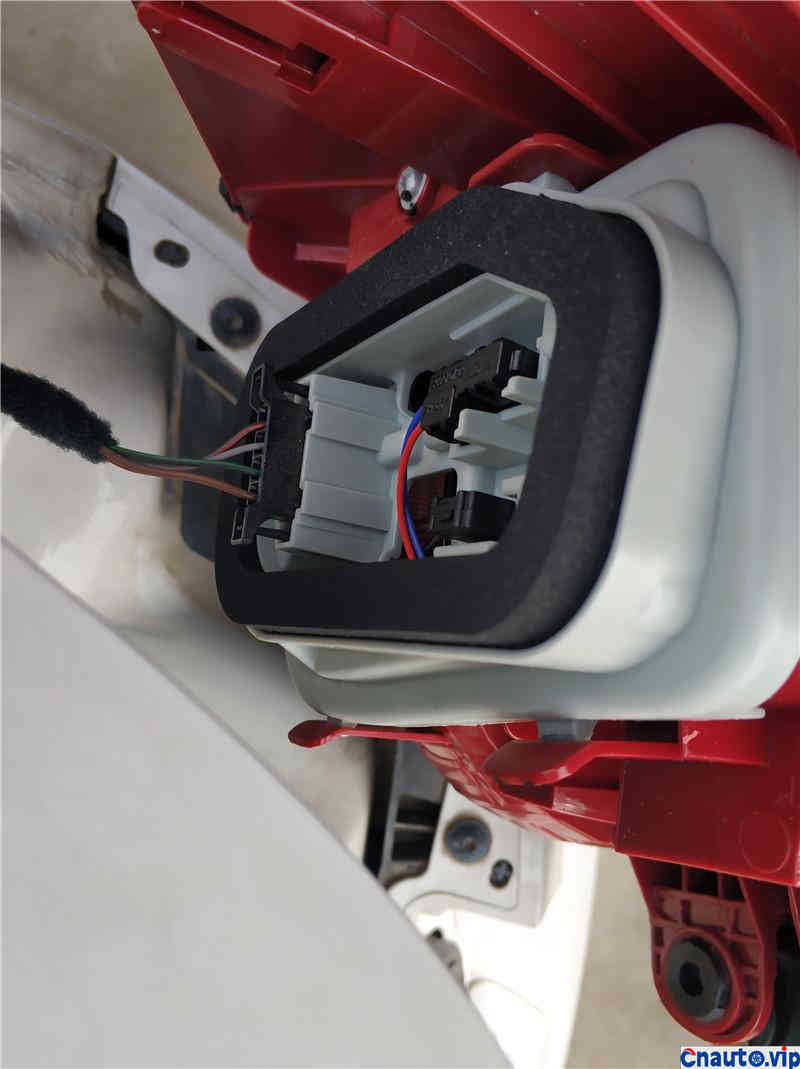
First plug in the light cord
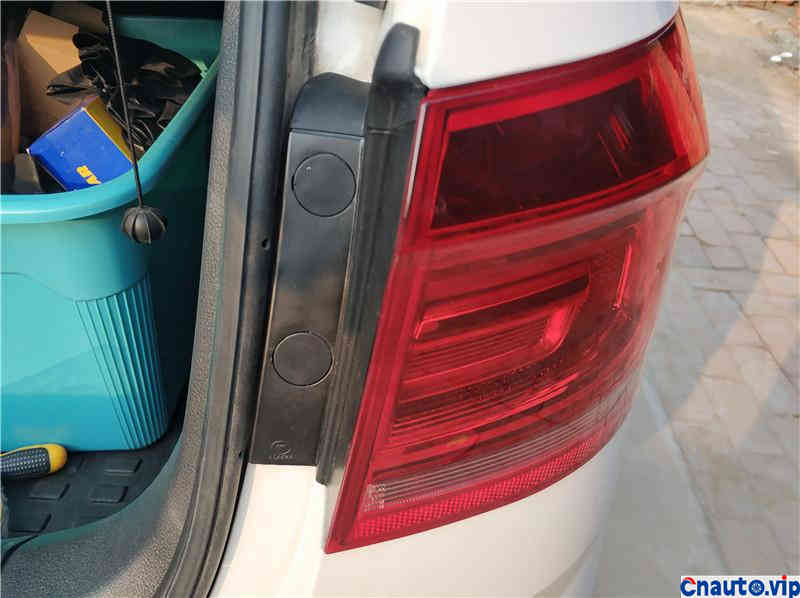
Push it in in the direction you just saw, tighten the screws after pushing it into place, and install the decorative cover.
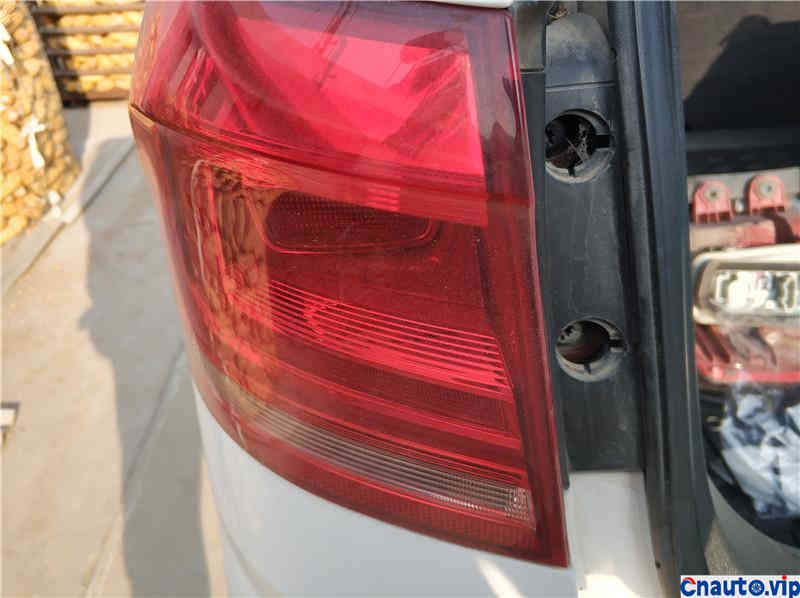
Replace the left corner light using the same operation
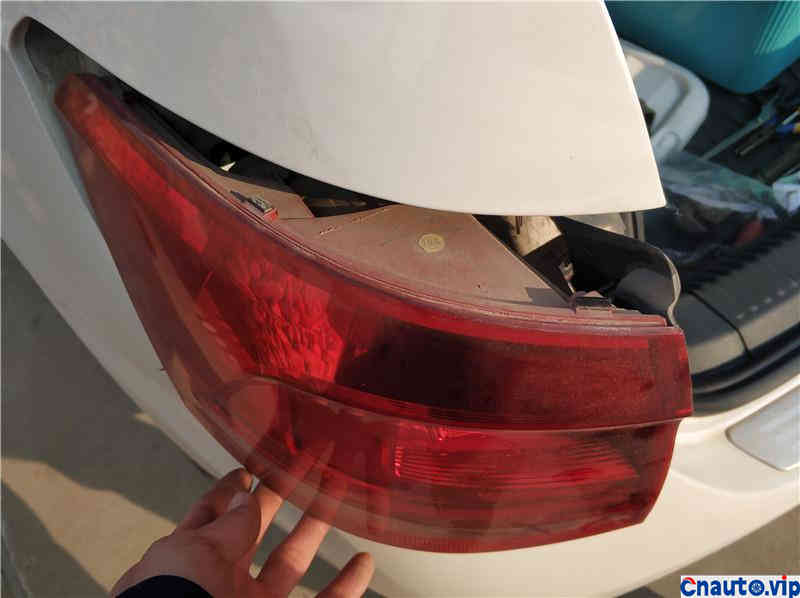
Remove old lights
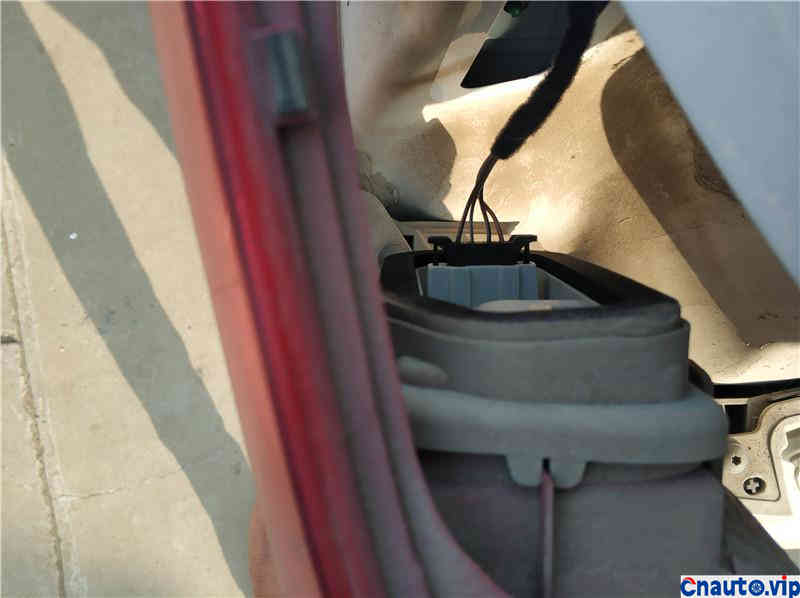
Unplug the light cord
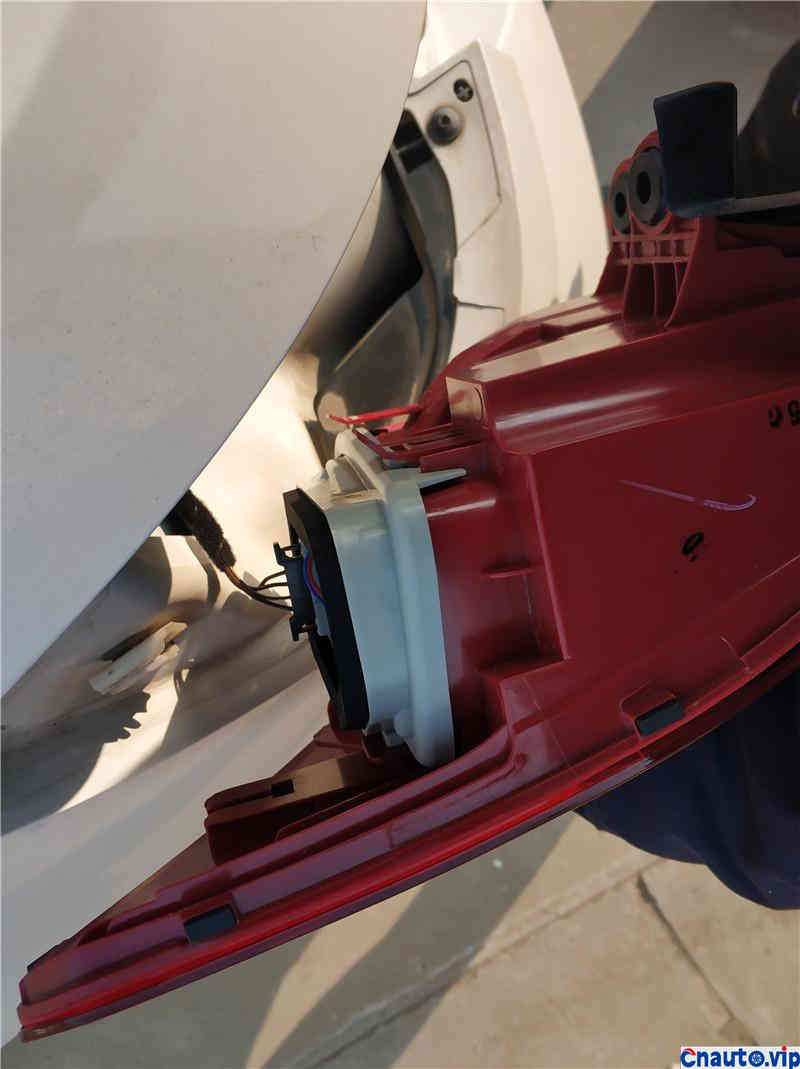
Put on a new corner light
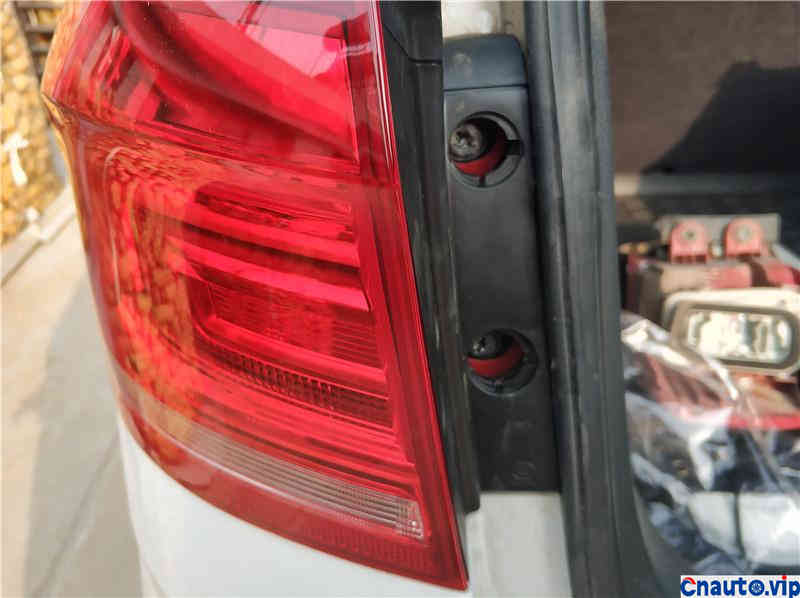
Tighten the screws after pushing in place
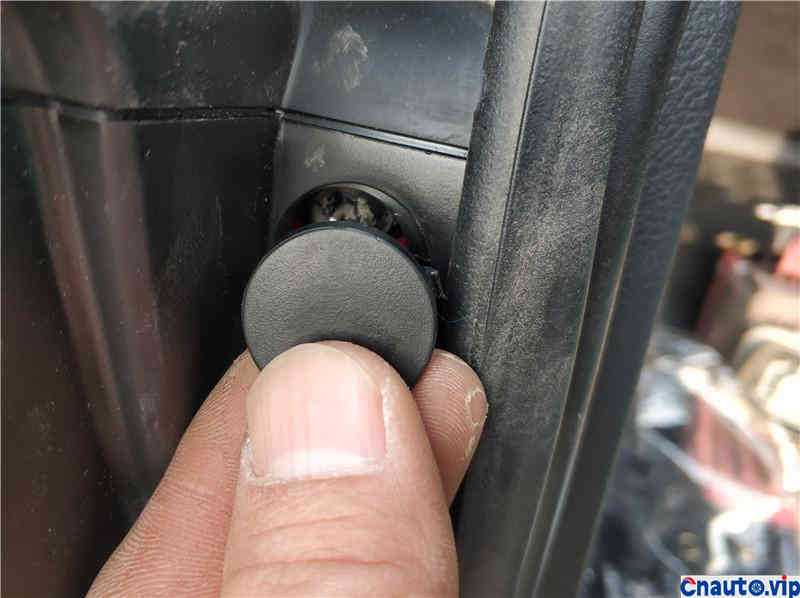
Fasten on decorative cover
Even if the two bent lights are completed, we will start replacing the two flat lights. This will be relatively more difficult.
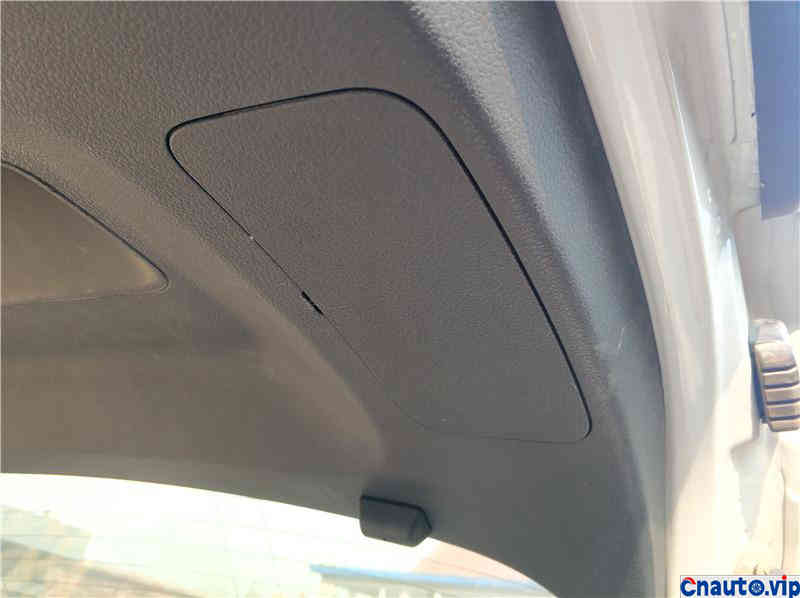
First replace the flat light on the right, and first pry open the front interior cover
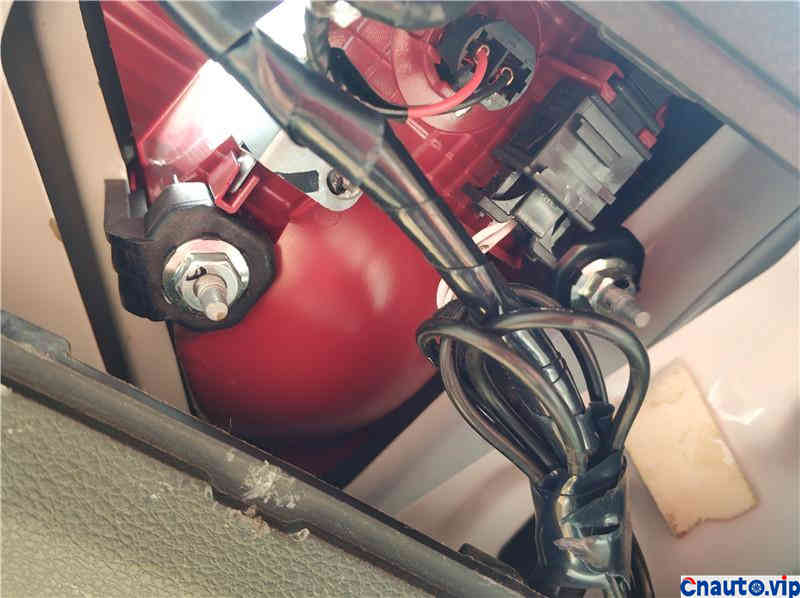
See two screw clips
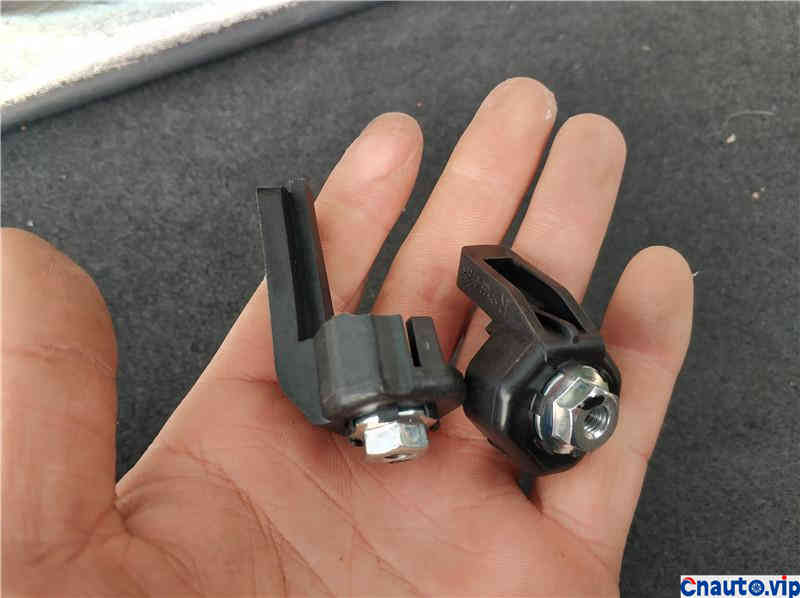
Remove them all, and then unplug the light cord and remove the tail light.
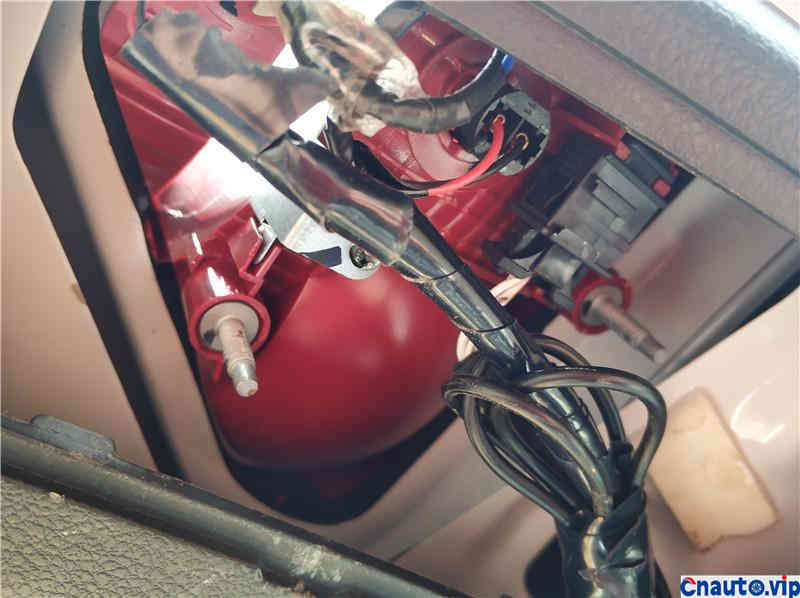
Because of the backup light strip, I look a little complicated here. Remove the wire from the reversing light strip first
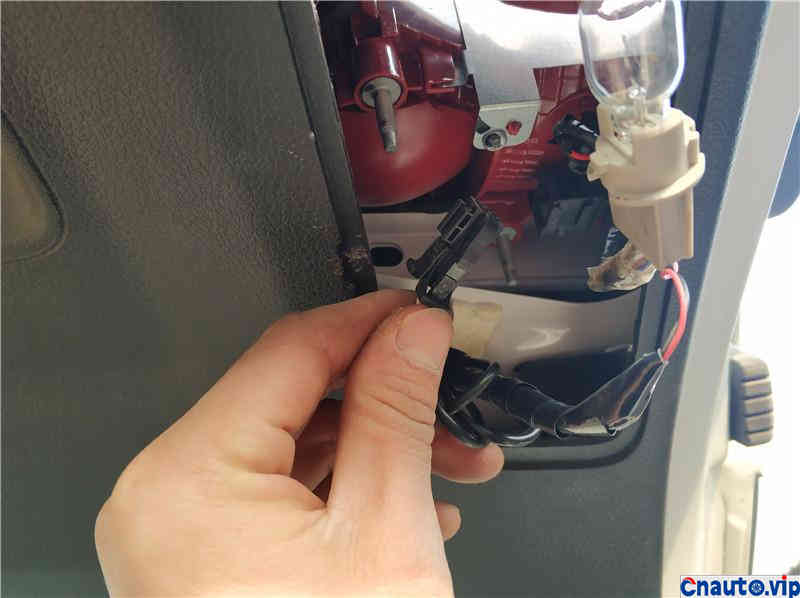
Then unplug the light cord and the old light can be removed
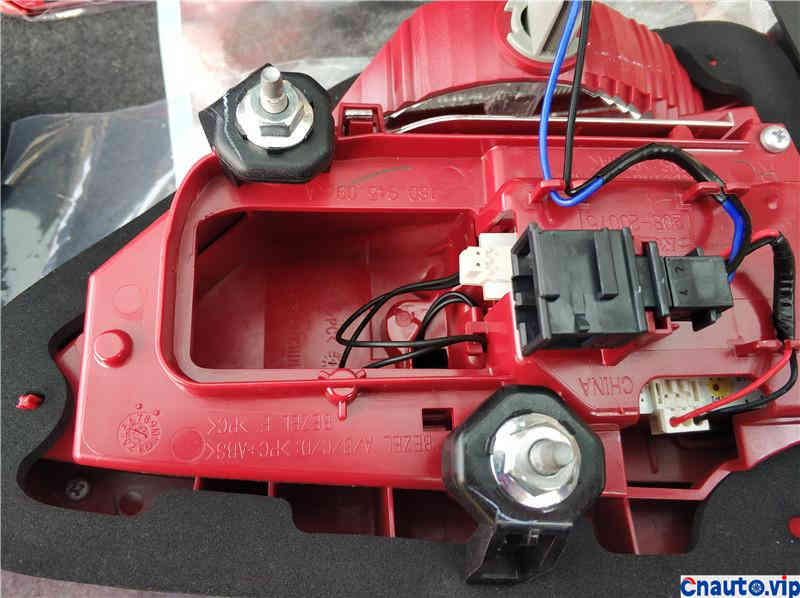
Then unplug the light cord and the old light can be removed
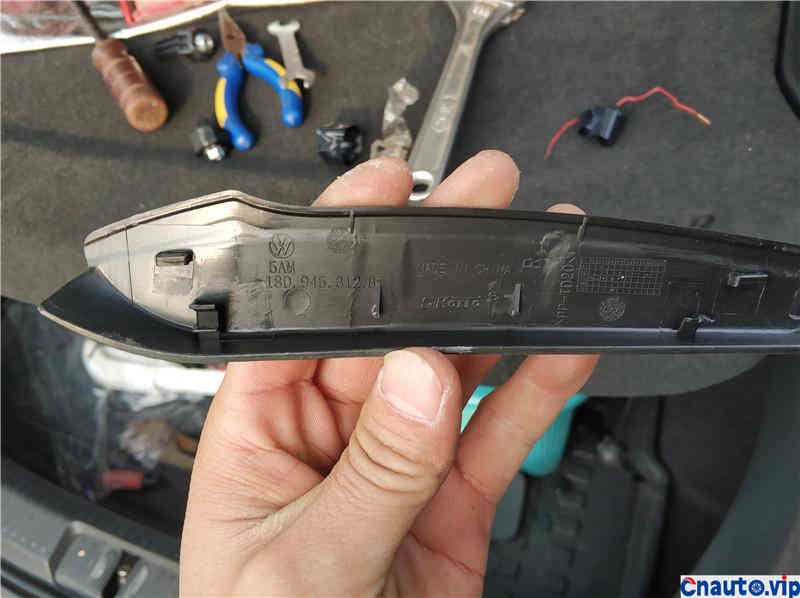
Then remove the decorative panels on the side
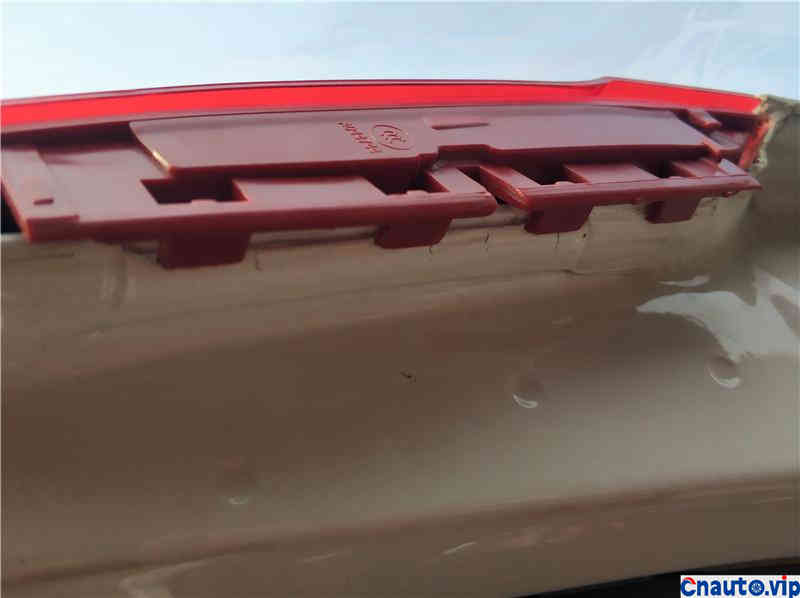
The only difficulty in installation lies here. First of all, clamp the row of clips on the side onto the sheet metal, paying attention to clamping in place.
Then install the two screw clips. Without this, the lights cannot be installed in place.
Then install the two screw clips. Without this, the lights cannot be installed in place.
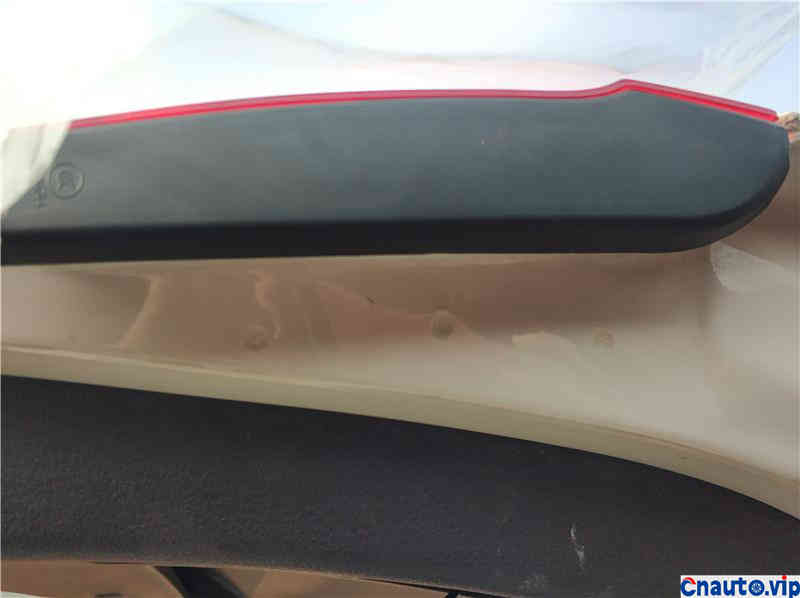
Install the side trim panels
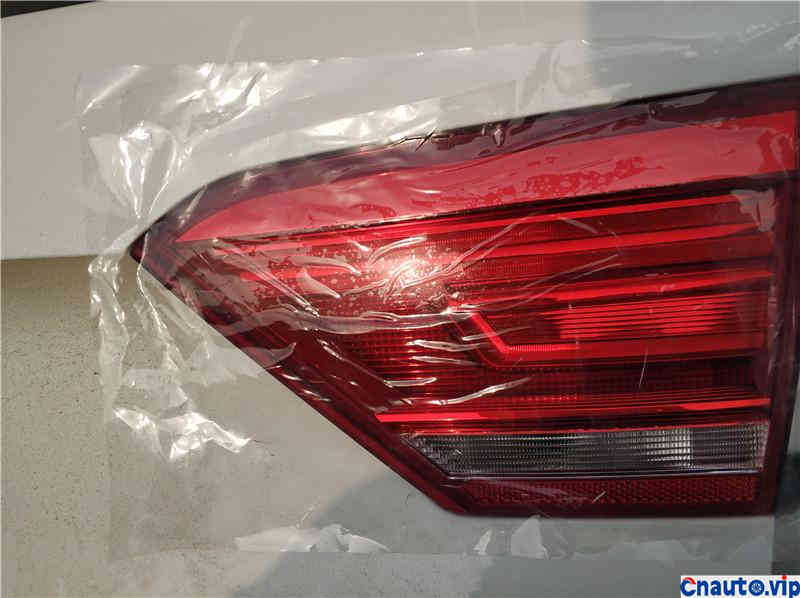
Adjust the installation flatness of the lamp through the tightness of the two screws and the completion is completed
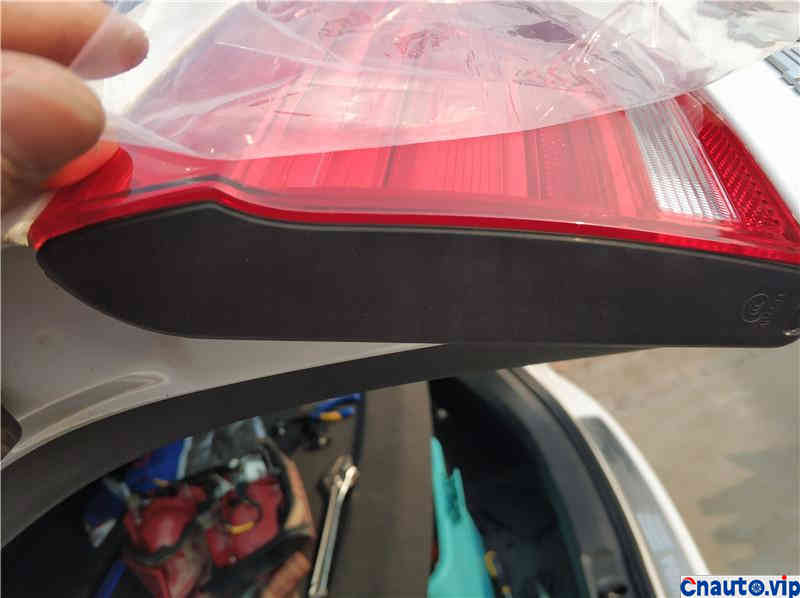
The flat light on the left operates the same way.
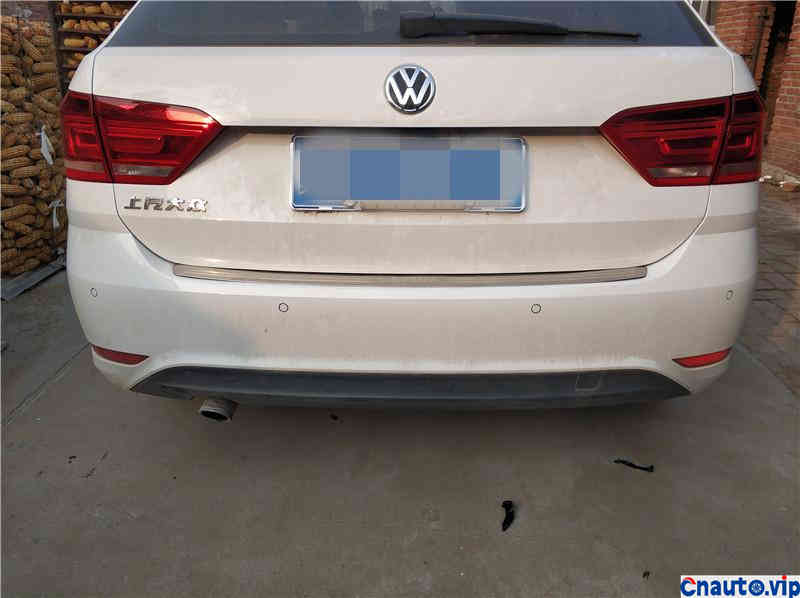
Let’s see the effect after replacing

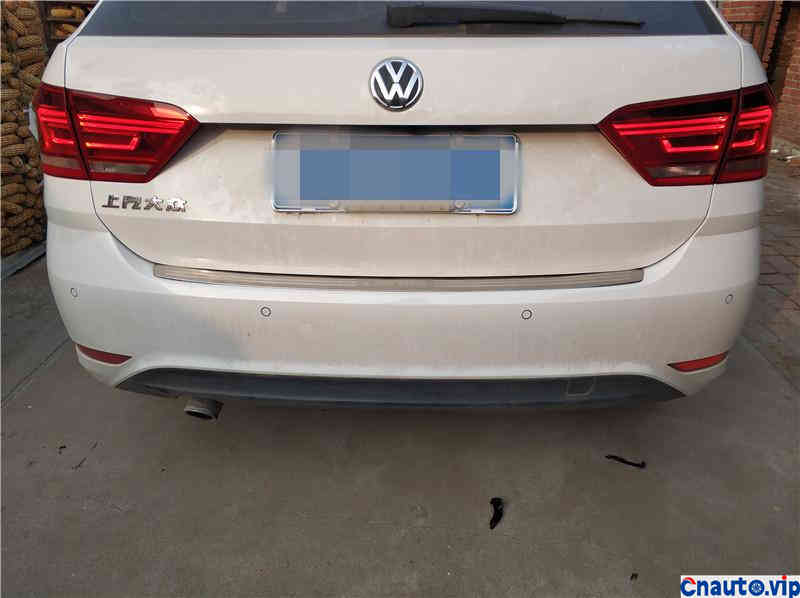
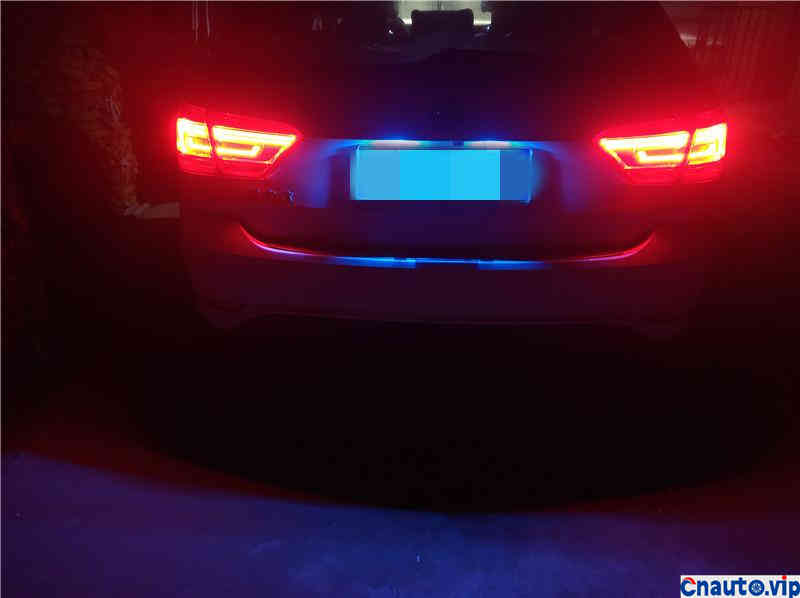
Evening effects
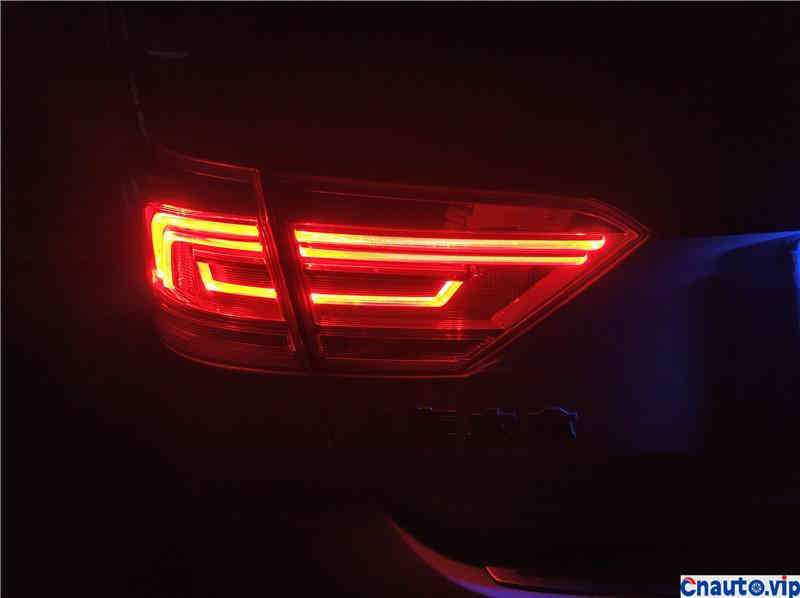
The brightness has been significantly improved
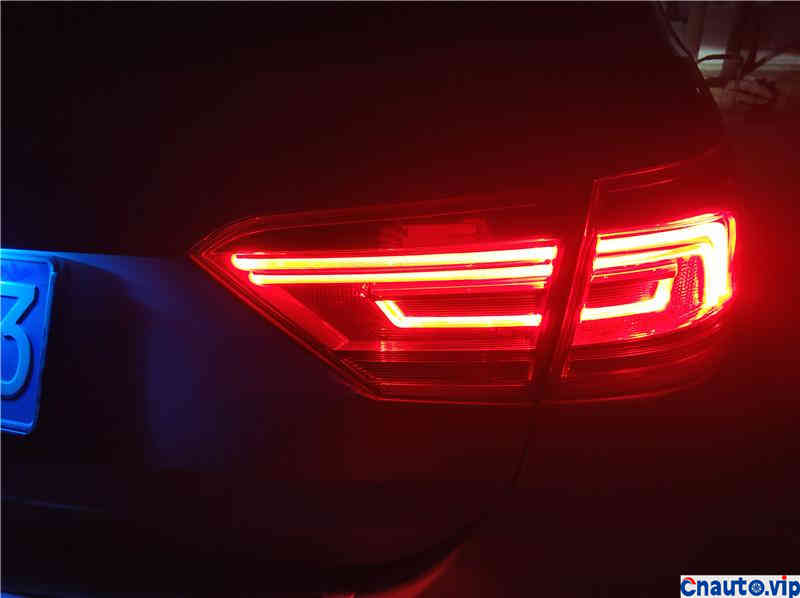

Fog lamp effect

Brake effect
Hot Information
Tesla Autopilot and similar automated driving systems get ‘poor’ rating from prominent safety group
 April 1, 2024
 Localization of EV parts without production scalability may not help cut EV price, says President, Amara Raja
 March 27, 2024
JCTSL may turn bus stands into charging points for e-buses
 March 27, 2024
 You May Like

