Do it yourself, have enough food and clothing, and replace the thermostat rubber pad.
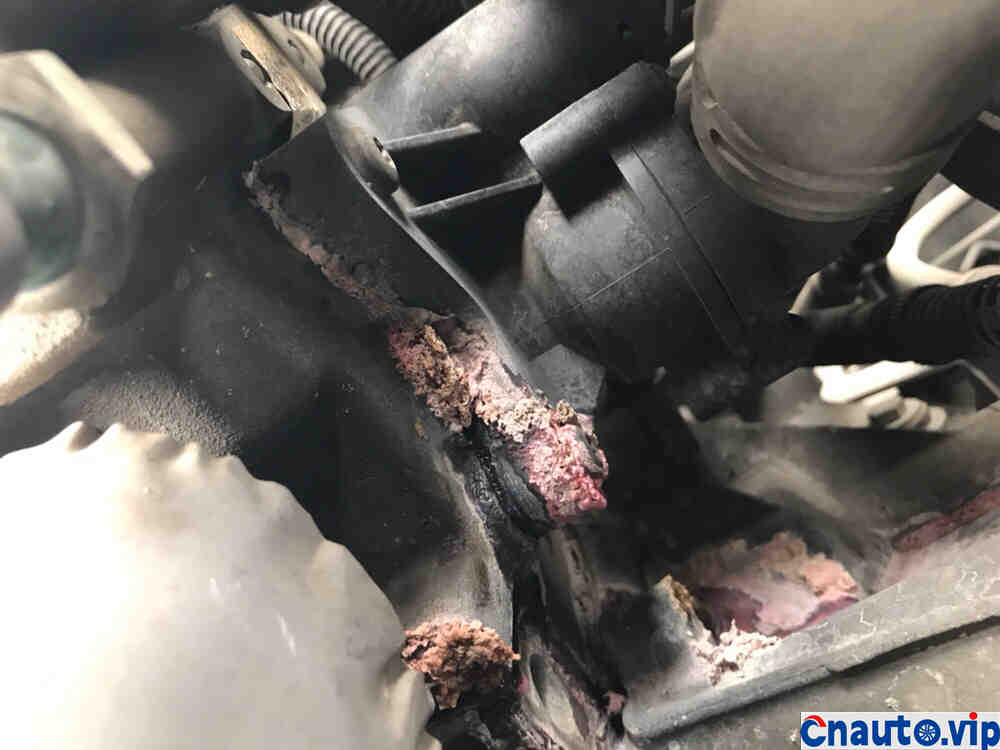
Last week, an eight-year-old pineapple went to save a car. When he opened the cover, he found that the coolant was leaking, leaving shocking traces… At first, he thought it was the coolant leakage from the engine mat, and he thought he was going to make a big move. Later, after careful observation, it was found that it was a leak between the thermostat and the engine.
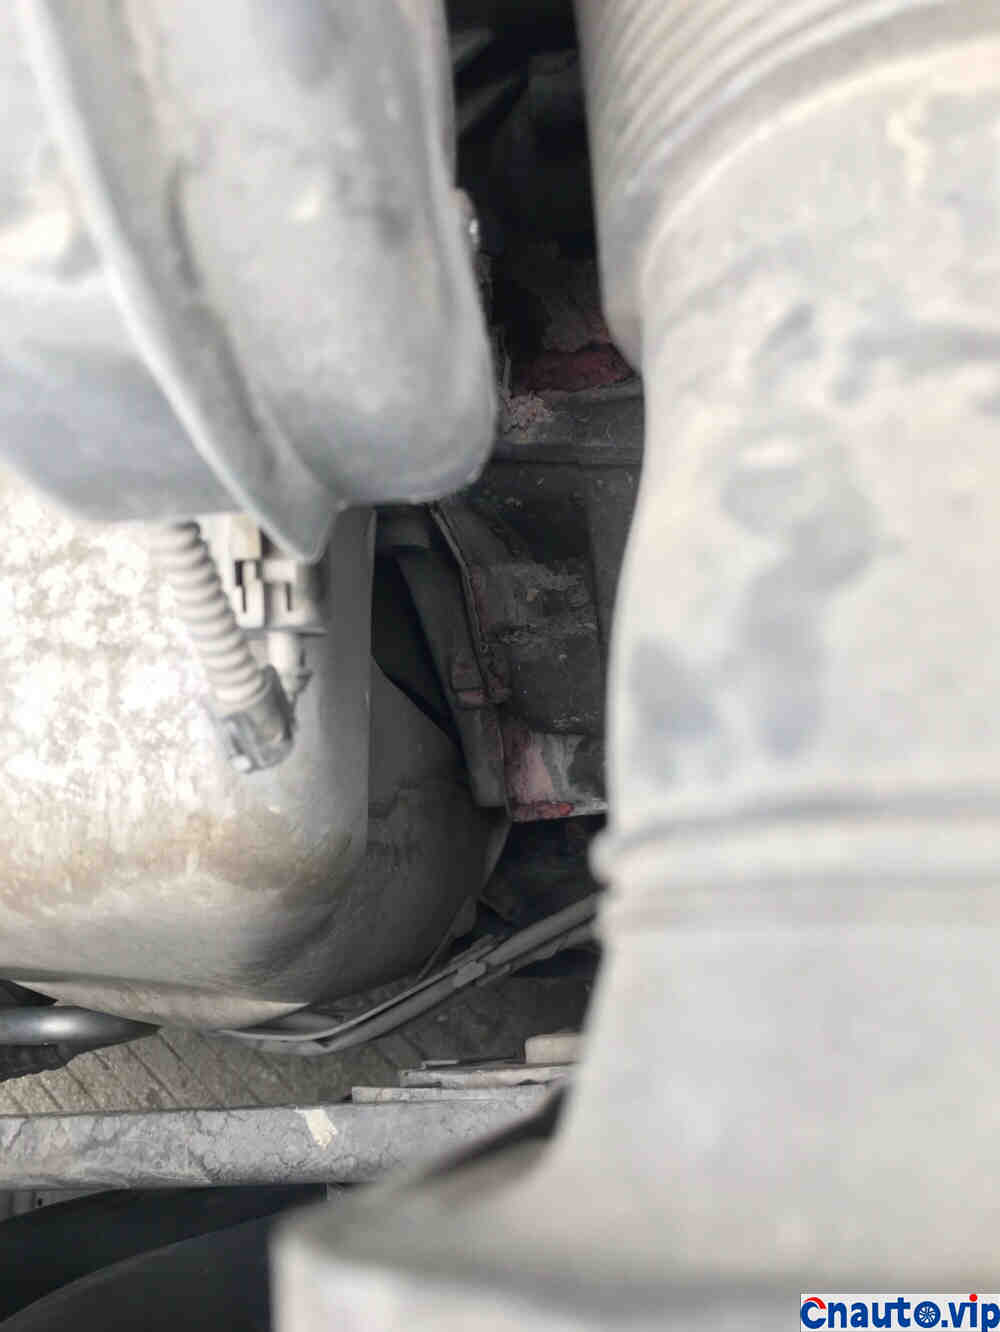
Looking at the traces of coolant, my heart turns cold…
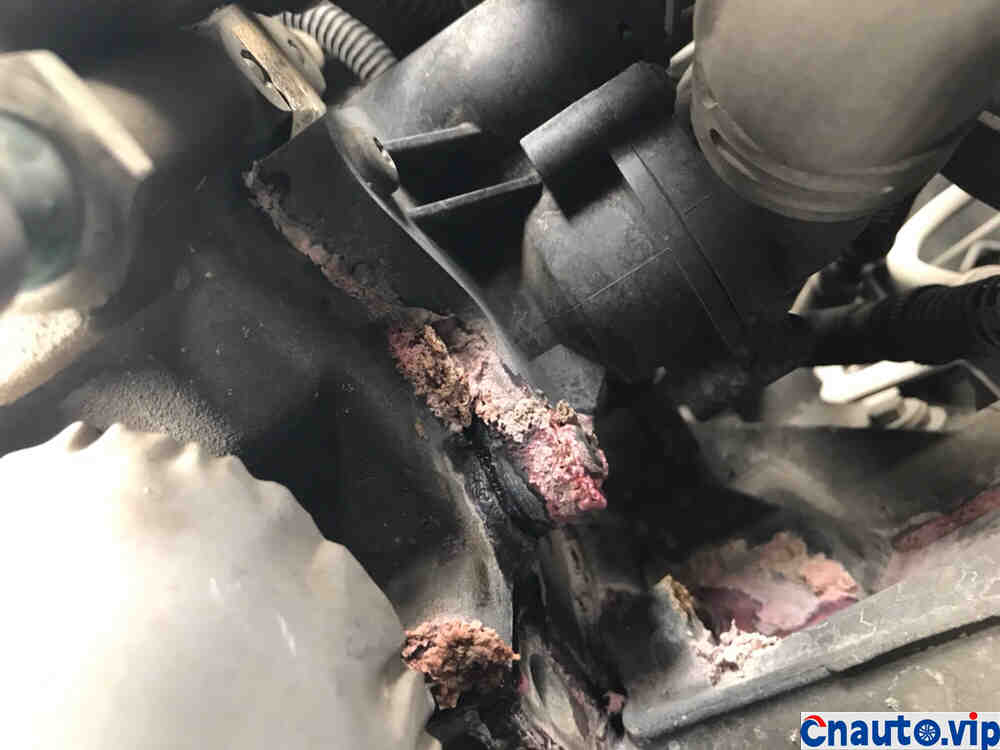
Later observation found that this was leaking.
Then I called my fourth son and replied that the thermostat assembly replacement, coolant, and working hours cost about 700 yuan…
I thought it wasn’t too expensive, so I could get it. I wondered if there were rubber pads sold separately, but I couldn’t find them anywhere. Finally, I found them in a treasure and found that the quality was still very good. It seemed to be imported accessories… I was so happy…
I thought it wasn’t too expensive, so I could get it. I wondered if there were rubber pads sold separately, but I couldn’t find them anywhere. Finally, I found them in a treasure and found that the quality was still very good. It seemed to be imported accessories… I was so happy…
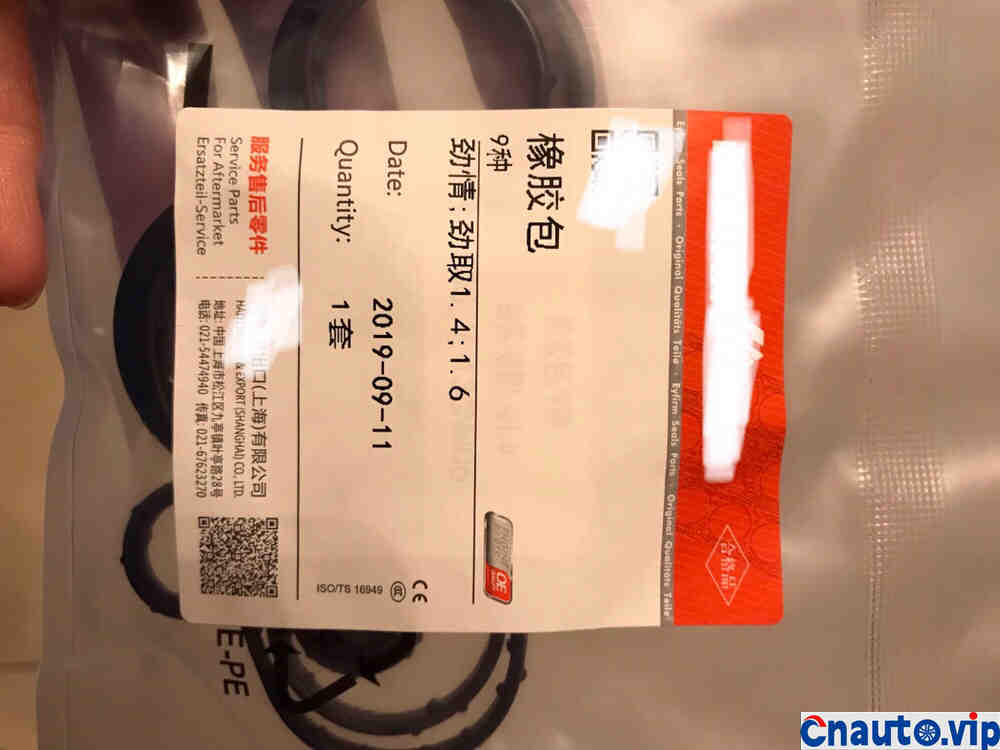
There are no separate, nine rubber parts.

Work started at 9 o’clock the next day and drove out of the basement, thinking that if I couldn’t handle it, the trailer could come in![]()
![]()
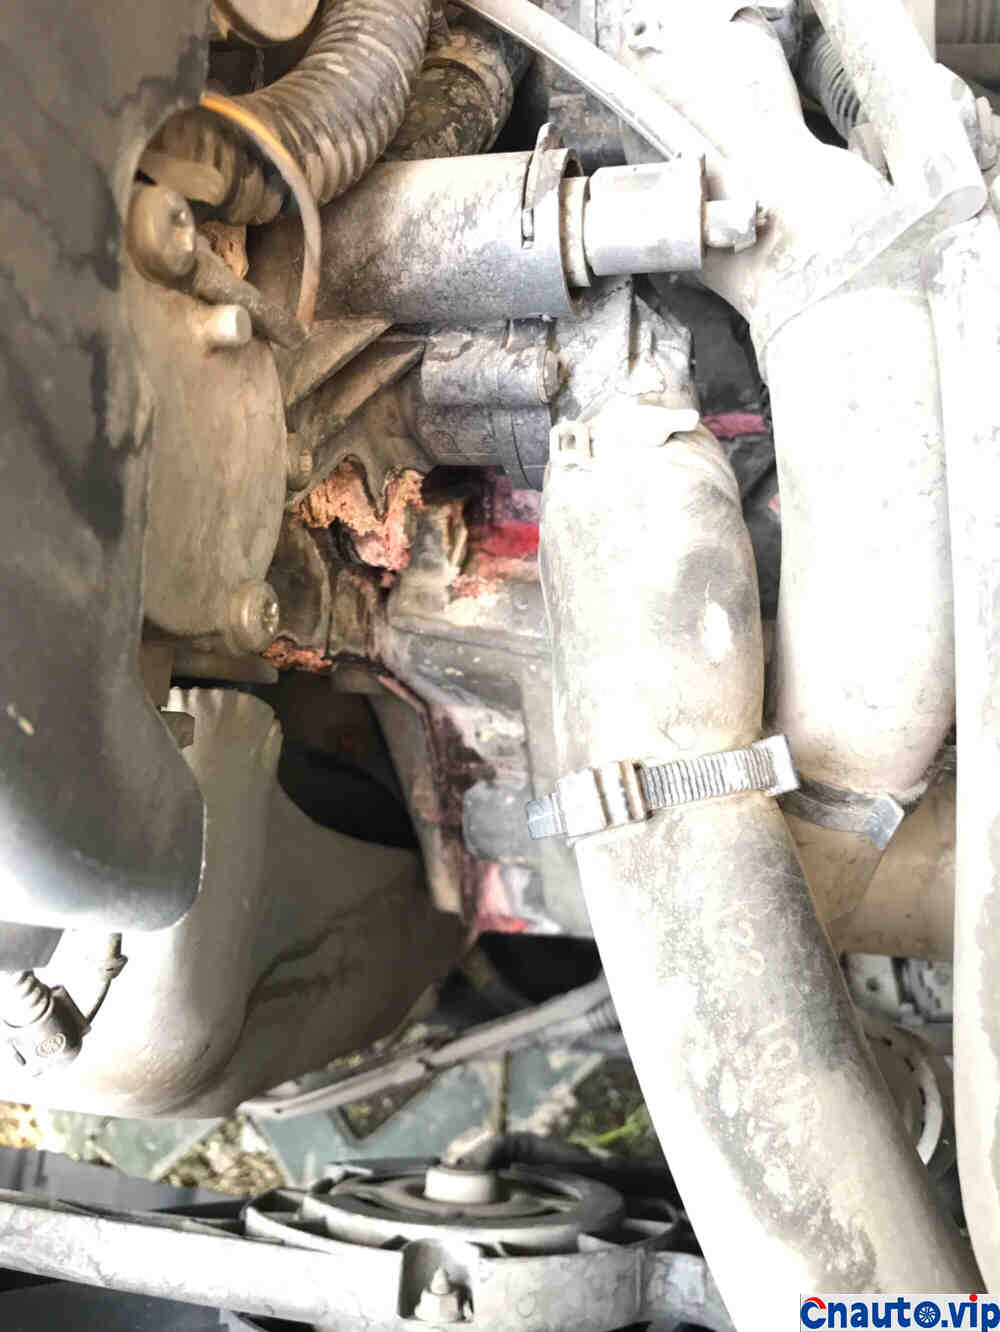
Remove the entire empty filter box without opening it, go straight to the entire end.

Isn’t it shocking to see…

Loosen the 4 screws and the coolant flows out. Use pliers to open the clips and block various pipes… It’s hot.
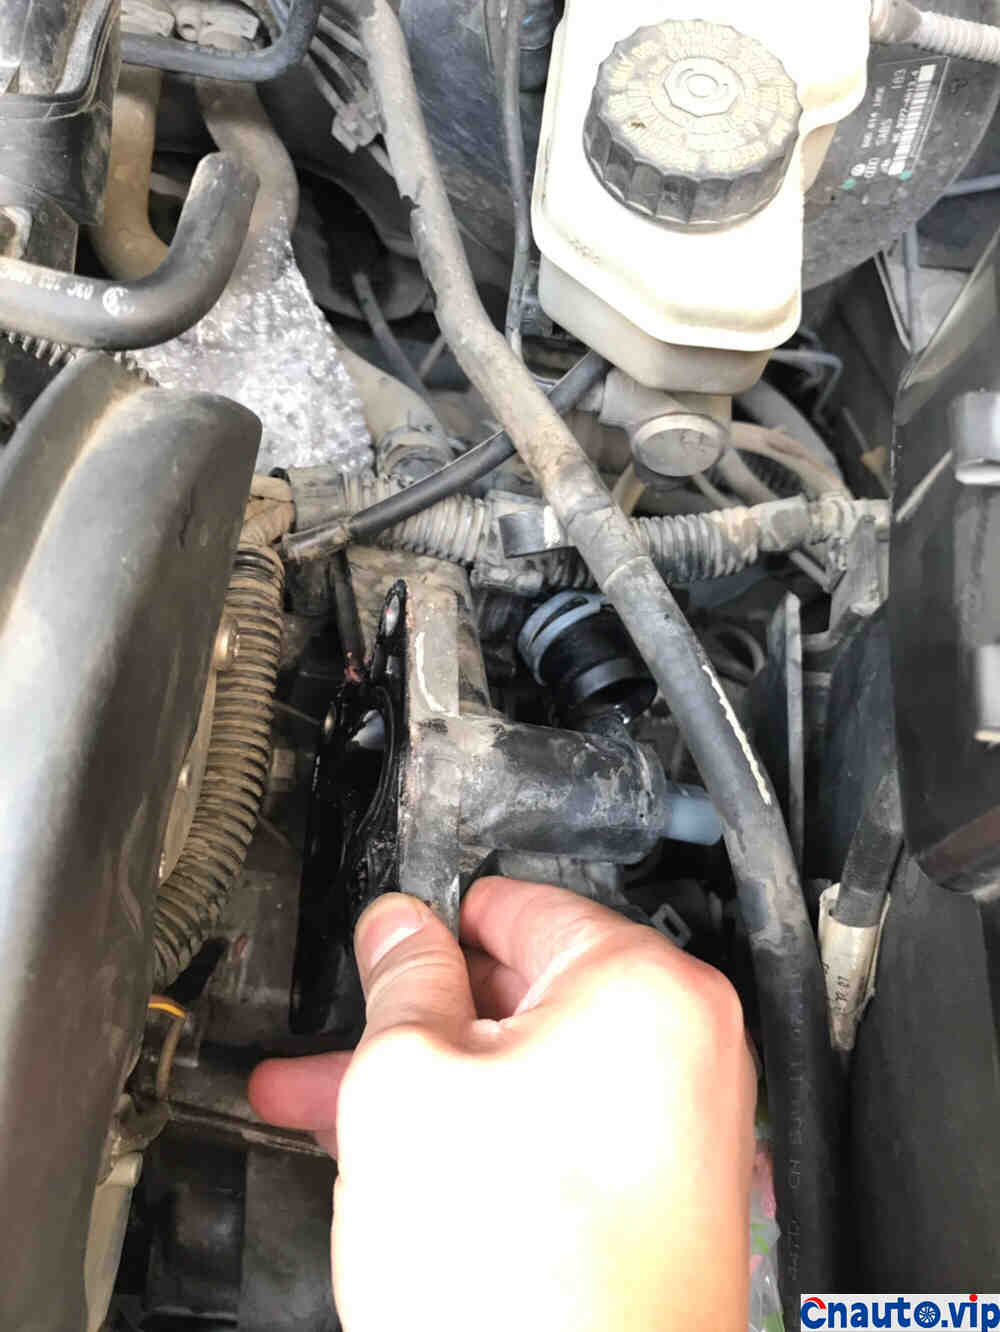
Note that the coolant pipe at the innermost end, behind the engine, must be loosened and is hard. Don’t use too much force. This joint is a plastic clip structure. Pry the clip outward and it will easily disengage. Seeing the rubber pad on this side,

The one on the left is old and you can see that it has aged.

It fits perfectly, and you can see that the rubber pad is higher than the thermostat plane.

You can see that there are many solid blocks left by coolant on the interface plane of the engine, which are cleaned up with a blade.
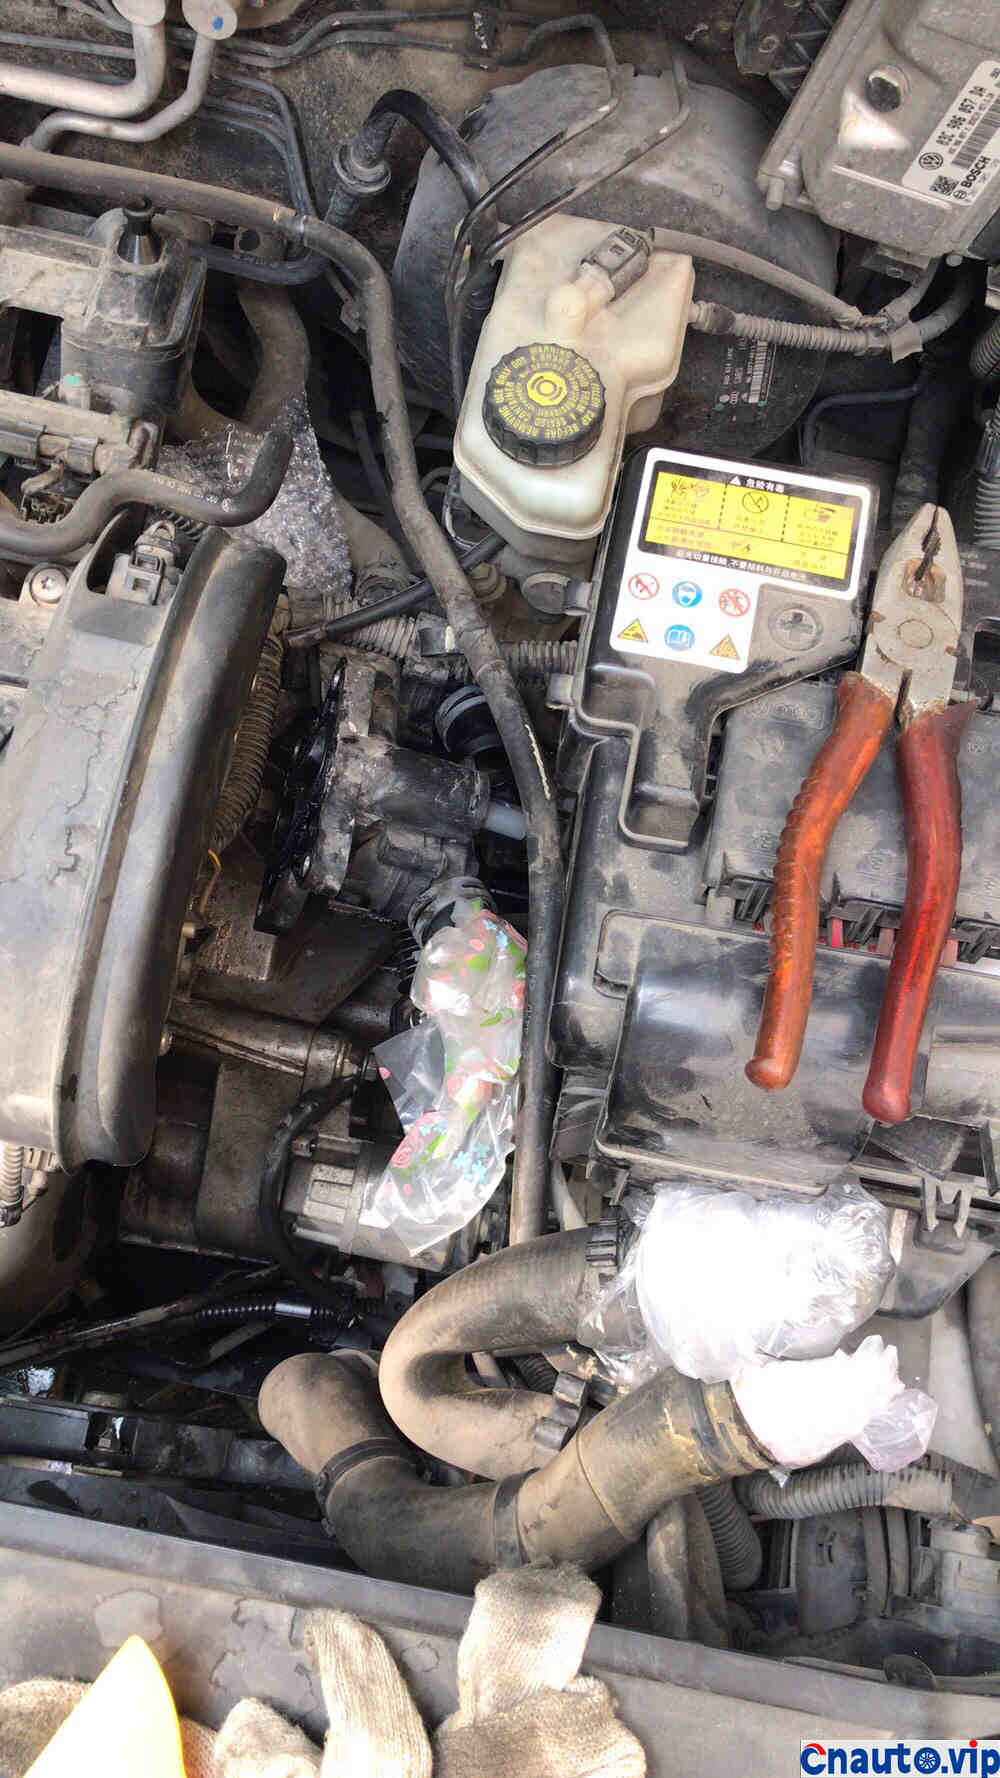
Everything is ready for reverse loading.
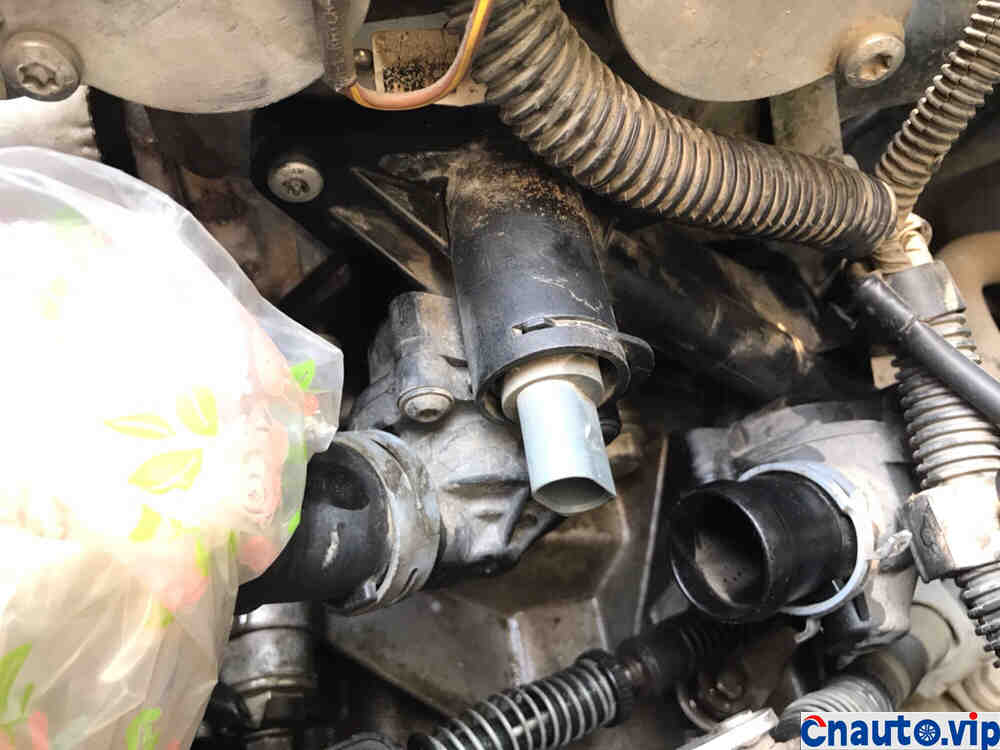
First install the main water pipe on the back. and 4 screws.

Put it back into the empty filter box. The rubber bag contains the rubber ring of the exhaust gas heating device. Change it together.

That’s it.

Then install the two large water pipes in front. Note that ordinary pliers can be used for this clip when removing it. If you do not have special tools when installing it back, be sure to prepare fishtail pliers with large openings.

Replace the plug.

Add coolant and ignite. I didn’t think I had much coolant, but I added about 2.5 liters in total. It’s still quite a lot, of course, it’s a total of front, back and back exhaust.
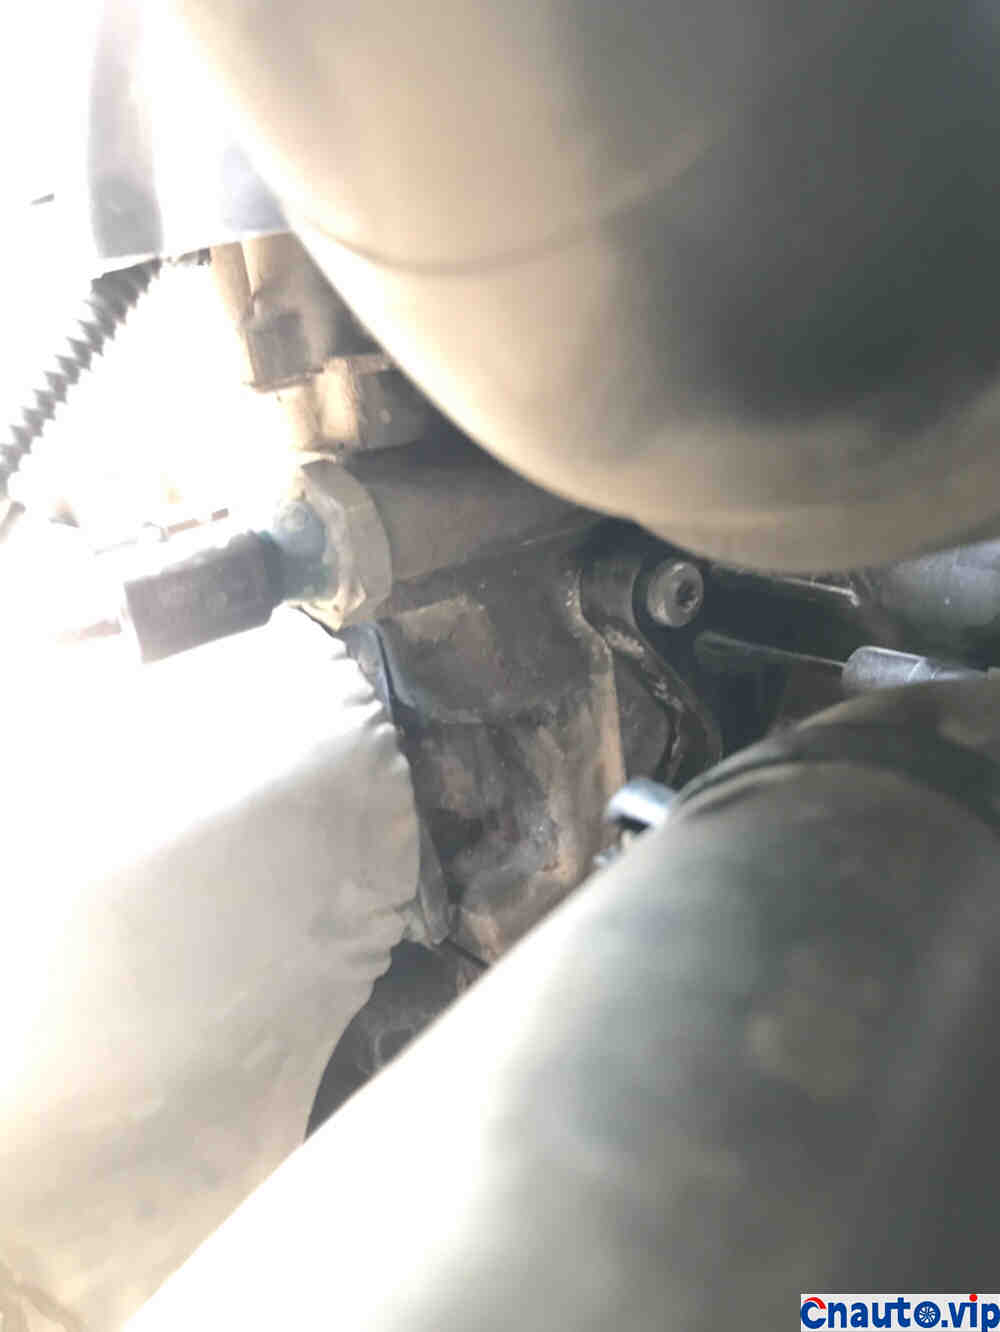
Observe for leaks after ignition.

This was taken after running about 600 kilometers, and it was back to a dry look.
Compare it.
Hey, the car is getting old. The tire battery was replaced last month, and antifreeze leaked again. Immediately, another 1.5W kilometers were out of maintenance.
Speaking of which, the focus this time is on the large water pipe connection behind the engine and the exhaust of coolant. The exhaust of coolant cannot be rushed, and it is estimated that it will not be cleaned once or twice. At the beginning, after the car starts on fire, wait until the coolant is added. After the fan turns on, observe the liquid level in the expansion tank. When the fire is reduced, continue to add. Pay attention to place a handkerchief on the cover and slowly open it. At this time, there is air and a little coolant erupts. Add it to the center line until the coolant is no longer reduced.
Don’t worry and be bold!
Hot Information
Tesla Autopilot and similar automated driving systems get ‘poor’ rating from prominent safety group
 April 1, 2024
 Localization of EV parts without production scalability may not help cut EV price, says President, Amara Raja
 March 27, 2024
JCTSL may turn bus stands into charging points for e-buses
 March 27, 2024
 You May Like

