Doing it yourself is also fun to do it yourself
I have bought my H2 for almost two years, and my impression of it is very good and quite powerful. When I first bought it, I tried my best to ignore public opinion and didn’t buy the XX 35. I always felt that the interiors of that brand were made of a lot of hard plastic, and the seats were also made of fabric, while the interiors of the H2 were mostly made of hollow plastic materials. The touch was very good. In comparison, they were much more advanced. Moreover, the seats were also made of leather. The prices of the two were similar, but they were incomparable in this regard. In terms of strength, the H2 ‘s engine was turbocharged. It’s similar to a small-displacement vehicle. Has different powers.
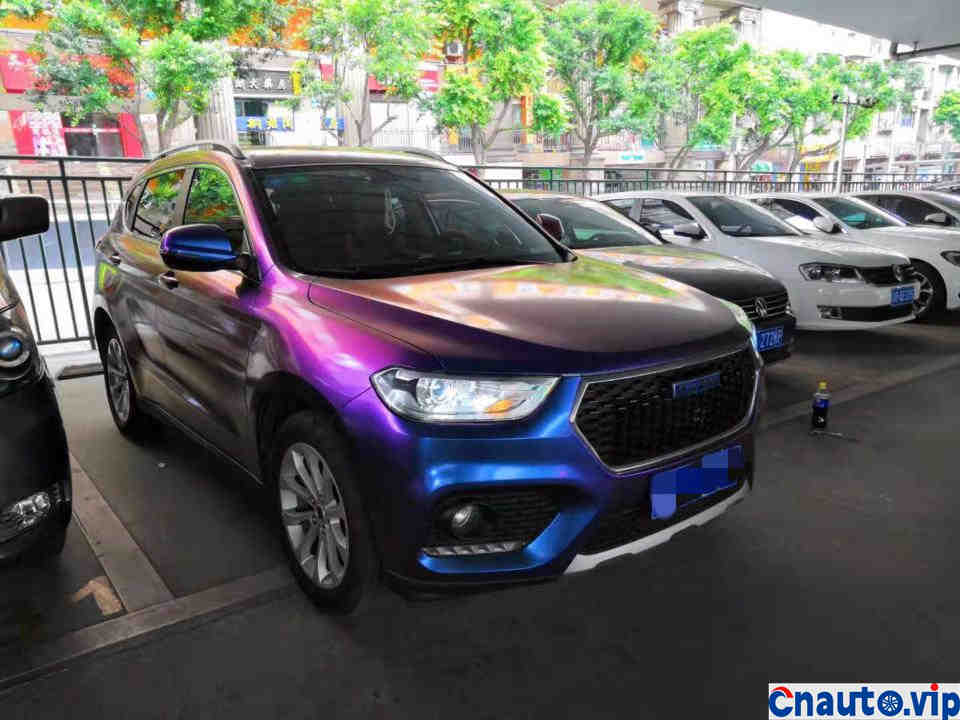
From the appearance point of view, I also think the H2 is quite handsome. I bought the blue label at that time. I felt that the blue label was closer to the vision of young people and had a strong sense of movement.
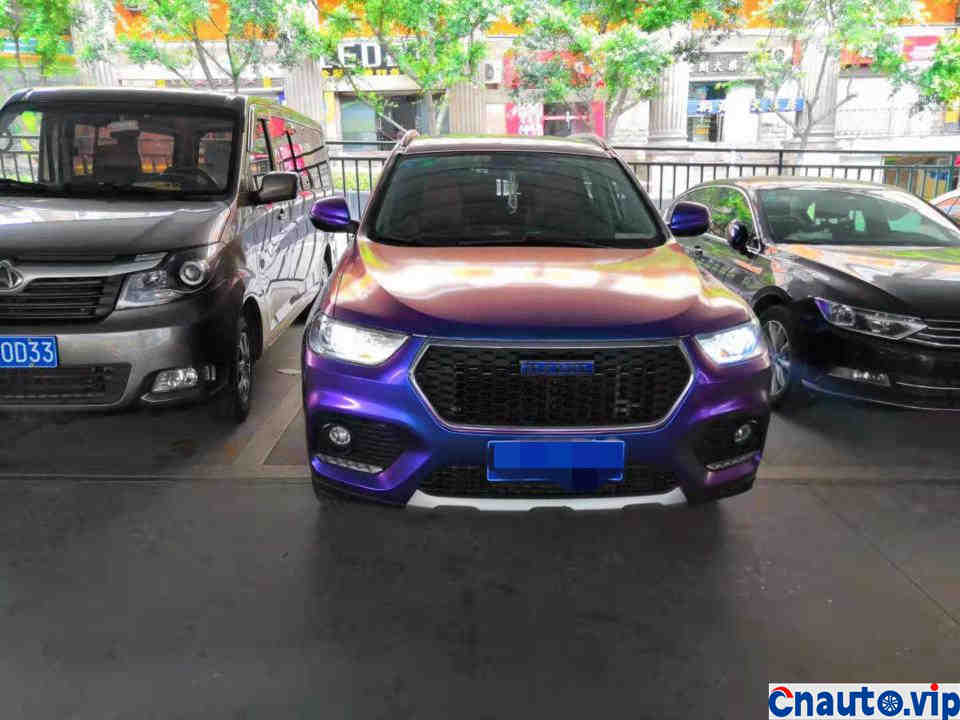
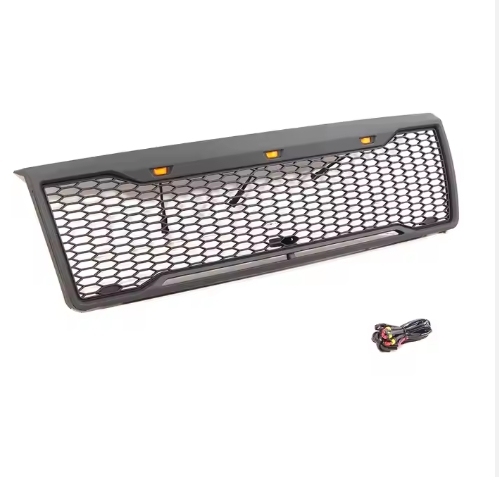
I like this style very much with the hexagonal mid-screen and the honeycomb design.
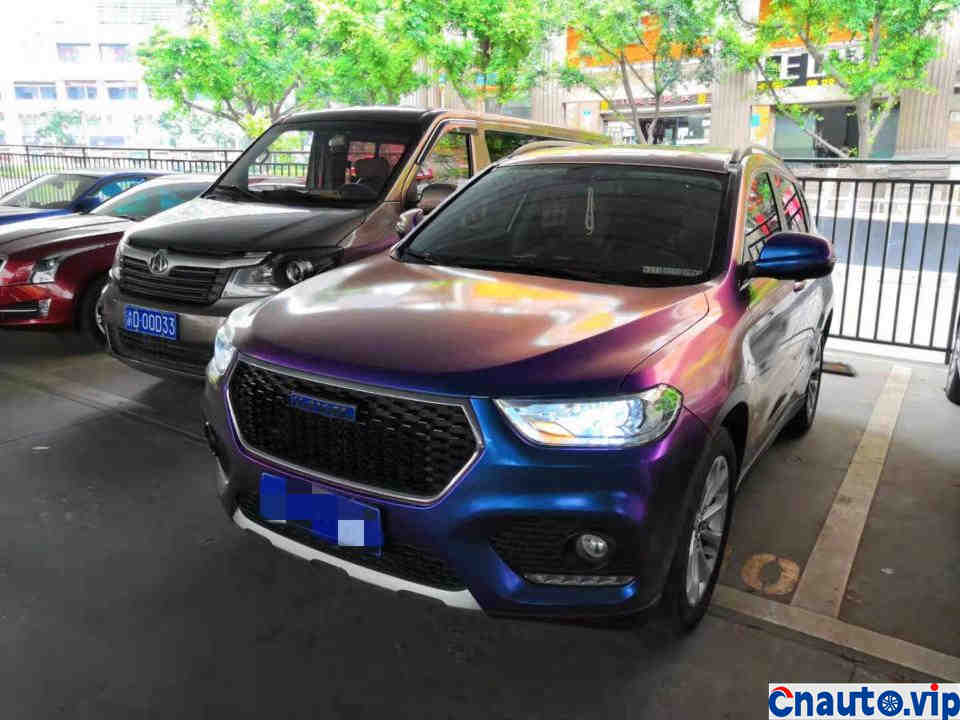
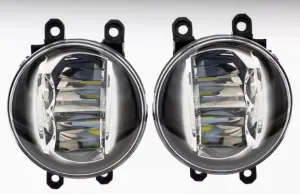
The headlight uses a combination of distance and distance, but the one with a lens is not just a simple halogen bulb. For people who have higher requirements for light at night, you can just change the LED directly. I replaced it with an LED myself. So a car with a lens when it leaves the factory is really good.
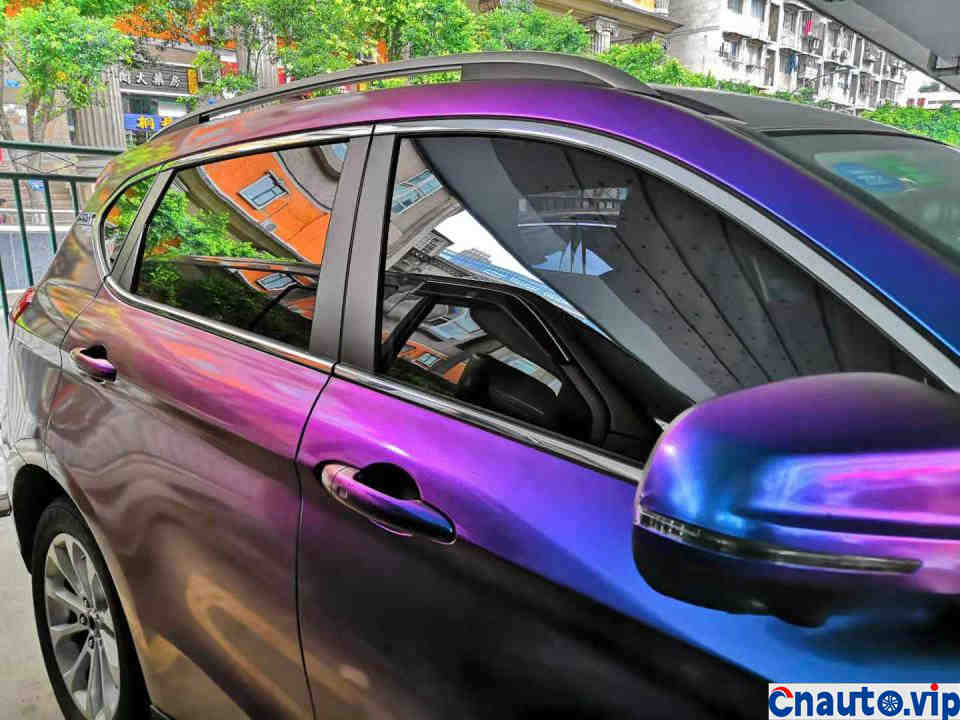
The lines are clear and have bumps and bumps.
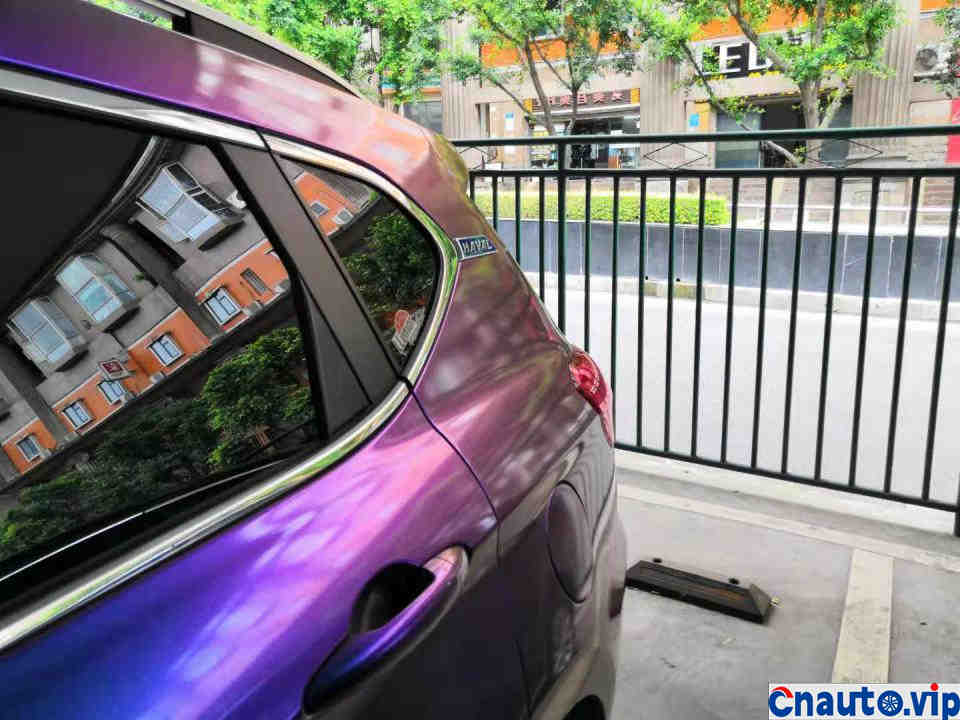
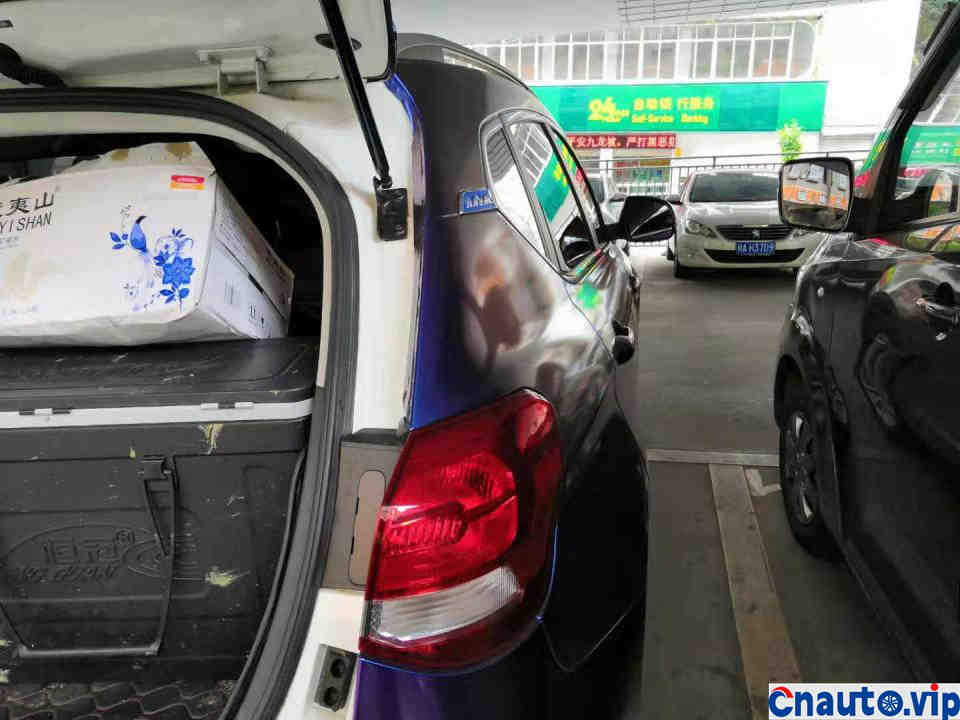
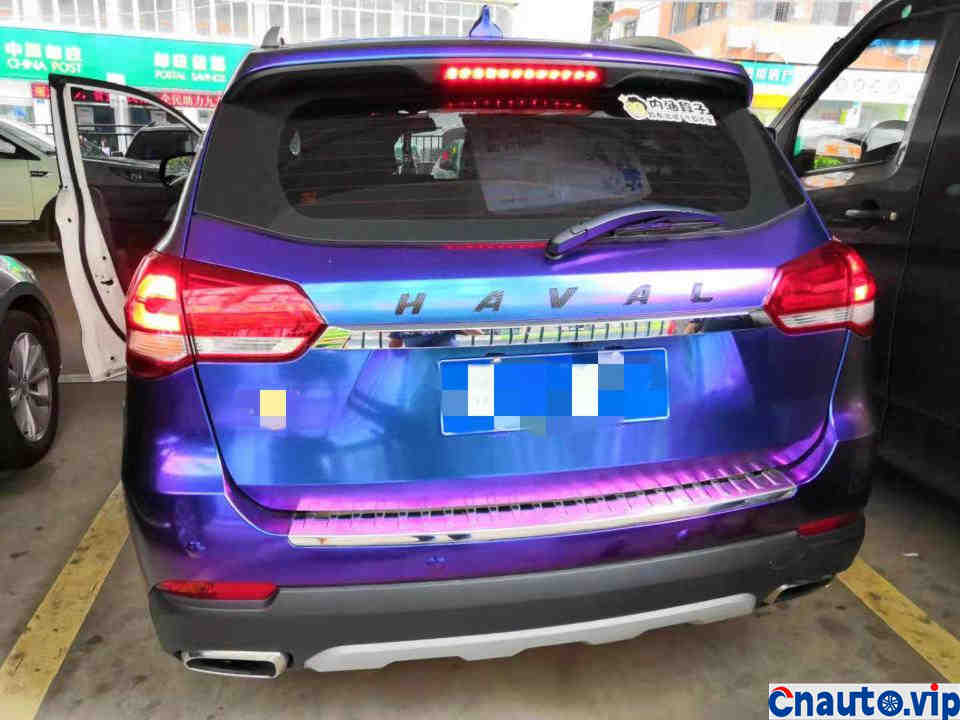
The blue logo on the back is an embellishment and a logo.
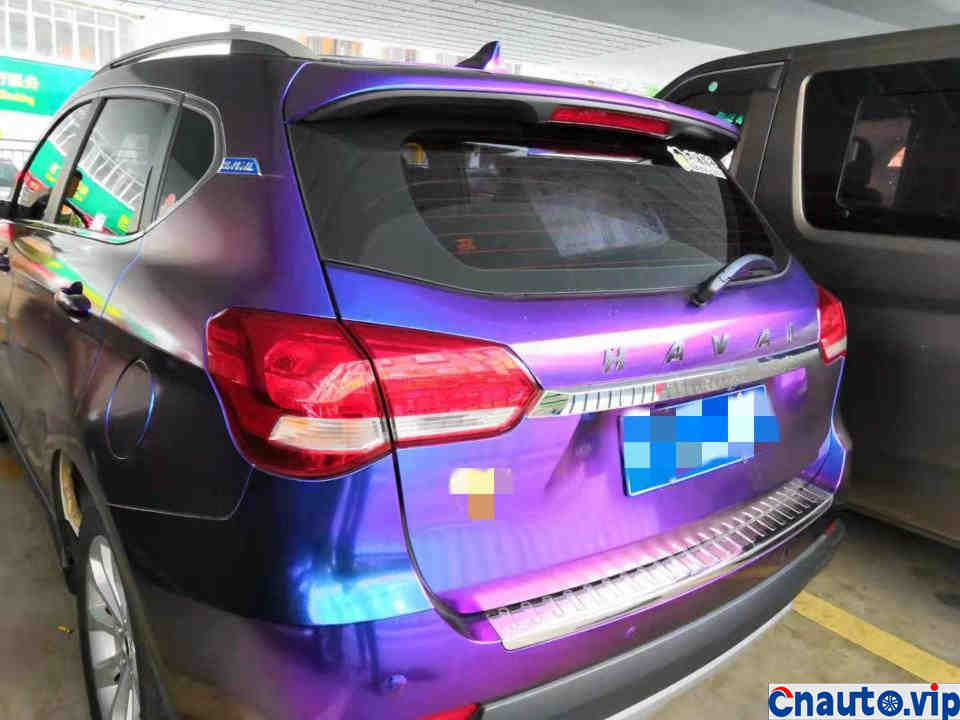
The car’s butt is also very nice. In addition to the LOGO, it also has stainless steel decorative strips, which doesn’t look so simple.
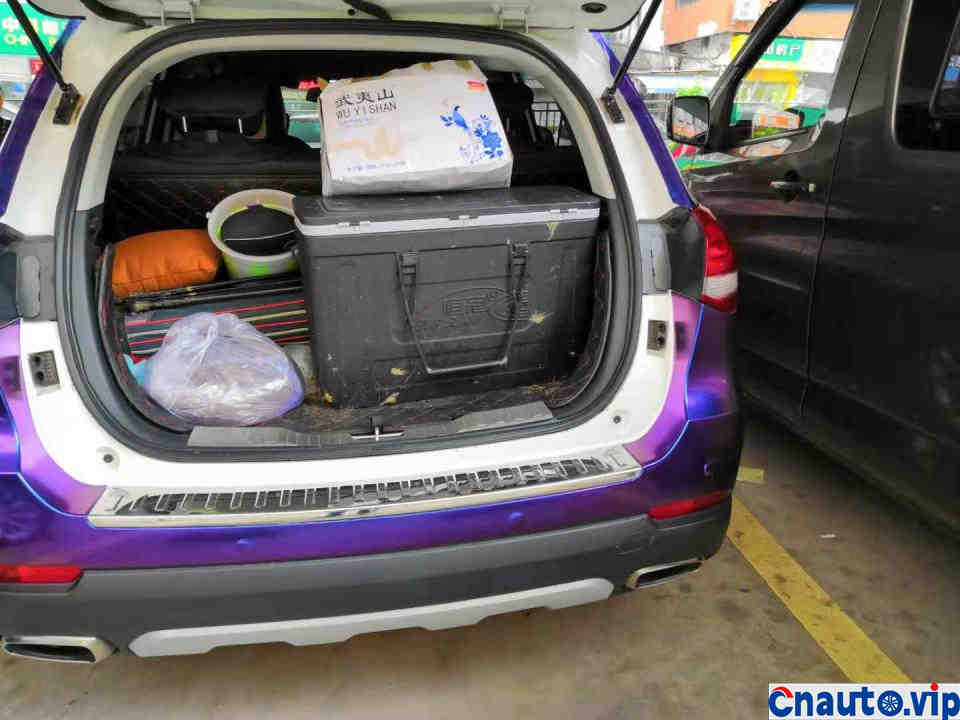
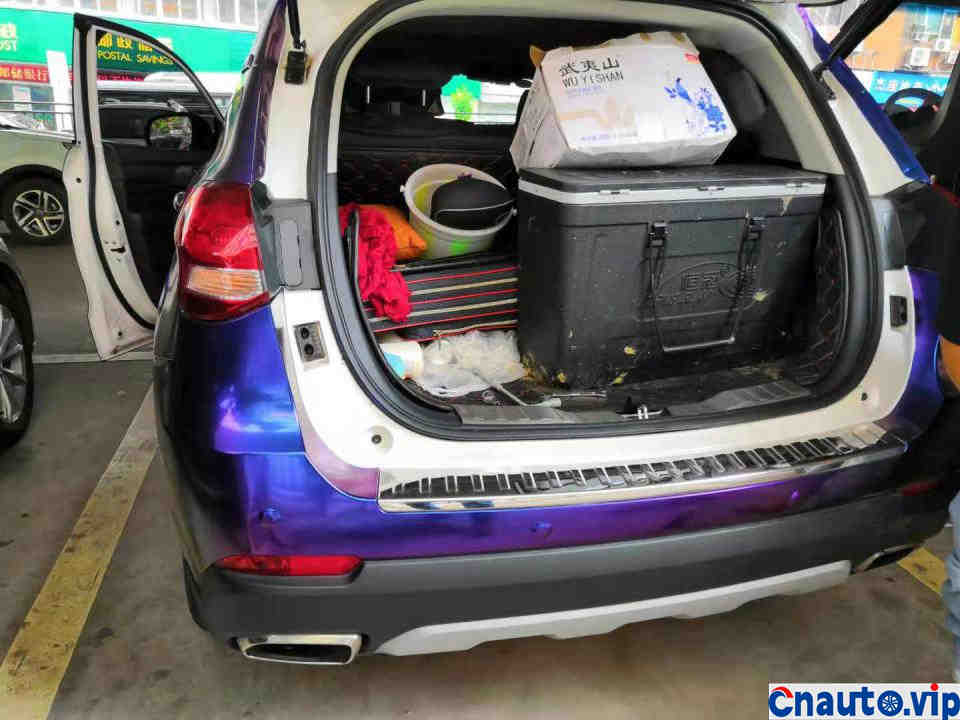
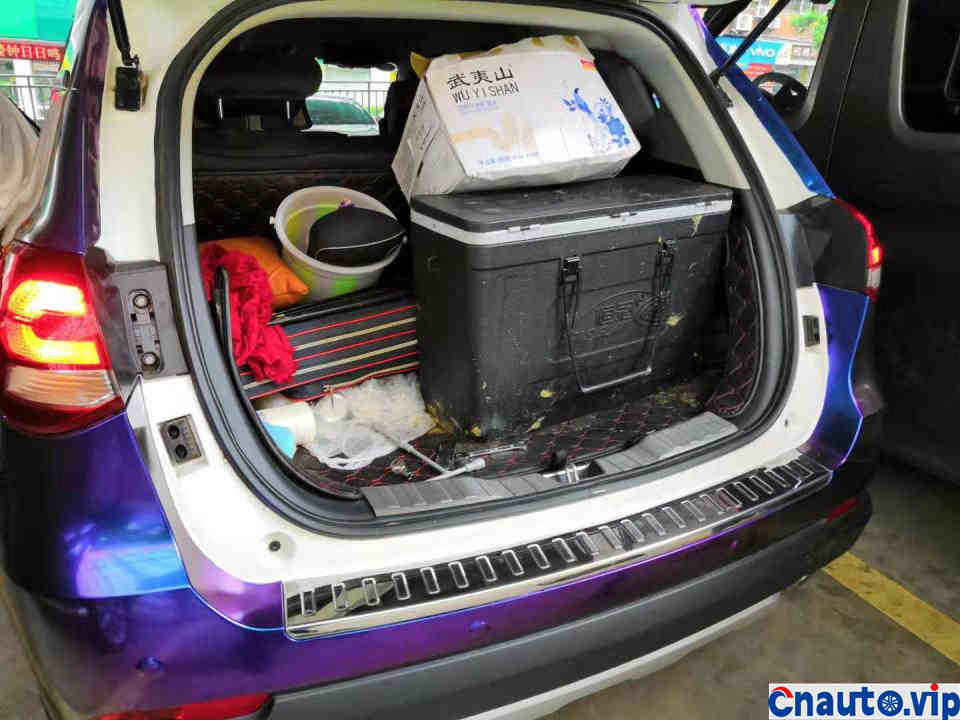
When I opened the trunk, I usually had a lot of things, so I packed it quite full.
It was a white car before it was pasted, but there was no sticker inside, so it could be seen.
Let’s get down to business. This time, the brake light bulb broke, so I planned to change it myself. It’s very simple. I saw how others made it online and learned to do it myself.
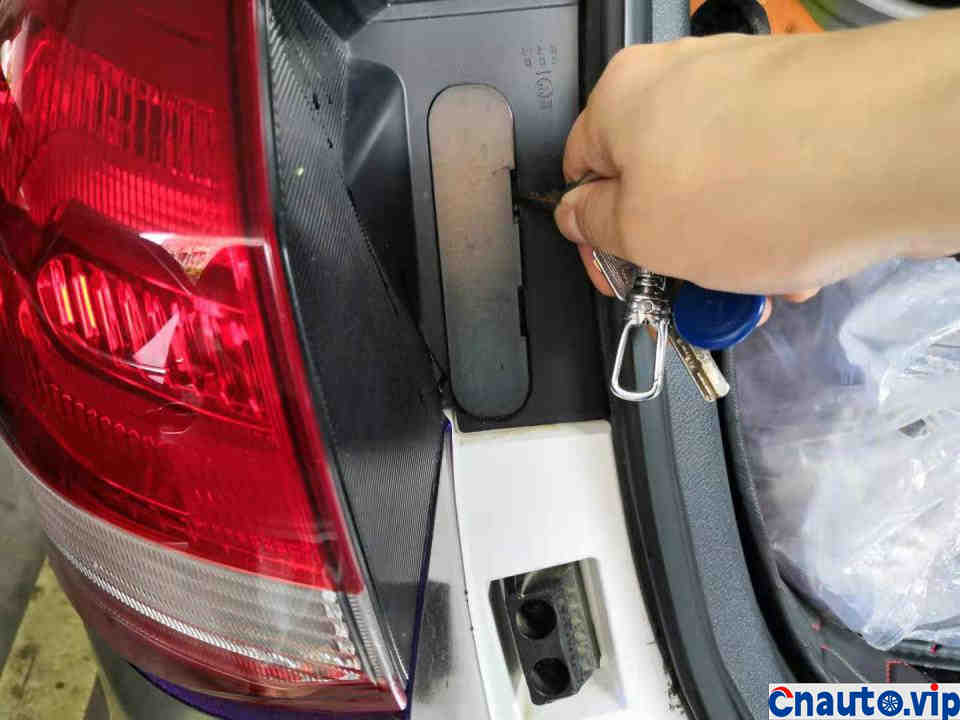
Find anything, as long as it is flat, and open the protective cover first.
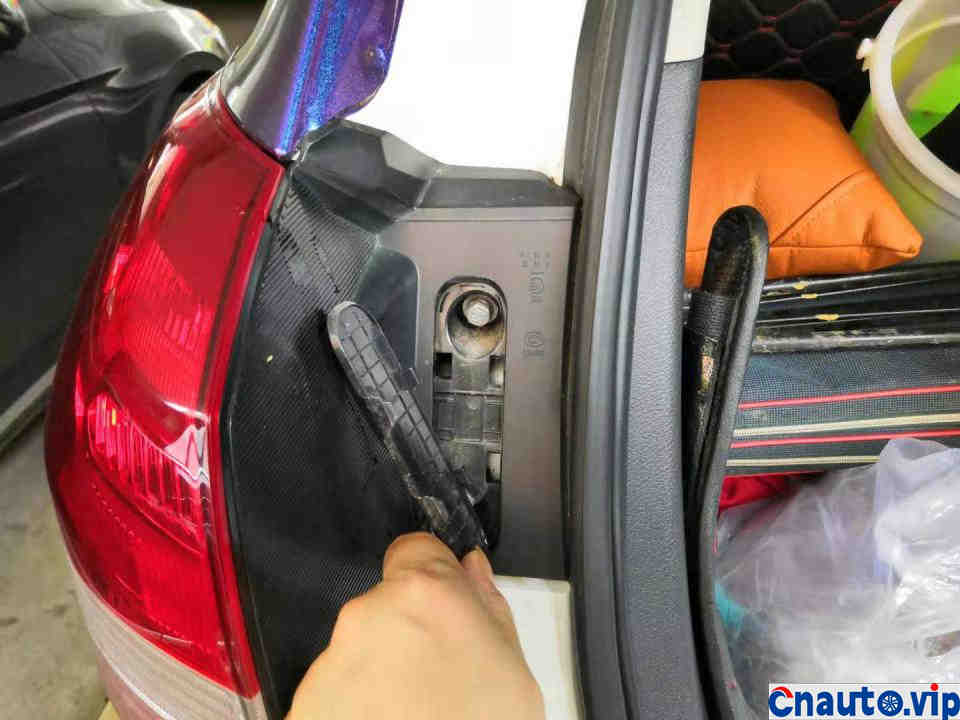
You can see two screws inside.
Unscrew the screws directly with the sleeve.
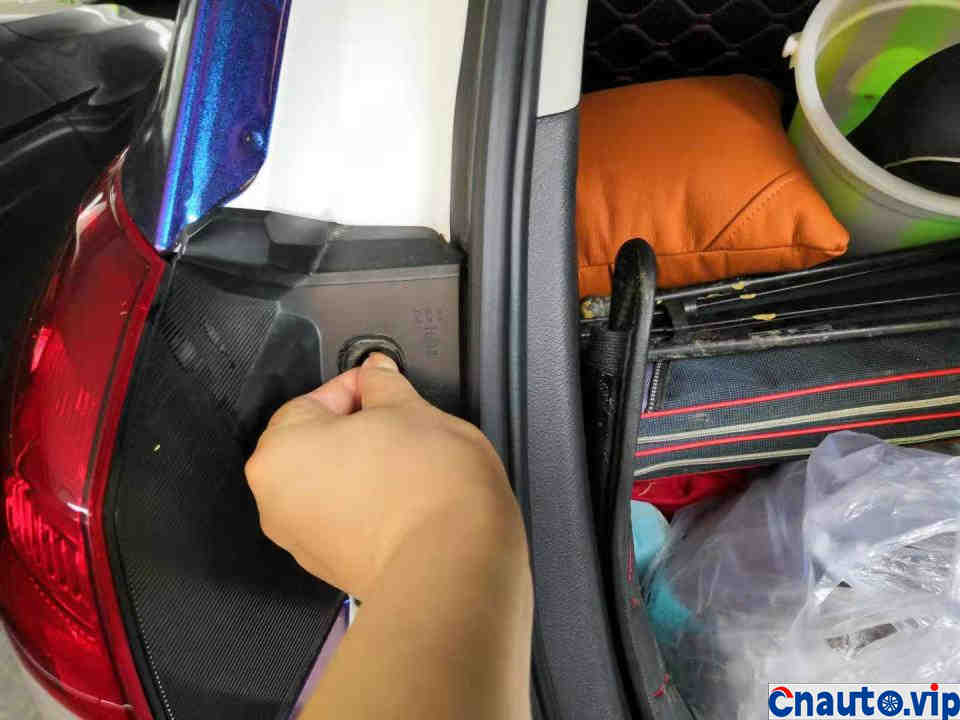
The last point is I use my hand directly.

Now ask someone to try stepping on the brake, and you can see that the brake light bulb is not on.
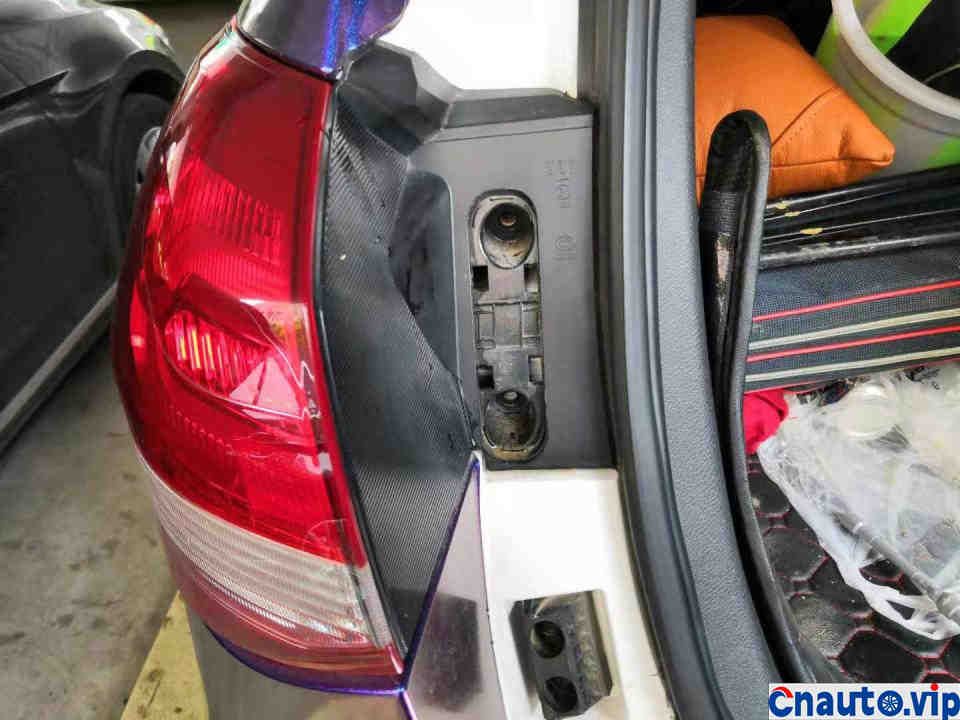
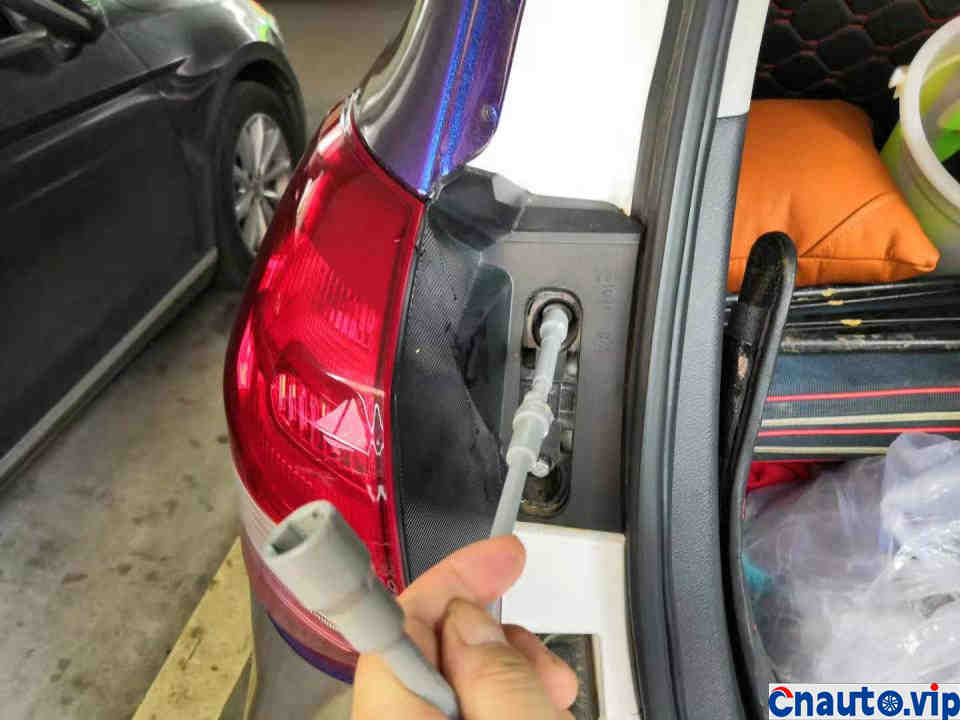
After the screws are unscrewed, start taking out the light assembly.
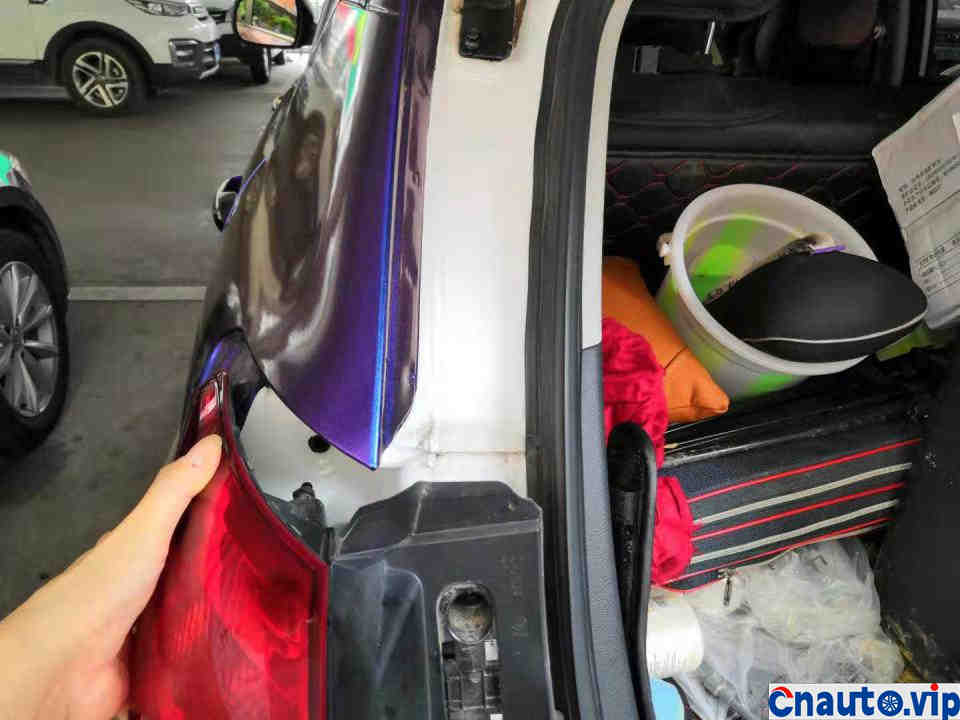
It’s very simple, just like this, the back area comes out.

When doing it, you should try to be careful so as not to mess up the light assembly. After all, it is your own car.
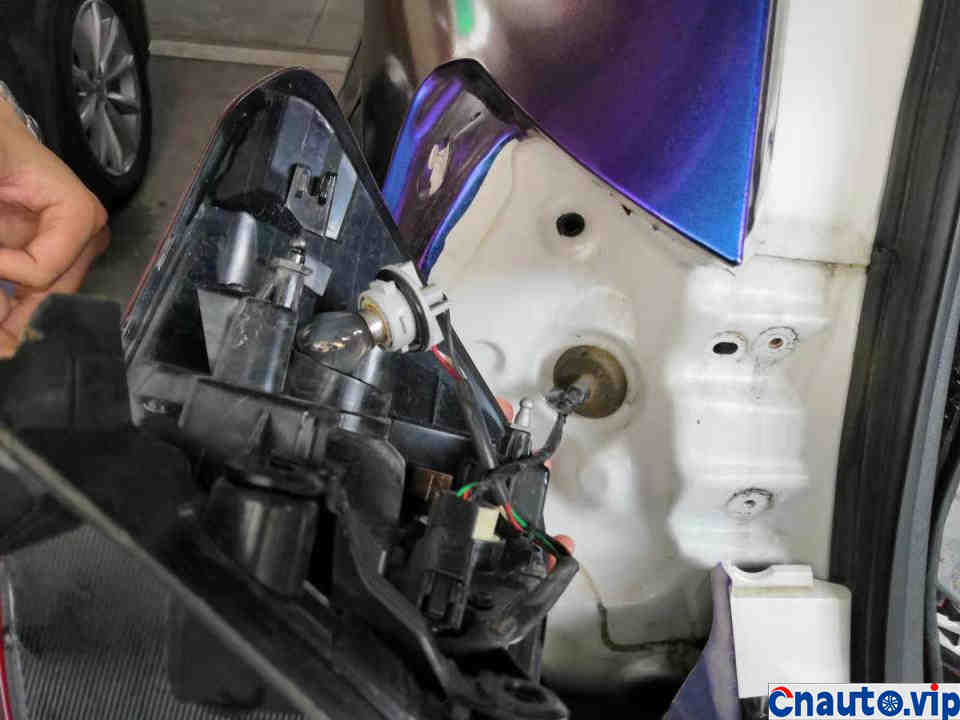
There are two light bulbs in here, one of which is a brake light bulb, which is easy to find.
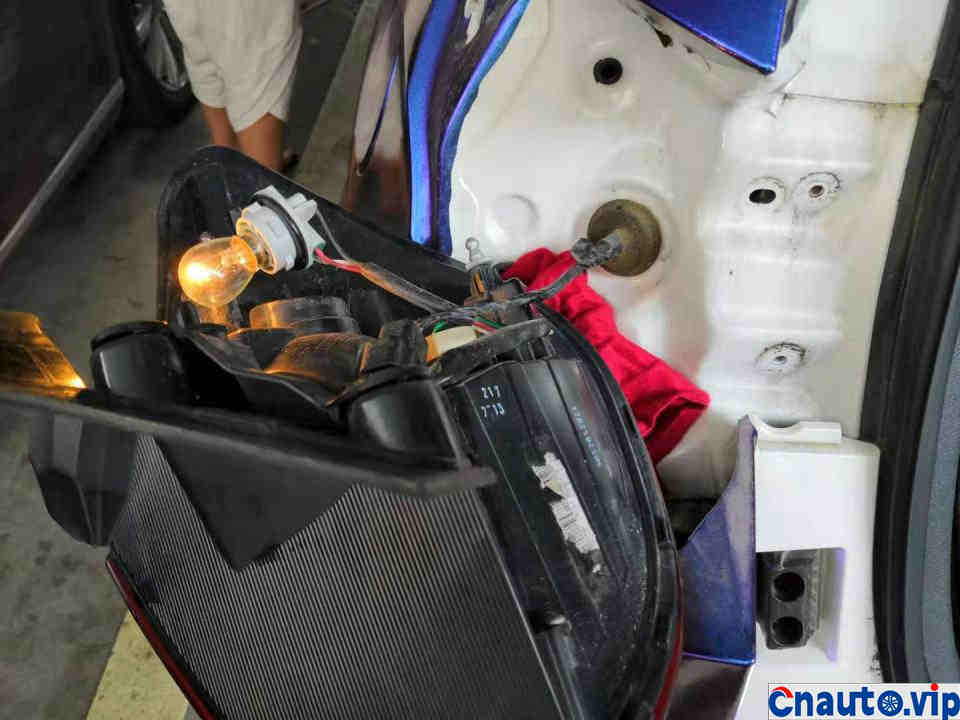
Remove the broken one, put in a new light bulb, and it will light up. Of course, interested riders can also install LEDs. I just didn’t think it was necessary, so I still bought halogen bulbs.
Finally, put on the screws, step on the brake again, and see the effect. There is no problem. Finally, just put the cover plate back on.
Although completing the renderings is a simple hands-on process, I still feel good about myself.
Hot Information
Tesla Autopilot and similar automated driving systems get ‘poor’ rating from prominent safety group
 April 1, 2024
 Localization of EV parts without production scalability may not help cut EV price, says President, Amara Raja
March 27, 2024 
JCTSL may turn bus stands into charging points for e-buses
March 27, 2024 You May Like