Wuling Zhiguang 6388NF Replacement of Rear Wheel Brake Linings Share
Model: Wuling Light 6388NFA
Date of birth: February 2014
Kilometers: 80000 kilometers
The rear wheel brake pads have never been replaced, and the front wheel has been replaced once.
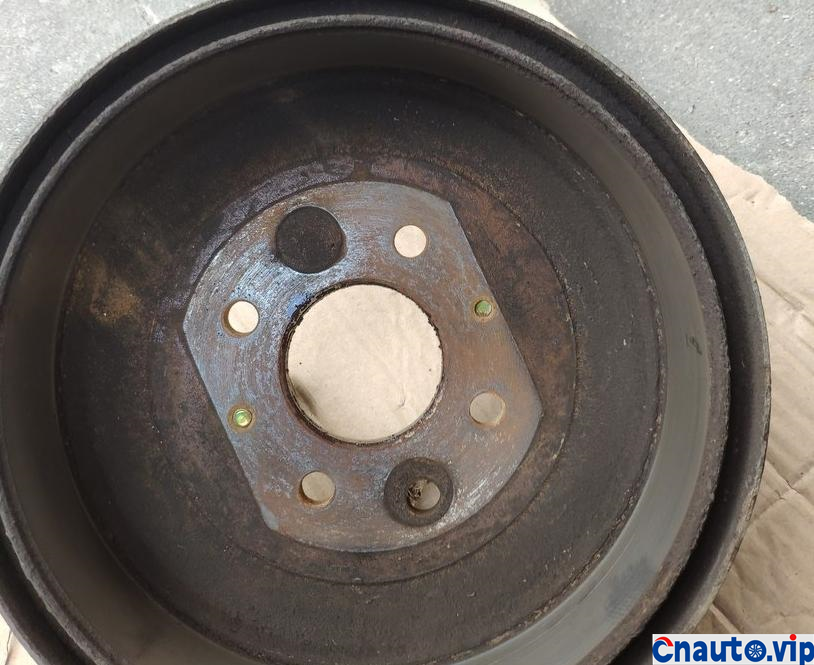
The first step is of course to remove the rear wheel. After removing the rear wheel, use something like bricks to hold the other tires, release the gear, and release the handbrake. Use a screwdriver to remove the plastic stopper on the brake drum, adjust the flywheel appropriately, and release the brake to facilitate better removal of the brake drum. Take a hammer and knock it properly. The latter used two 10MM screws to tighten the brake drum and shook it left and right, trying to remove the brake drum.
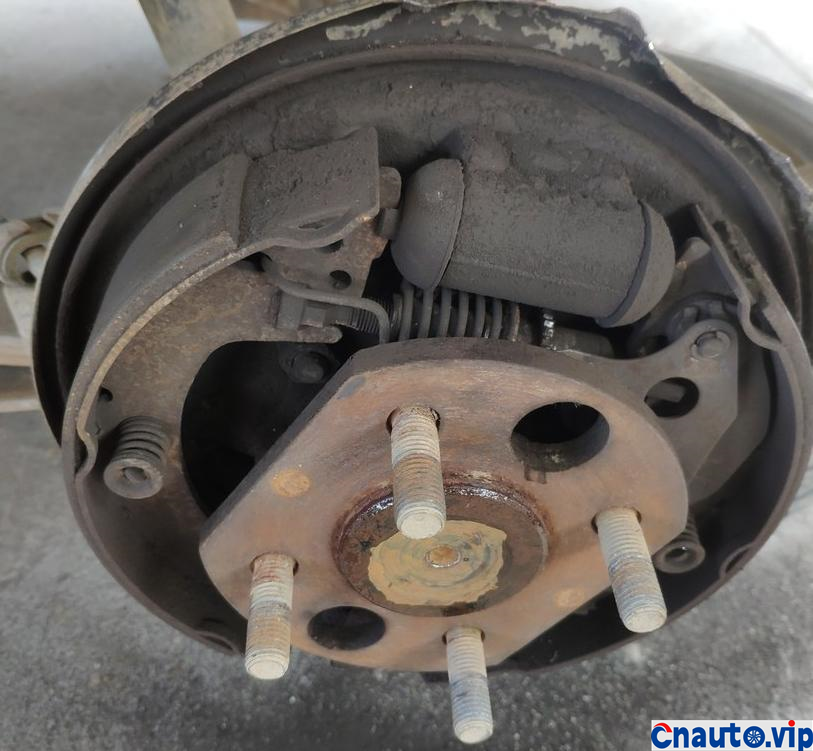
This is what it looks like after disassembling the brake drum. By the way, the flywheel adjustment is “up and down”. When taking out the brake drum, it is usually very tight, and you need to loosen the flywheel for easy removal.
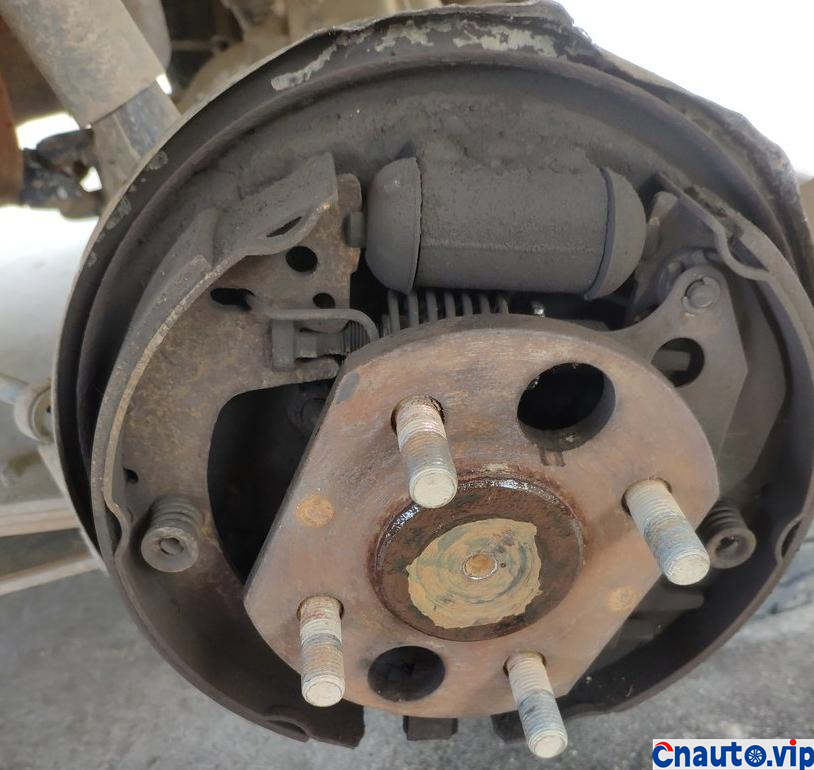
Take a needle-nosed pliers or vise and remove the spring hooks on the left and right sides. Use needle-nosed pliers to clamp the cover above, press it down, and turn it to remove the spring.

A little messy. Hehe.
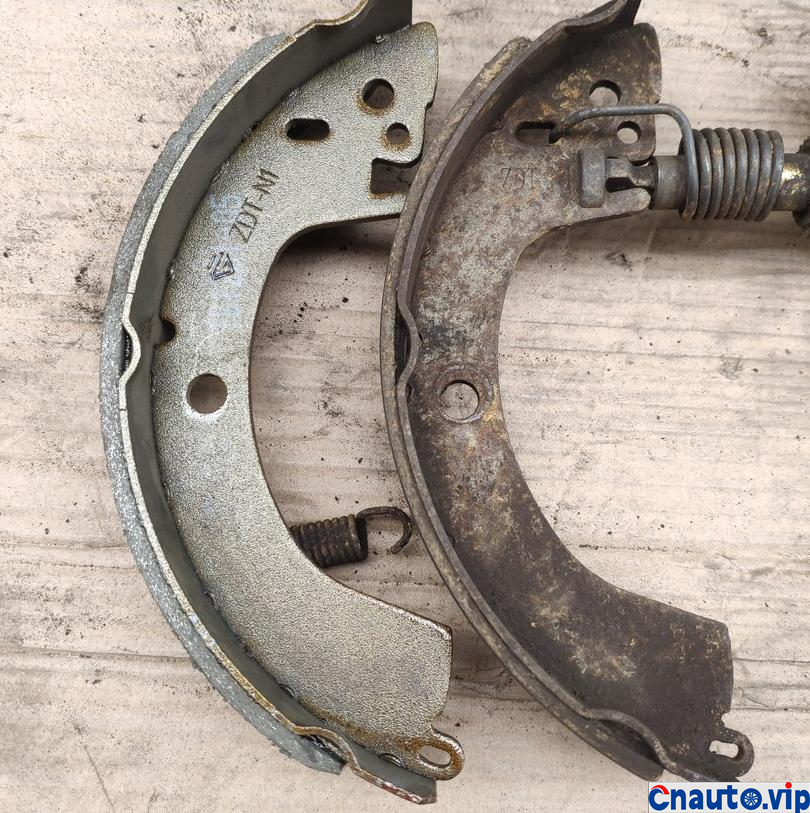
Compared with the old and new, it has been used for almost seven years and 80,000 kilometers. It feels like only half of it has been used. If we continue to use it, it should be okay.
However, I often walk mountain roads. When I go downhill, I feel that the brakes are too soft, and sometimes I feel like I can’t stop it. Occasionally, I hear the sound of grinding iron.
I thought the rear wheel brake pads were worn out. Only then did I discover that it was not as bad as imagined. But it’s really dusty.

The left and right sides should be clearly distinguished. The small hole on the brake pad is connected to the handbrake line.
After removing it, remove the buckles on the old brake pads and install it on the new brake pads.
After removing it, remove the buckles on the old brake pads and install it on the new brake pads.
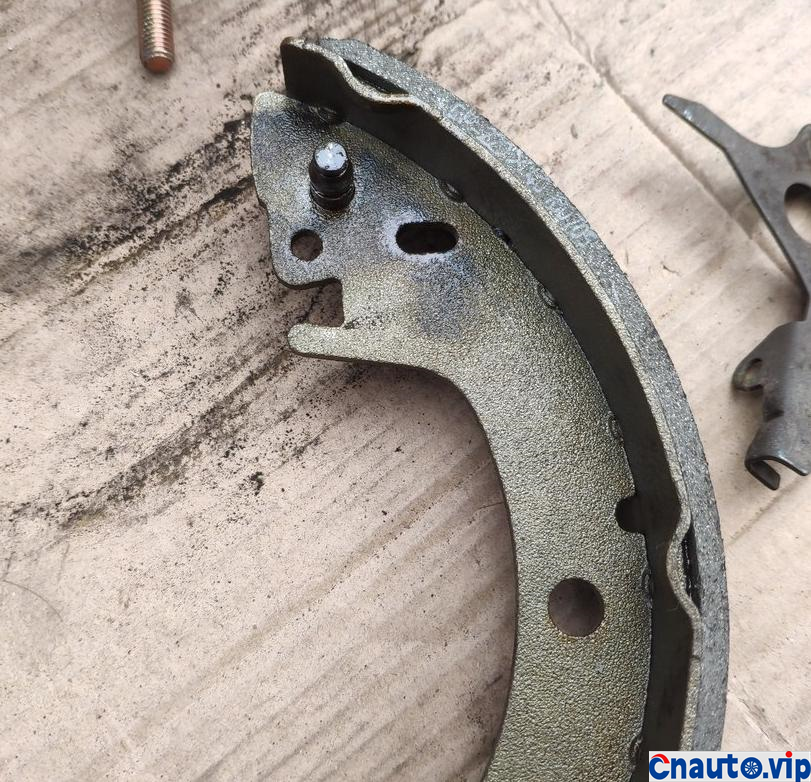
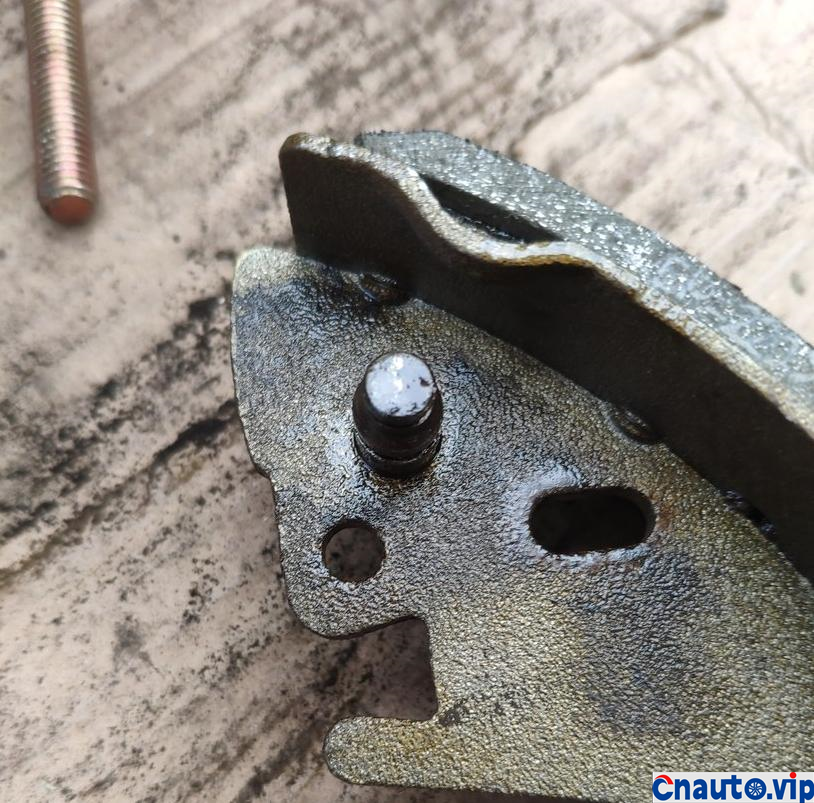

When installing it back, remember to clean up the dust.
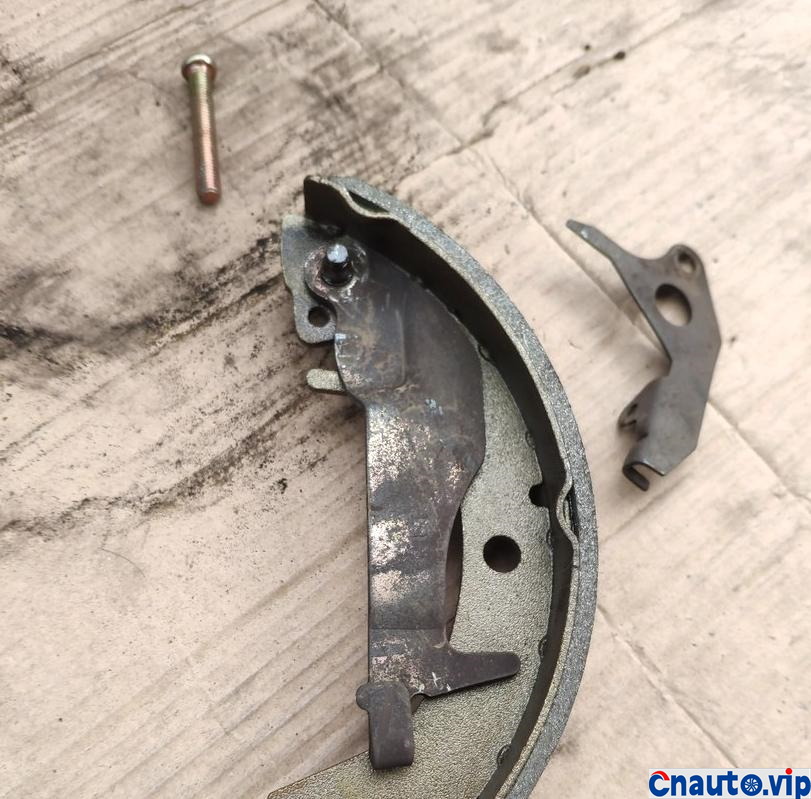
There are two small buckles during installation and disassembly, and you need to use a screwdriver or something to push them out. Don’t lose it.
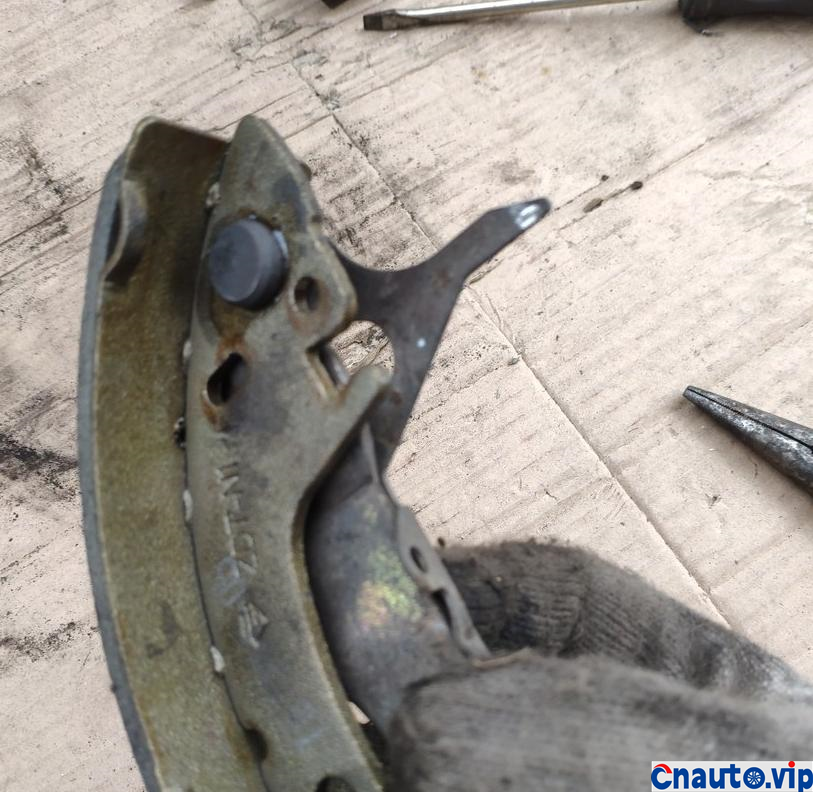
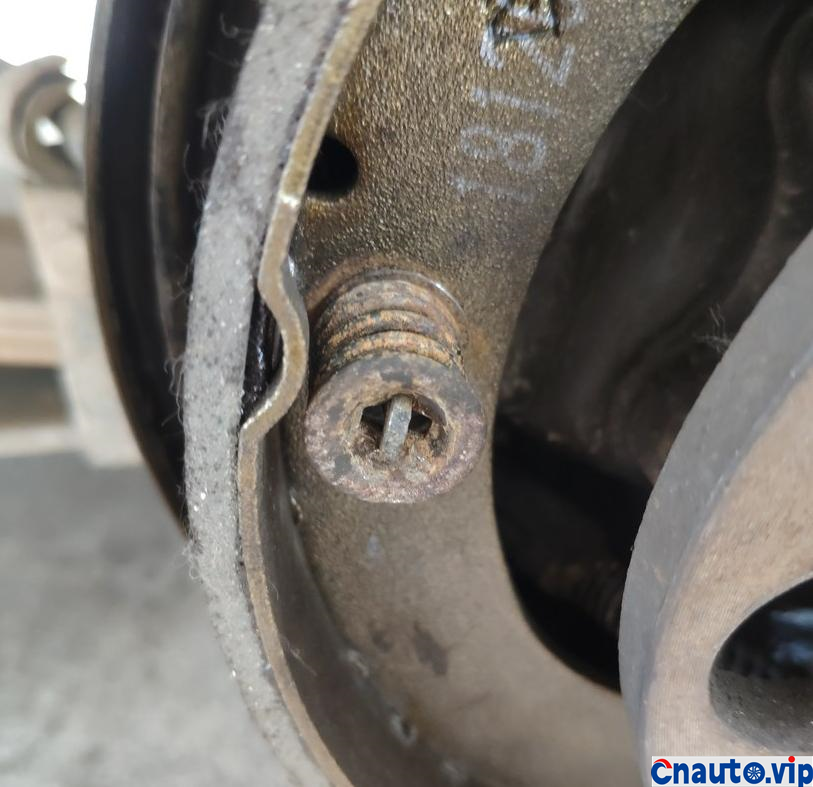
It’s actually not difficult to install it back in turn, just don’t forget the details.
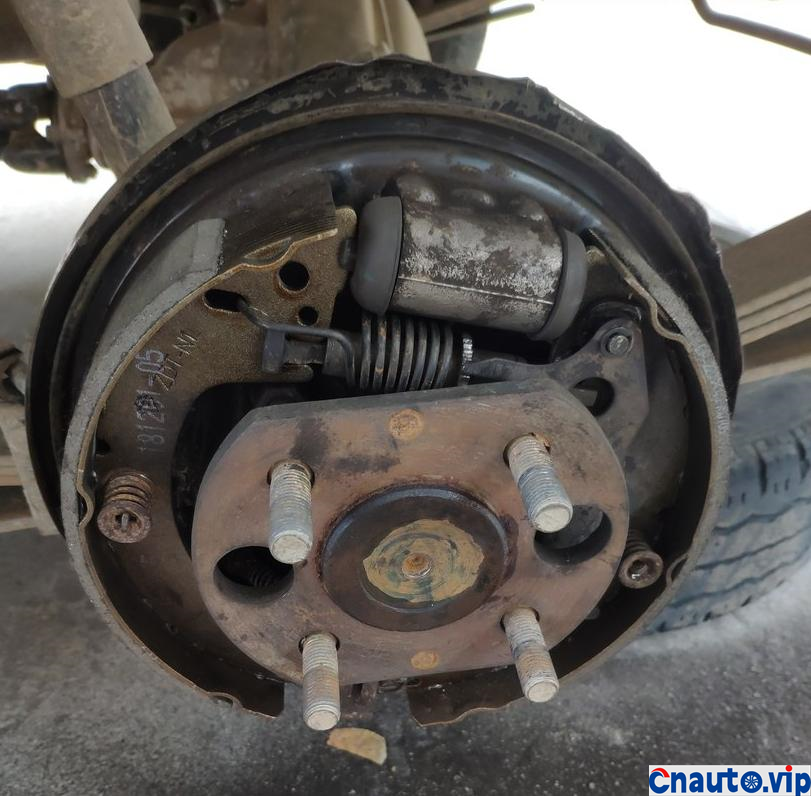
After installation, adjust the flywheel after installation, and finally install the brake drum back. After installing it back, adjust the flywheel again and check the brake strength.
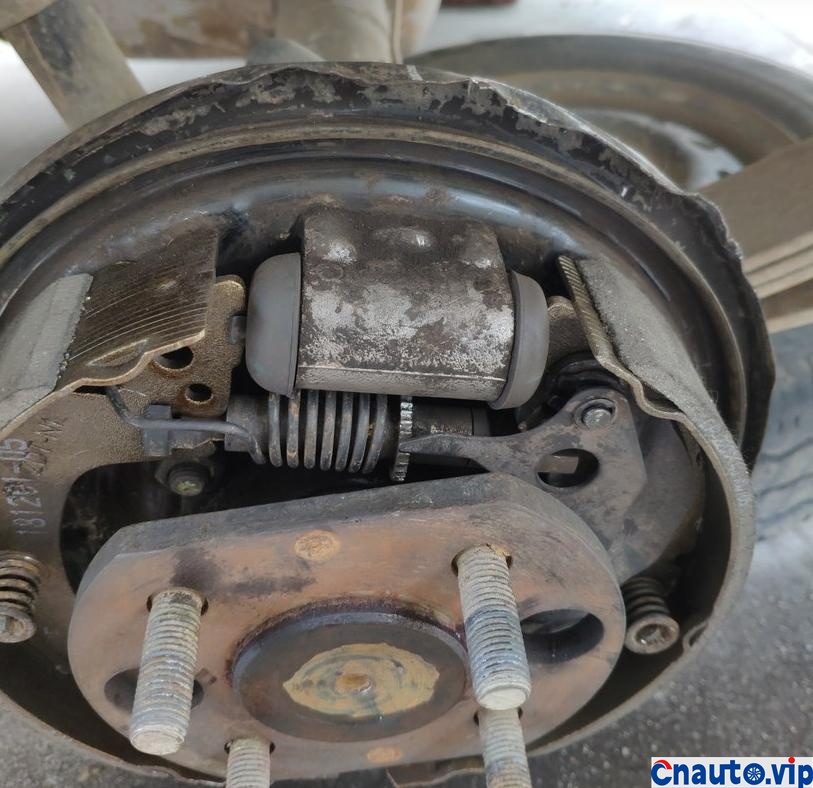
If you look carefully, there are differences between the left and right brake pads.
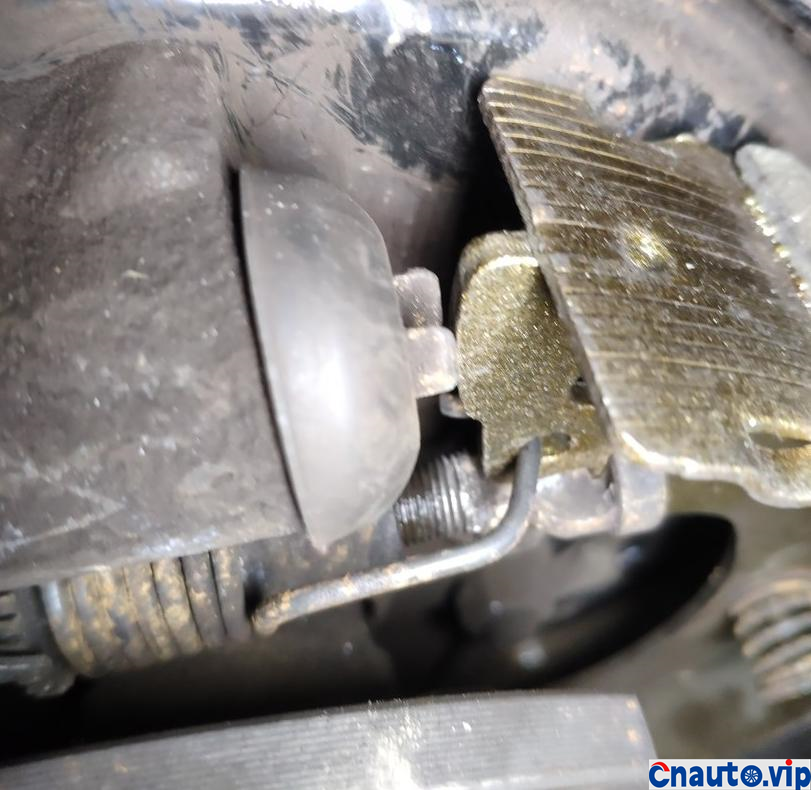
The screws here on the flywheel.
The same is true on the other side. The main thing is to be careful, and then don’t act recklessly when removing the brake drum, but adjust the flywheel. Don’t lose small parts.
Okay, that’s it. I hope it will help you. Even one person. Thank you.
Okay, that’s it. I hope it will help you. Even one person. Thank you.
Hot Information
Tesla Autopilot and similar automated driving systems get ‘poor’ rating from prominent safety group
 April 1, 2024
 Localization of EV parts without production scalability may not help cut EV price, says President, Amara Raja
 March 27, 2024
JCTSL may turn bus stands into charging points for e-buses
 March 27, 2024
 You May Like

