The car’s automatic start and stop is not very easy to use. It was turned off with a 5054, and the yellow light is always on.
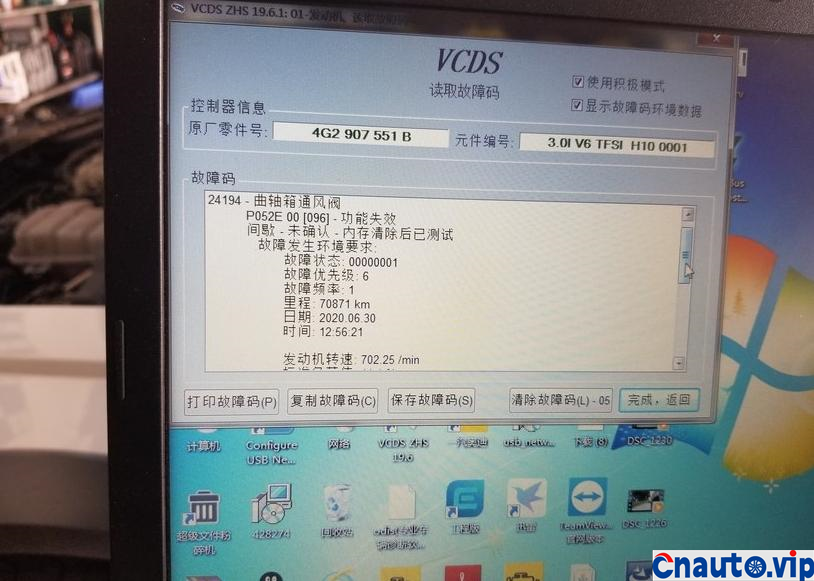
I checked the fault code of the engine and found a problem as shown in the figure below.
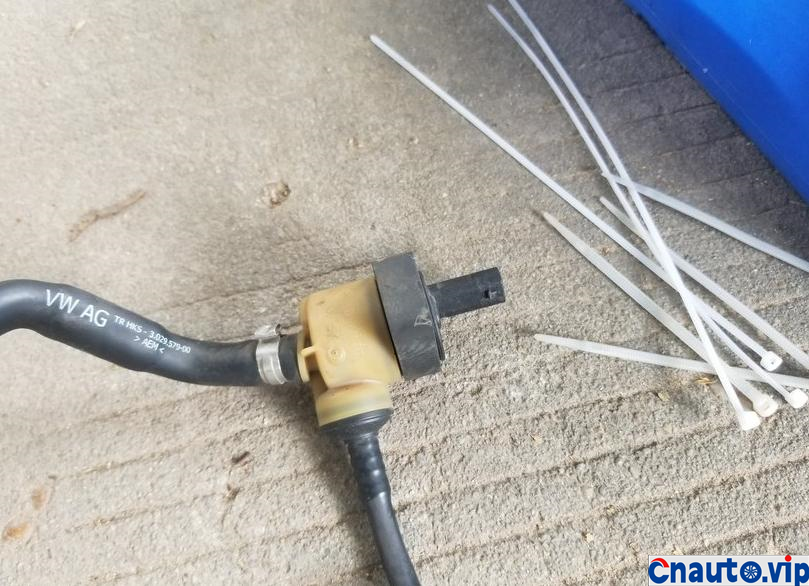
It was judged that the solenoid valve was damaged.
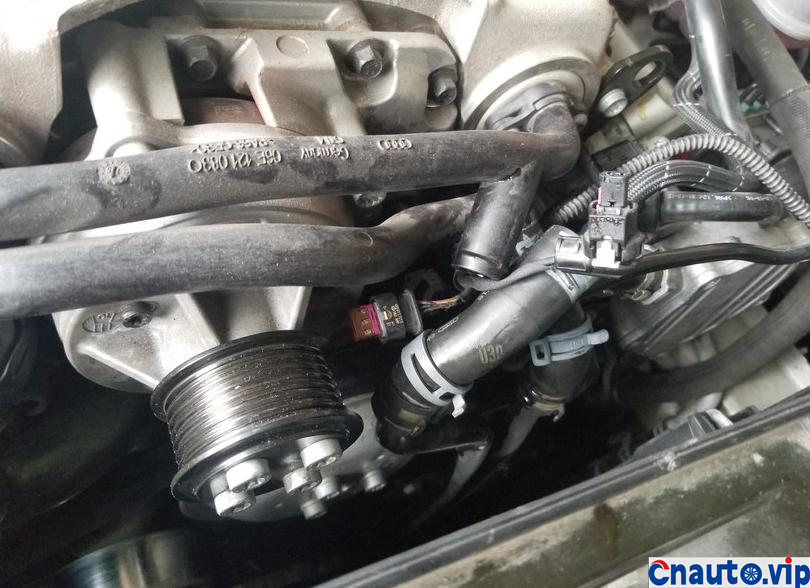
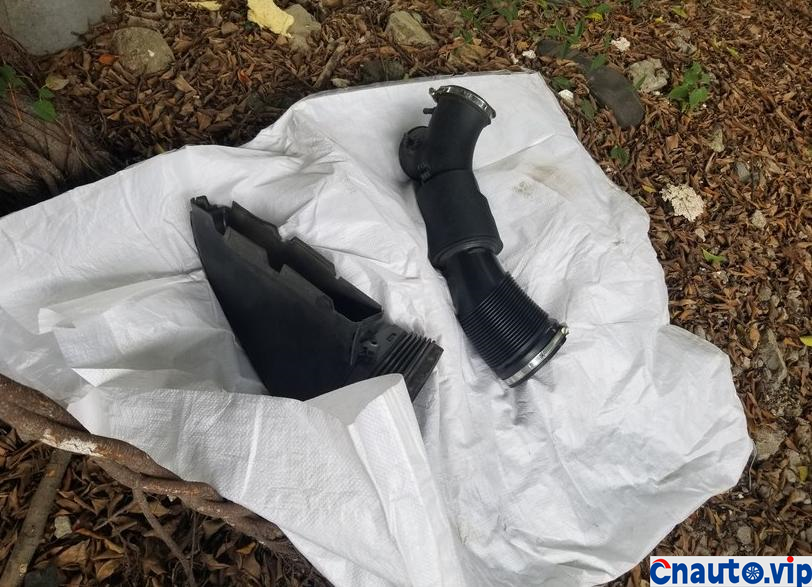
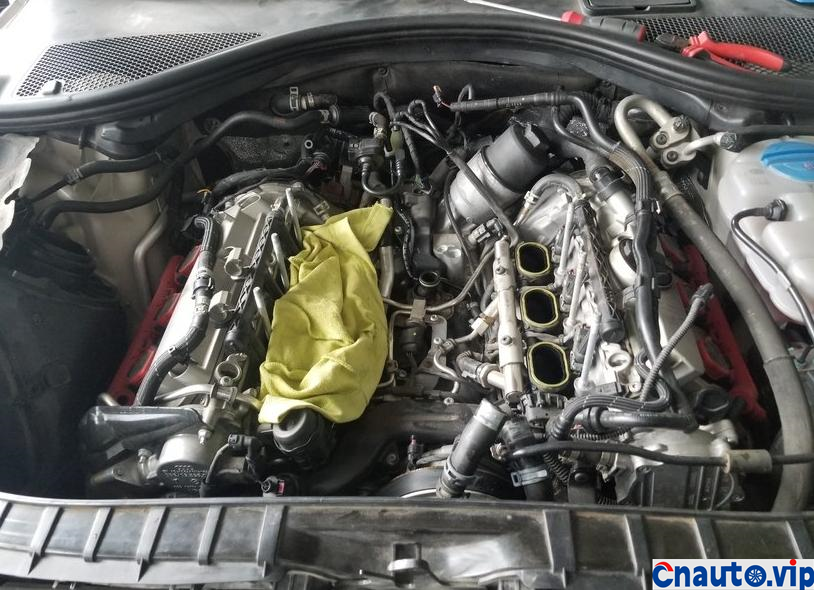
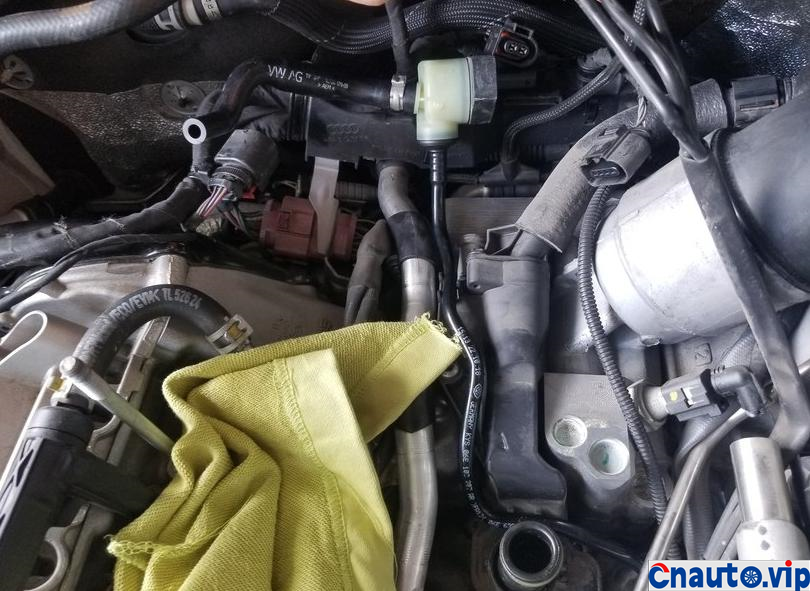
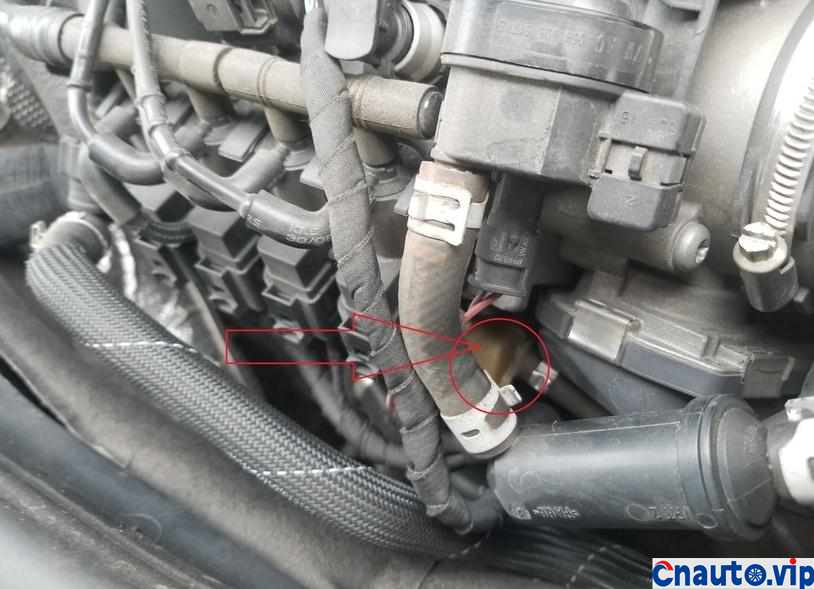
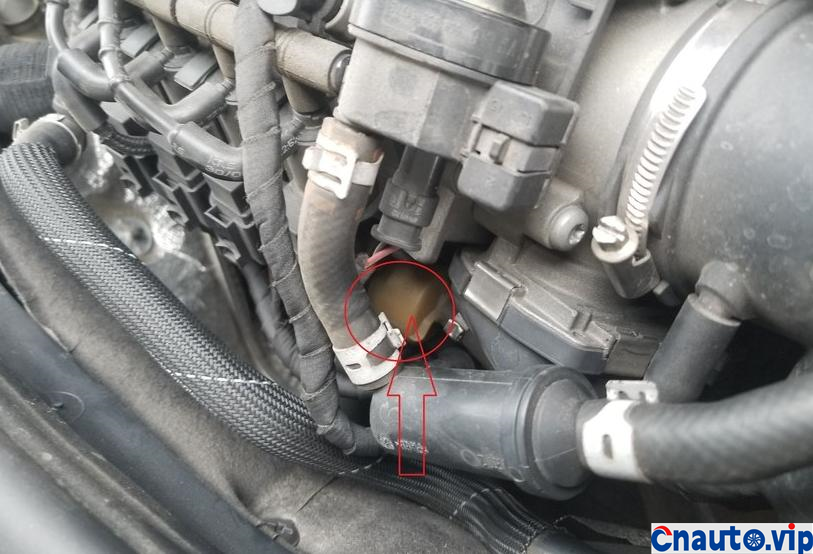
The solenoid valve is located on the right rear side of the throttle valve, The appearance is a poop yellow plastic part.
When encountering unscrupulous operators, they will tell you to change a lot of things.
Do it yourself.

This is the solenoid valve.
The role of issuing maintenance stickers is still to make it easier for successors to avoid detours
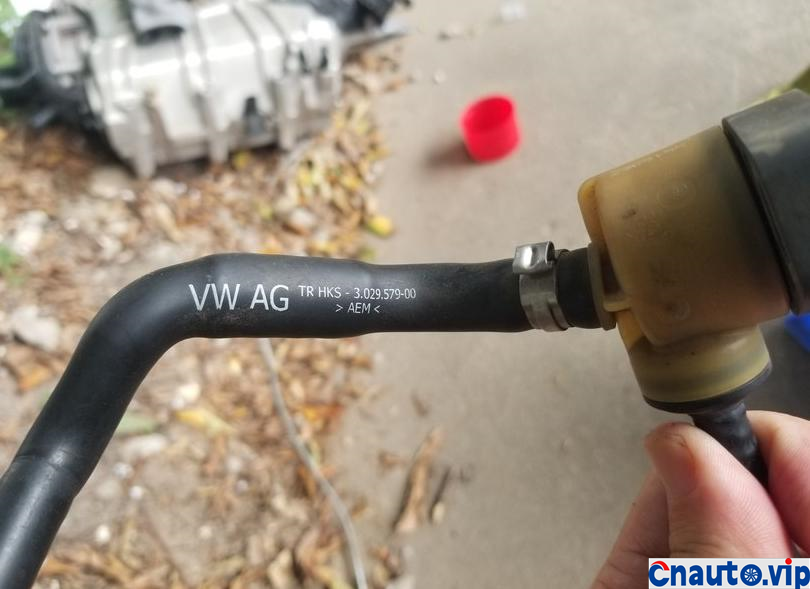
This is the part model code and appearance accessories that need to be replaced. It is not expensive, about 3-4 times.
How much work hours are needed? After reading your brain, I can make up for it
The secret in the management, think about it
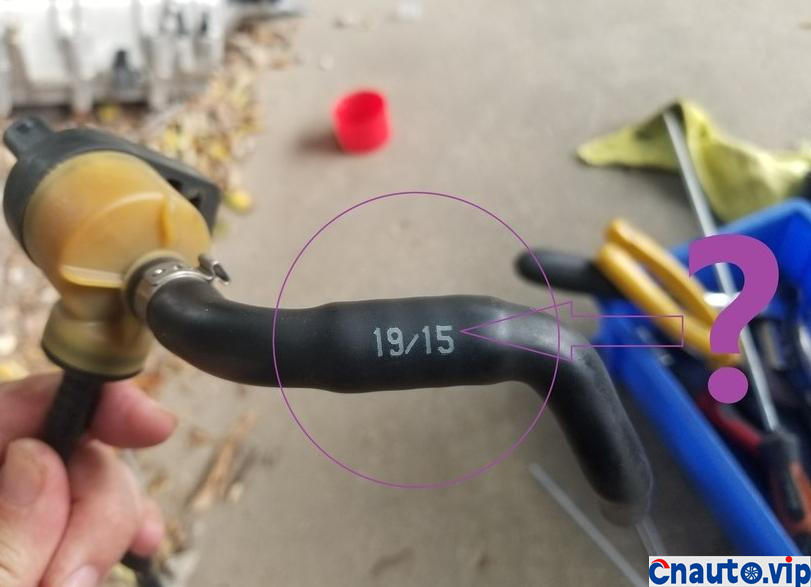
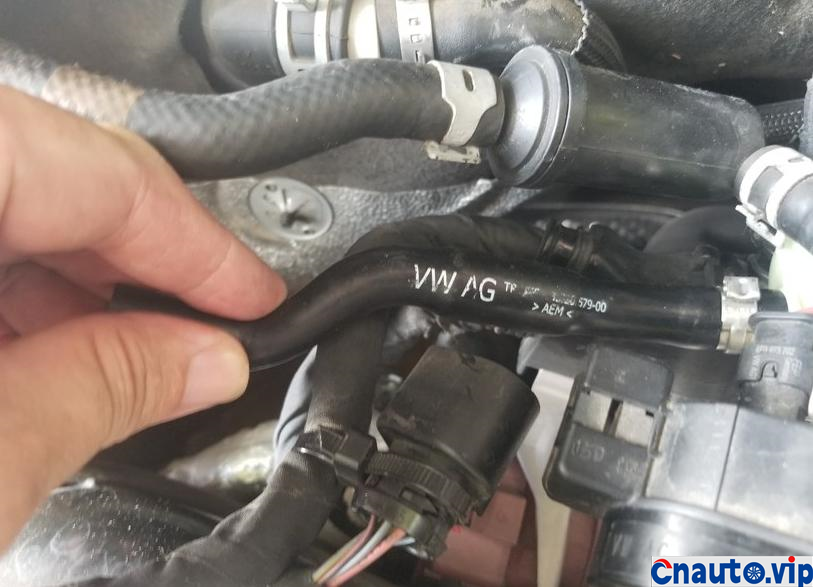
Exterior explanation: Left to (throttle), down to crankcase (vacuum), and right to the electrical plug.
Get the tie strap ready, there is an explanation at the end.
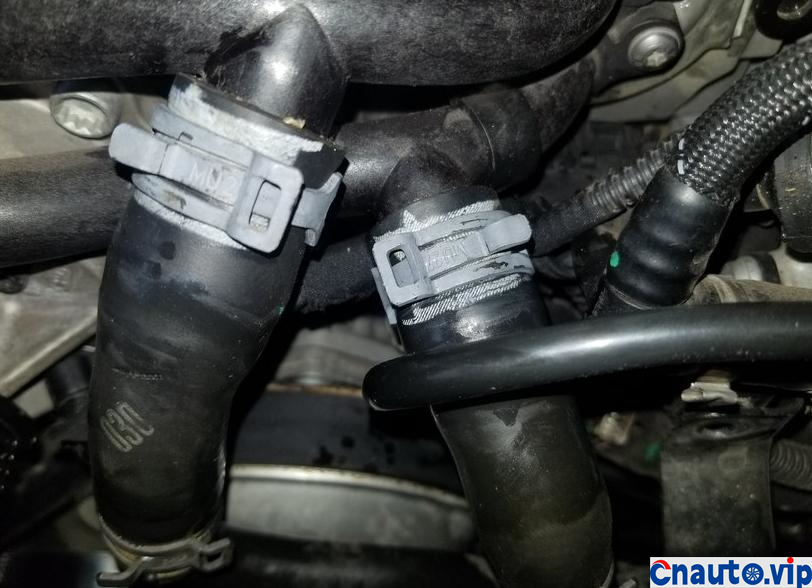
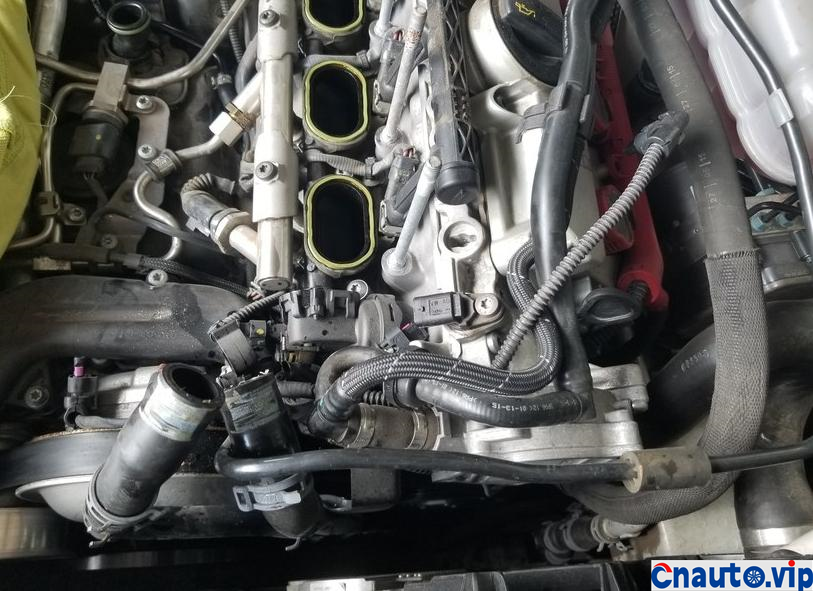
There are many pipes at the nose, so be careful to identify them
There is a plug on the side of the supercharger, you can’t forget it.
Remove the nose section
removing belt If there is not enough space for the belt, you can untie the two fixing bolts on the upper part of the water tank to free up some space for handling the tensioner wheel. Don’t forget it when reinstalling it.
Remove the inlet and outlet water pipes of the supercharger Remove the water pipes, and a small amount of coolant will be lost, less than 0.5 liters. Remember to add it after reinstalling
Remove supercharger speed plug, temperature plug, etc.
Correct disassembly

Remove the fixing screws of the cable clamp holder, which are symmetrical to the left and right, with two on each side.
Removing intake guide
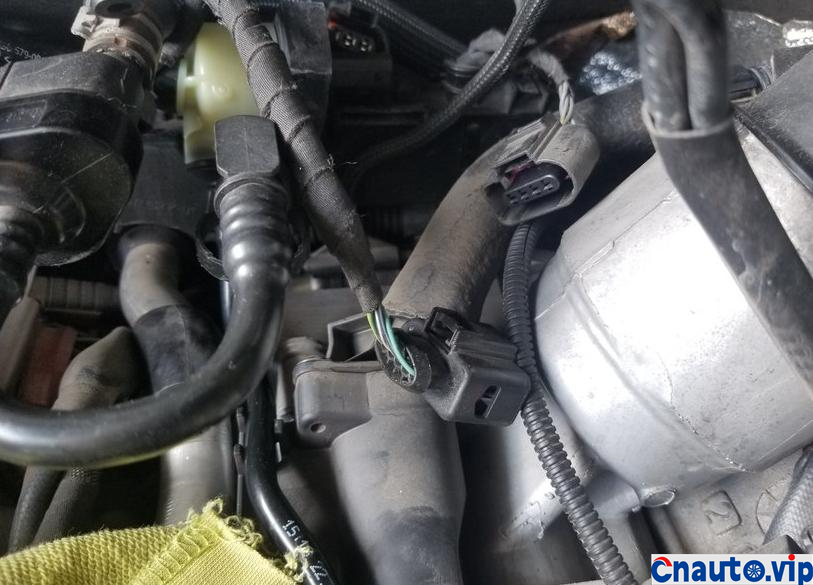
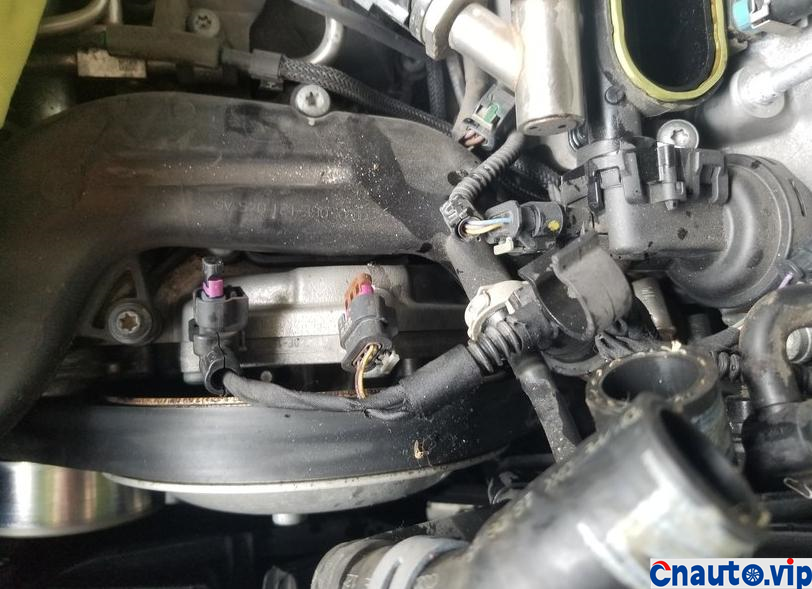
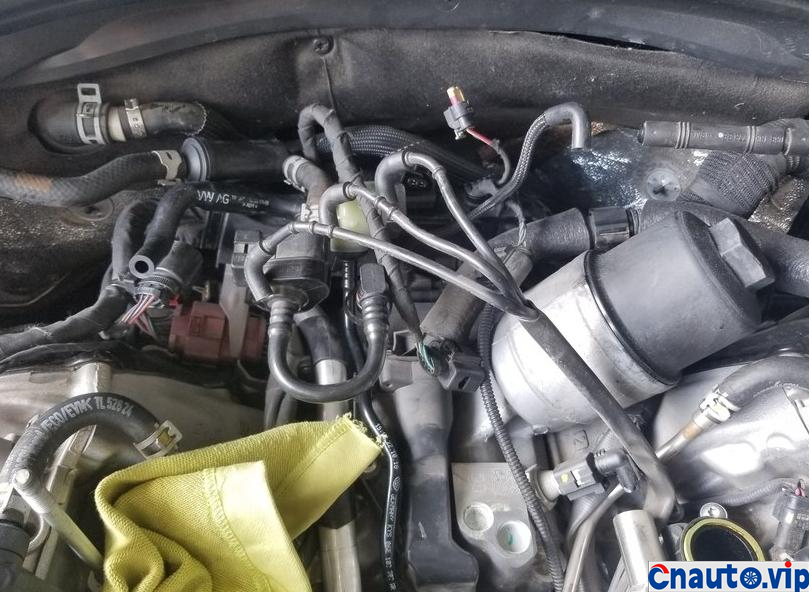
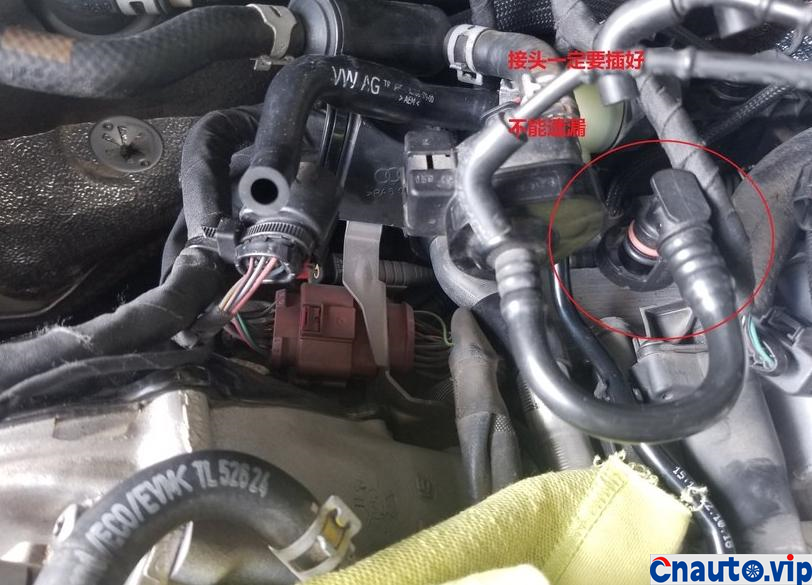
Remove a bunch of plugs and distribution pipes around the solenoid valve

Remove the air inlet pipe of the supercharger and the air pipes, plugs, etc. at the rear of the supercharger
Remember to clean the throttle and make a match during the test run.

Loosen the 6 screws and pay attention to the air pipe, plug, etc. at the rear of the supercharger. There is an iron piece at the rear. When lifting the supercharger, do not let this iron piece scratch the air pipe or tear the cable.

Be simple and adapt to local conditions.
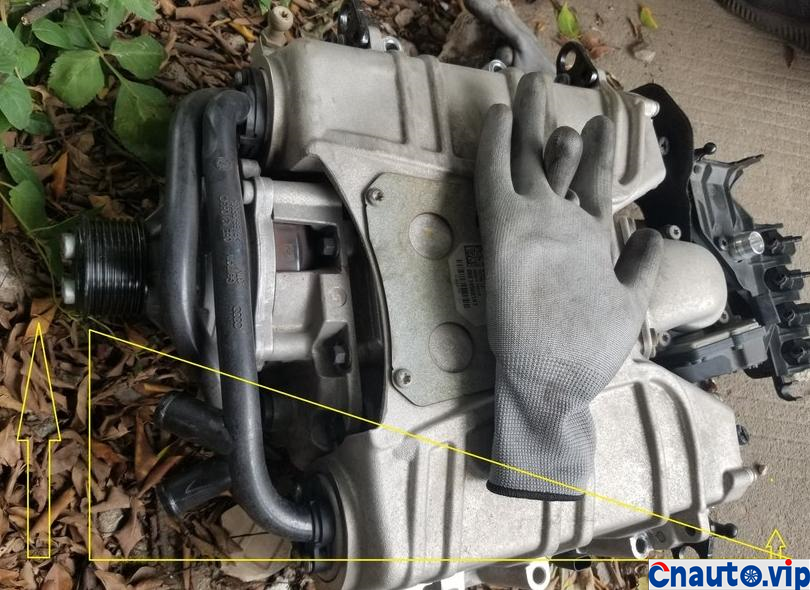
Lift the head of the supercharger slightly to retain some coolant.

Lift down the supercharger, it doesn’t feel very good.

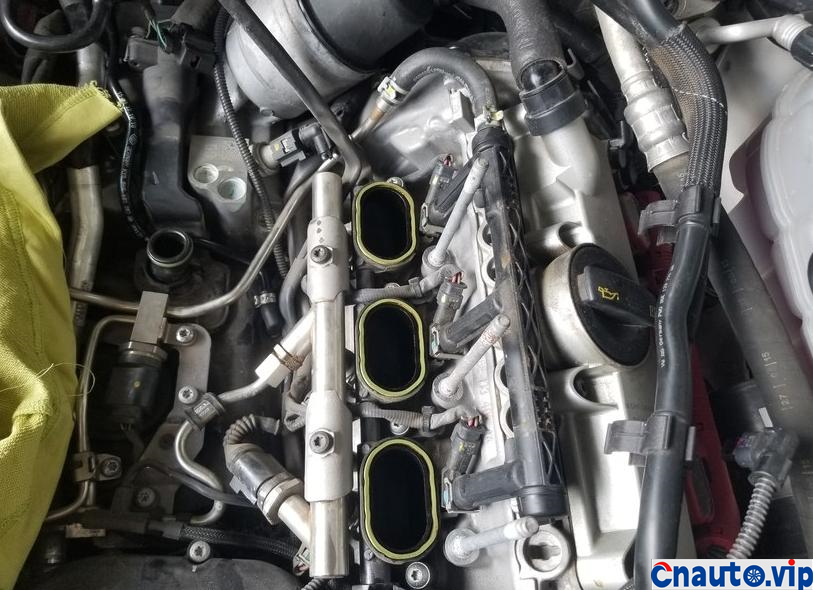
Too white 1
Too white 2

Too white 3
Too white 4
Insert new solenoid valve
Take care of the solenoid valve

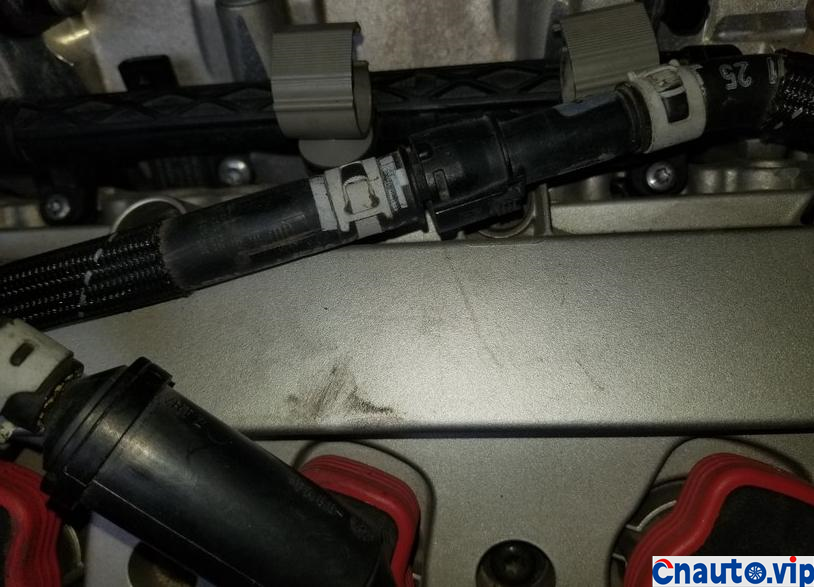
Sorting and resetting the inlet and outlet pipes of the solenoid valve
Sorting and resetting the inlet and outlet pipes of the solenoid valve
Sorting and resetting the inlet and outlet pipes of the solenoid valve

Because the old part at the end is a metal cassette tape, it was damaged during disassembly, and there is no suitable buckle for a while. It can also be used with nylon cable ties, but negative pressure is not a big problem.
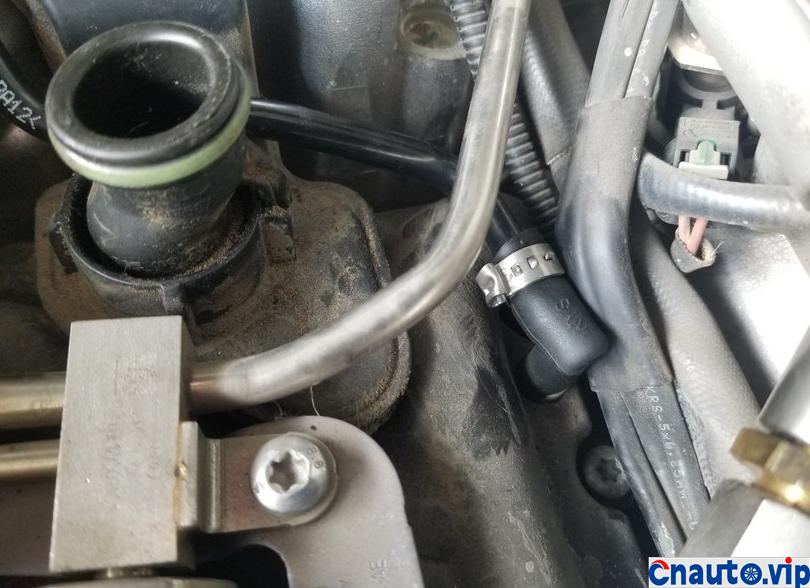
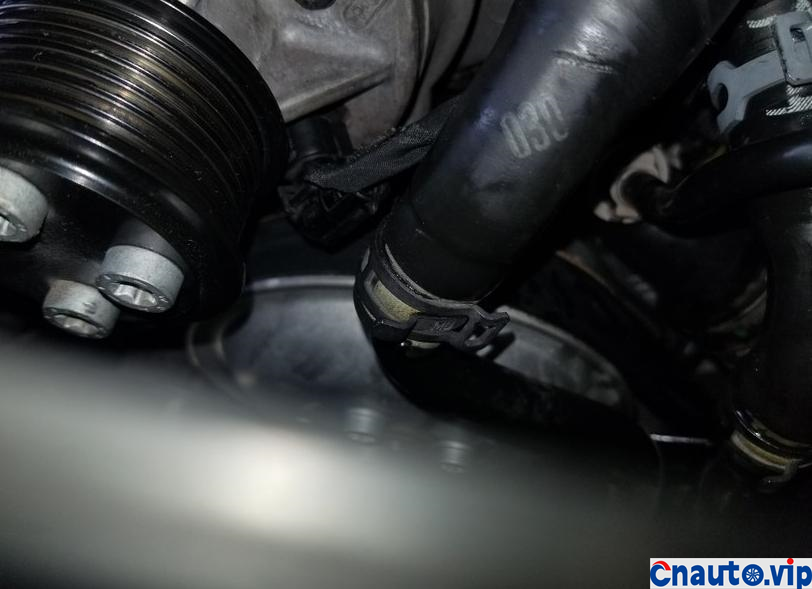
Eccentric tube connected to supercharger

lug of eccentric tube
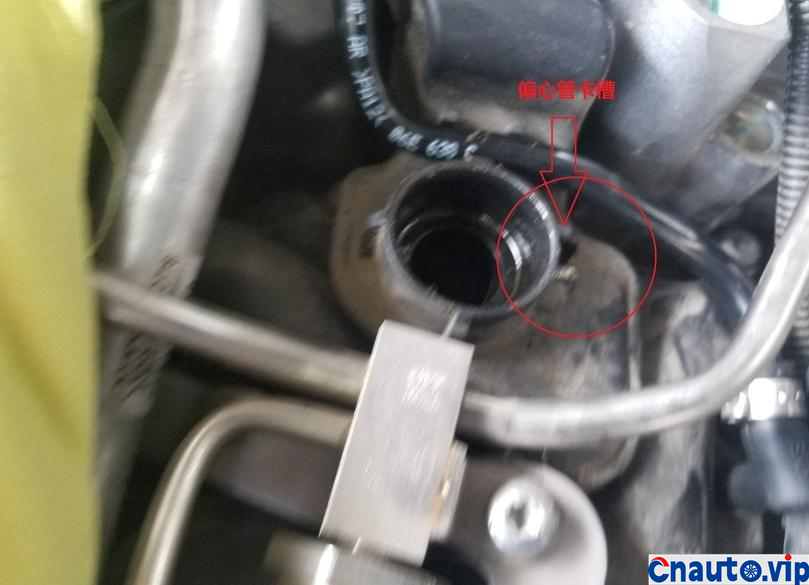
Base nozzle has clamping groove
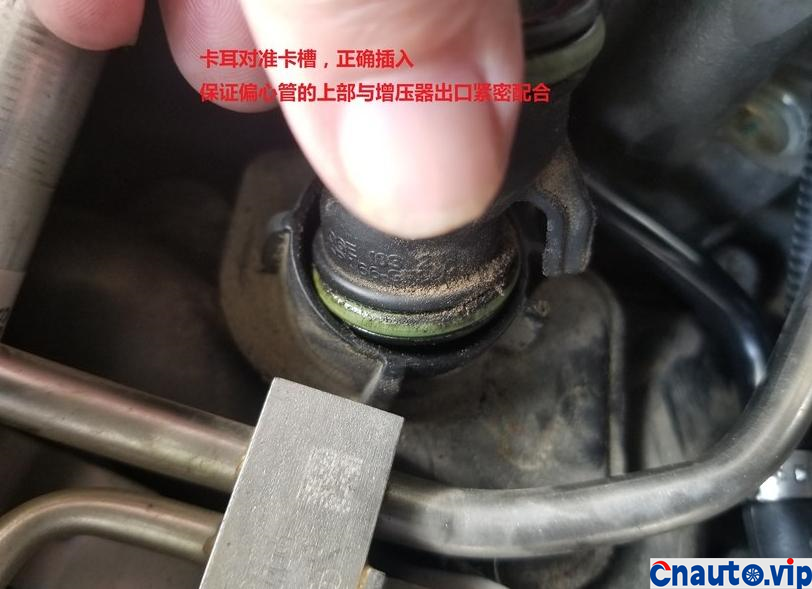
Correct alignment and press. Make sure to partially match the upper supercharger.
After carefully checking the installation, reverse the installation.
Remember to plug in all plugs and listen to the click sound. If the bolts on the upper part of the water tank have moved, remember to restore them.
After the end, use a computer to check and test the car.


 April 1, 2024