What should I do with Scirocco burning oil? Don’t worry, the cure for burning oil will be solved today.
Shang Ku is a maverick car in the Volkswagen family. He does not have an inherited car system, nor a future to be passed on, and such a car emerges alone for no reason. However, in terms of appearance, Shangku is the best of the popular family. The appearance of fashion movement, abundant power, exquisite interior decoration (just contrast Lang Yi). This makes him the darling of fashion.
But this beloved is not very good-tempered, because he and his brothers and sisters all have the same heart (EA888), so the brothers and sisters burn engine oil, which is still cool and unwilling to be burned, so you burn it, I also want to burn it, so it is cool to burn a liter of engine oil for 500km today.
Let’s start with the condition of the car:
The car body plate is no major accident, the chassis parts Yishui brand new factory parts, changed the shock absorber and suspender to reduce the body height, add external enclosure, change the semi-hot melt tire, the second-order program, horsepower more than high R and TTS, close to the 3.0T 837 engine.
But the burning of engine oil is serious, the carbon deposition is serious, and the detonation is serious. Carbon deposition and detonation are only complications, and the main cause is caused by burning oil, so it is necessary to cure the burning of oil.
Then why does EA888 burn engine oil so badly? Because the majority of riders are not automotive professionals, I will not give a long speech here (I have made a long speech before, but everyone said that I did not understand it), so I will make a summary here (the reason for the summary here is only for EA888).
1. The EA888 engine has high compression ratio and high exhaust temperature, which can easily lead to overheating wear of the valve guide and easy sloshing of the valve in the guide.
2. EA888 valve oil seal, the rubber is thin, the lip skin of oil seal is thin, and it is easy to aging.
3. The structural design of the piston ring of EA888 is defective, which is easy to be blocked by carbon deposition, resulting in dirty oil scraping on the cylinder wall.
4. There is a defect in the design of the waste gas valve, which is the core part of the crankcase ventilation system of EA888, which leads to the incomplete separation of oil and gas and the unseparated oil steam burns into the cylinder.
The above four problems are the cause of the disease. To solve the problem of burning engine oil, it is necessary to solve the above four problems. If you just dismantle the engine, wash it and put it back together, it will not solve the problem.
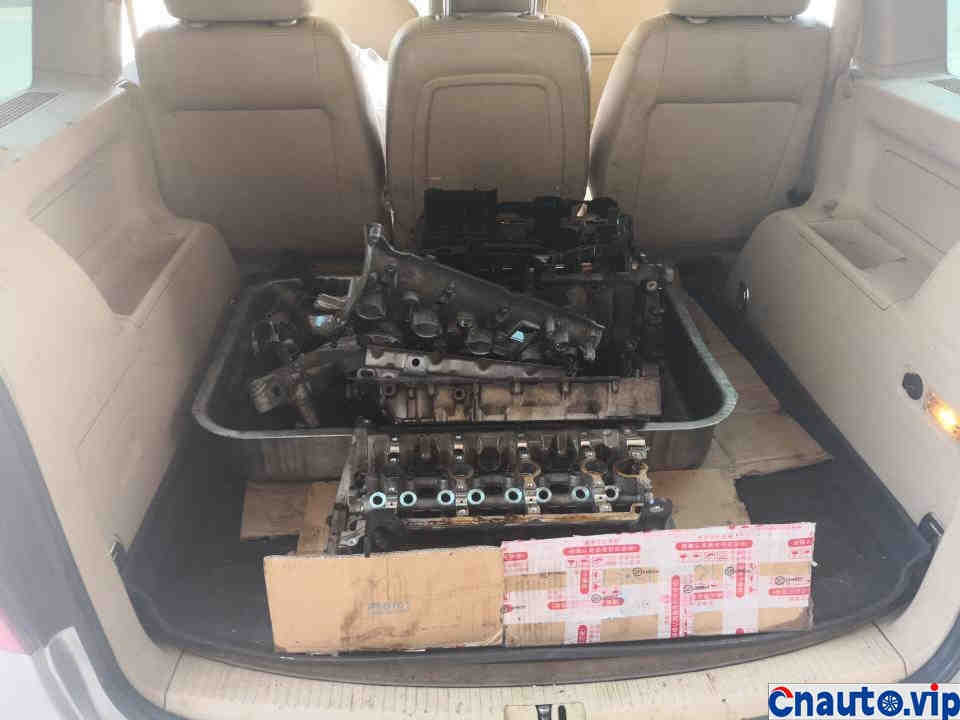
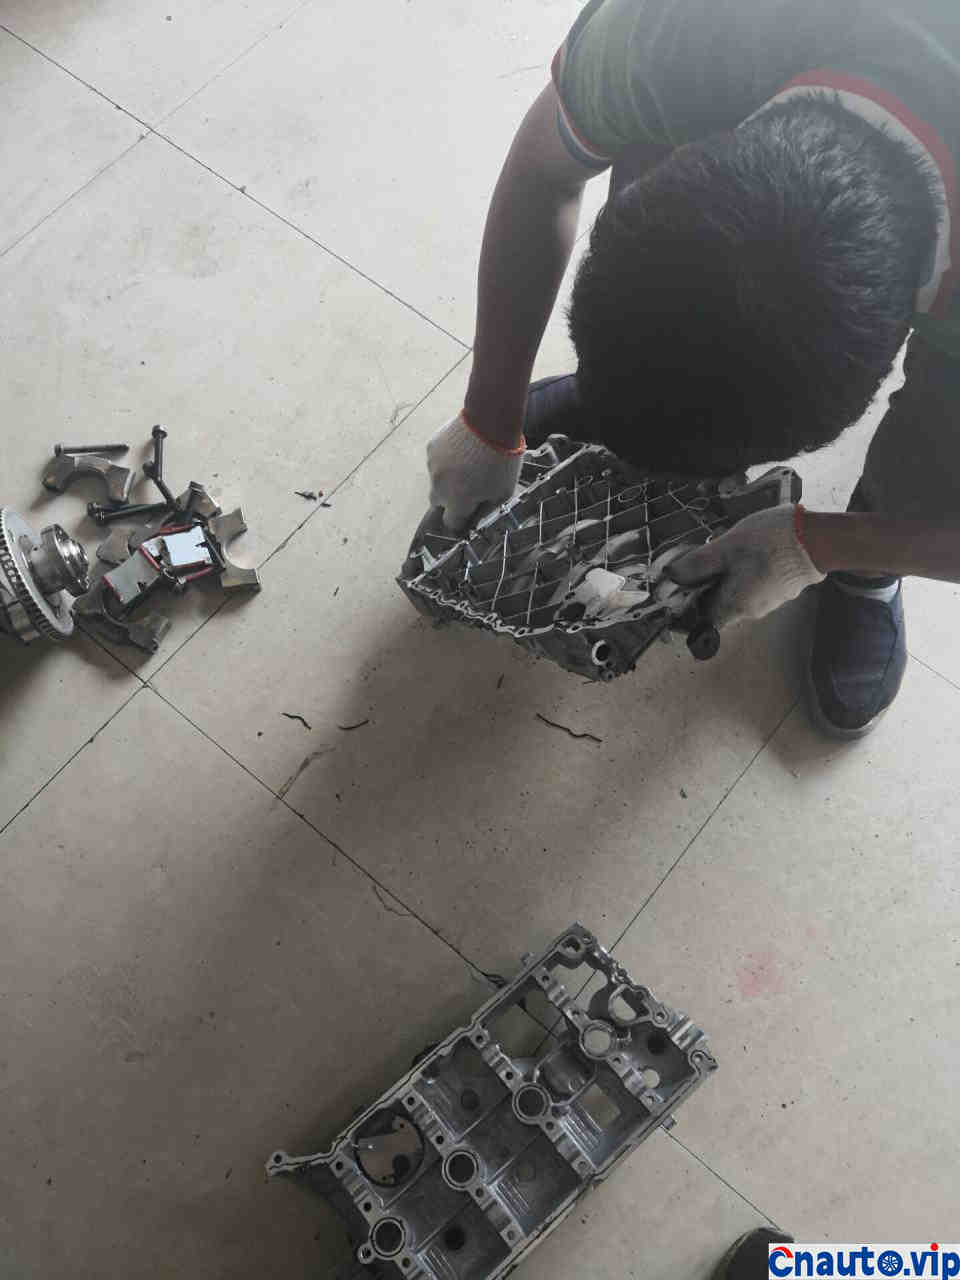
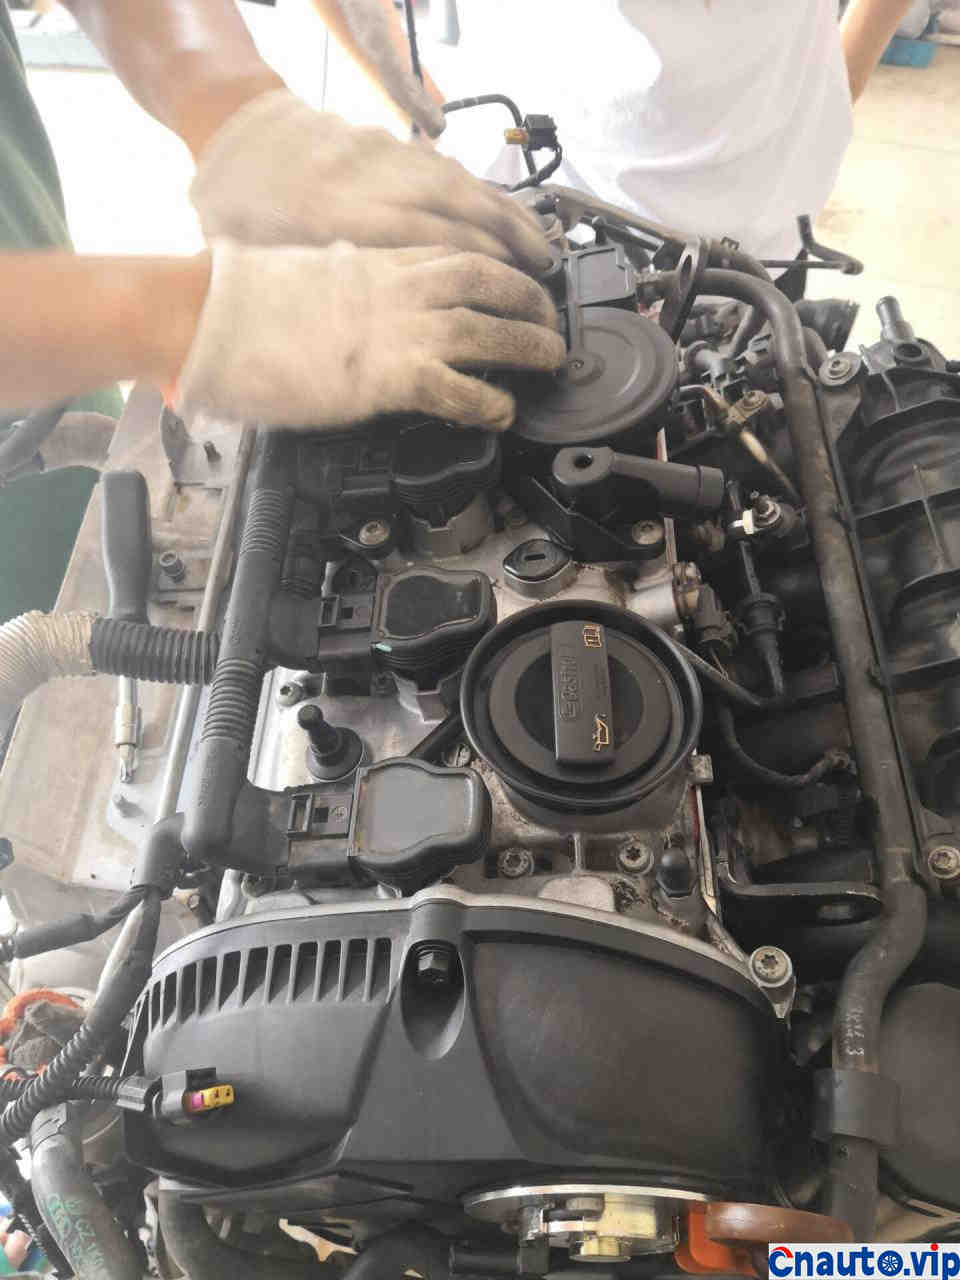
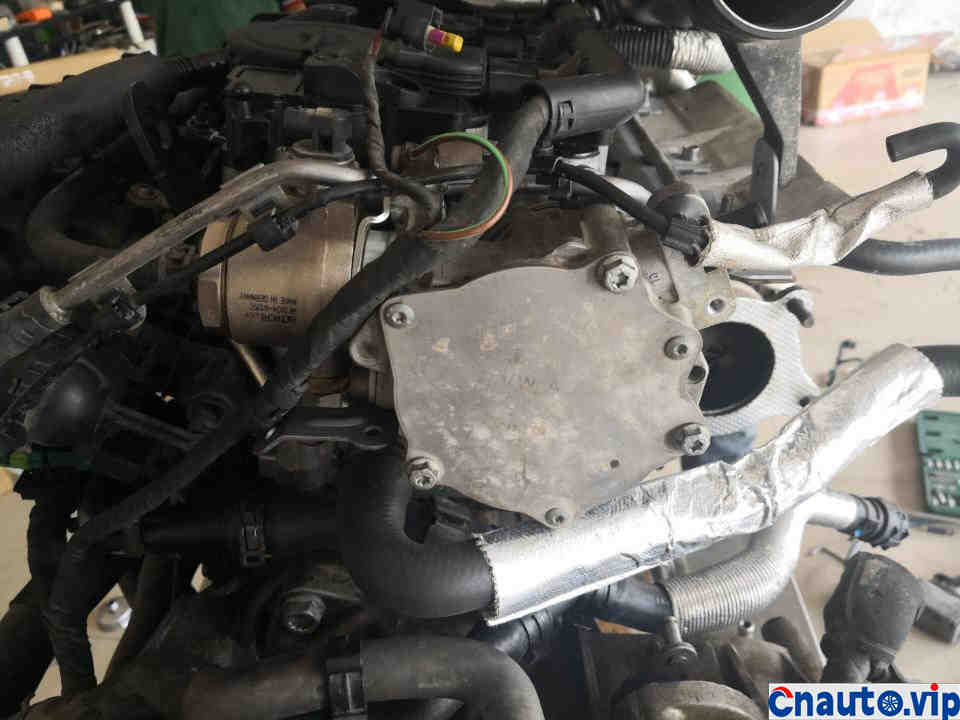
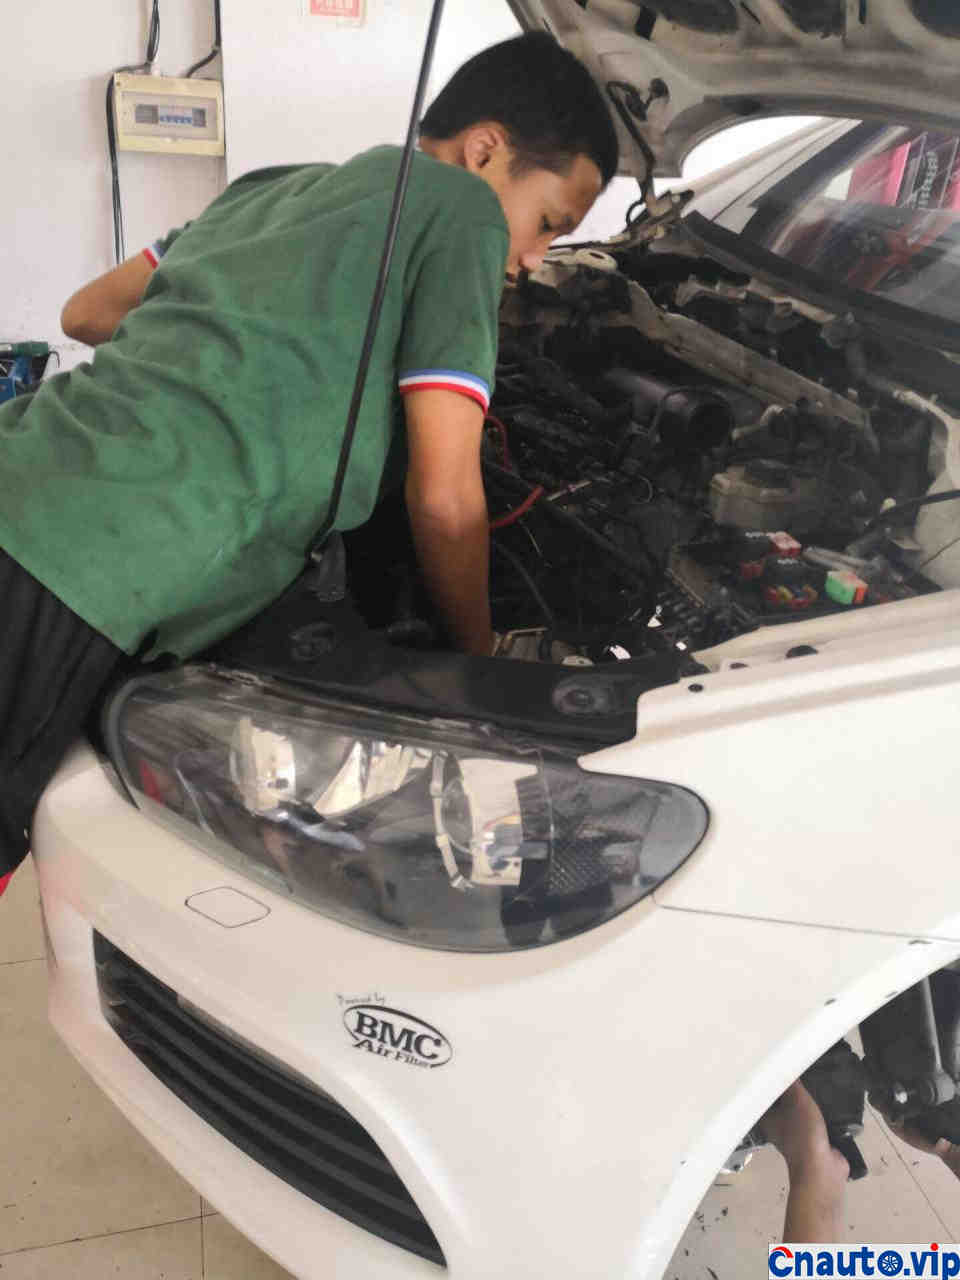
-engine disassembly and inspection-
Often in the process of disassembly and inspection, a lot of problems can be found.

It looks like the front face of R, isn’t it? it’s not R, but this car is much better than R. Don’t you believe that? You drive, and when you step on the gas, your adrenaline will answer you.

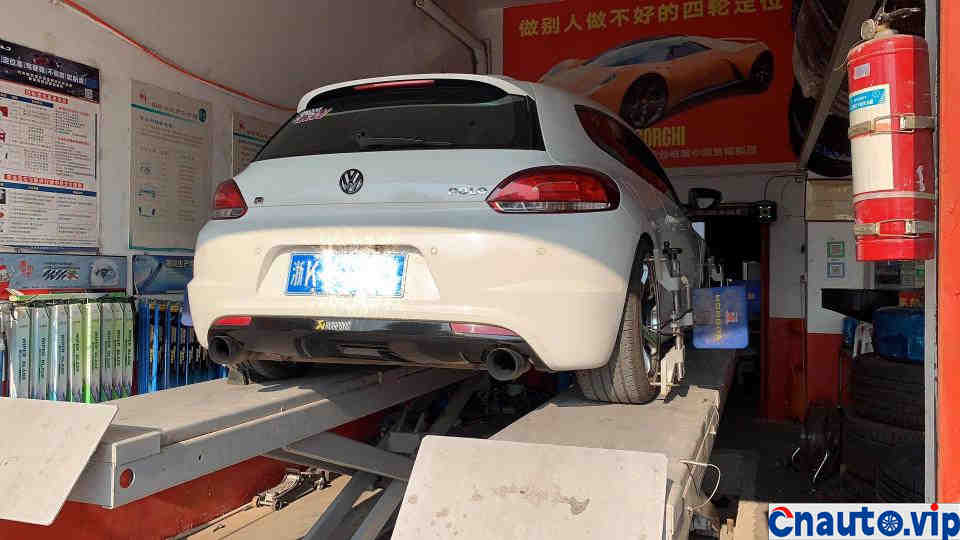
The butt is also made into the shape of R, hehe, the car owner is really confident.
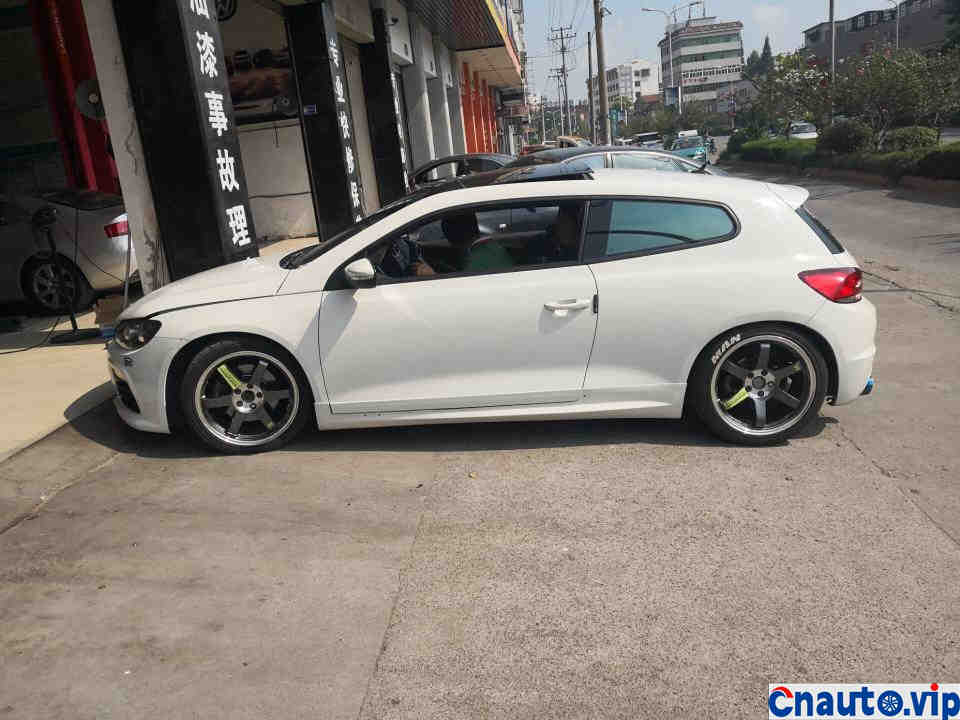
As the saying goes, a low cover for white and ugly, not to mention that people are good-looking without makeup. The steel ring has also been changed because it has to match the semi-hot melt tire.
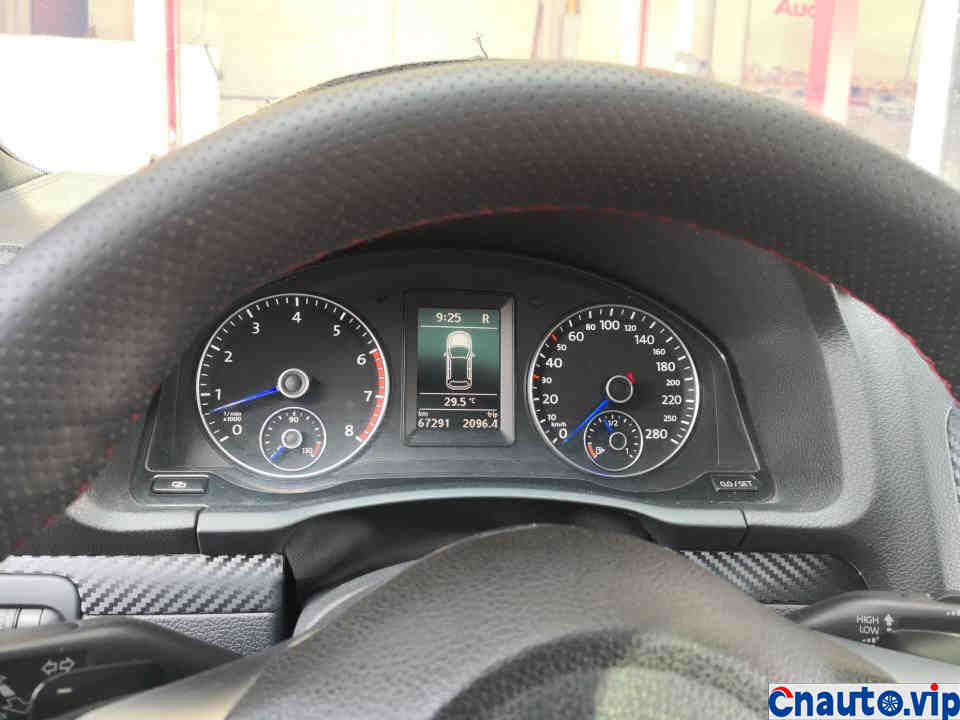
Blue pointer, hehe. Anything with letters under Volkswagen is an ox cart. Whenever the public meter pointer is blue, they are all good at pretending to be pigs and eating tigers on the road.
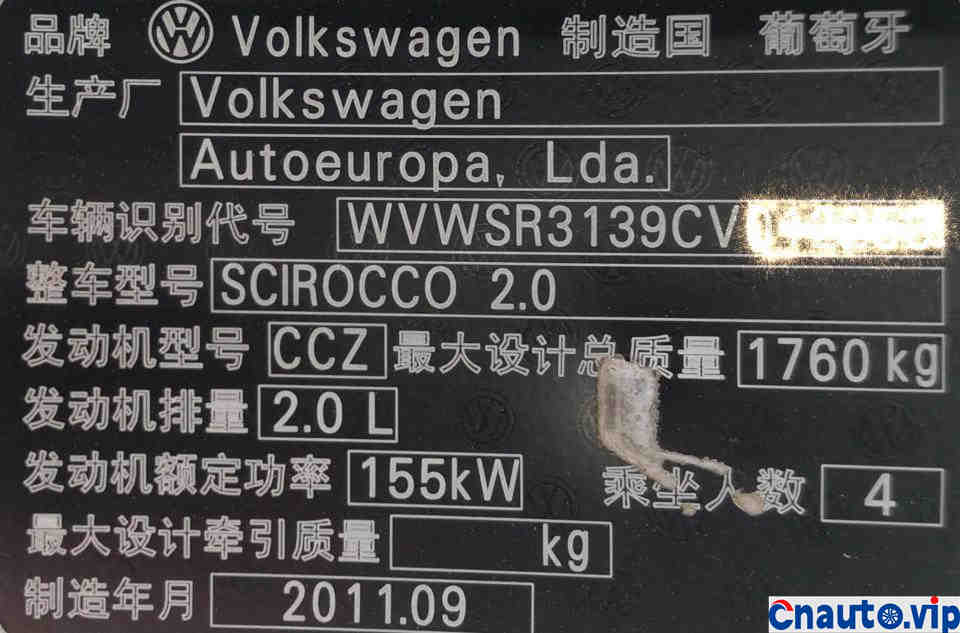
Body nameplate, imported, Portuguese
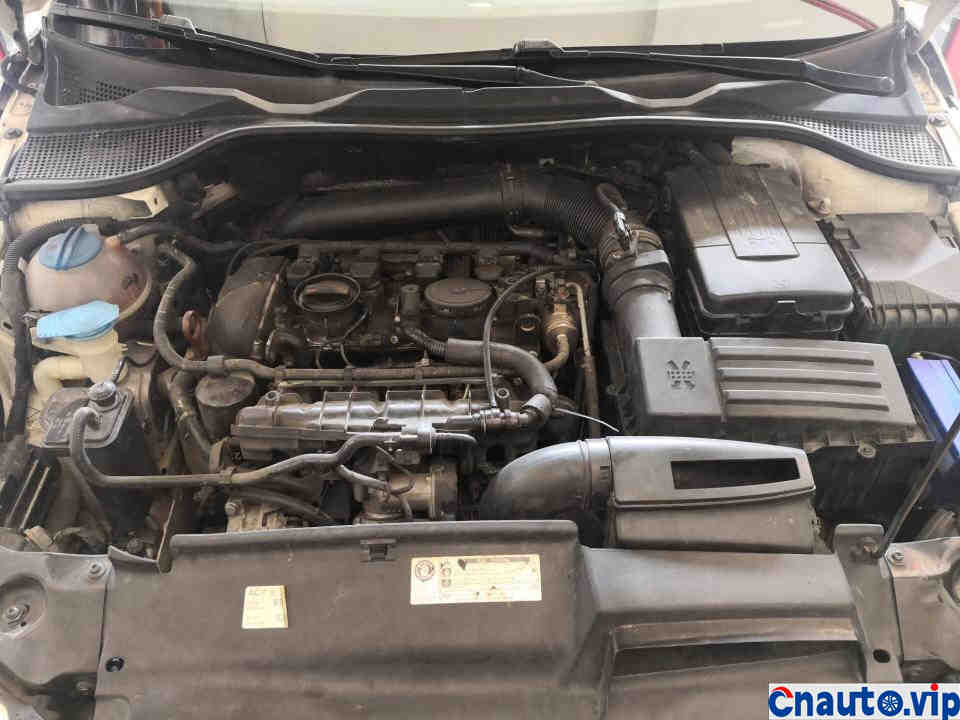
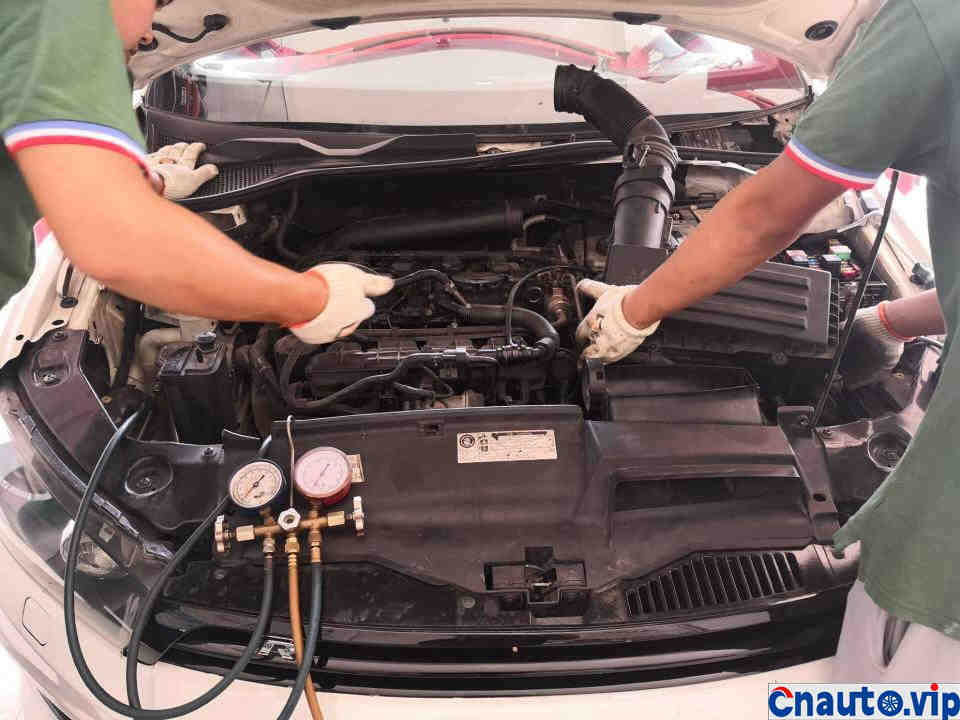
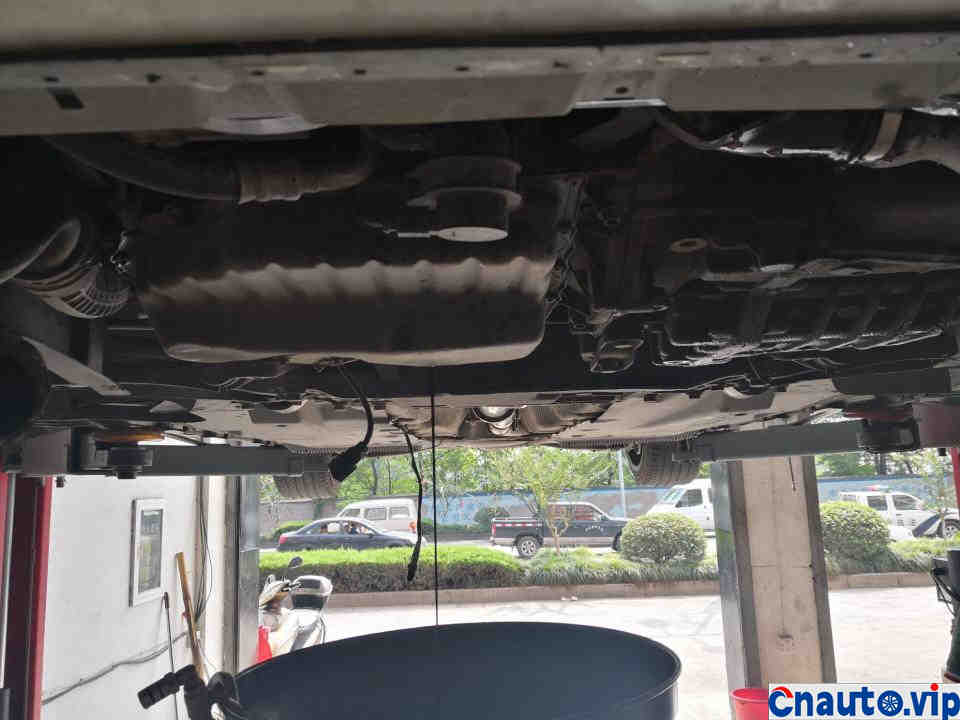
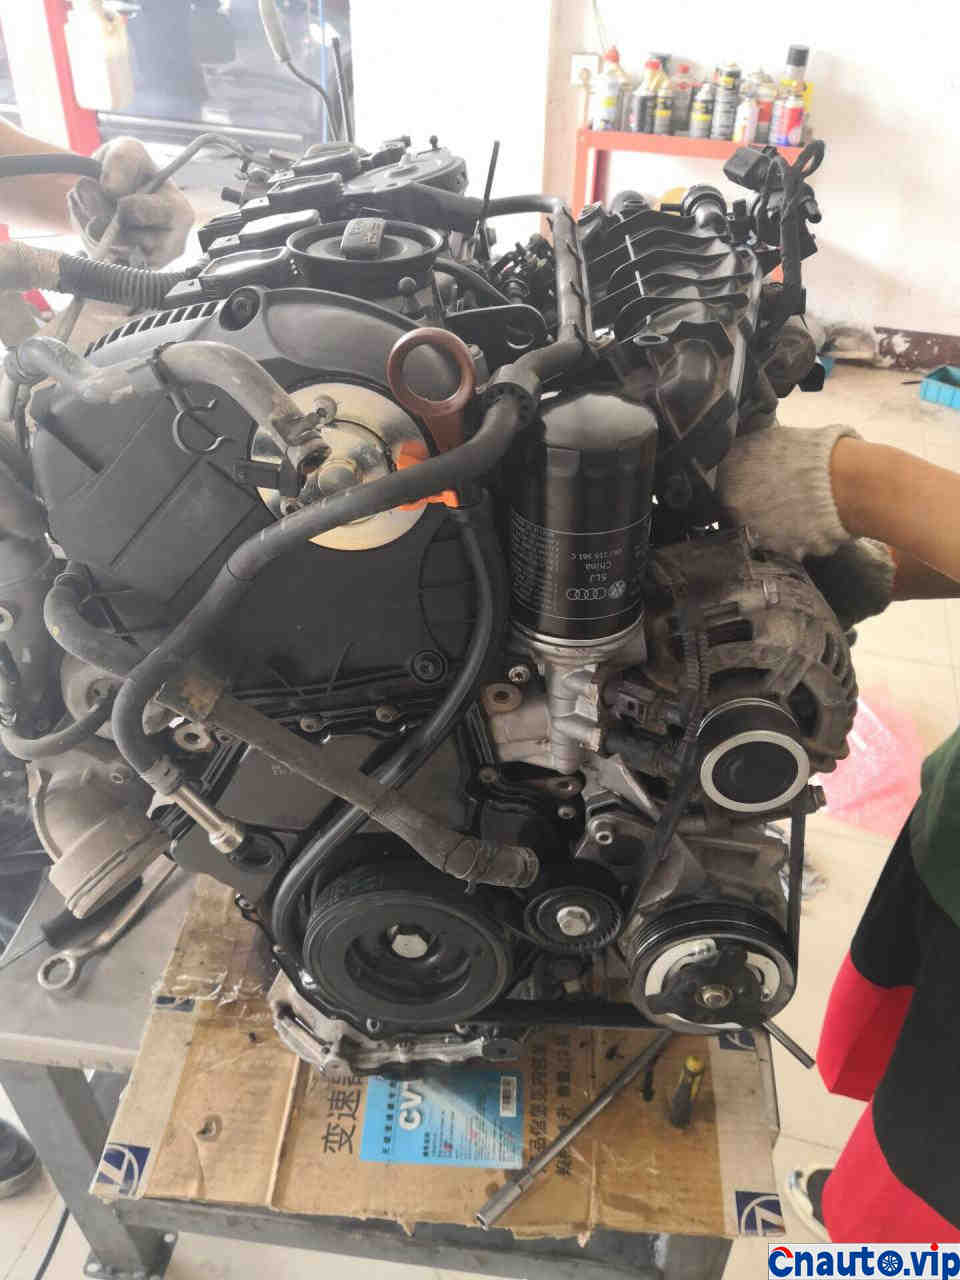
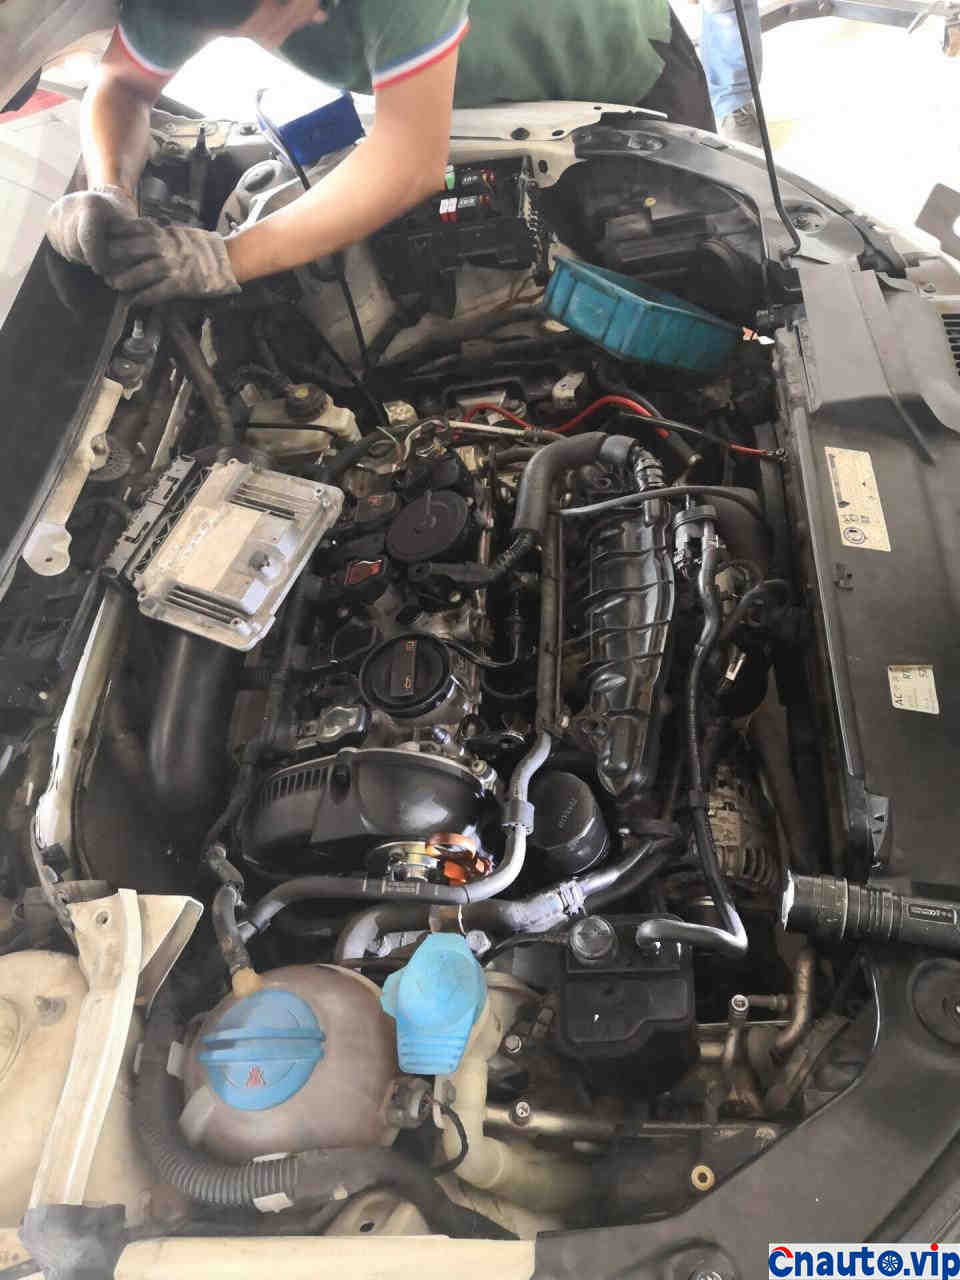
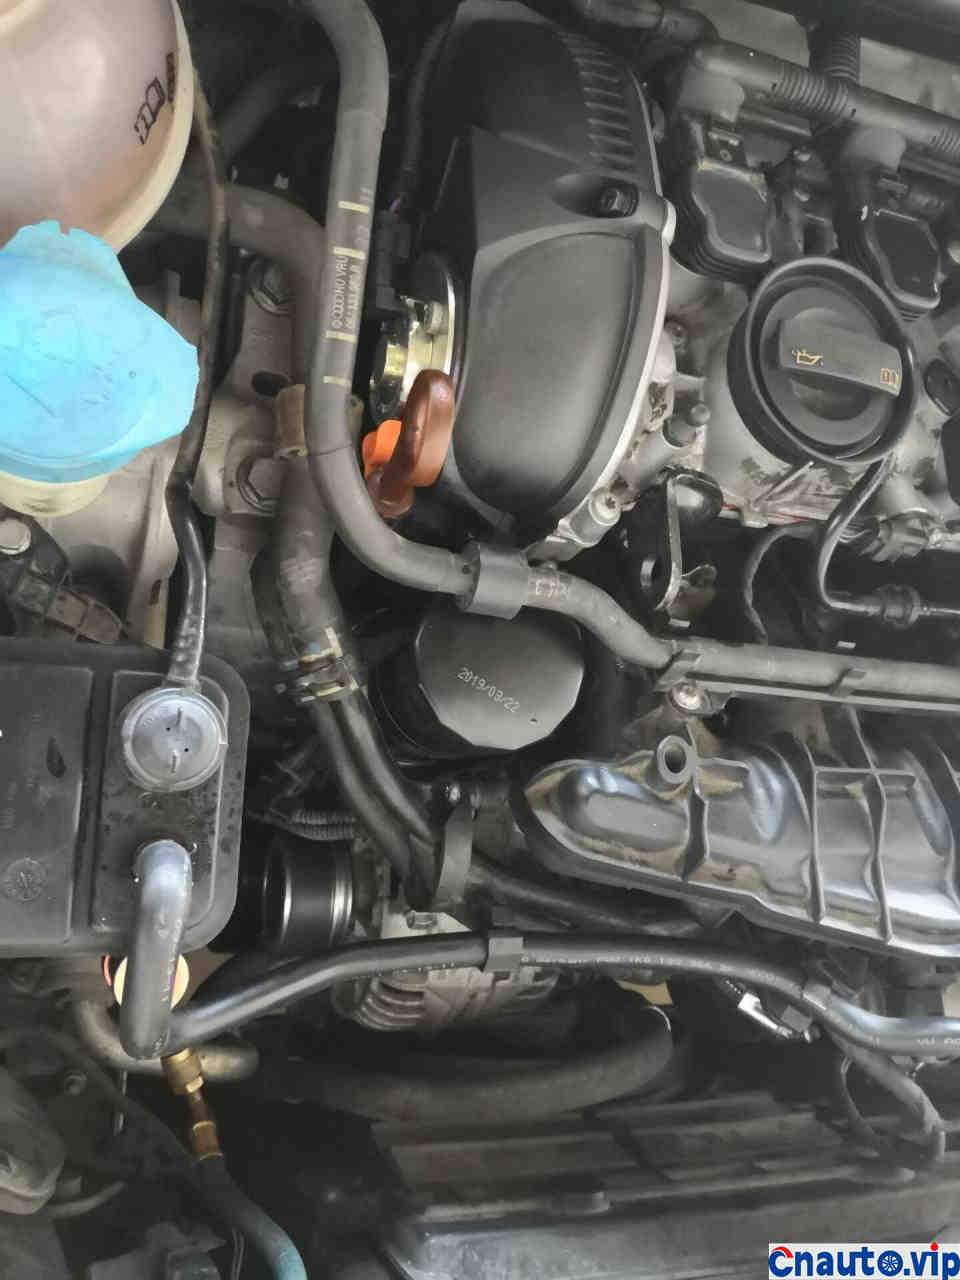
The engine compartment, which is full of oil, burns engine oil and leaks engine oil, which is shown incisively and vividly on this car.

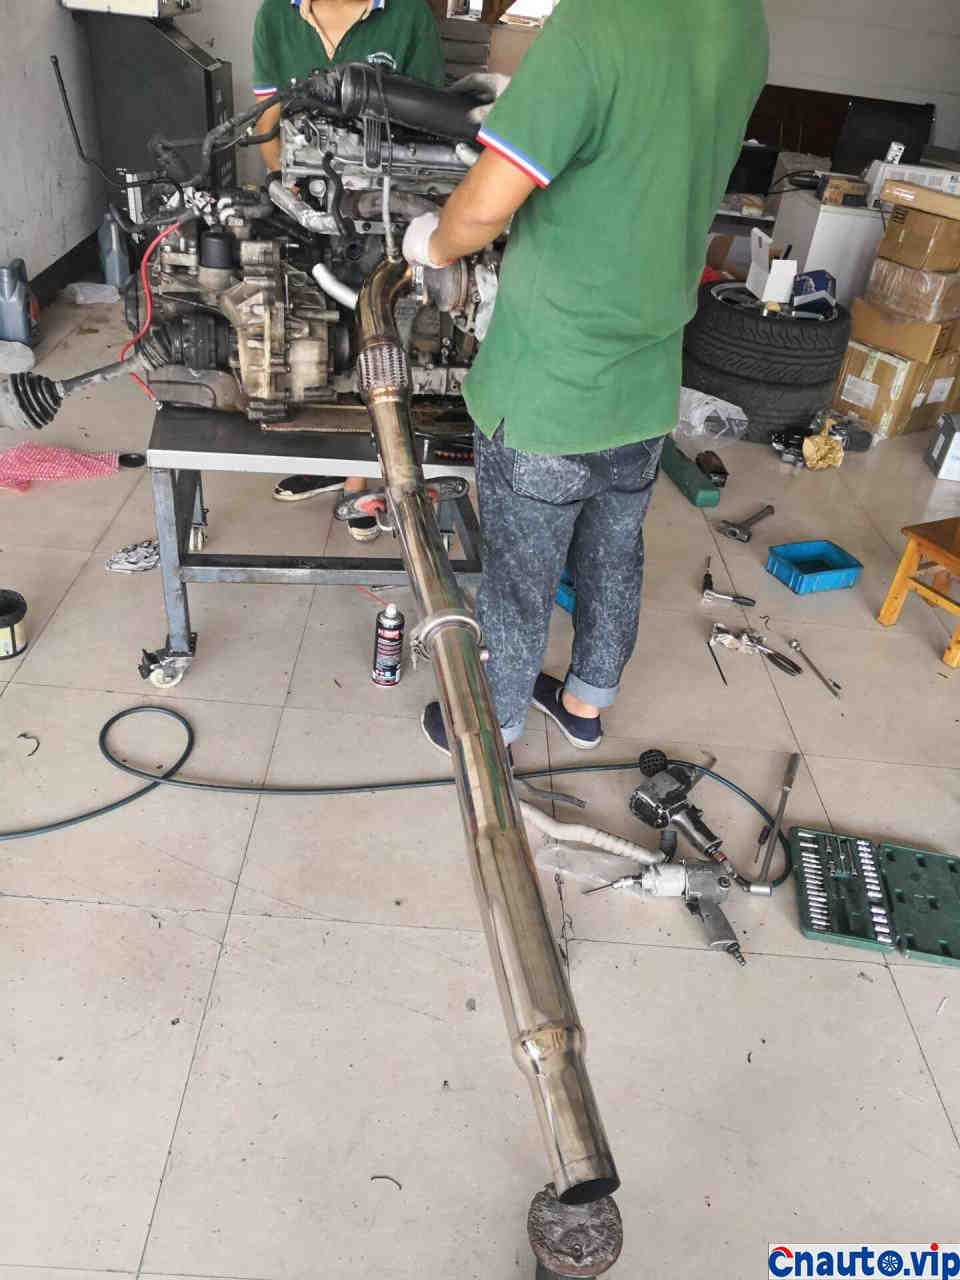
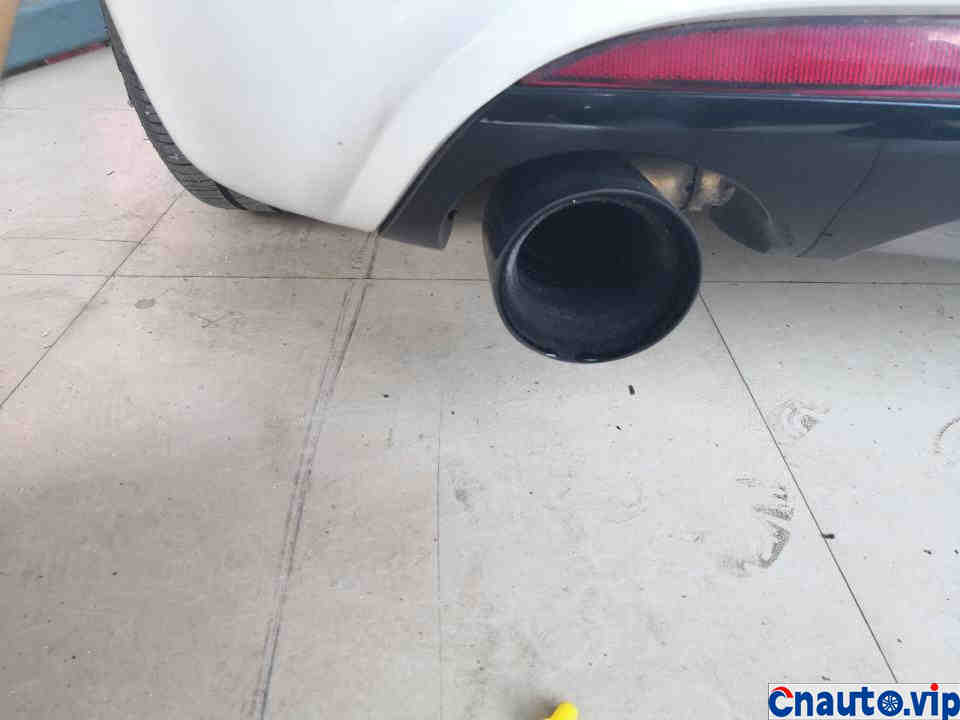
The dry, dark exhaust pipe tells the fact of burning engine oil
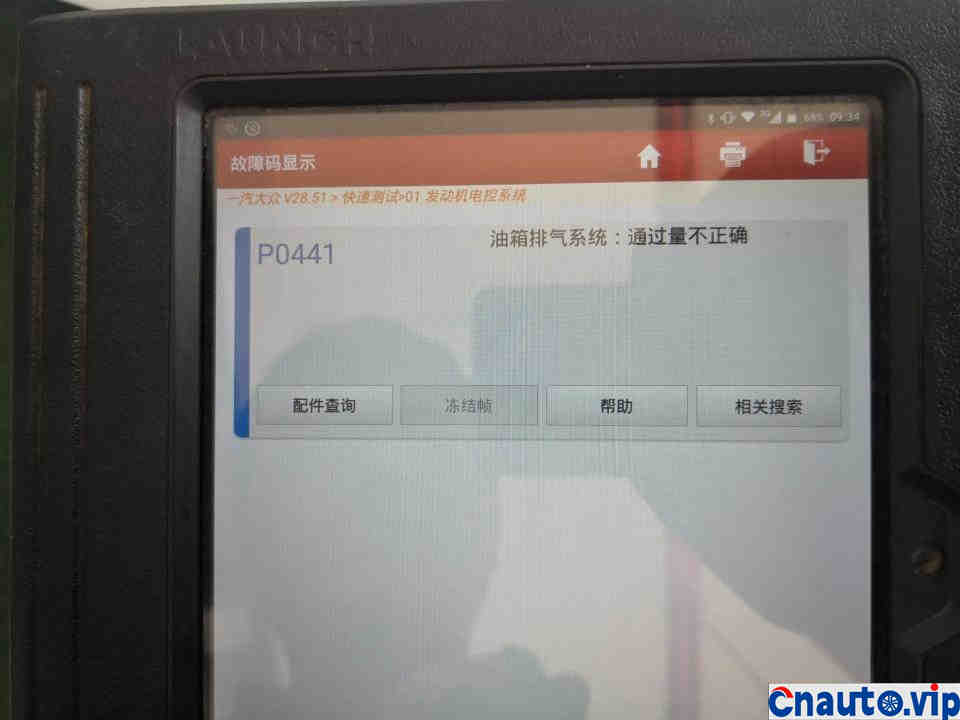
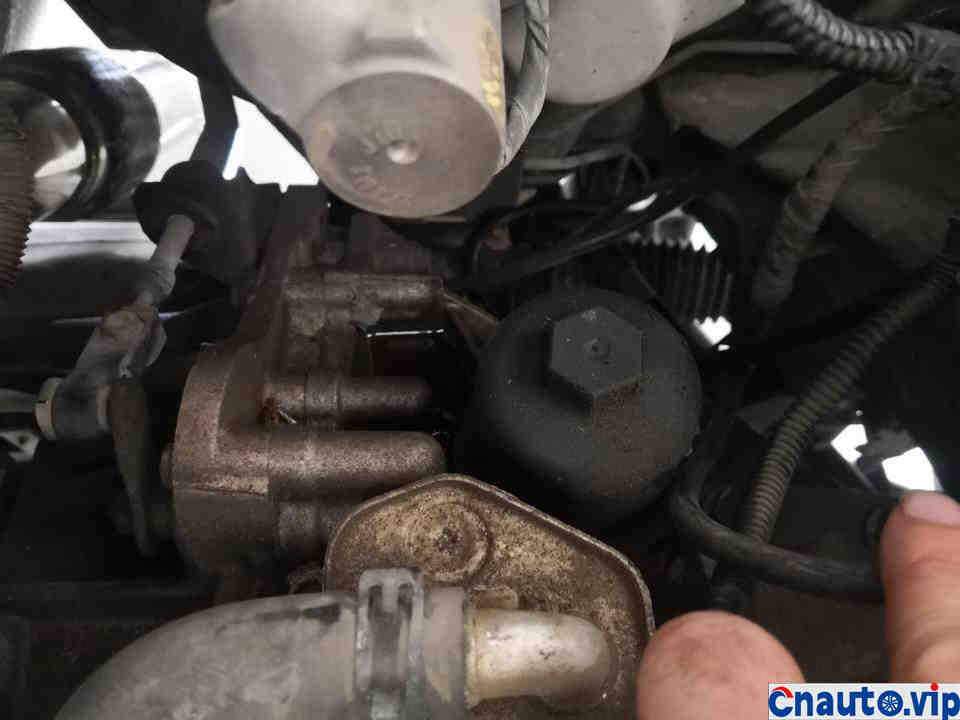
But in terms of failure rate, it’s pretty good, it’s the problem of carbon canister and solenoid valve.
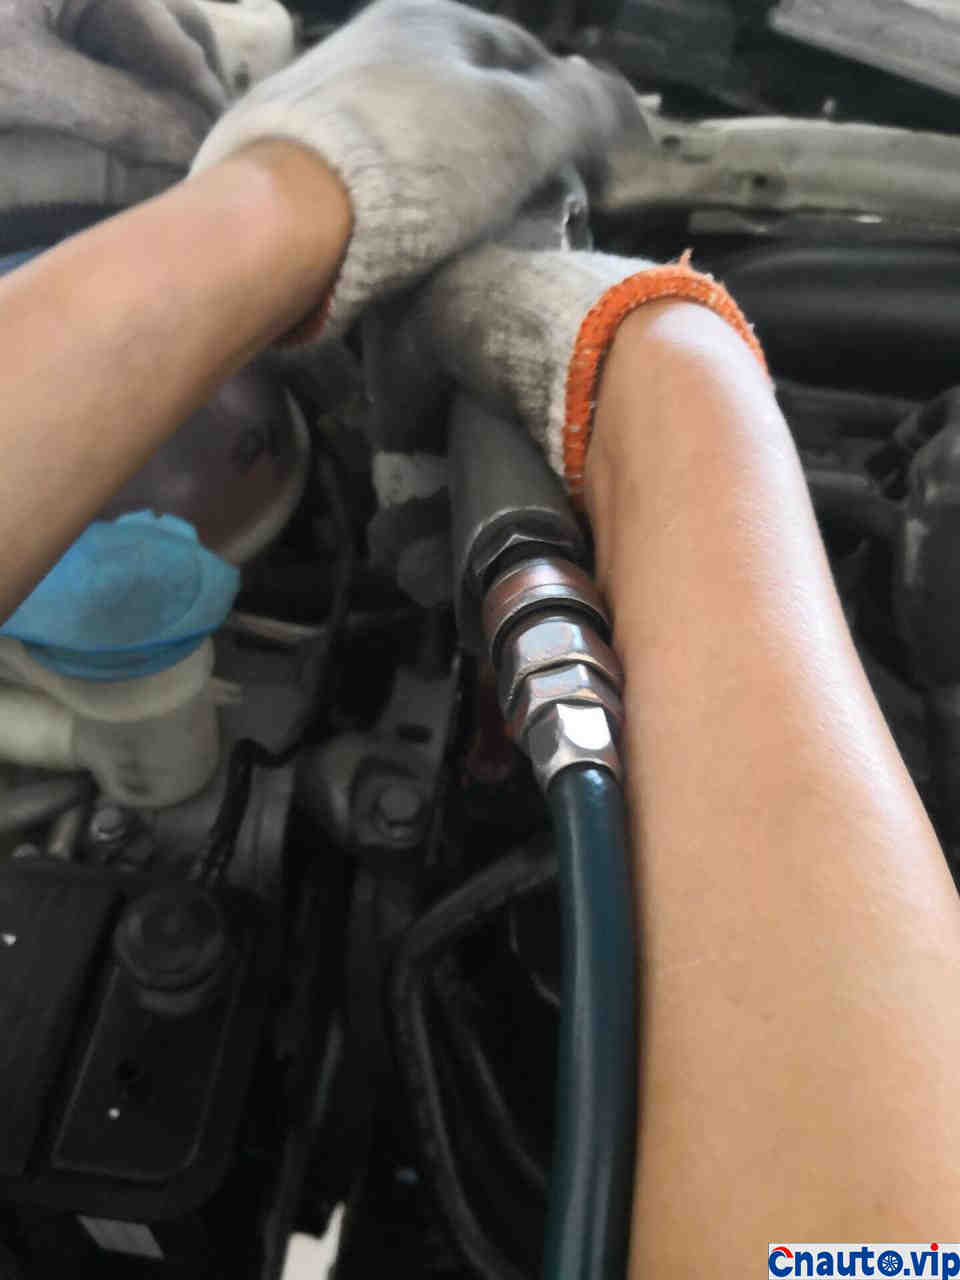
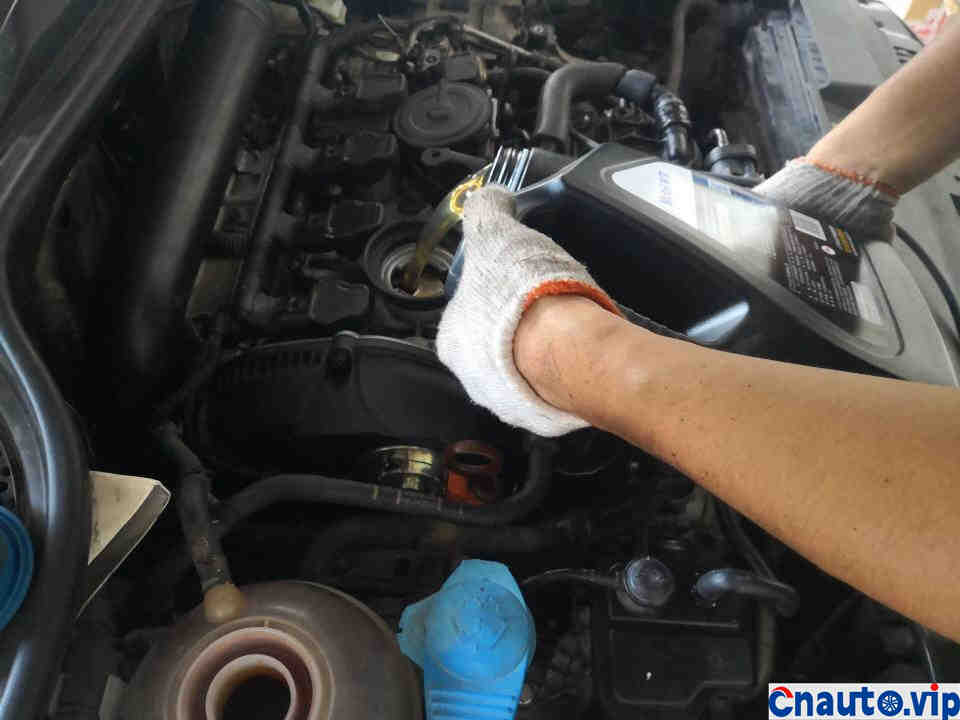
Get rid of the oil and water and prepare to open it.
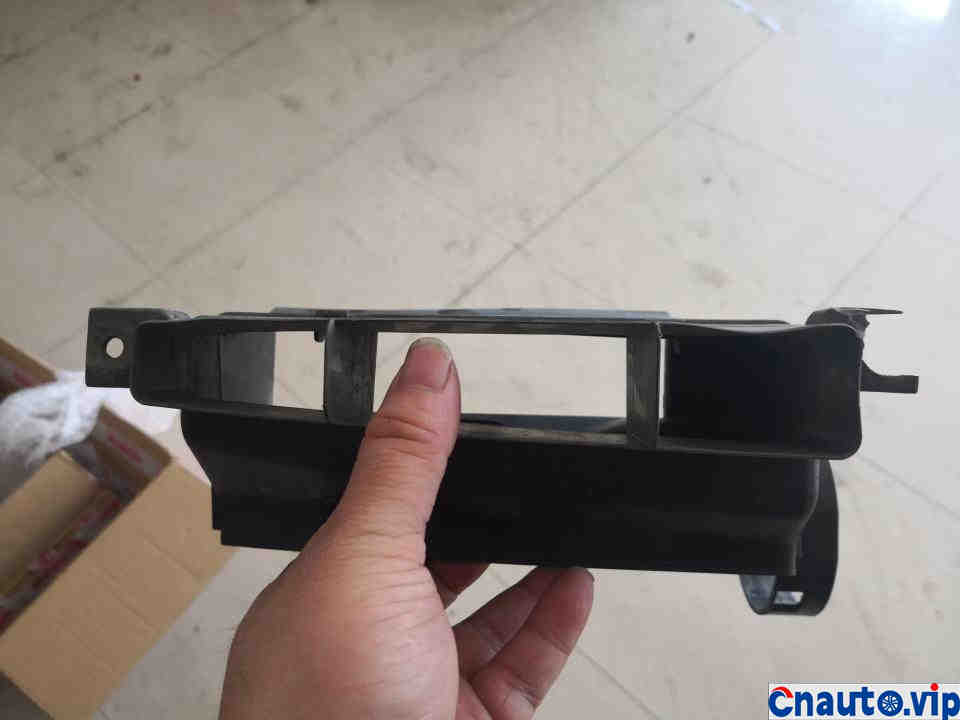
Air intake, plastic parts, aging is normal, once the screw hole has burst, replace it
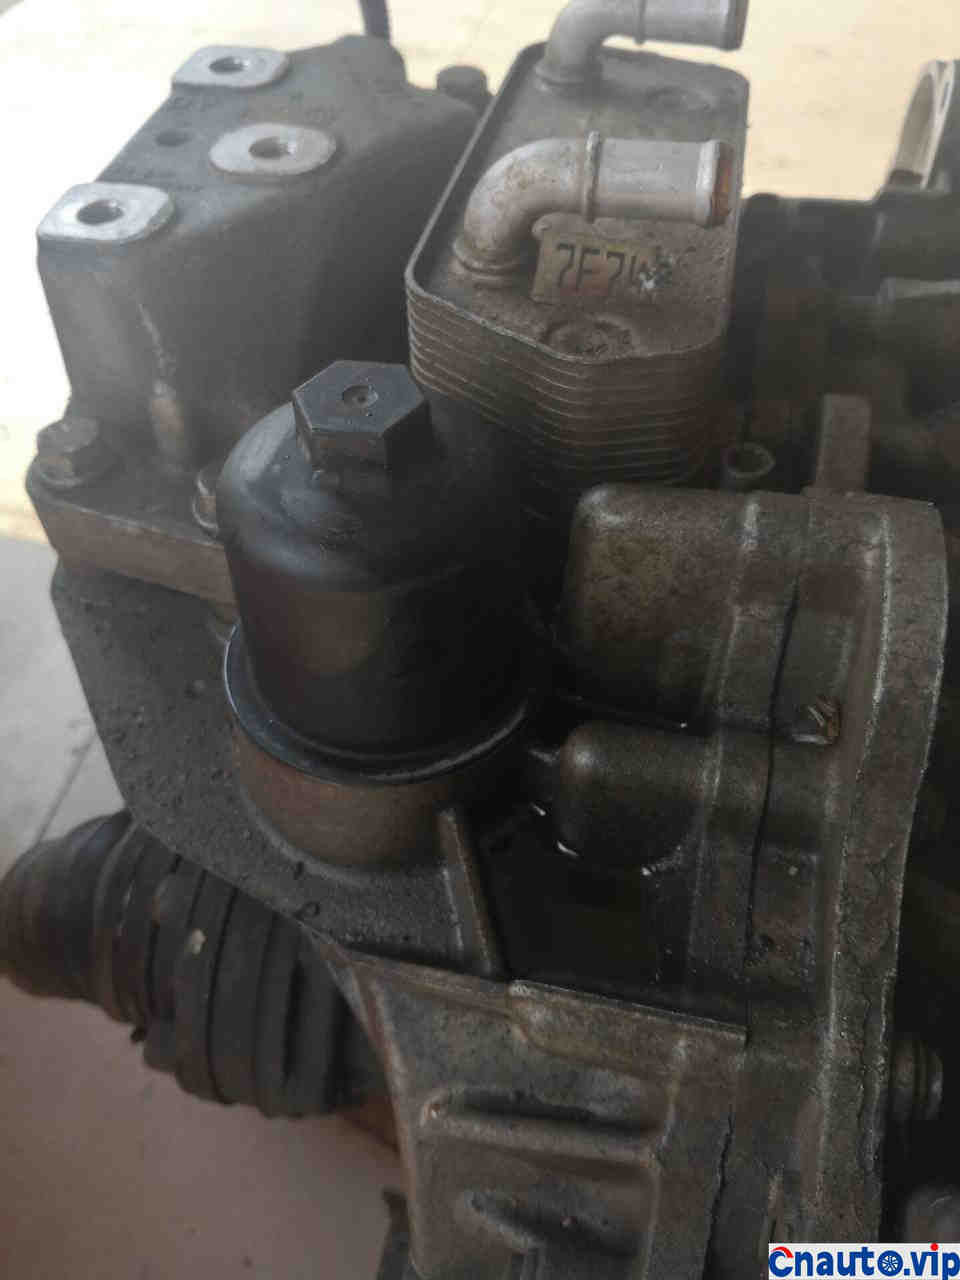
The gully near the gearbox filter element is full of gearbox oil. It seems that the lid of the gearbox filter screen is leaking.
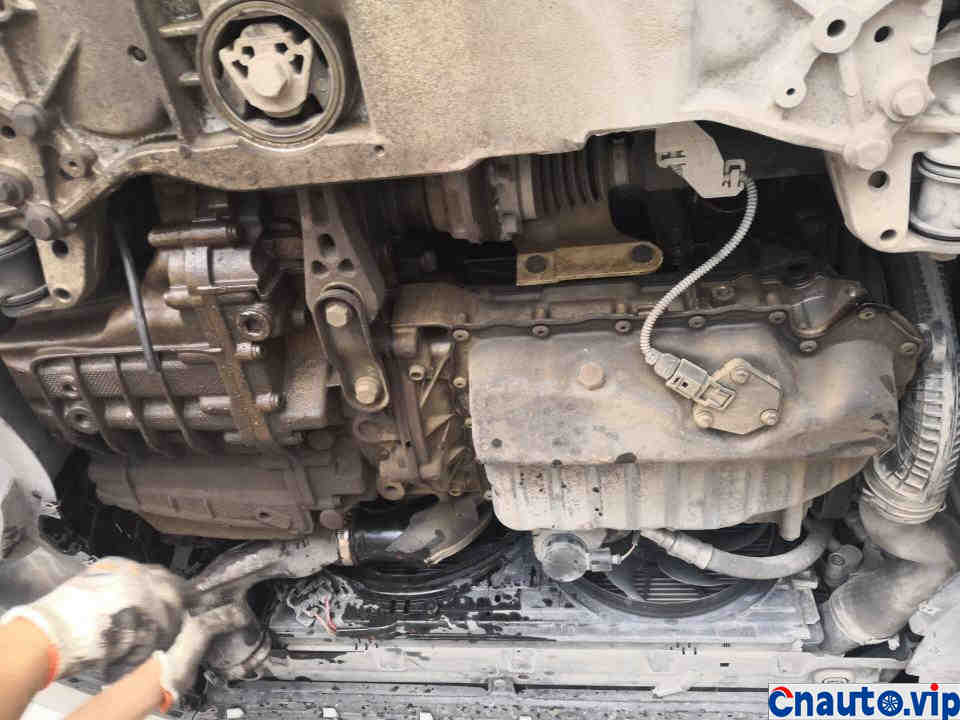
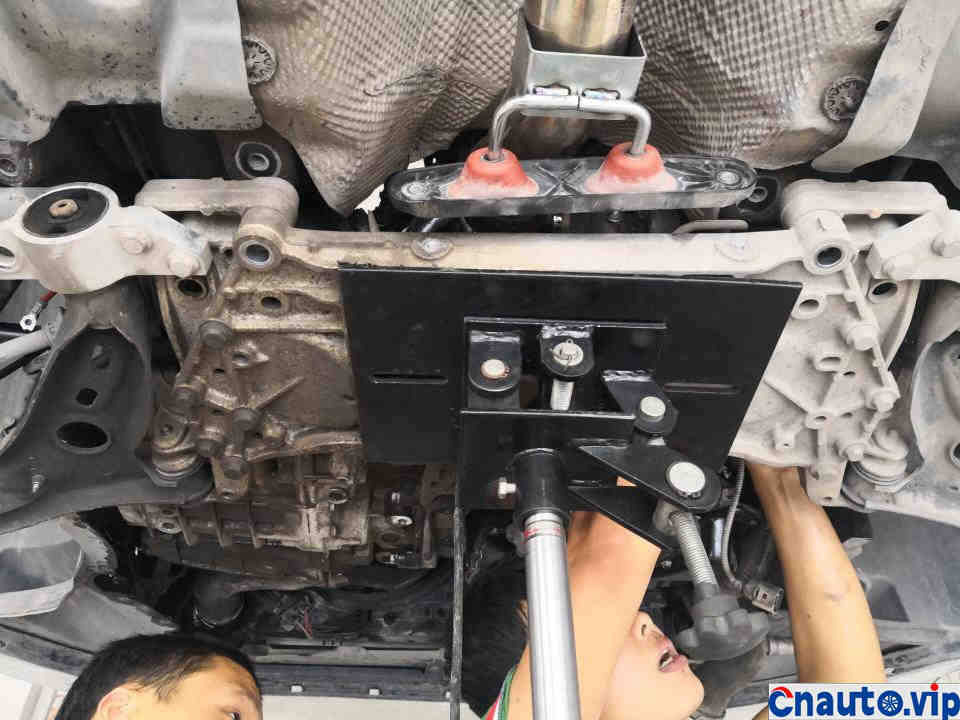
After jacking up, it was found that the engine was still dry, but the gearbox was wet, consistent with the oil leak.
Drain the engine oil
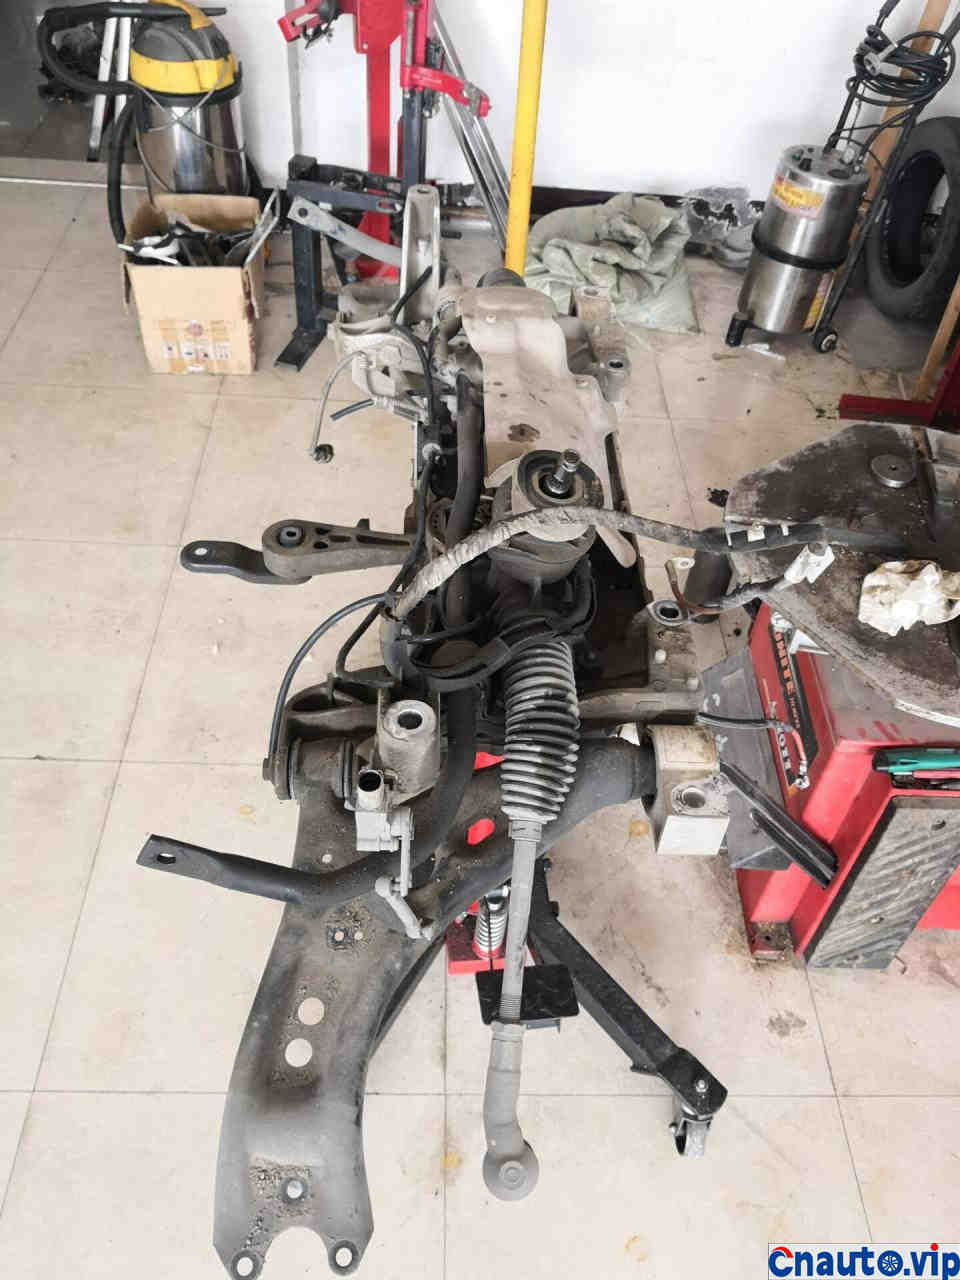
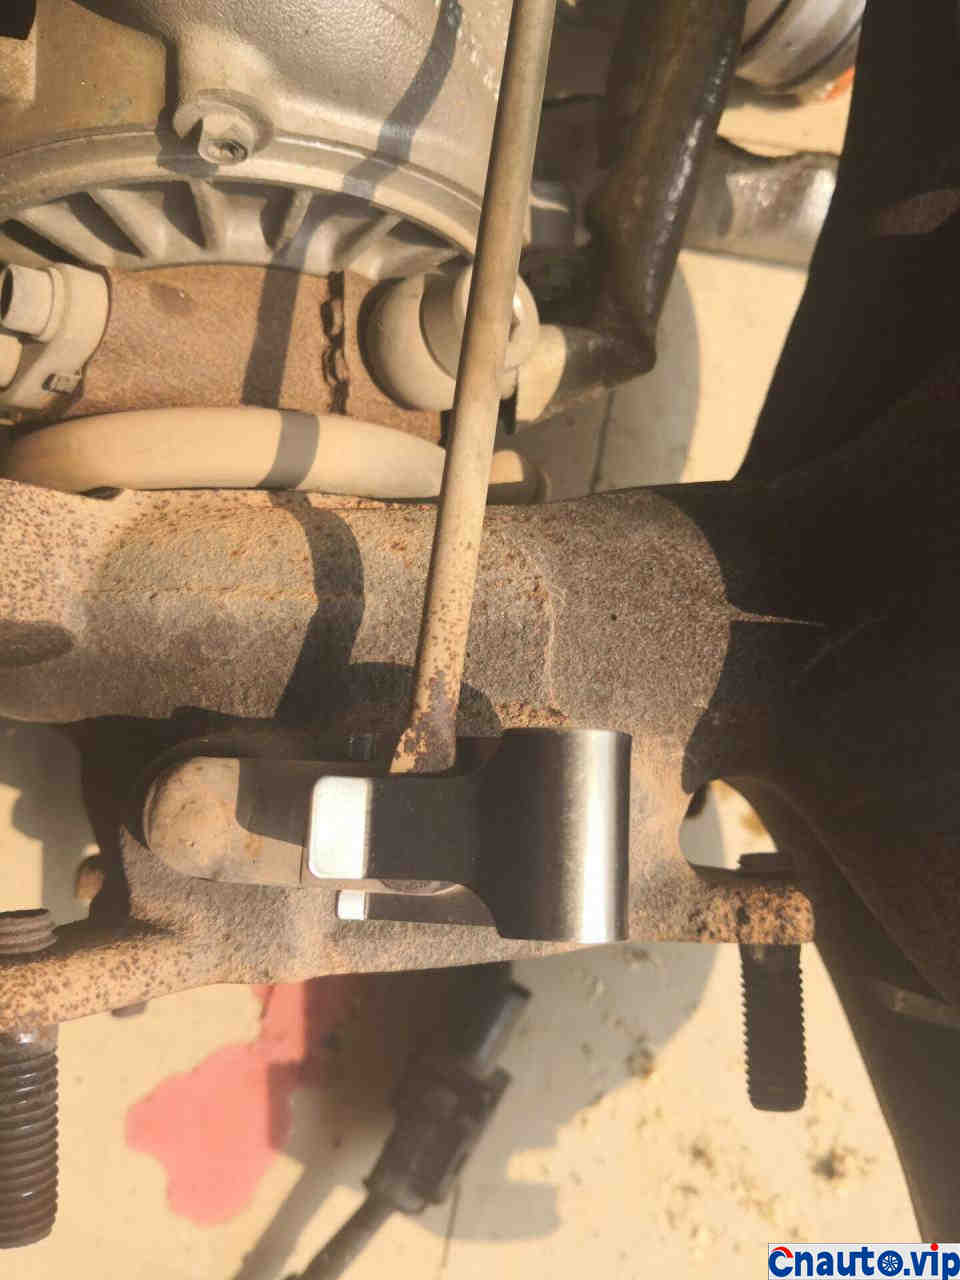
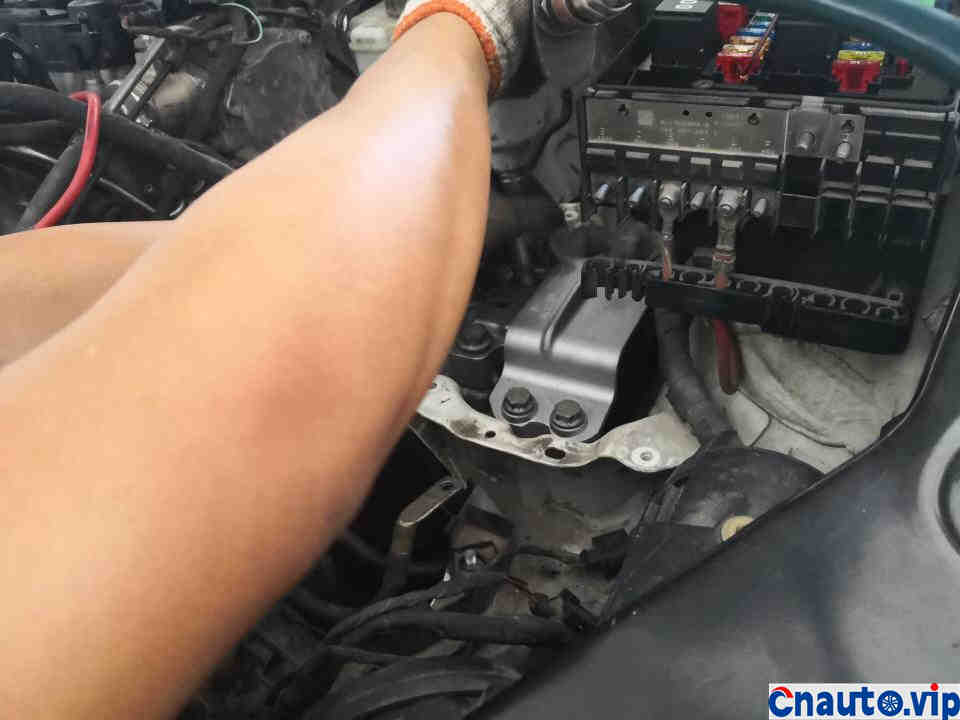
Remove the subframe and steering gear
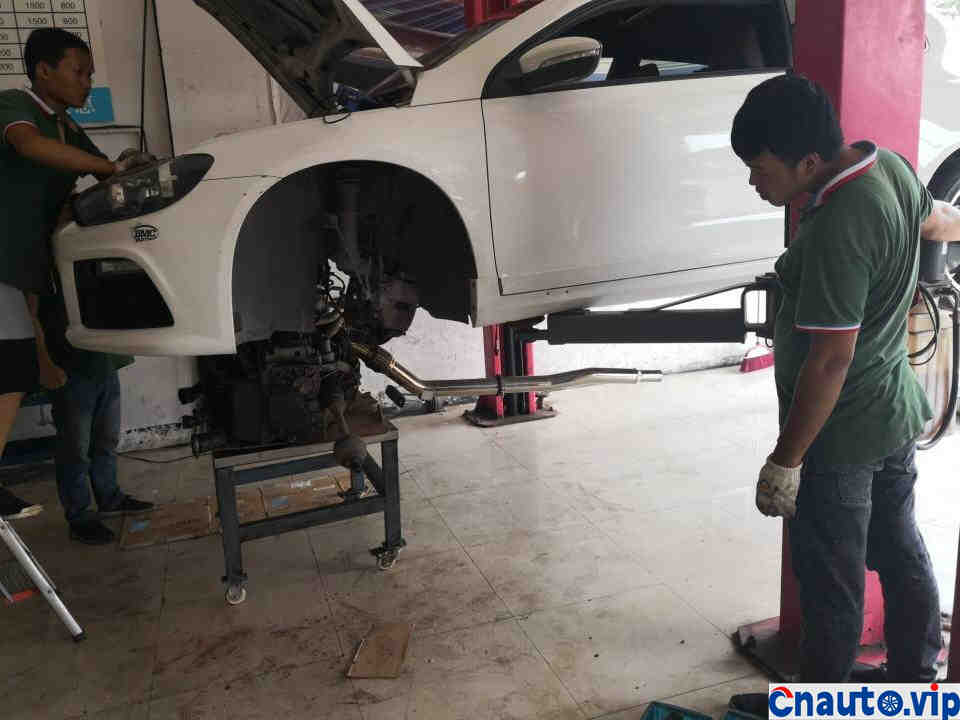
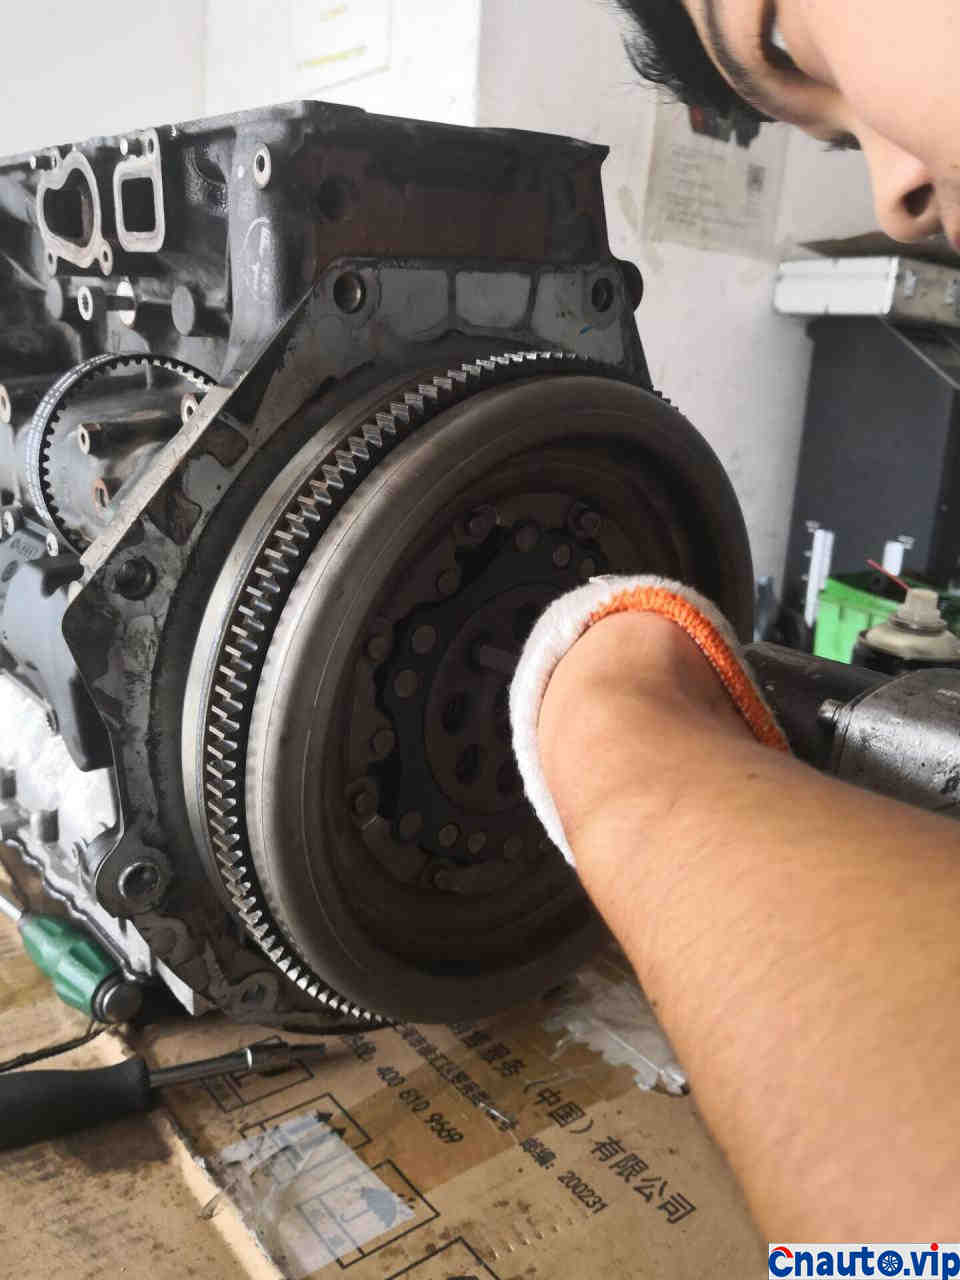
Separation of engine gearbox and car body
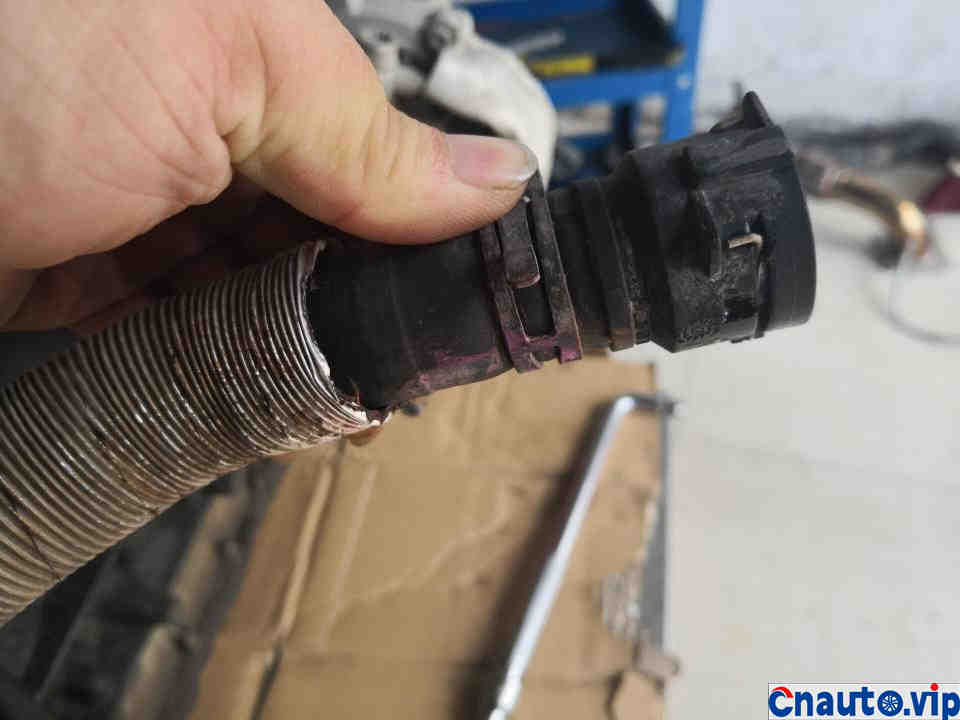
Look at this warm air. It’s leaking. Change it.
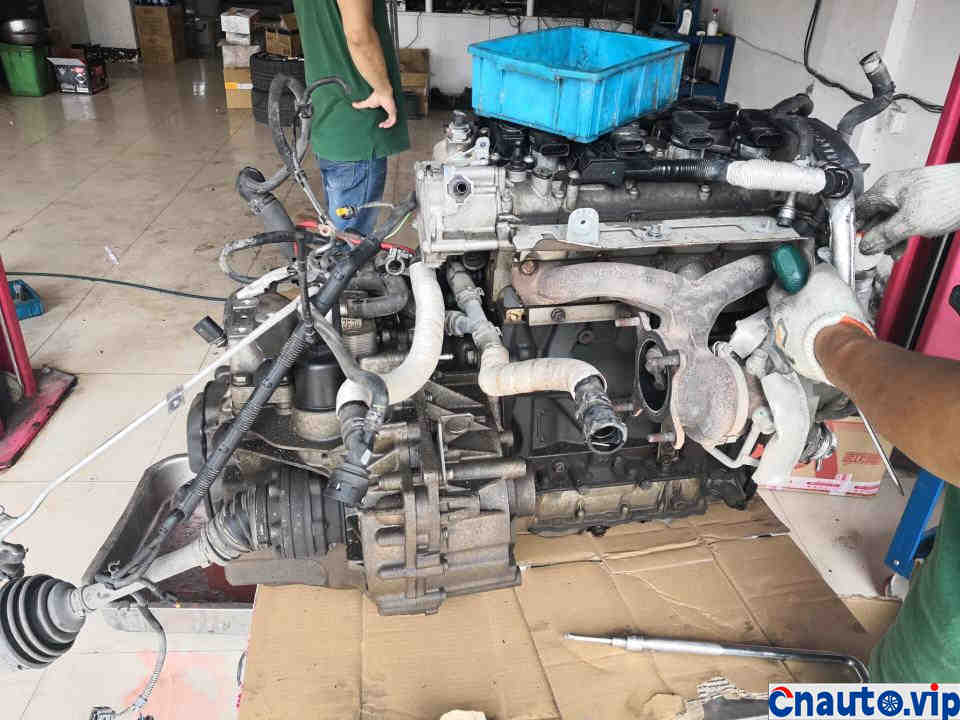
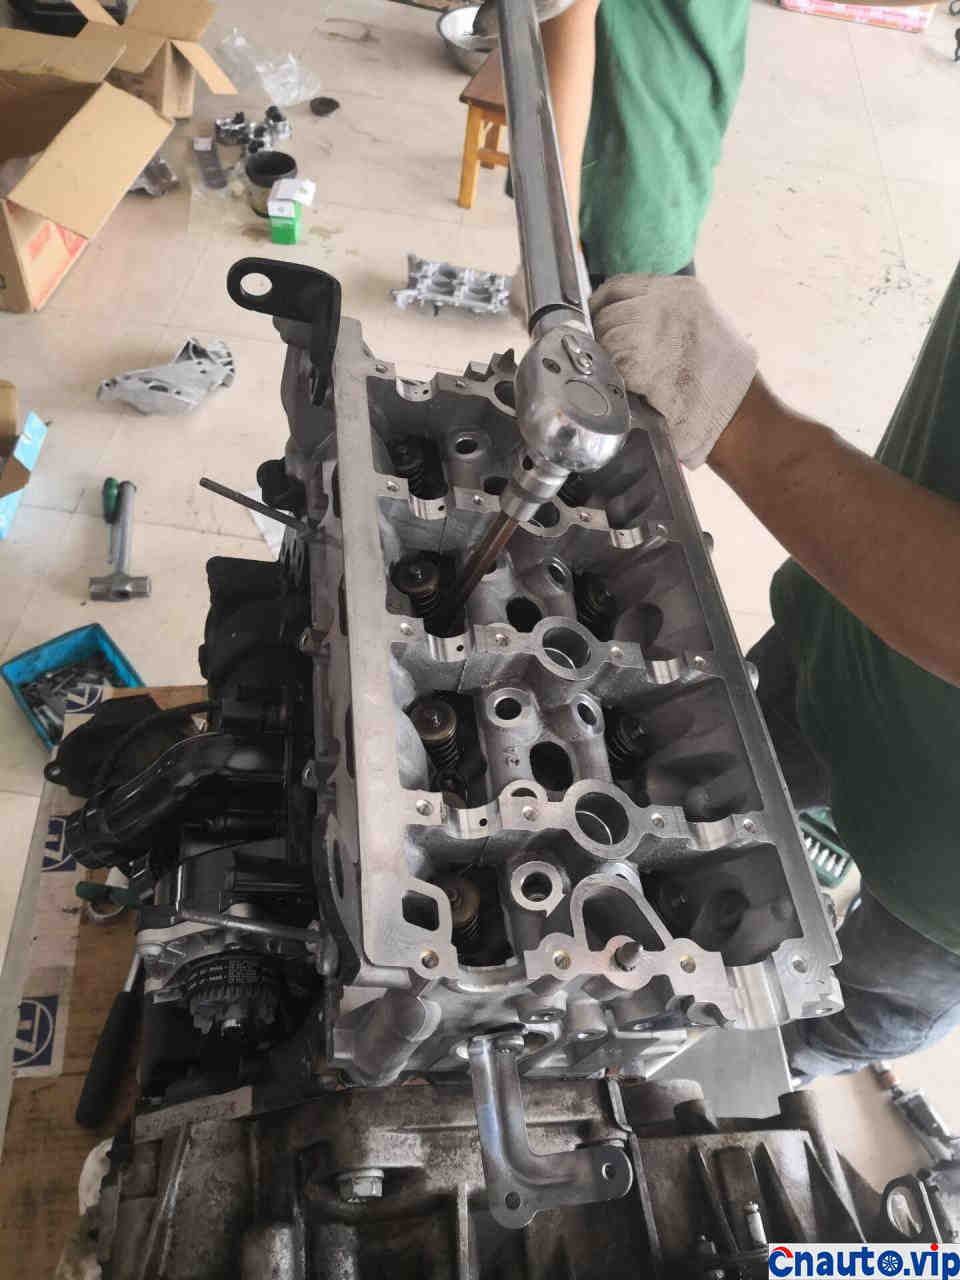
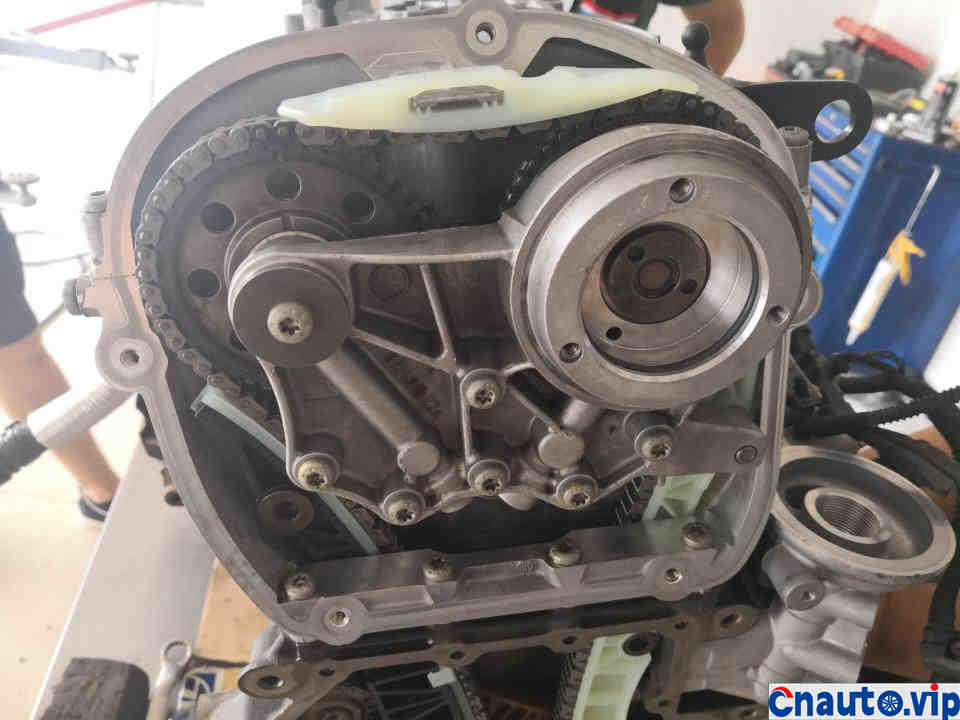
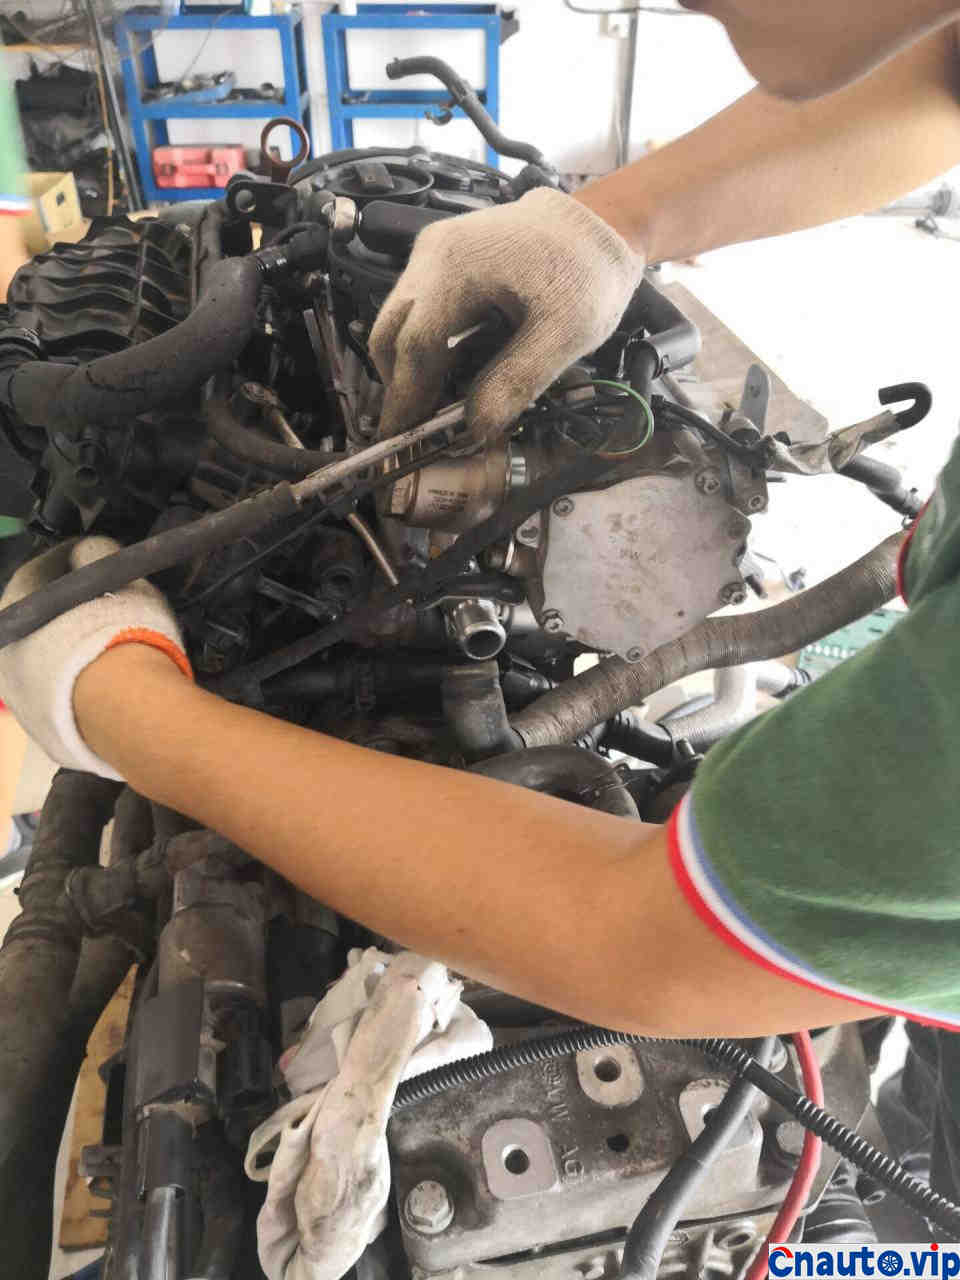
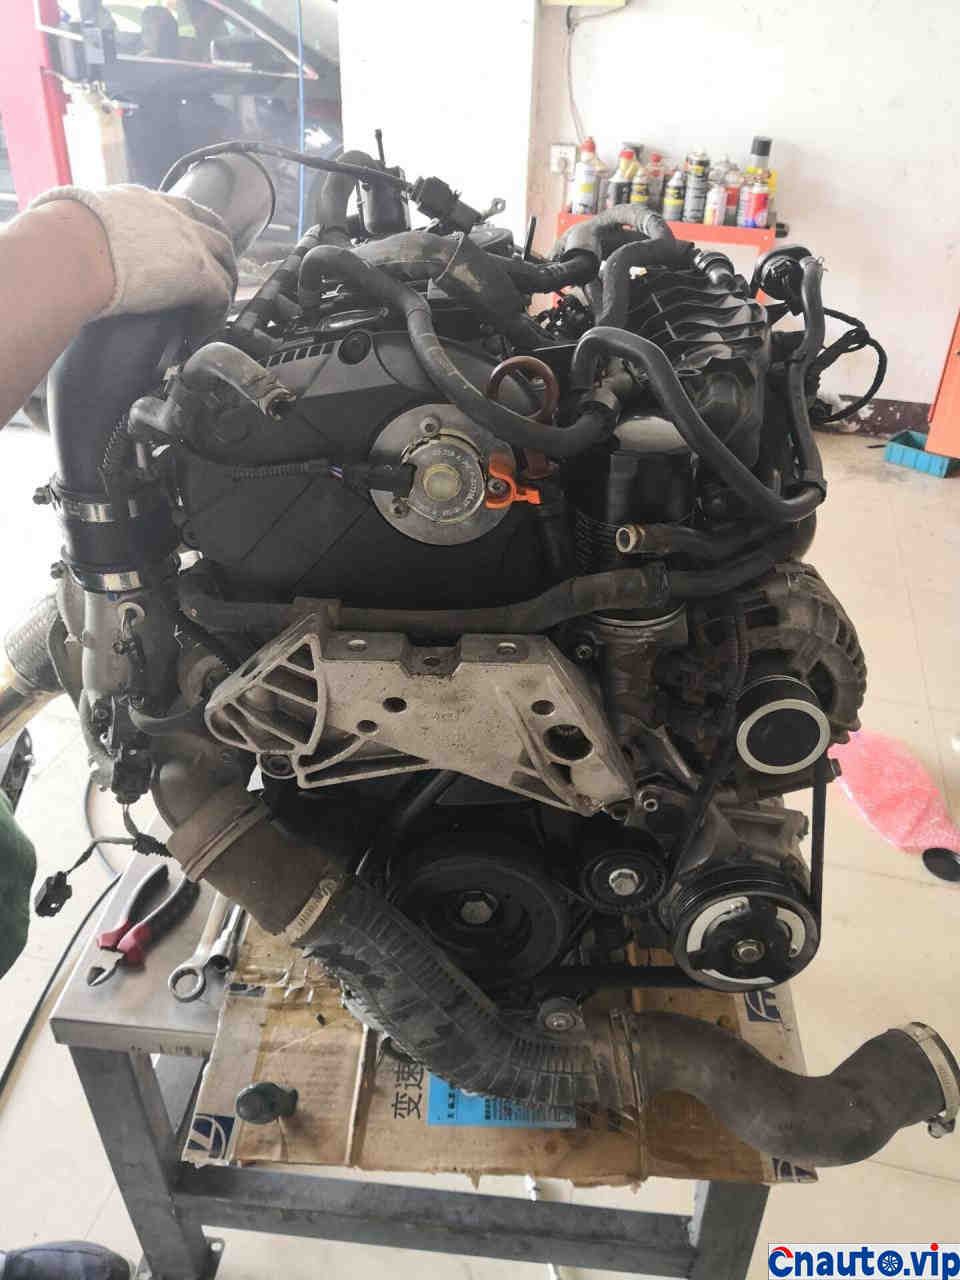
Start to decompose the engine.
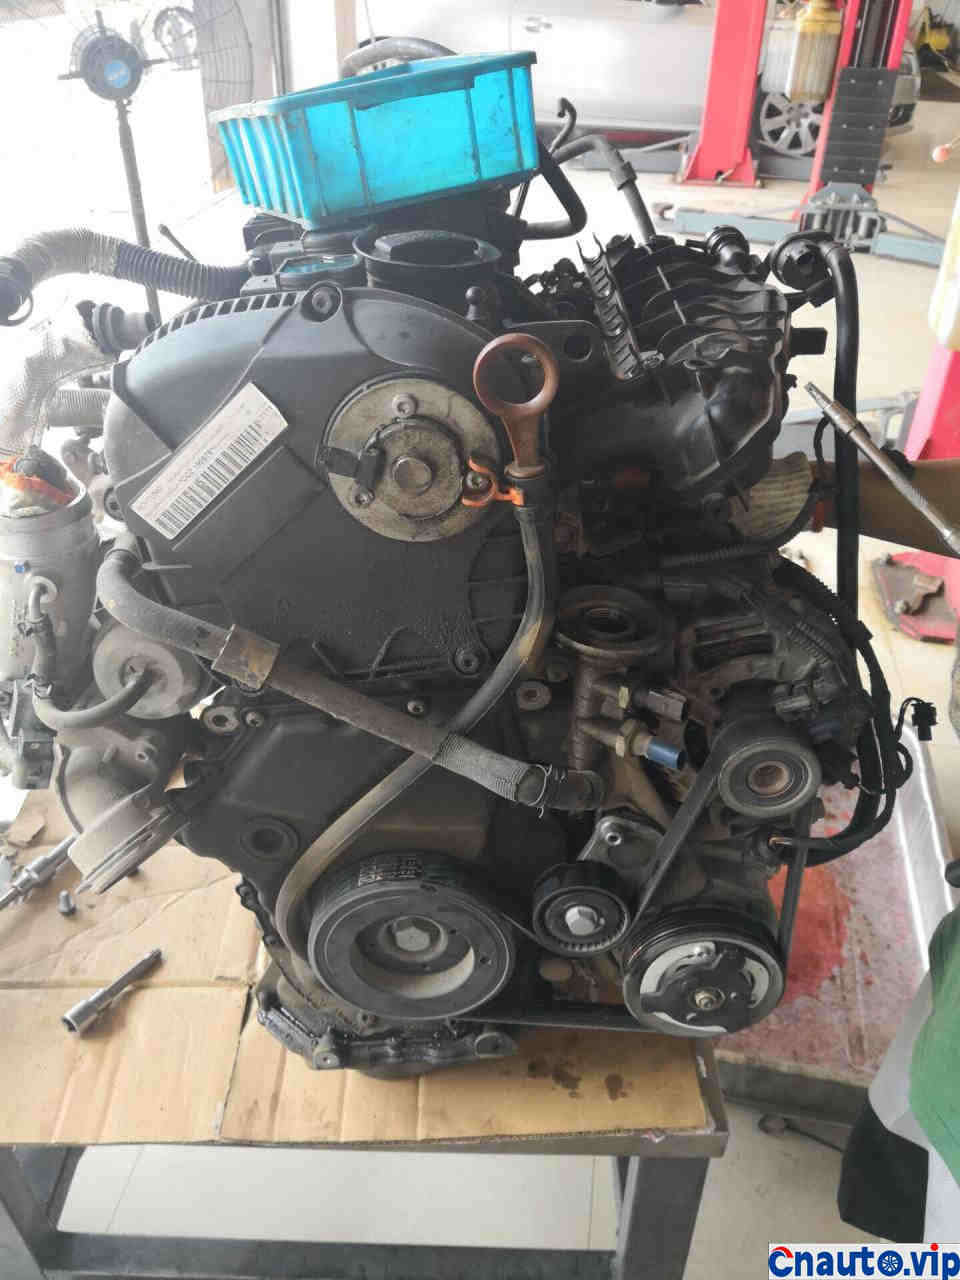
The position of the plastic chain has begun to leak, but it doesn’t matter, it has to be changed. The belt and the air-conditioning pump are new, the guy said. Because of the abnormal noise, he changed the belt and the air-conditioning pump. As a result, he changed the belt and the air-conditioning pump for nothing.
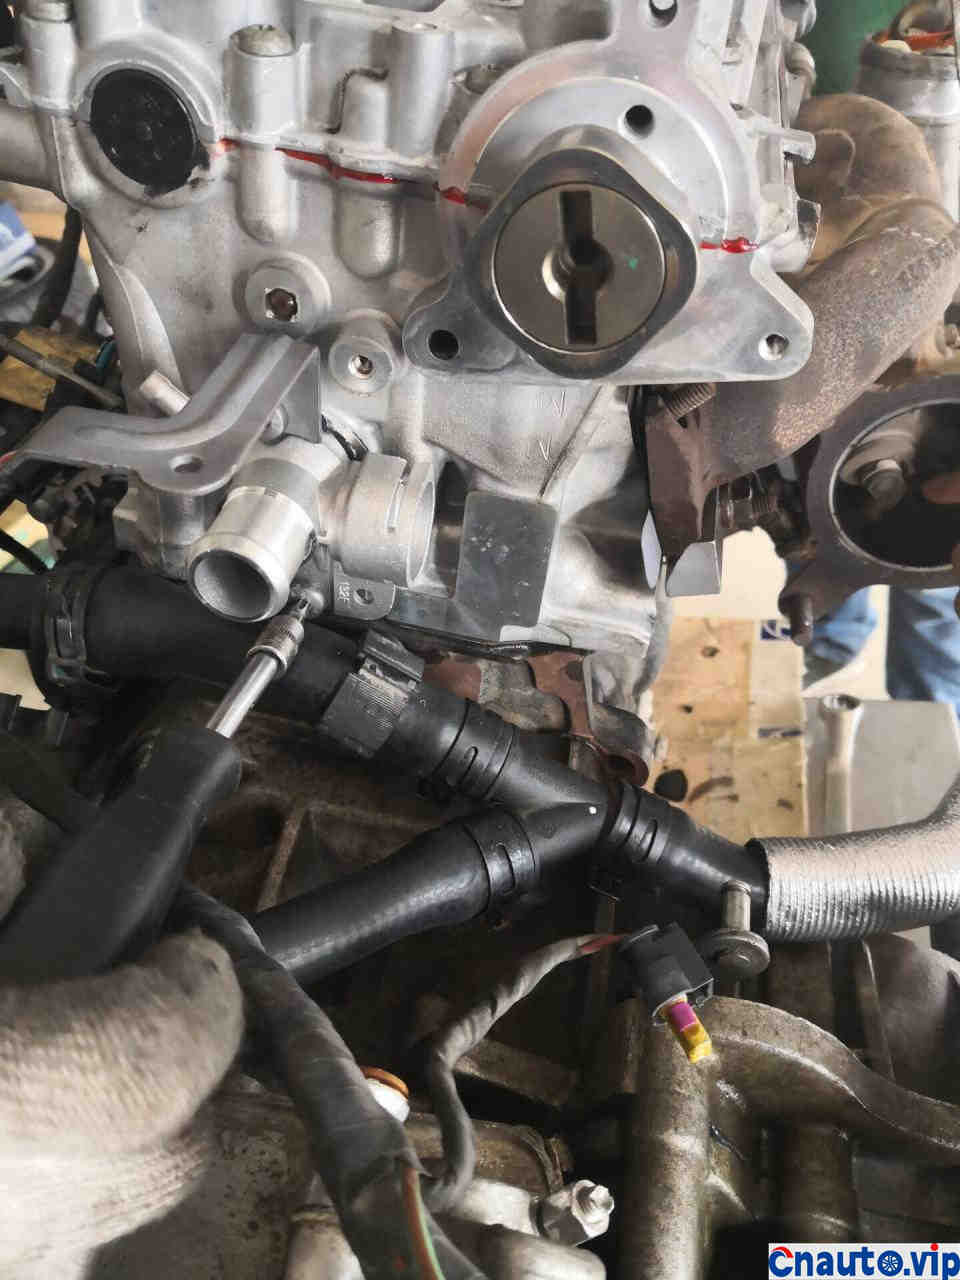
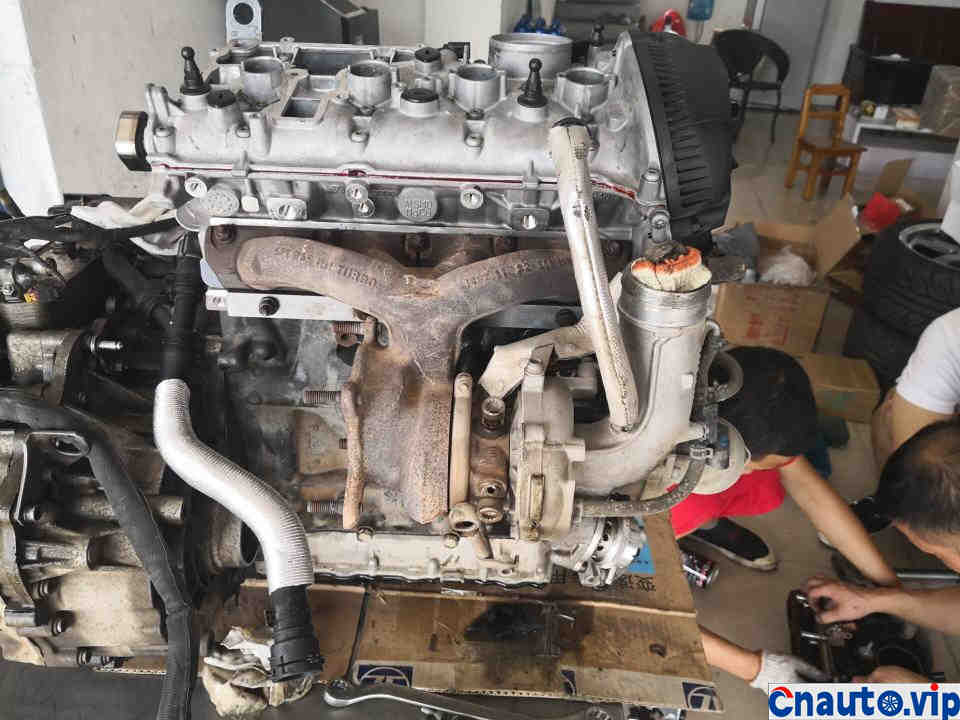
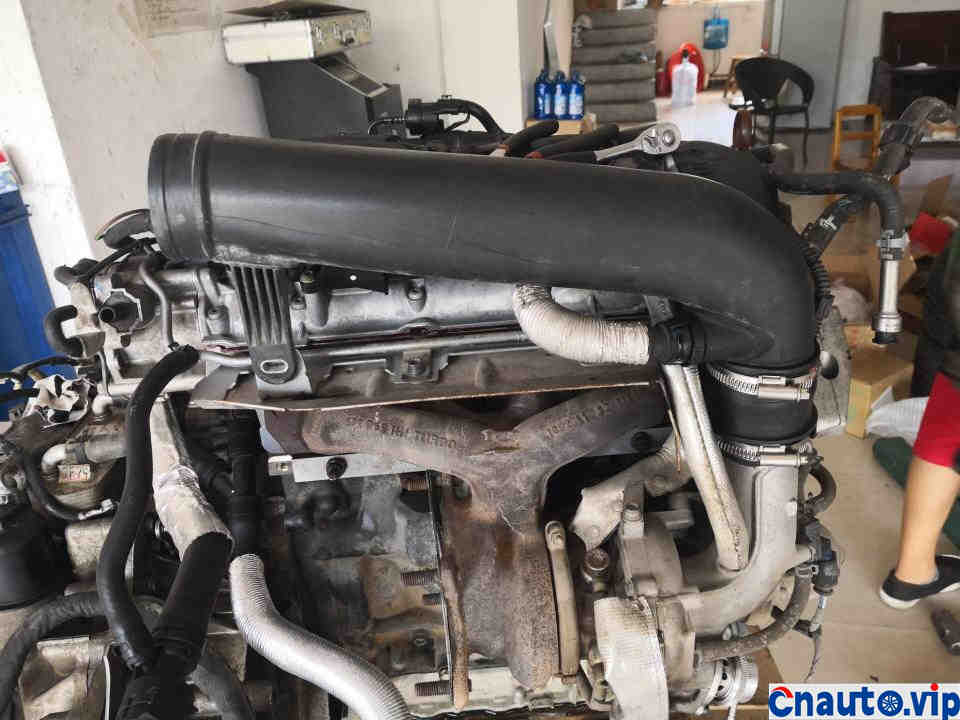
If you remove the pipelines and turbocharging, you will basically be in a bald state.
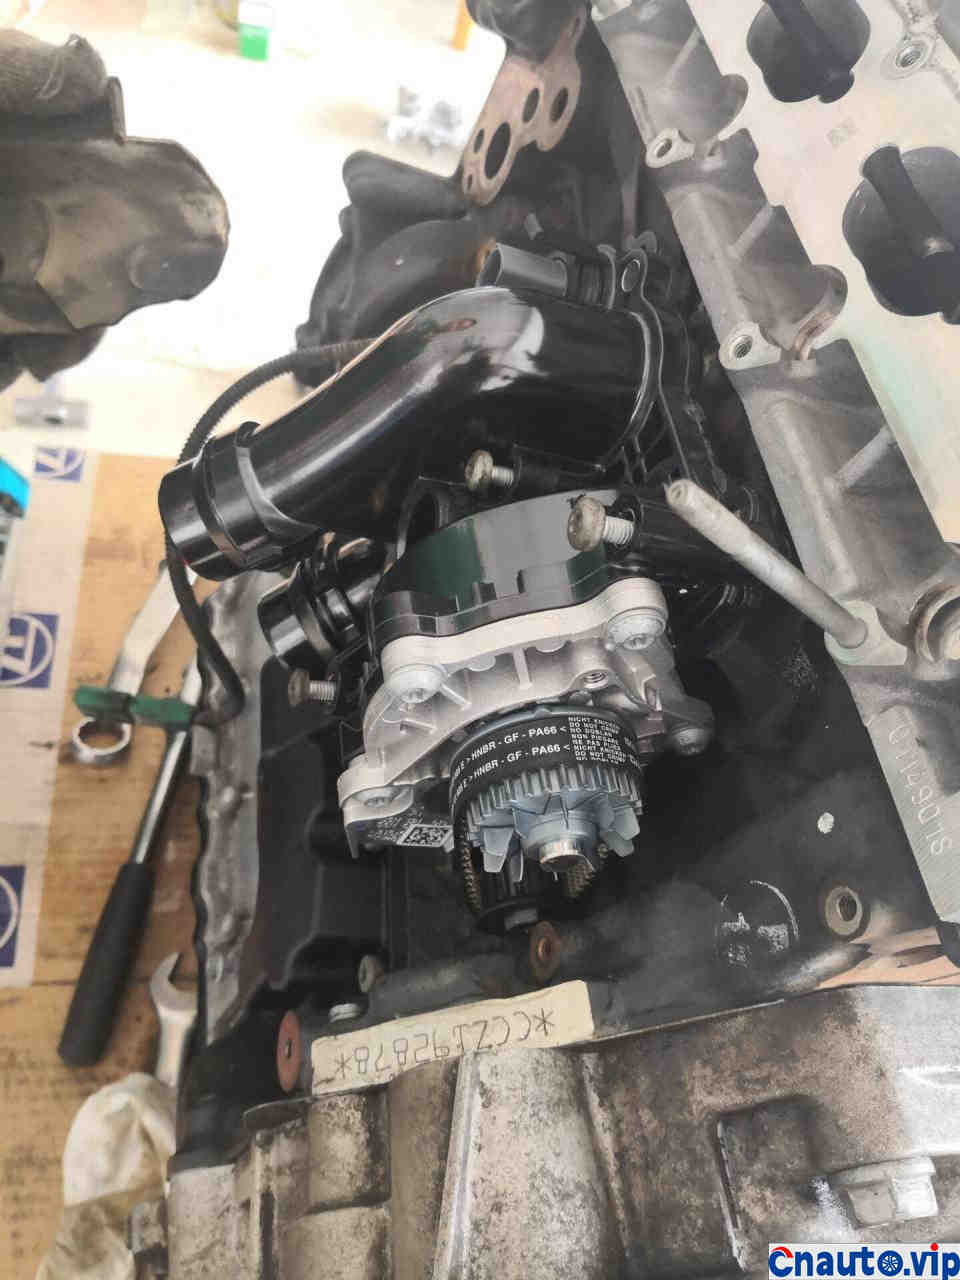
From the air intake side, the water pump was brought by the original car, the plastic one was not improved, but it didn’t leak, but it still needs to be replaced today.
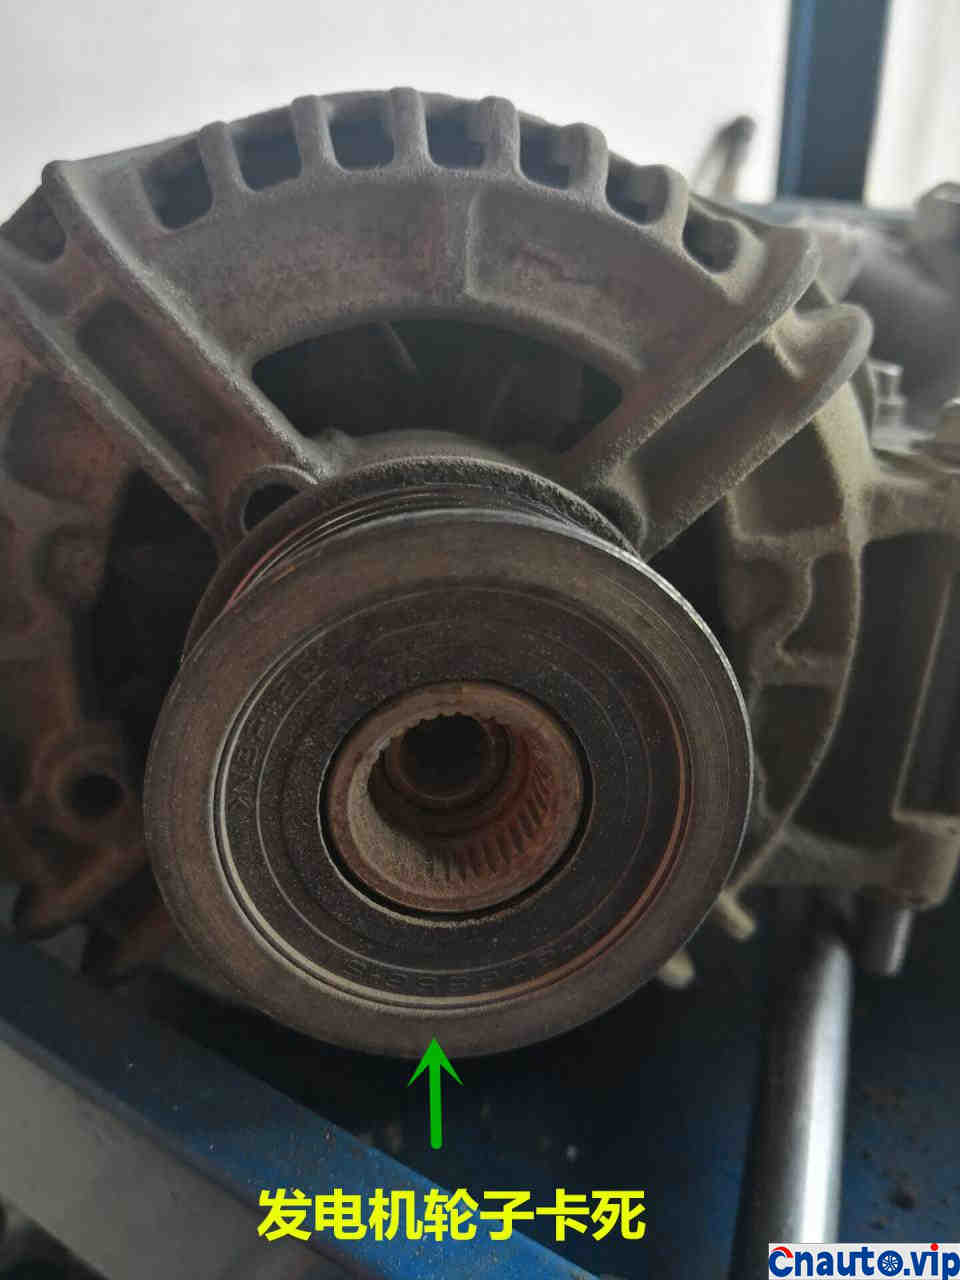
Look, the generator wheel is bitten to death, without any buffer. The abnormal noise on that part of the belt was actually caused by him, and it had nothing to do with the belt and the air-conditioning pump at all.
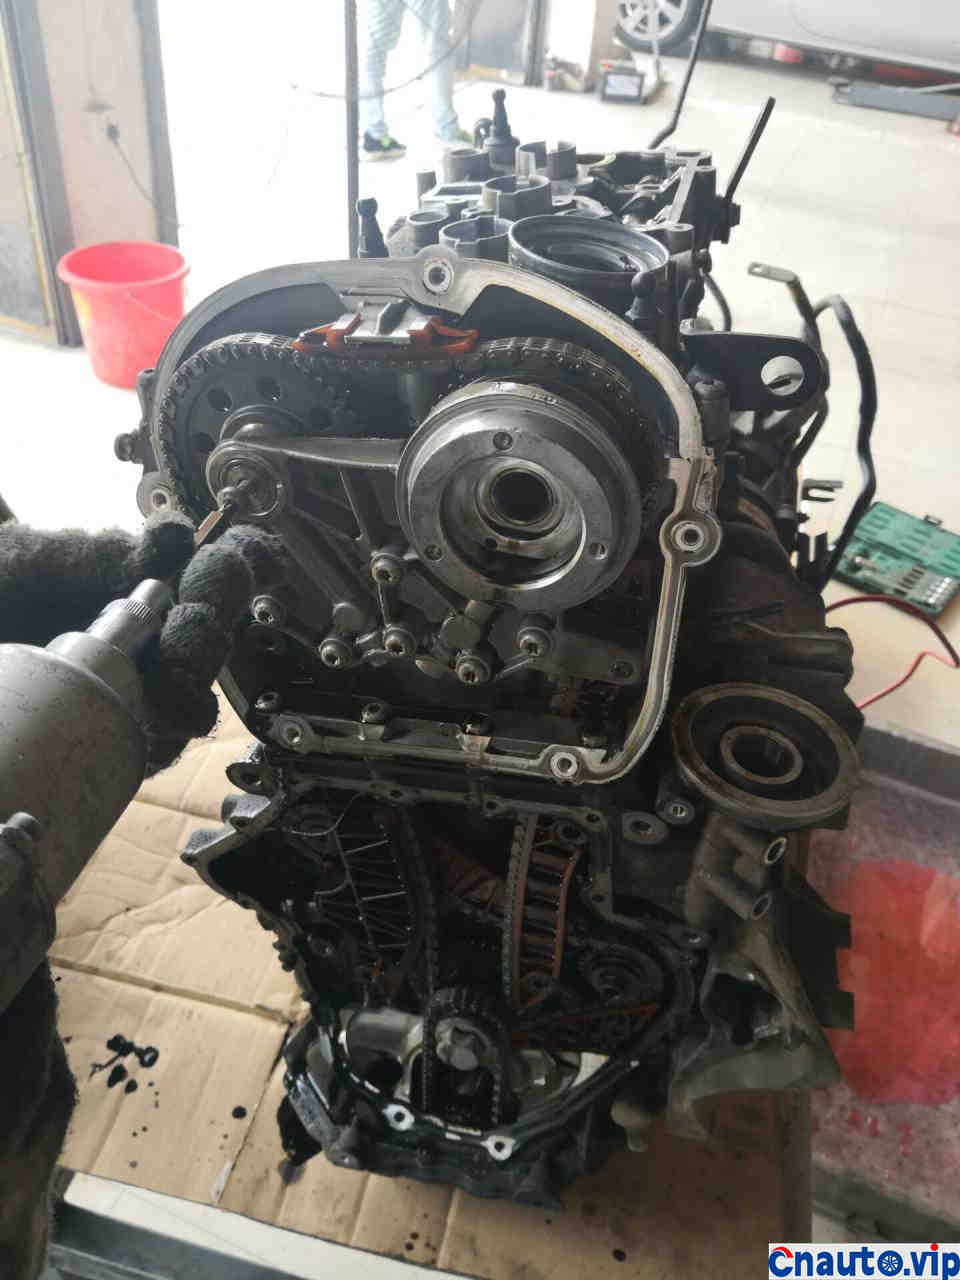
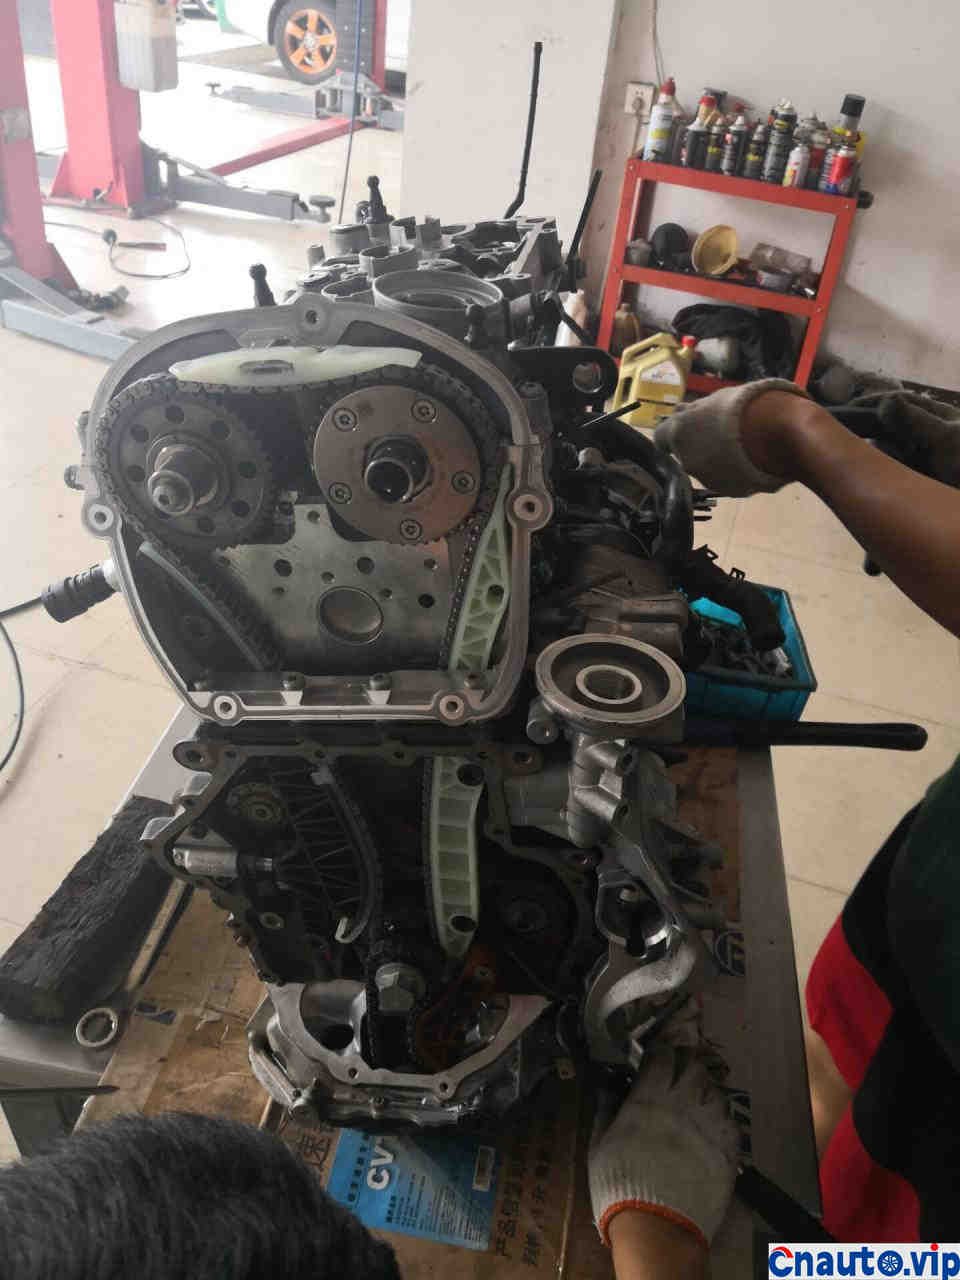
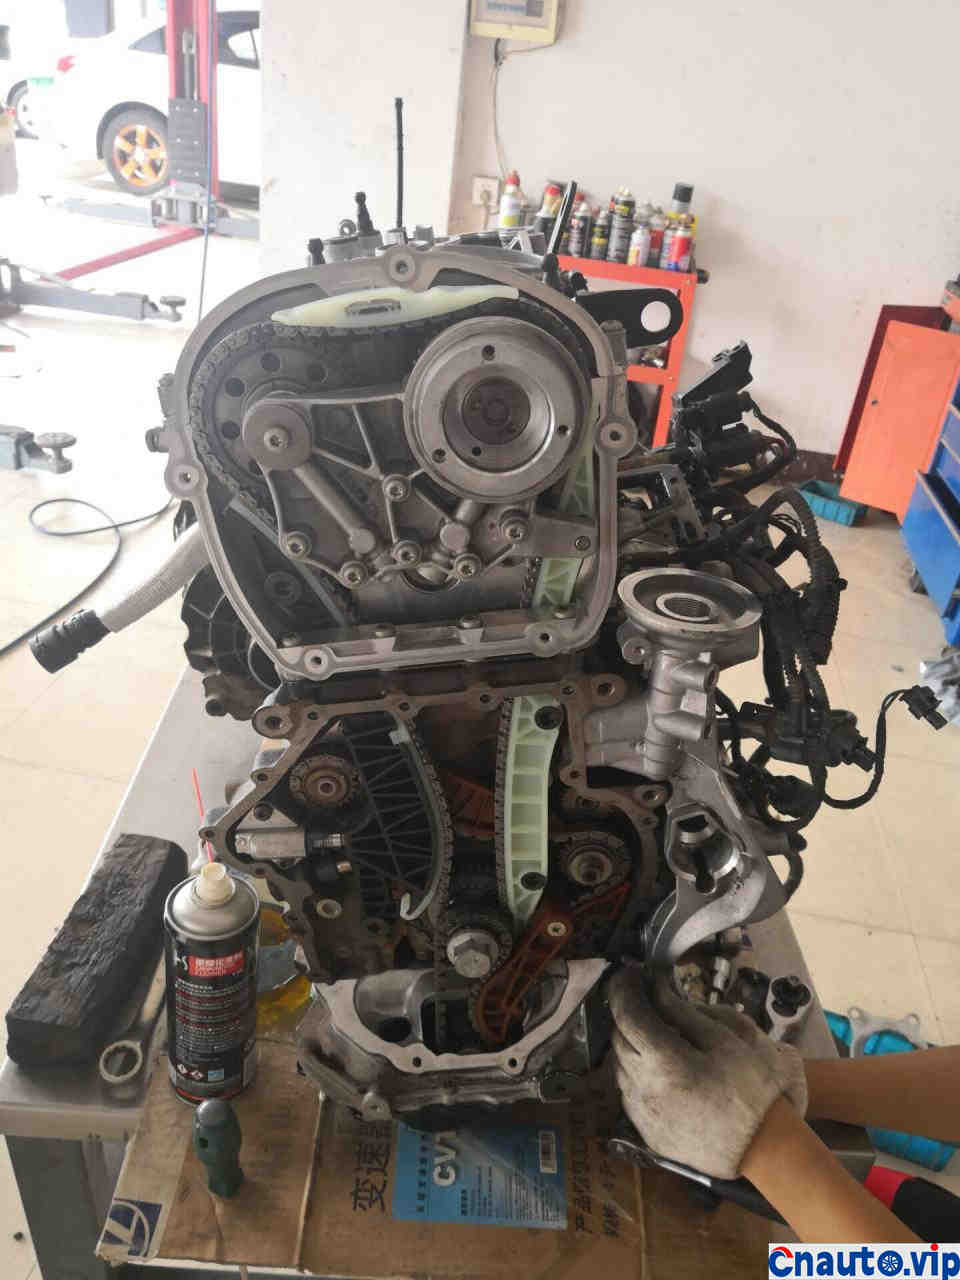
Began to remove the chain, found that the engine interior is still very clean, indicating that the owner maintenance is very timely.
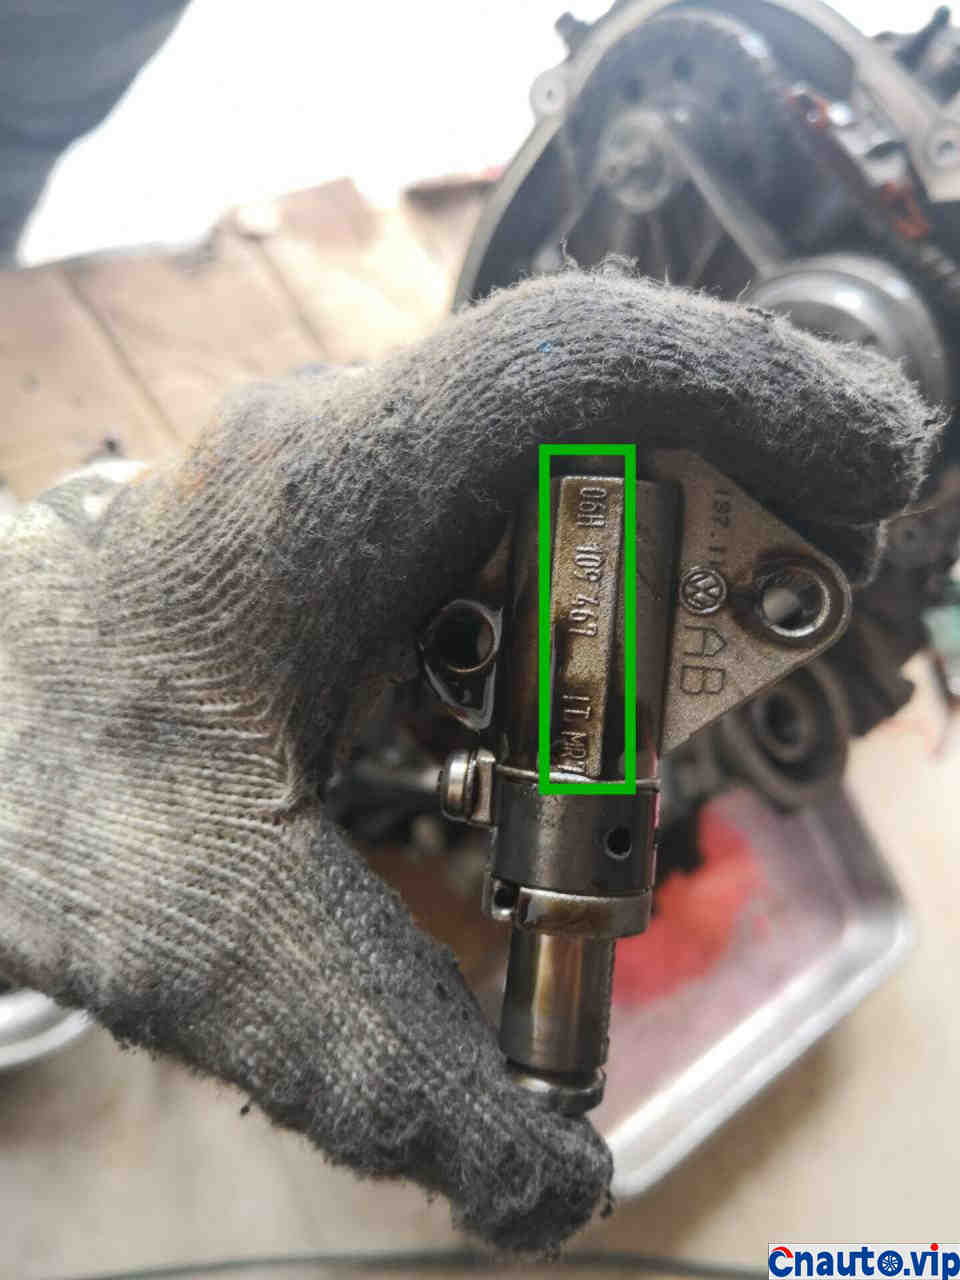
Remove the chain tensioner, in addition to a cold sweat, it is still 06H, did not jump teeth top valve, you are really lucky
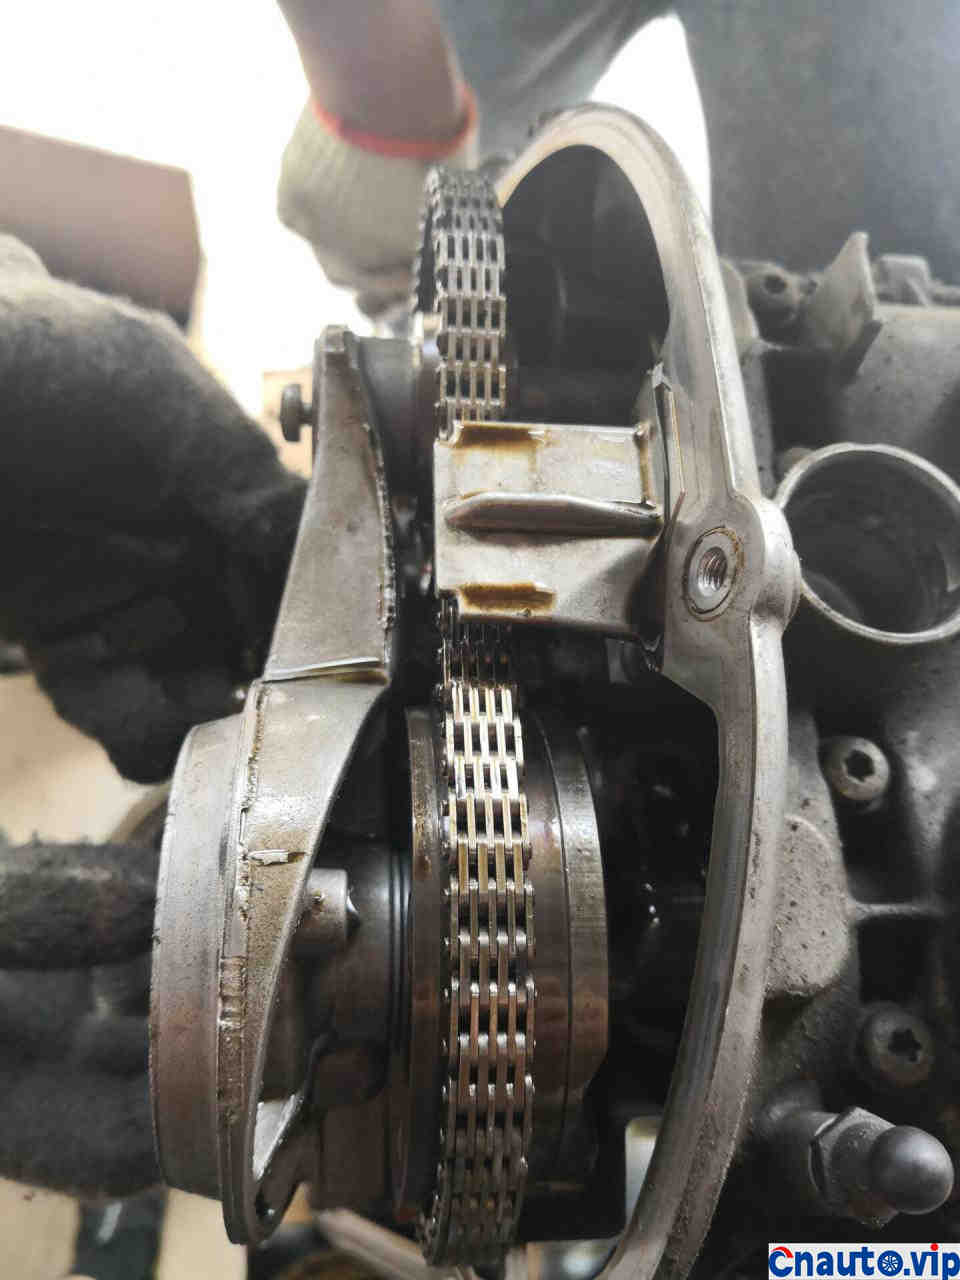
The chain is also the kind that has not been improved. Since it has reached this stage, I don’t care whether it is lengthened or not. Anyway, I have to change the improved version of the chain.
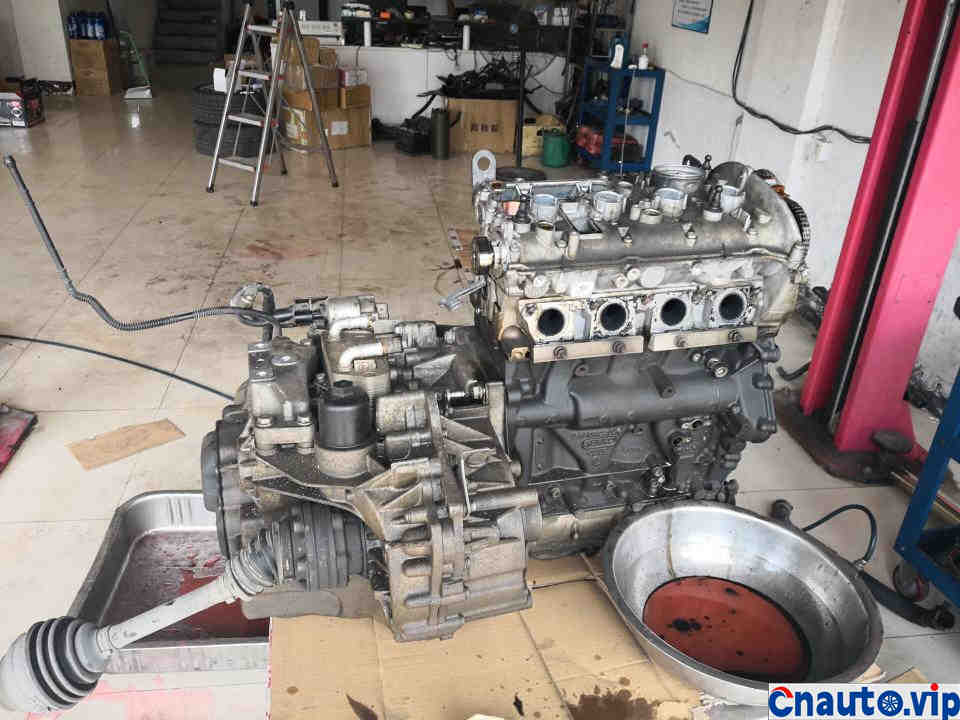
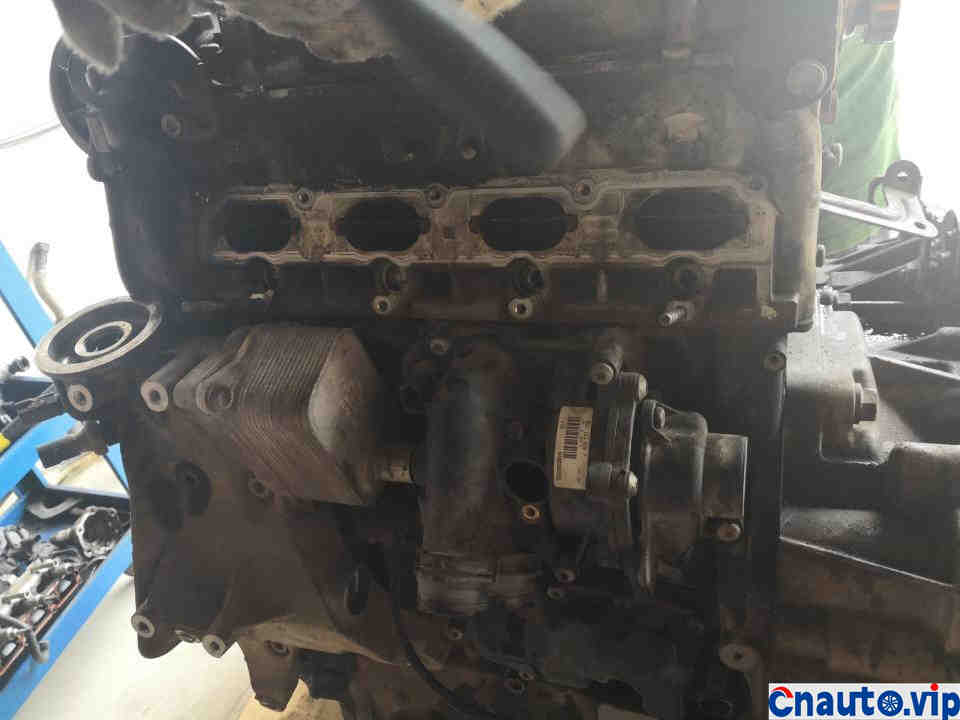
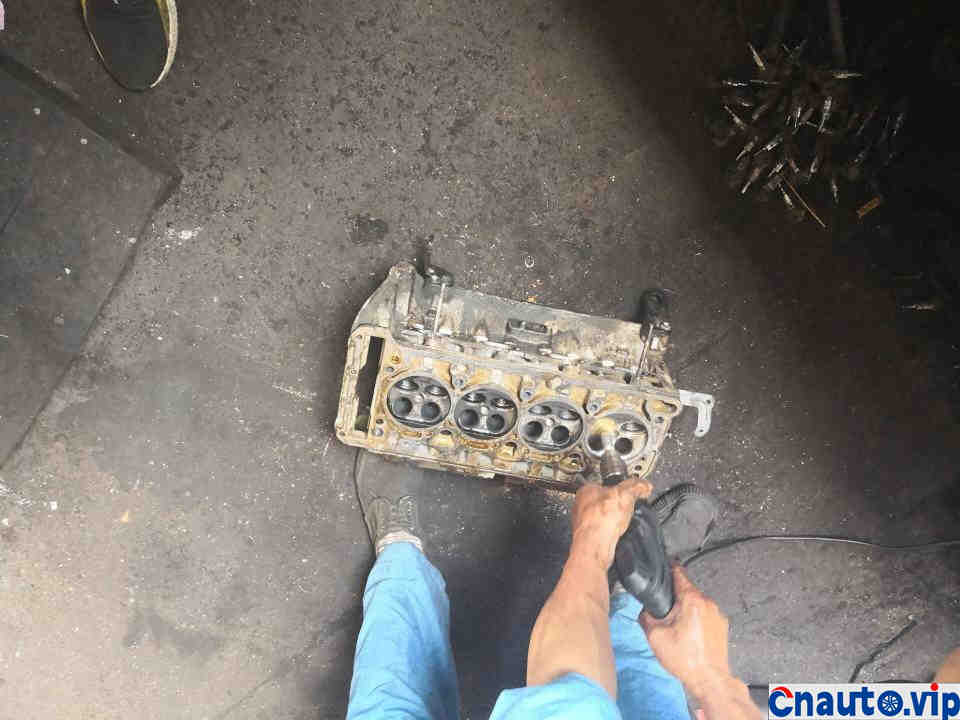
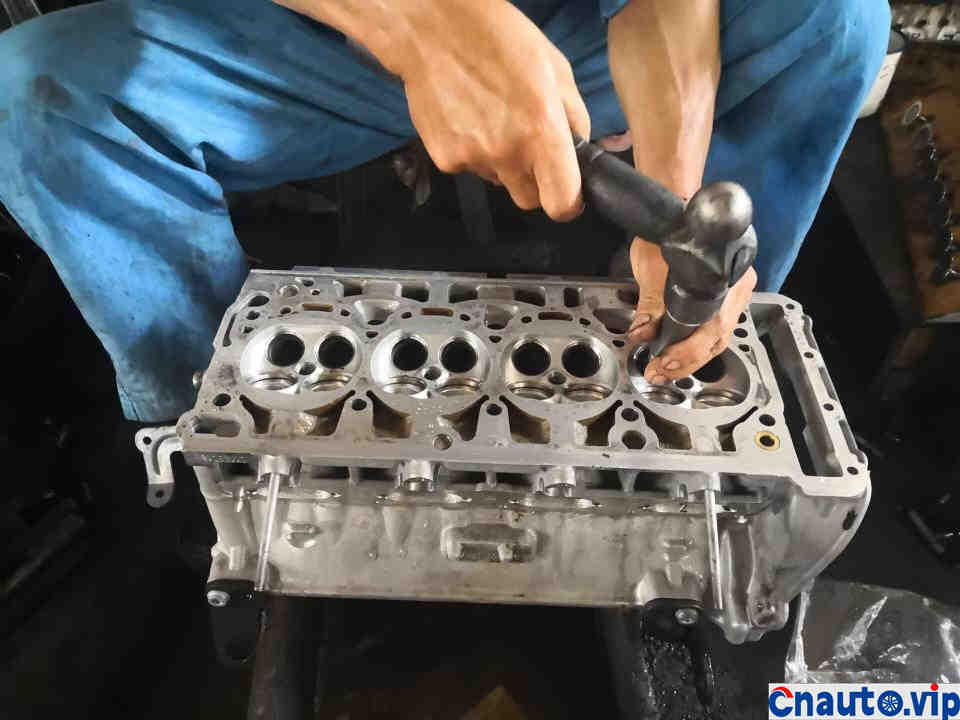
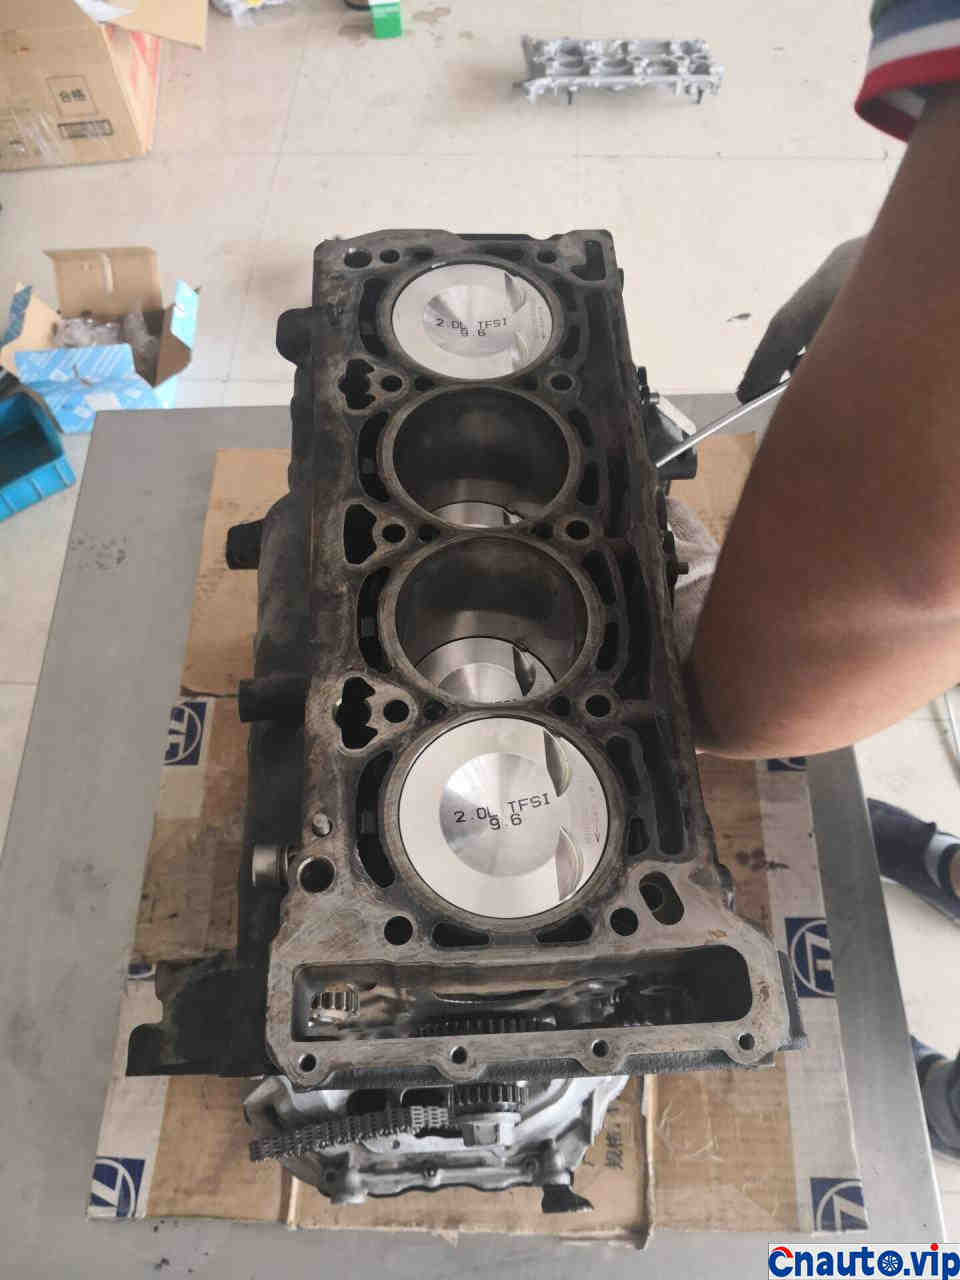
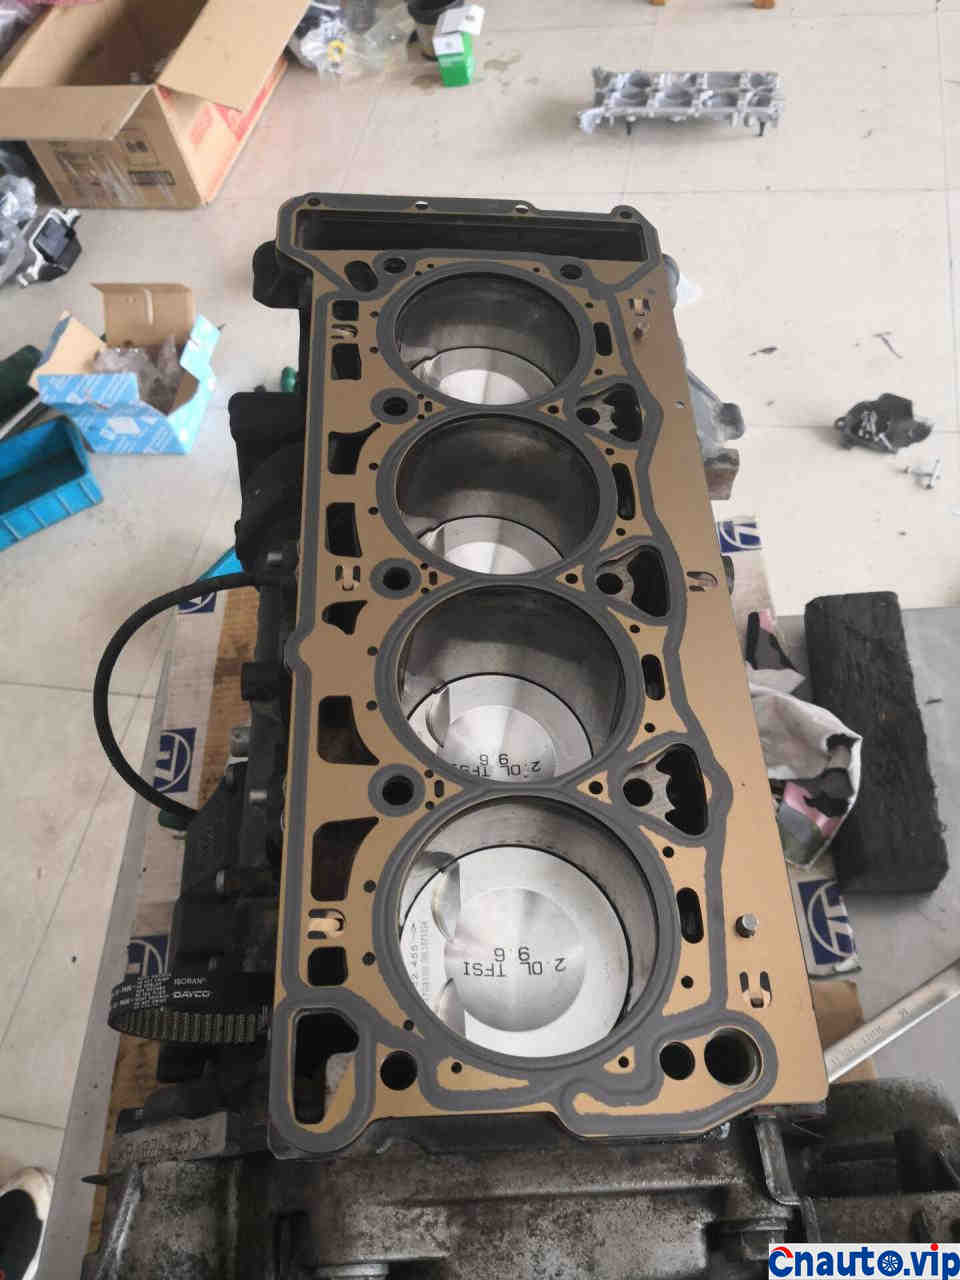
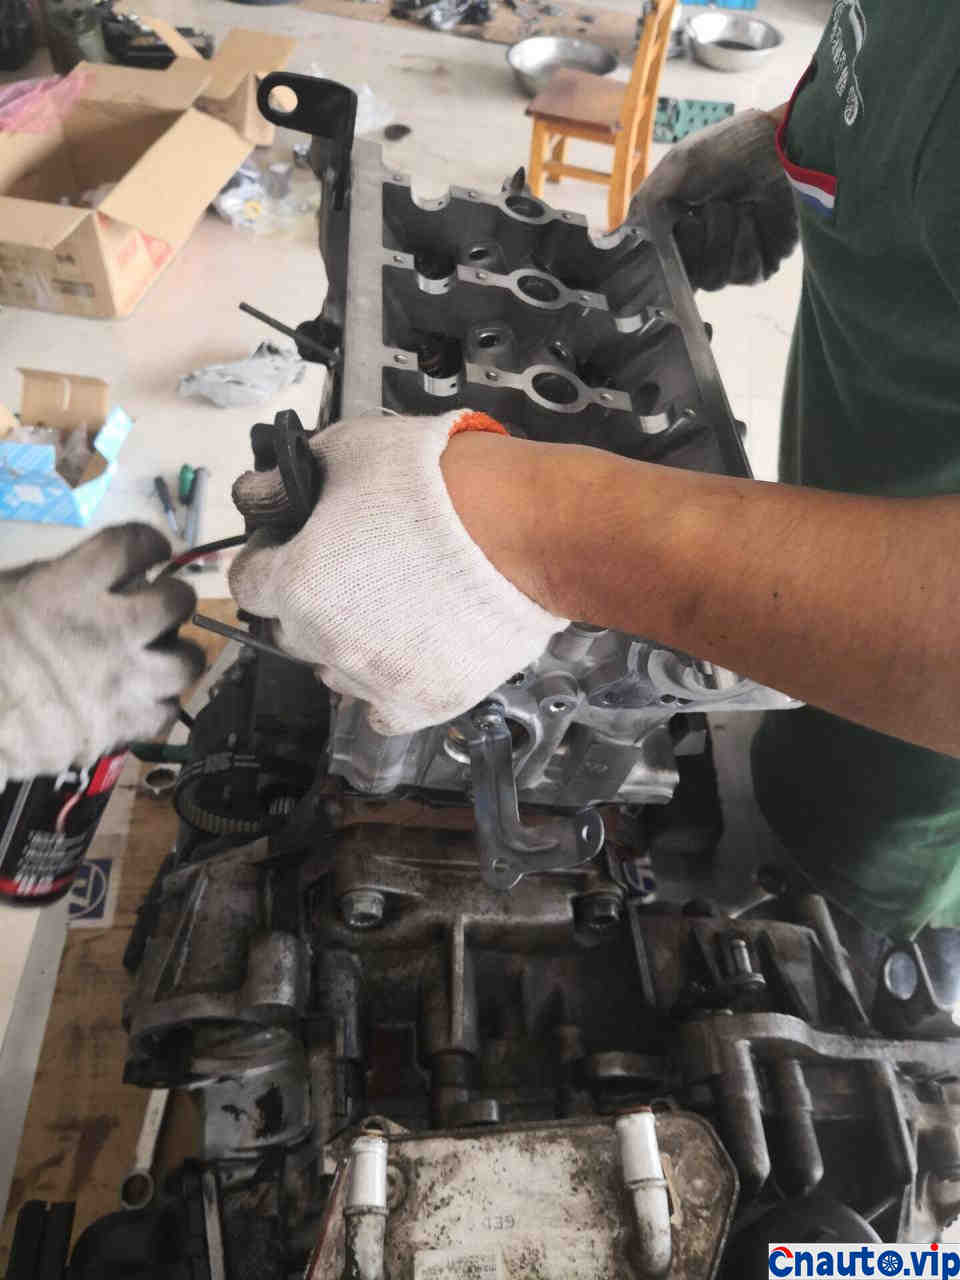
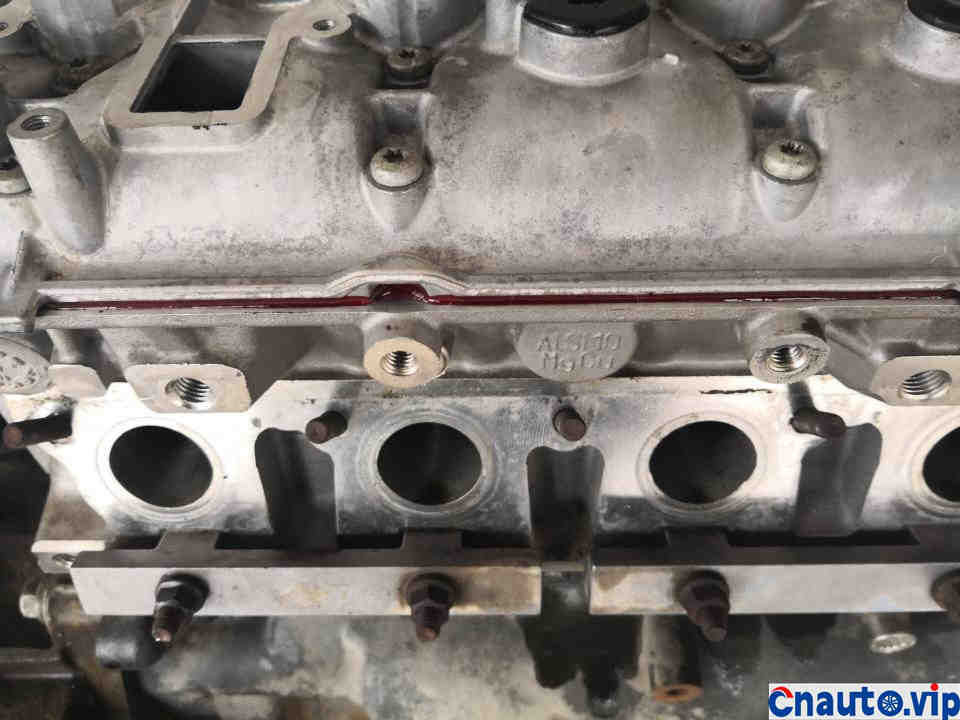
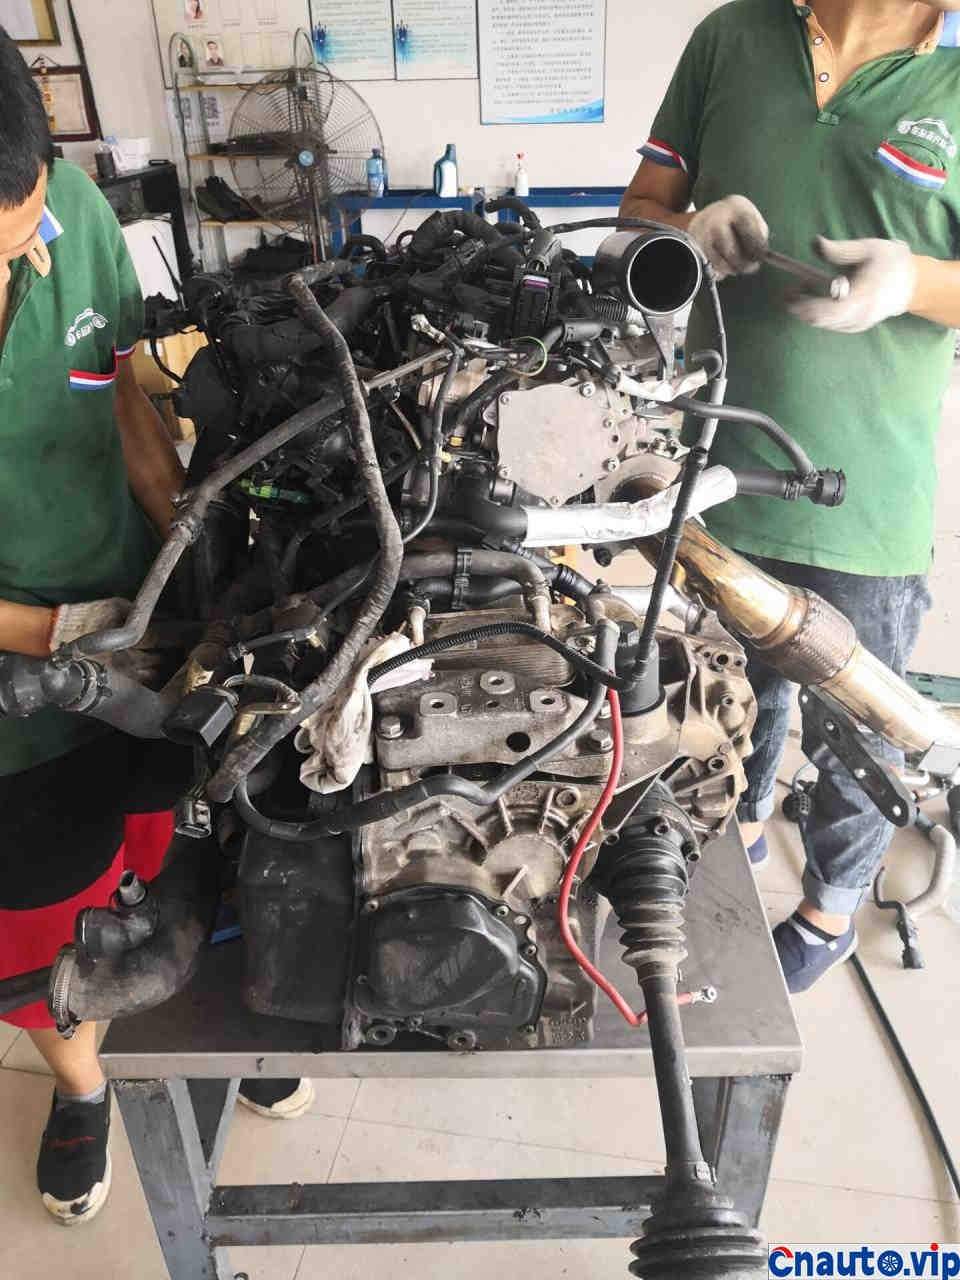
After removing the cylinder head, you saw the combustion chamber, you did not point the carbon accumulation, how dare you call yourself EA888?
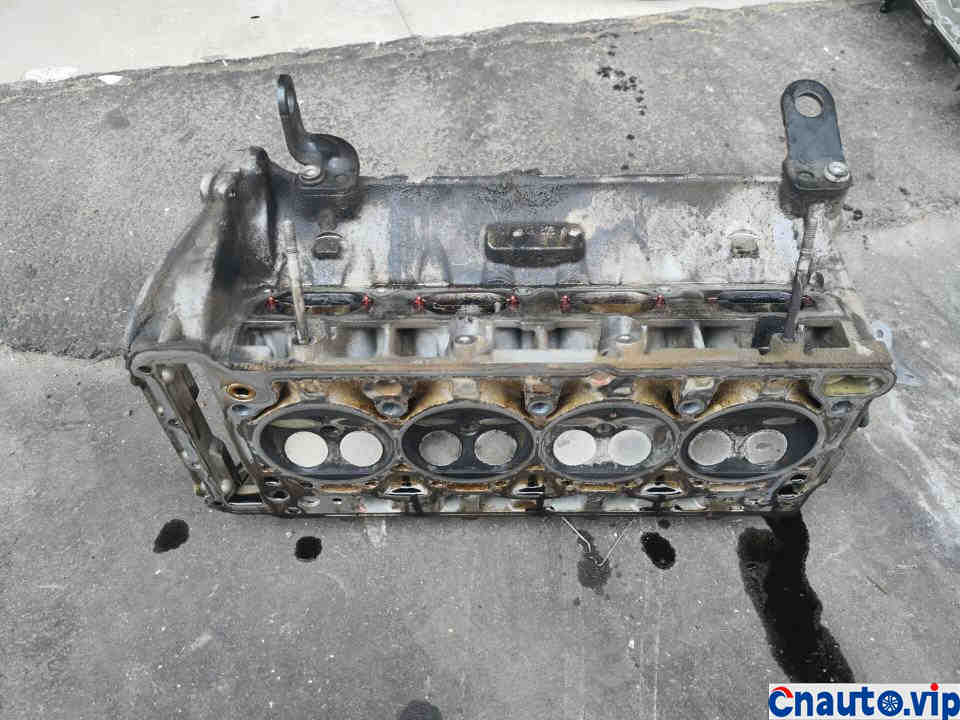
Remove the cylinder head and find that the second and fourth cylinders have thick carbon deposits on the valves.
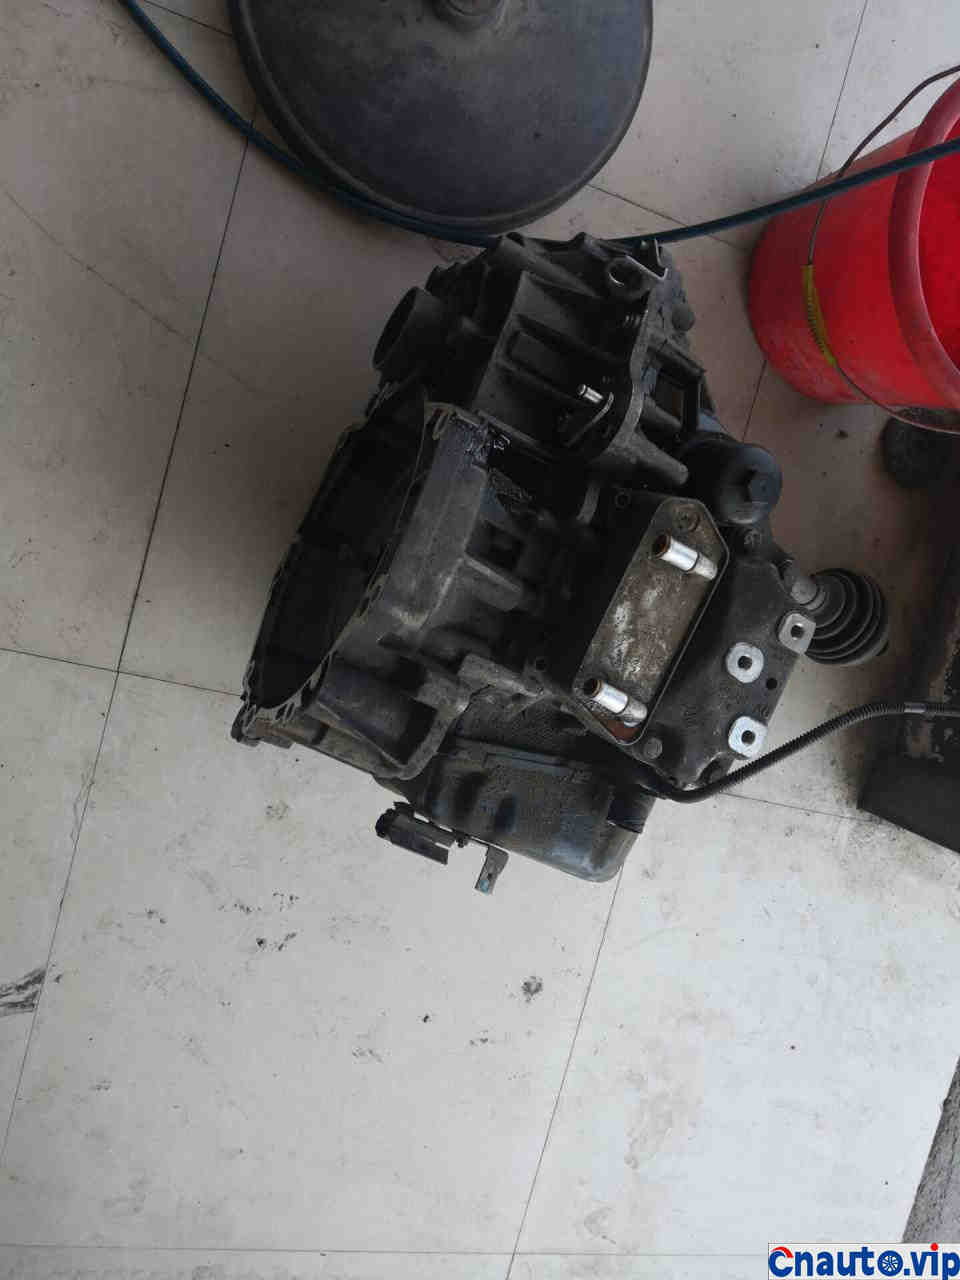
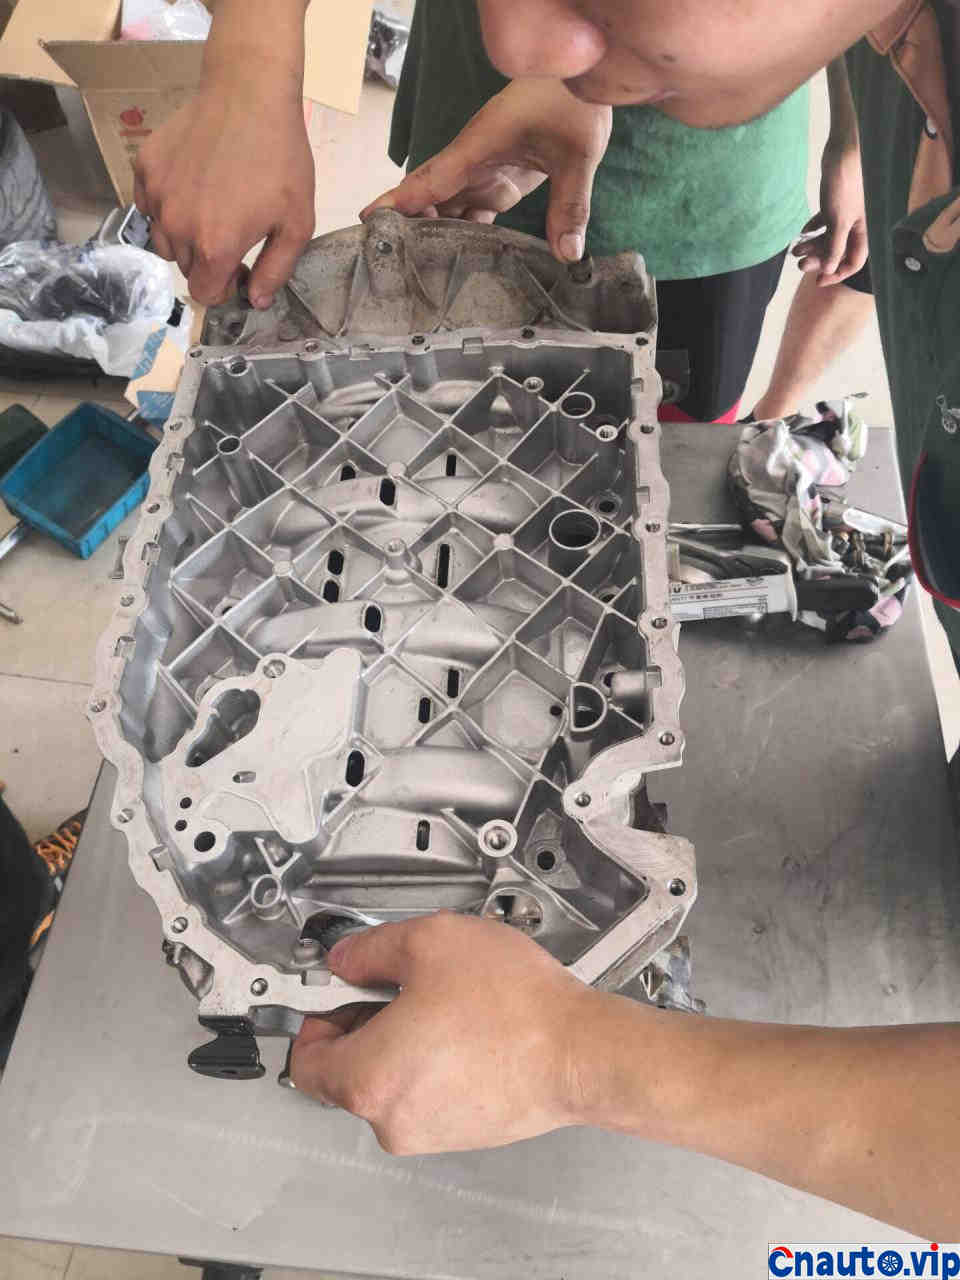
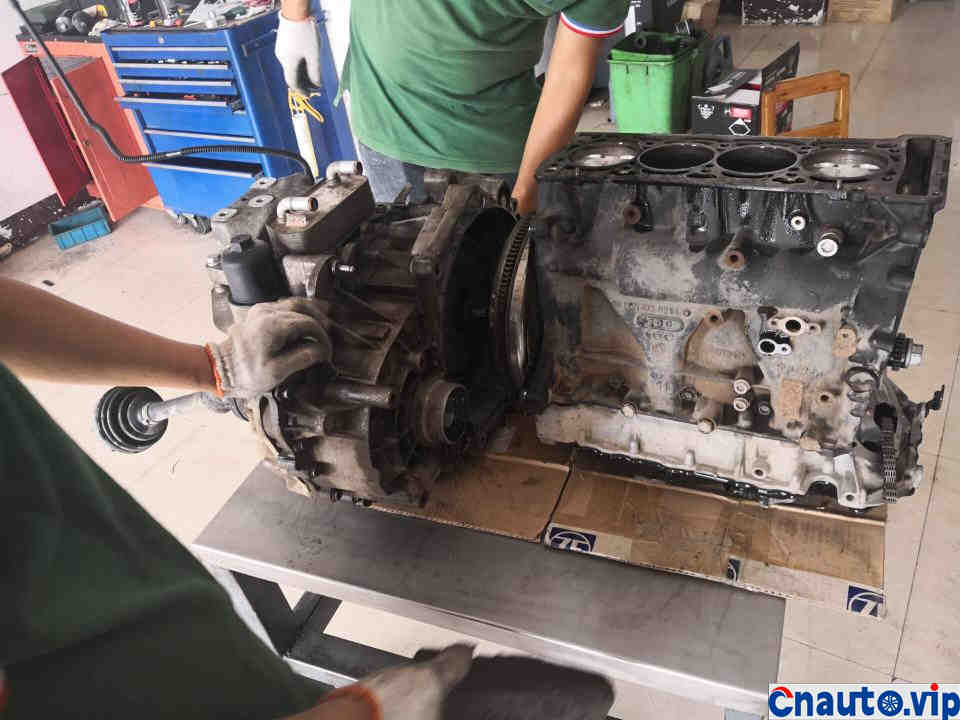
Lift down the whole greasy gearbox

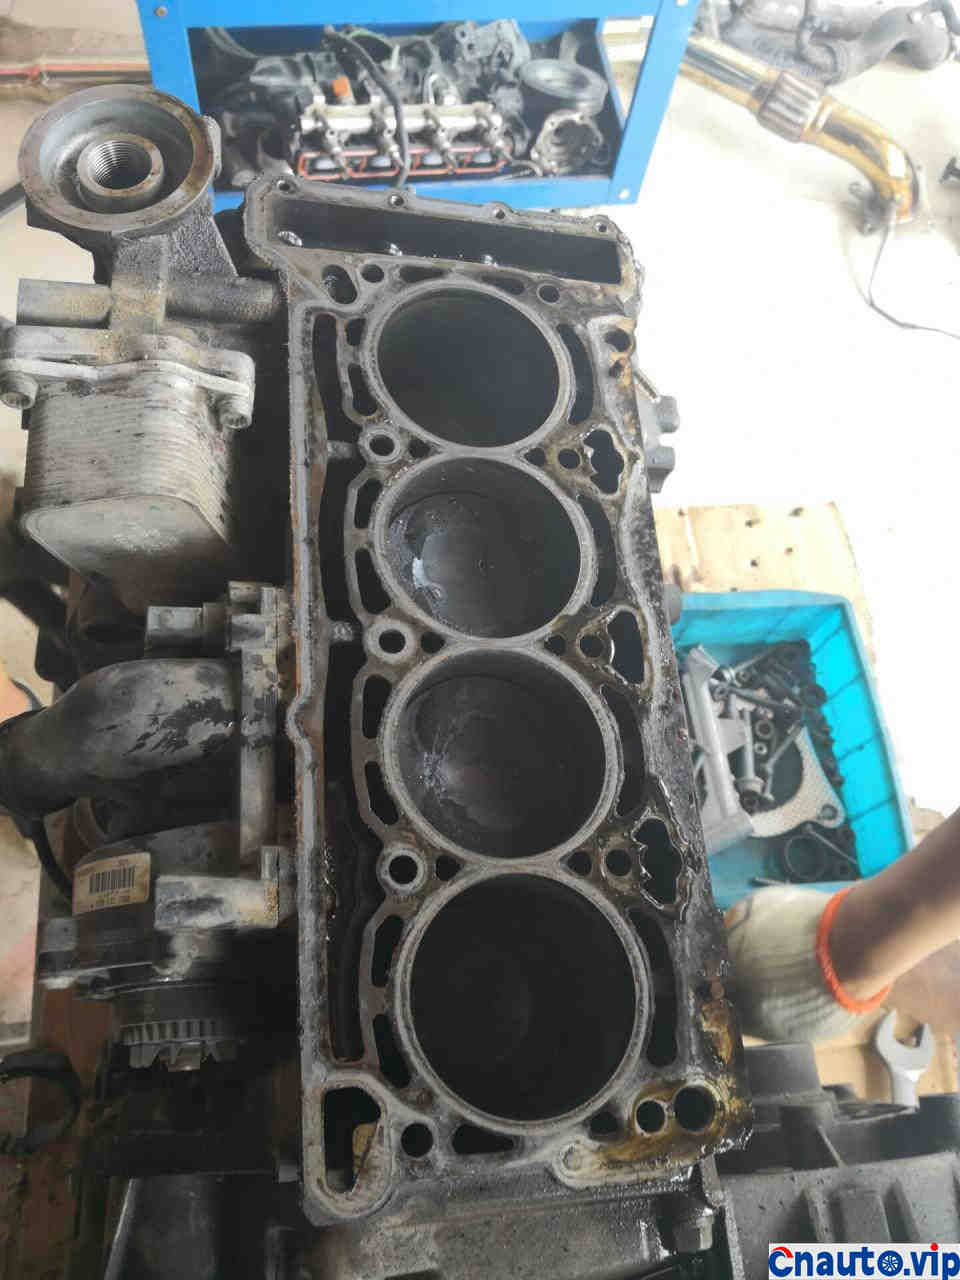
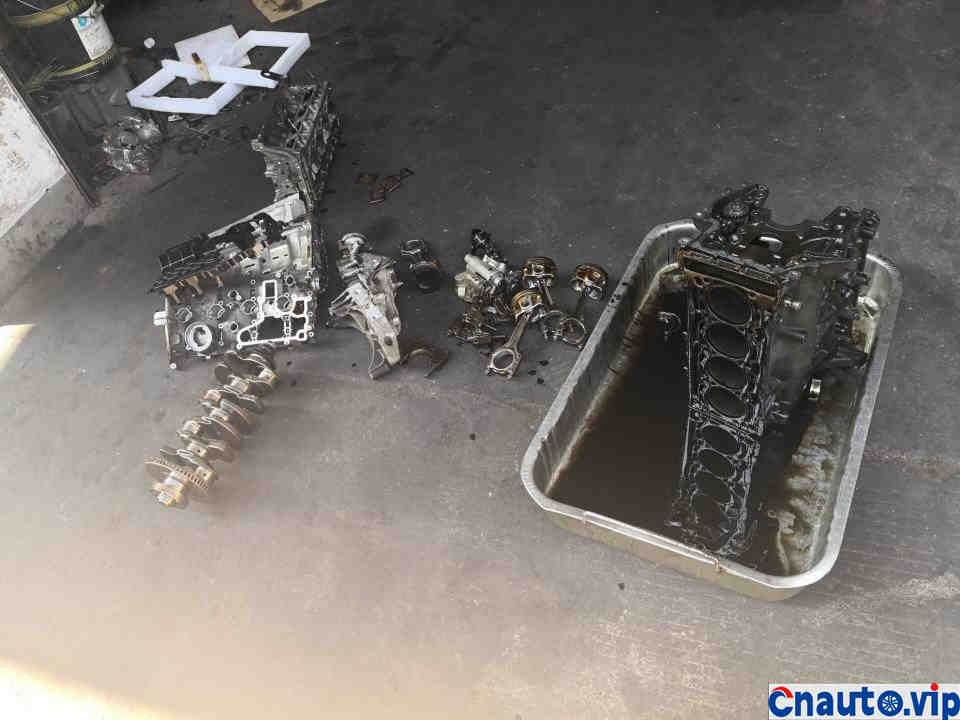
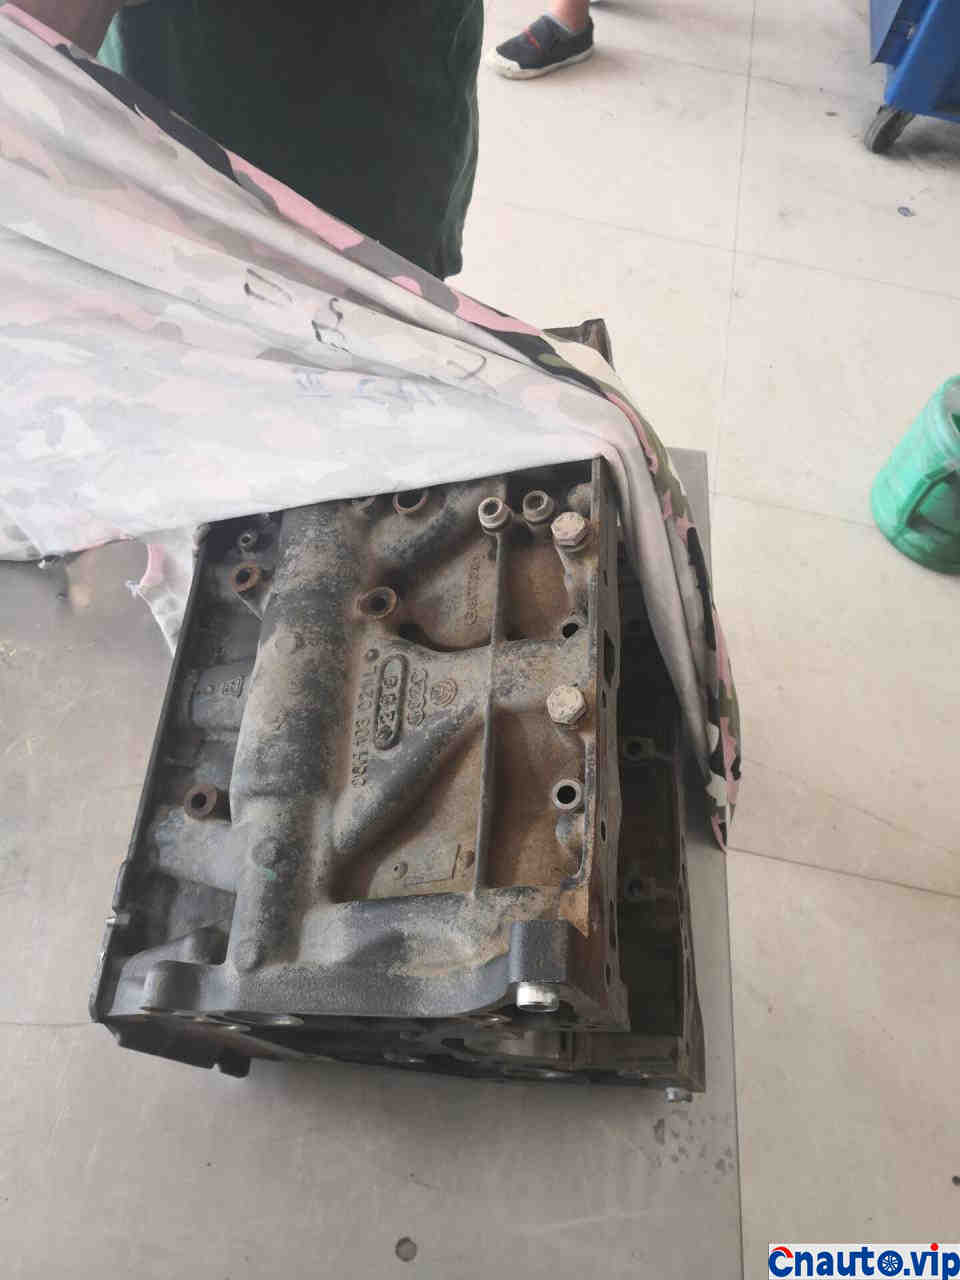
Start to decompose the cylinder block
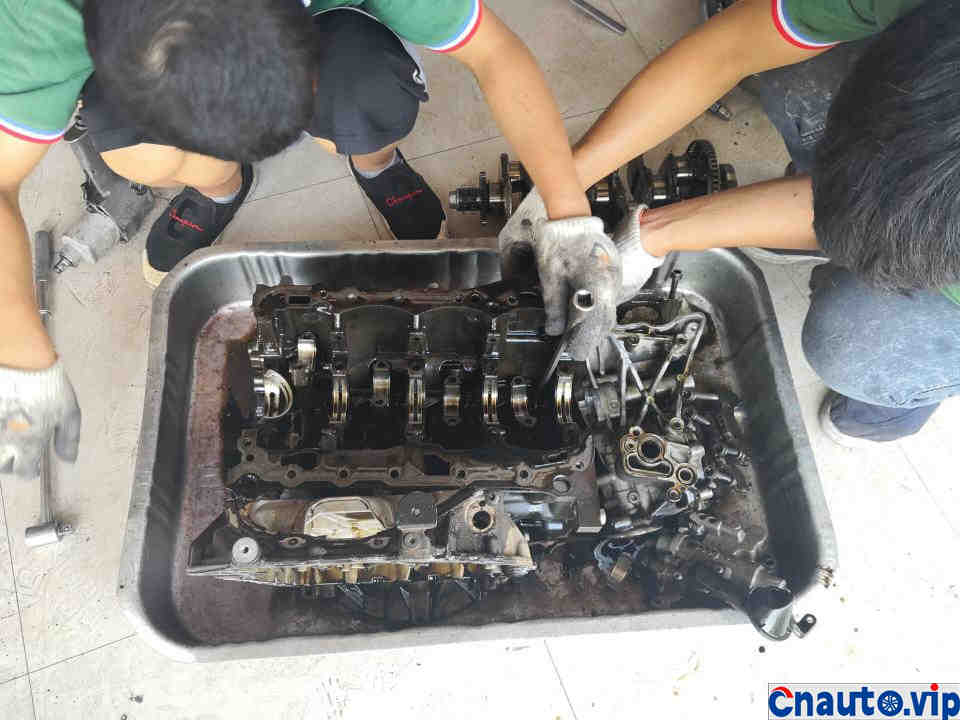
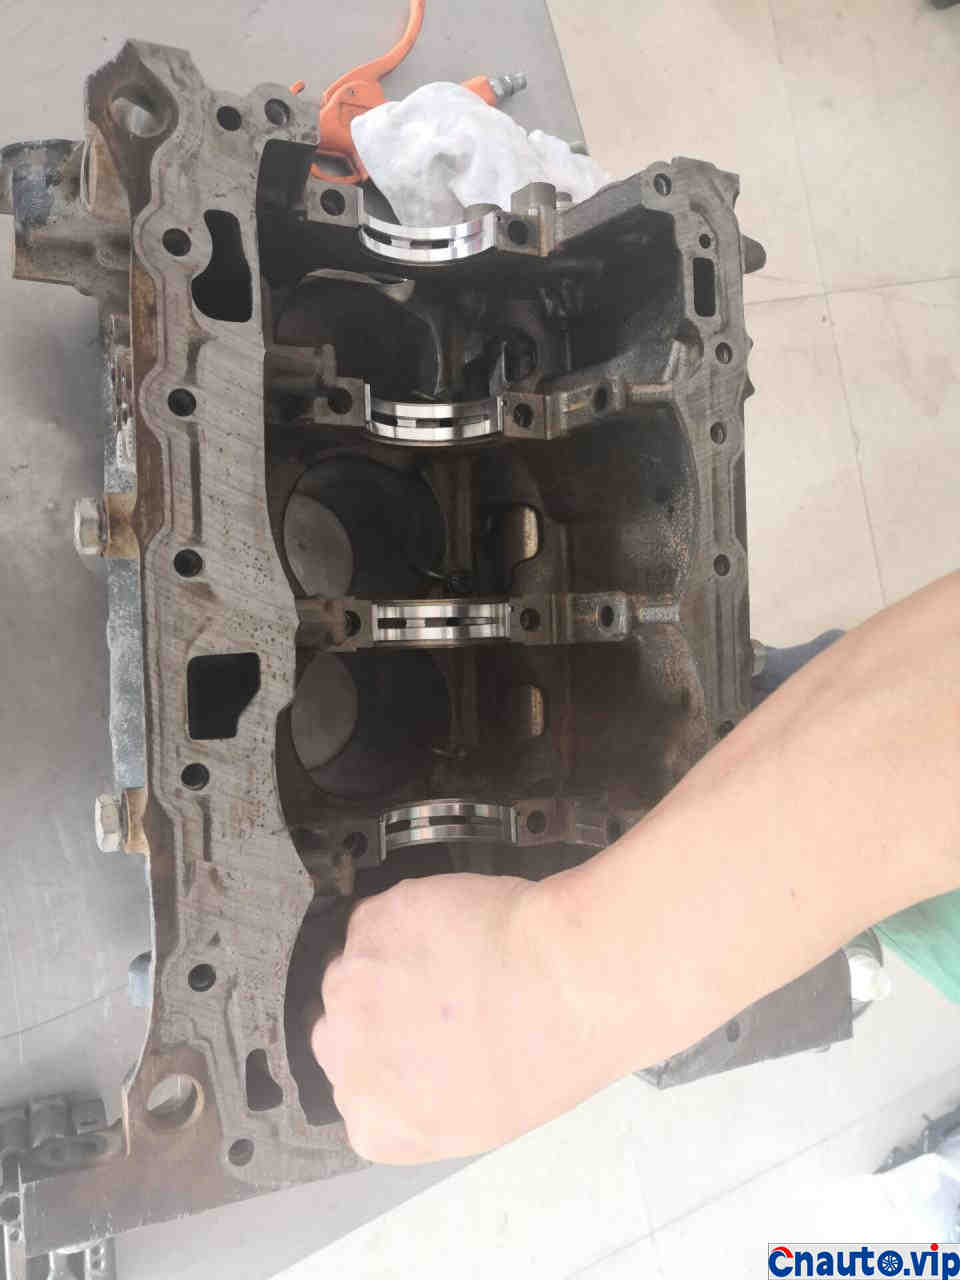
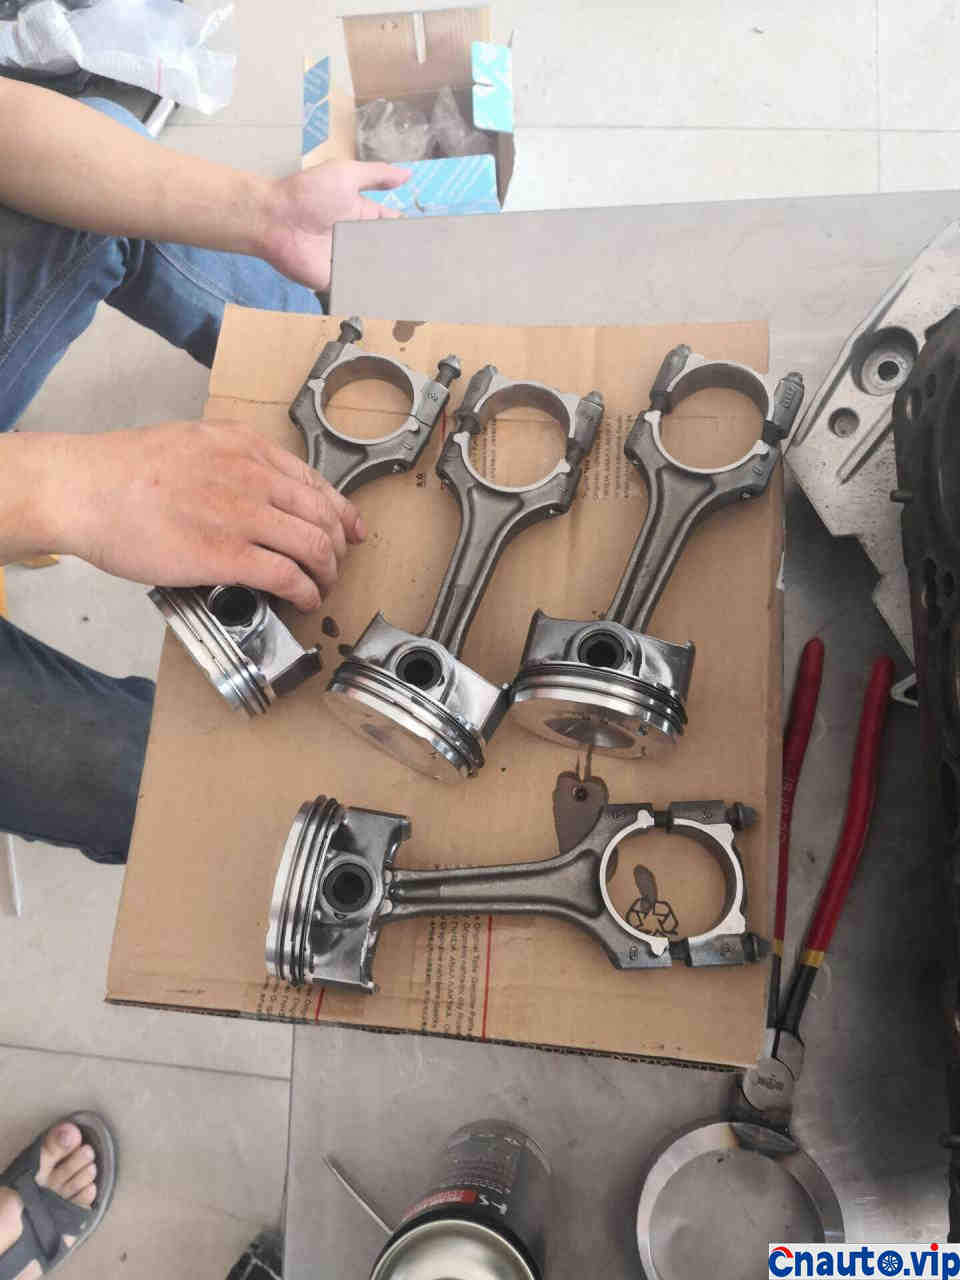
Remove the crankshaft and prepare to poke out the piston
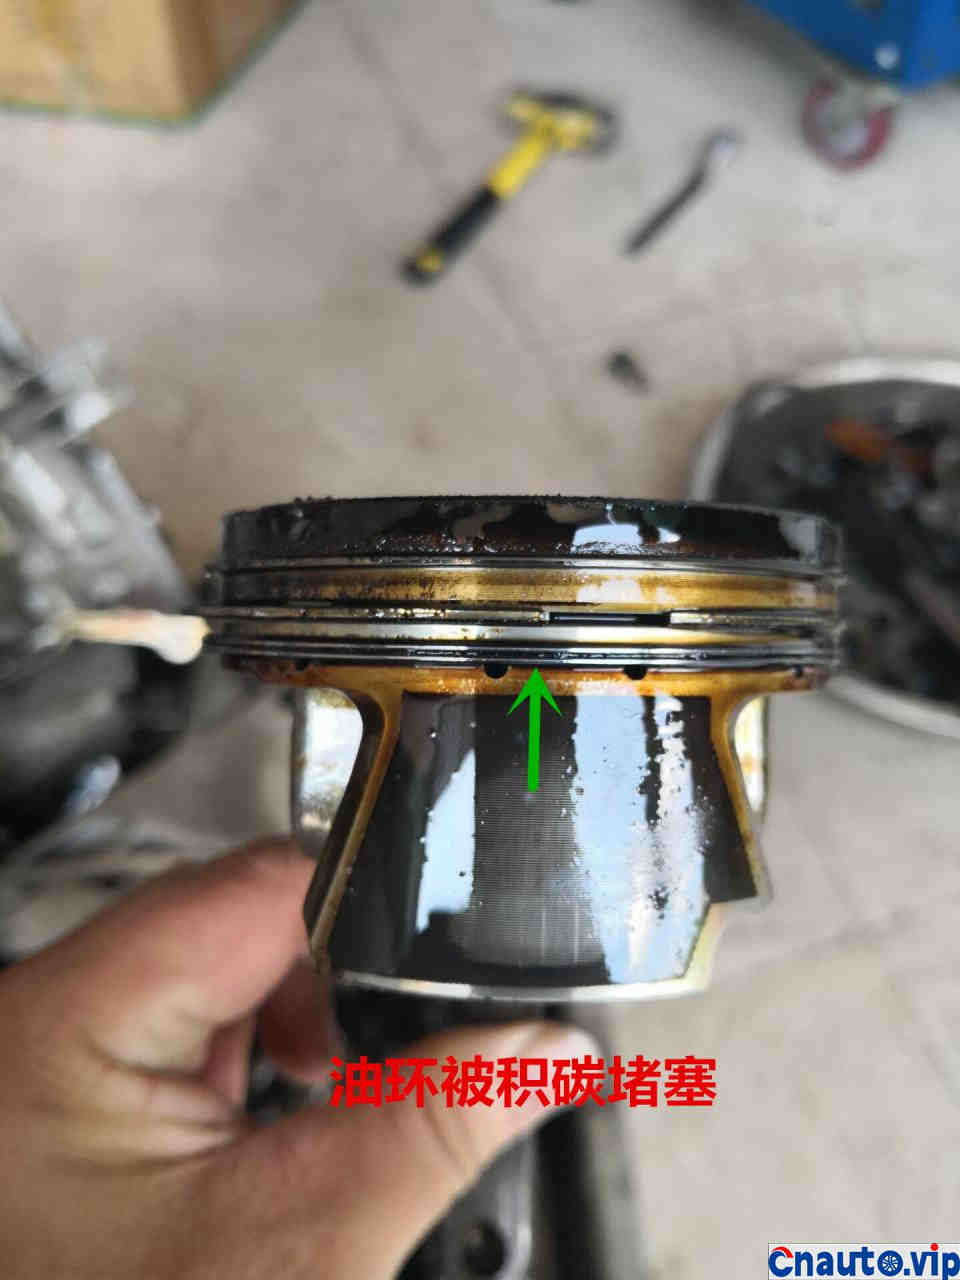
After the piston was poked out, as expected, the oil ring was blocked by carbon deposition. The oil ring of Volkswagen’s structure does a lot of harm.
Take the whole set away, take it to the cleaning measurement.
To the boring cylinder shop of the evil god of fire and cloud
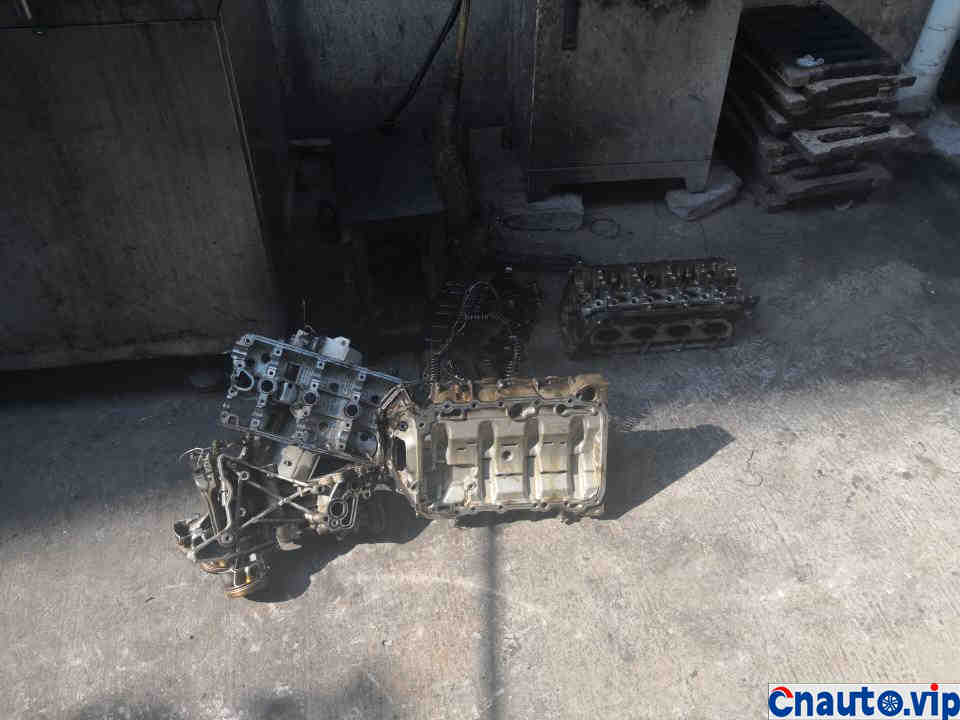
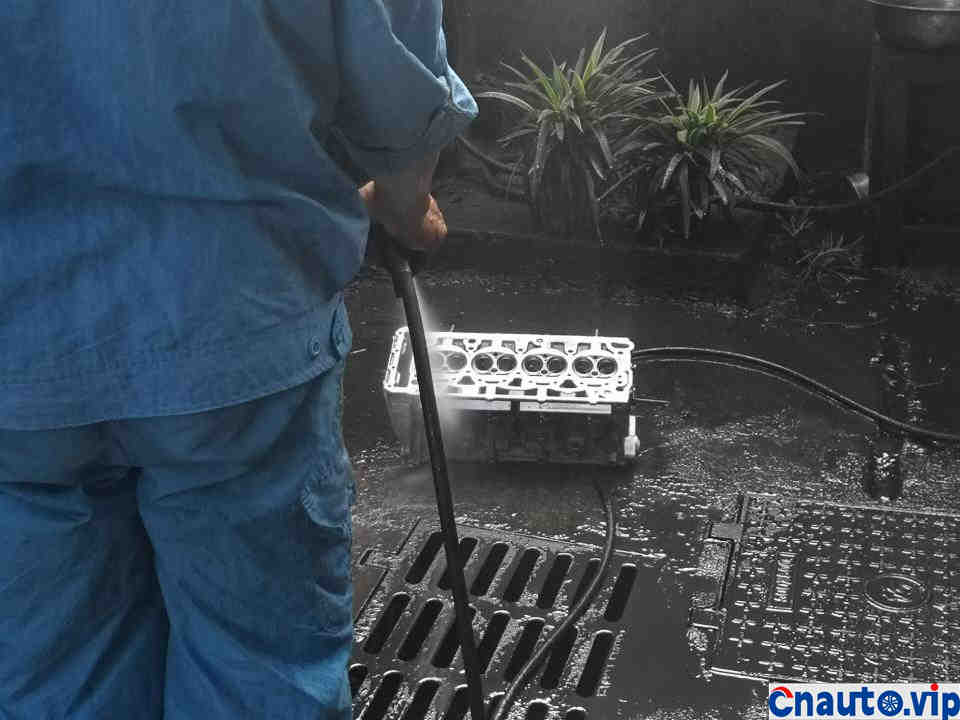
Parts ready to be cleaned
Master Huoyun Evil God initially cleaned the carbon deposits on the cylinder head.
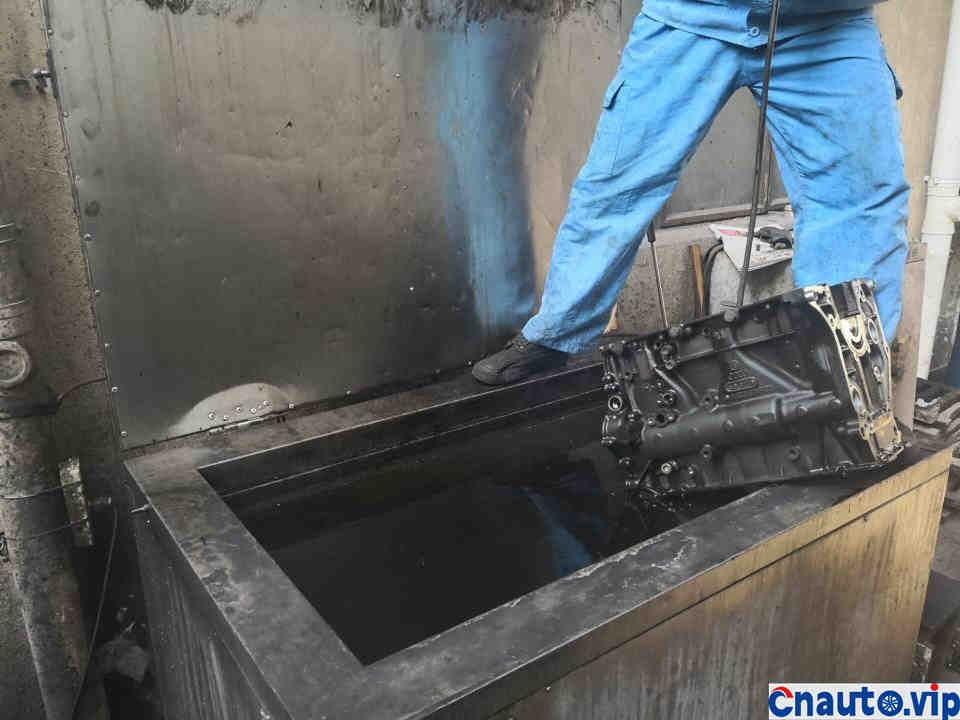
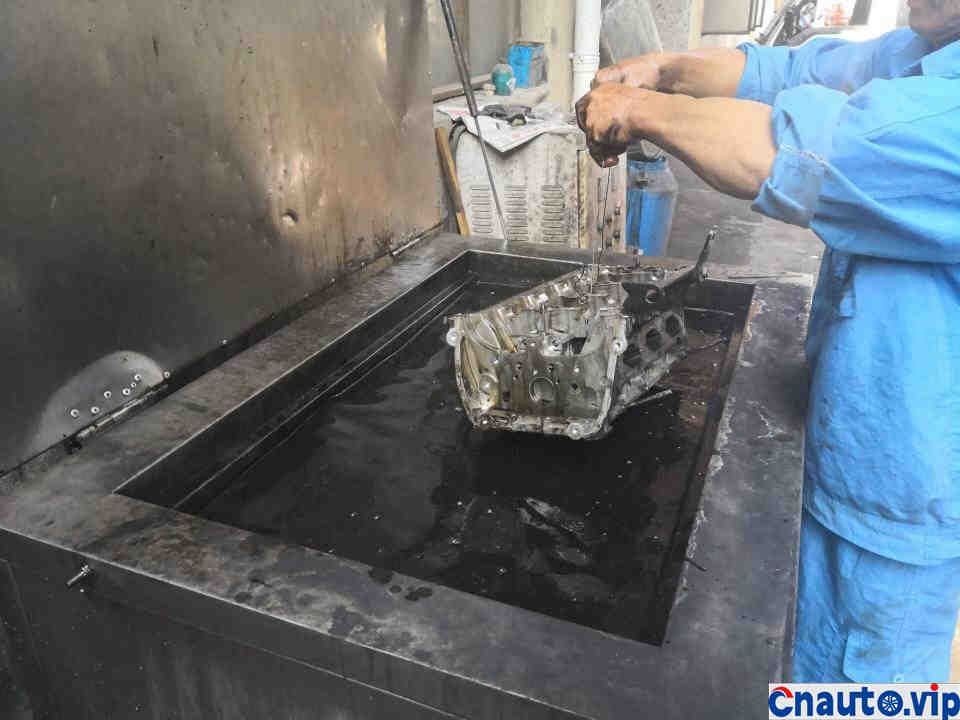
Soak the cylinder block in the pool for cleaning
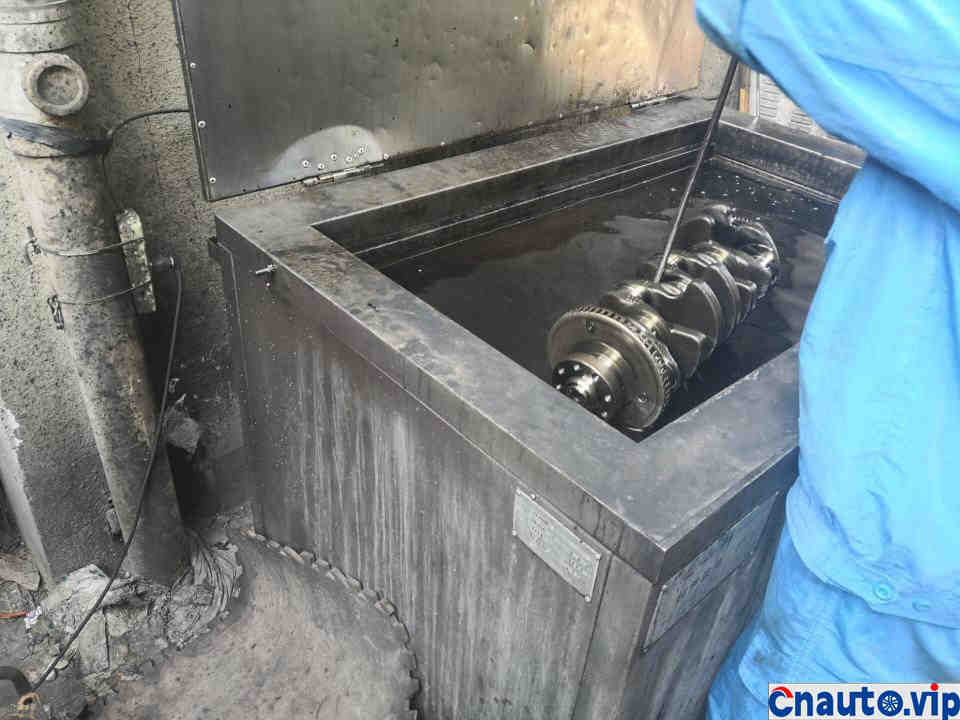
Put the crankshaft in, too.

Put it in the middle body, too.
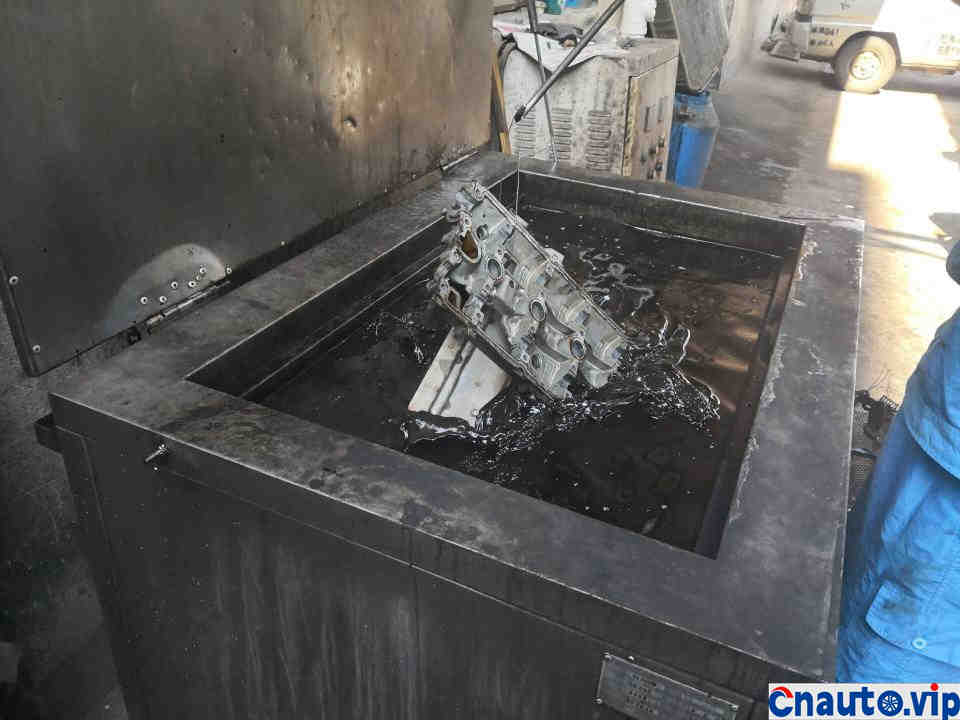
Put all kinds of other boards in.
Finally, the cylinder head, which must also be put in and washed.
About half an hour later, the cylinder body was fished out and washed clean.
Other things are also taken out and washed clean.
Keep going.
Finally, the cylinder block is fished out and washed clean, ready to check the valve clearance.
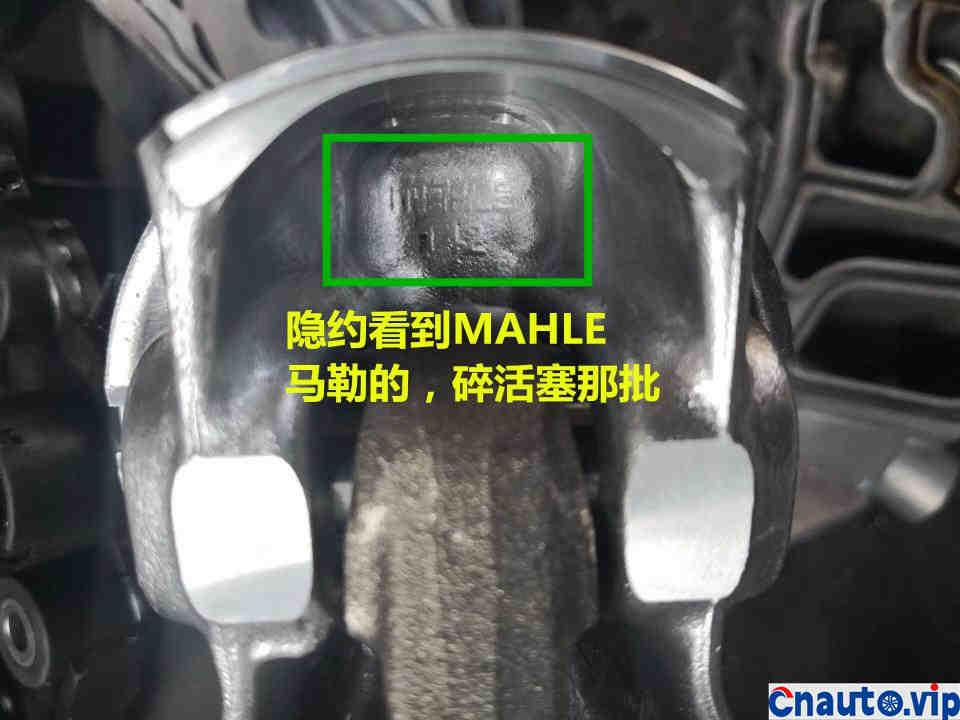
Because the car itself is a black pin piston, I was wondering if the piston could be used back and replace the piston ring. As a result, I looked at the back of the piston and was scared for a while. Mahler OEM. Although Mahler is a well-known international brand of auto parts, but this imported Volkswagen and Audi with Mahler pistons, is very fragile. If you don’t believe me, you can find the A5 broken pistons, the Audi TT broken pistons and the cool broken pistons. The search results are guaranteed to your satisfaction.
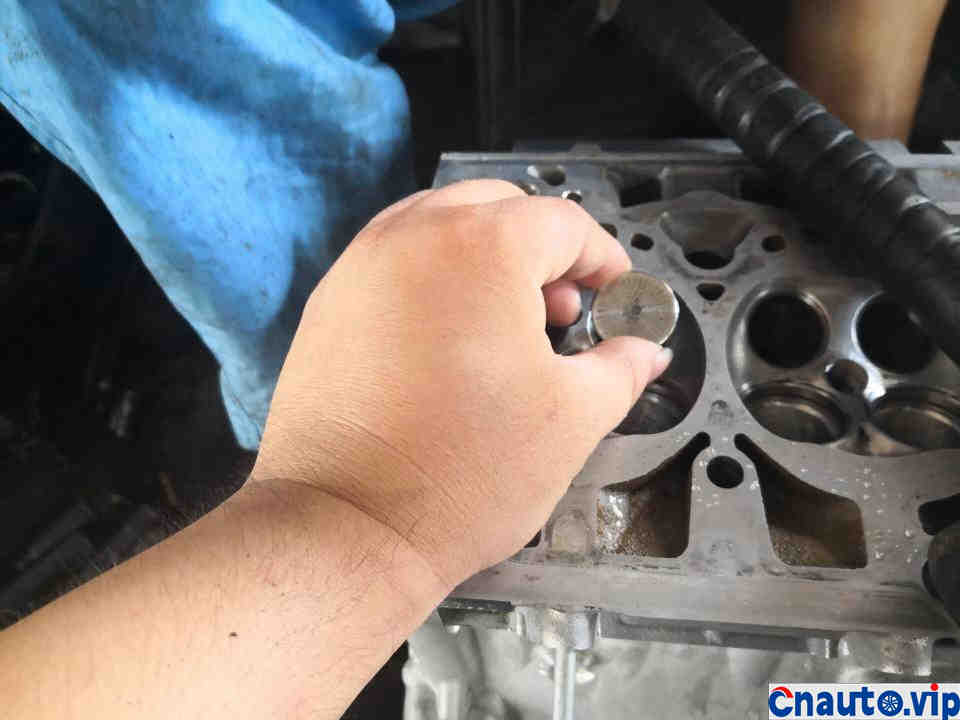
Check the gap between the valve guide. It’s loose.
Knock off the old valve catheter
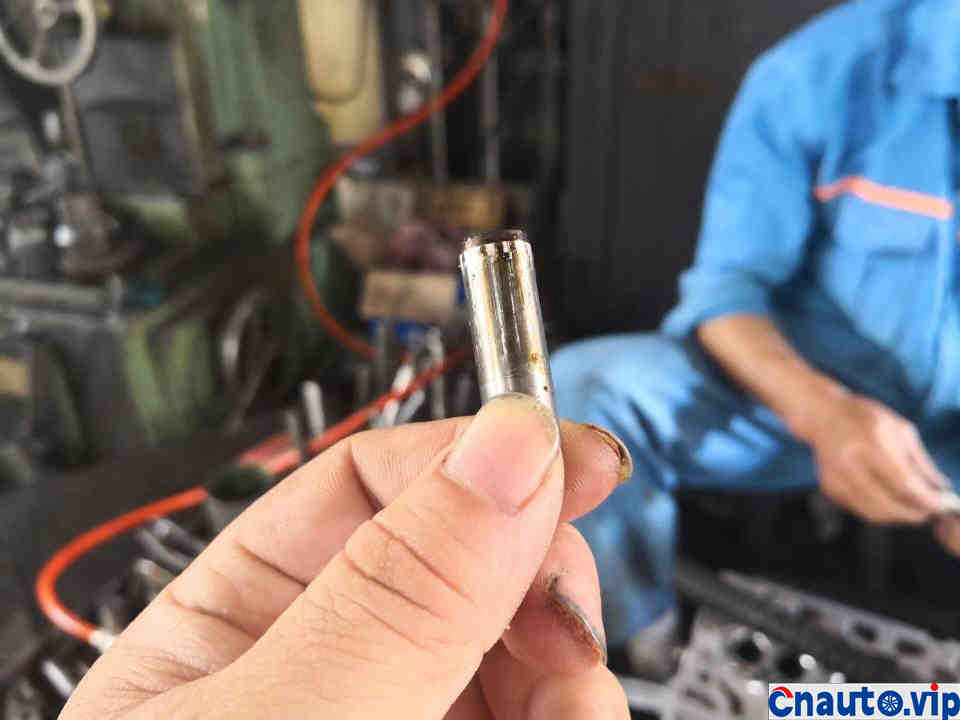
This is the old valve guide.
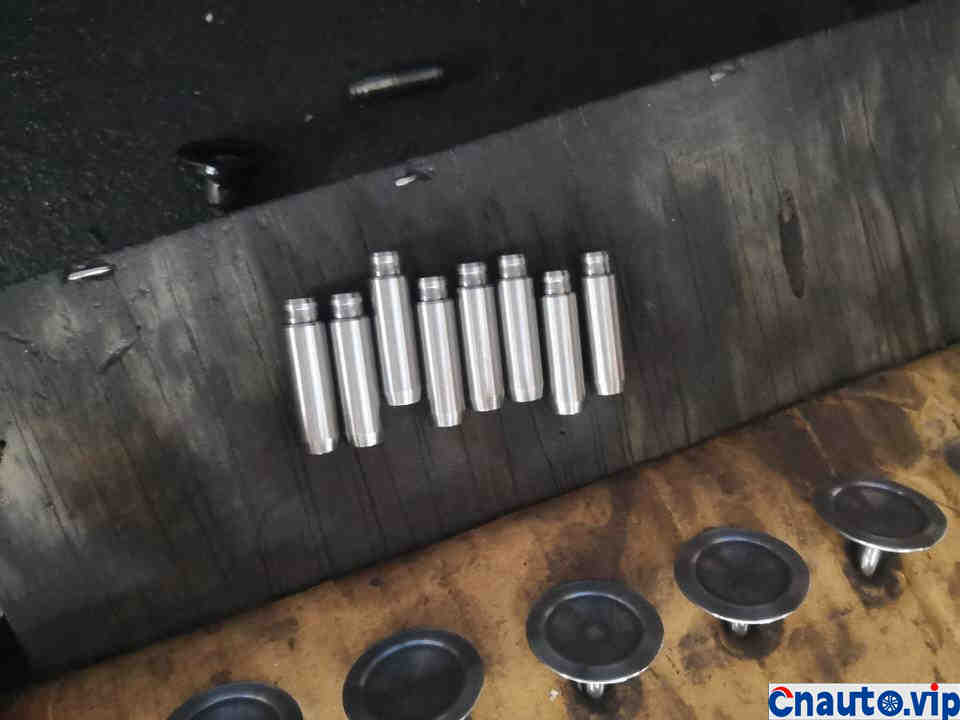
This is a new valve guide.
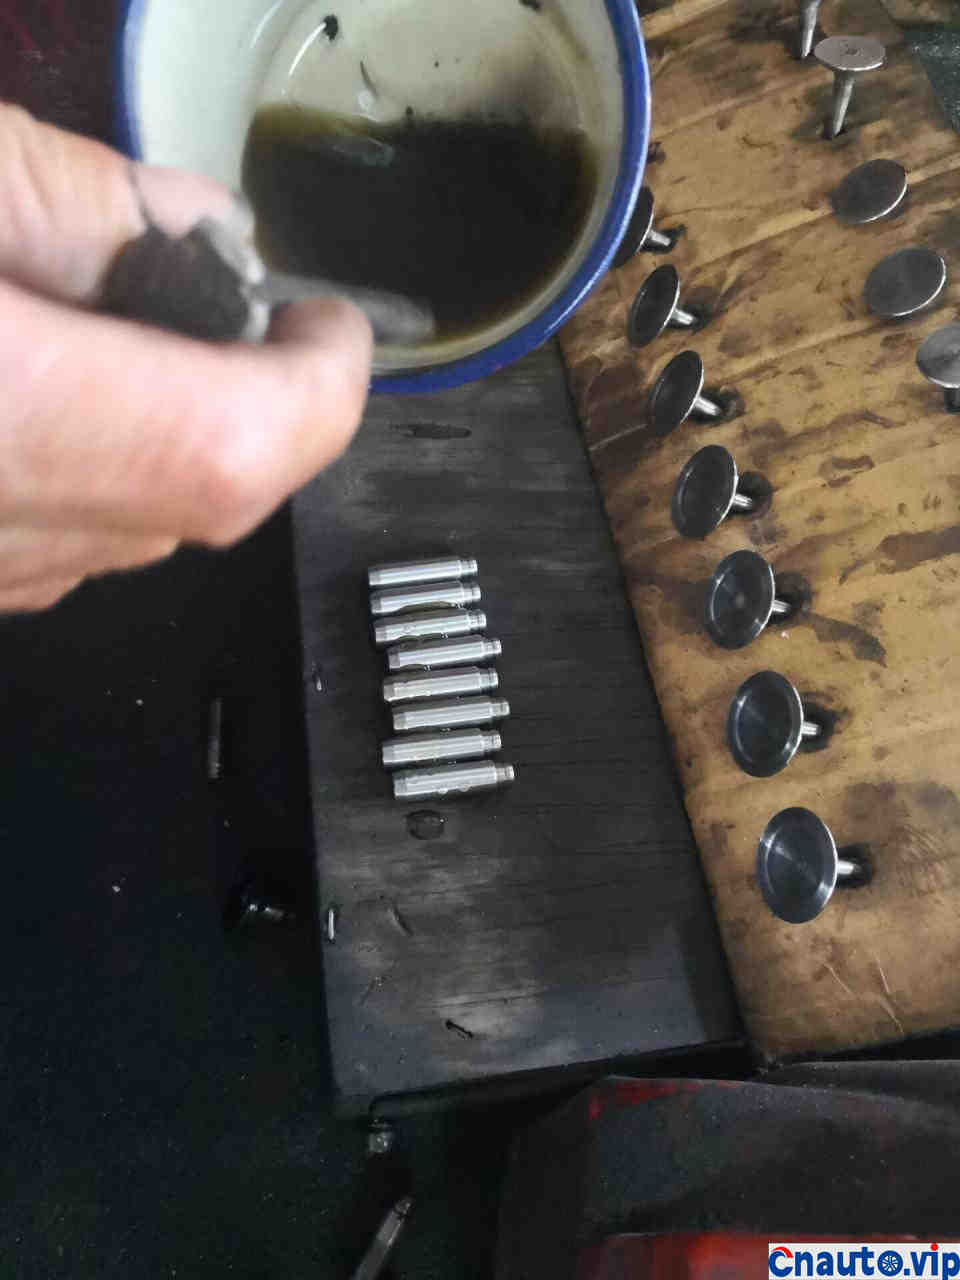
There’s some oil on the conduit, so it’s easy to get into the hole, you know.
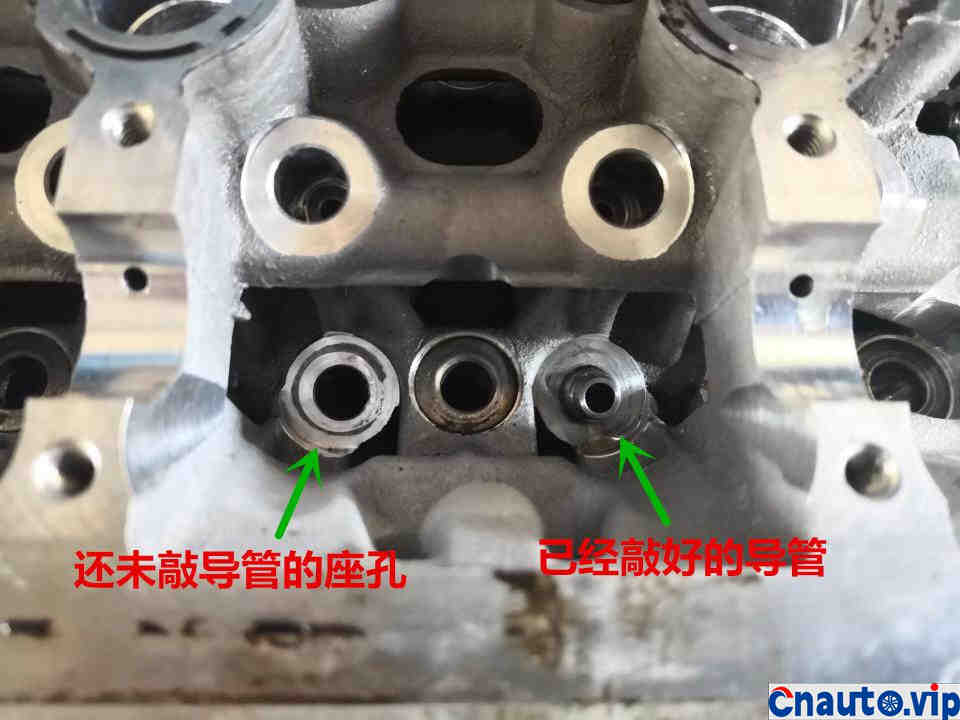
Knock on the valve catheter. Check the gap. It’s normal.
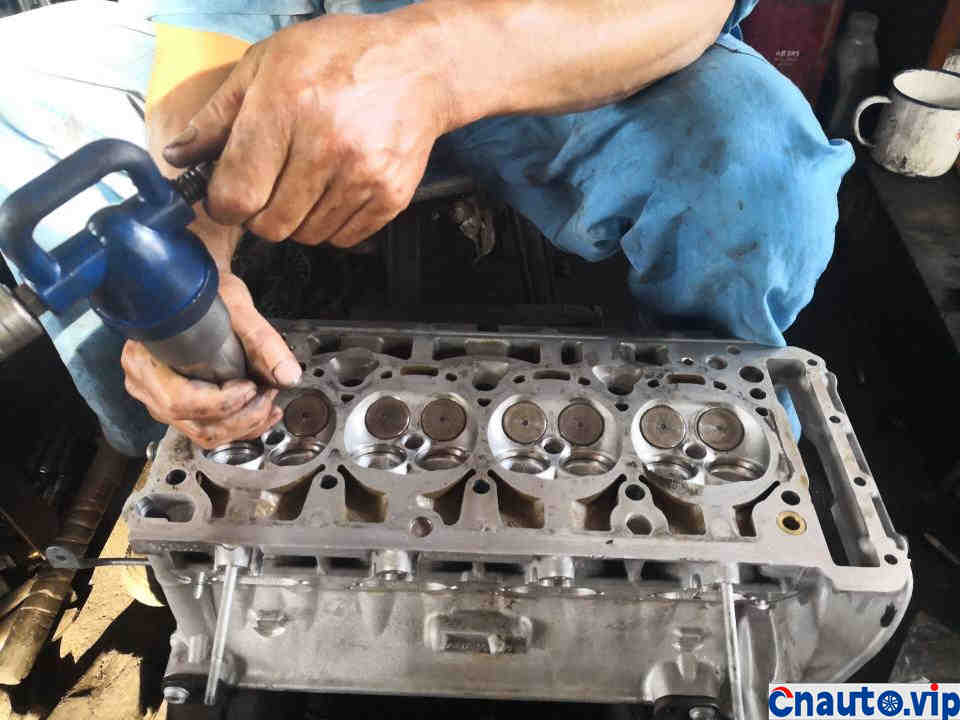
Grinding valve
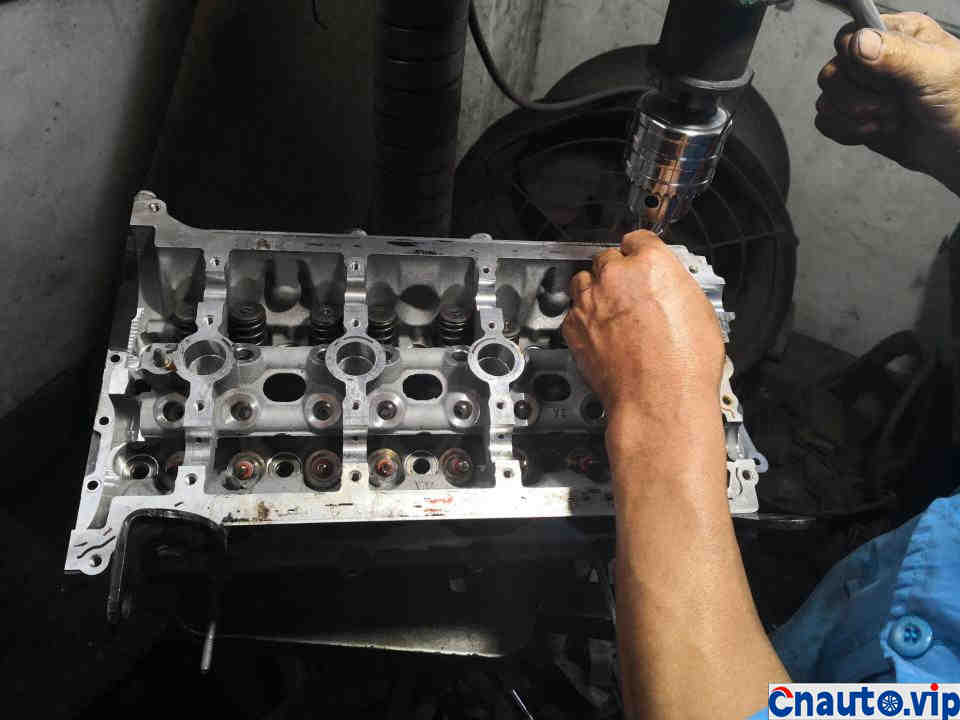
Install the valve oil seal
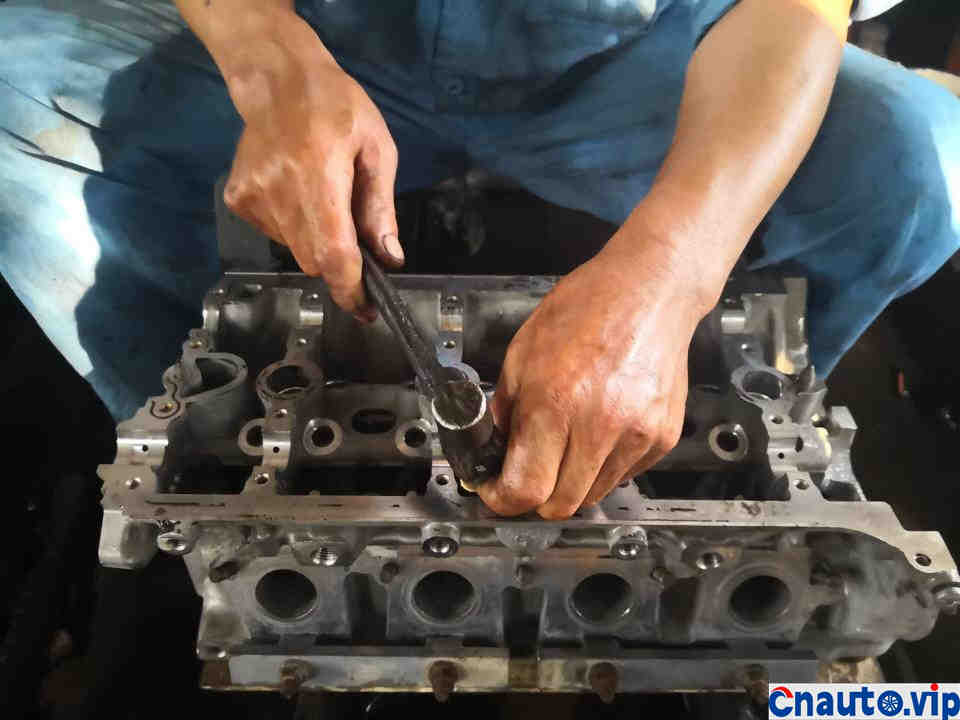
The valve oil seal should be knocked to the end, or it will come loose, and then you will cry.
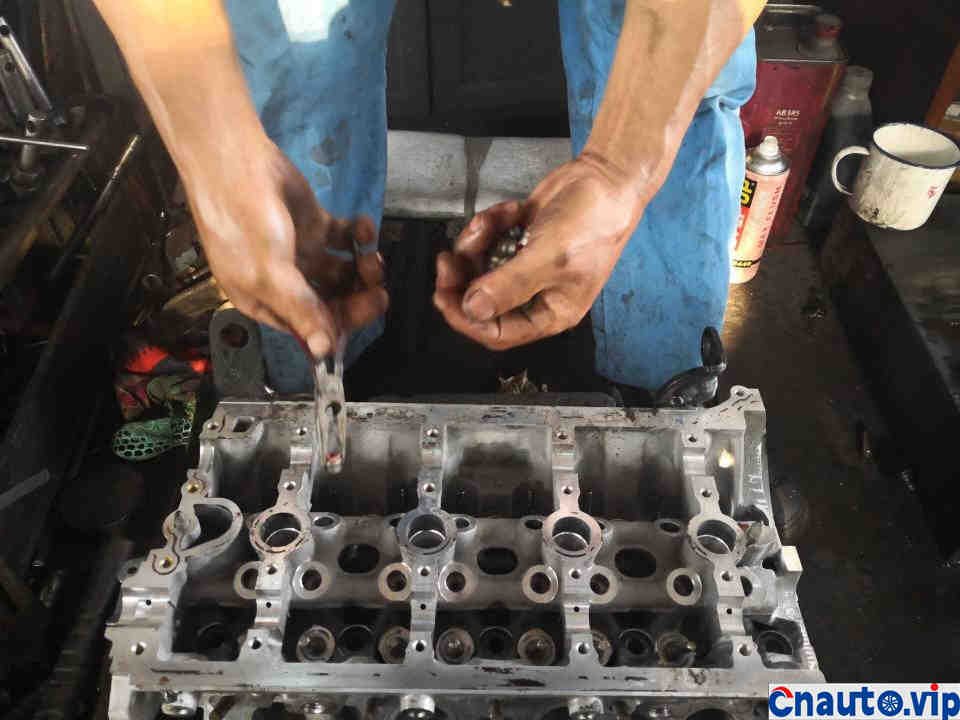
Install the valve lock piece
Pull back the things that have been washed, and further remove the glue and clean it.
-accessory material section-
Say important things three times: accessories must be authentic, authentic, authentic!
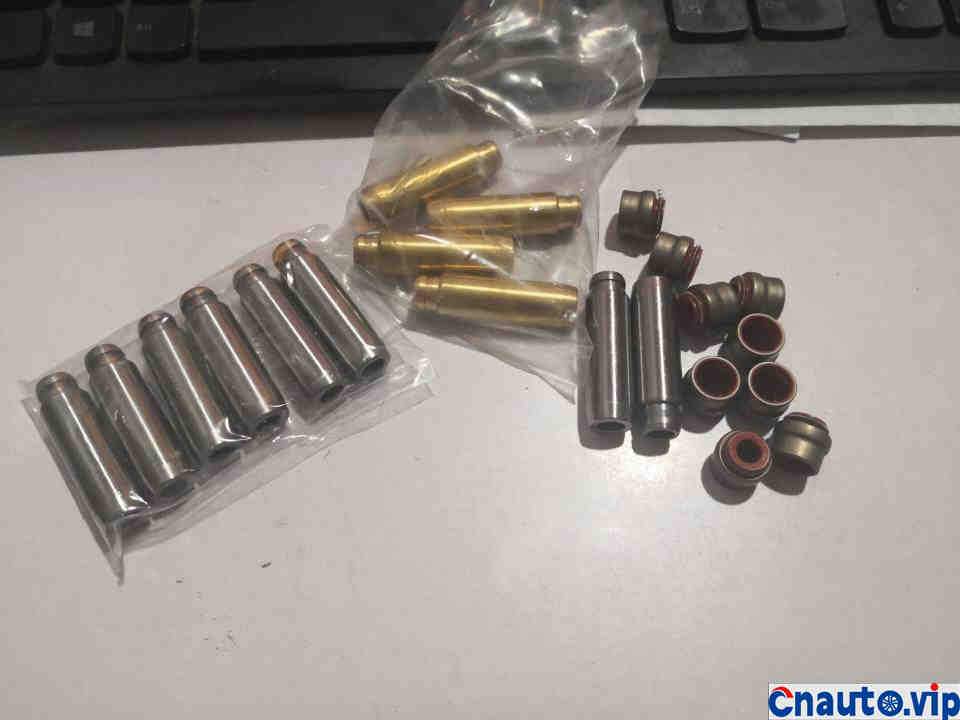
Valve guide and valve oil seal
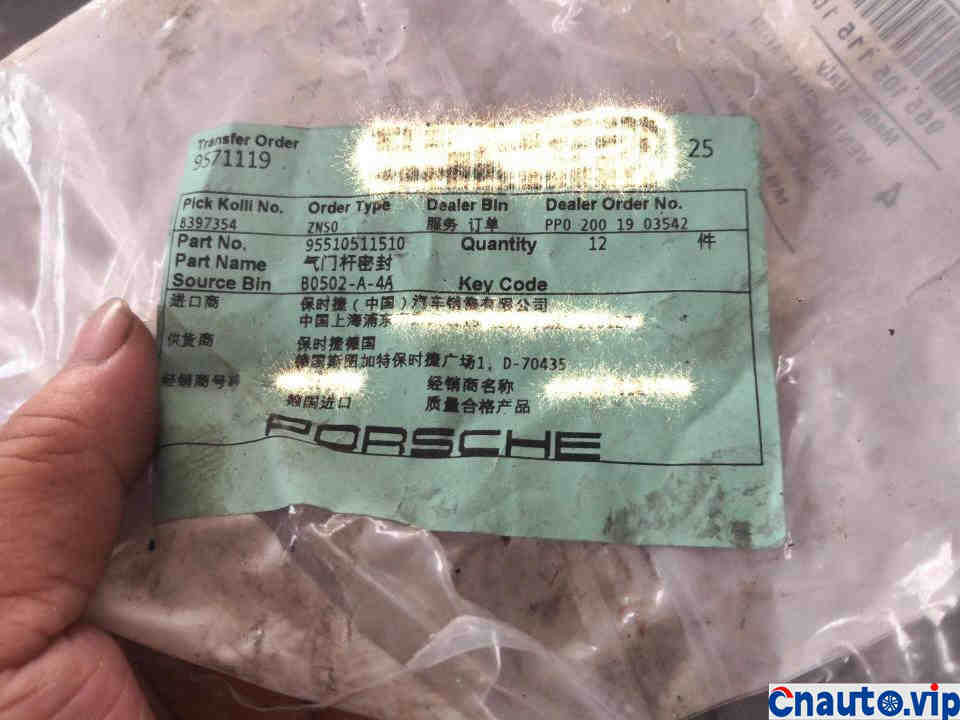
This valve seal is not an ordinary valve seal, but a Porsche double valve seal. It’s a little expensive, but for the sake of quality, it’s worth it.
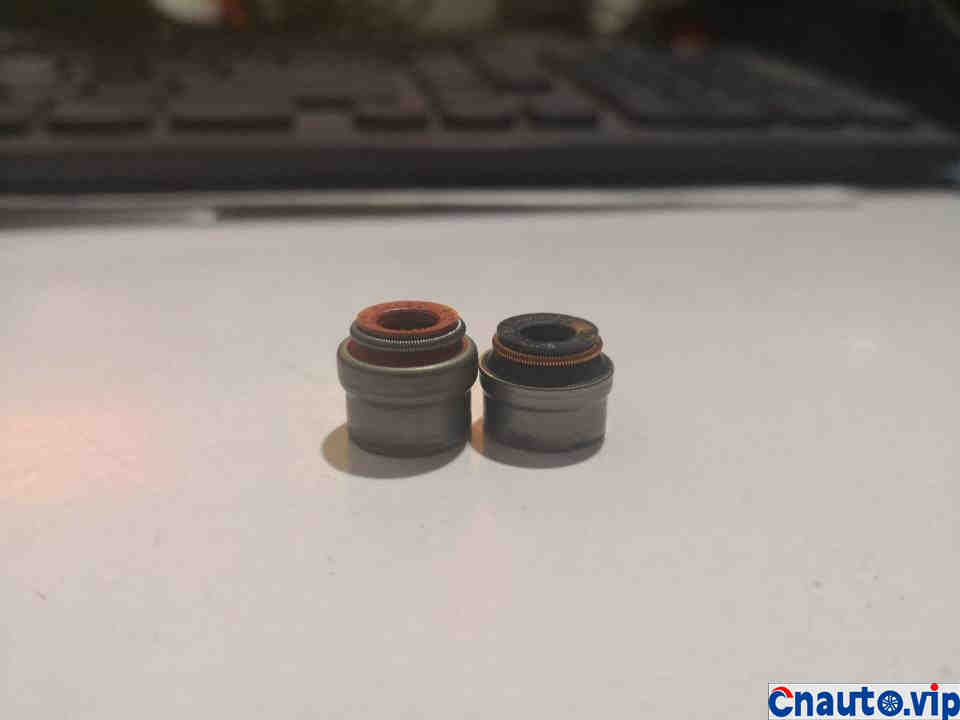
There is a double-seal oil seal on the left and an ordinary oil seal on the right. Is the one on the left much higher? because it has two seals, it will be a little higher.
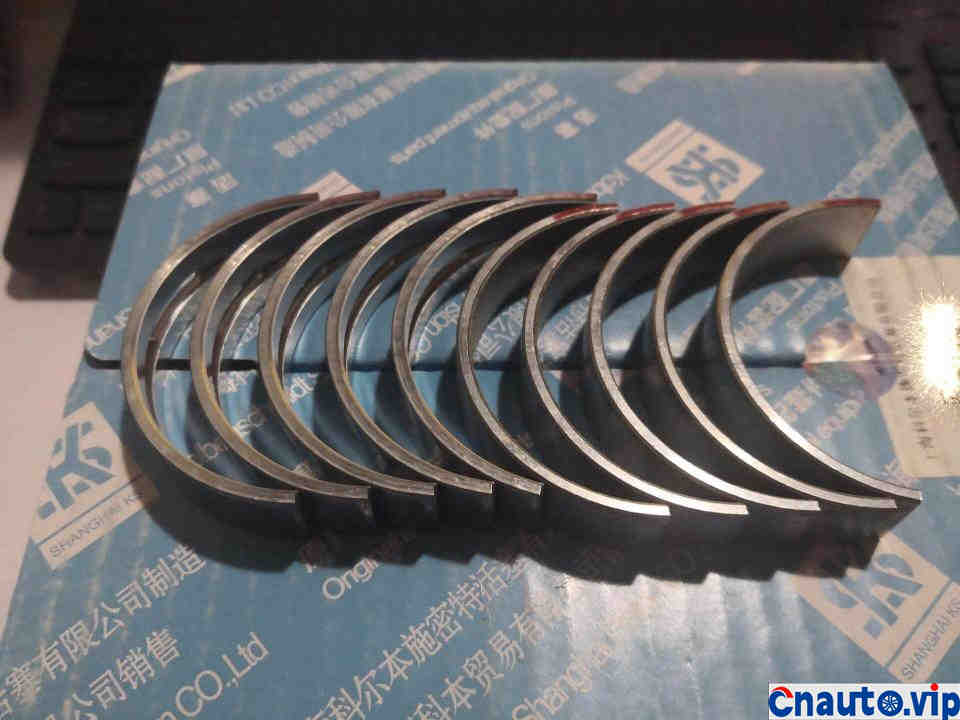
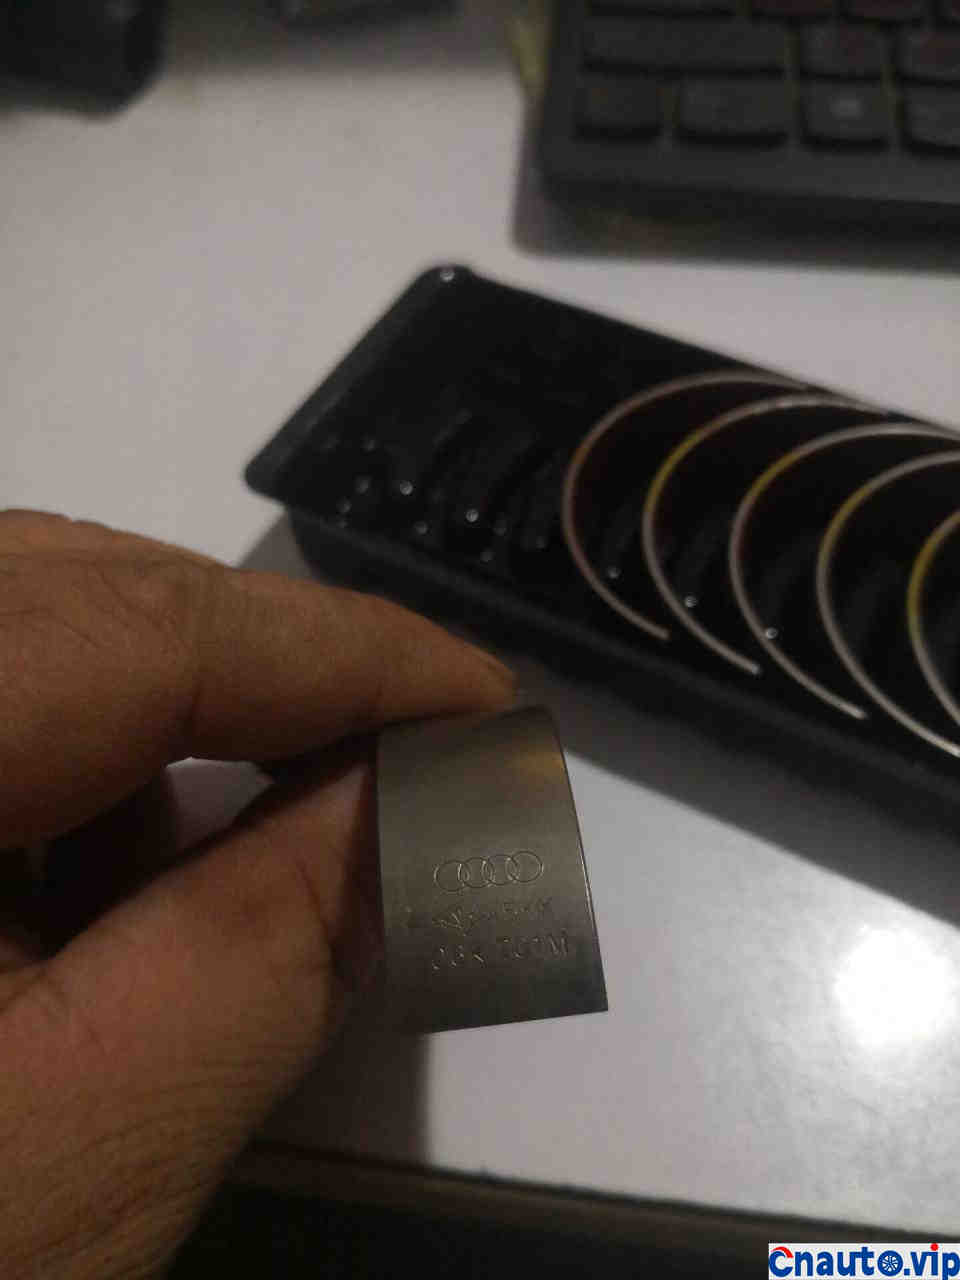
Original crankshaft bearing
Original factory belt code
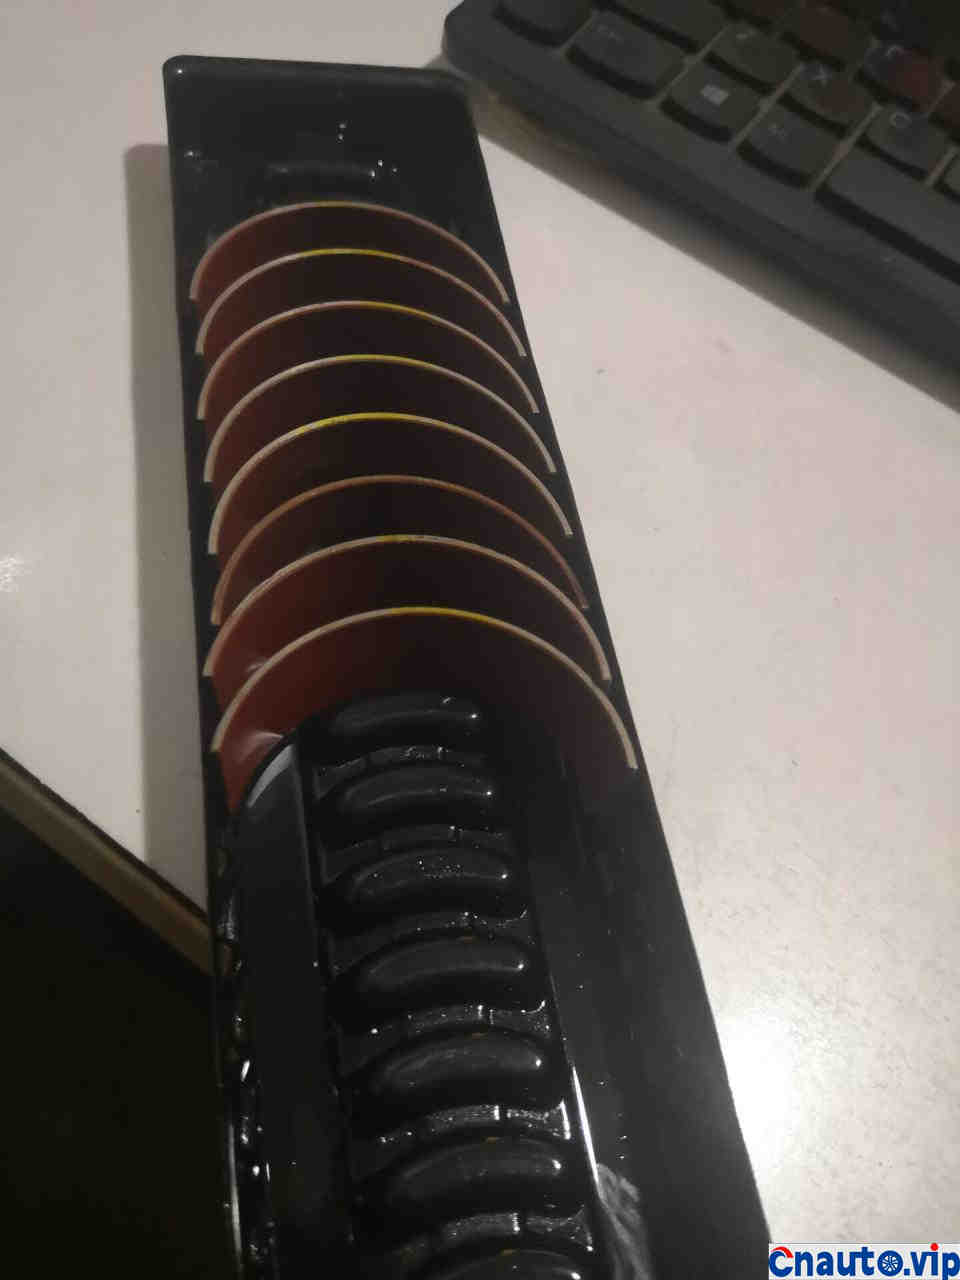
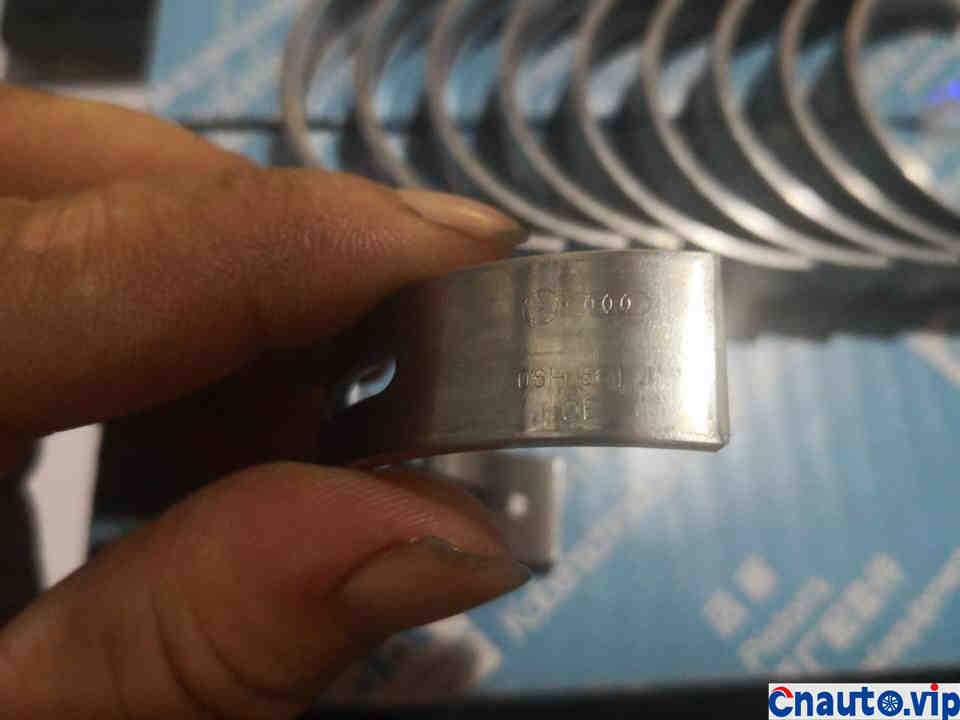
The connecting rod shingles of the original factory. This third-generation connecting rod tile, with a red protective coating, is designed to protect the friction surface of the parts from being strained before the oil comes up before the starting vehicle is assembled for the first time.
It is also the original part with label and code.
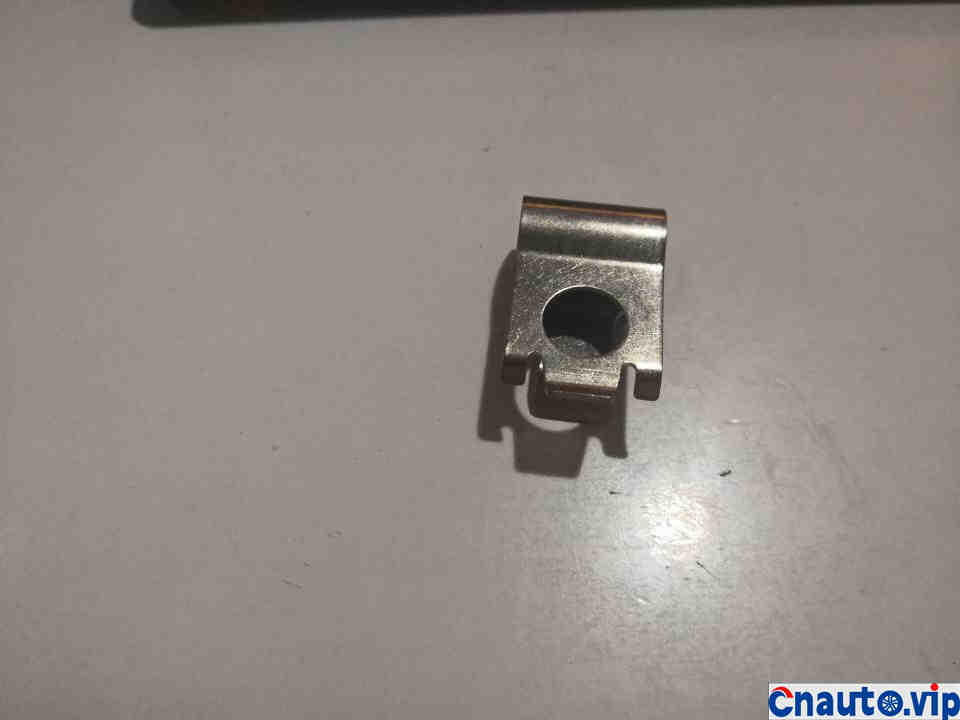
Turbocharging clip. This is not a must, but it is a good tonic. As long as it is a 2.0T engine, the push rod pin needs to be clipped to avoid a click noise.
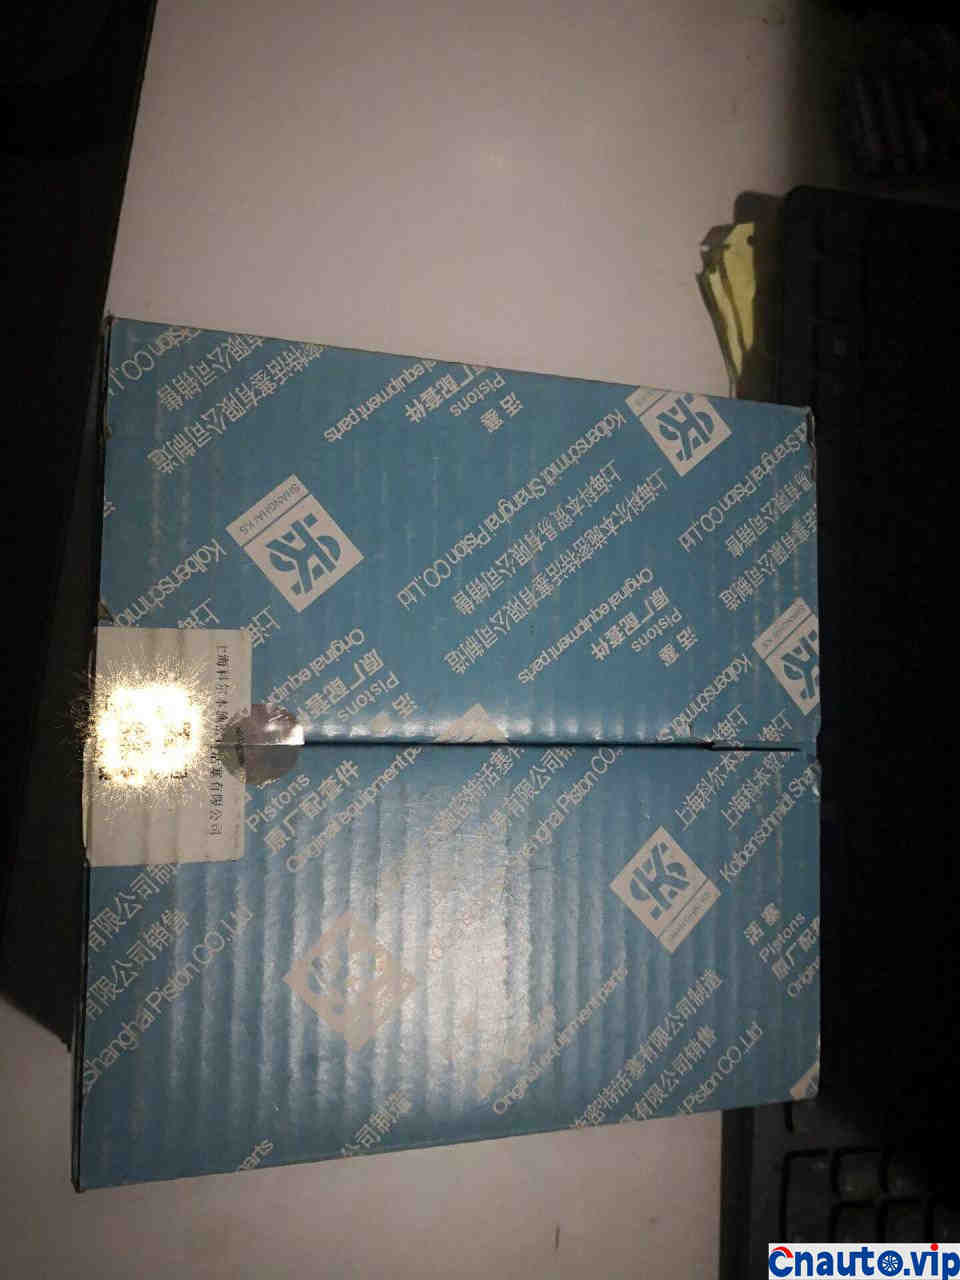
Pistons, I’ve always trusted Colburn. Although Mahler’s is also good, but that batch of Mahler will break the piston, so I always use Colburn.
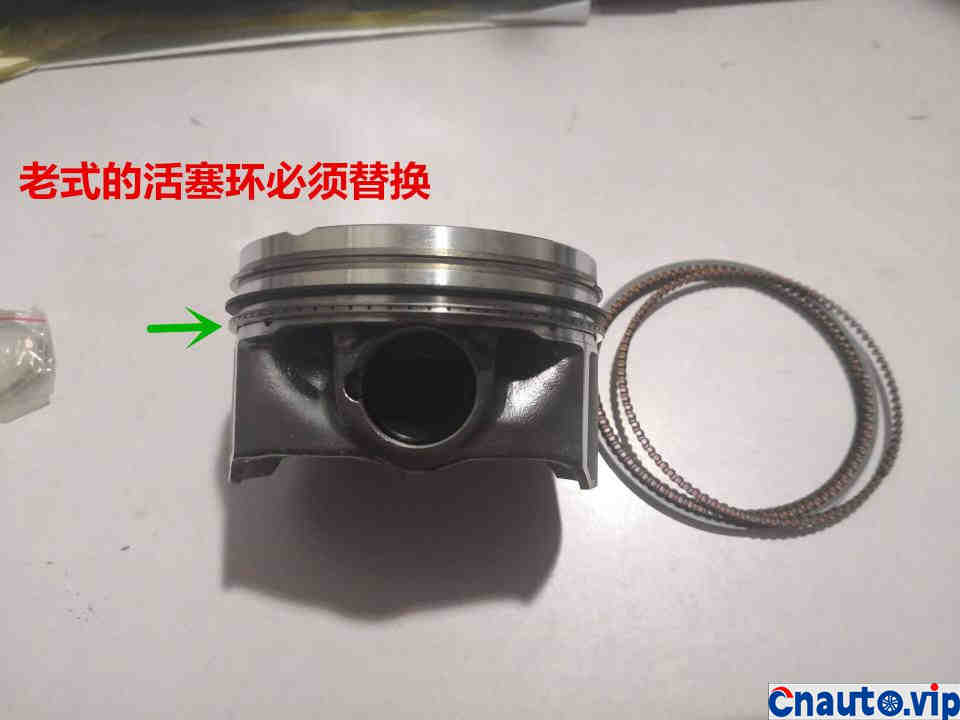
Since we all know that the old piston ring is defective and cannot fall twice in the same place, we should decisively replace the improved piston ring.
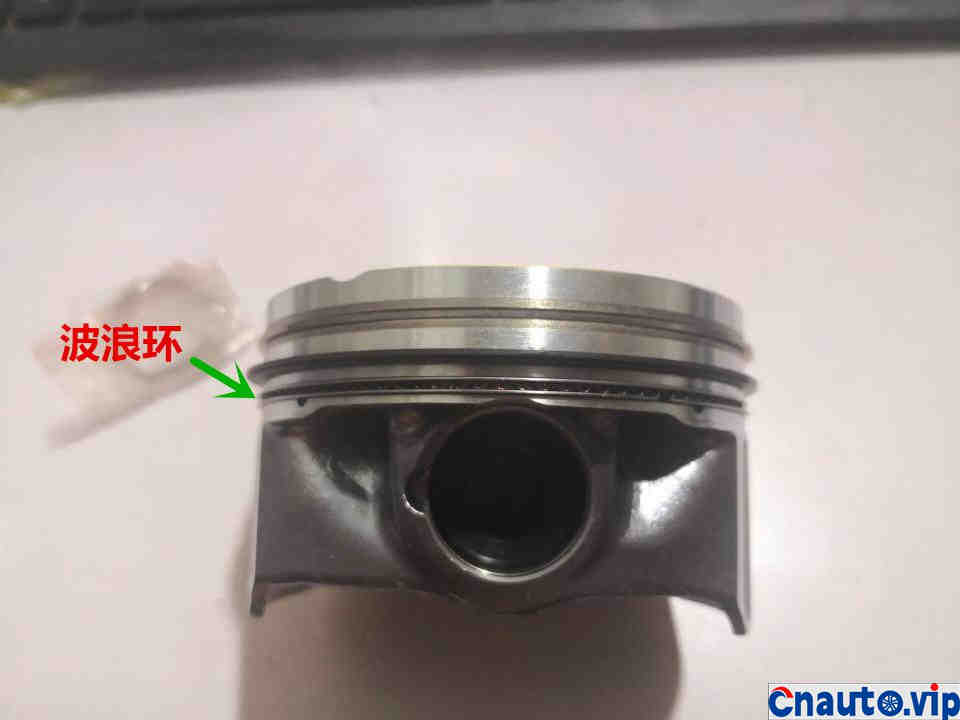
After the change, I am full of confidence and will never be blocked by carbon deposition again.
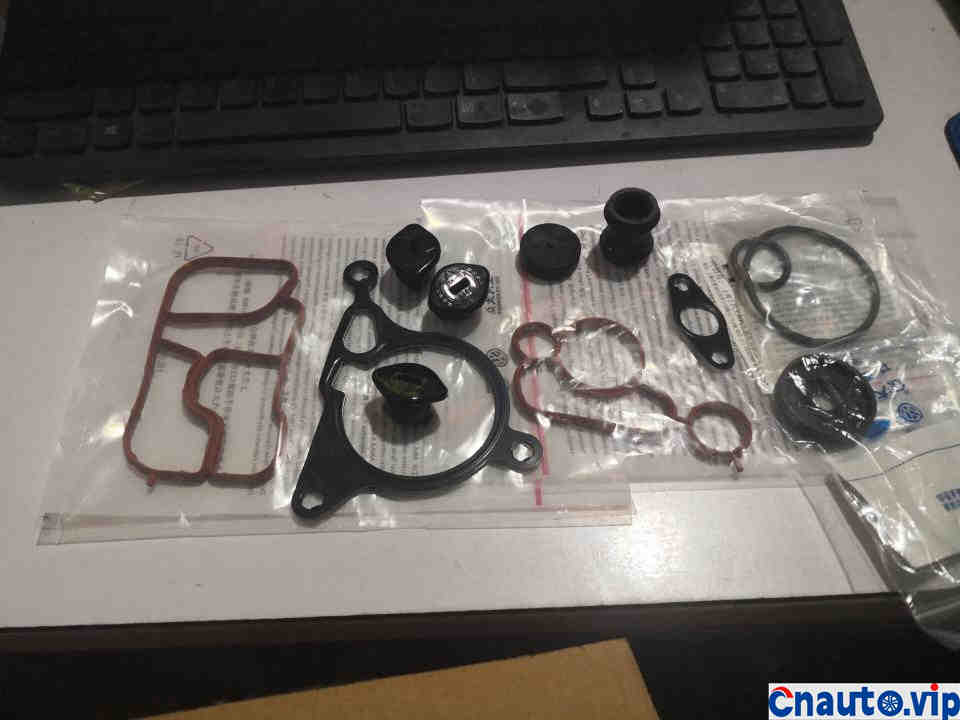
All kinds of gaskets, plug covers, stuffy covers, oil seals.
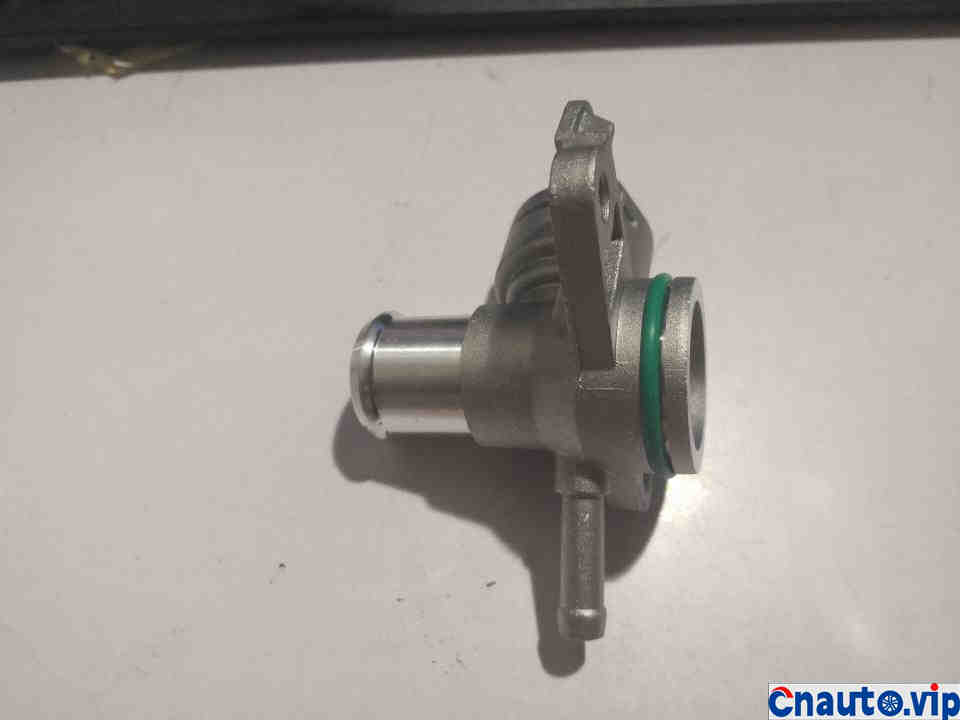
Aluminum alloy cylinder head tee, replace the original car Bakelite, never aging
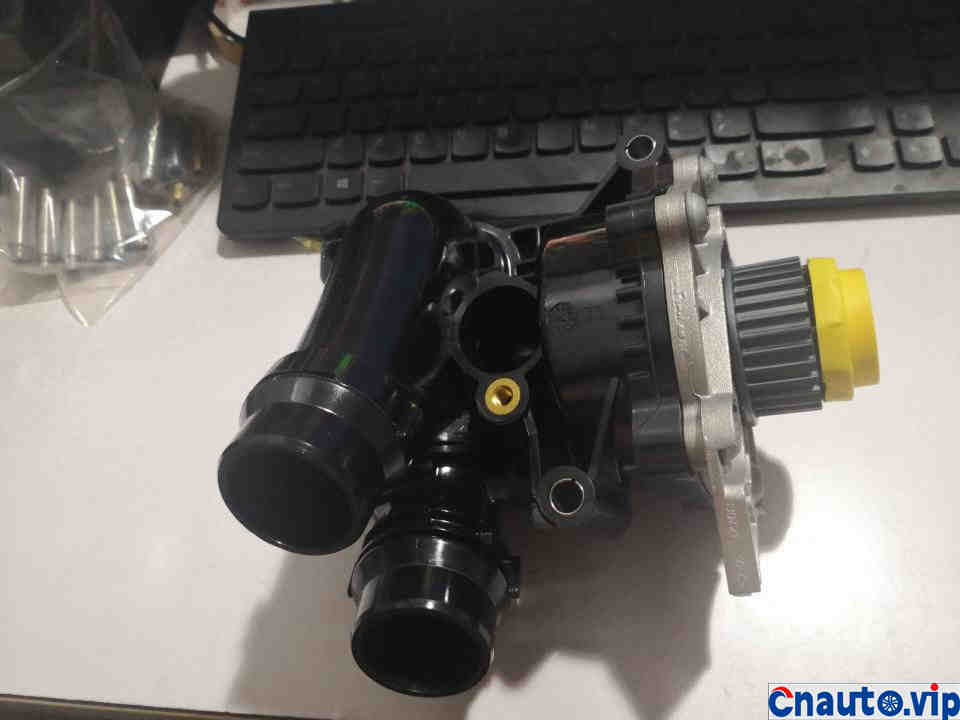
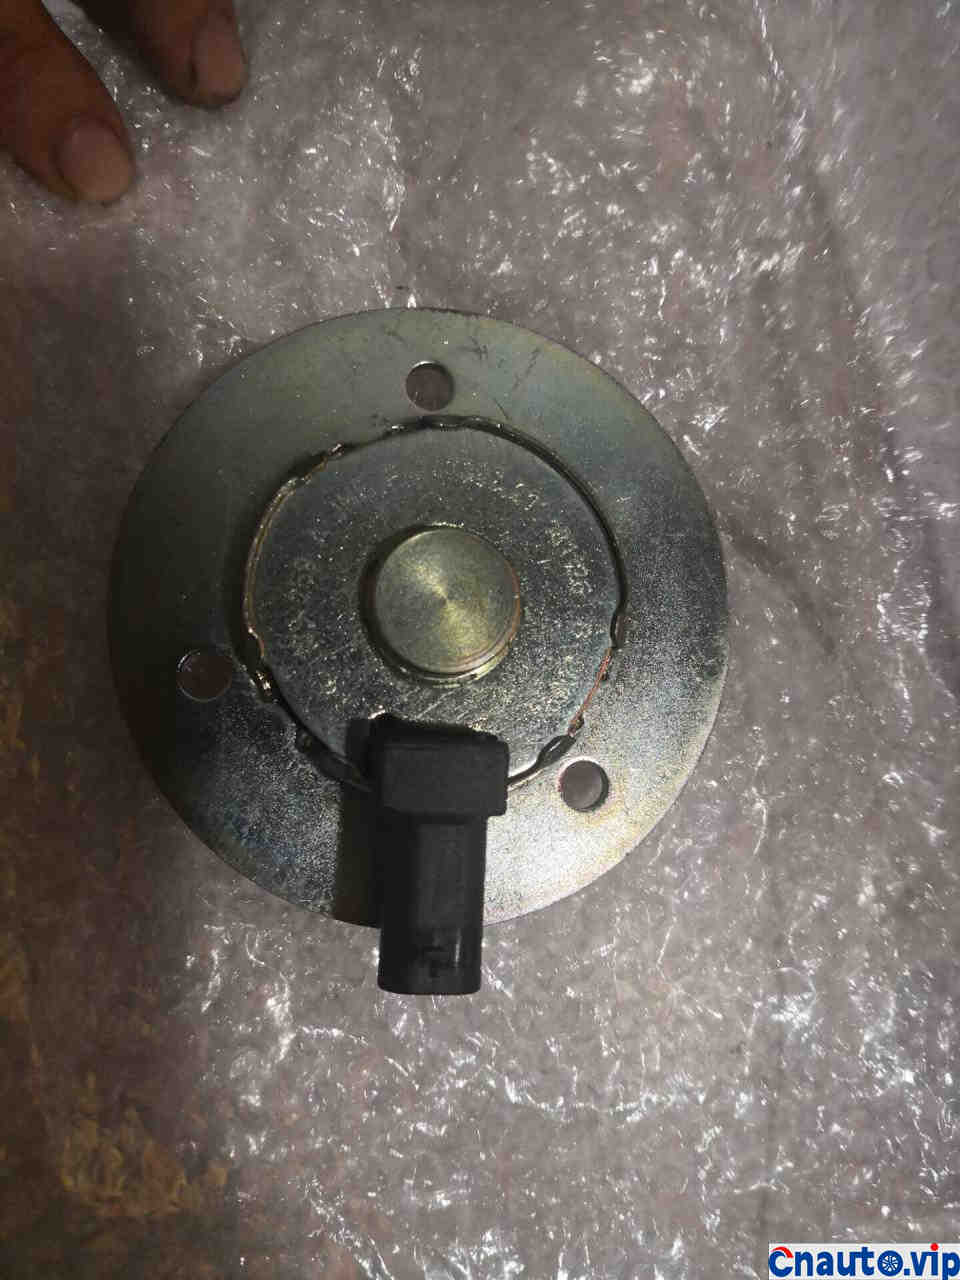
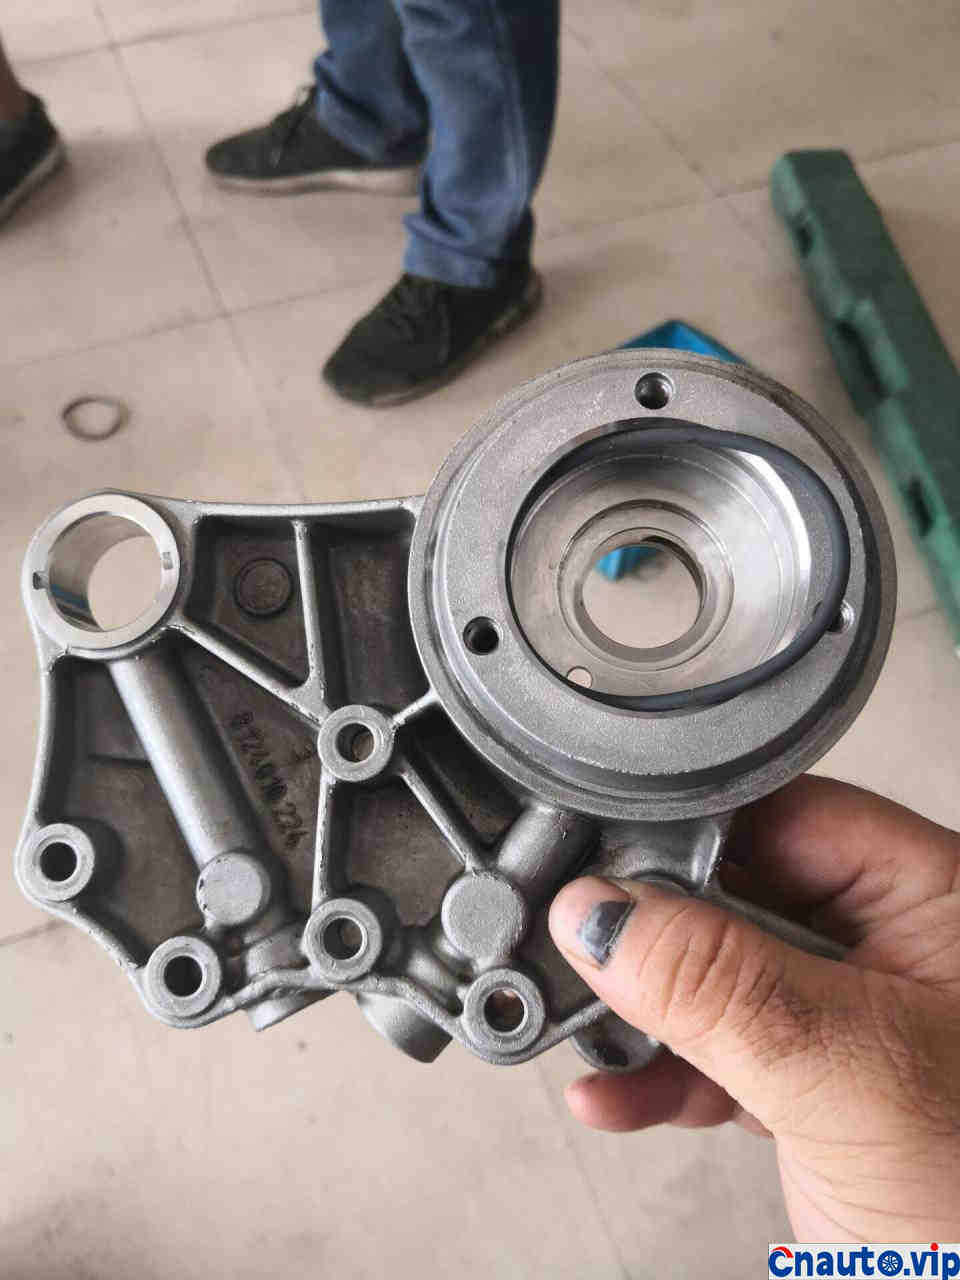
Improved aluminum alloy pump head pump. I was thinking, it would be nice if the whole pump were made of aluminum alloy.
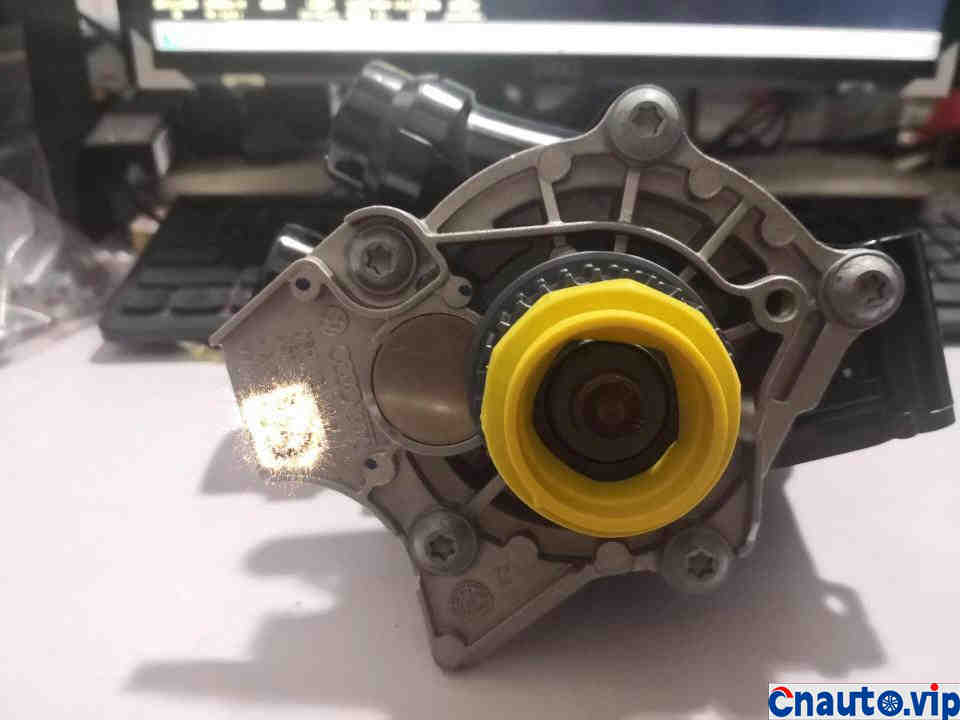
Original factory with label and code
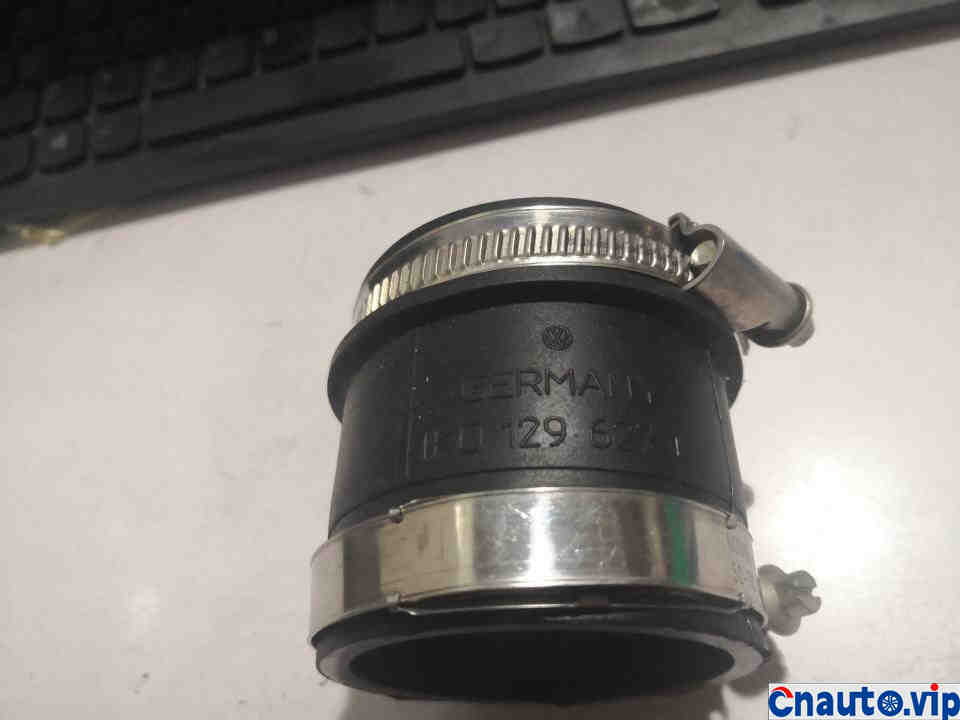
The turbine intake pipe has been improved with the turbine hoop on Audi.
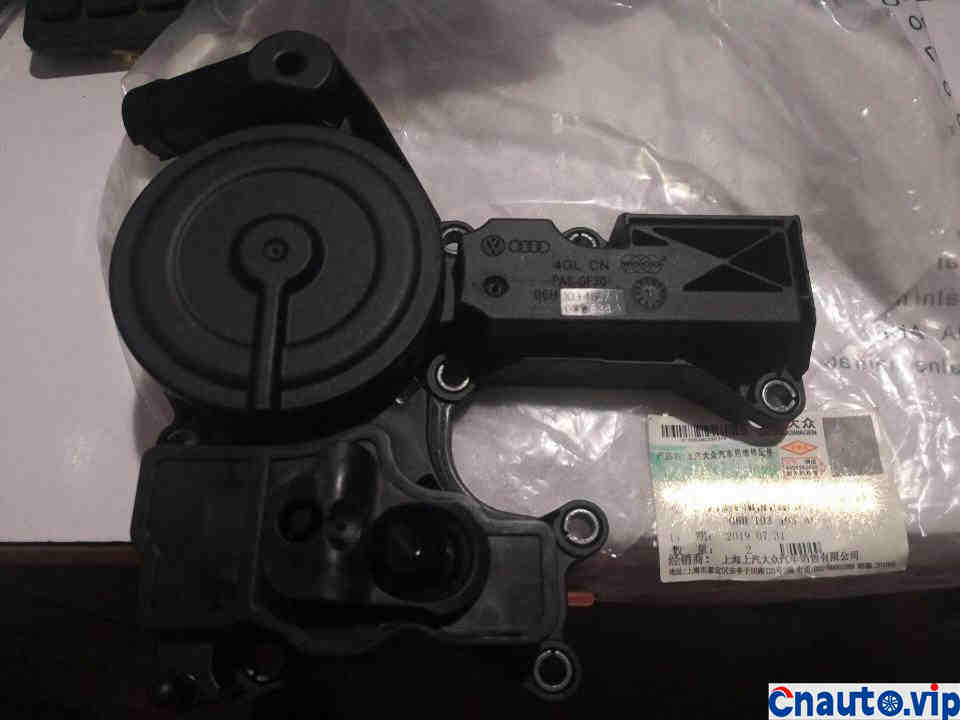
The waste gas valve with AF tail number is the latest model at present.

The lower separator on the cylinder head is actually a plug cover, but if it has been removed, it must be replaced, otherwise there will be oil leakage.
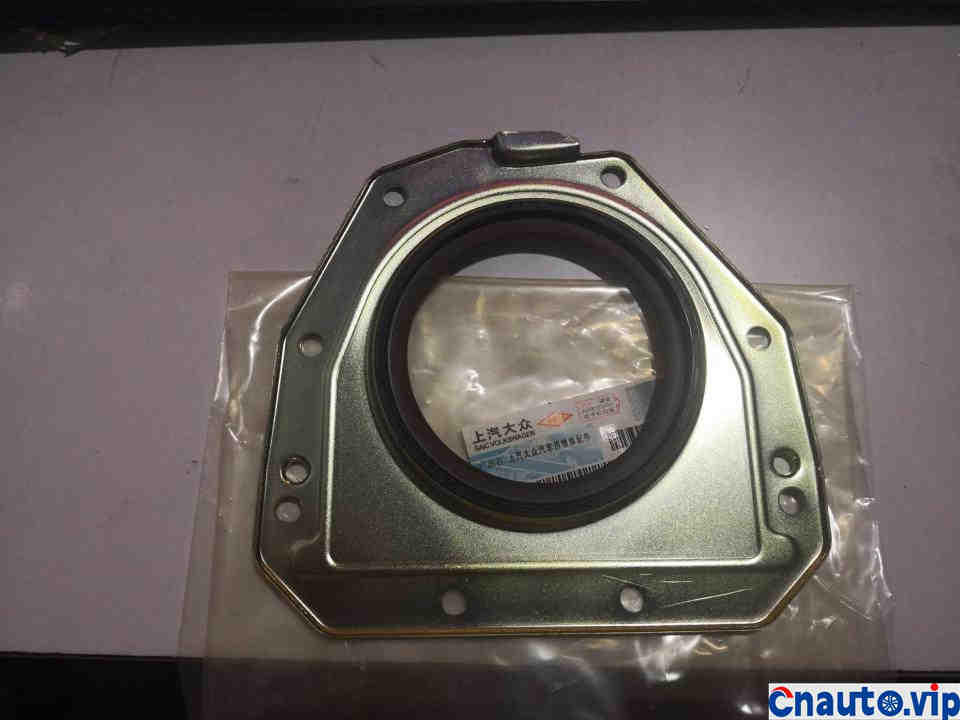
Crankshaft rear oil seal
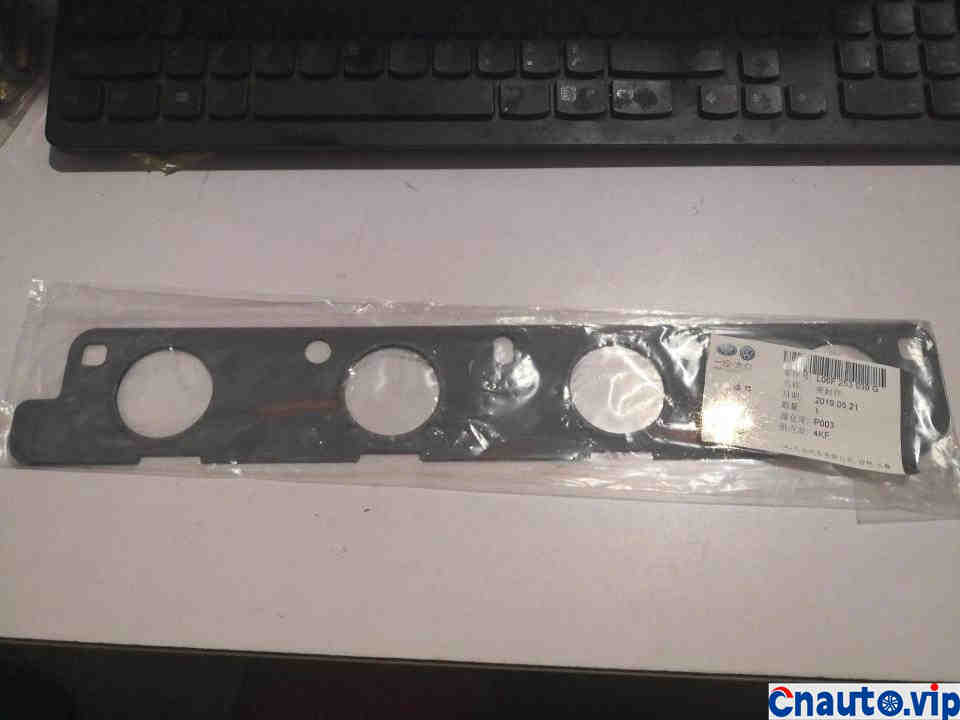
Exhaust manifold gasket
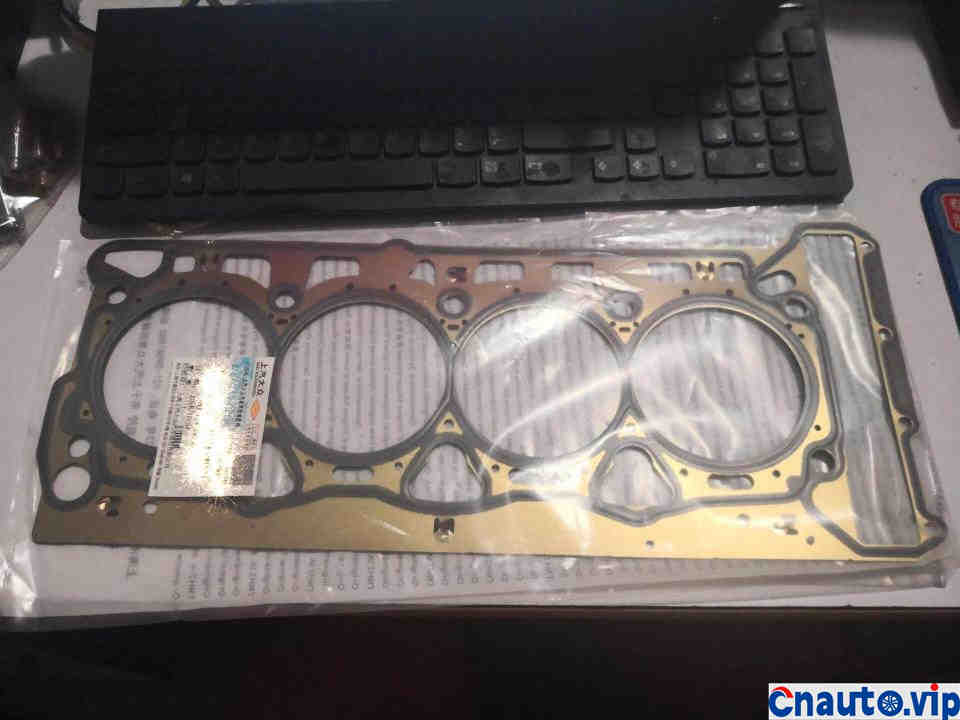
Cylinder gasket
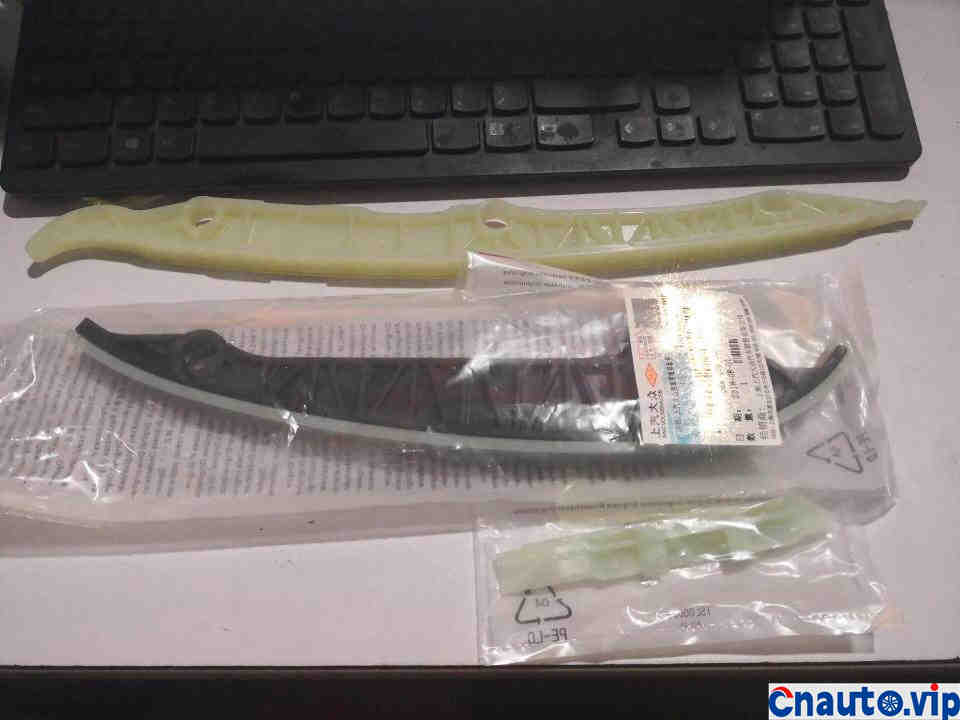
Improved extended version of chain track
Sucker
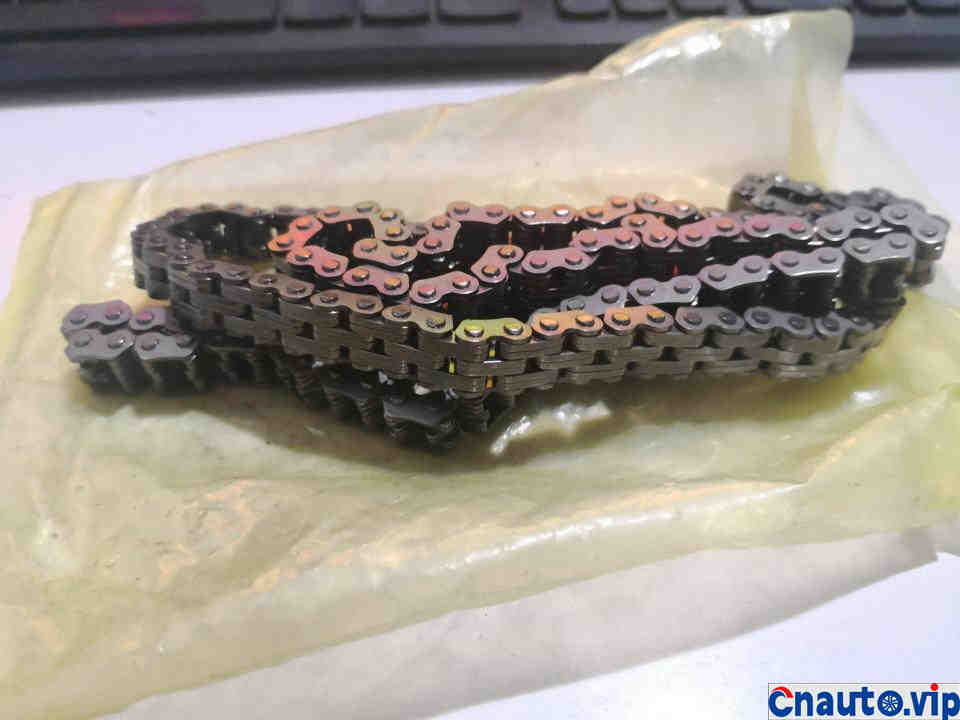
The improved version thickens the chain, so you no longer have to worry about the lengthening of the chain.
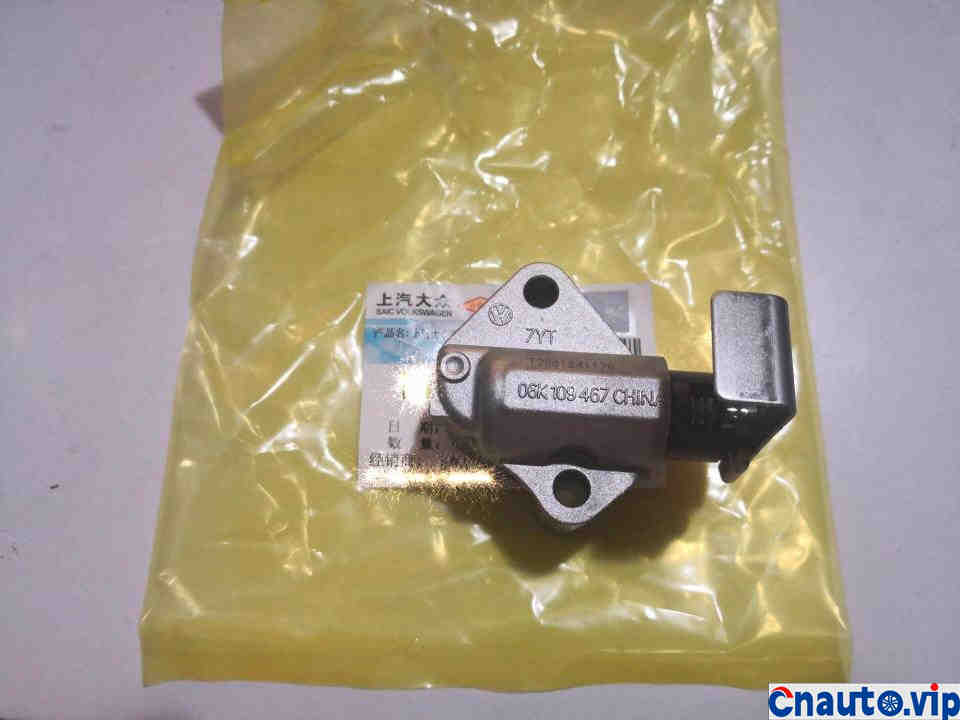
06K improved chain tensioner, will not jump teeth

Original chain plastic cover
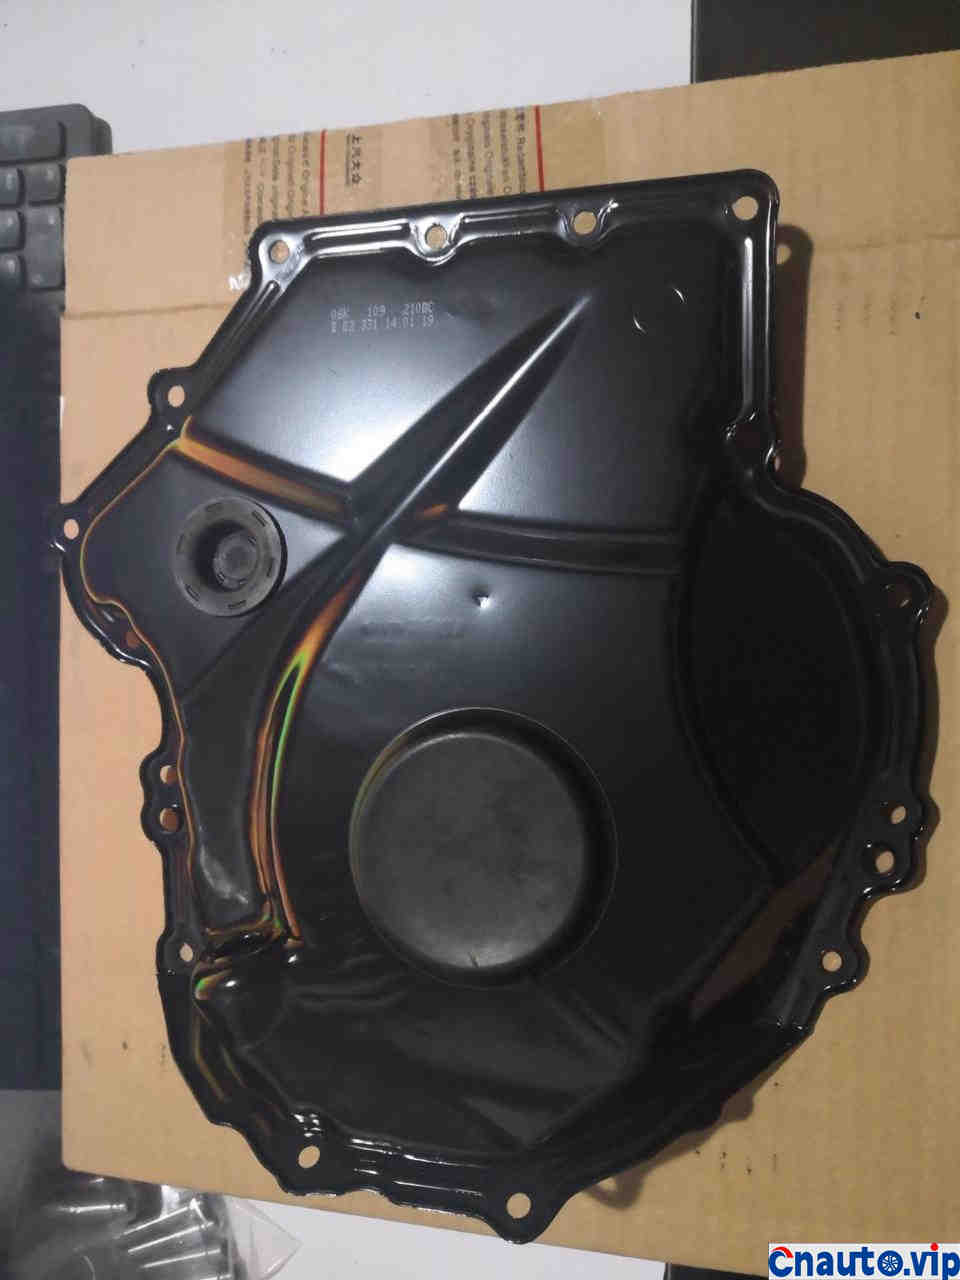
Chain iron cover of original factory
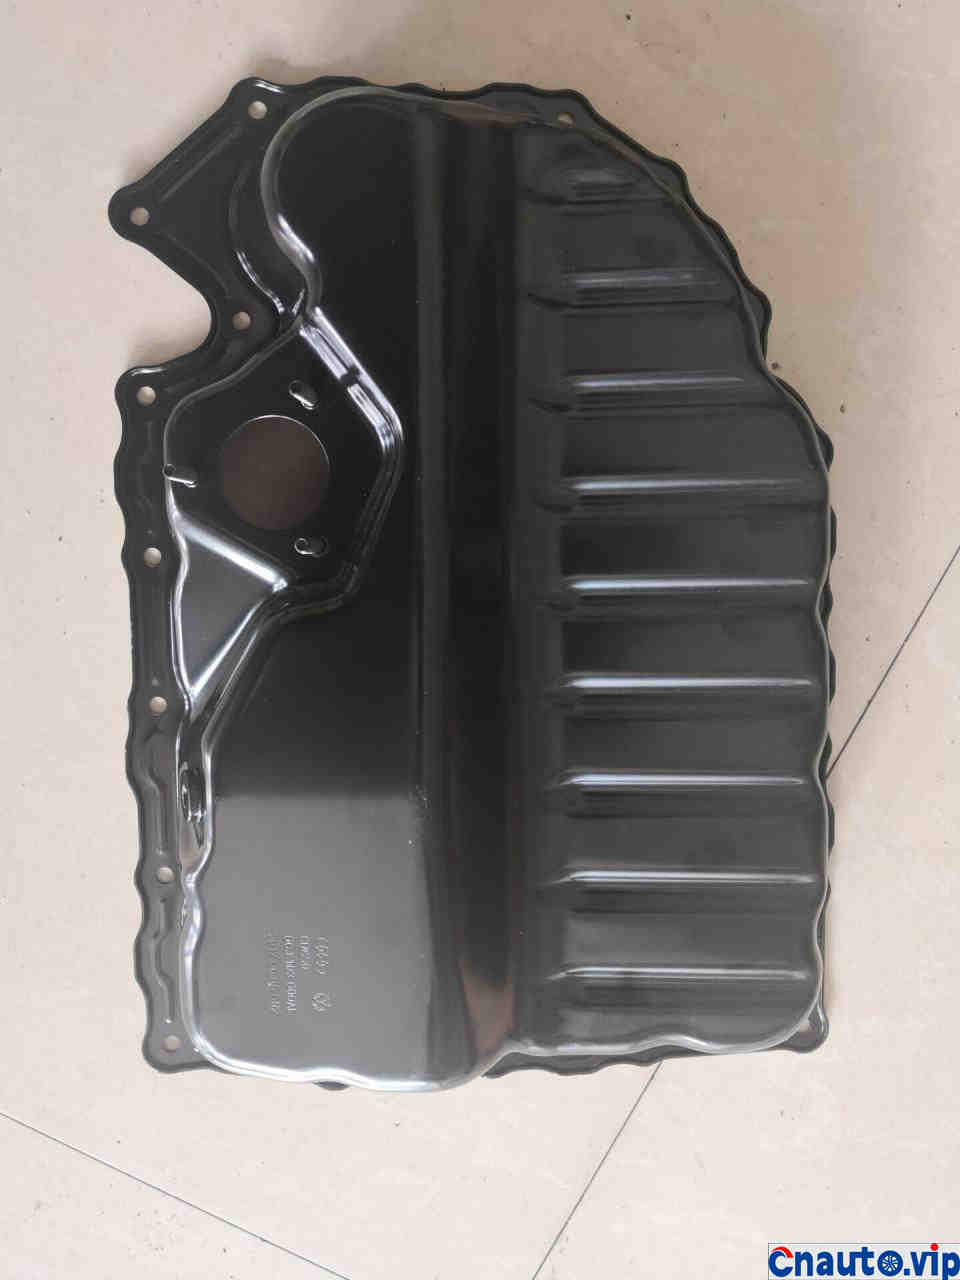
Original oil pan
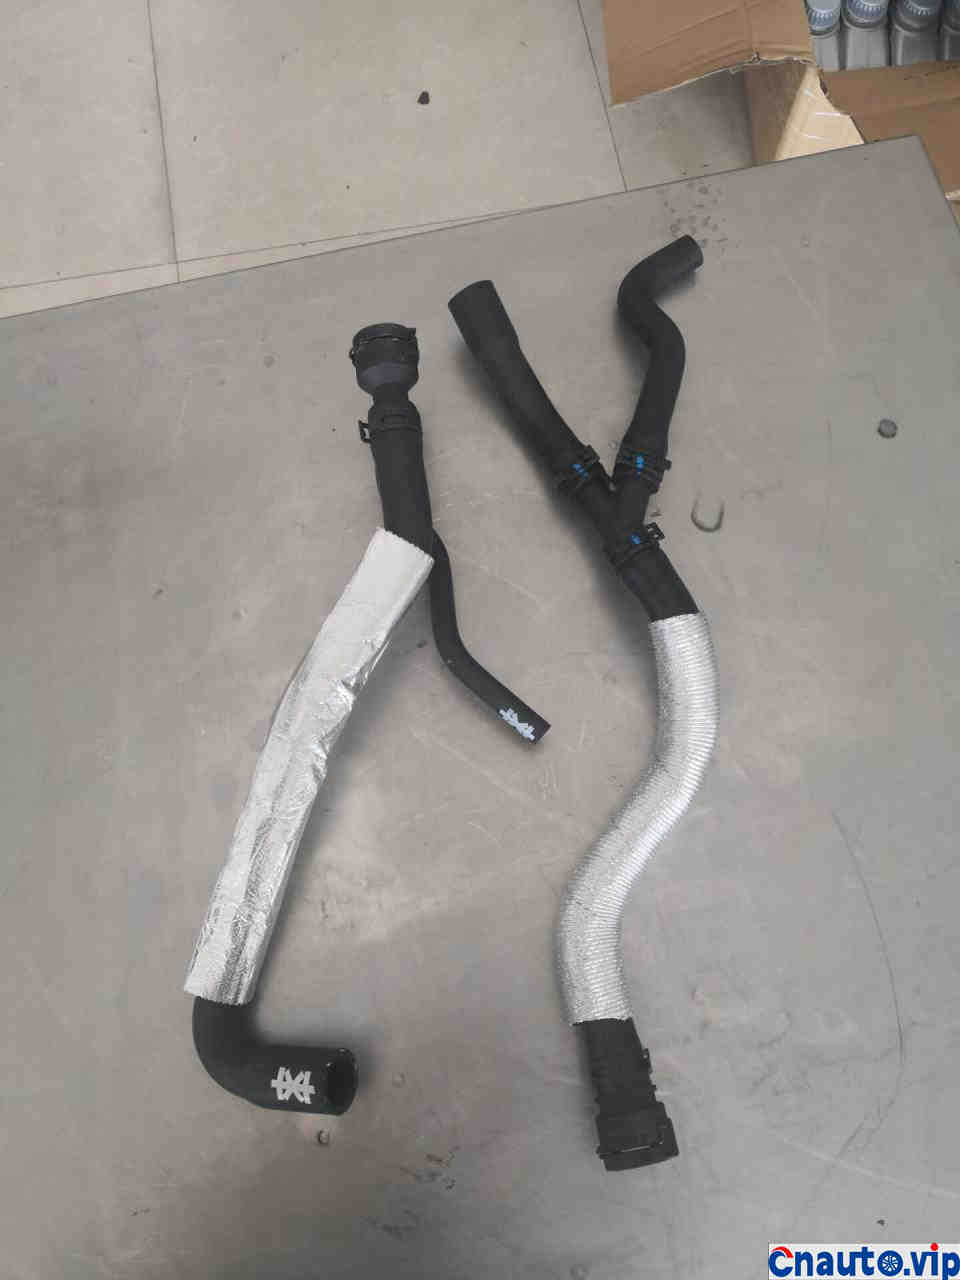
Warm air pipe for original song
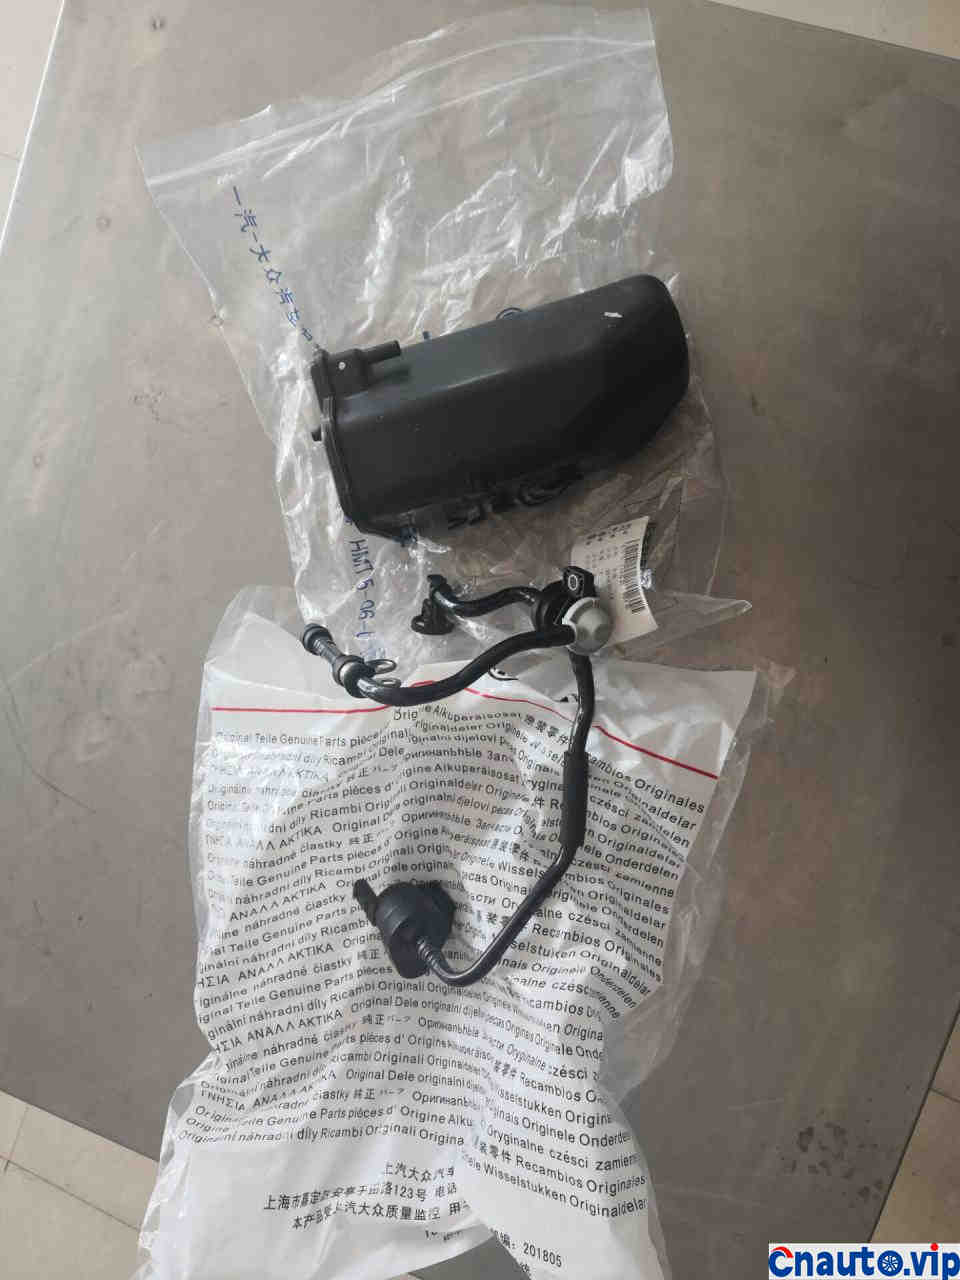
Original activated carbon canister and solenoid valve
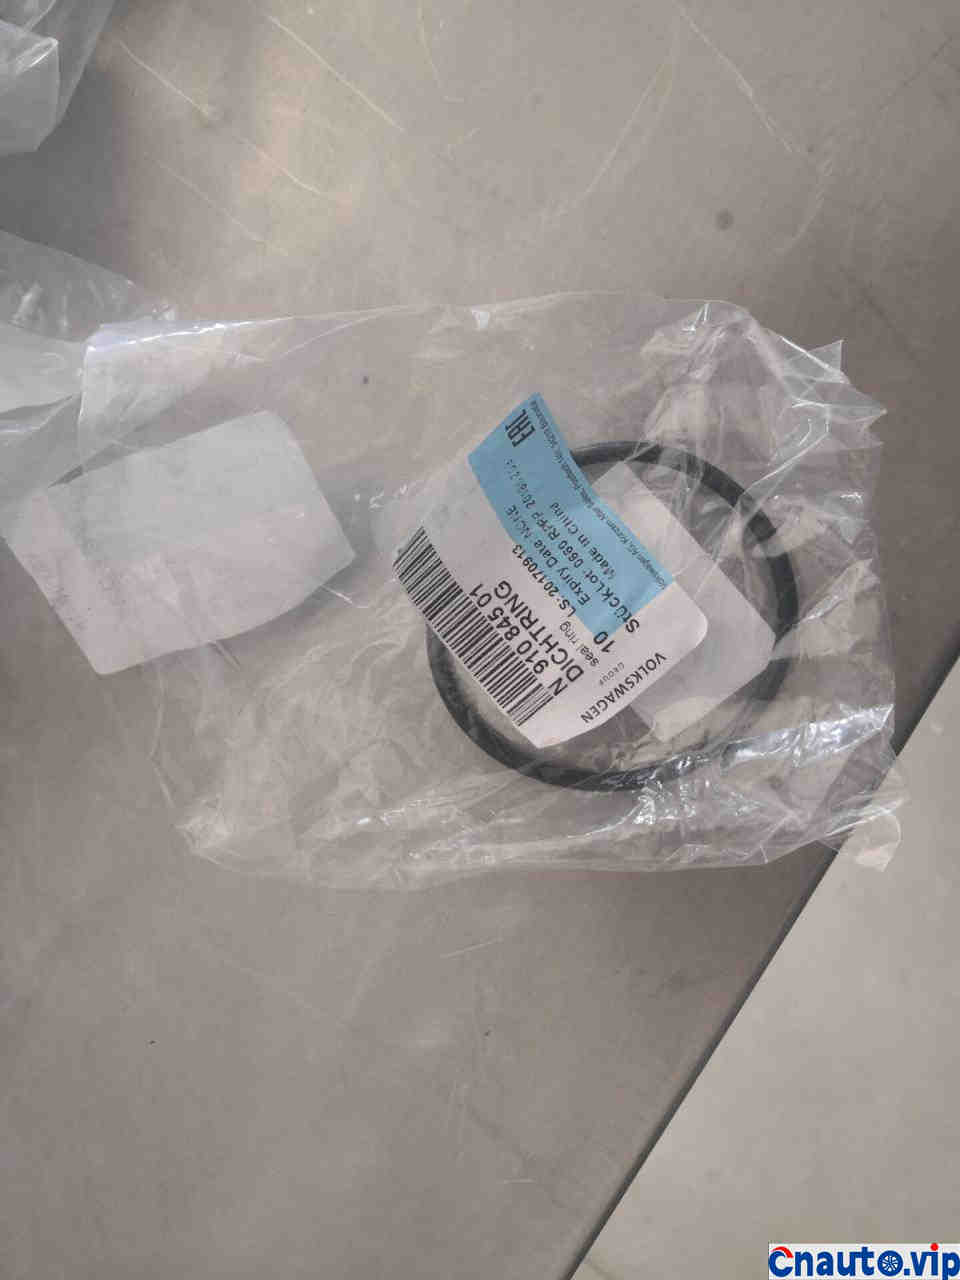
Original gearbox filter cover sealing ring
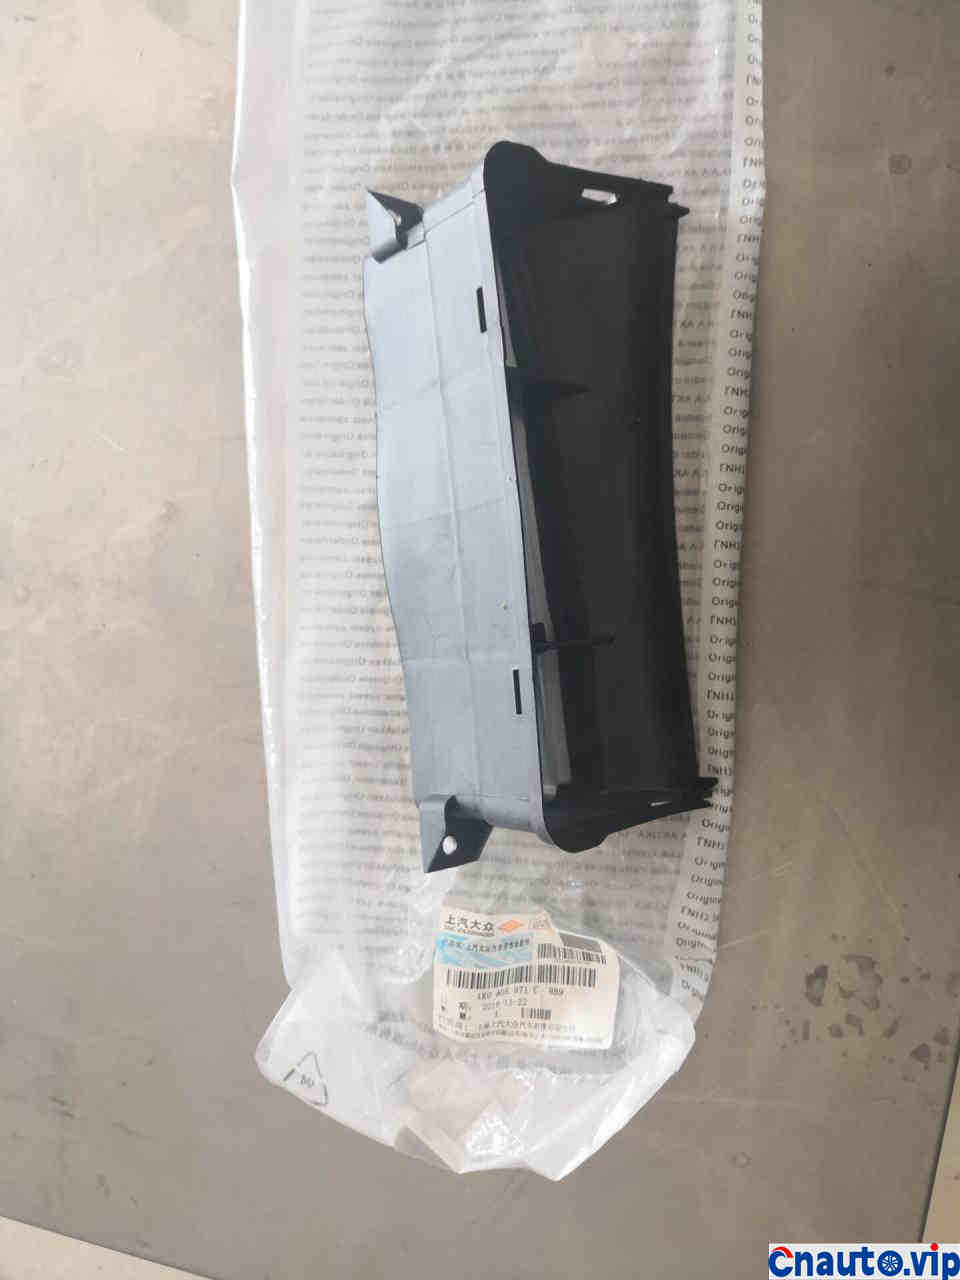
Original factory air inlet
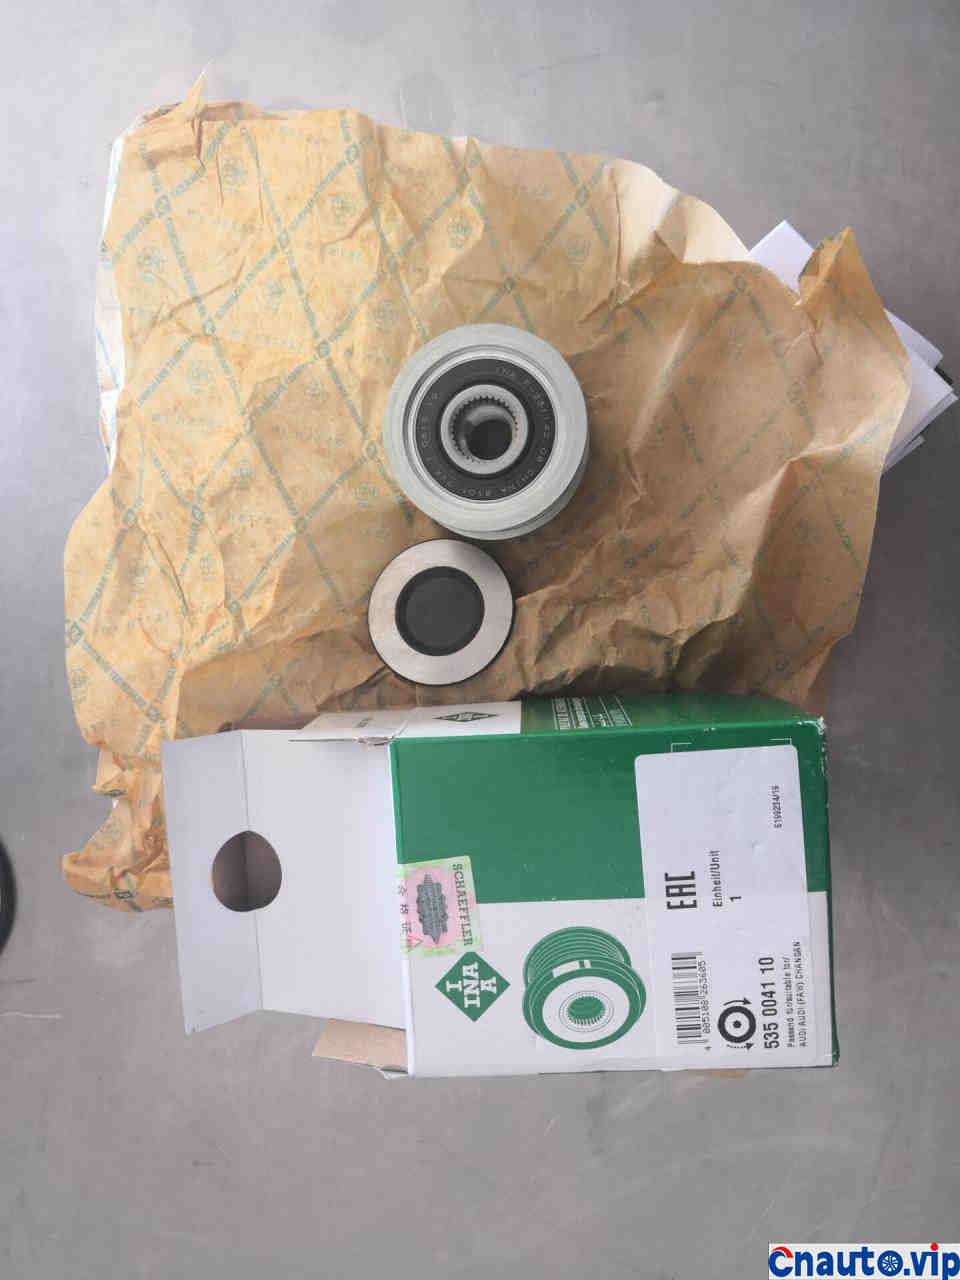
Ina’s generator pulley. The source of the abnormal noise, if you change this, the abnormal noise will be gone immediately.
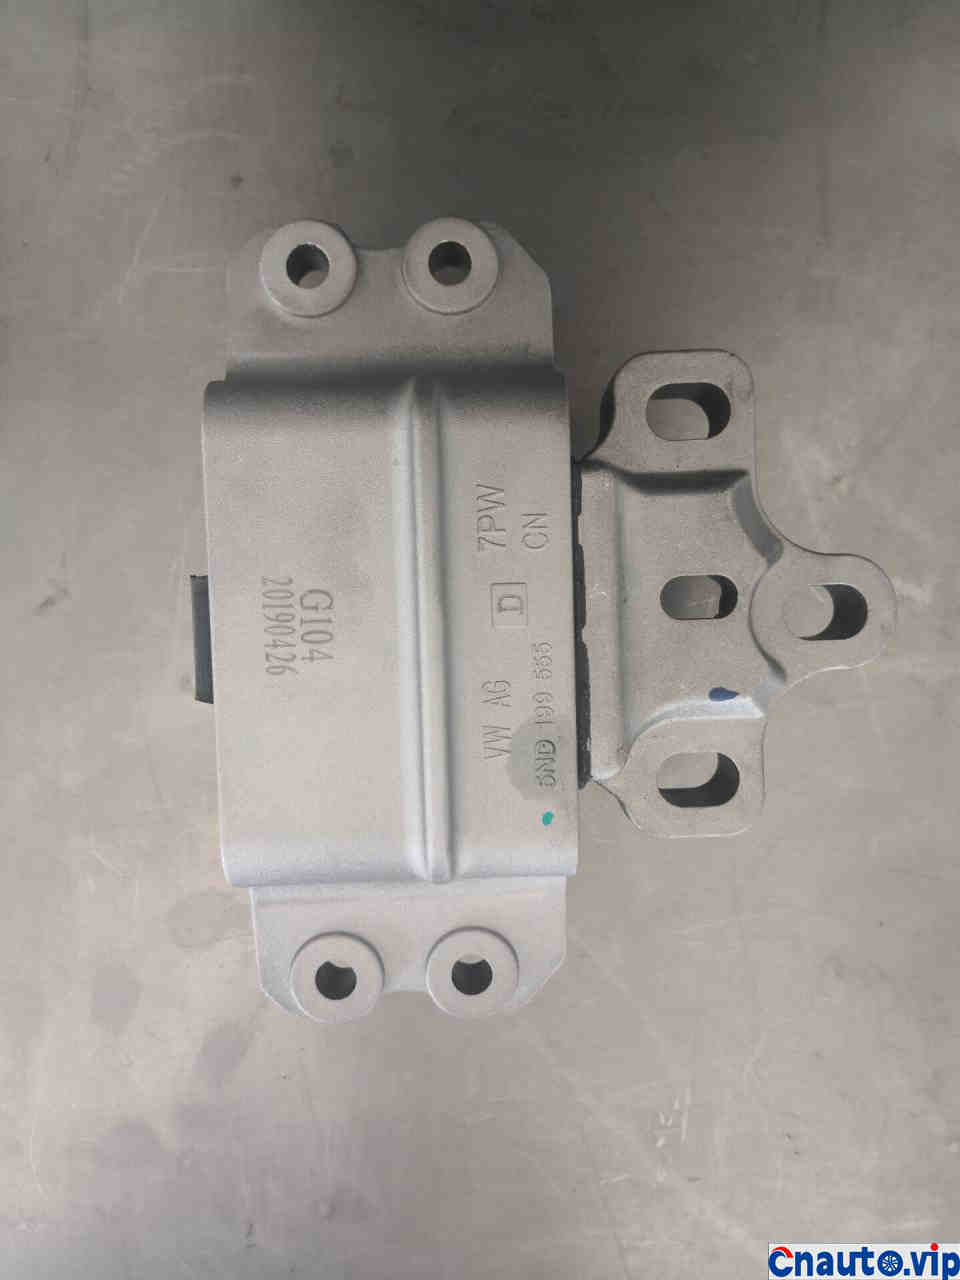
Original gearbox bracket
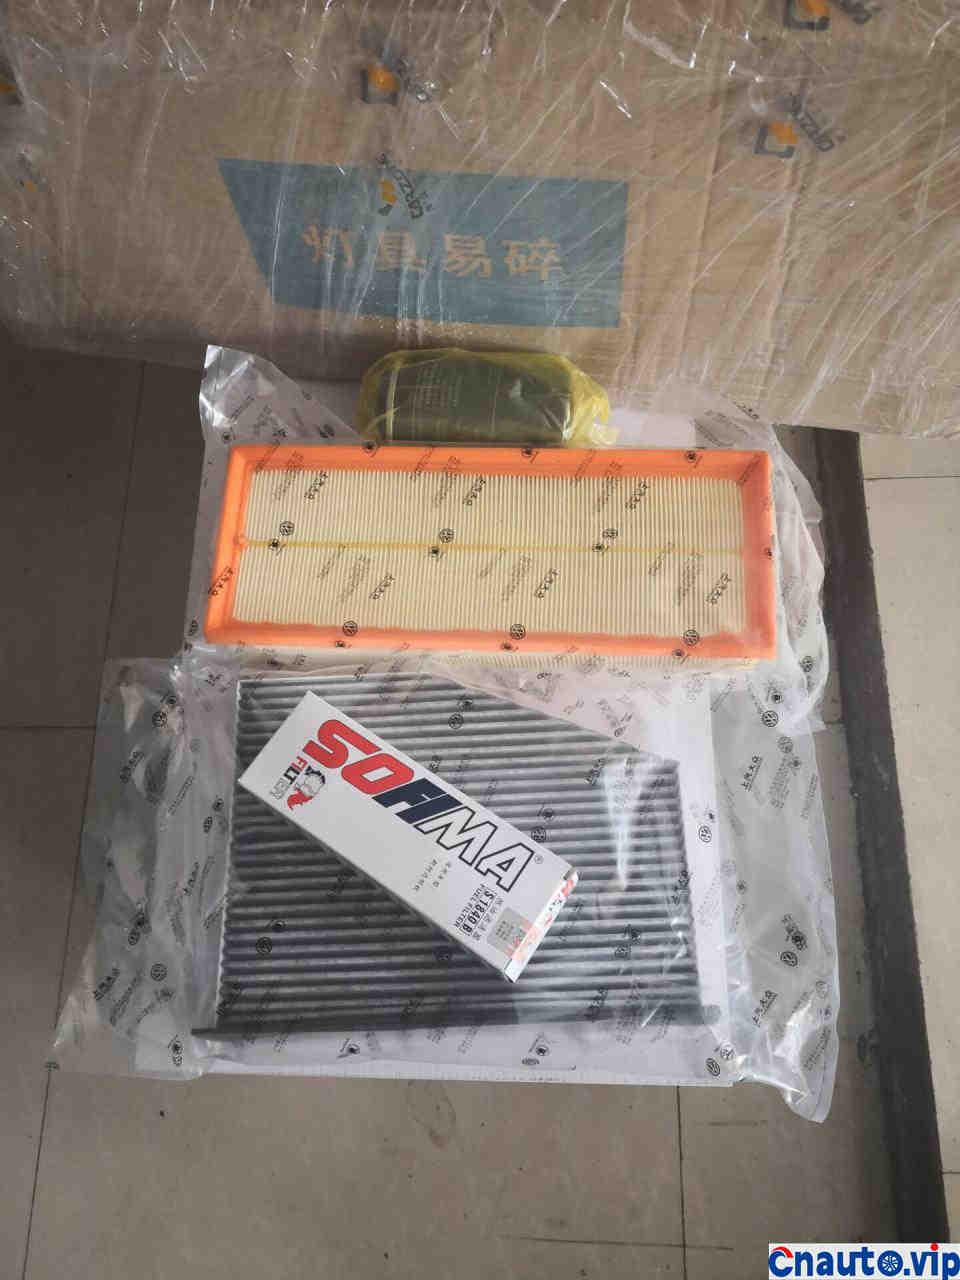
Original factory four filters
Small belt of original water pump
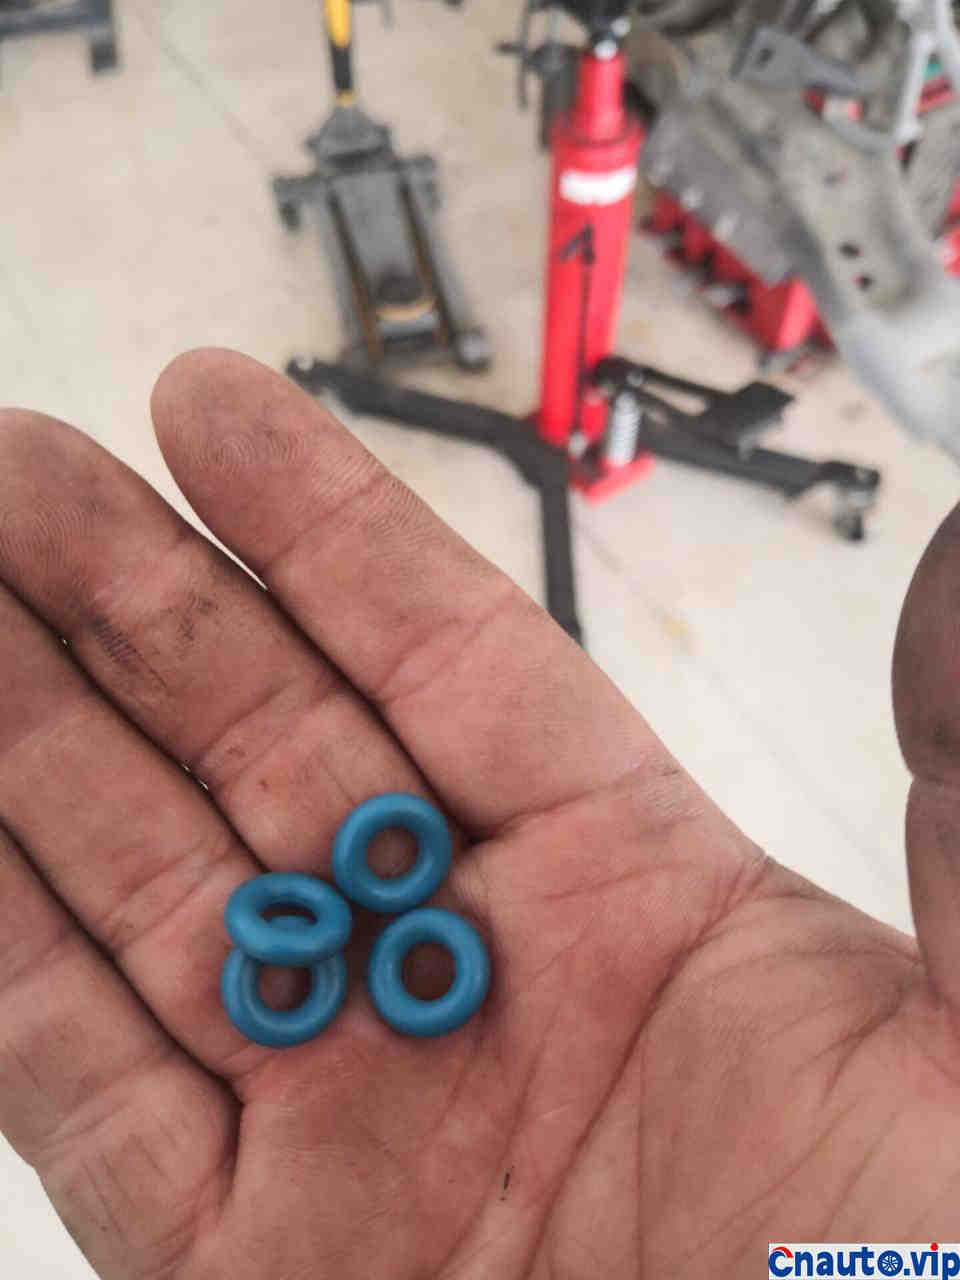
Nozzle seal ring
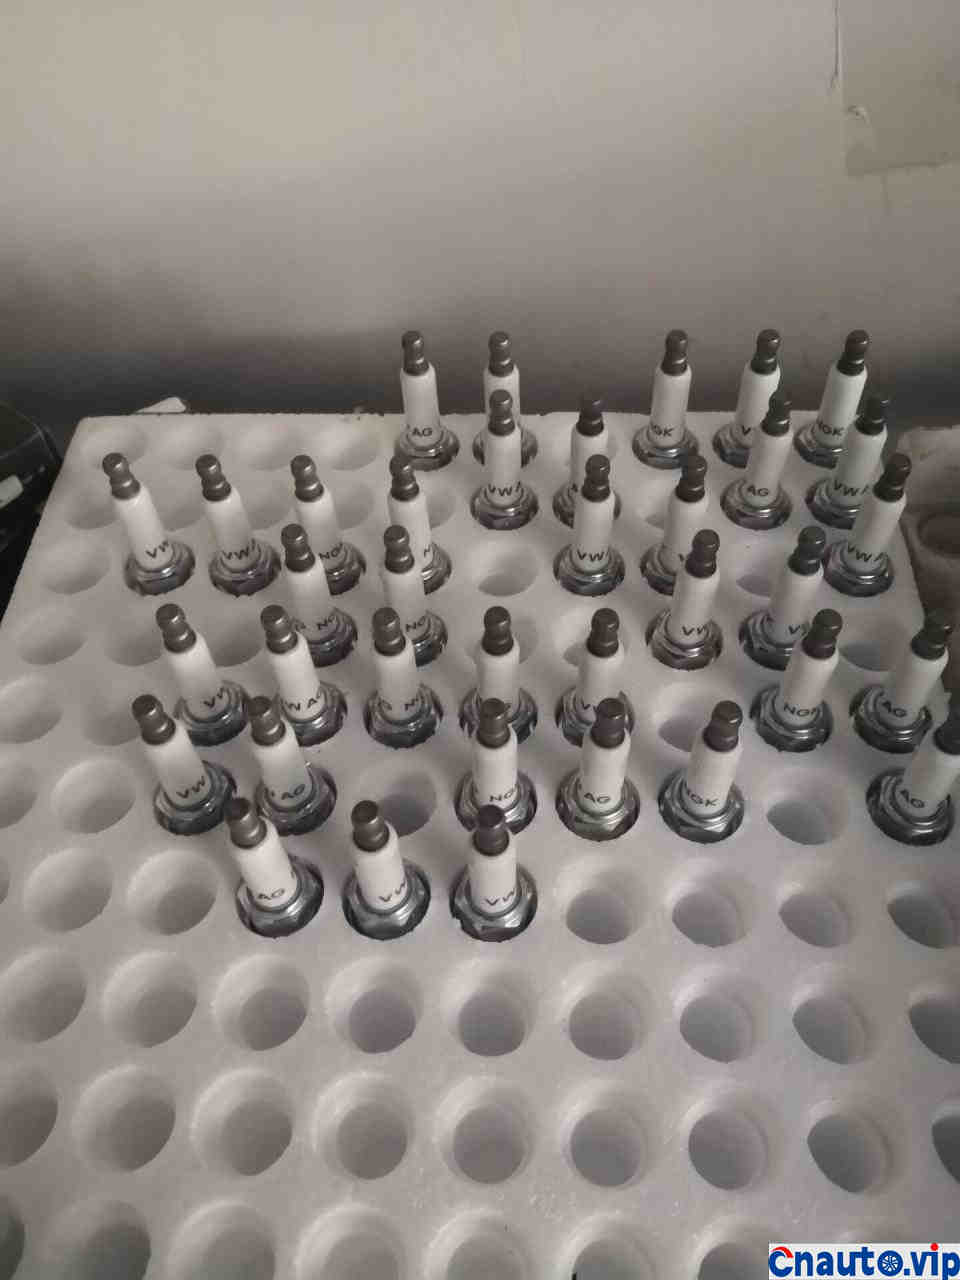
Original spark plug

Black drill Mobil engine oil, original antifreeze, original refrigerant
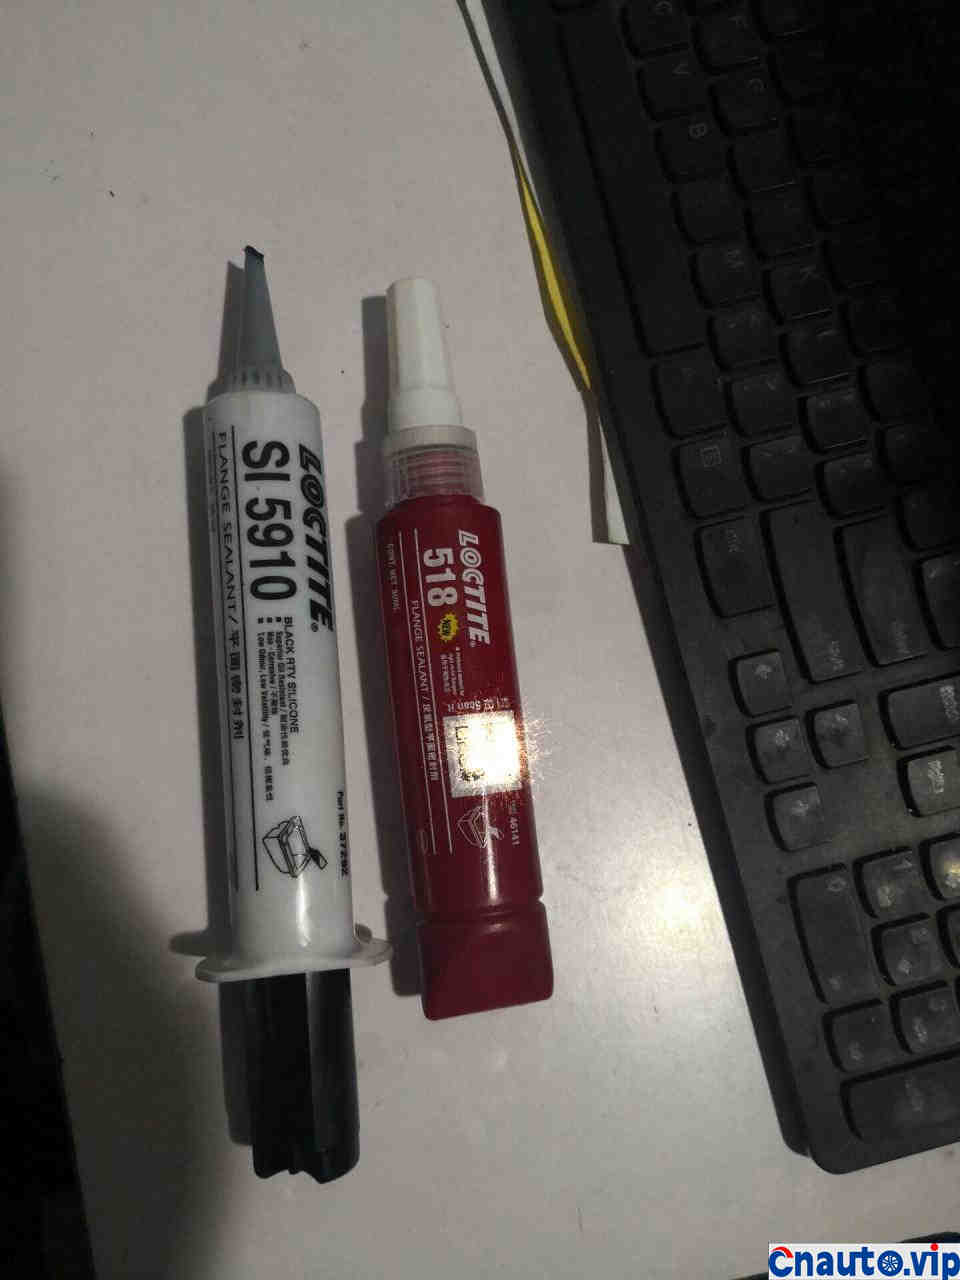
Original black gum and red gum
-installation–
Standard installation can add a lot of color to the car, and even make it worth a hundred times as much.

First take the time to clean the nozzle. The main purpose of cleaning is not only to clean, but to check how the atomization is, whether the oil is cut off quickly, observe the state of the nozzle, and if not, replace it with a new one.
Replace the sealing ring of the gearbox filter cover
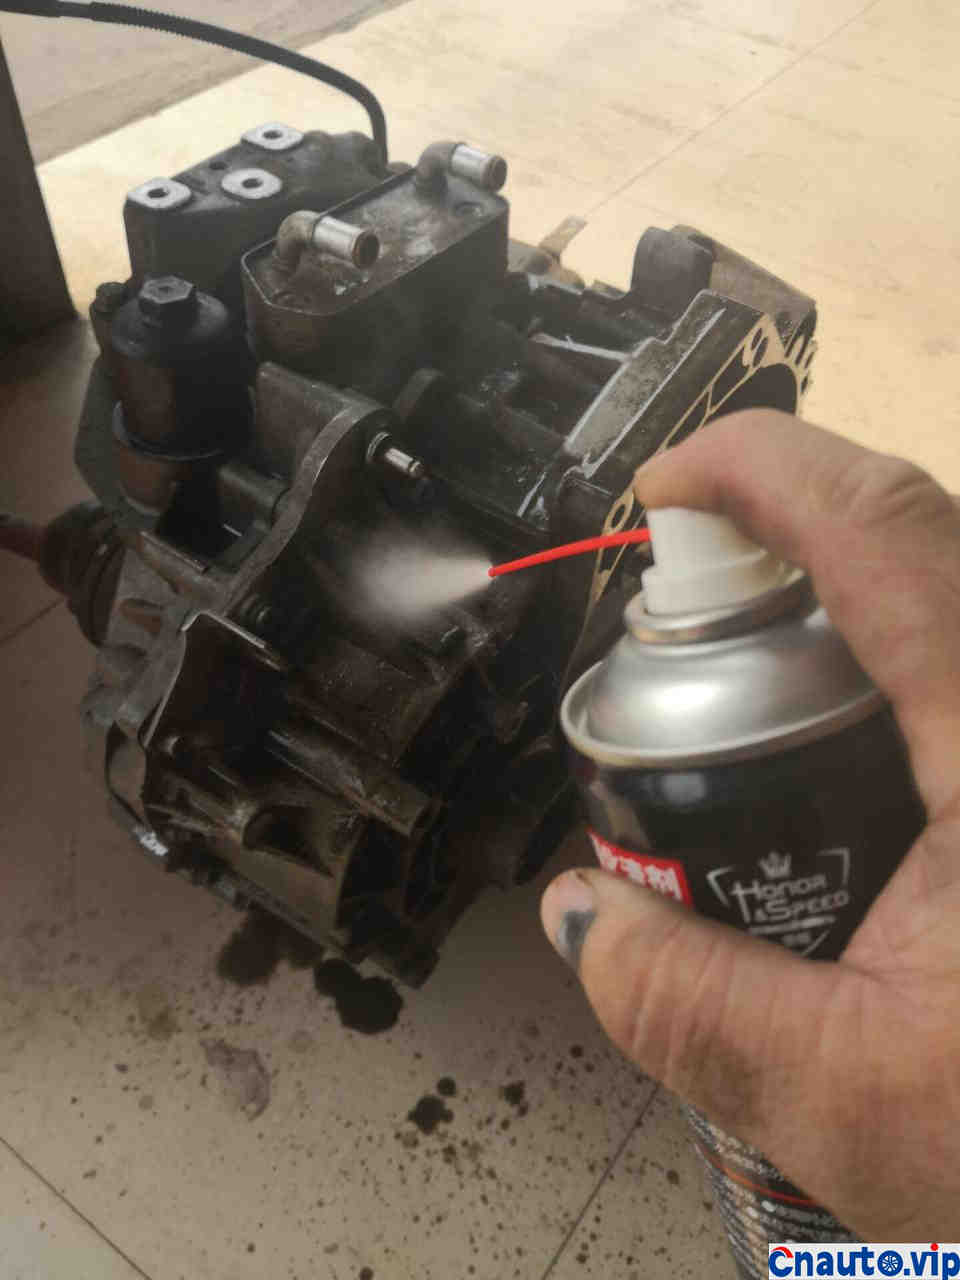
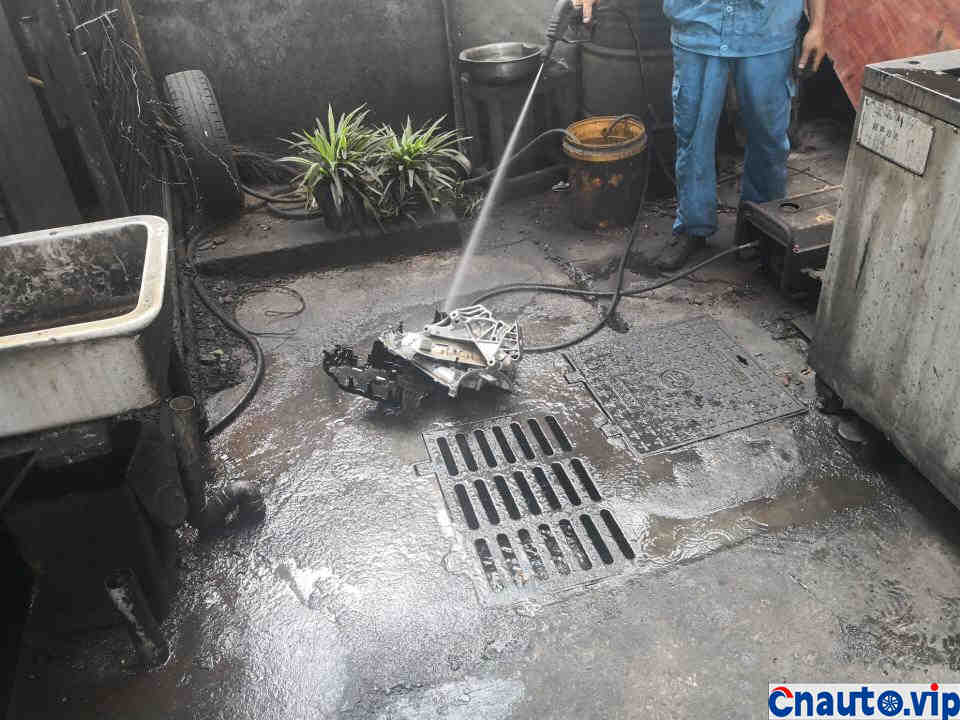
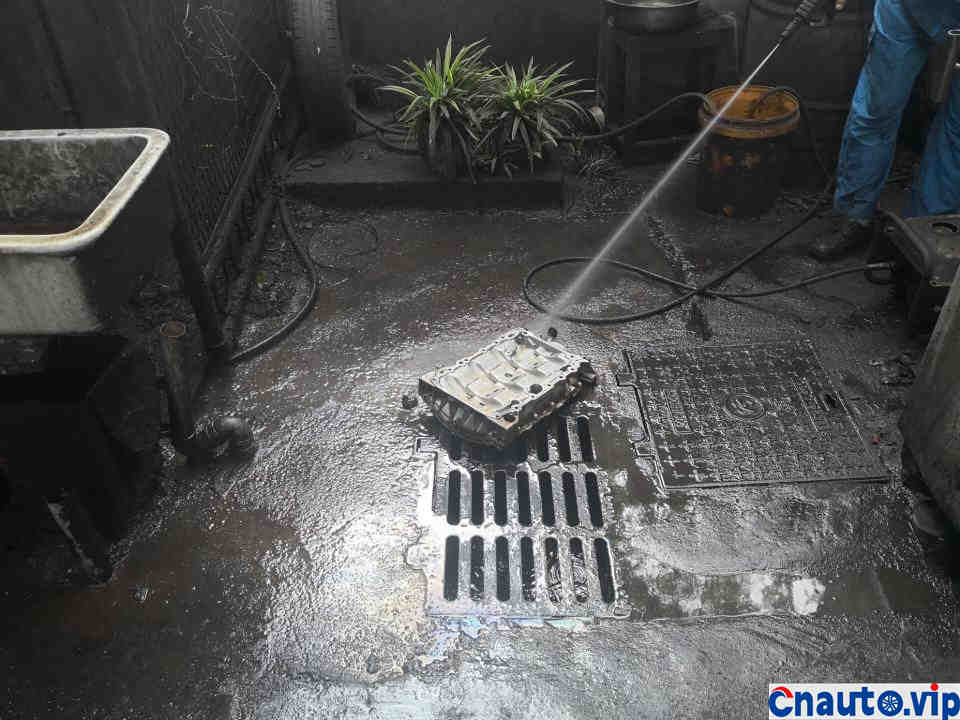
Clean the mud and dirt outside the gearbox, although it does not affect the performance, but it affects the appearance.
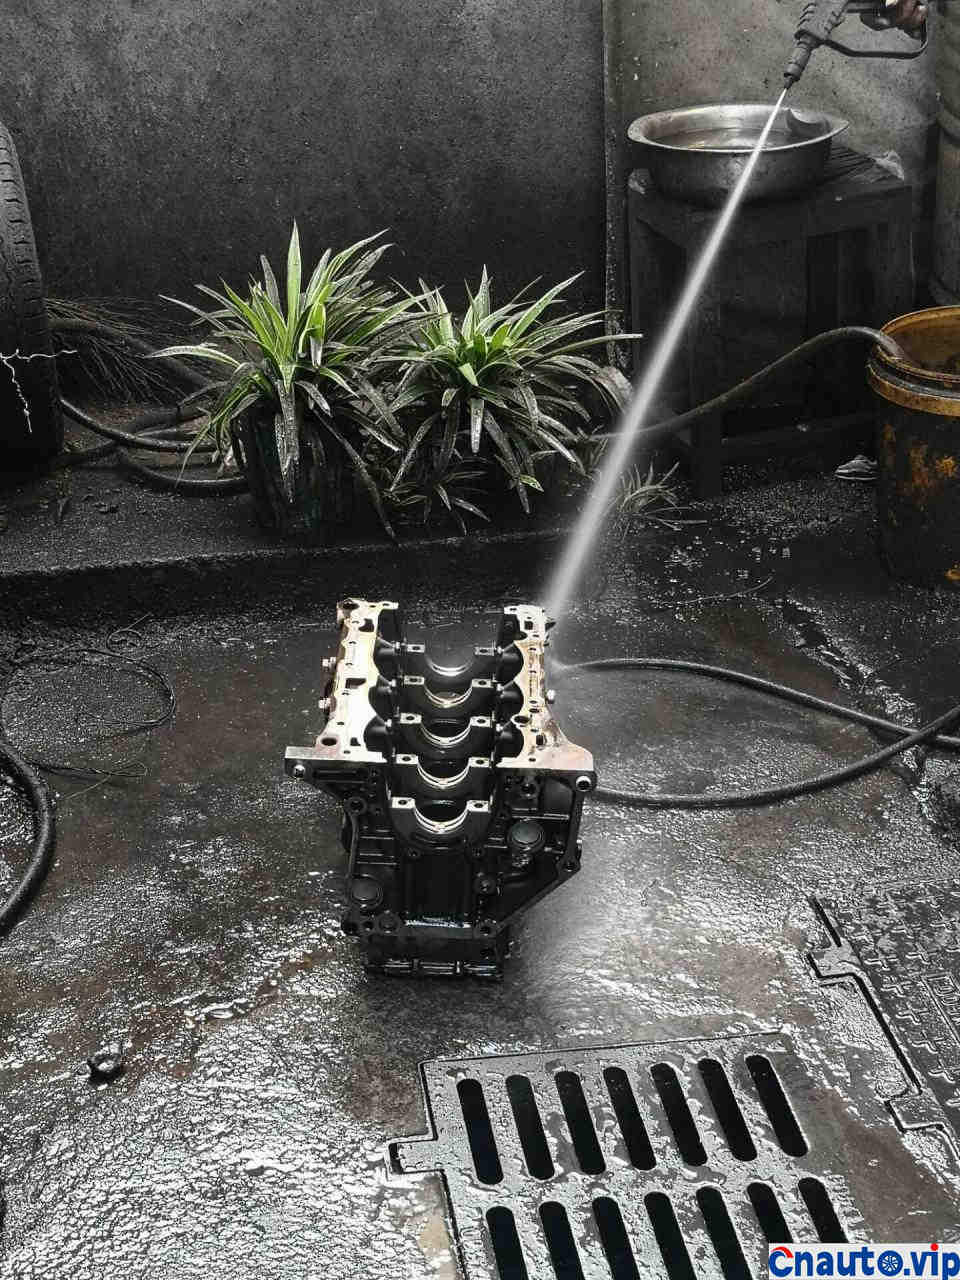
After the cylinder body is cleaned, rinse with high-pressure water gun, and then blow dry. Wipe the cylinder with a quick cotton cloth.
The clip on the turbine is installed first, and when the turbine is on the bus, the position will not be easy to install.
Put on the big tile first.
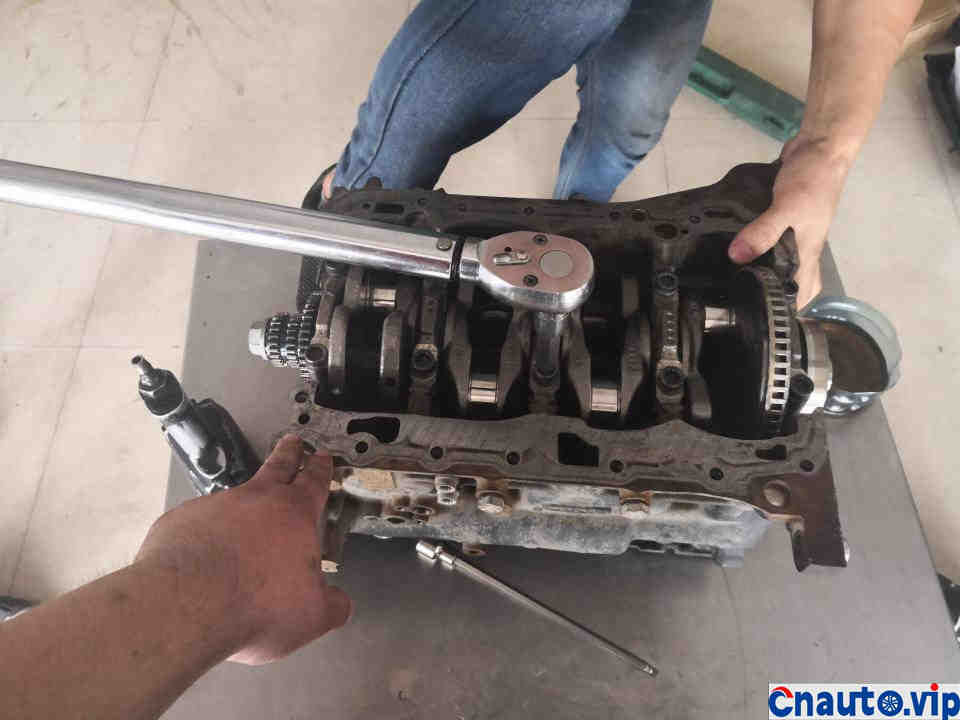
Lock the big tile according to the prescribed torque
New combination of piston and connecting rod
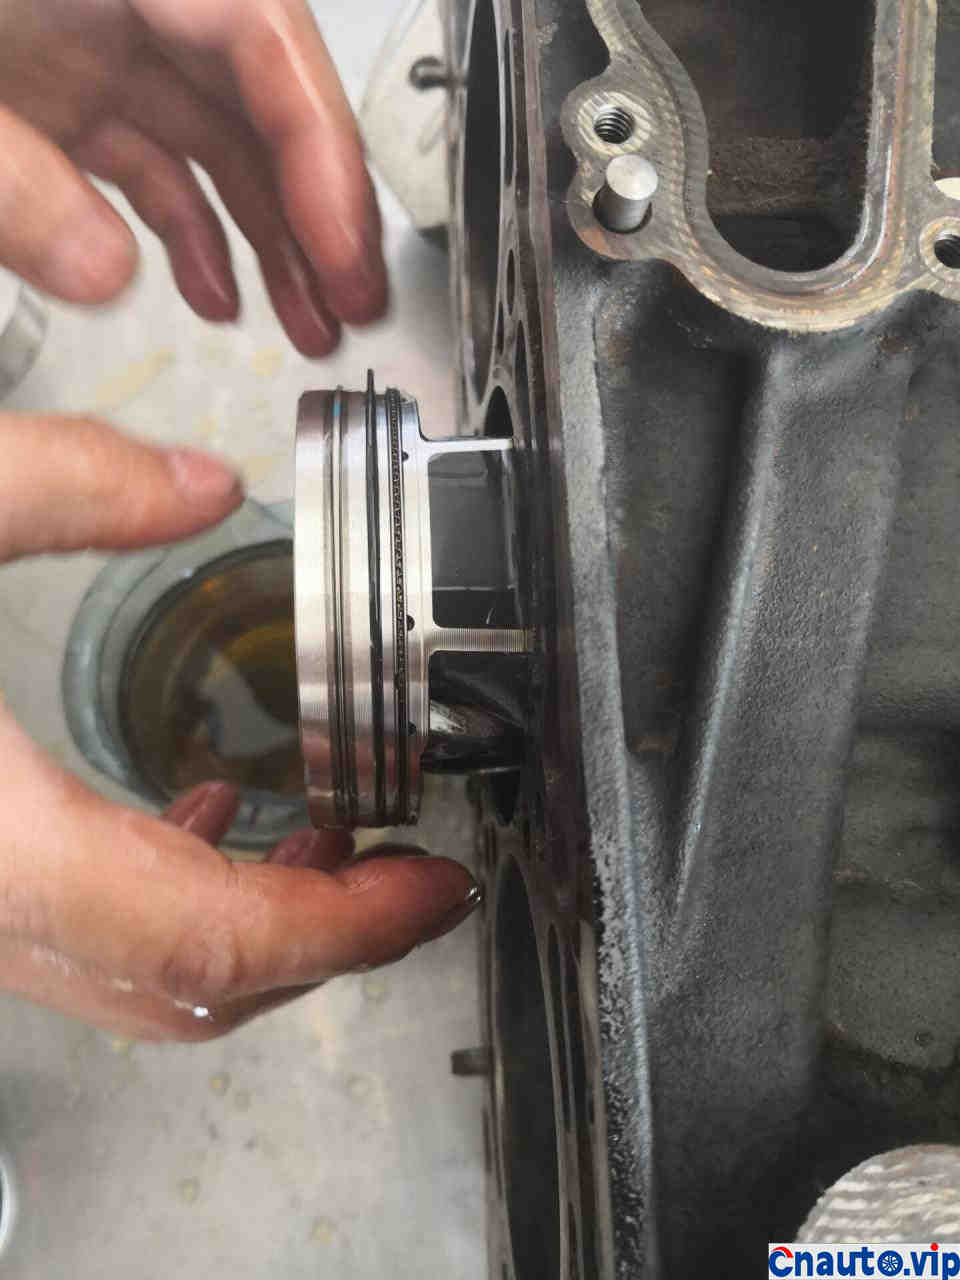
The piston enters the cylinder. The opening position of the piston ring should be staggered to avoid gas entanglement.
Hold the piston ring with a special tool and stick it into the piston so that the piston ring will not shift
Medium body gluing
Cover the middle body and lock the screw
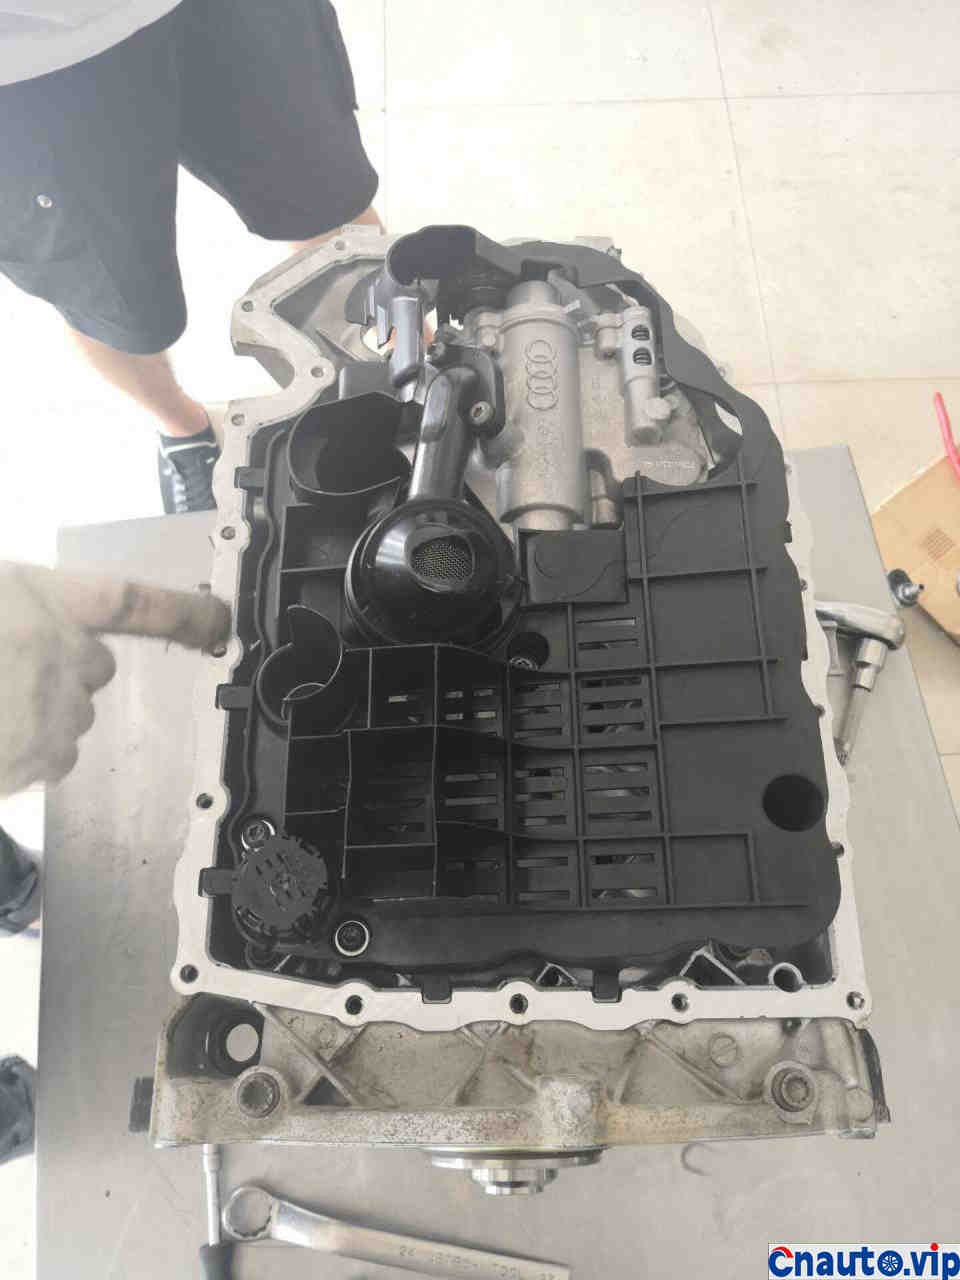
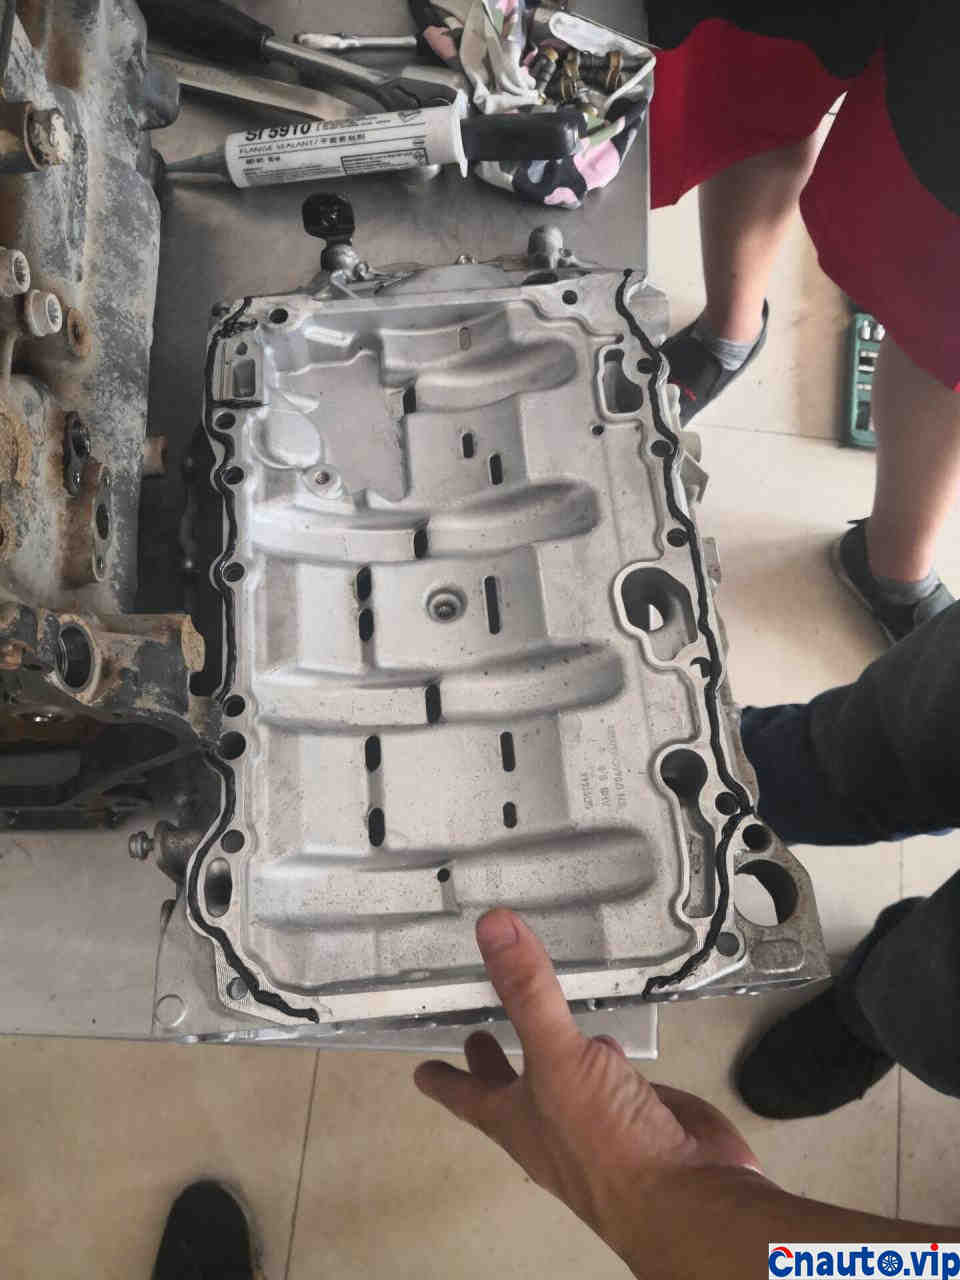
Oil pump and oil baffle in place
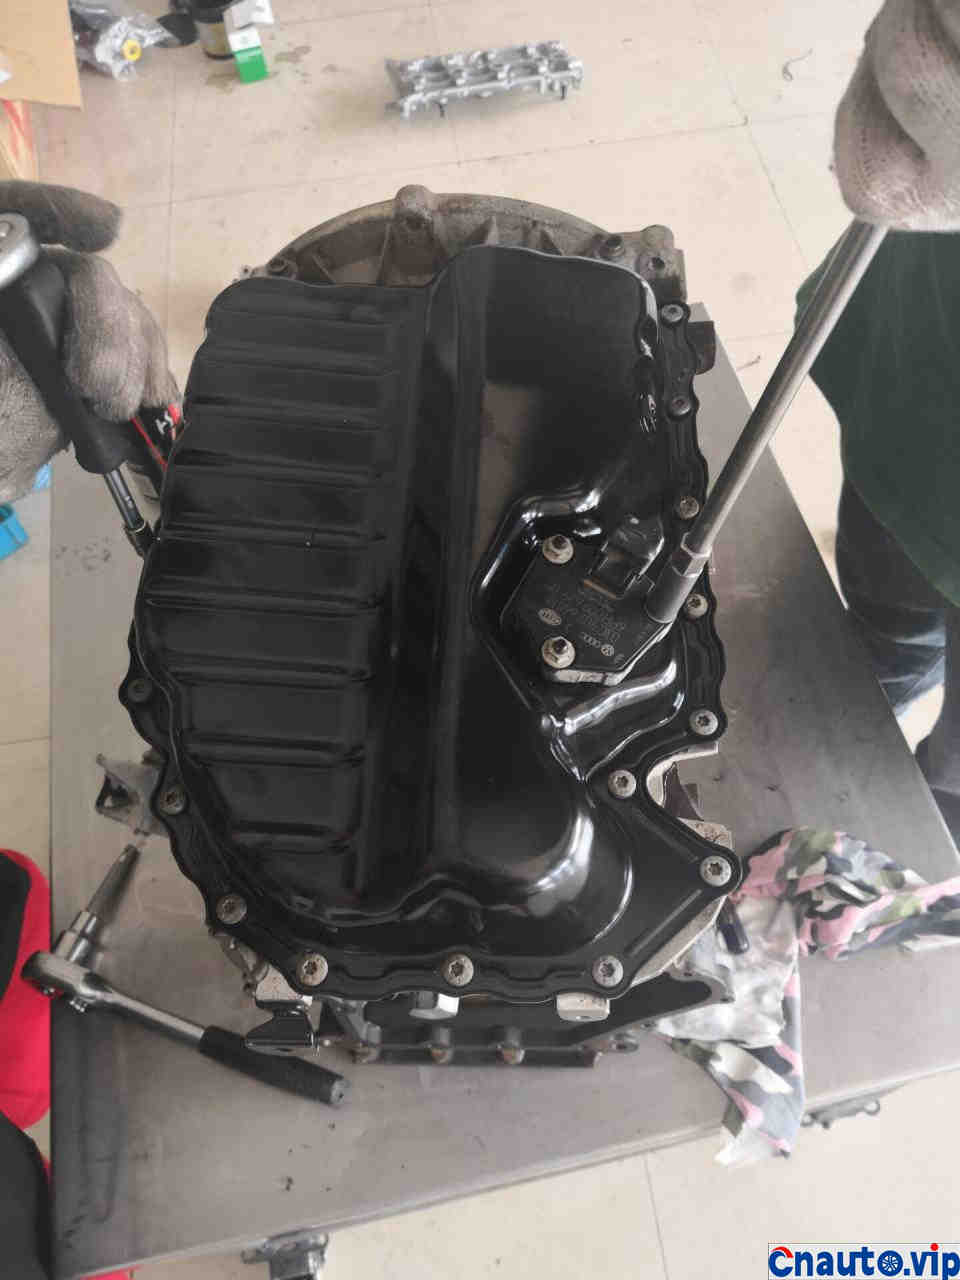
New oil pan and oil level sensor in place
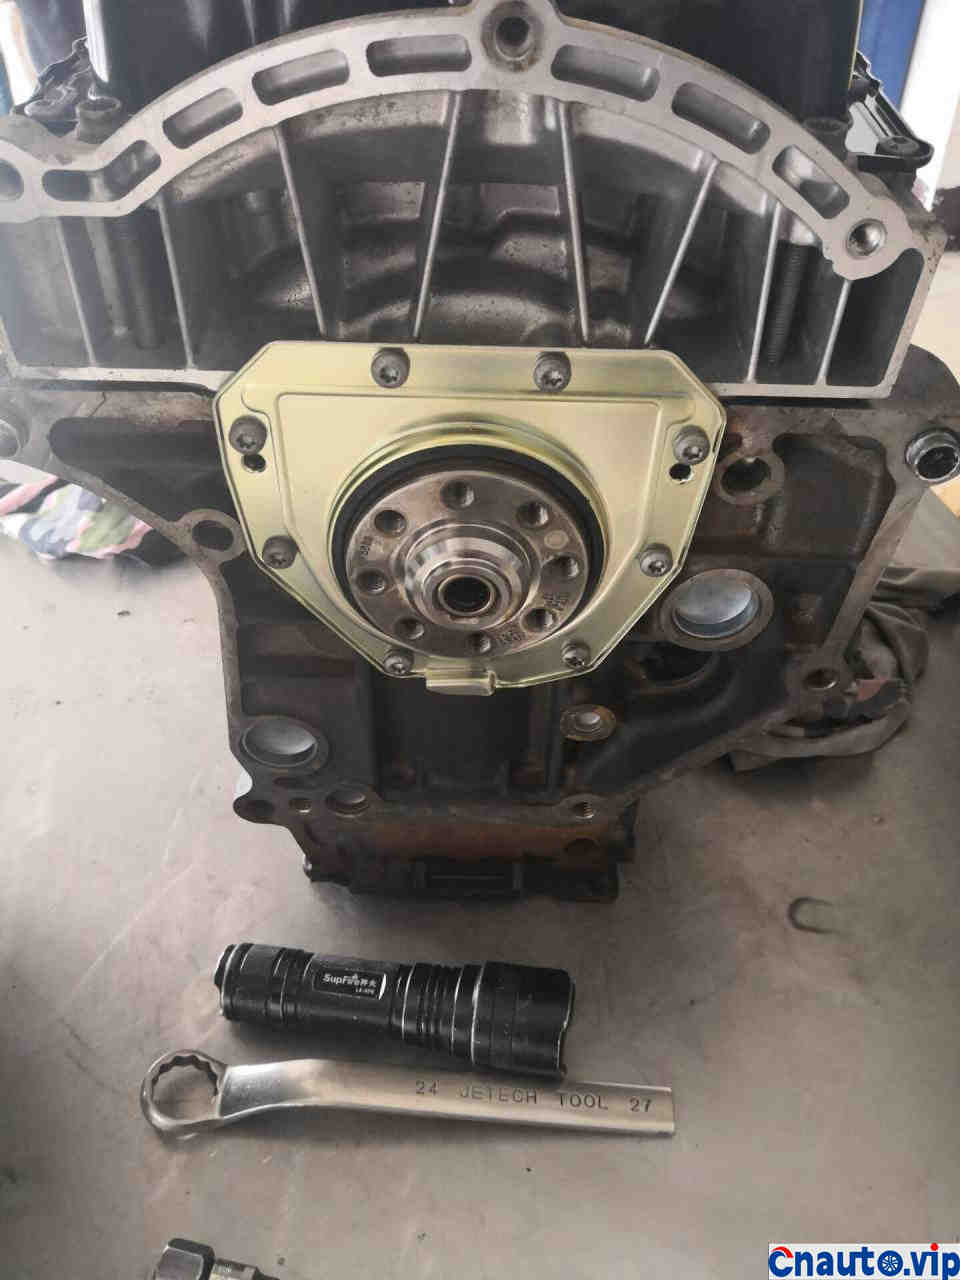
The oil seal behind the crankshaft is in place.
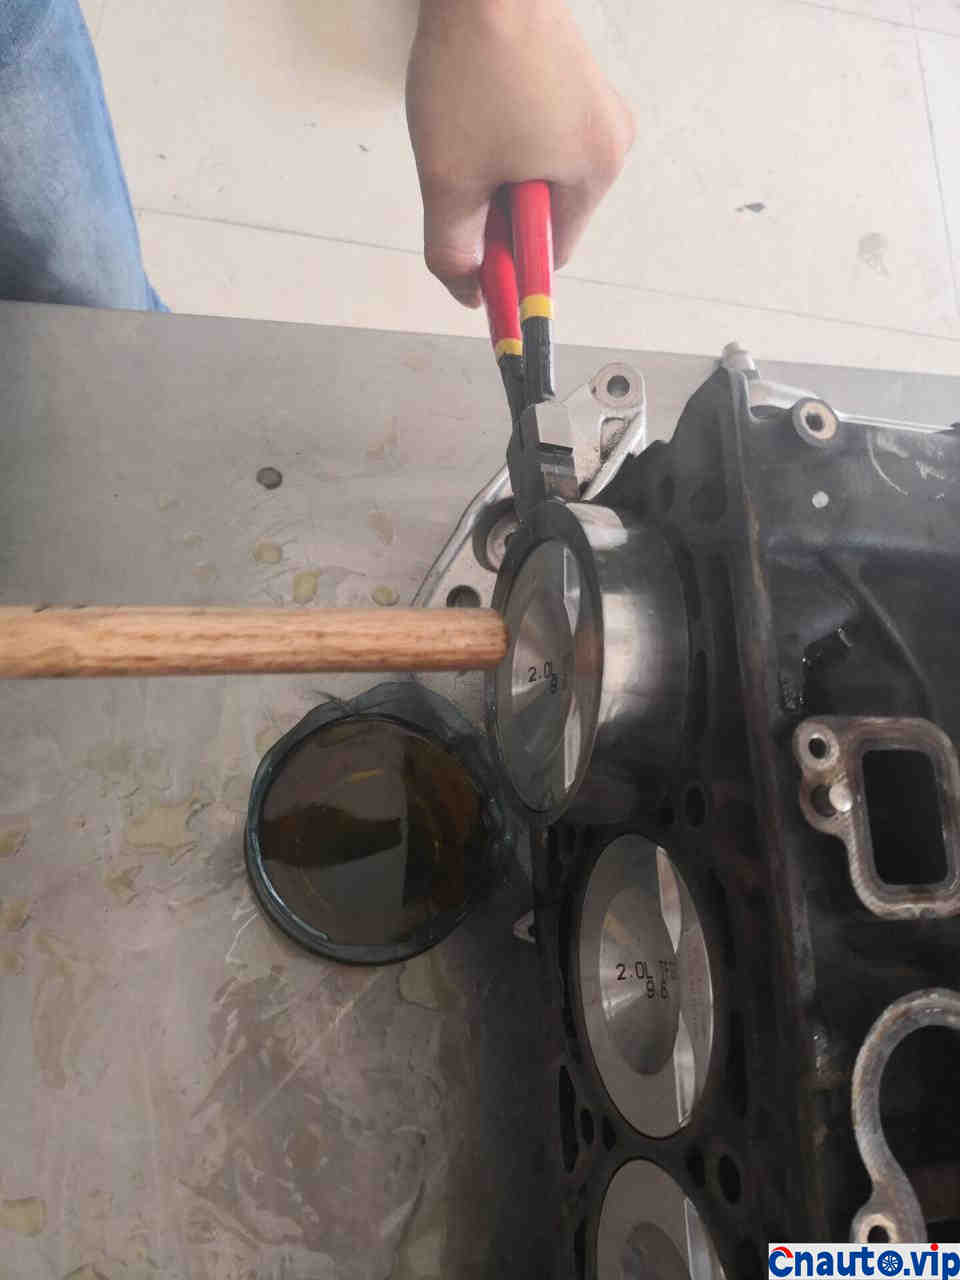
The cylinder block is turned over. The new piston looks so comfortable.
Install the flywheel.
End-to-end transmission
Successful butt joint of gearbox and cylinder block
Lay the cylinder cushion
End upper cylinder head
Lock cylinder head screws in specified torque and order
New water pump and pump belt in place
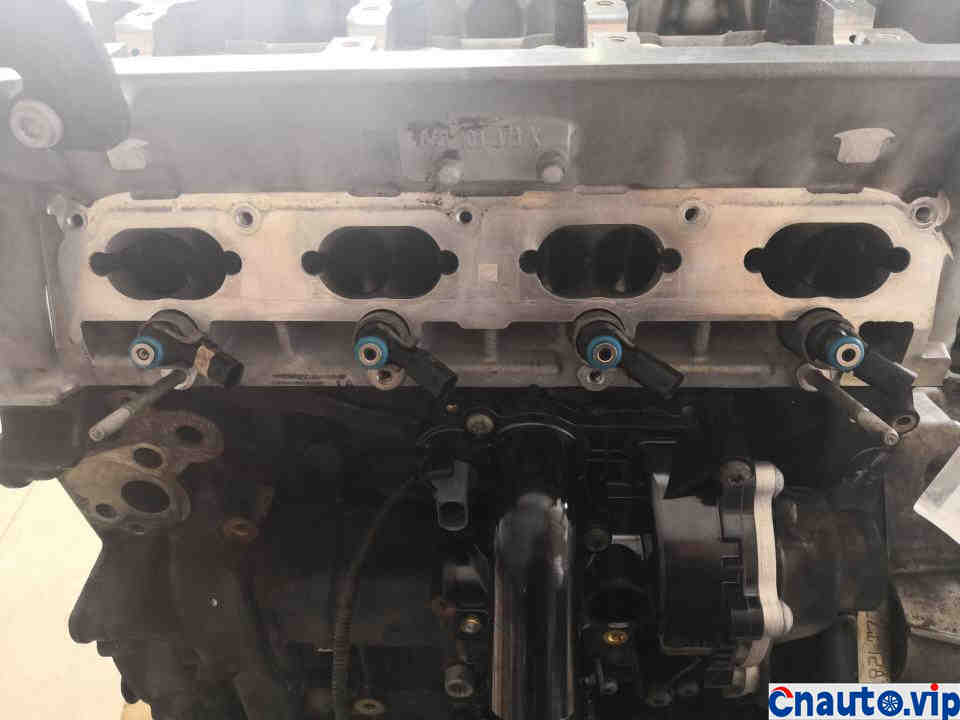
Four fuel injectors, put on a new sealing ring.
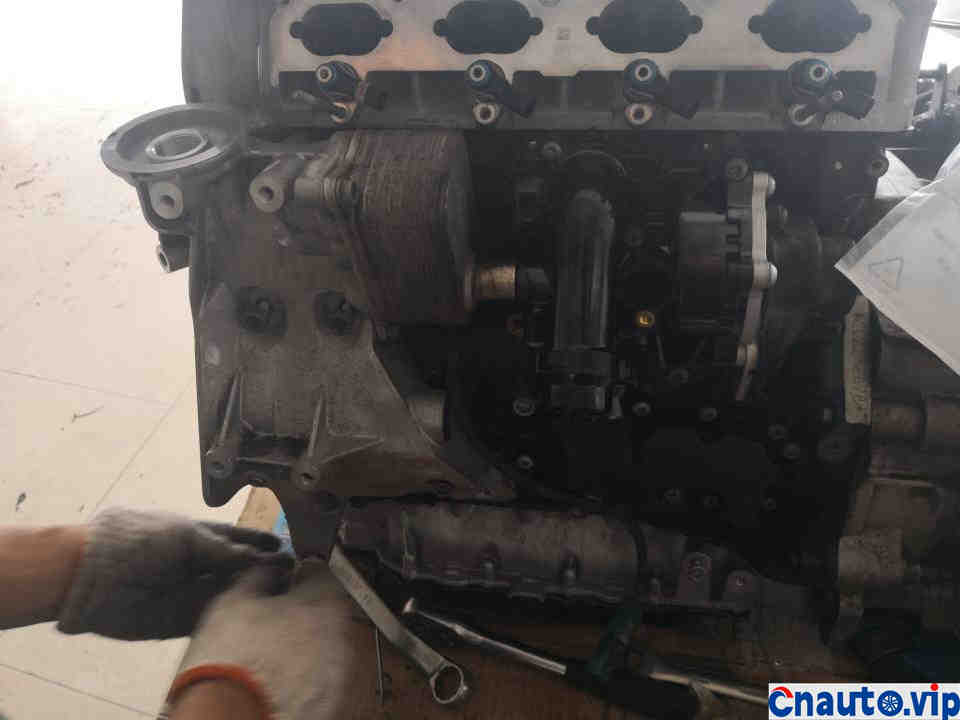
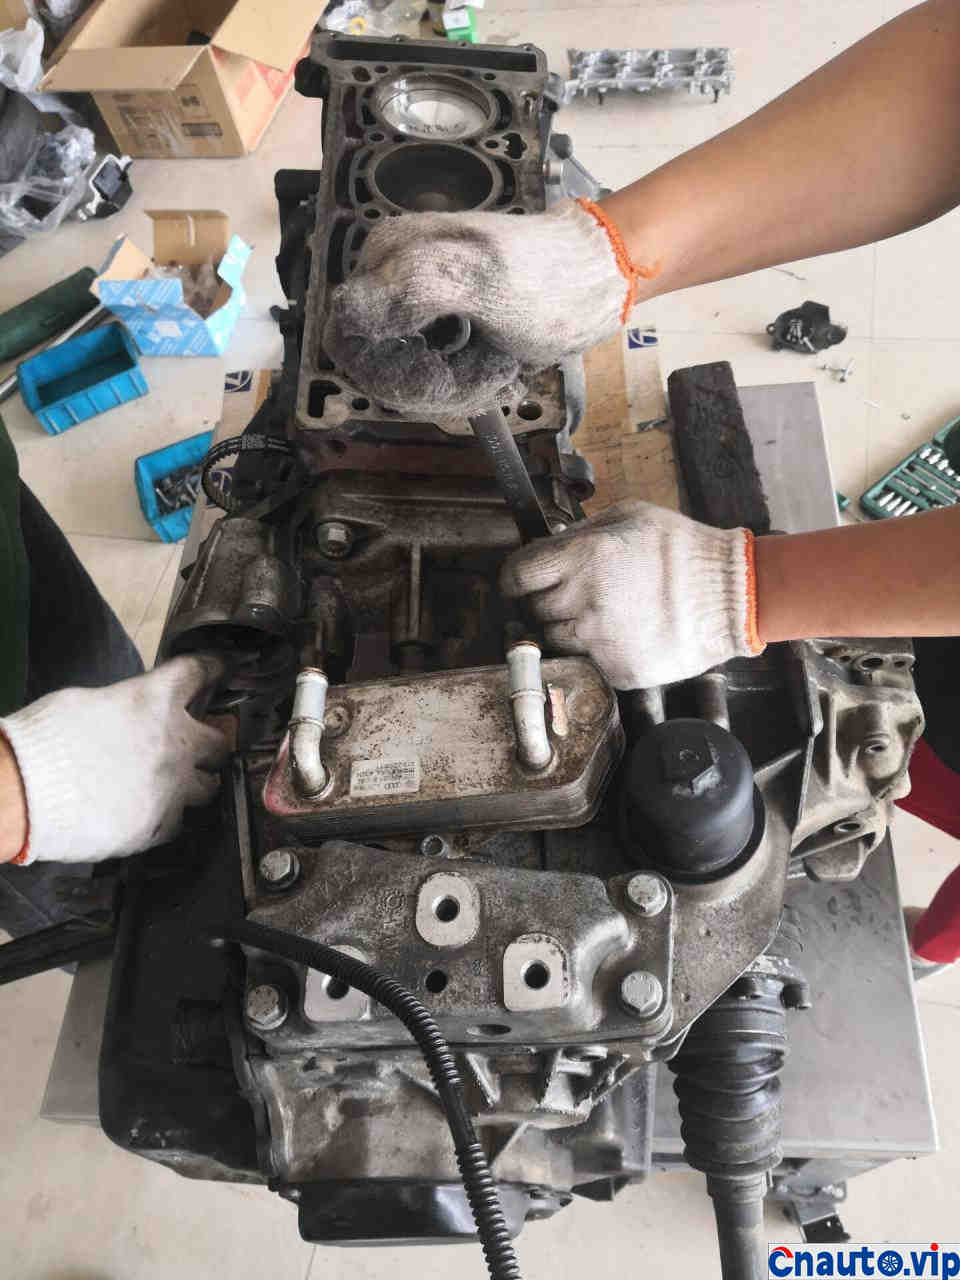
Oil radiator and pump butt joint
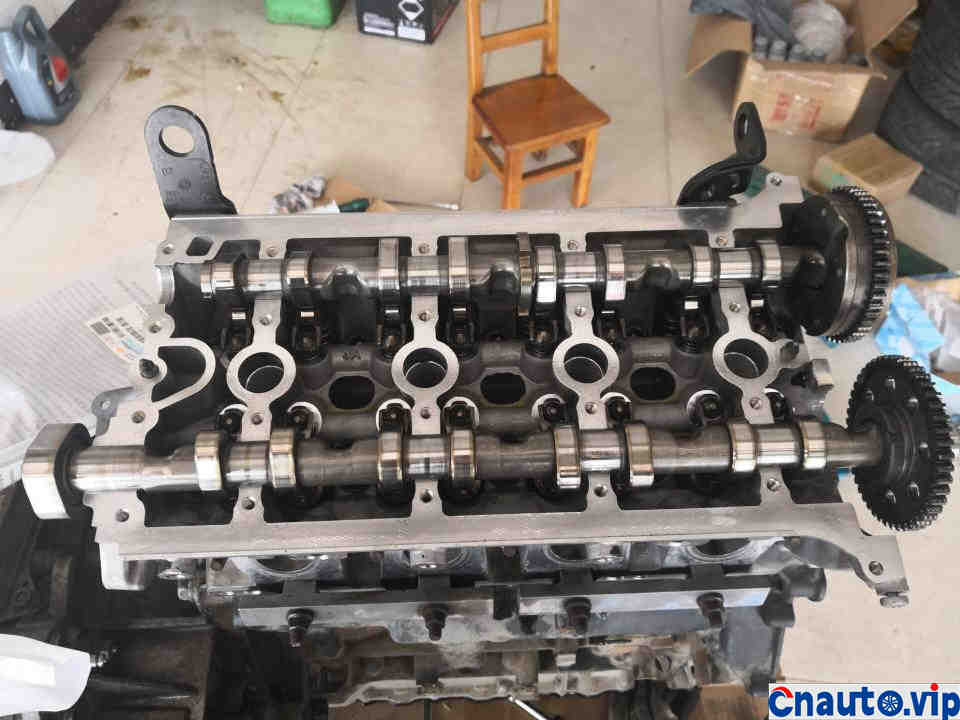
Wash the camshaft and put it away
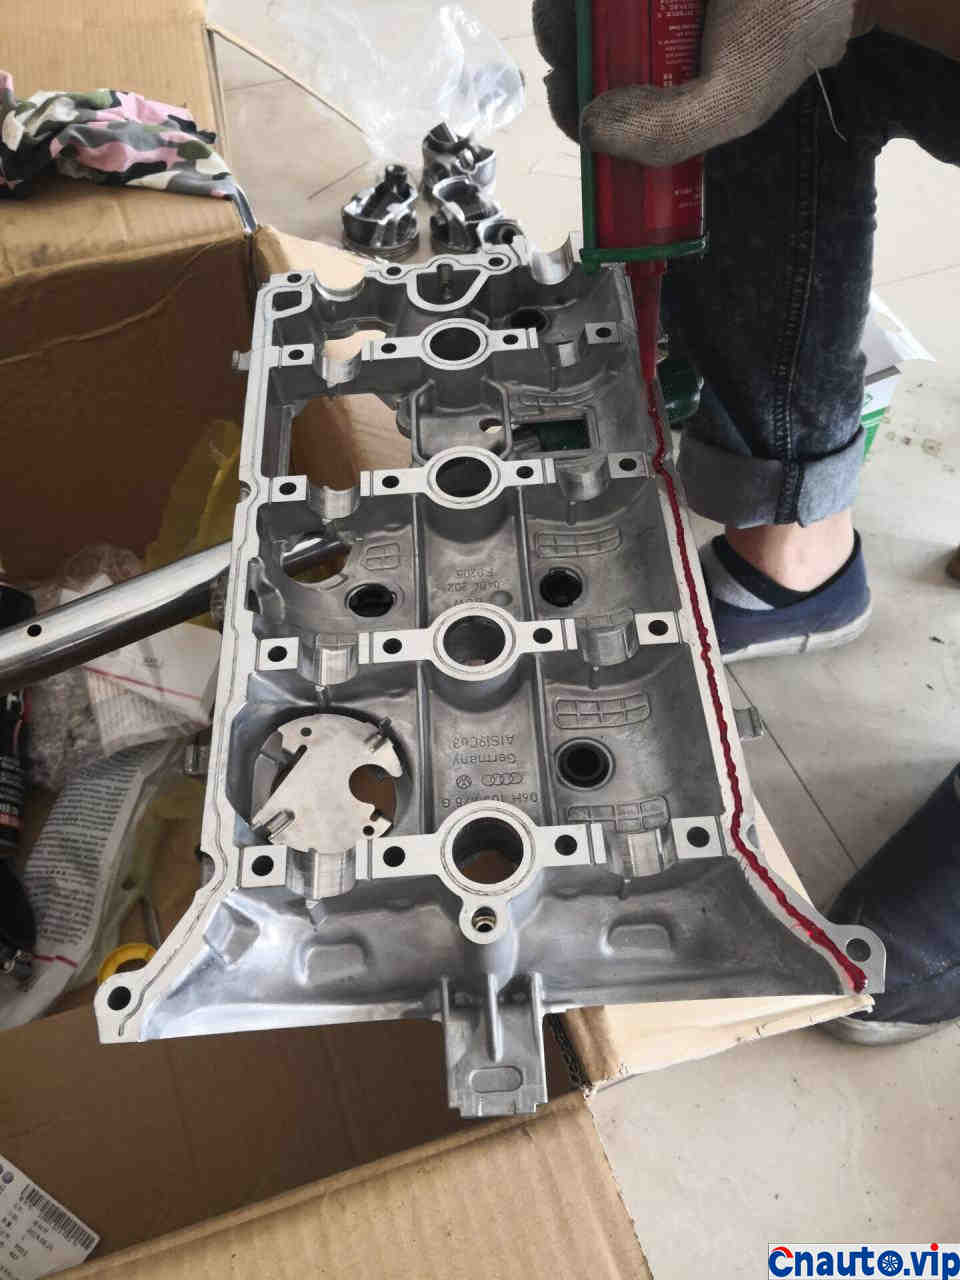
Valve chamber cover with red original sealant
After the lid is closed, the rose glue is full of the original factory model.
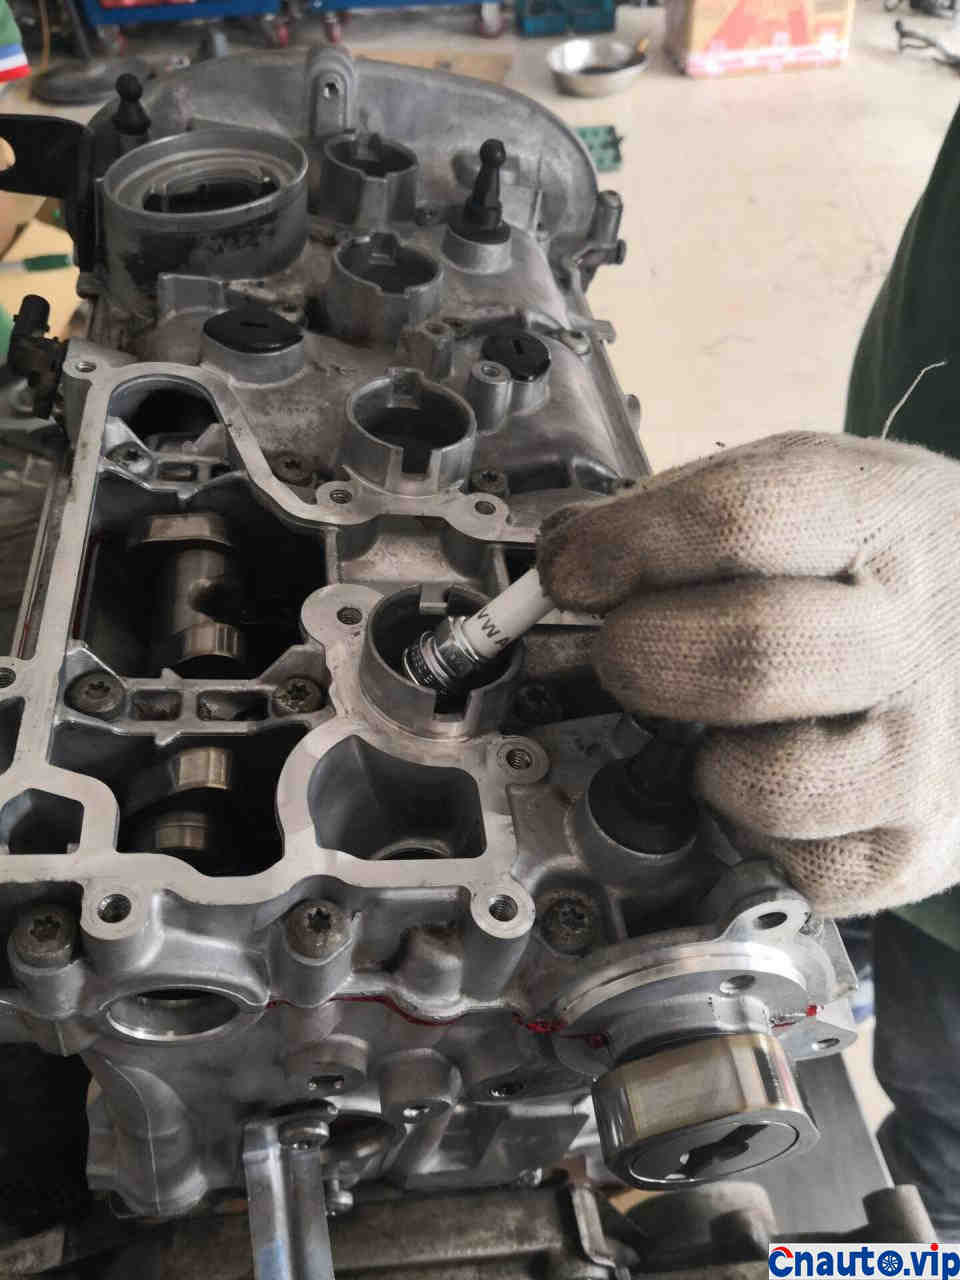
Replace a new spark plug
The sealing ring of the camshaft aluminum support seat must be changed.
The timing chain is done. It’s all improved.
Aluminum support seat in place
The whole chain is done.
Aluminum alloy tee in place
Lift the turbocharger
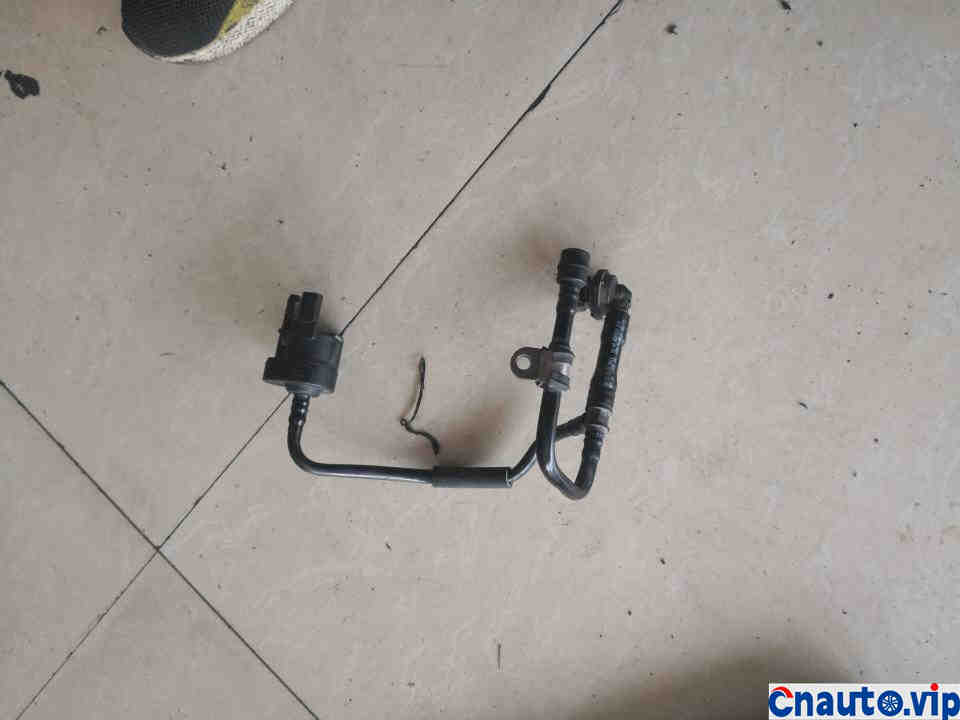
Replace the carbon canister solenoid valve
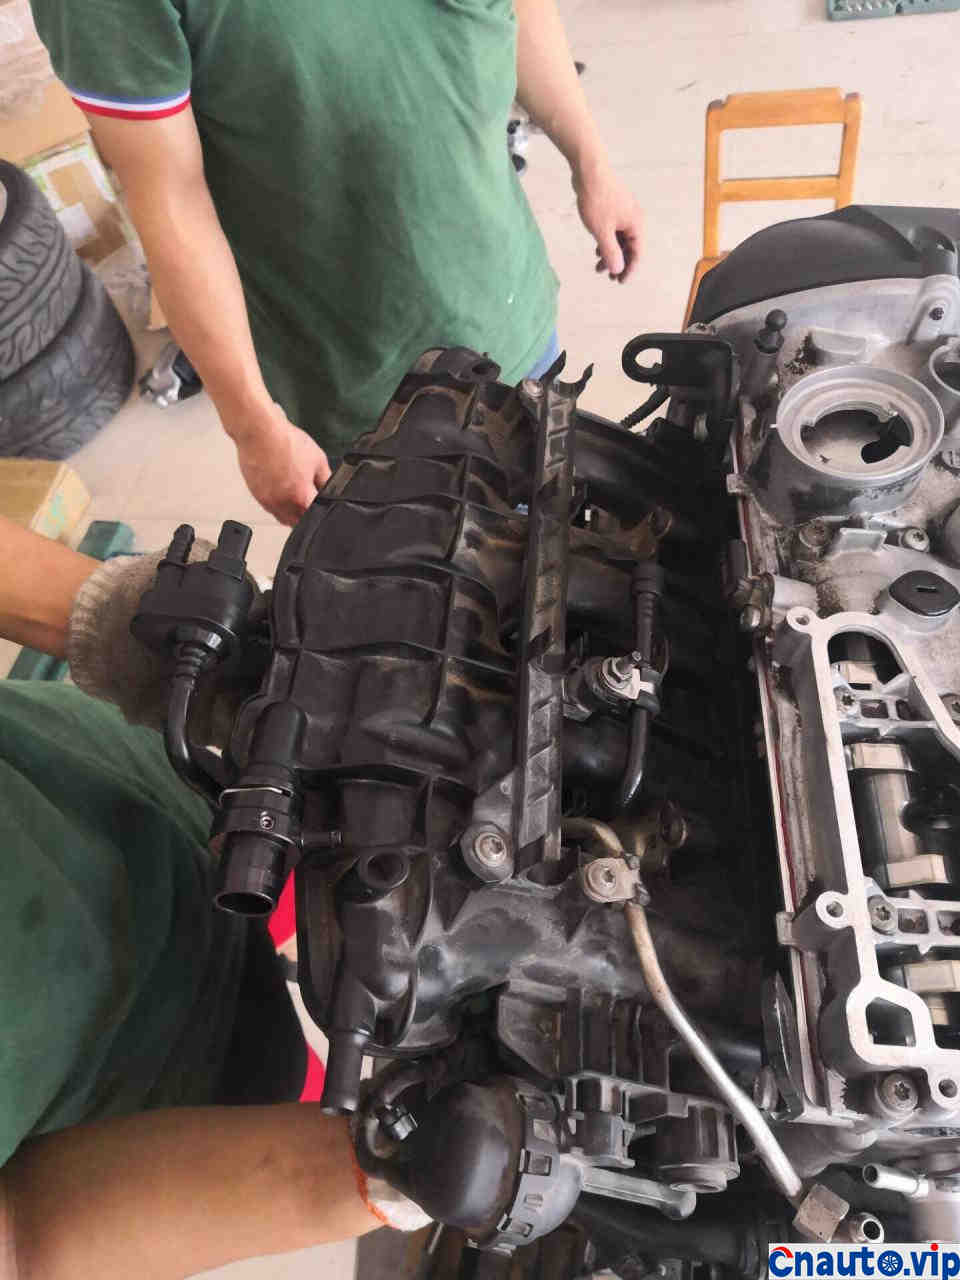
Intake manifold in place
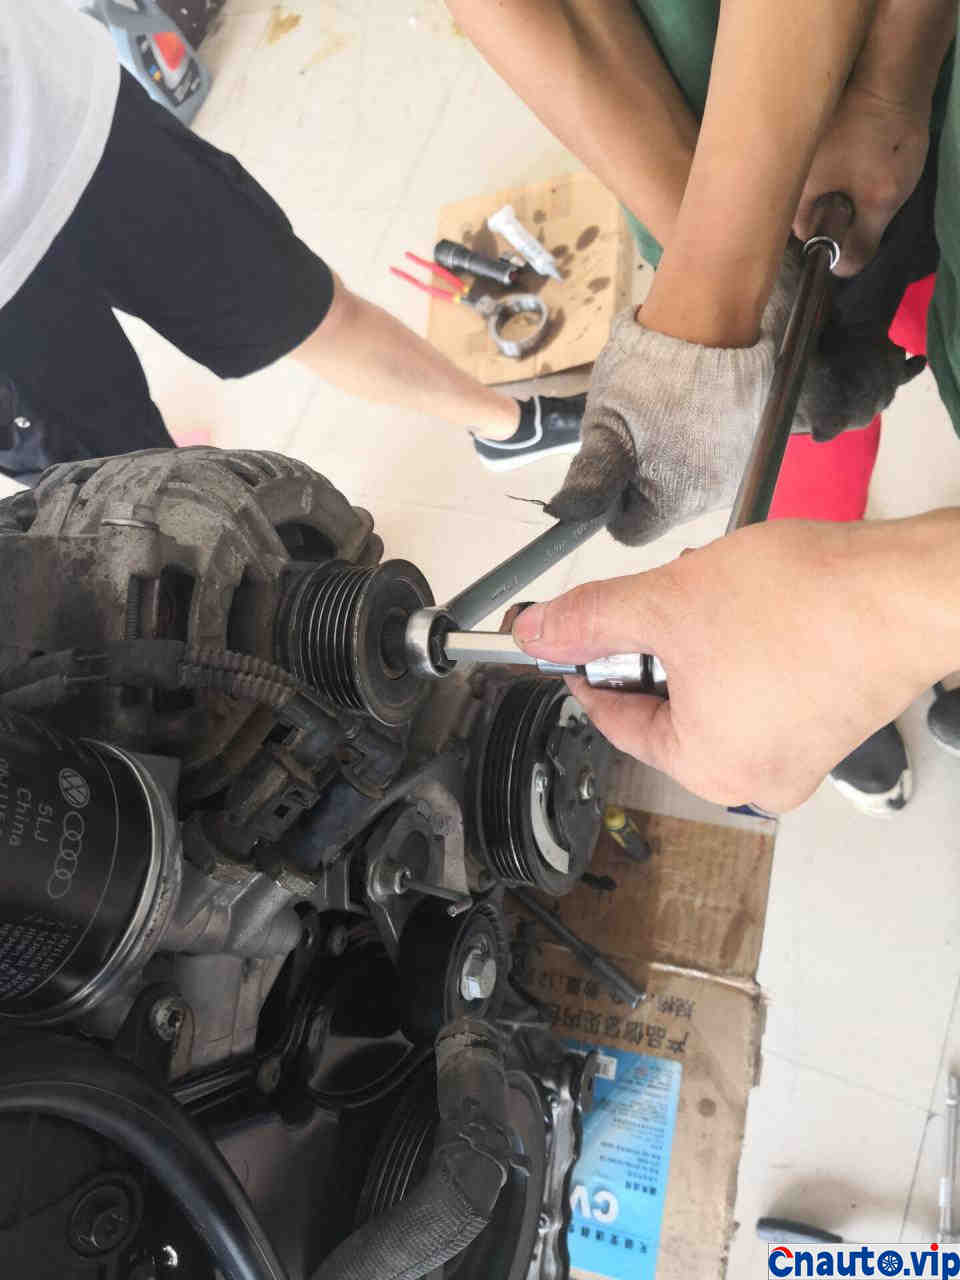
The generator belt disk that was bitten to death was rusty and wasted so hard that it was removed.
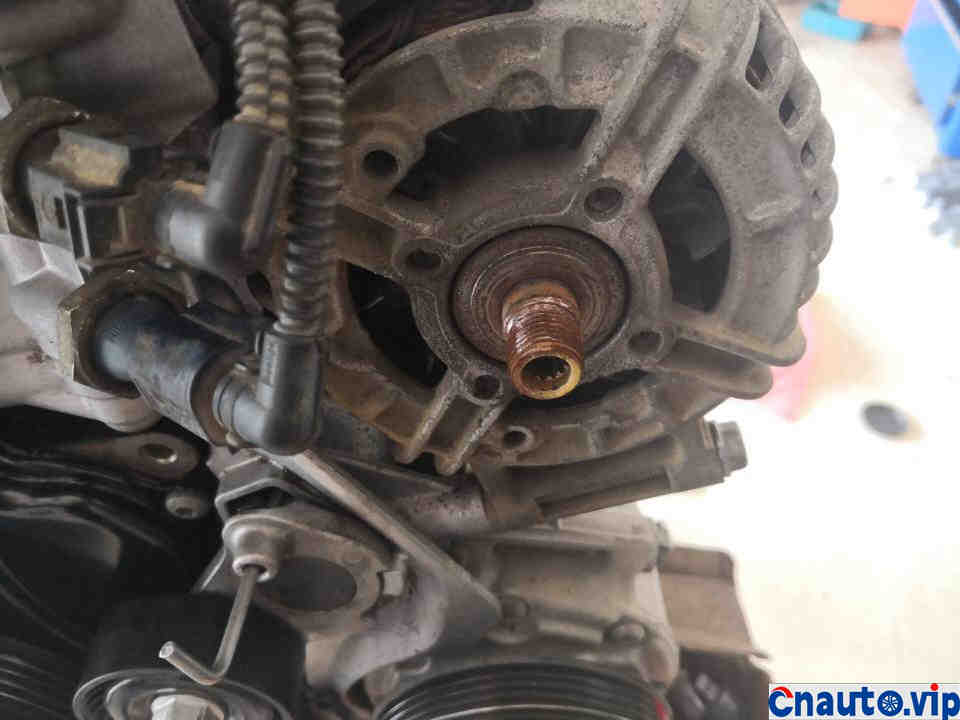
See, it’s rusty, ugh.
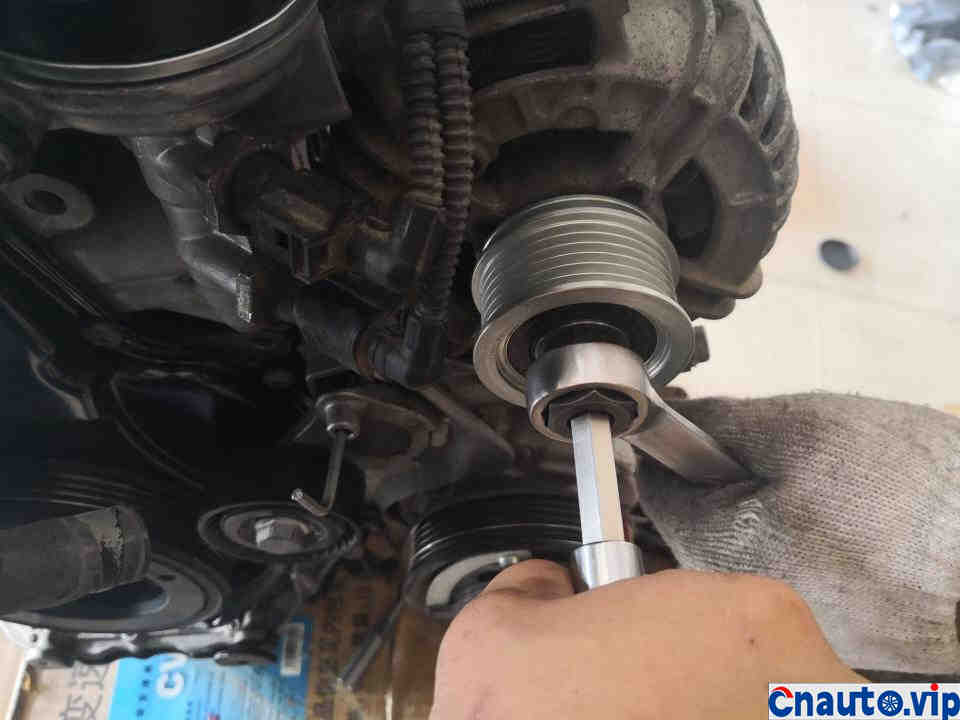
Install a new belt reel, hey, so there won’t be any noise.
The front belt is done.
Install exhaust gas valves and other accessories
Fix the vacuum line on one side.
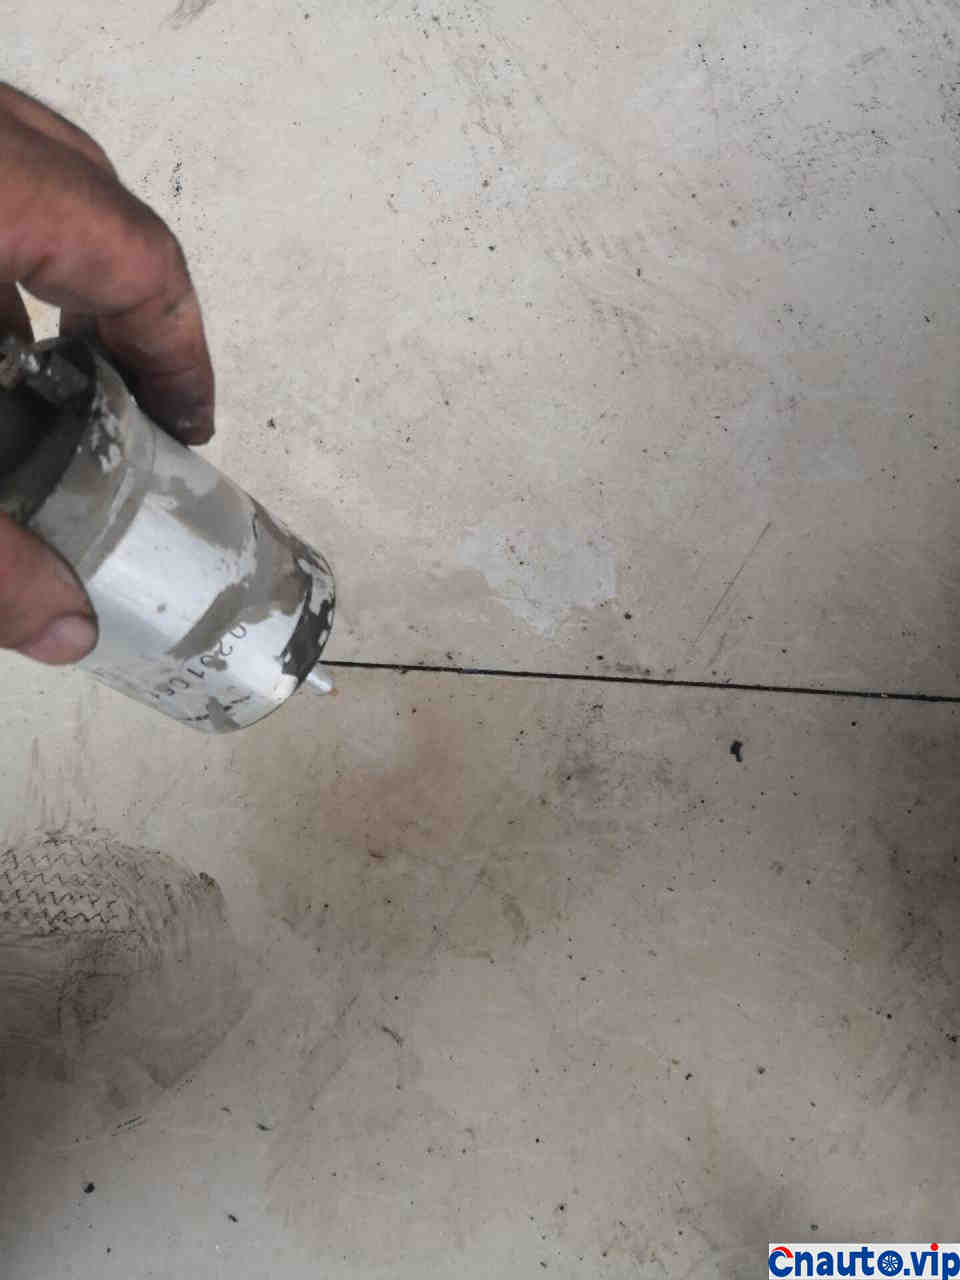
Remove the gasoline filter and pour out something black
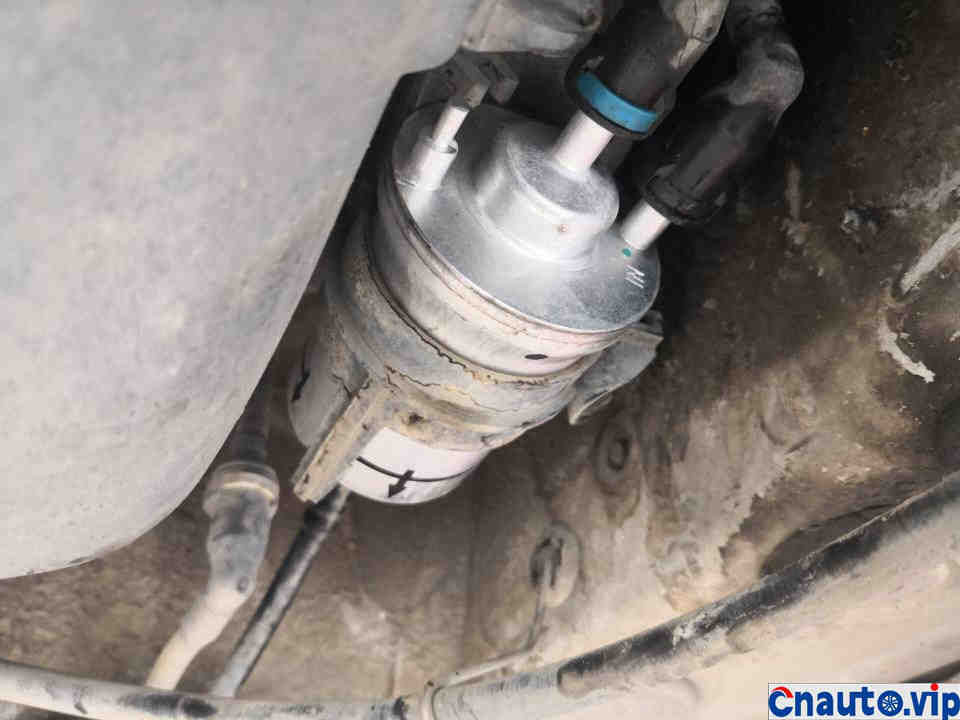
Replace with a new gasoline filter element
One side of the turbine intake pipe is almost ready.
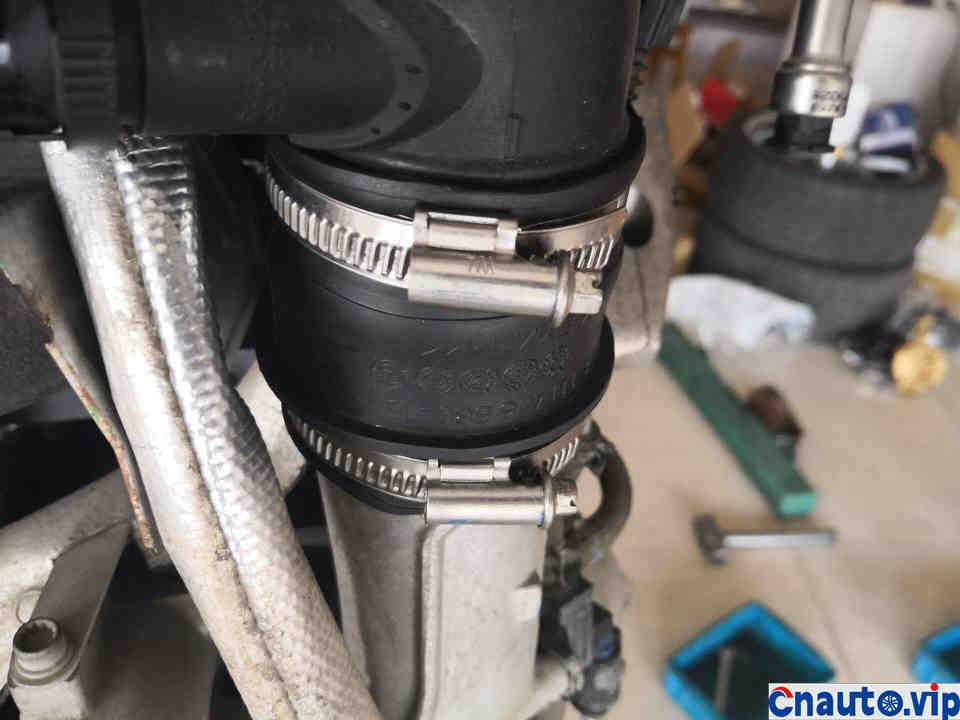
Look at this hoop and hose. It is estimated that it will never get wet again.
Brake vacuum pump and high pressure pump are almost in place.
It’s almost done ahead.
Wiring is complete. It’s almost done.
Install the exhaust pipe and finish the final assembly.
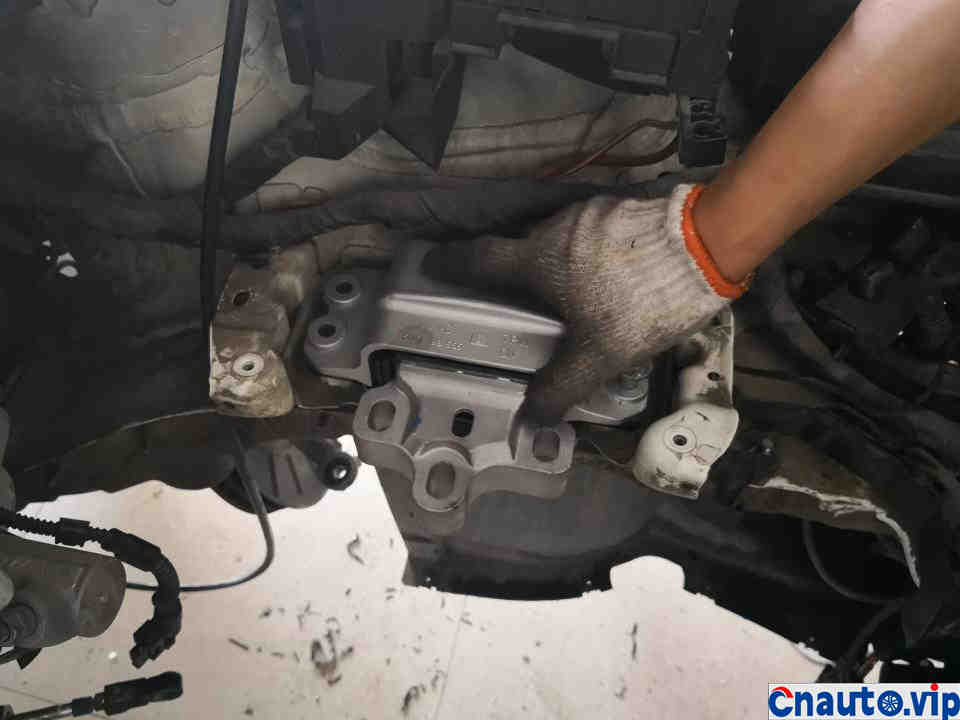
Replace the gearbox bracket before the engine enters the engine room, and now change the position.
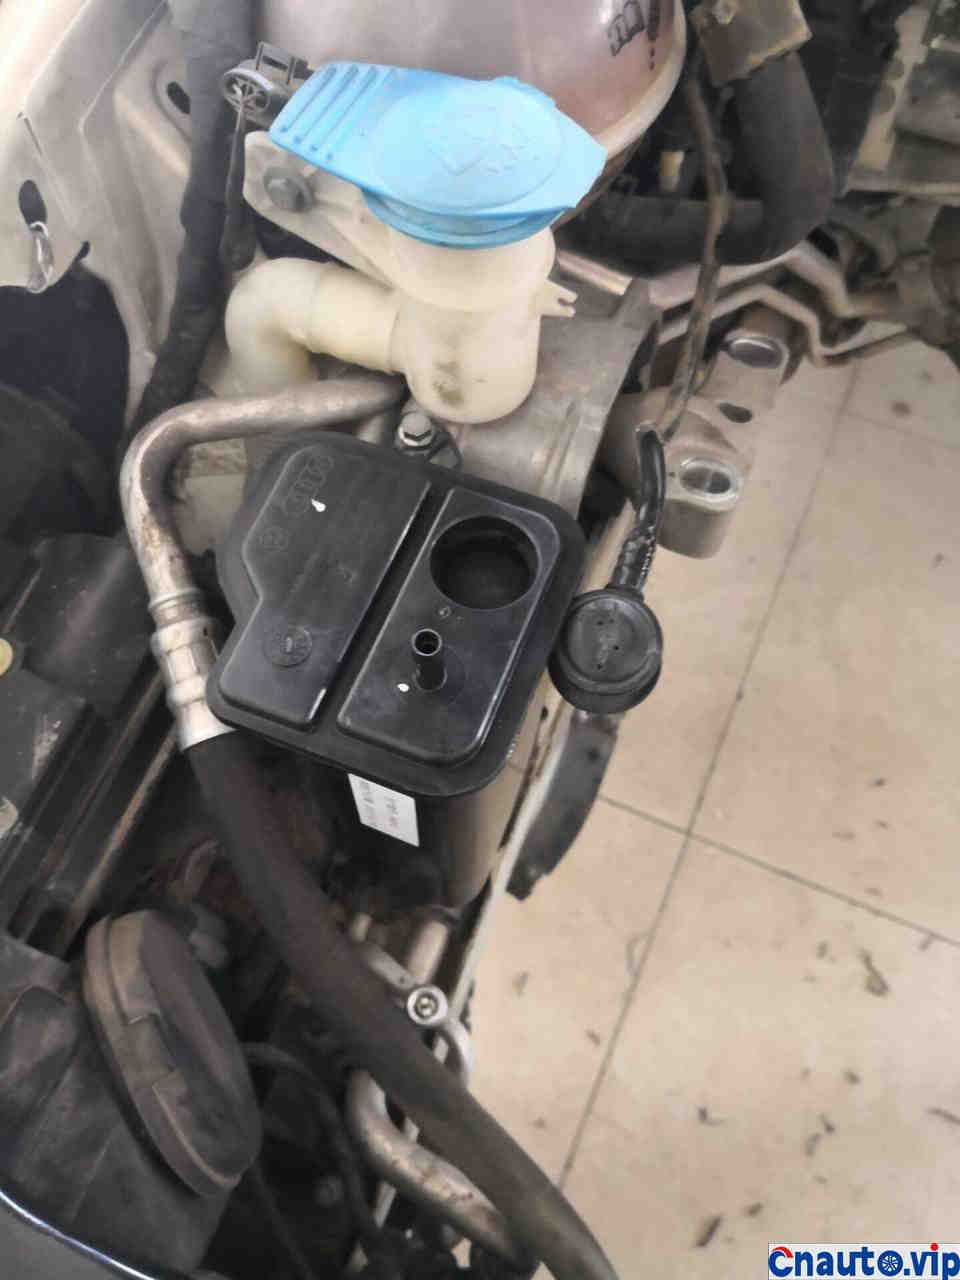
Replace the carbon canister, too.
The engine entered the cabin
Lock the engine bracket screw
Lock gearbox bracket screw
Lift up the car, put the subframe and direction machine on top, and fix it.
Arrange the pipelines in the engine room
Pour 5.8 litres of oil (all the oil ducts are empty after overhaul)

Add antifreeze

Starting vehicle
As soon as we hit the car, the engine started running happily.
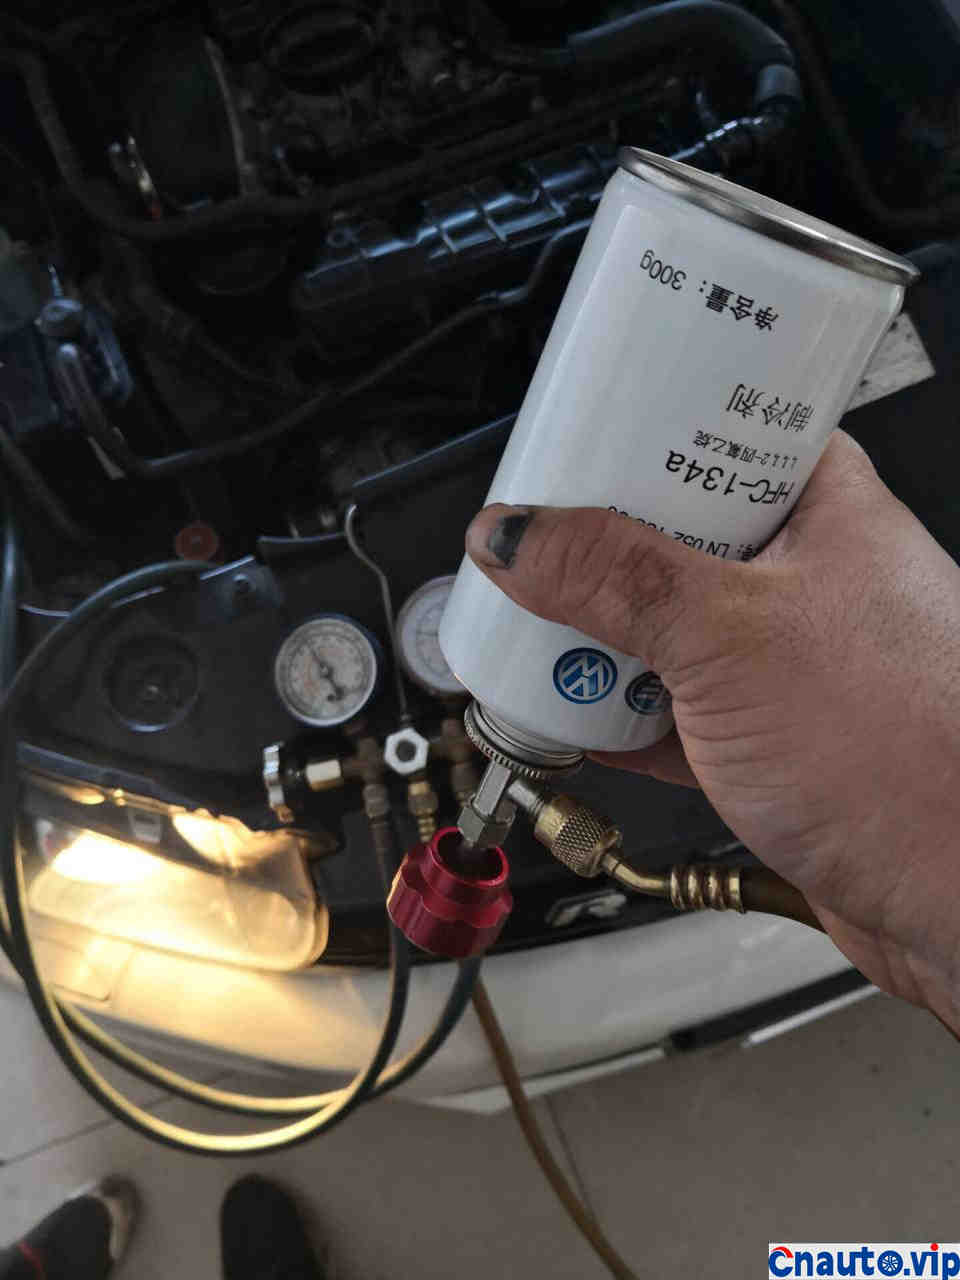
Add refrigerant
Haha, the exhaust pipe is starting to water.
Because the sub-frame has been moved, the car has to be positioned with four wheels.
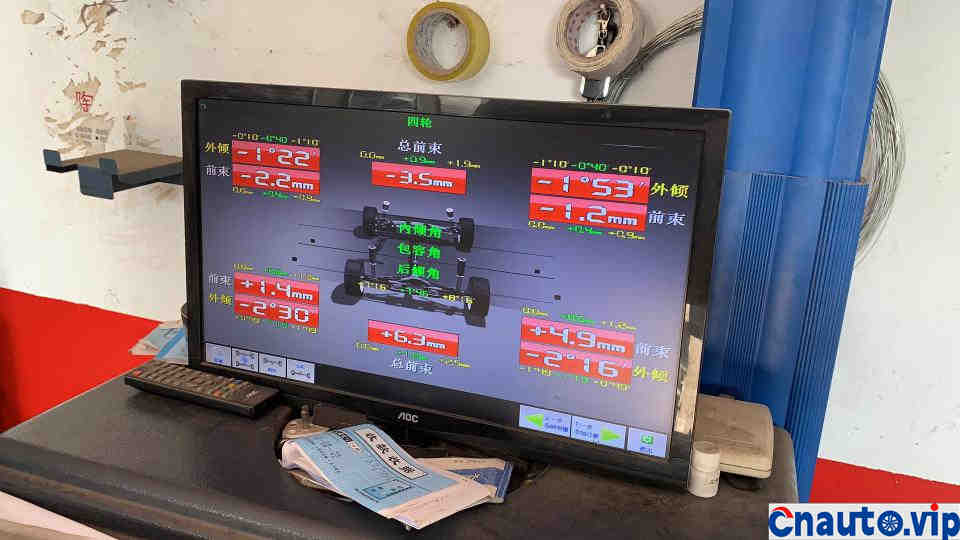
None of the parameters are good and must be set to green.

Road test drive on the ground. Well, the steering wheel is straight, there is no deviation, and the parameters are normal.

A car that has been overhauled must be tested at high speed. Because if there is any problem, or oil and water leakage and so on, after high-speed testing, there is basically nothing to hide. I tried it back and forth for about 50 kilometers and drove back to check it up. Everything was all right.
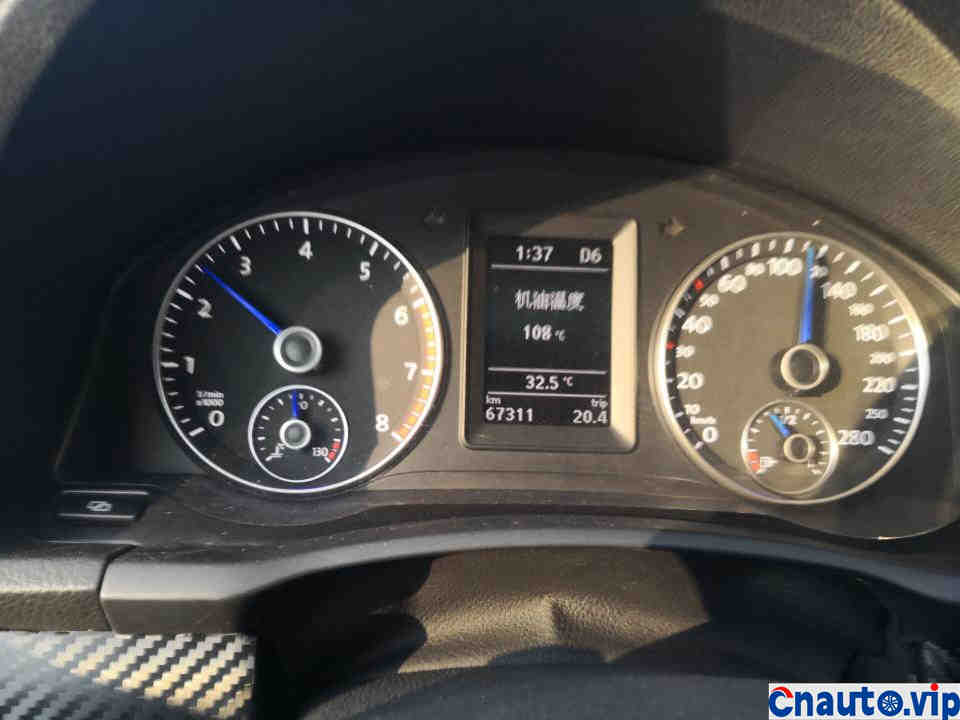
A car that has been overhauled can drive at high speed. You just can’t drive at high speeds. High speed and high speed are two concepts.

Test drive curved arm, everything is fine, hand in the car
This is my first time to post on Aika Shang Cool Forum, and I am very happy and honored here.
I summarized some key technical points in the post as concisely and concisely as possible to avoid making a long speech that no one could understand. At the same time, in order to abide by the forum discipline, all QR code barcodes that are prone to appear on venue locations and accessories are basically coded.
If you have any questions about the problem of burning oil, please reply and discuss it.
Finally, thank you all, thank you to the moderators and editors.
Hot Information
Tesla Autopilot and similar automated driving systems get ‘poor’ rating from prominent safety group
 April 1, 2024
 Localization of EV parts without production scalability may not help cut EV price, says President, Amara Raja
March 27, 2024 
JCTSL may turn bus stands into charging points for e-buses
March 27, 2024 You May Like