Model: 2011 Audi A4L
Mileage: 132,600 kilometers
Timing cover:
When I returned to my hometown during the Spring Festival, there was a large difference in temperatures between north and south, and the rubber was aging. On the second day after I returned home, I found traces of oil leakage under the timing cover. Due to the logistics shutdown during the Spring Festival, it was temporarily shelved.
Transmission filter element:
Since it has been 130,000 kilometers, the gearbox oil has been changed for 80,000 kilometers halfway. This time, the gearbox filter element has been replaced.
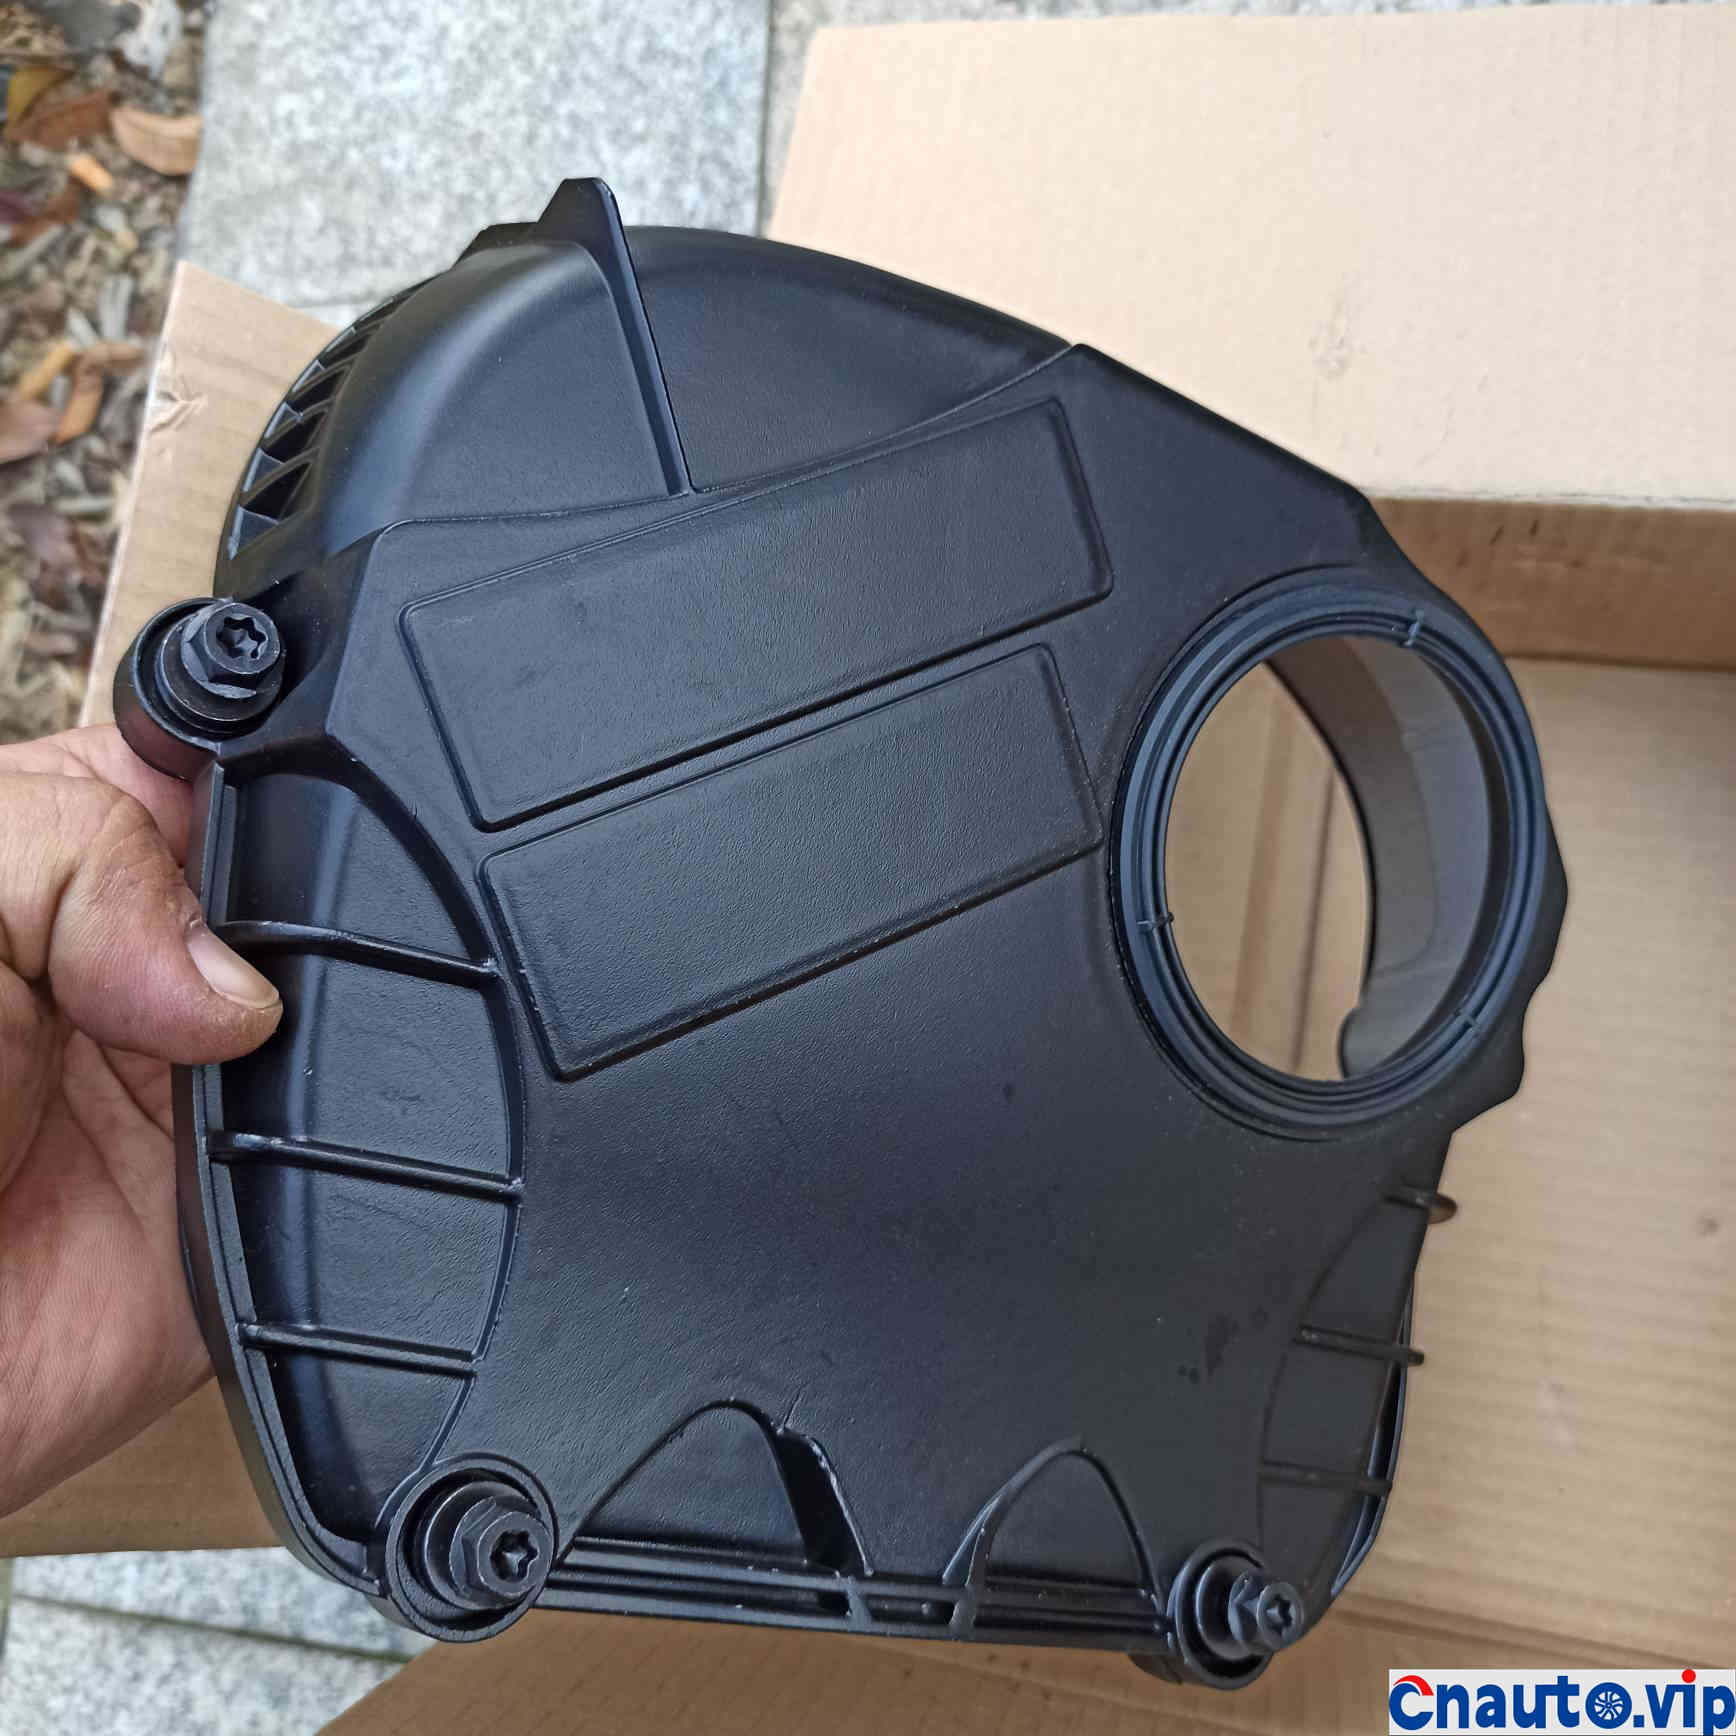
All-aluminum timing cover, original rubber, let’s talk about the original oil leakage here!
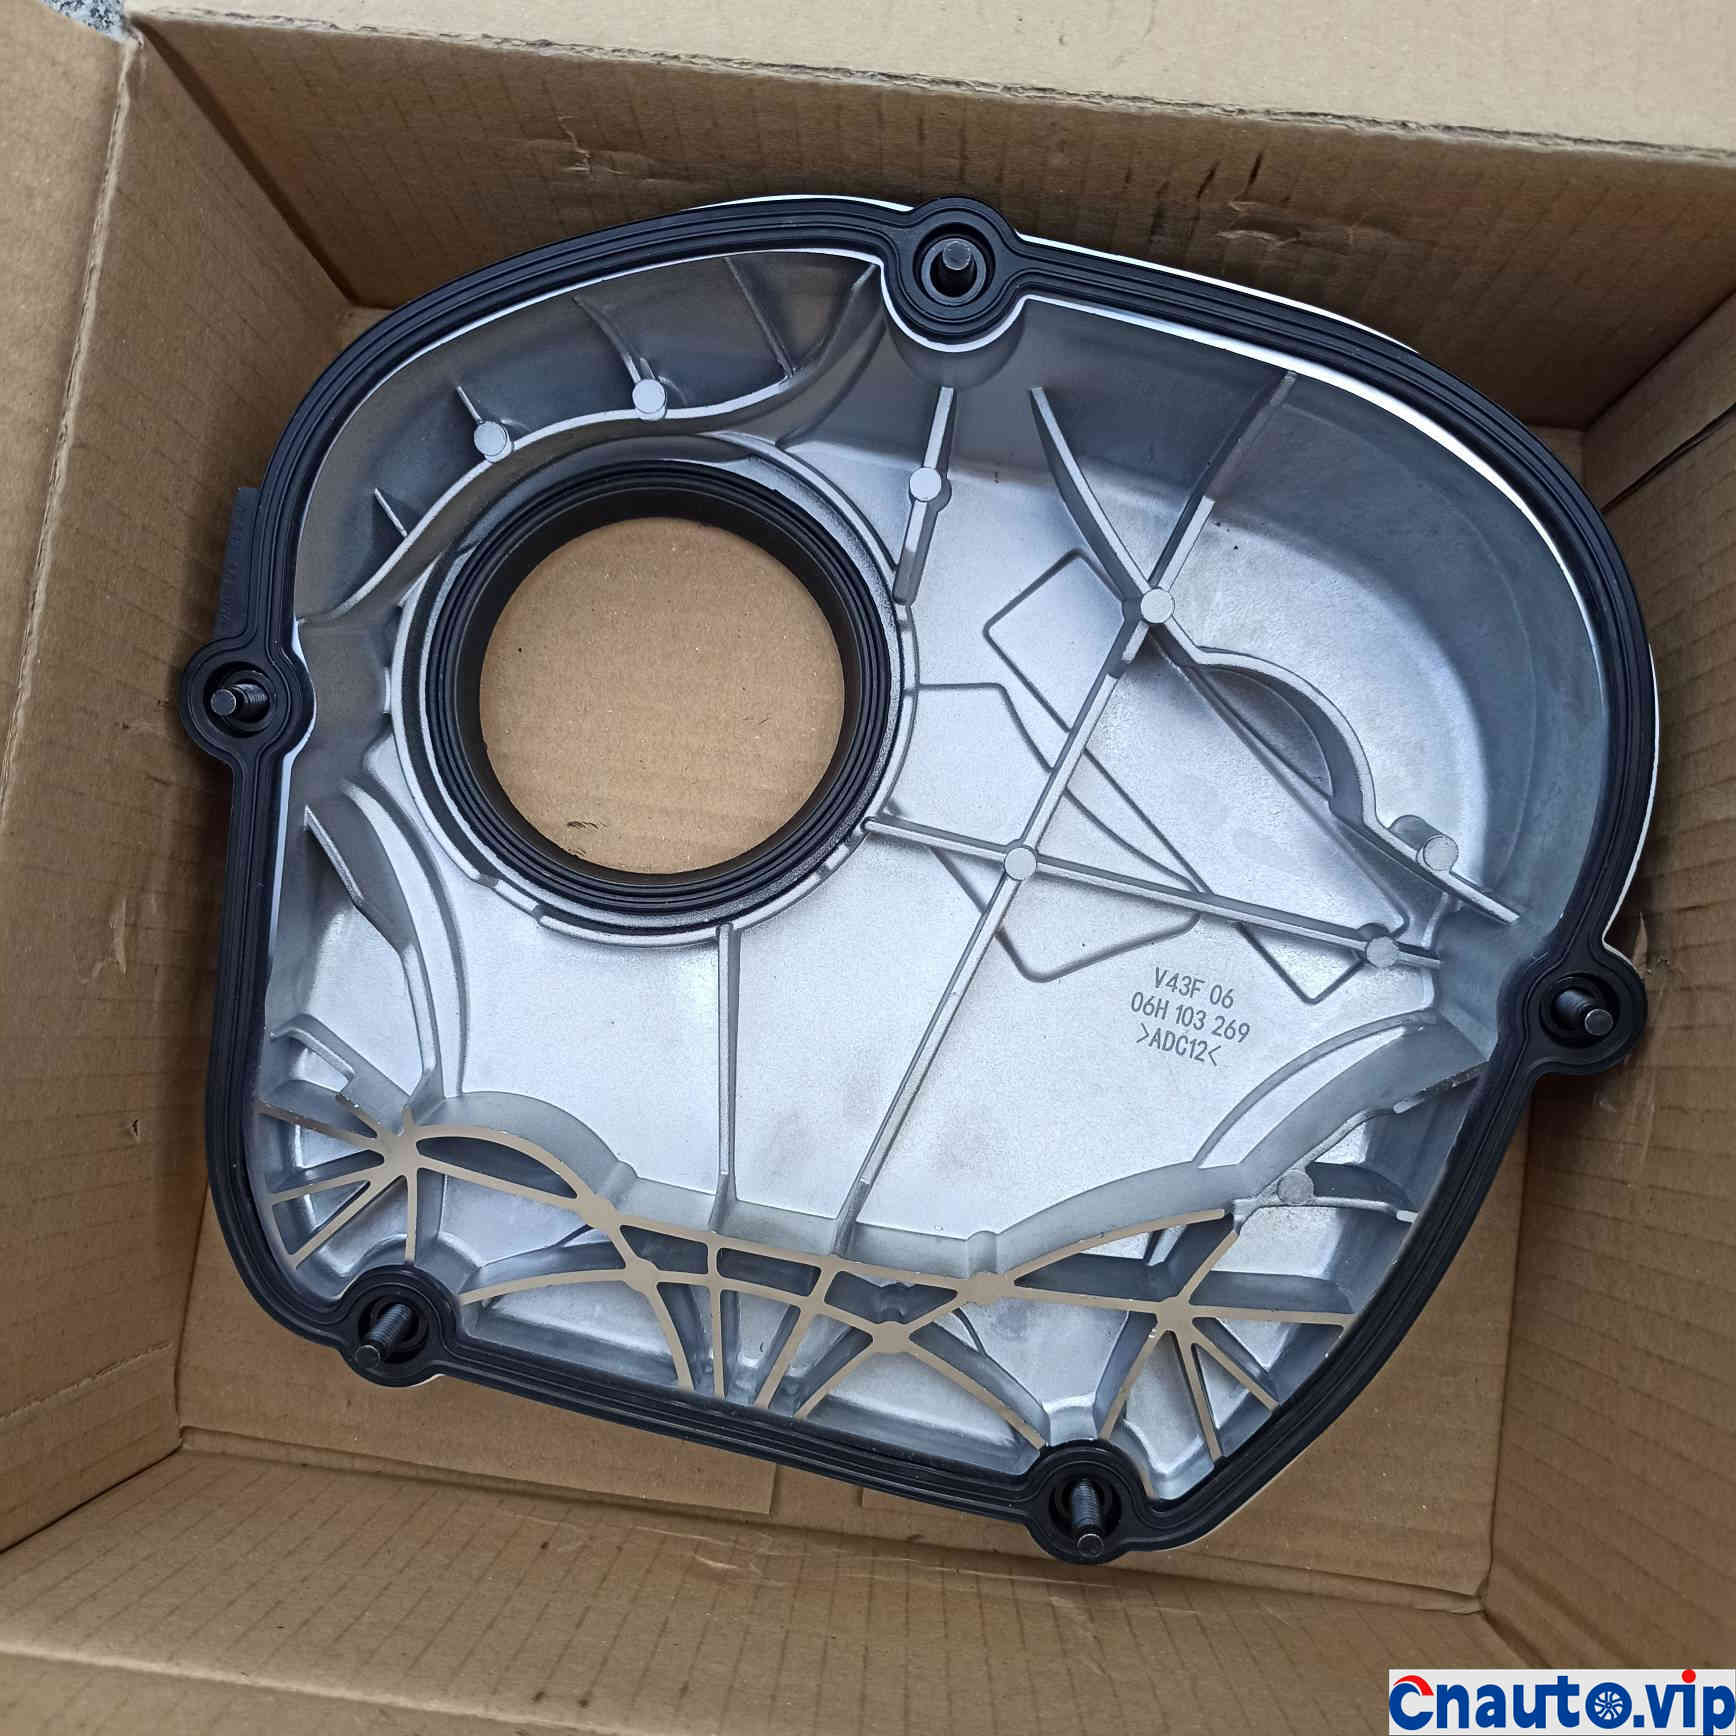
All-aluminum timing cover cushion screws
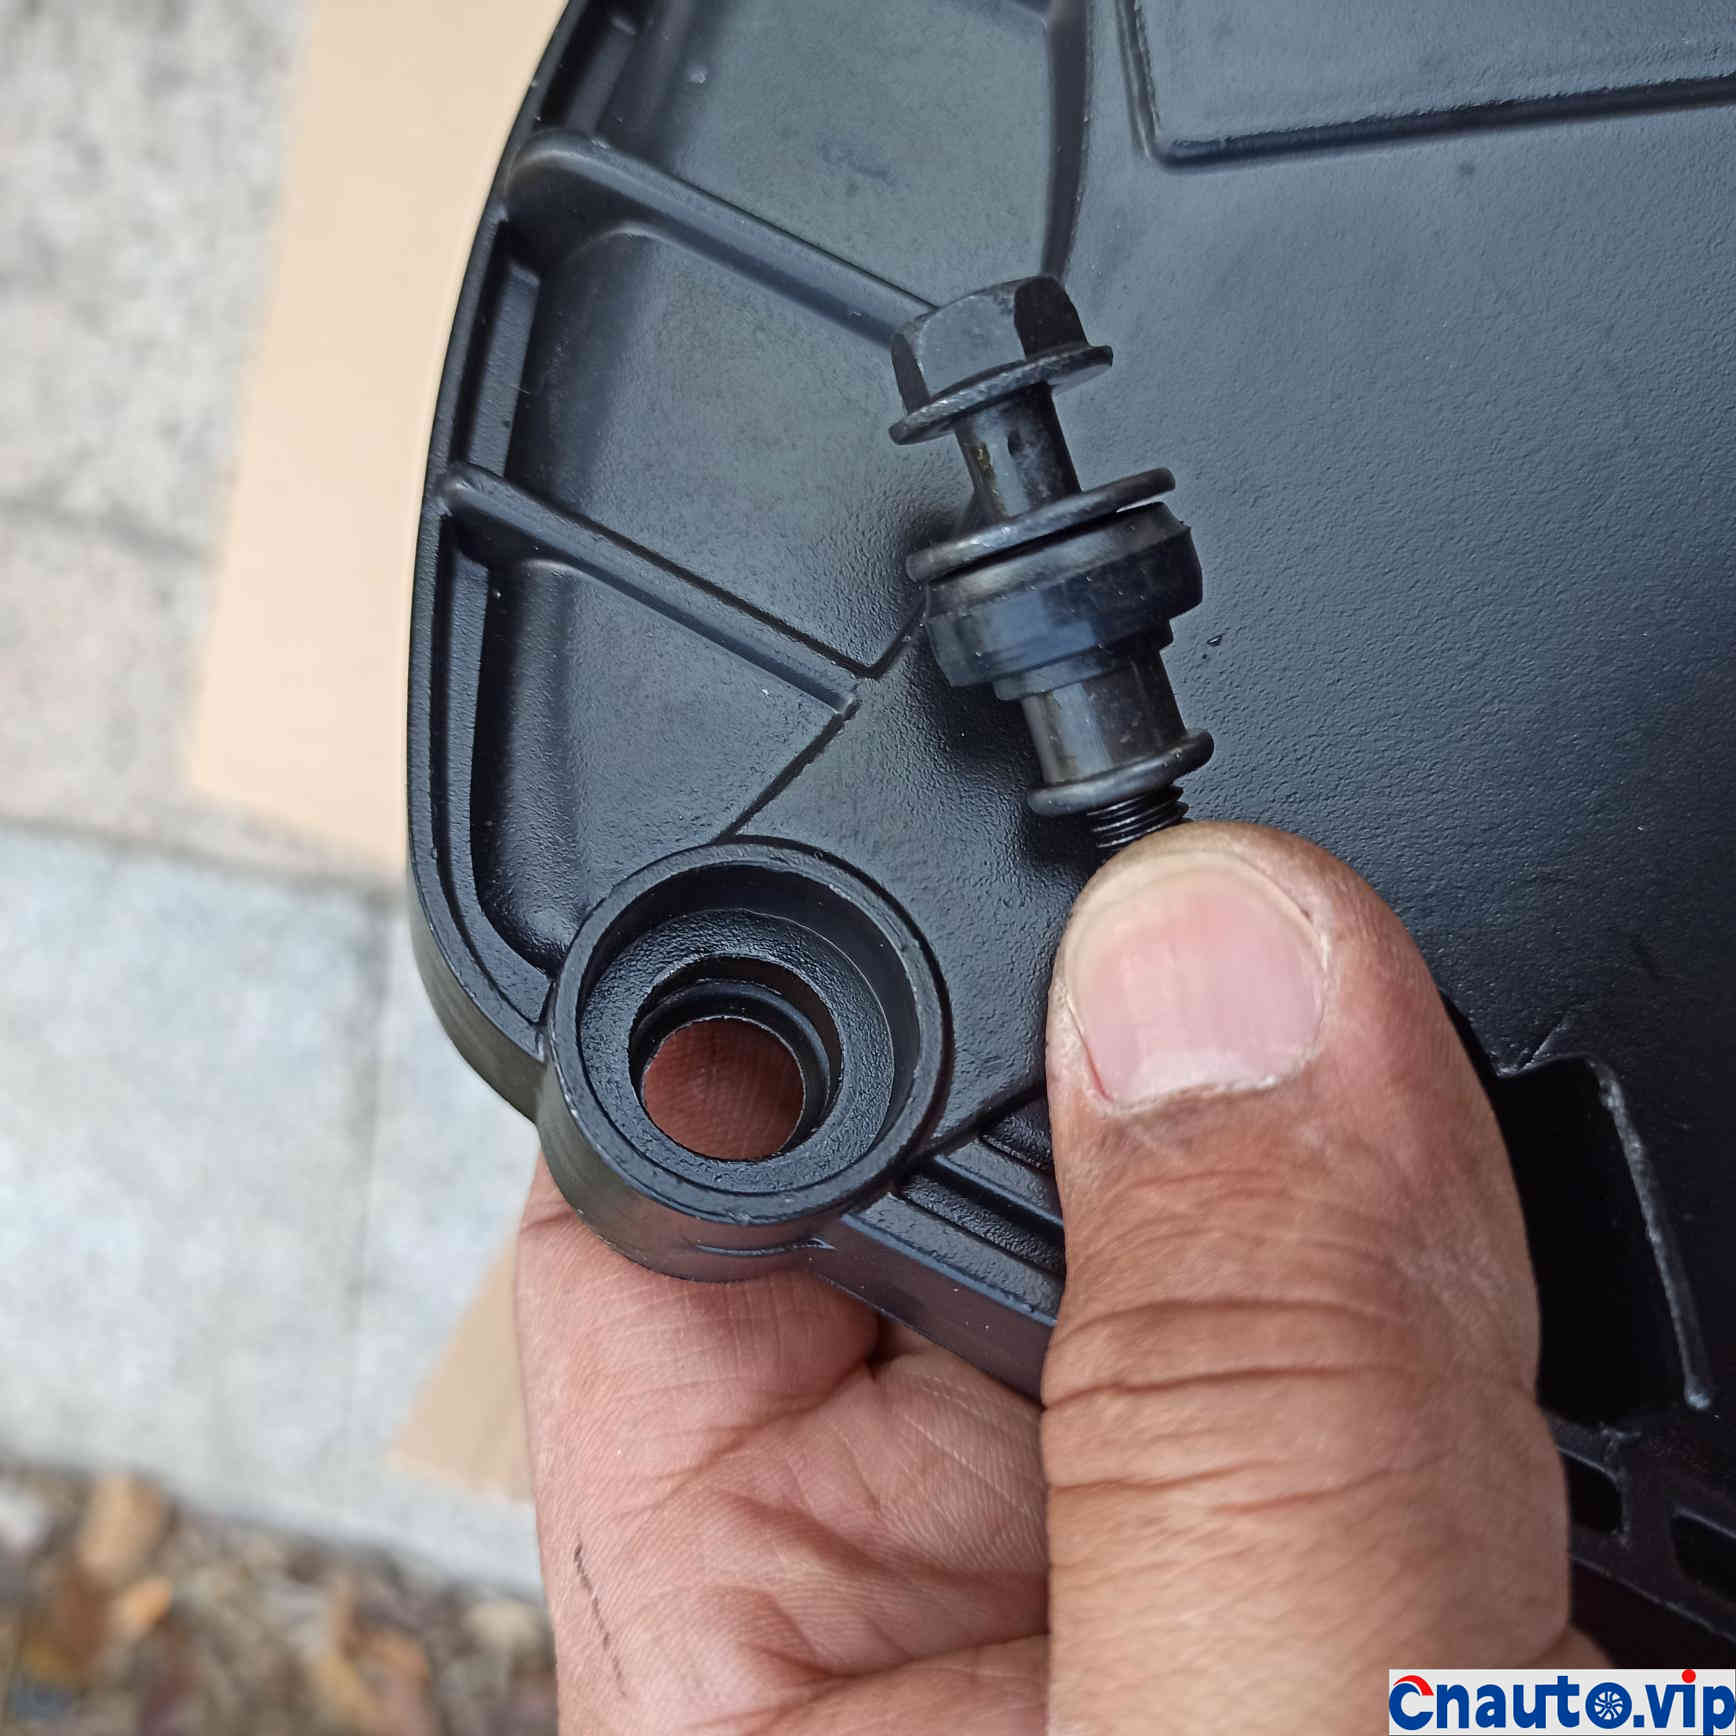
Have you noticed this screw? The screw is covered with a metal sleeve, and there is a rubber ring on the metal sleeve. After the screw is tightened, the rubber on the screw is squeezed to seal the screw hole without leaking oil. Most original factory oil leaks are caused by the aging of the sealing ring on this screw, not the big cushion of the cover!
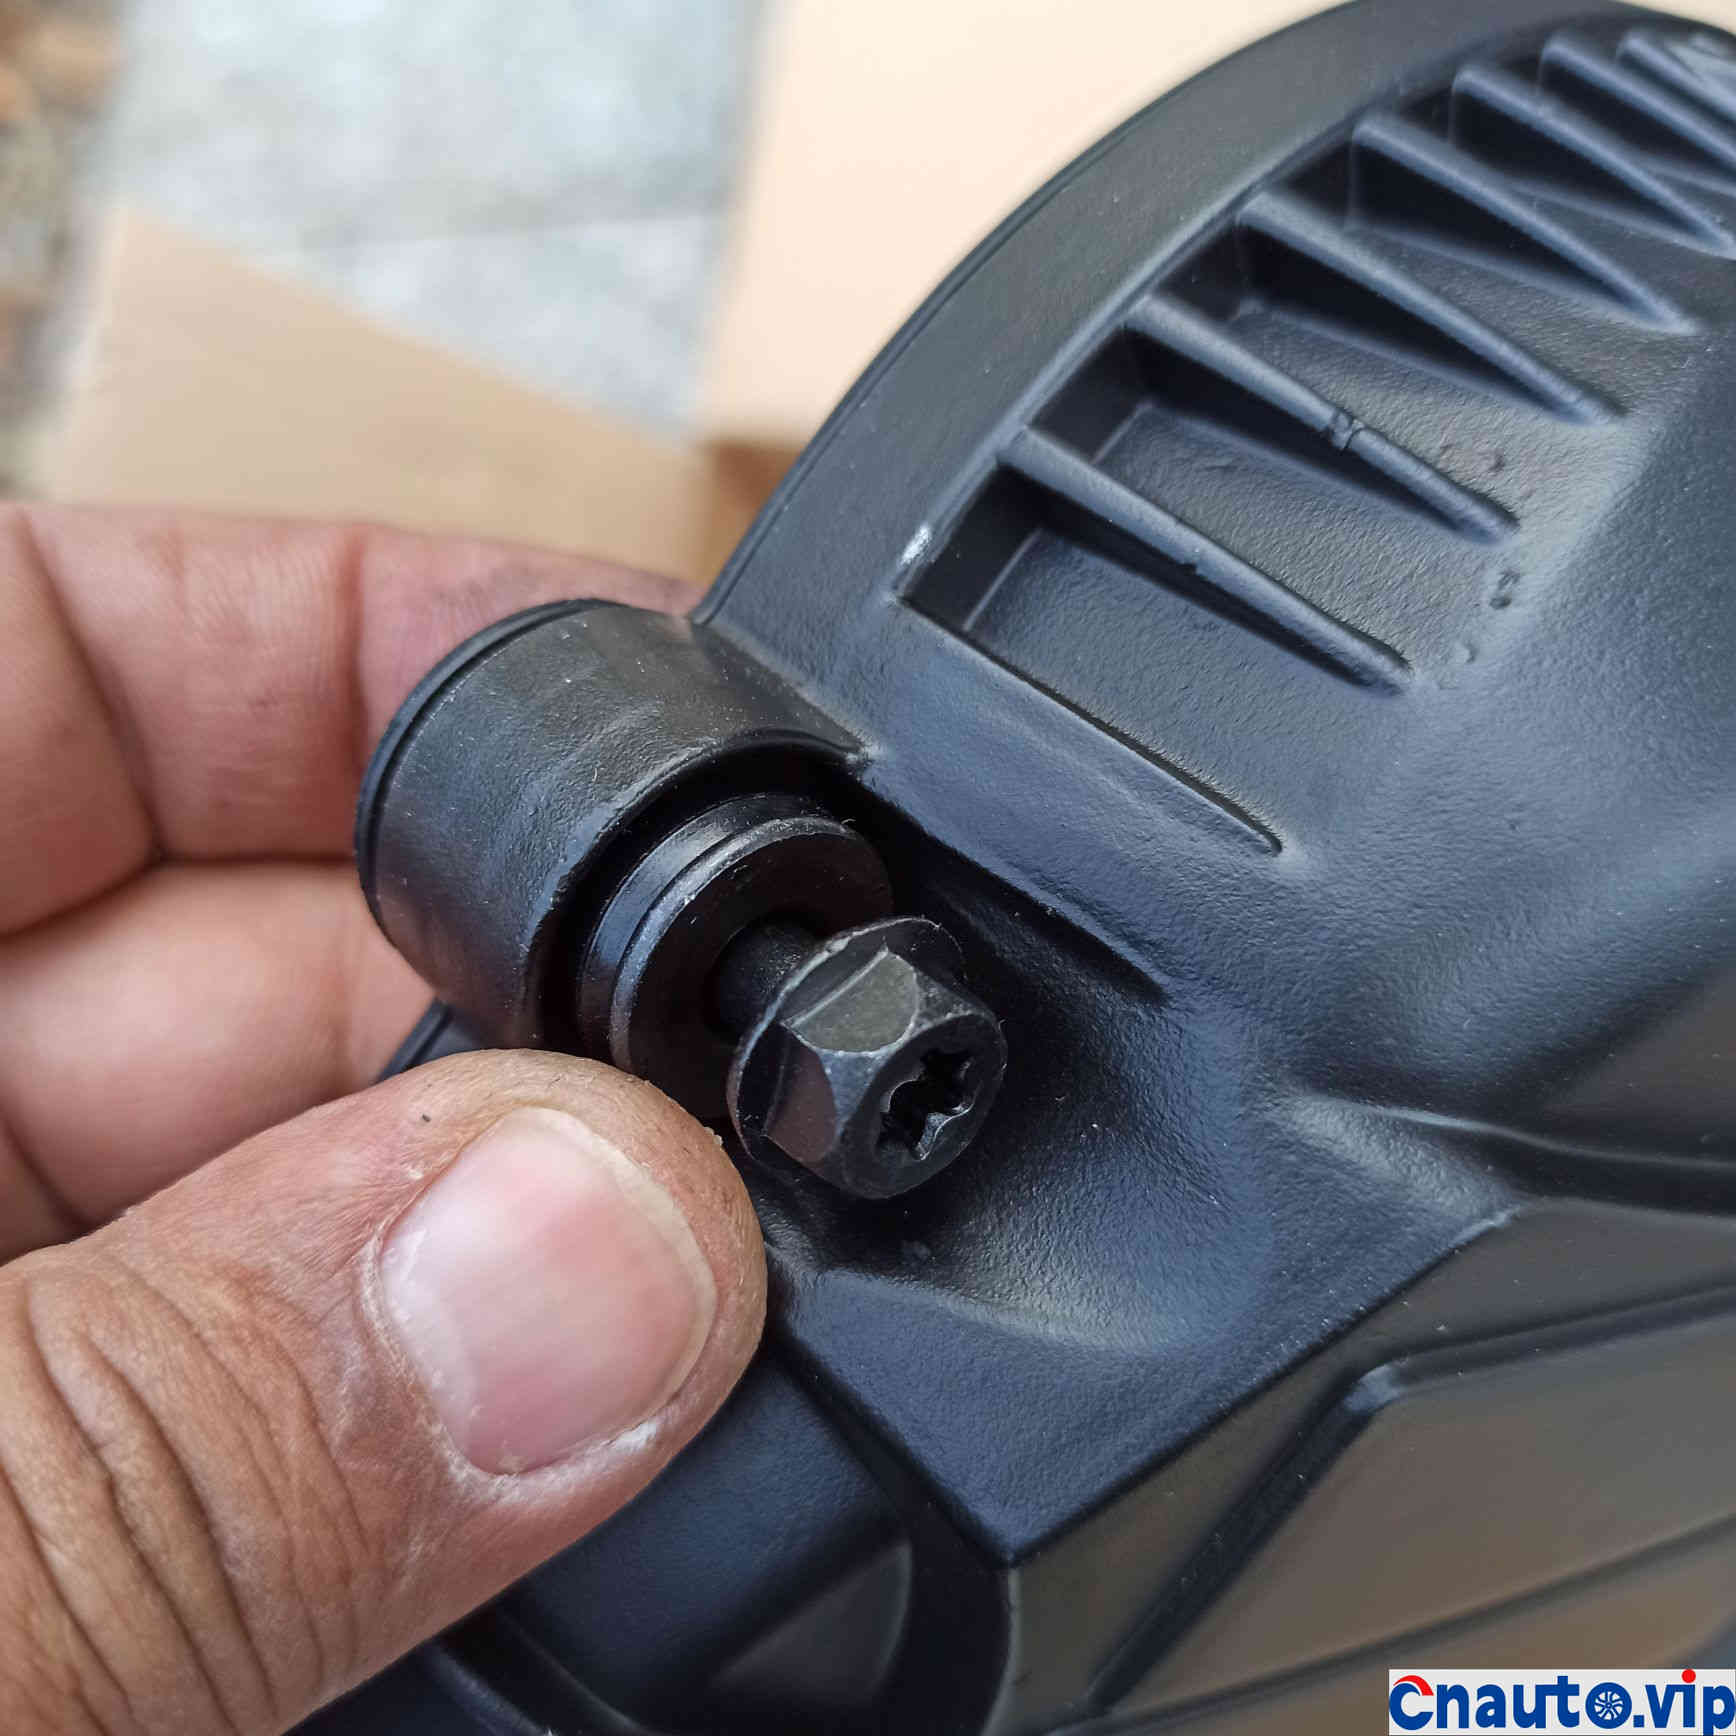
When the screws are assembled, the rubber ring will seal the hole when tightened
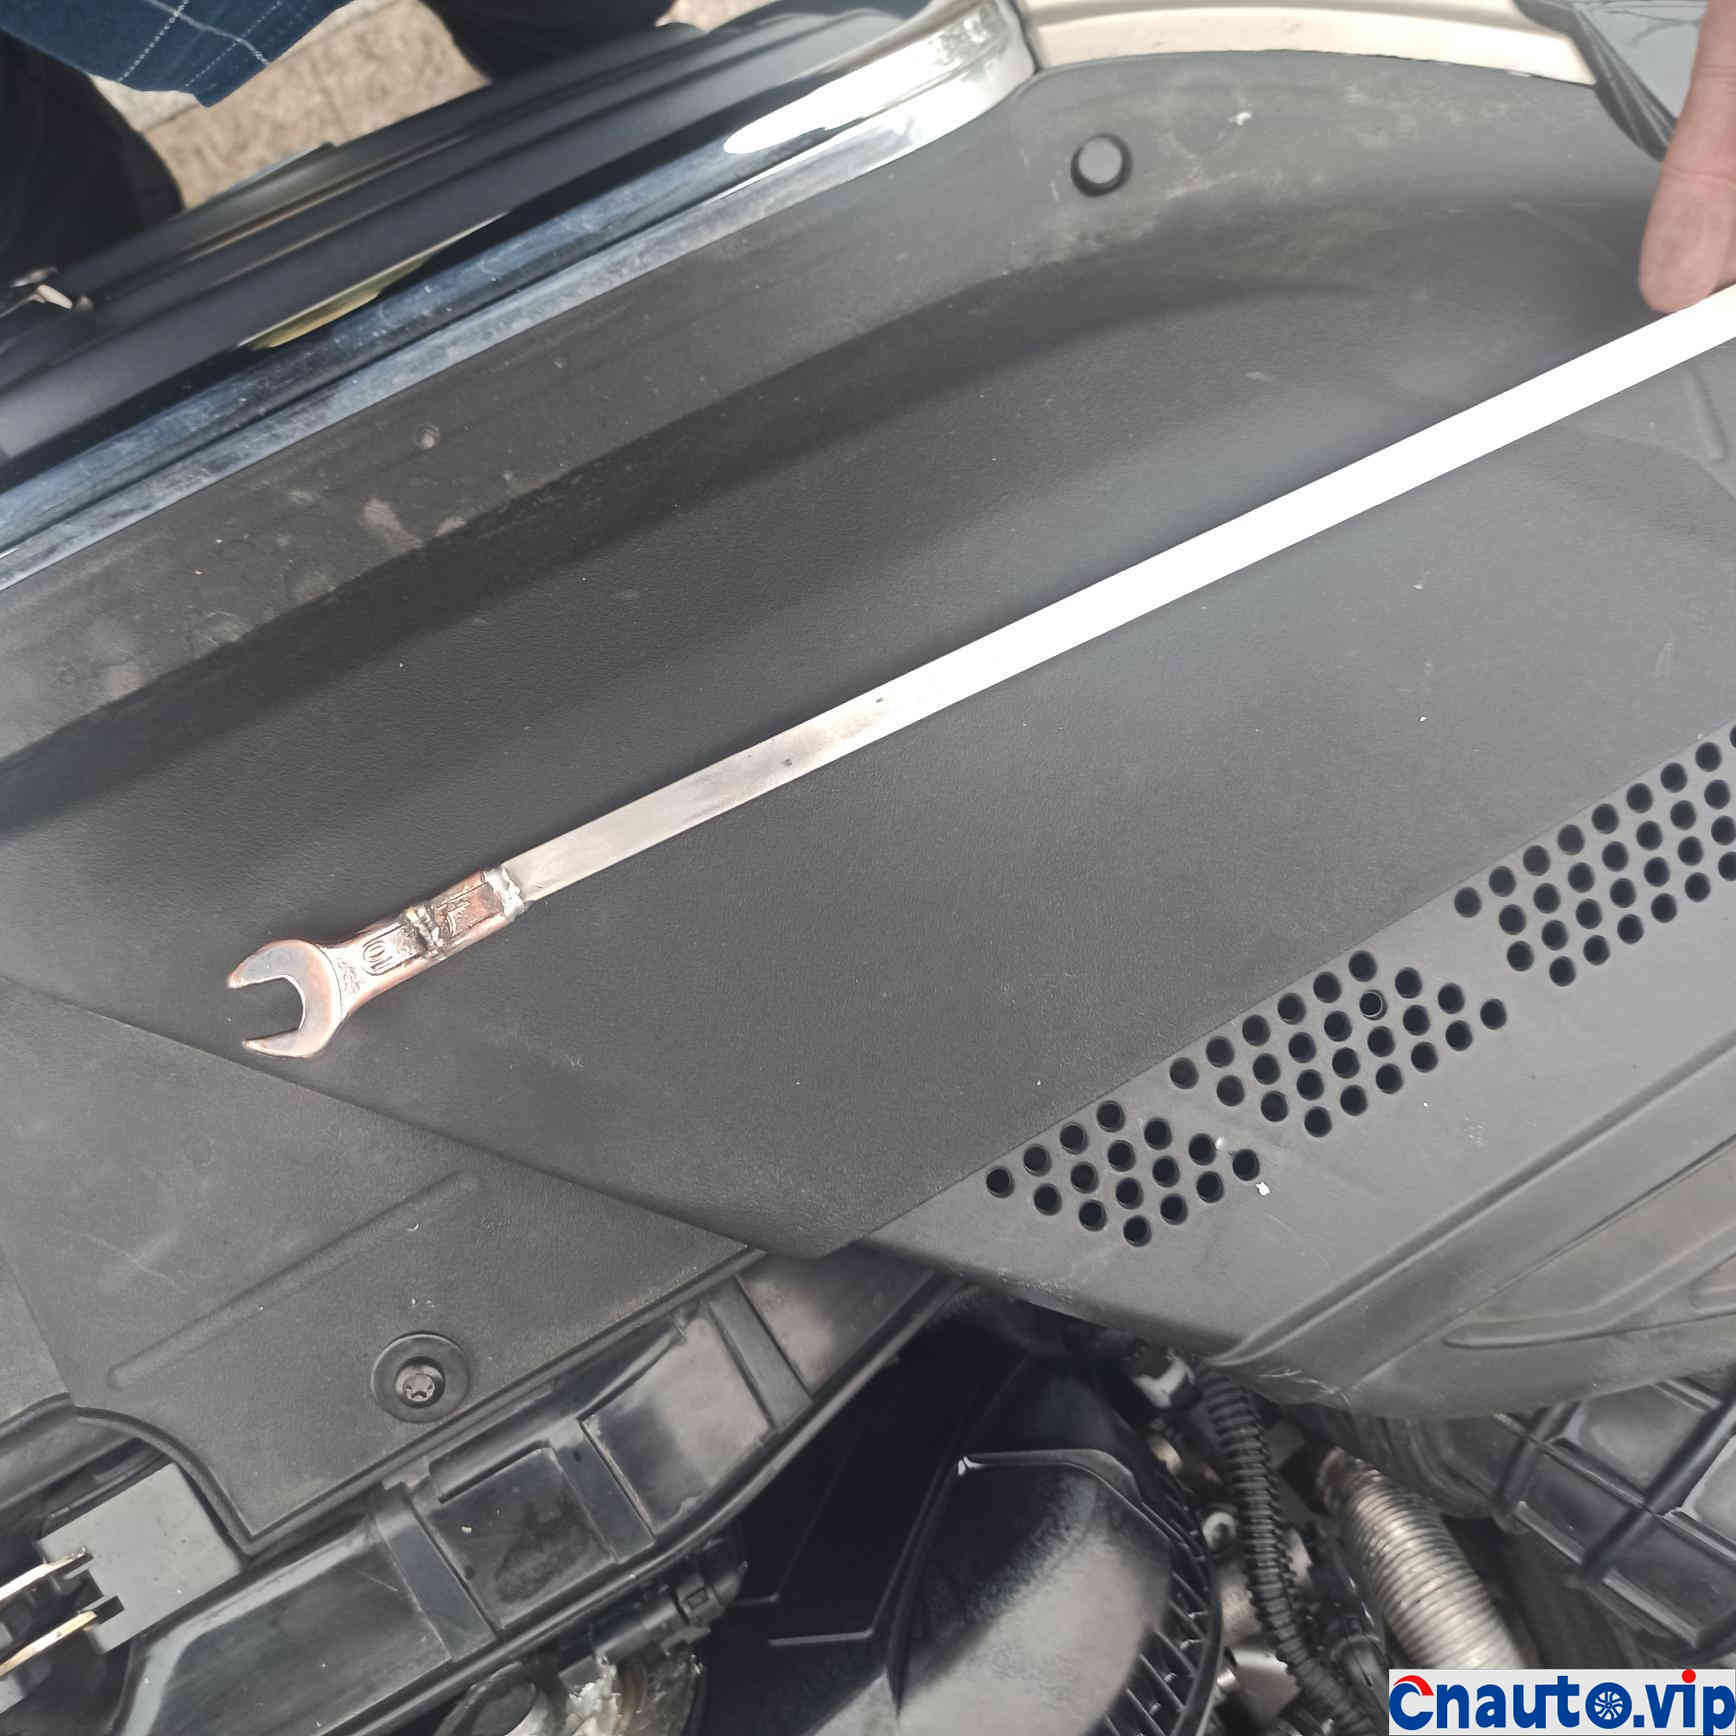
Due to the small space, I used a 10-gauge open-ended wrench to make a tool, otherwise the two screws below could not be removed
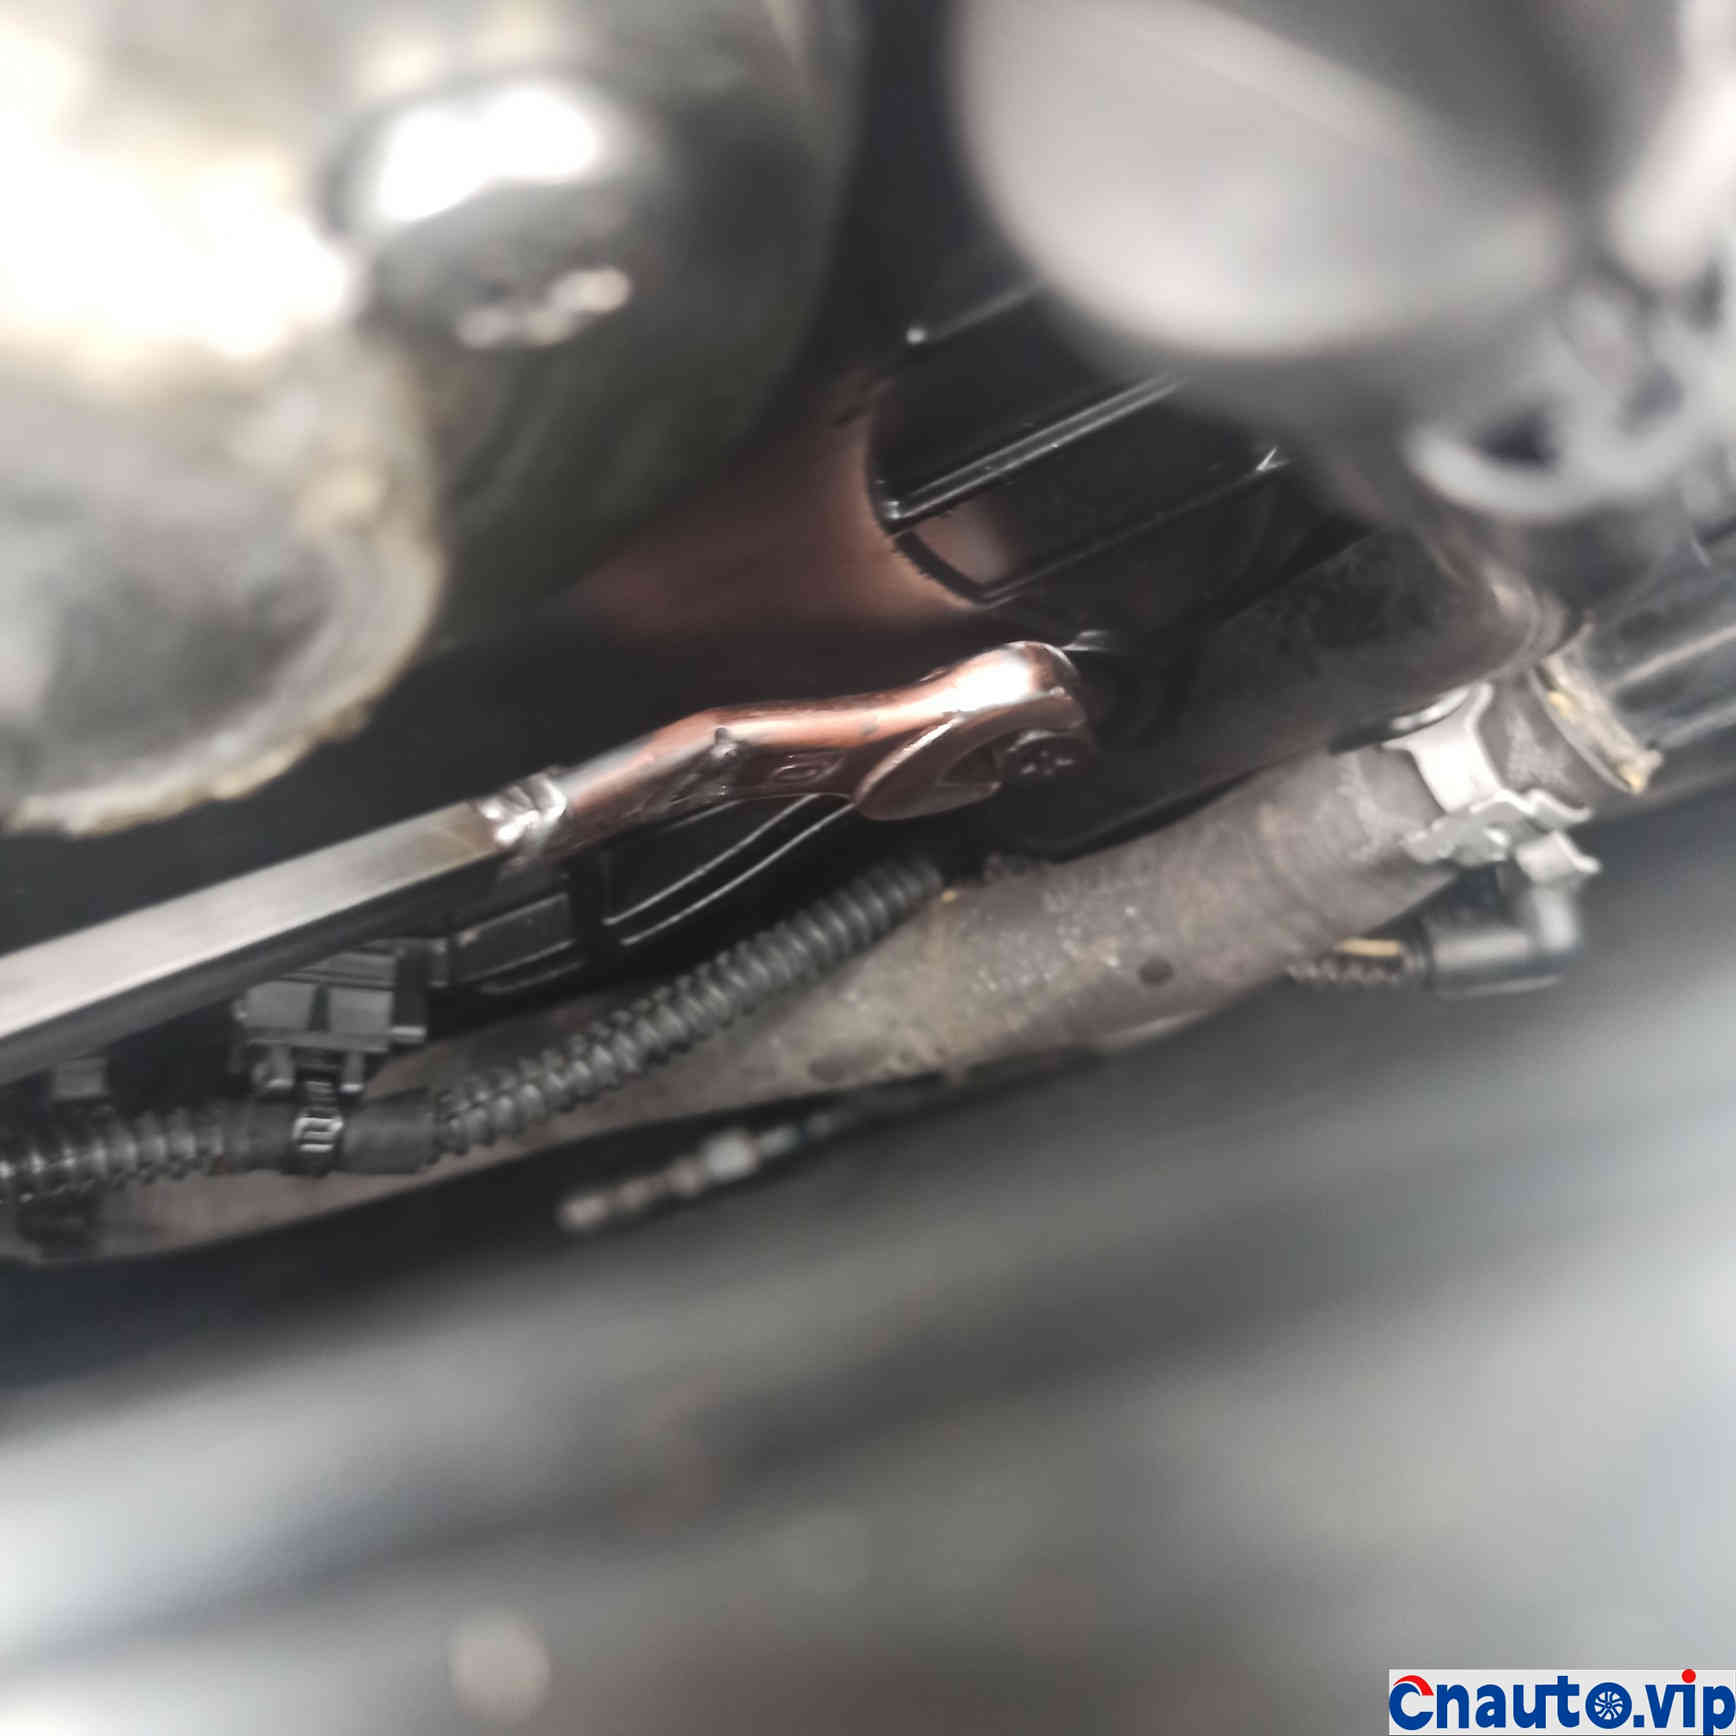
Remove screws
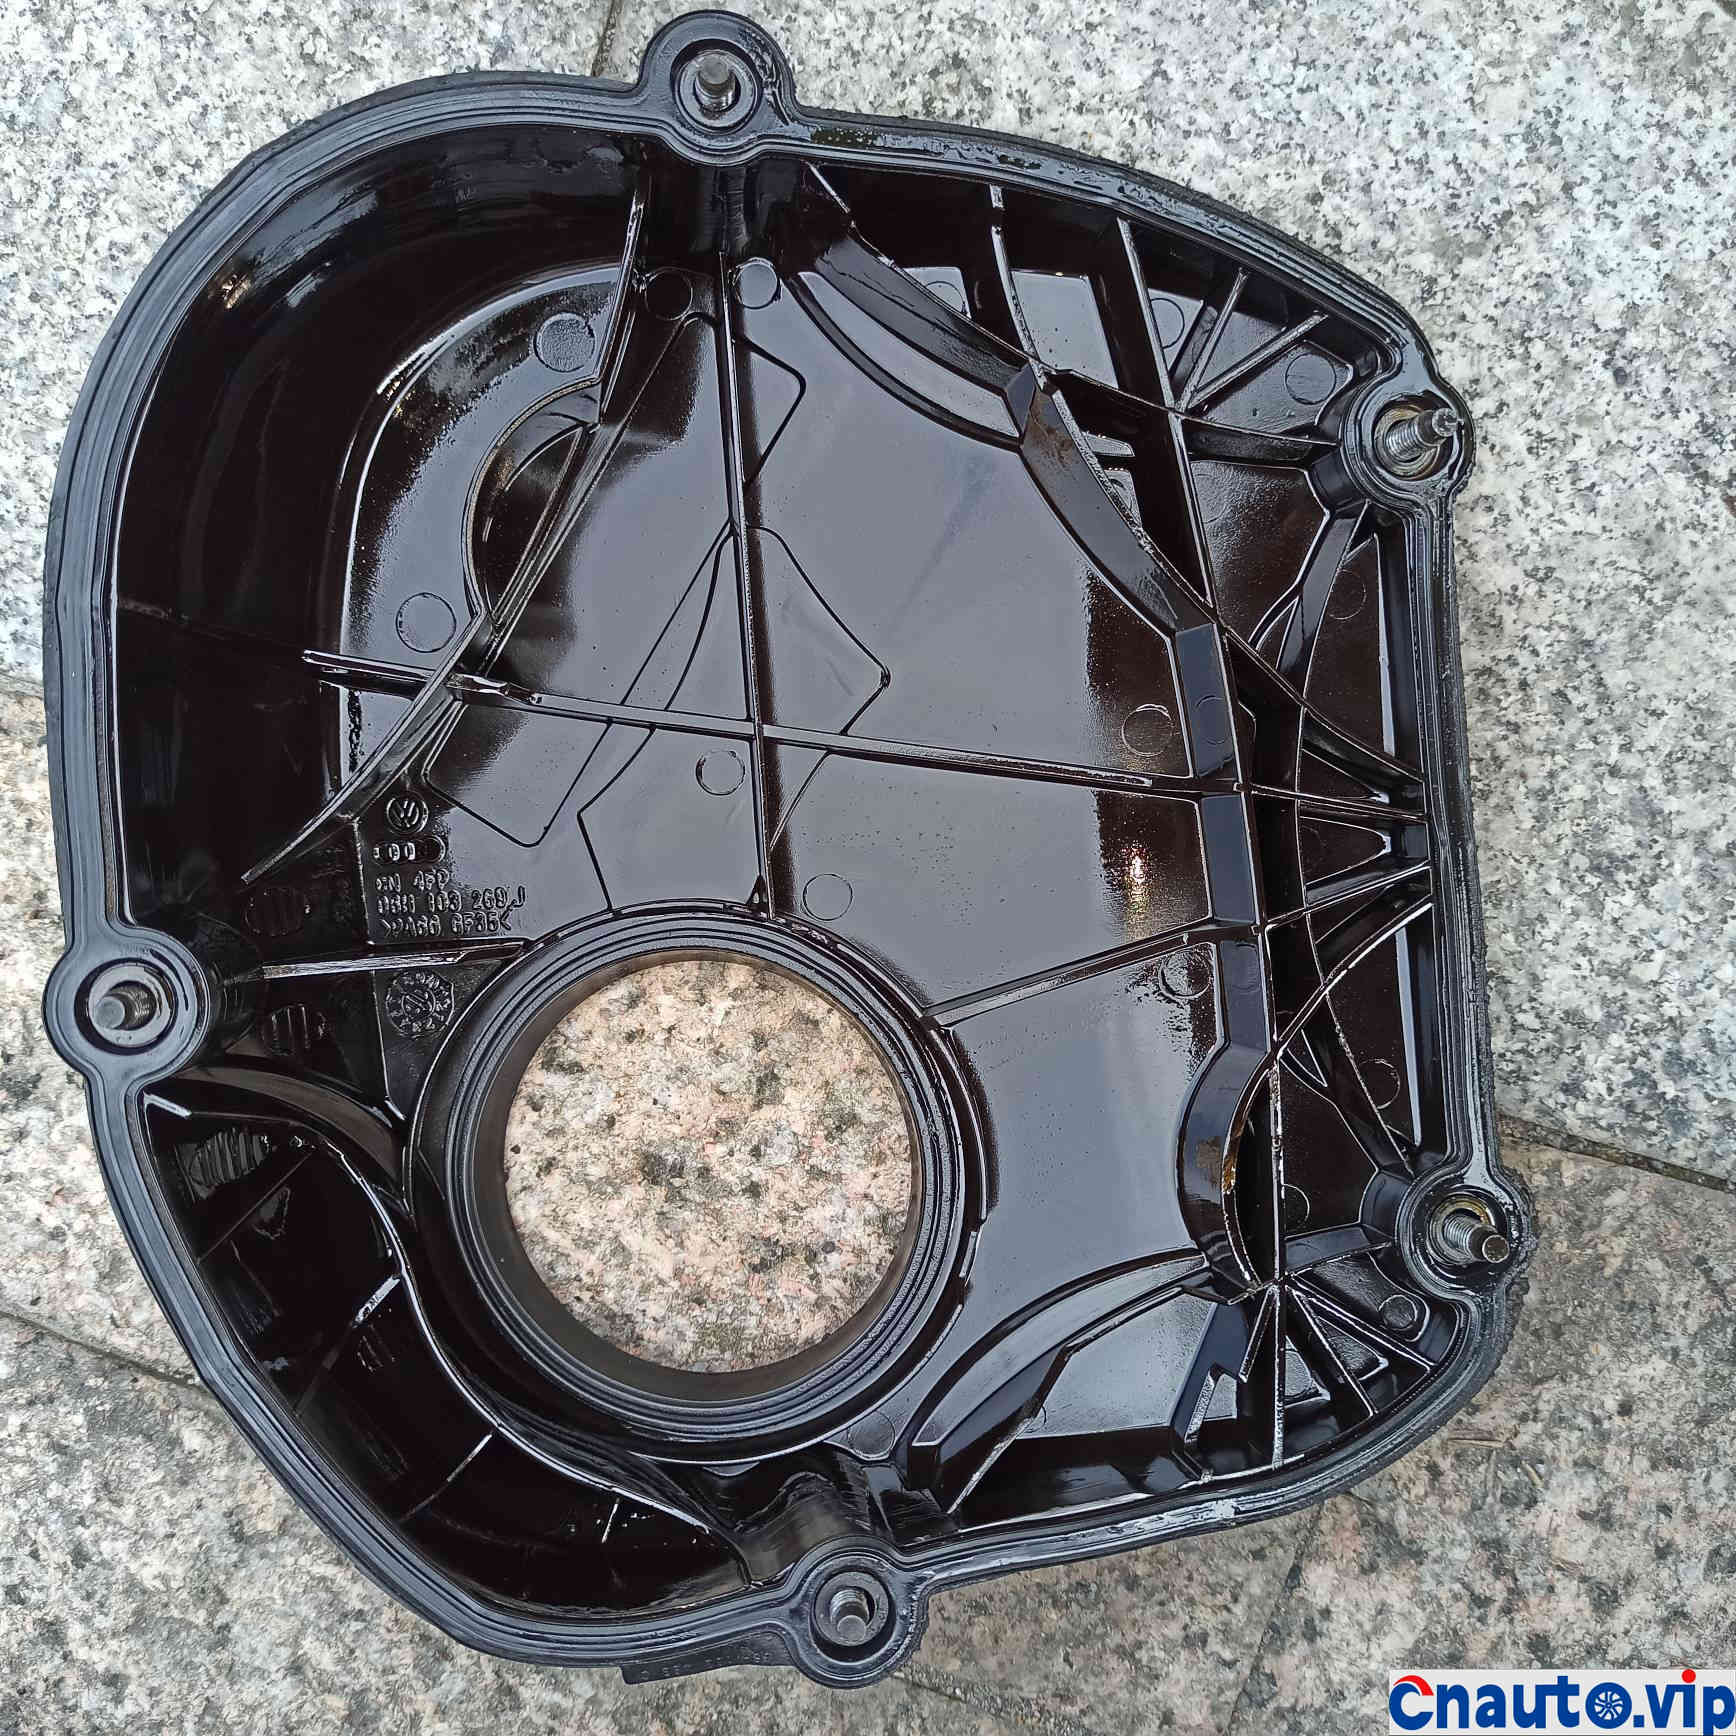
old lid
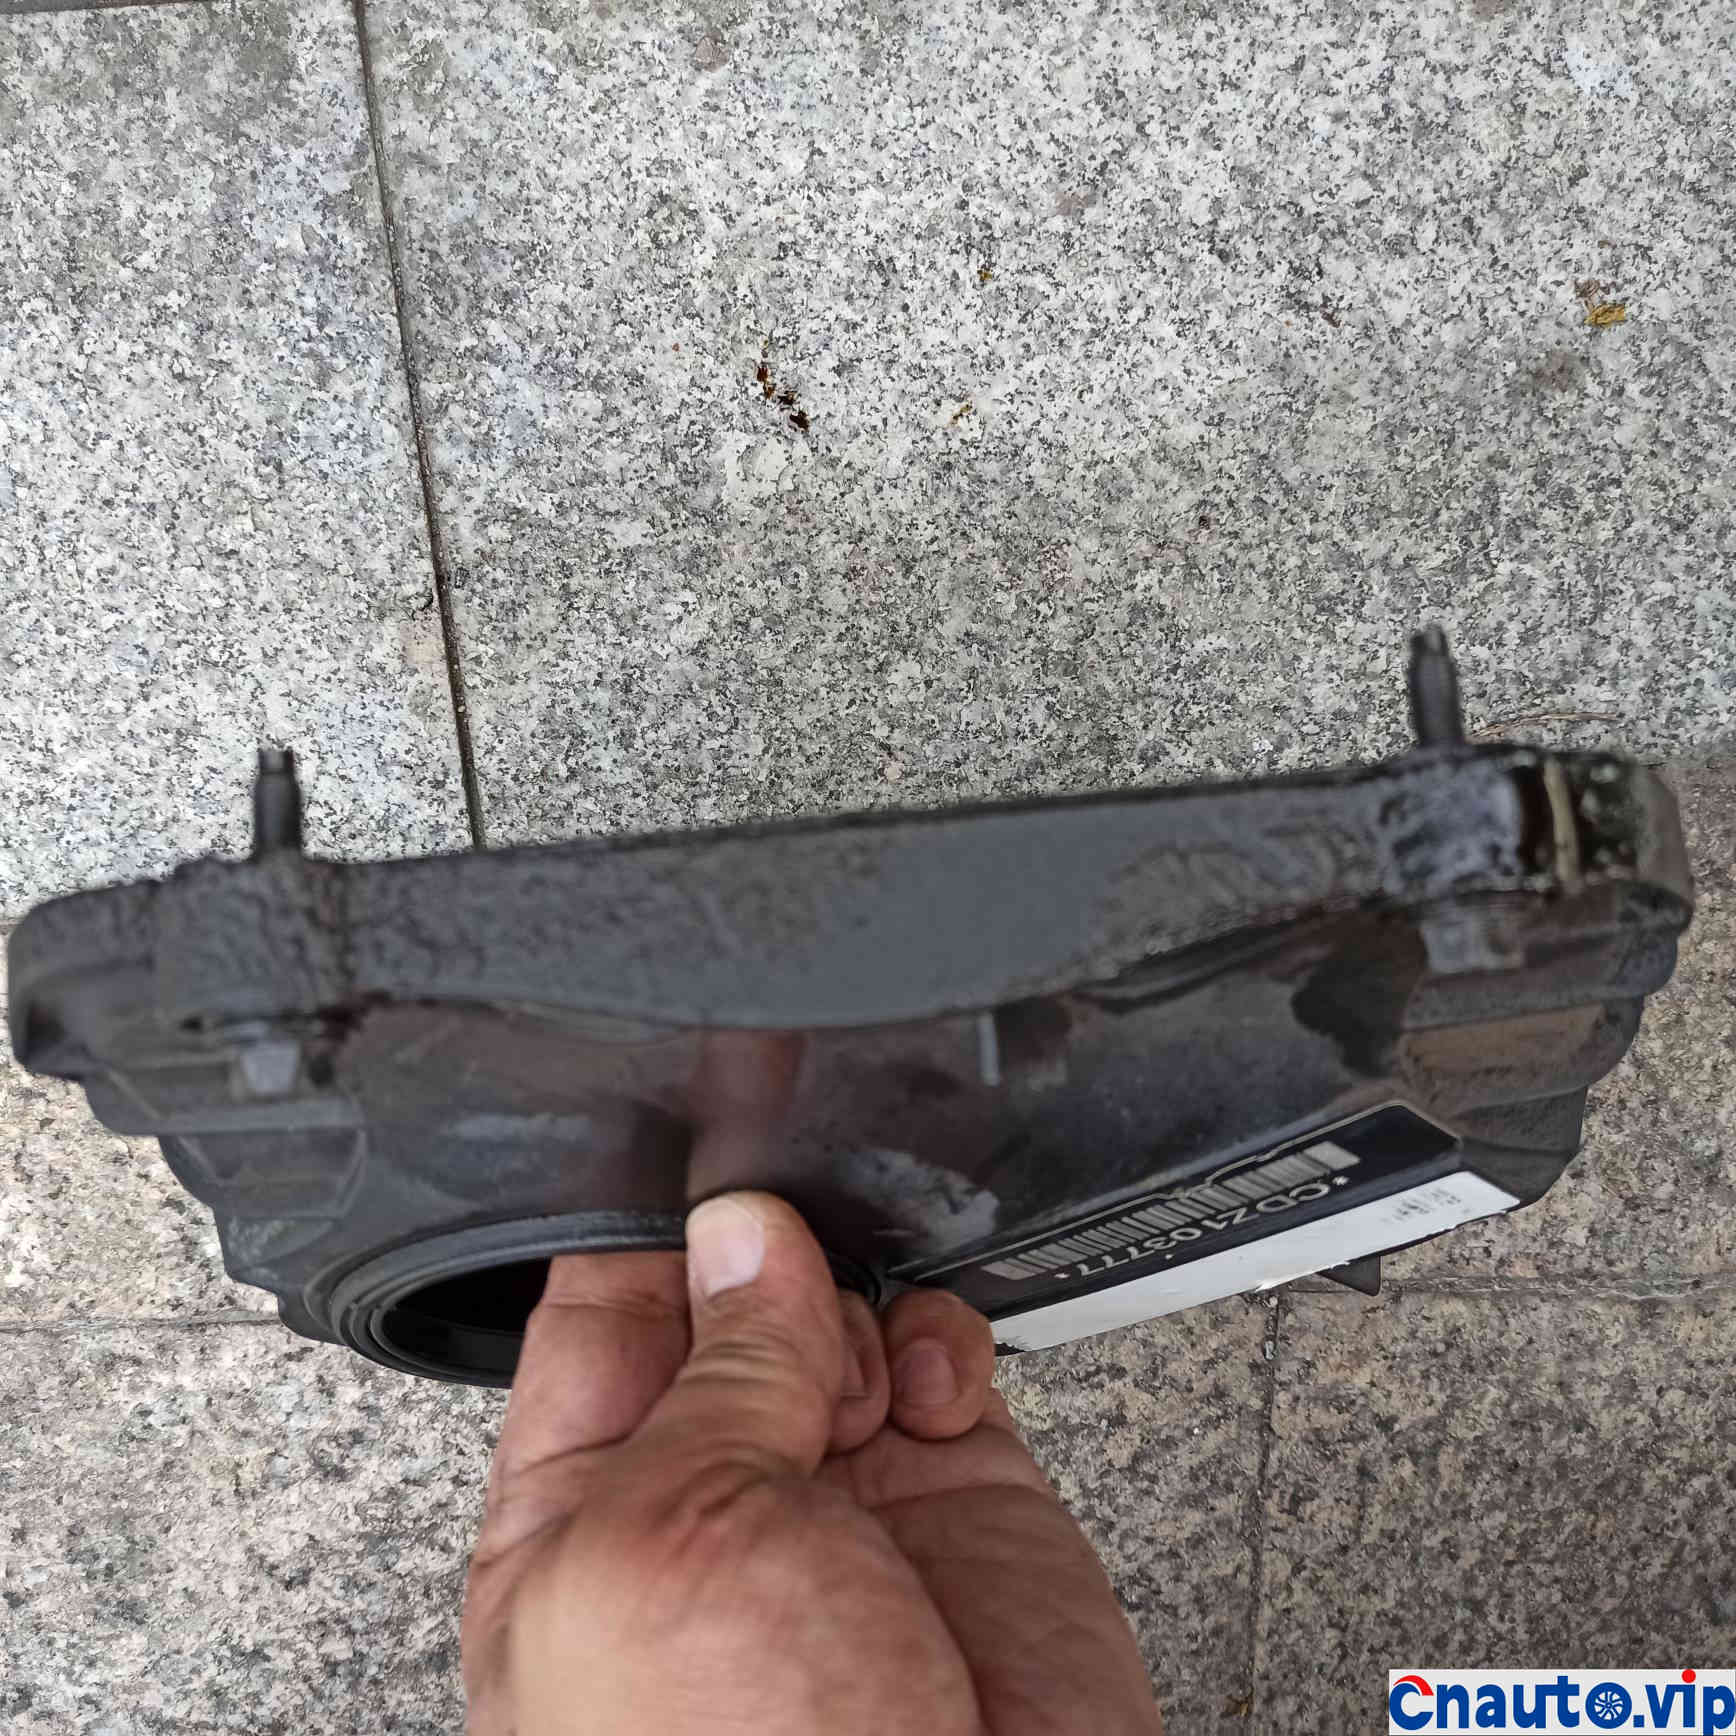
It wasn’t just a day or two. It was only discovered after returning to my hometown that the weather was cold and the rubber sealing performance decreased, so the leakage became more serious.
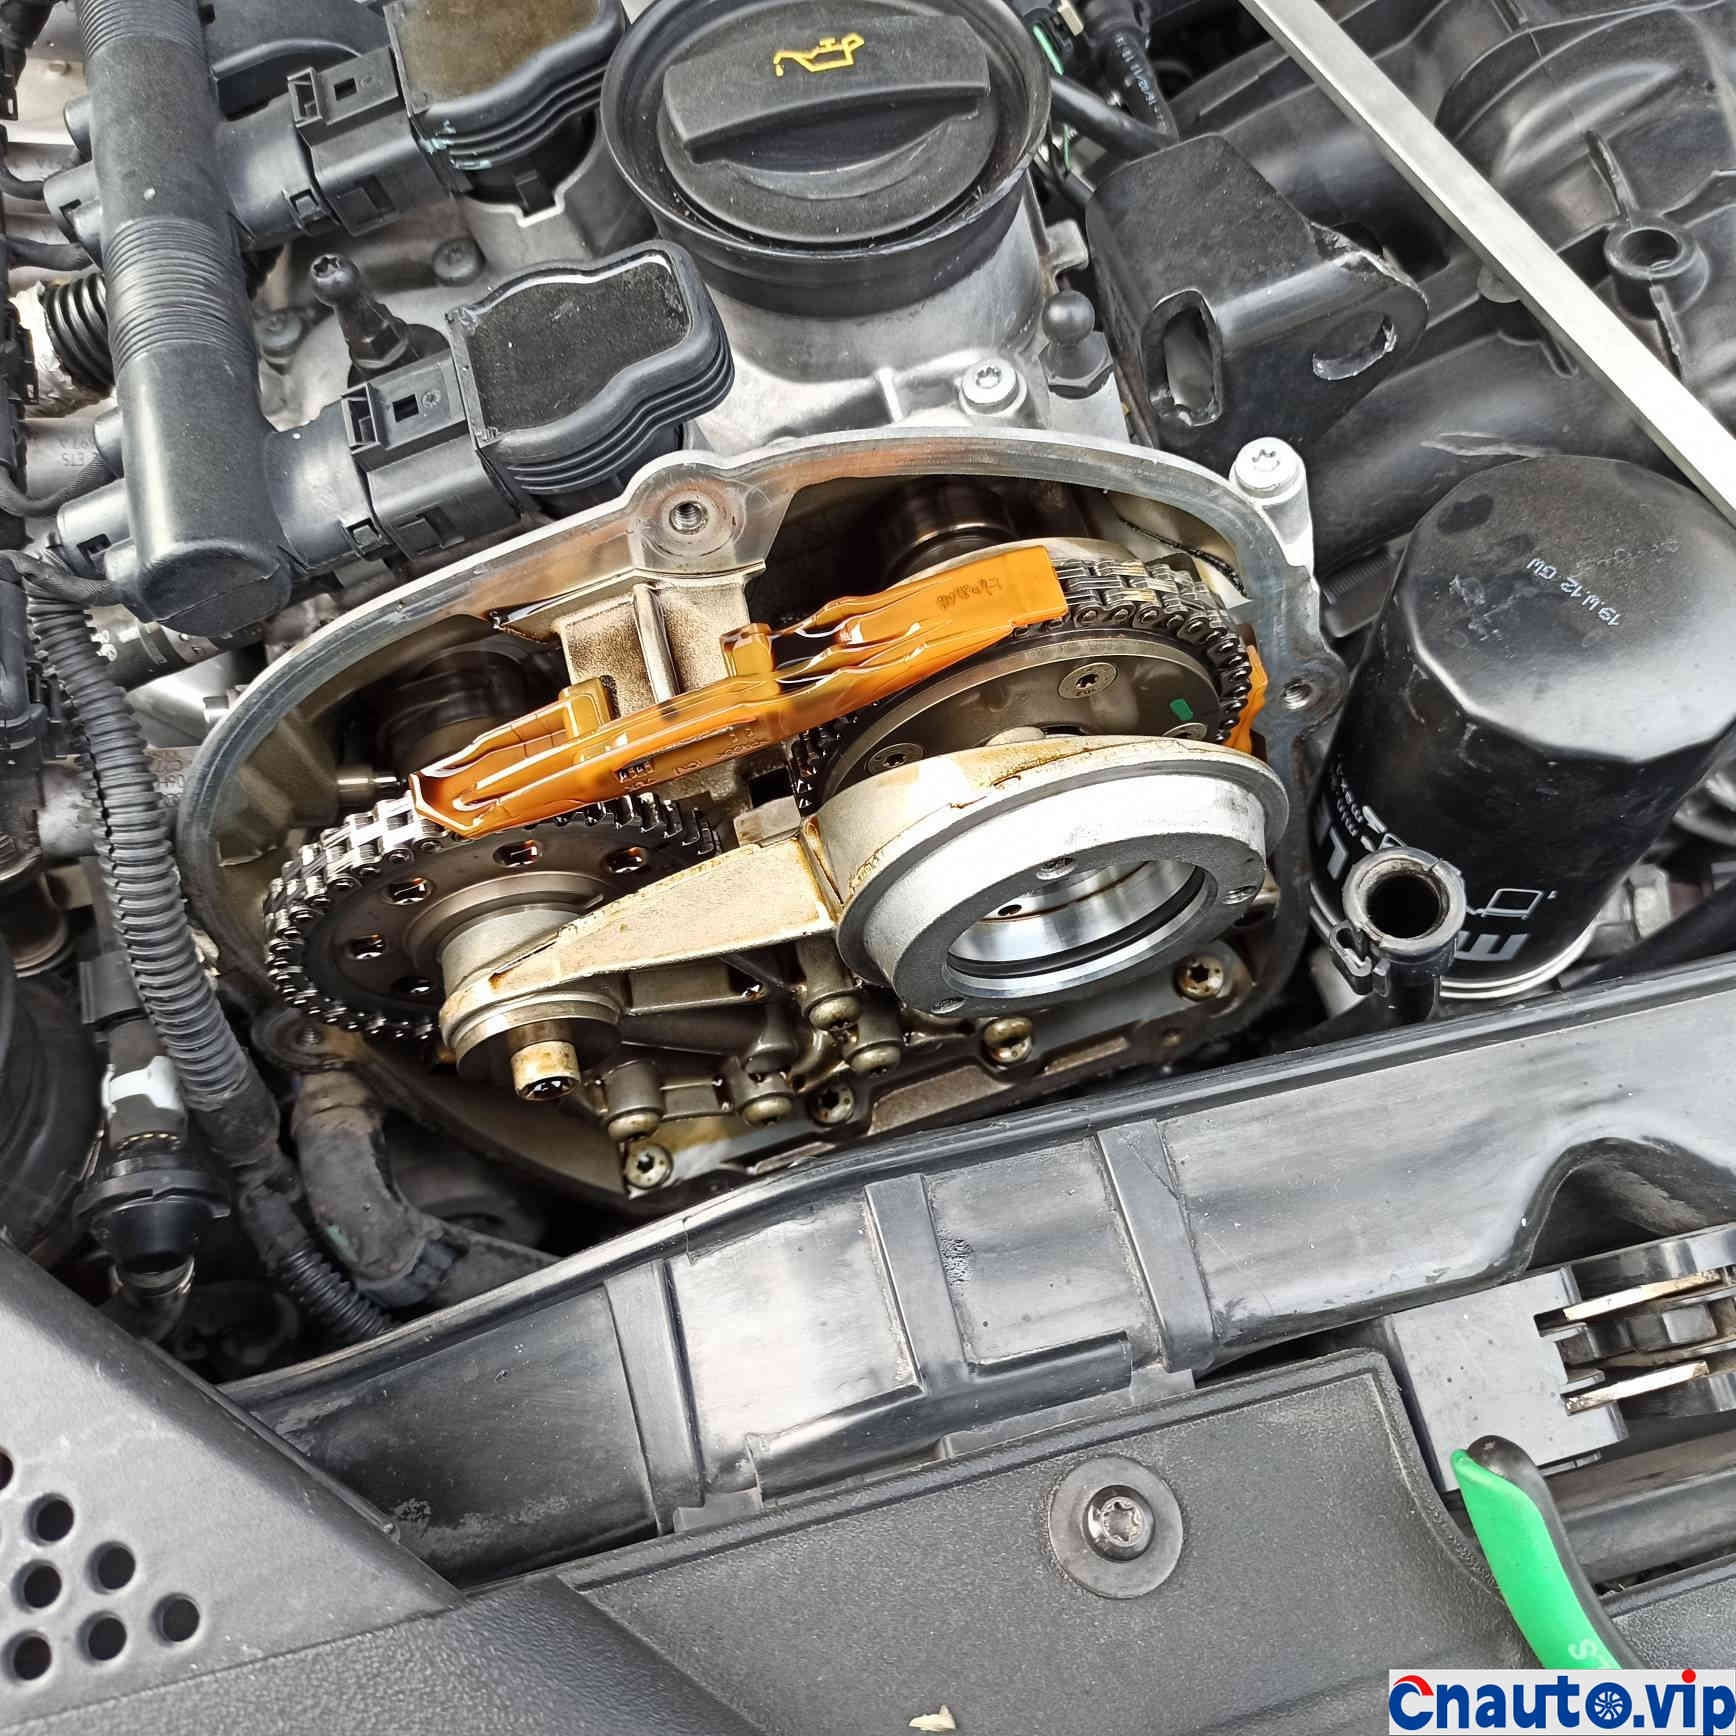
After removing the cover and looking inside, there was still no sludge or carbon deposit
Chain, chain plate, and tensioner have been replaced with improved versions,
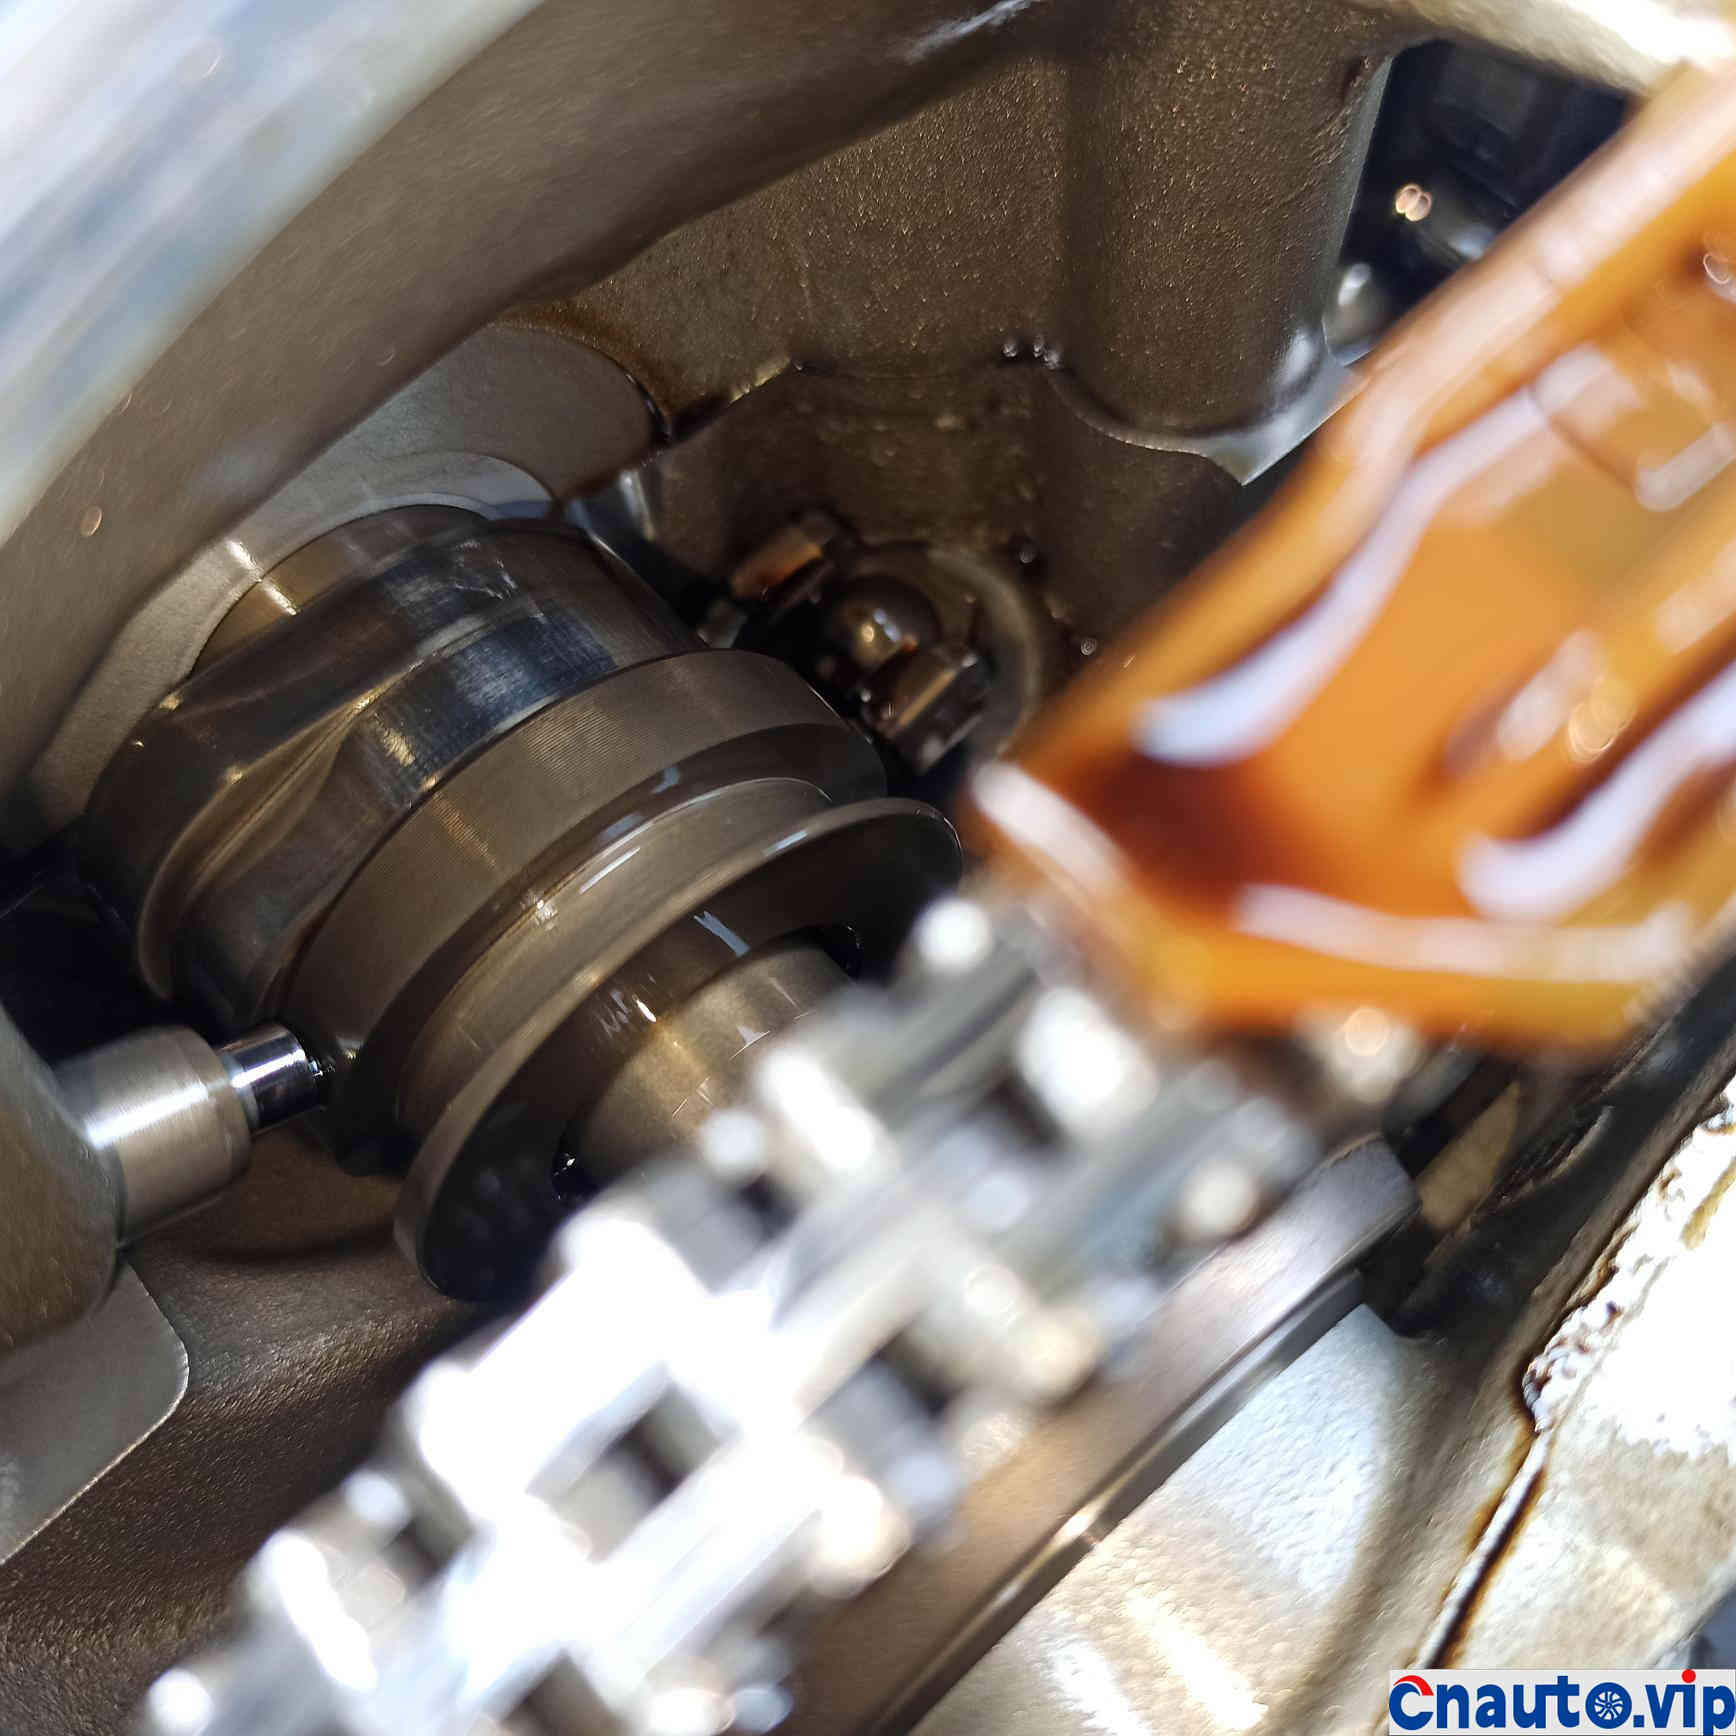
AVS Variable Exhaust Camshaft Solenoid Valve
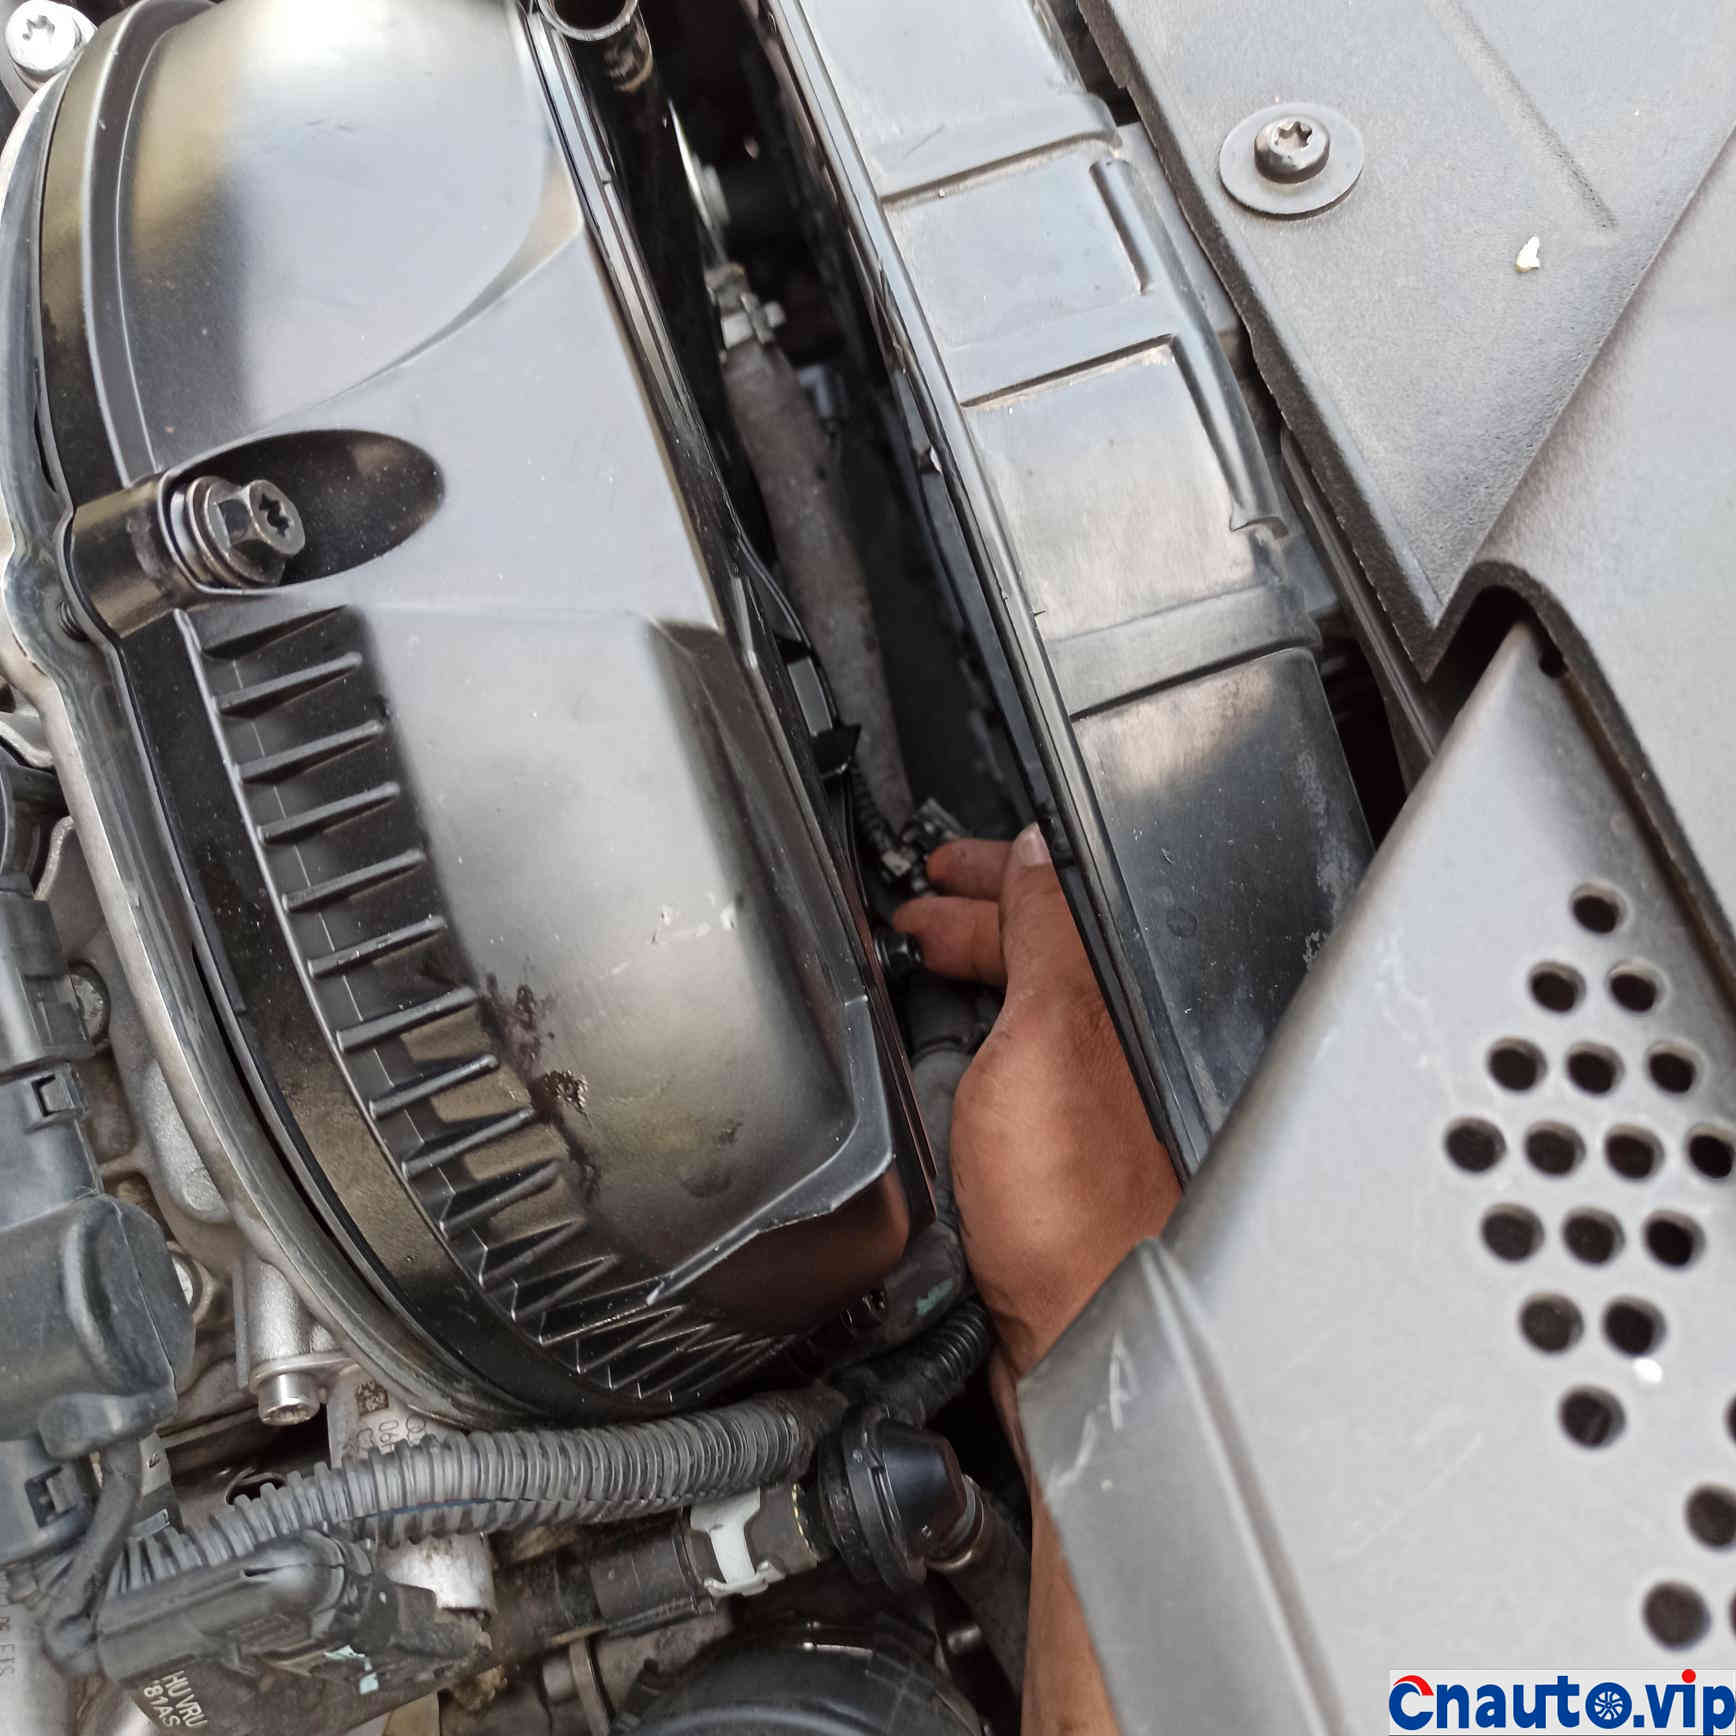
Put on a new shell and remove the air filter inlet connection pipe. You can put on the screws below by hand, at the expense of being scratched on your arms.
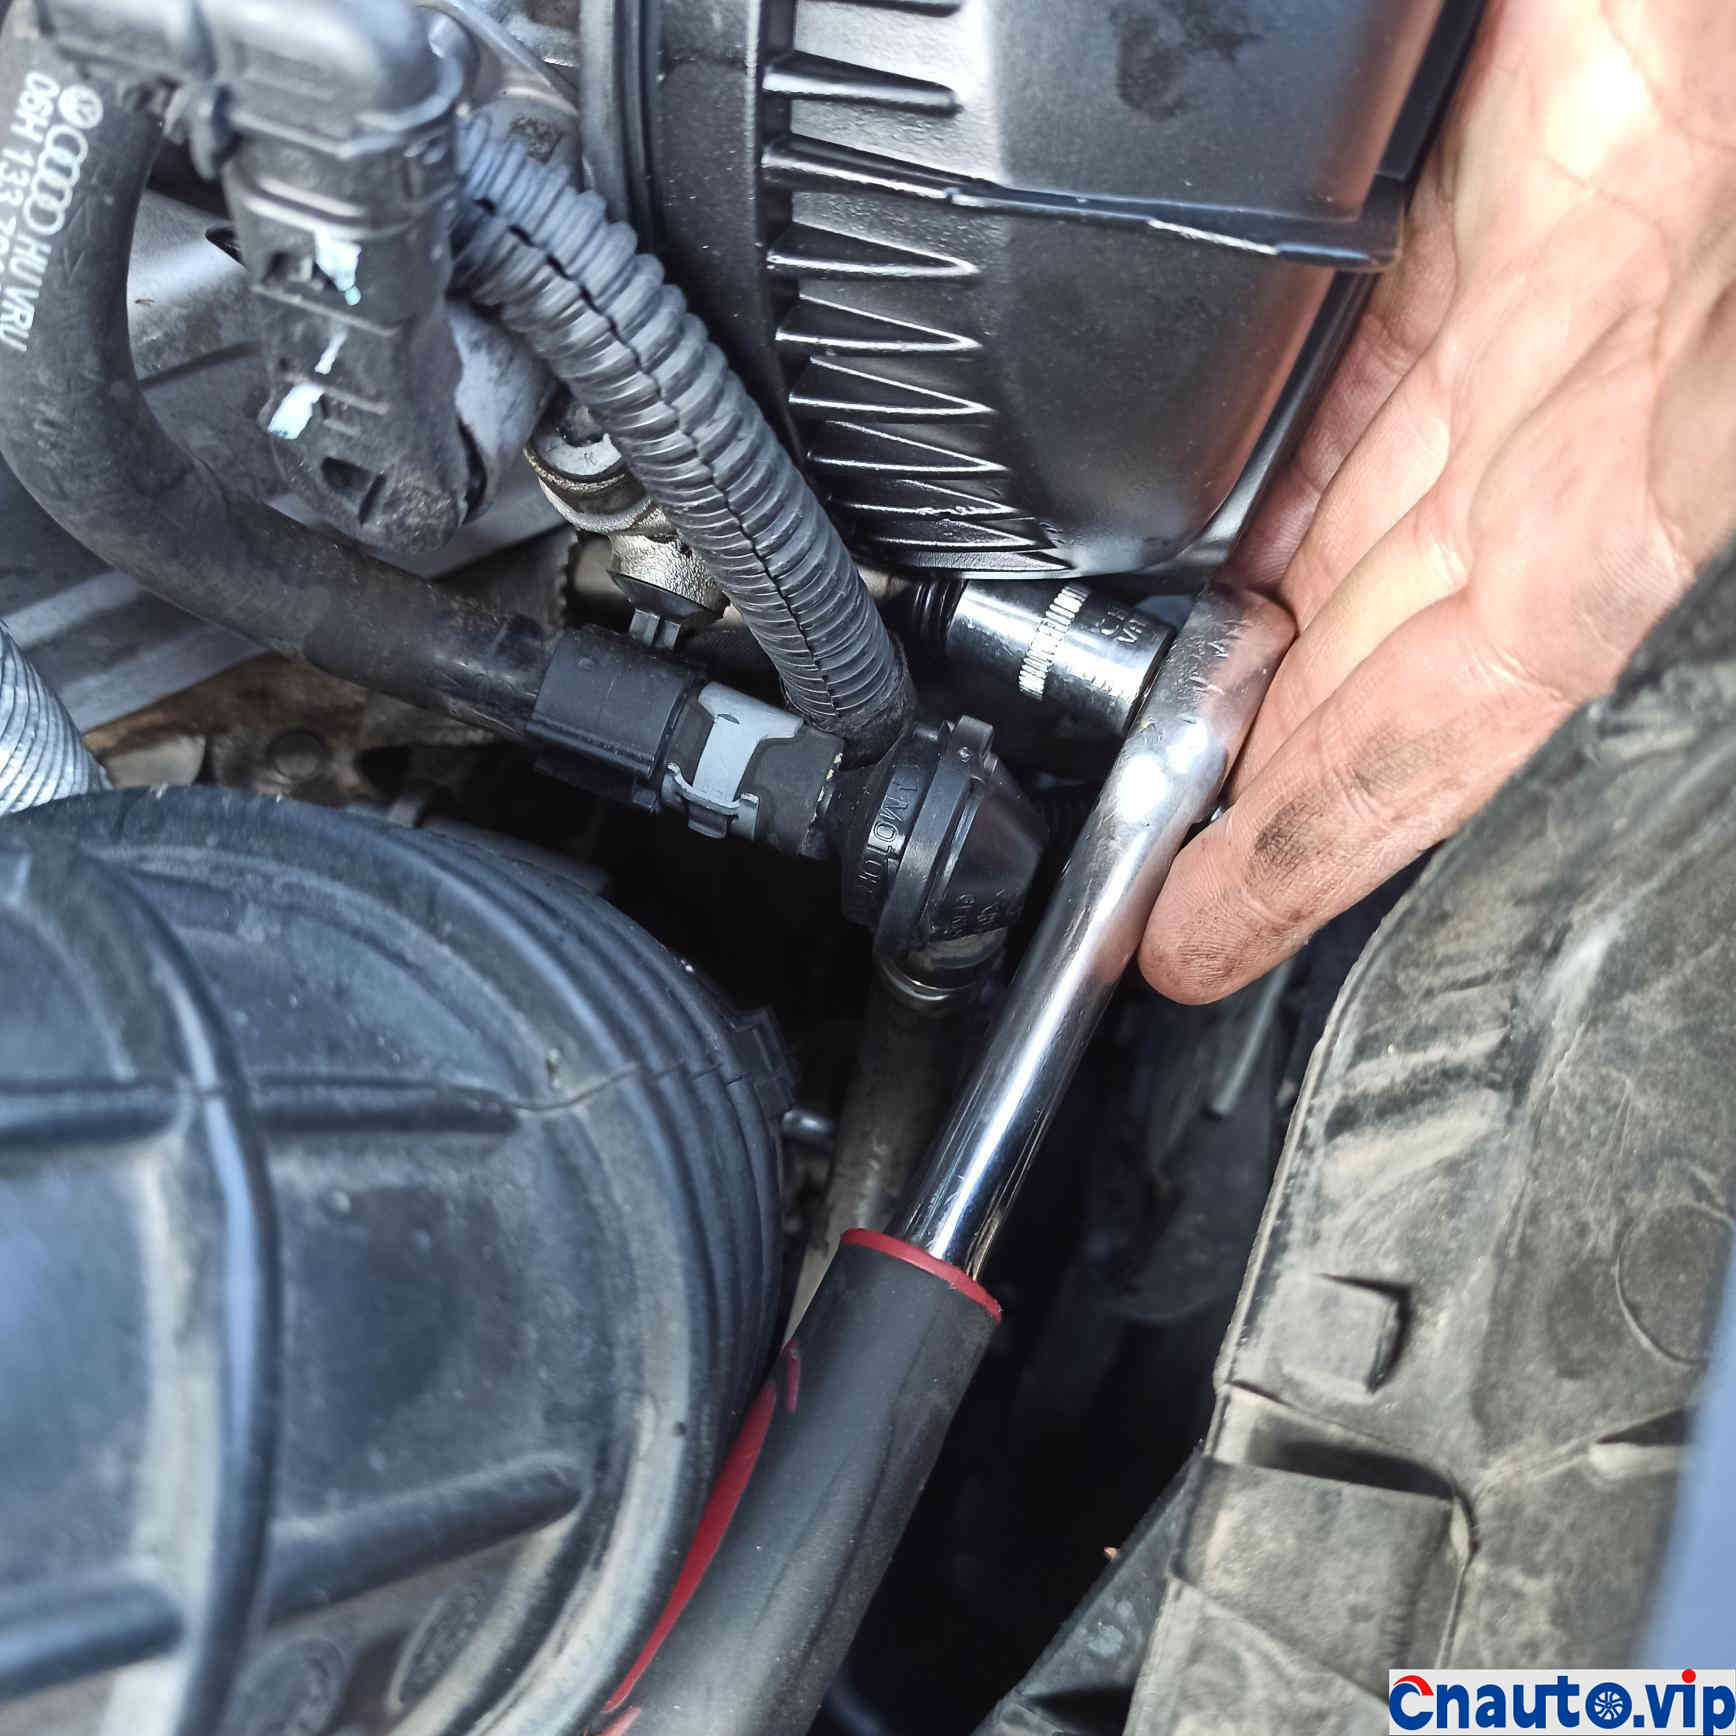
10 sleeves twist the others
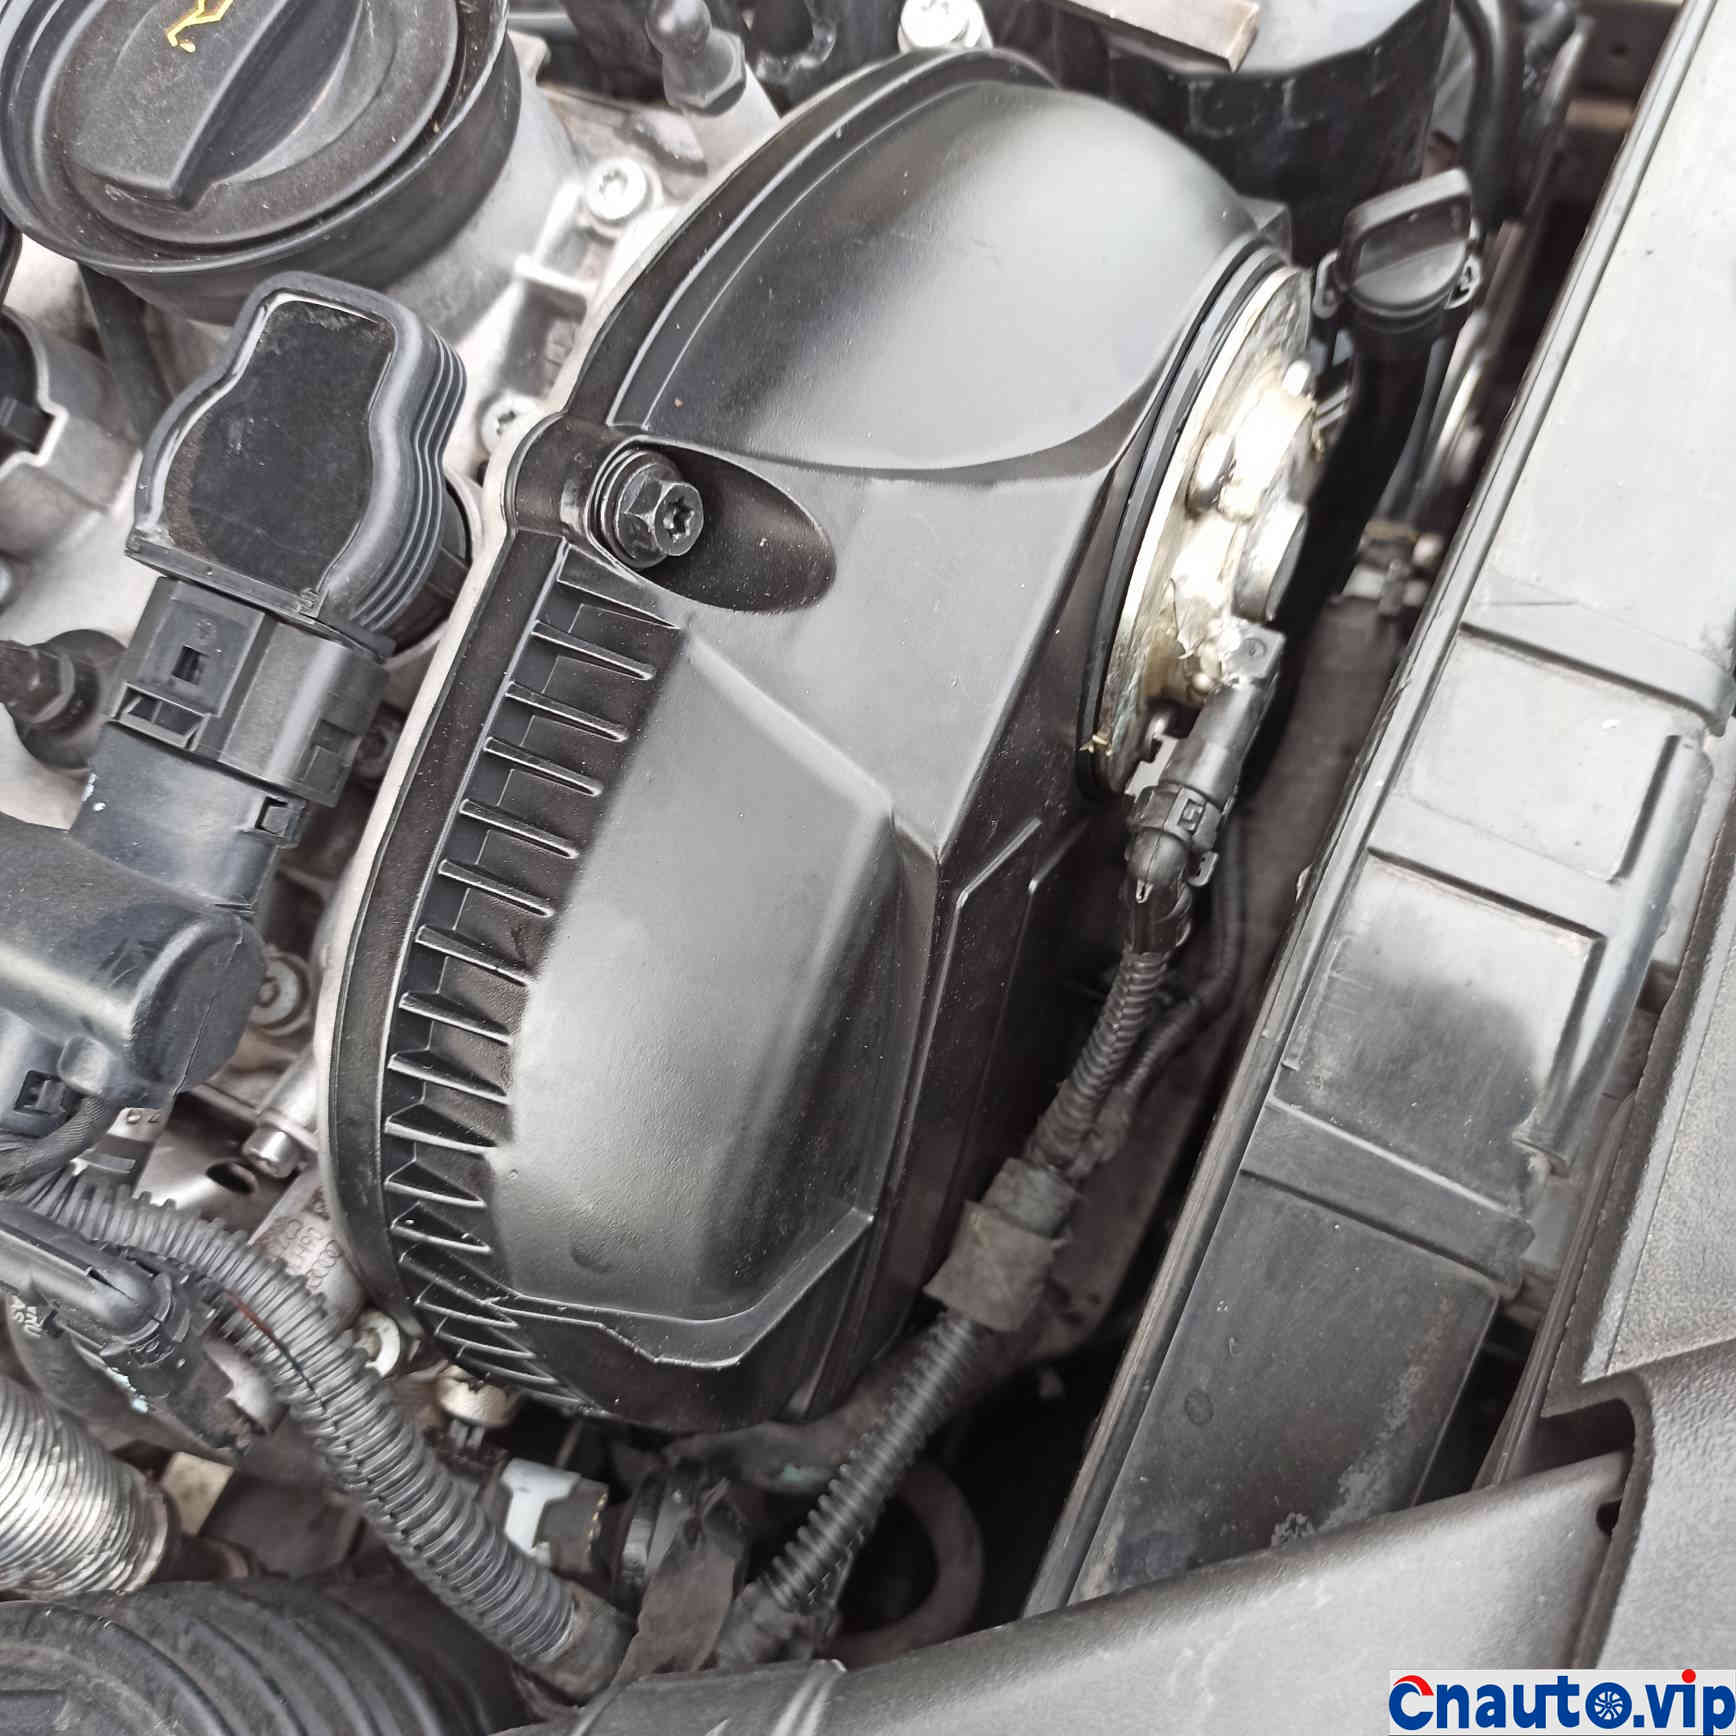
New cover after installation.
After fixing the timing cover, replace the external filter element of the transmission
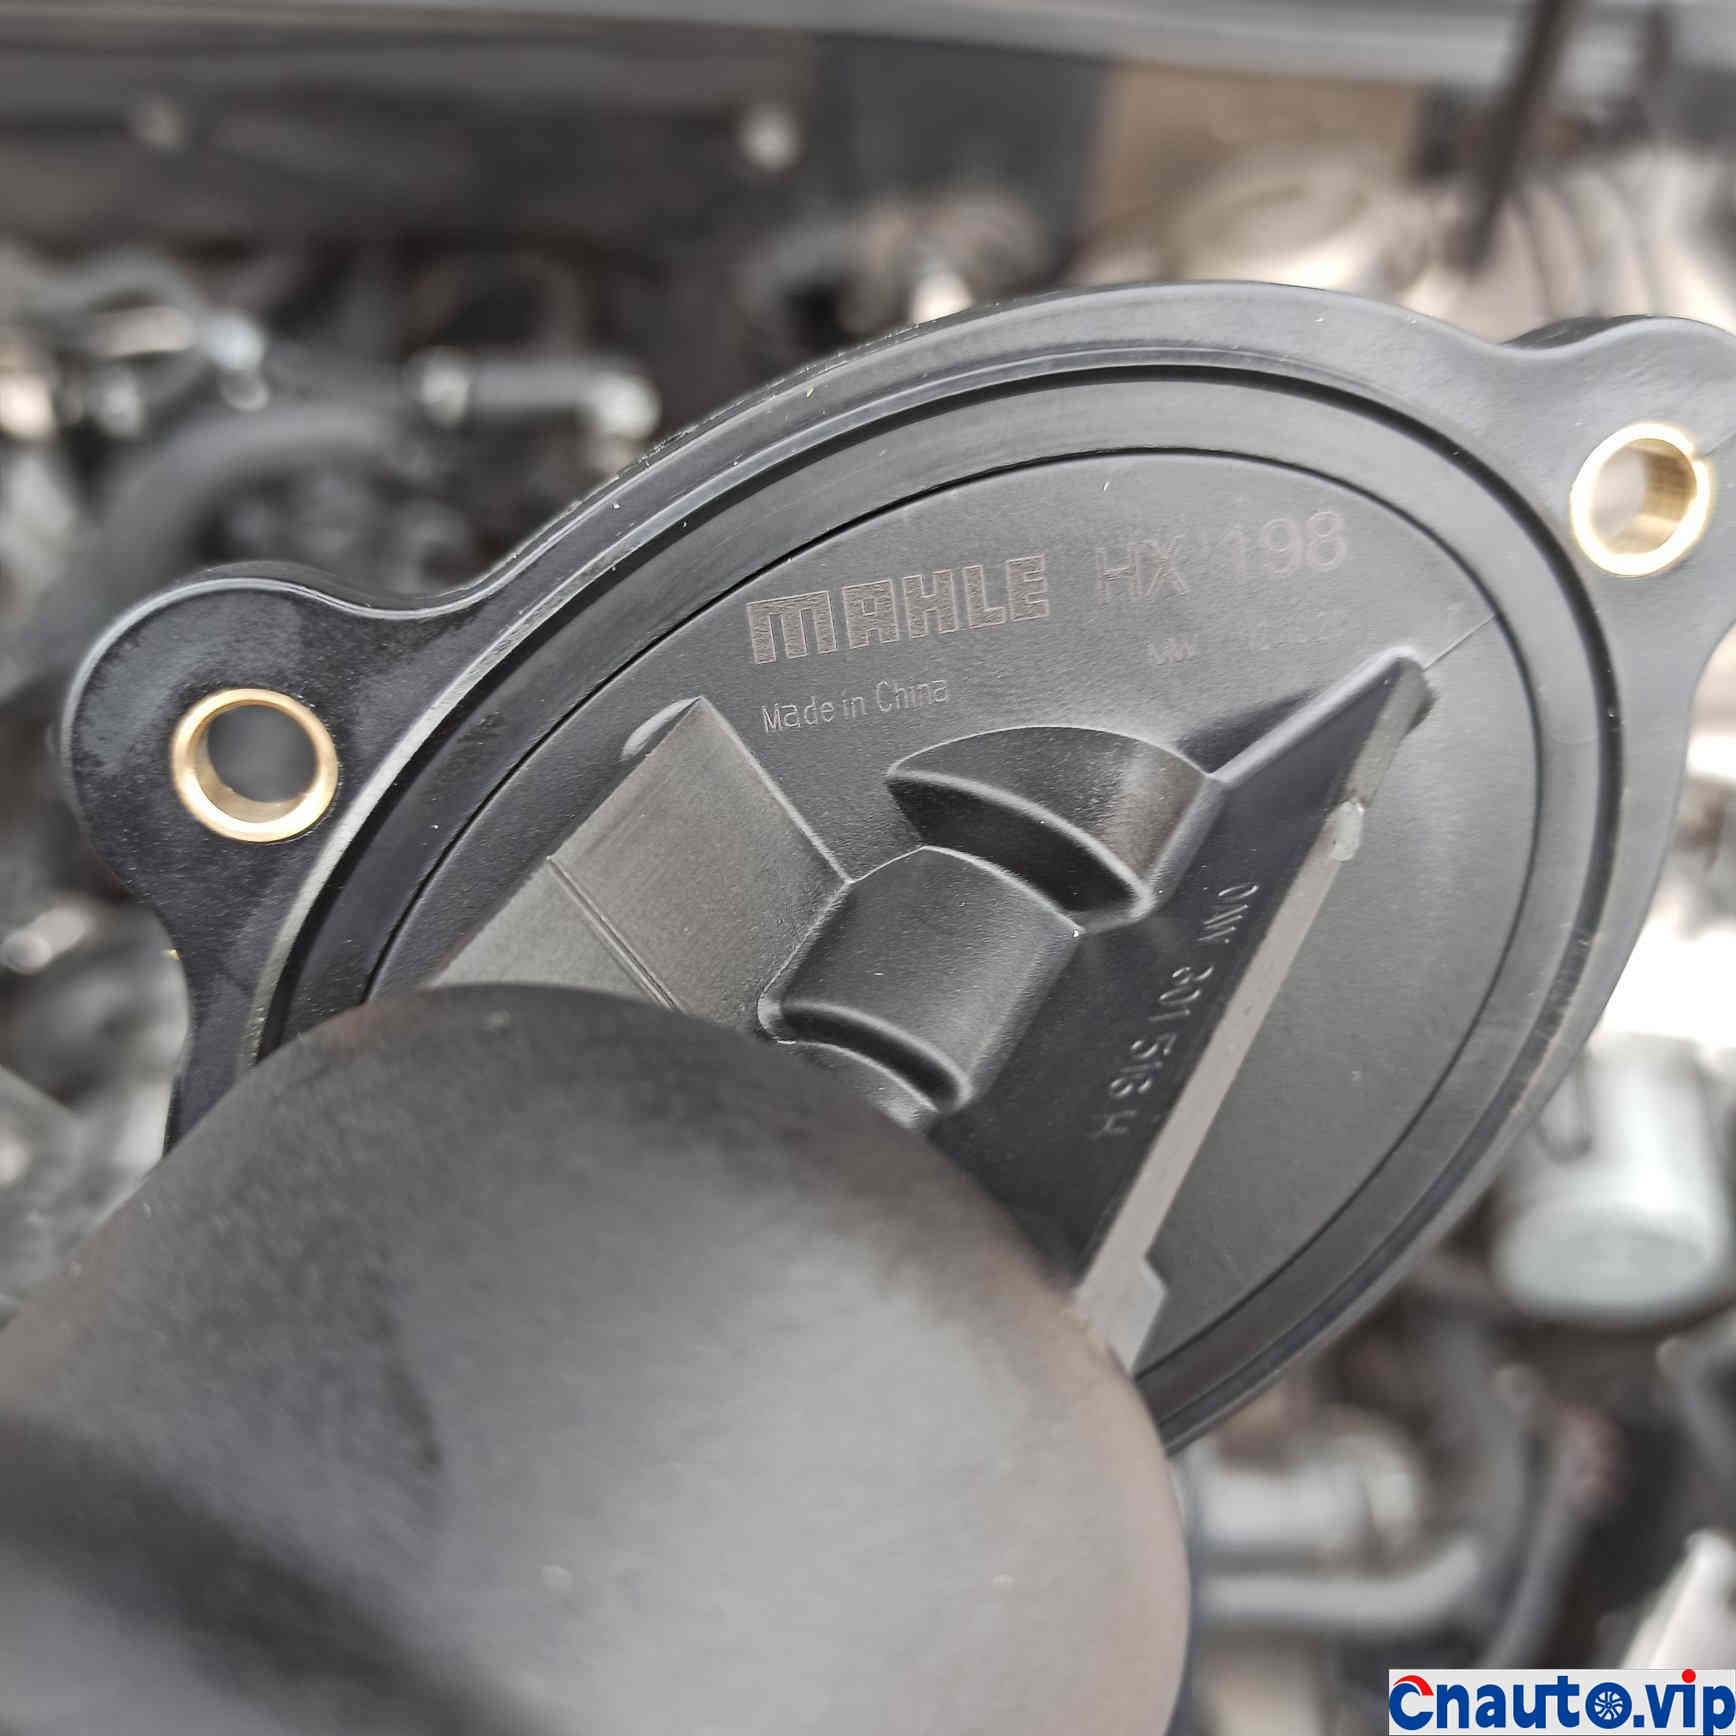
MAHLE products
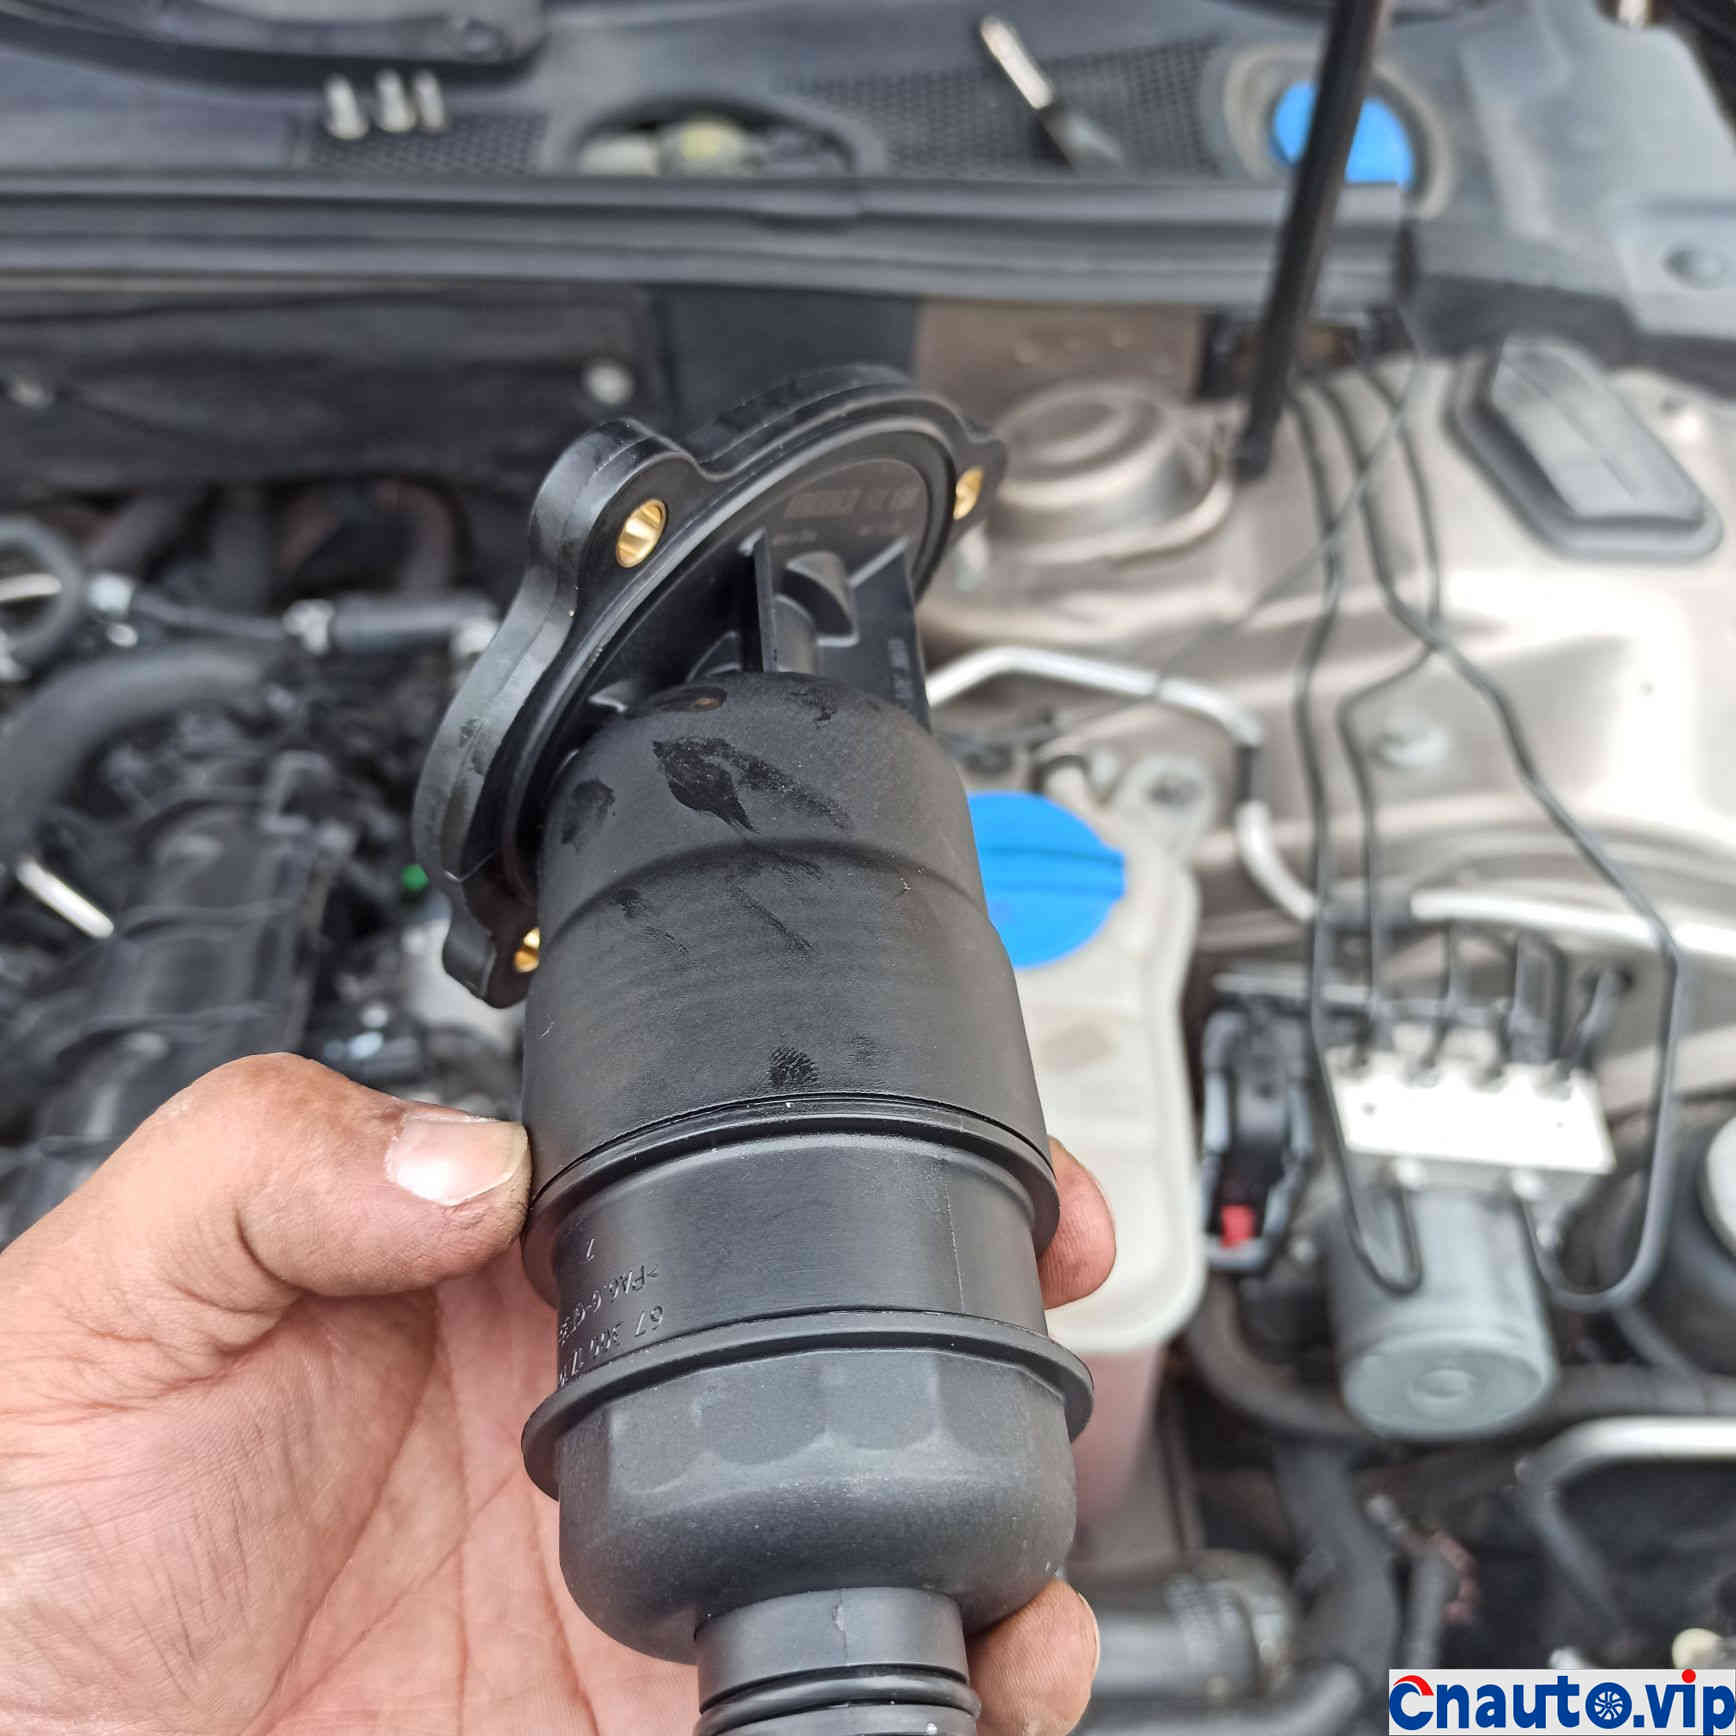
The feeling of workmanship needs to be improved
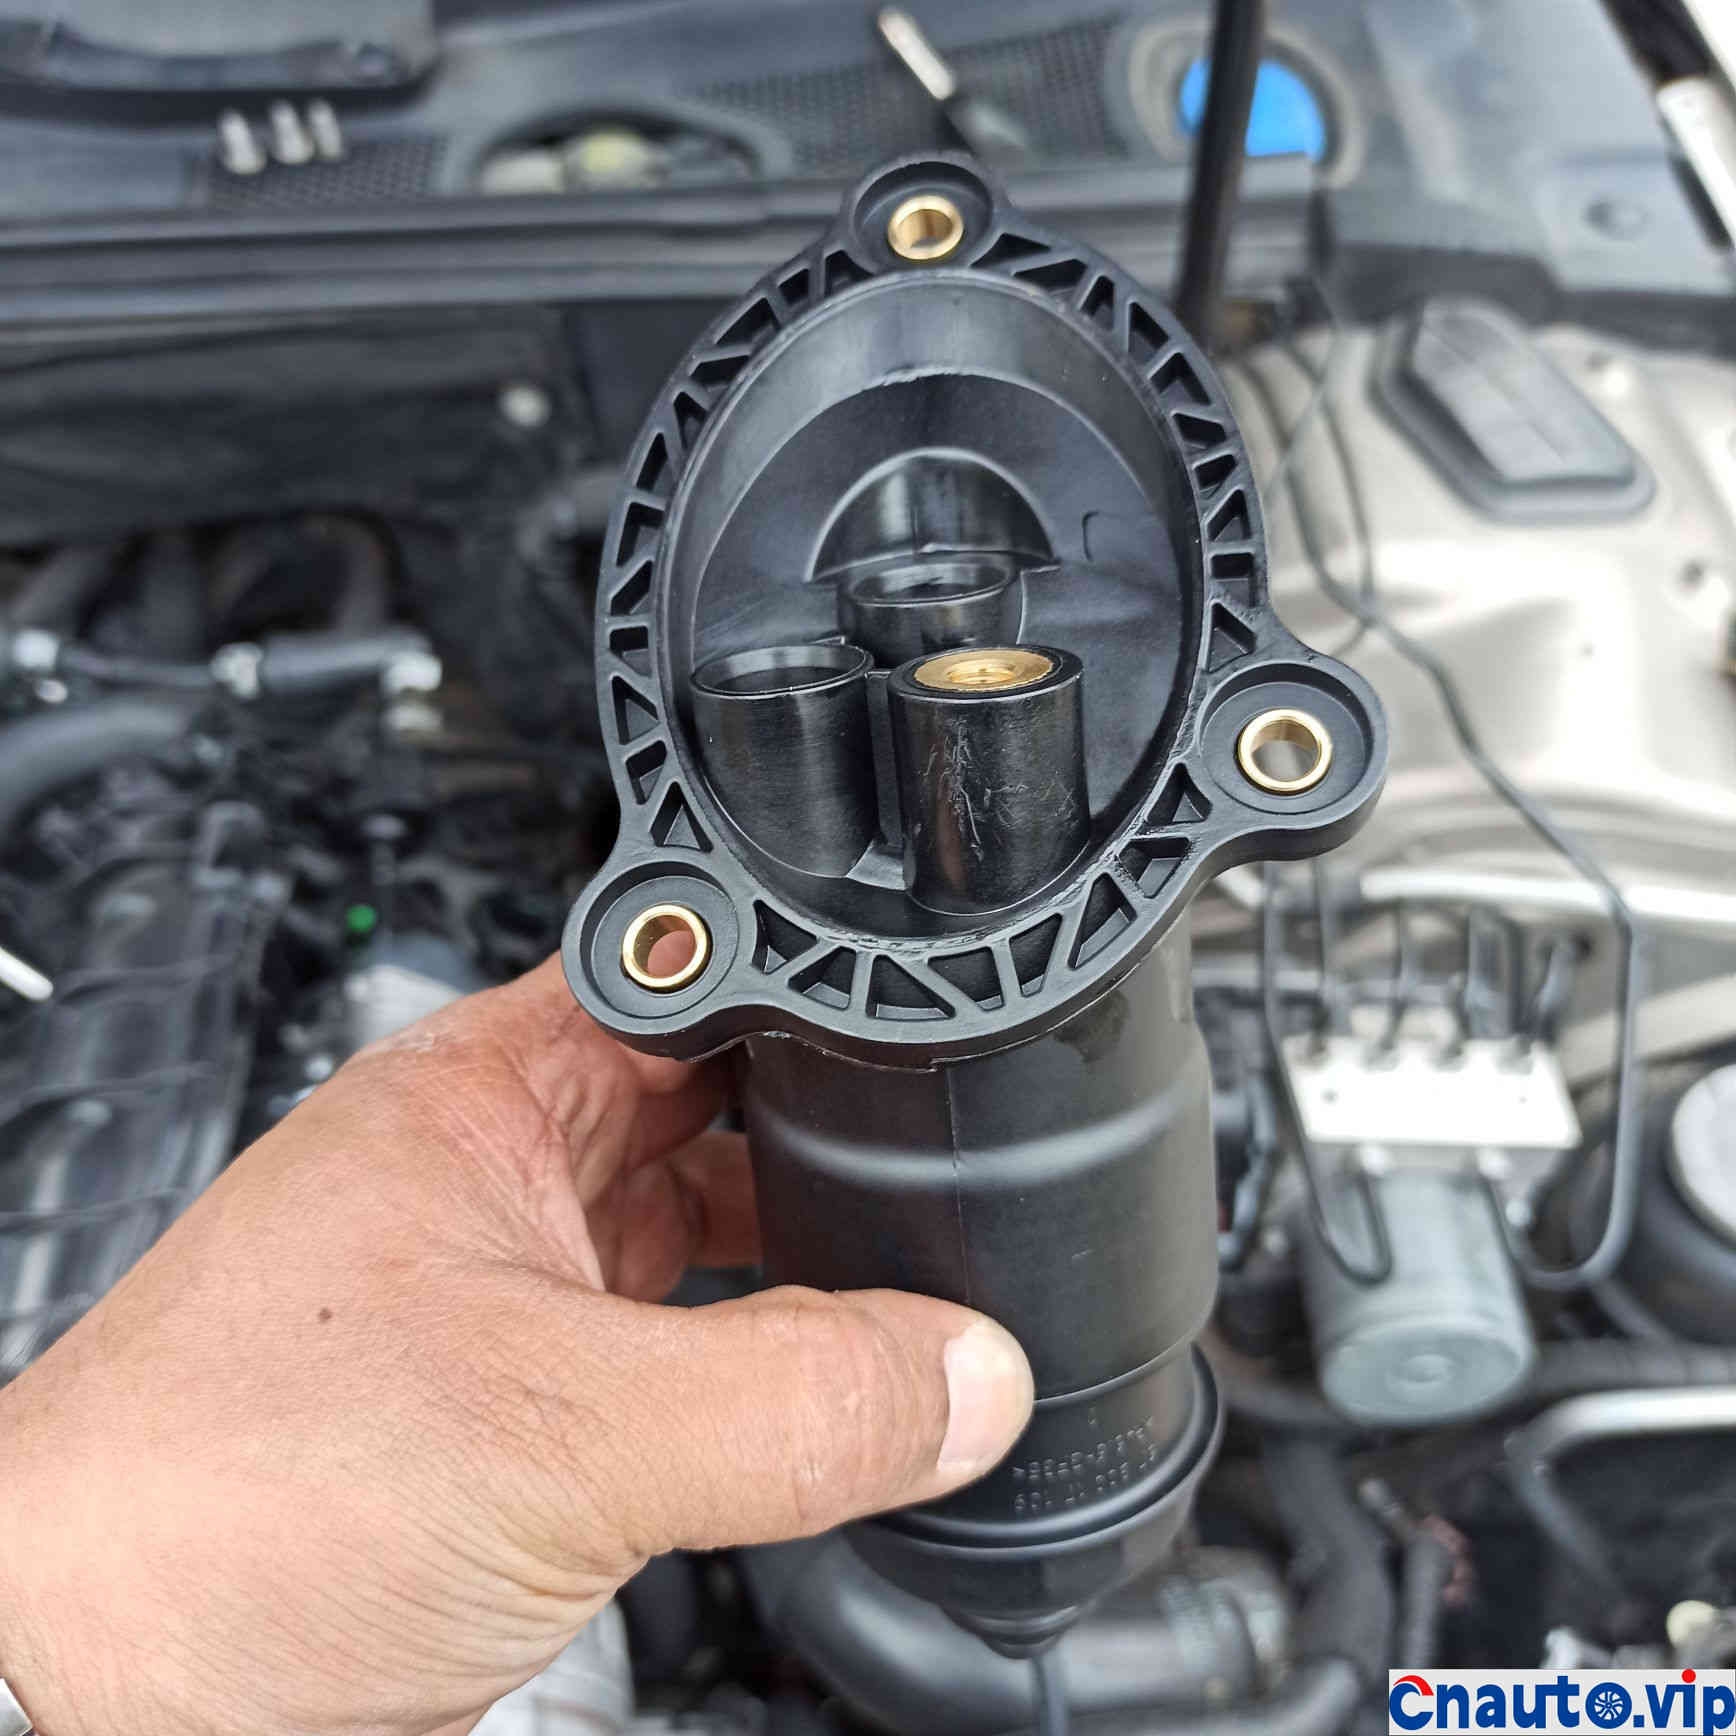
Three fixing holes and one oil pipe fixing hole.
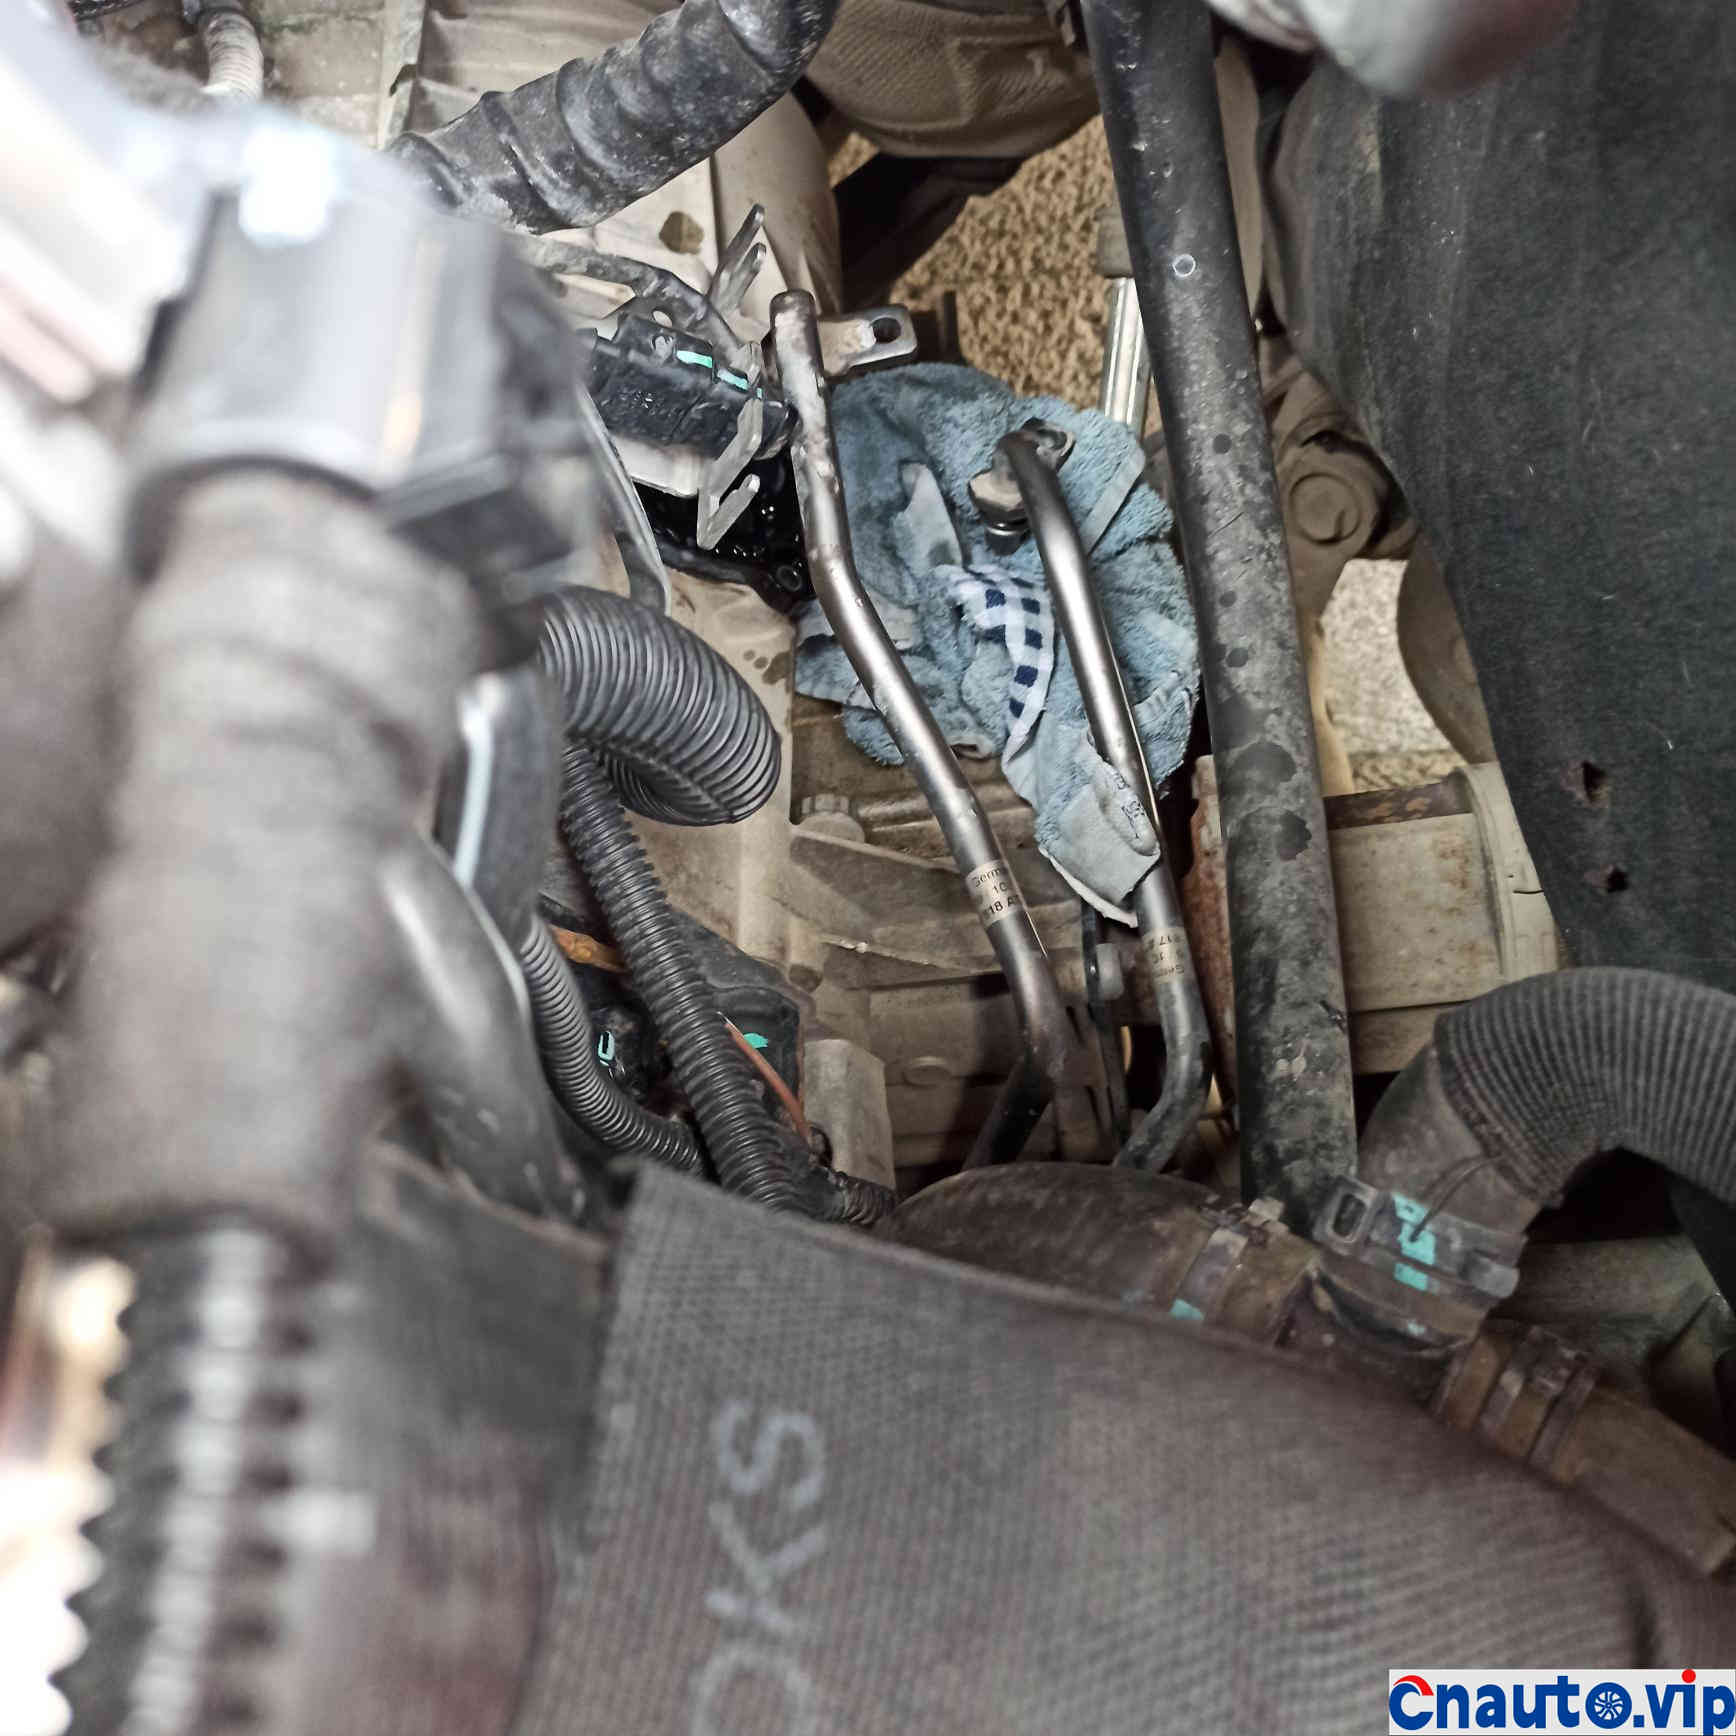
Right here, remove the screws from the 13 sleeves on which the inlet and outlet pipes are fixed,
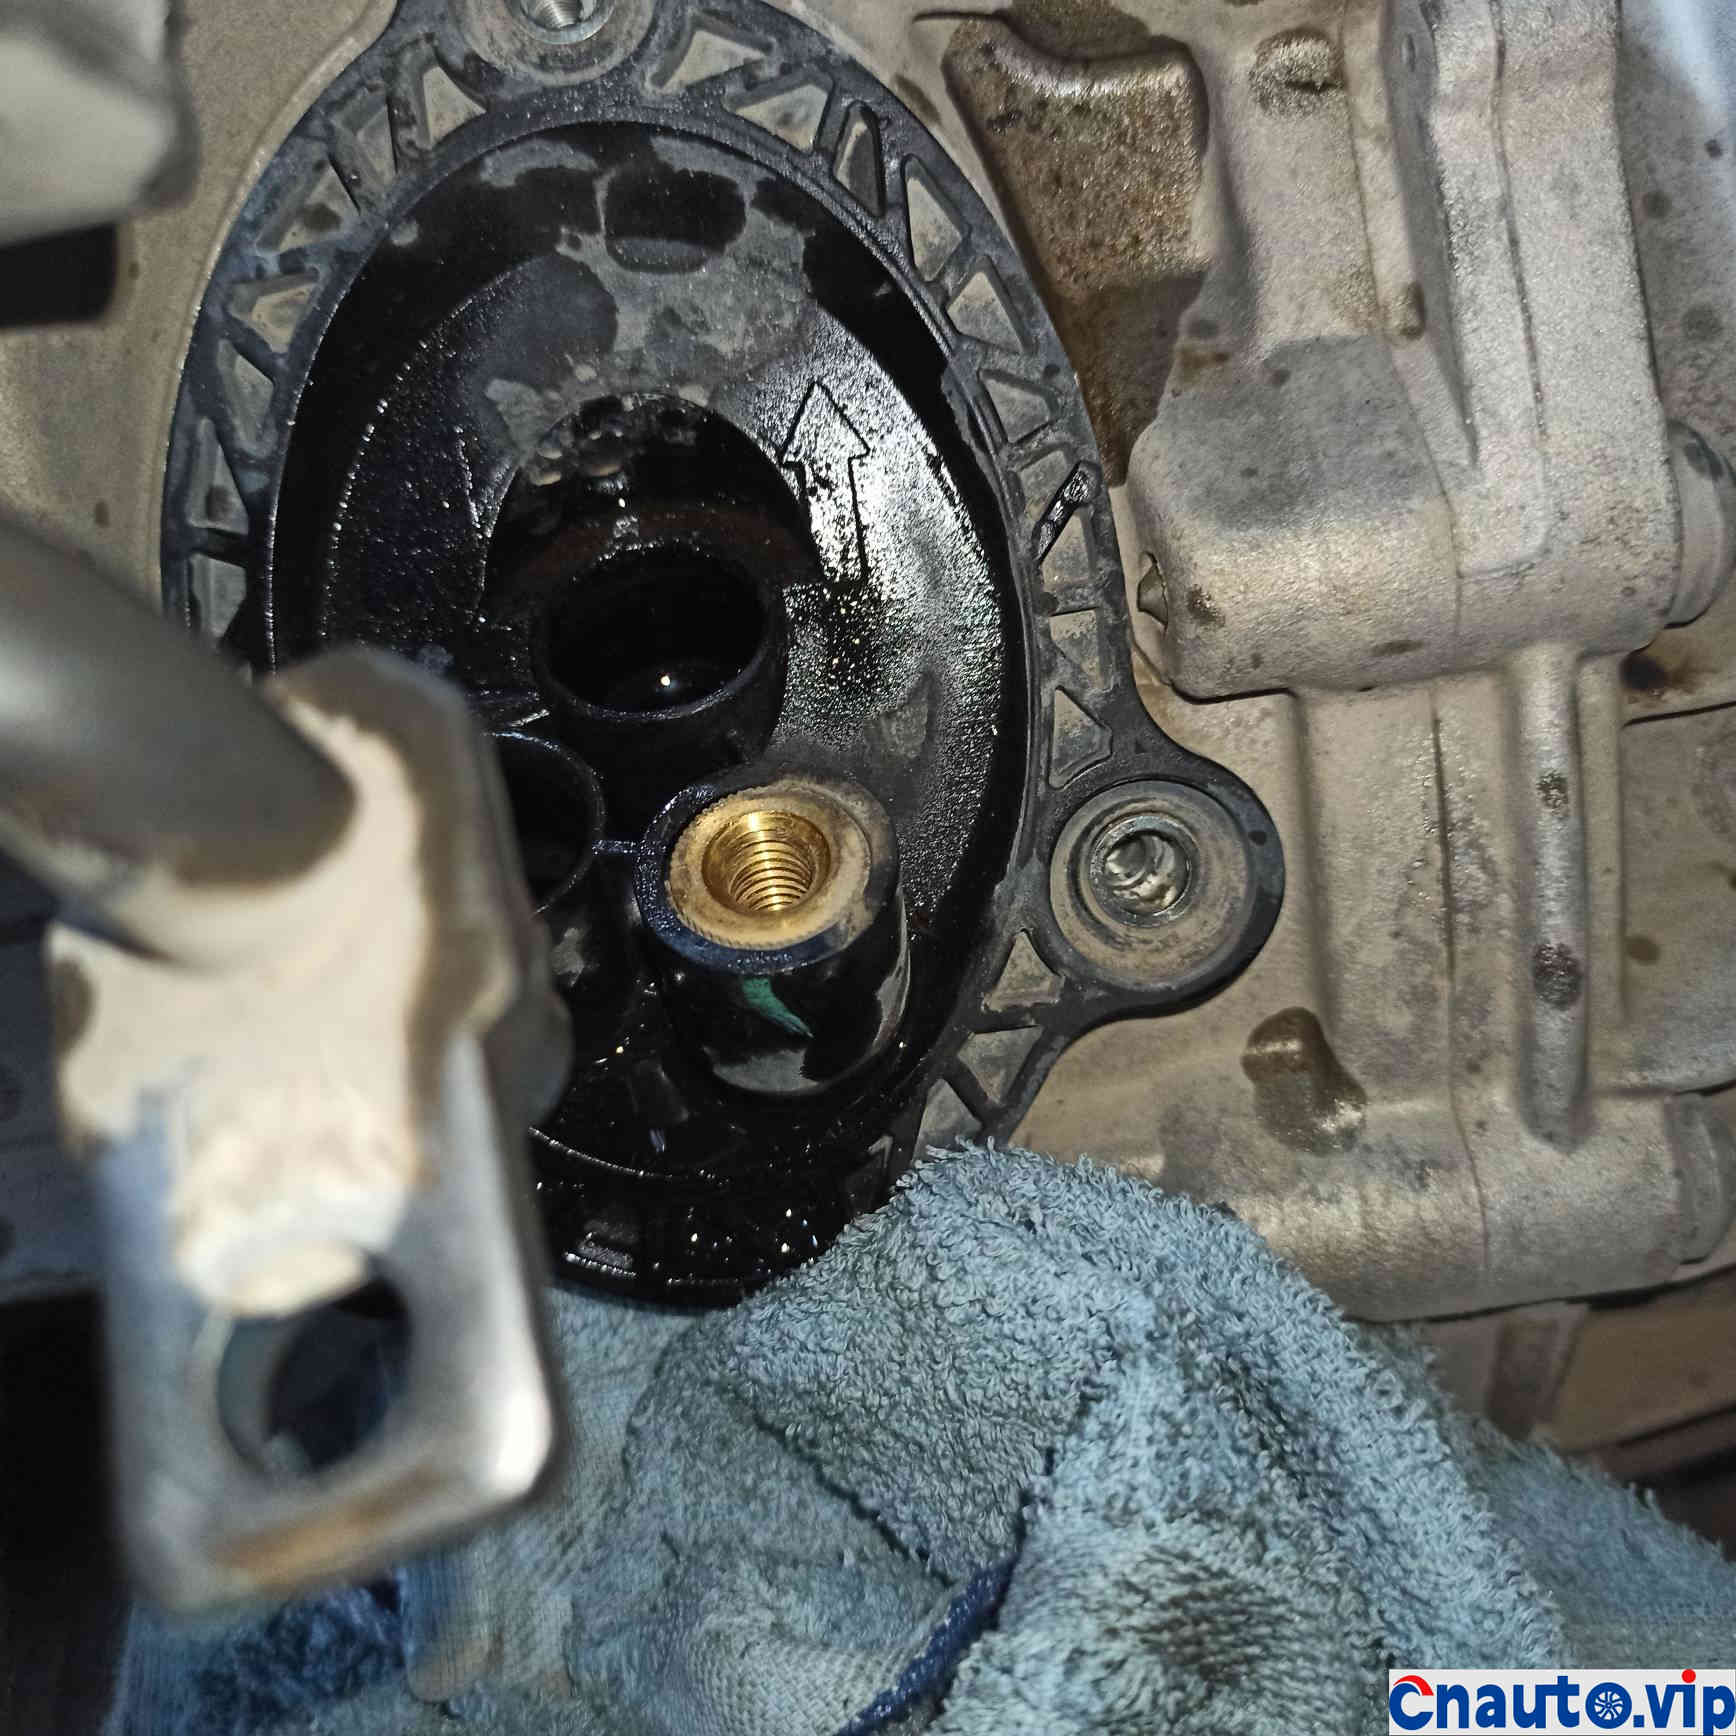
Pull out the inlet and outlet tubing, a little oil will flow out. Pay attention to put a towel under it.
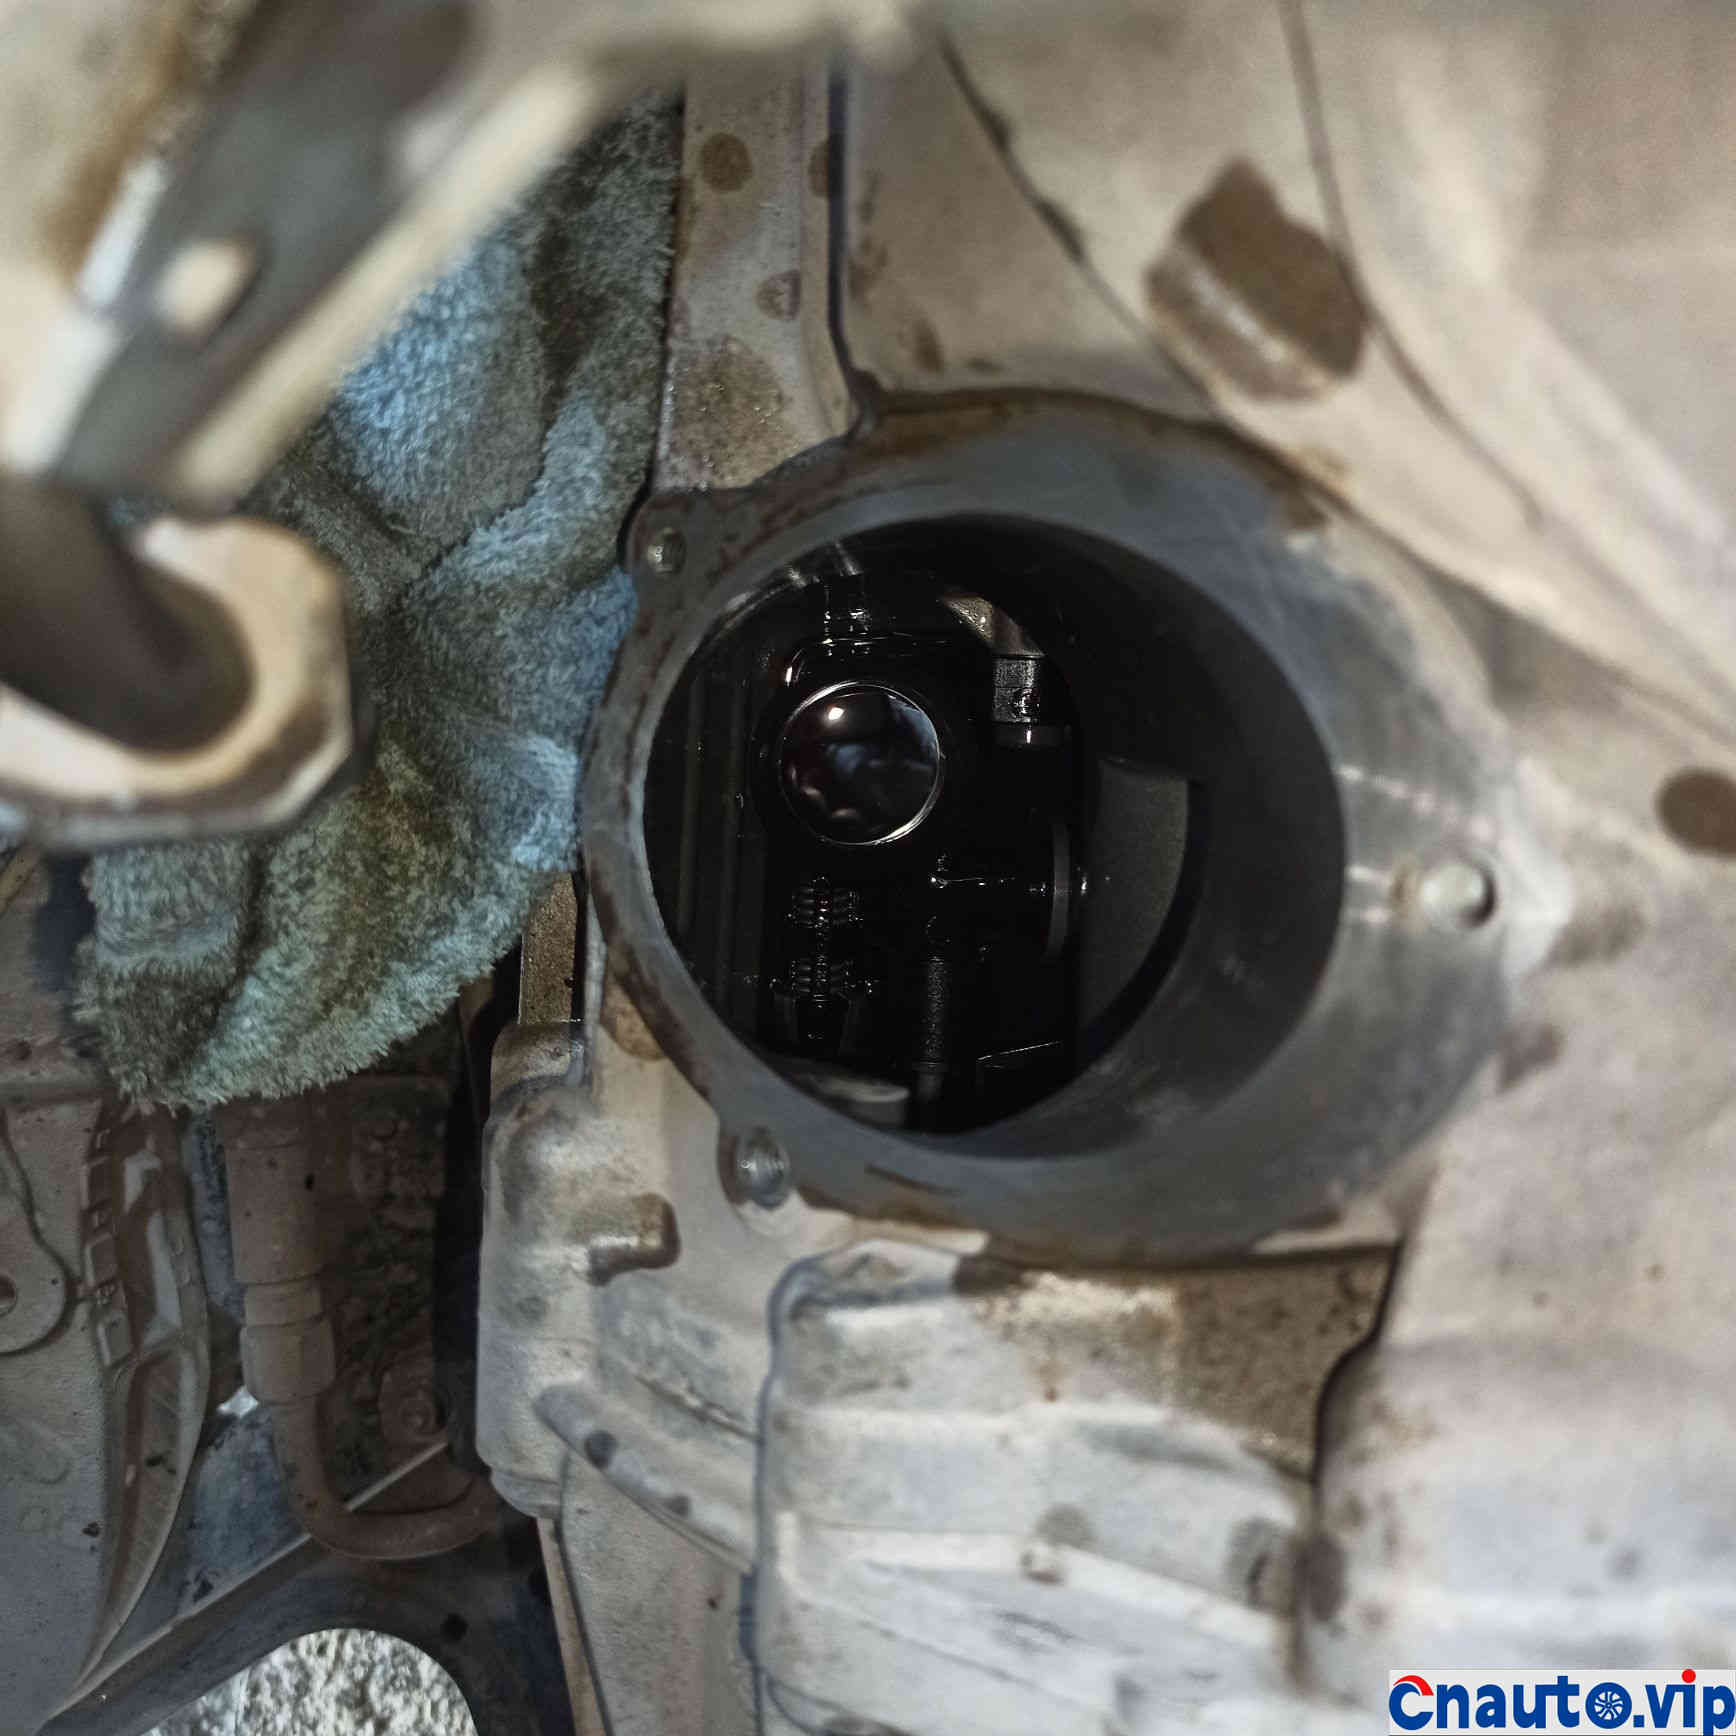
After removing the filter element, clean the surface with a wet tissue and
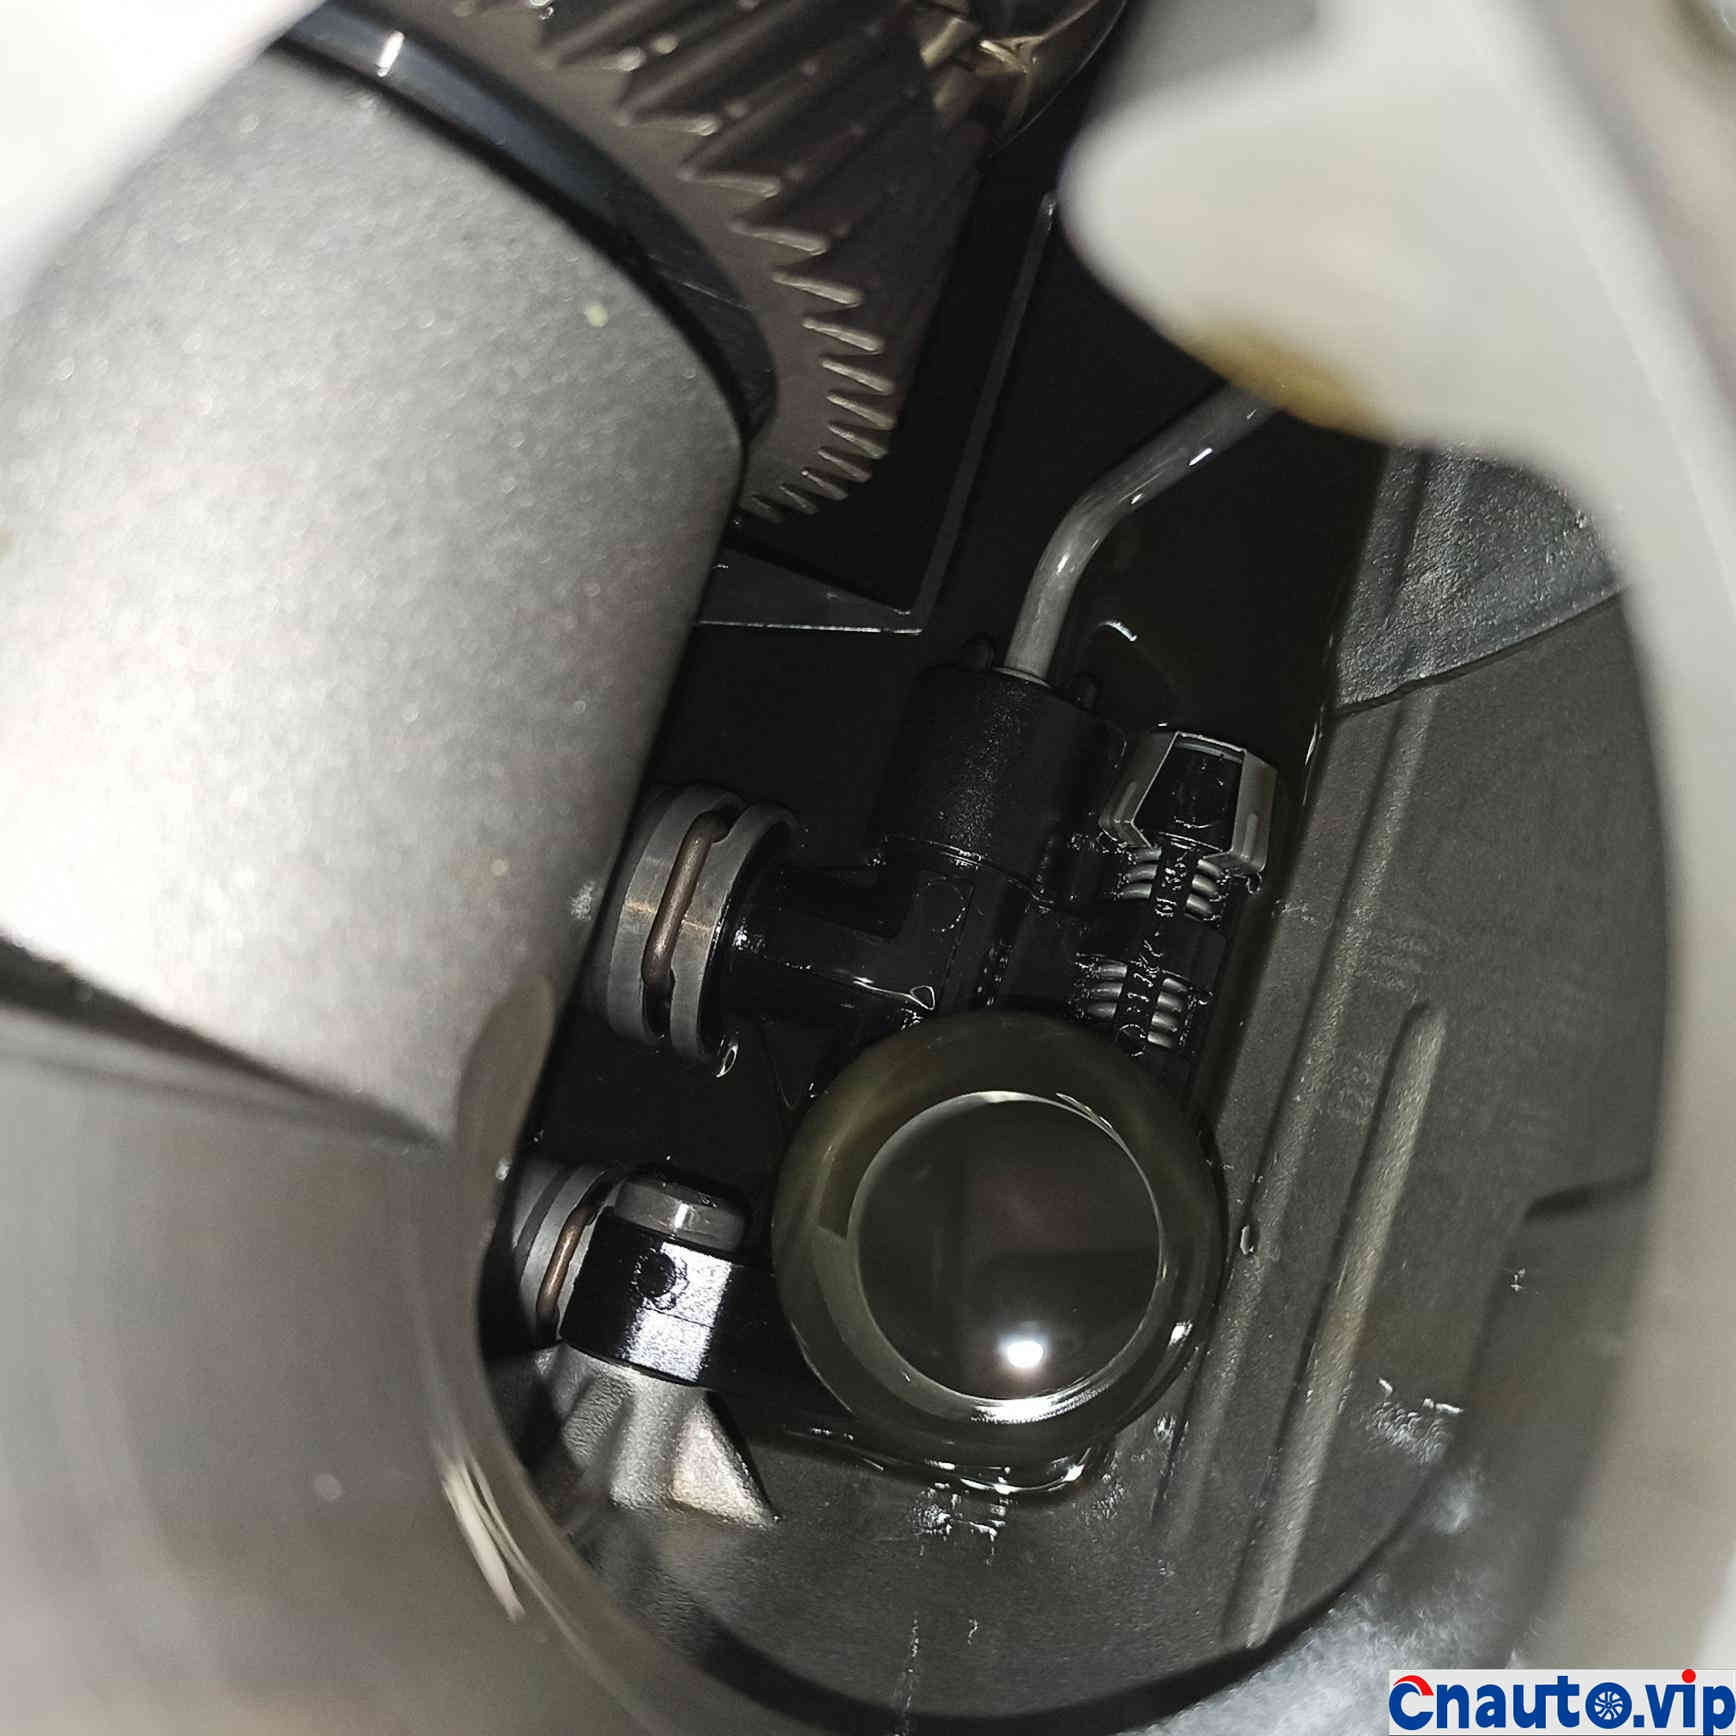
Look inside the gearbox.
Finally, install it back in reverse order. Be aware that the inlet and outlet oil pipes need to be broken to the side with some force, otherwise the filter element cannot be taken out.
Finally, the cleaning agent cleaned the surrounding oil stains, collected tools, washed hands, and started the test run. Everything was normal.


 April 1, 2024
  March 27, 2024
 March 27, 2024
