Wiring arrangement for Volvo s90 ‘s own driving recorder
Some time ago, a motorcyclist was troubled by installing a driving recorder and posted a post to explain how to arrange the route if the line was to be opened.
The first step requires a small rocker, but when you buy this small rocker, he will always bring one for you when you buy a driving recorder. The purpose of this small rocker is to pry open the gap and insert the wire in, so that other tools are not needed.
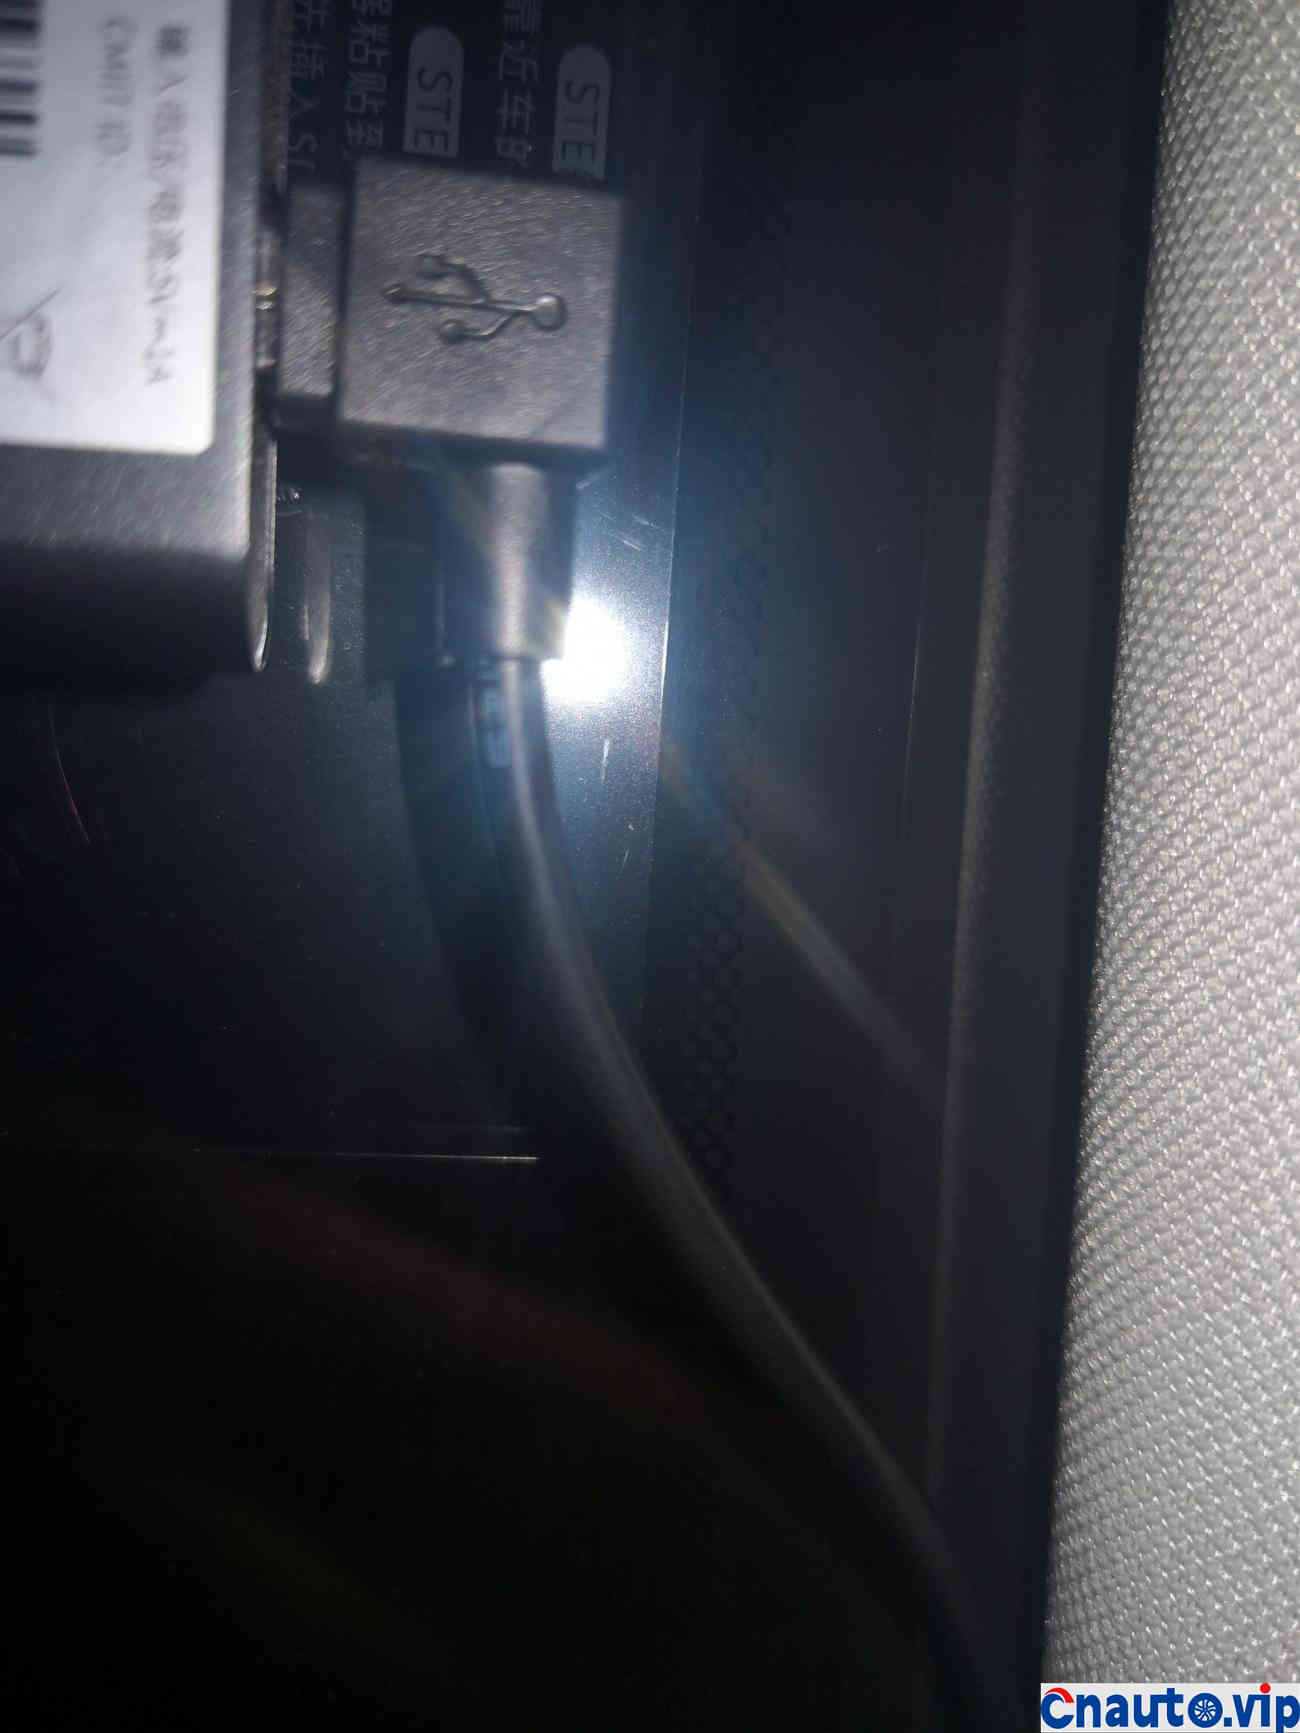
There are two ways to connect it. One is to connect it to the cigarette lighter of the seat in front, and the other is to connect it to the cigarette lighter at the back. The method of connecting it to the cigarette lighter at the back is recommended because connecting it to the front will affect other uses, such as mobile phone charging and Volvo’s unique aroma, which are not very easy to use because there is only one cigarette lighter hole. So I recommend connecting it to the cigarette lighter hole on the back. Like the s90, there is a USB interface on the back, just plug it in directly. I prefer to use the second one, which is to plug it directly into the back row.
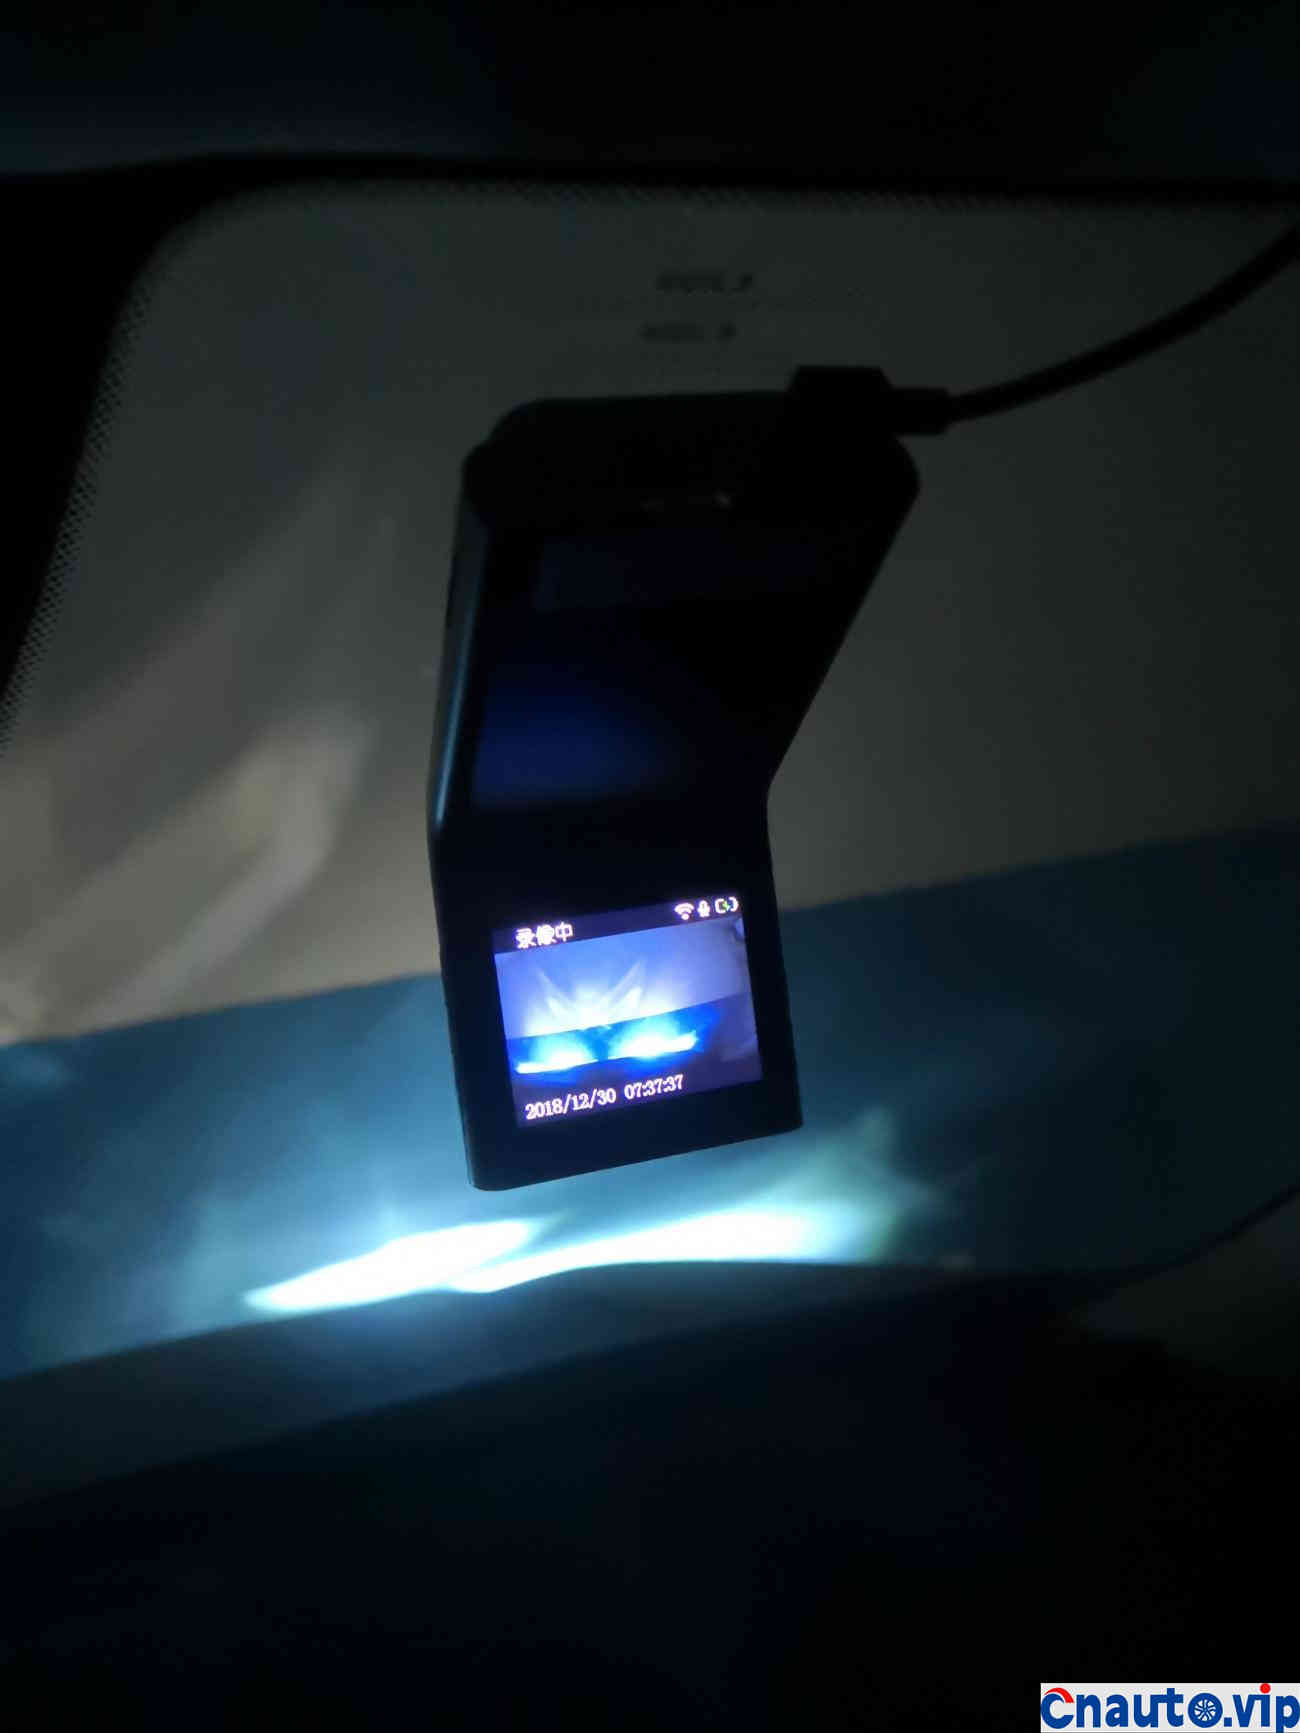
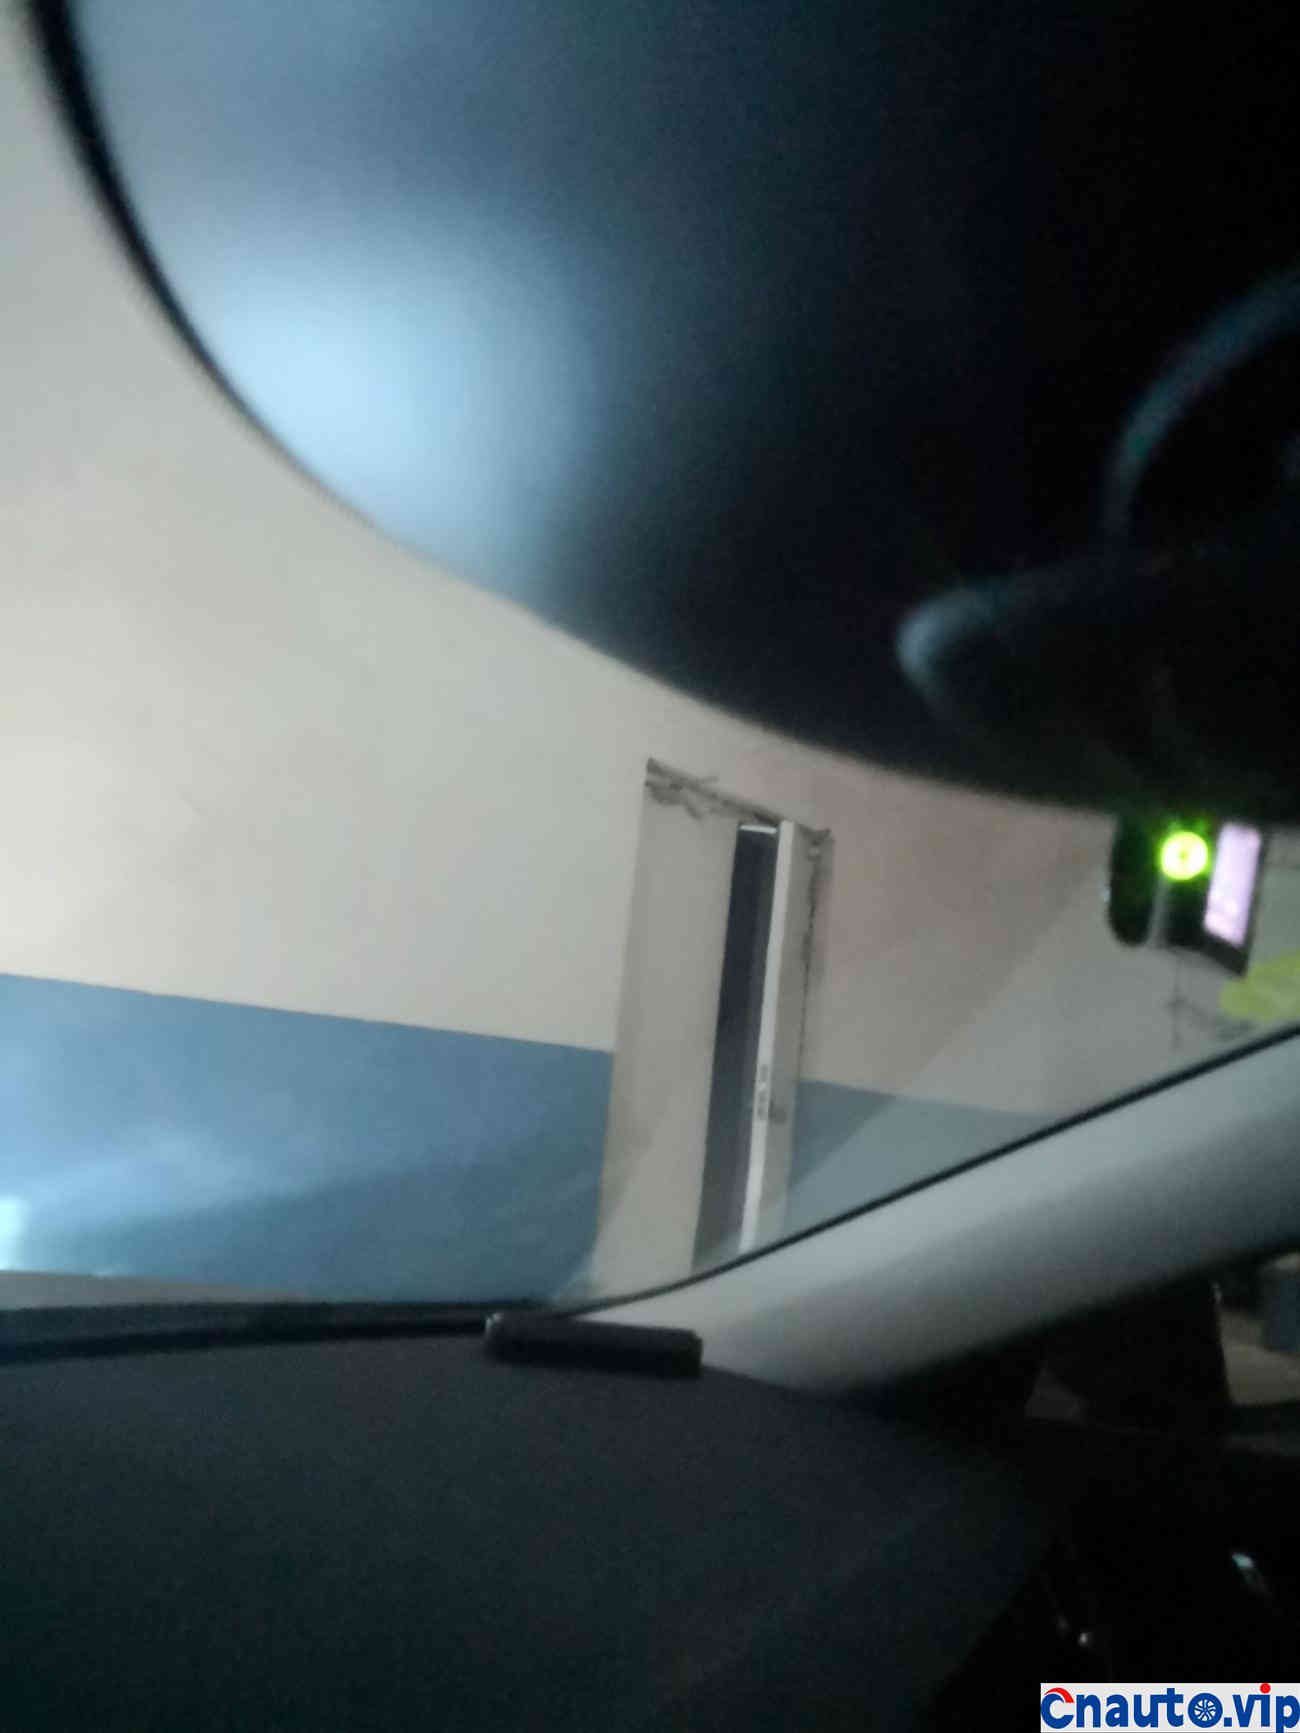
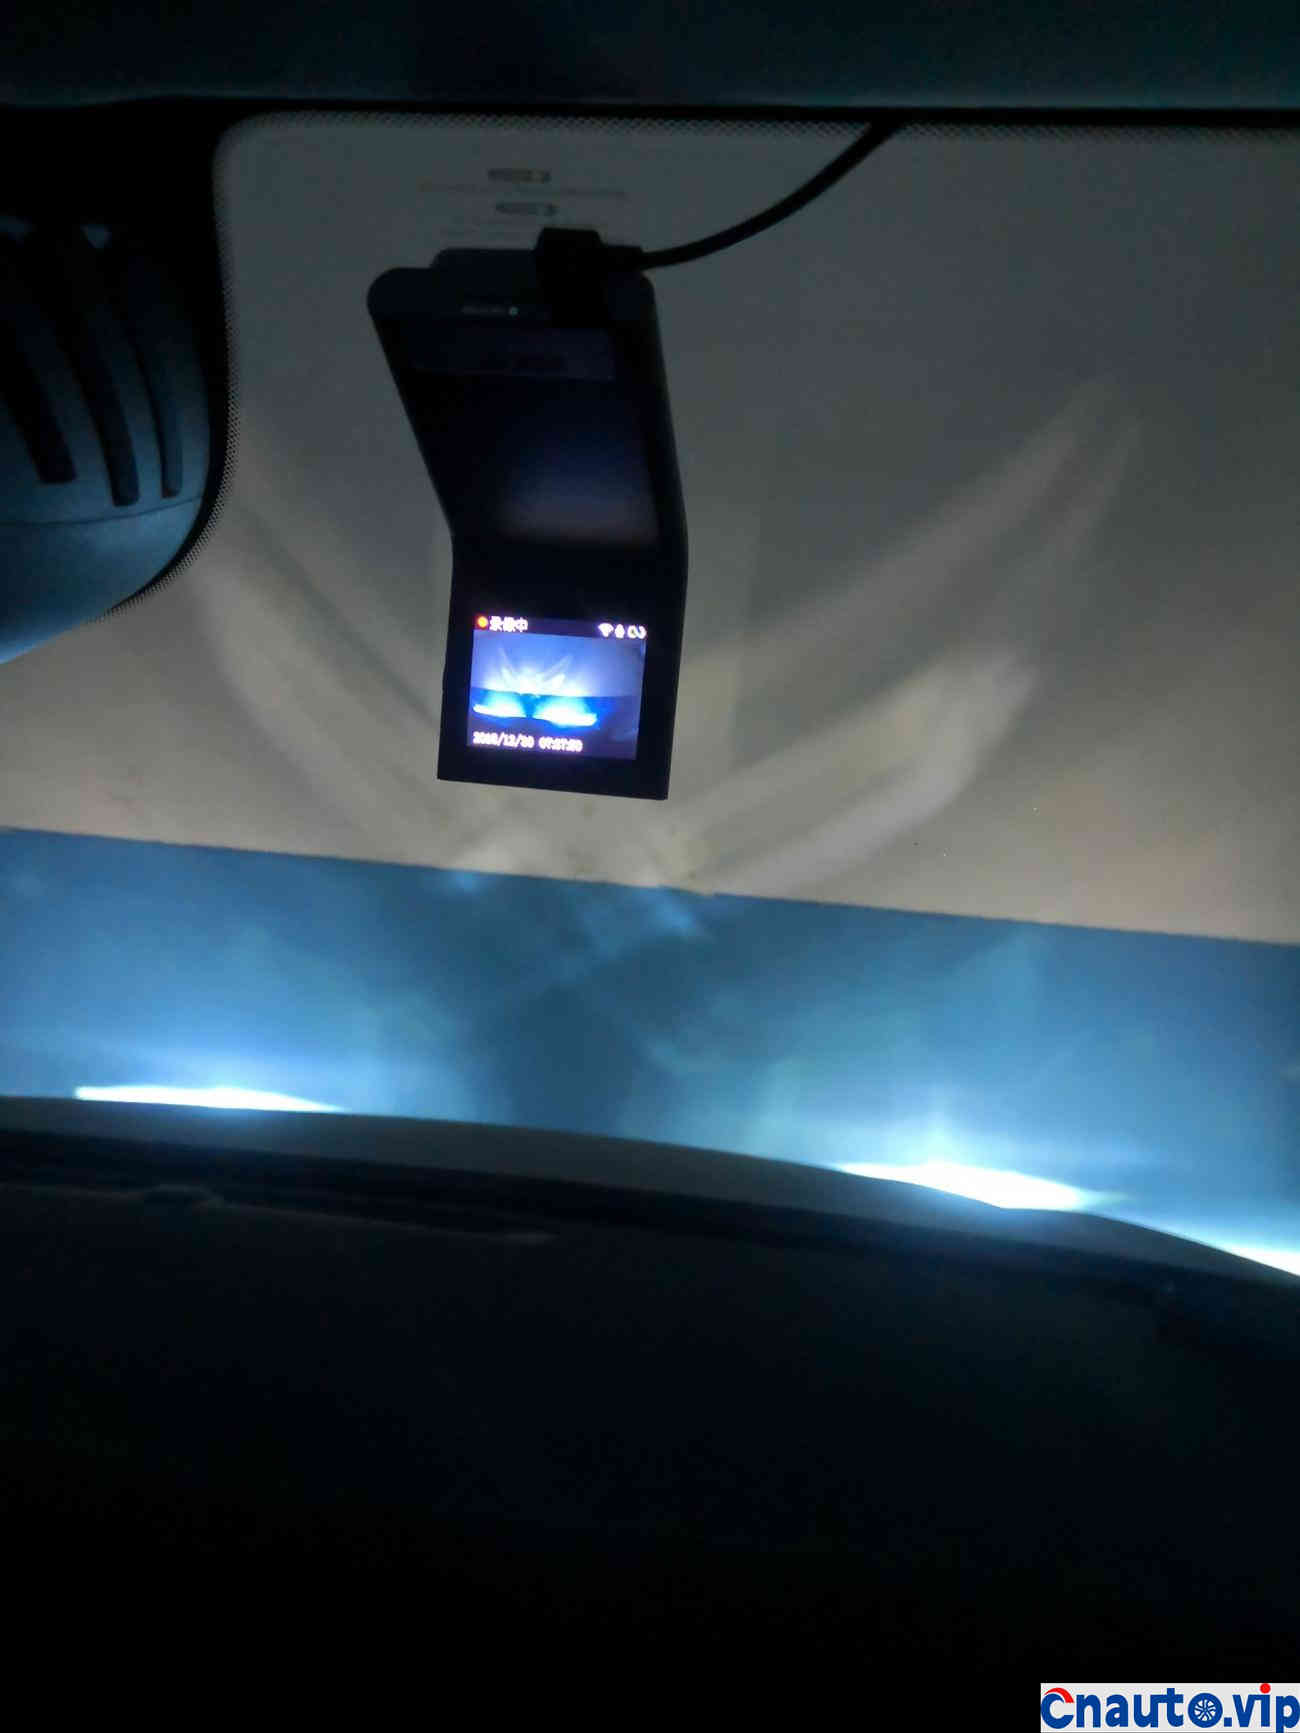
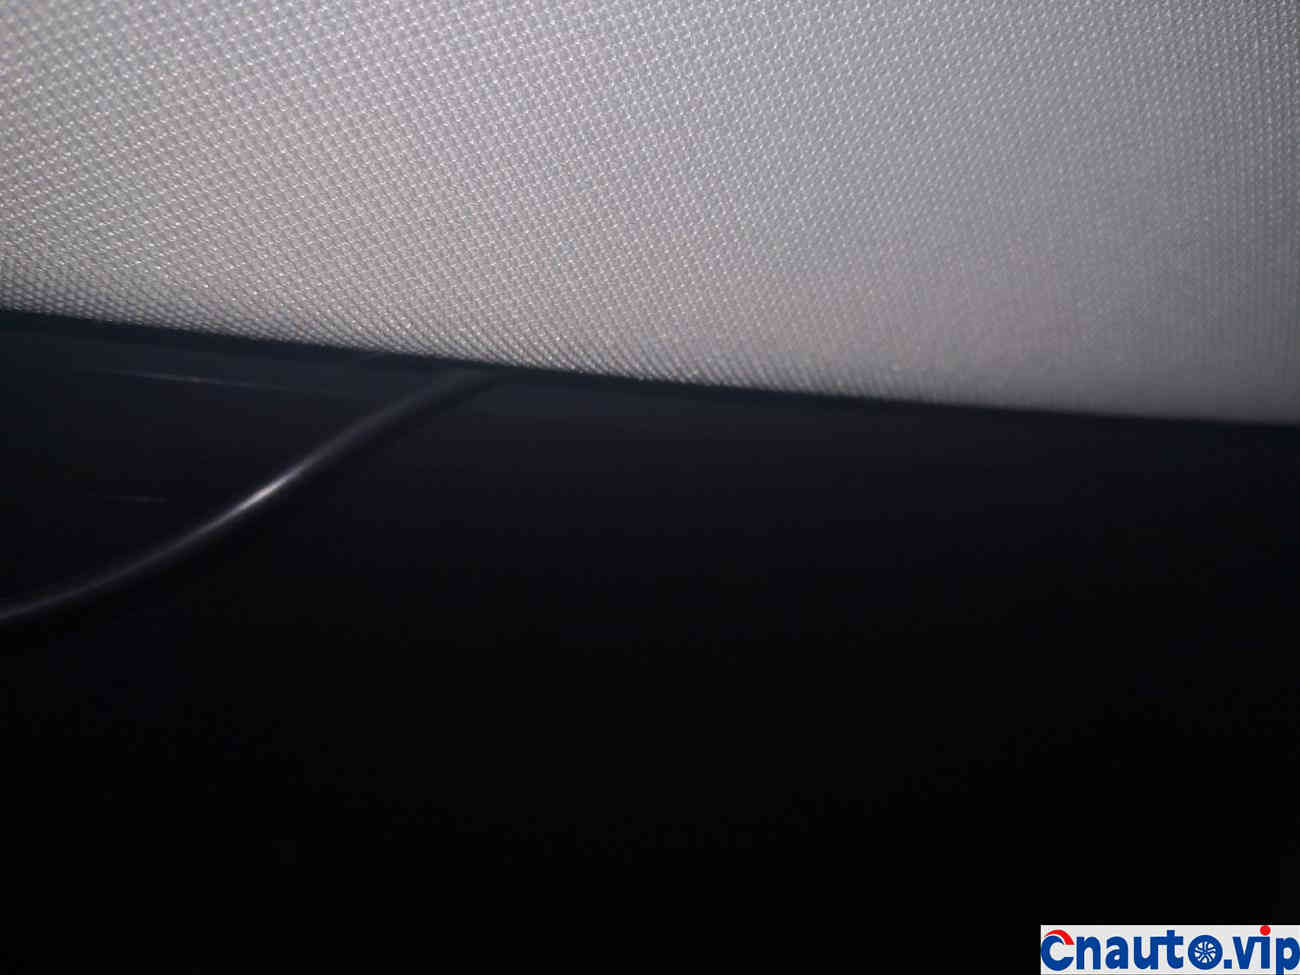
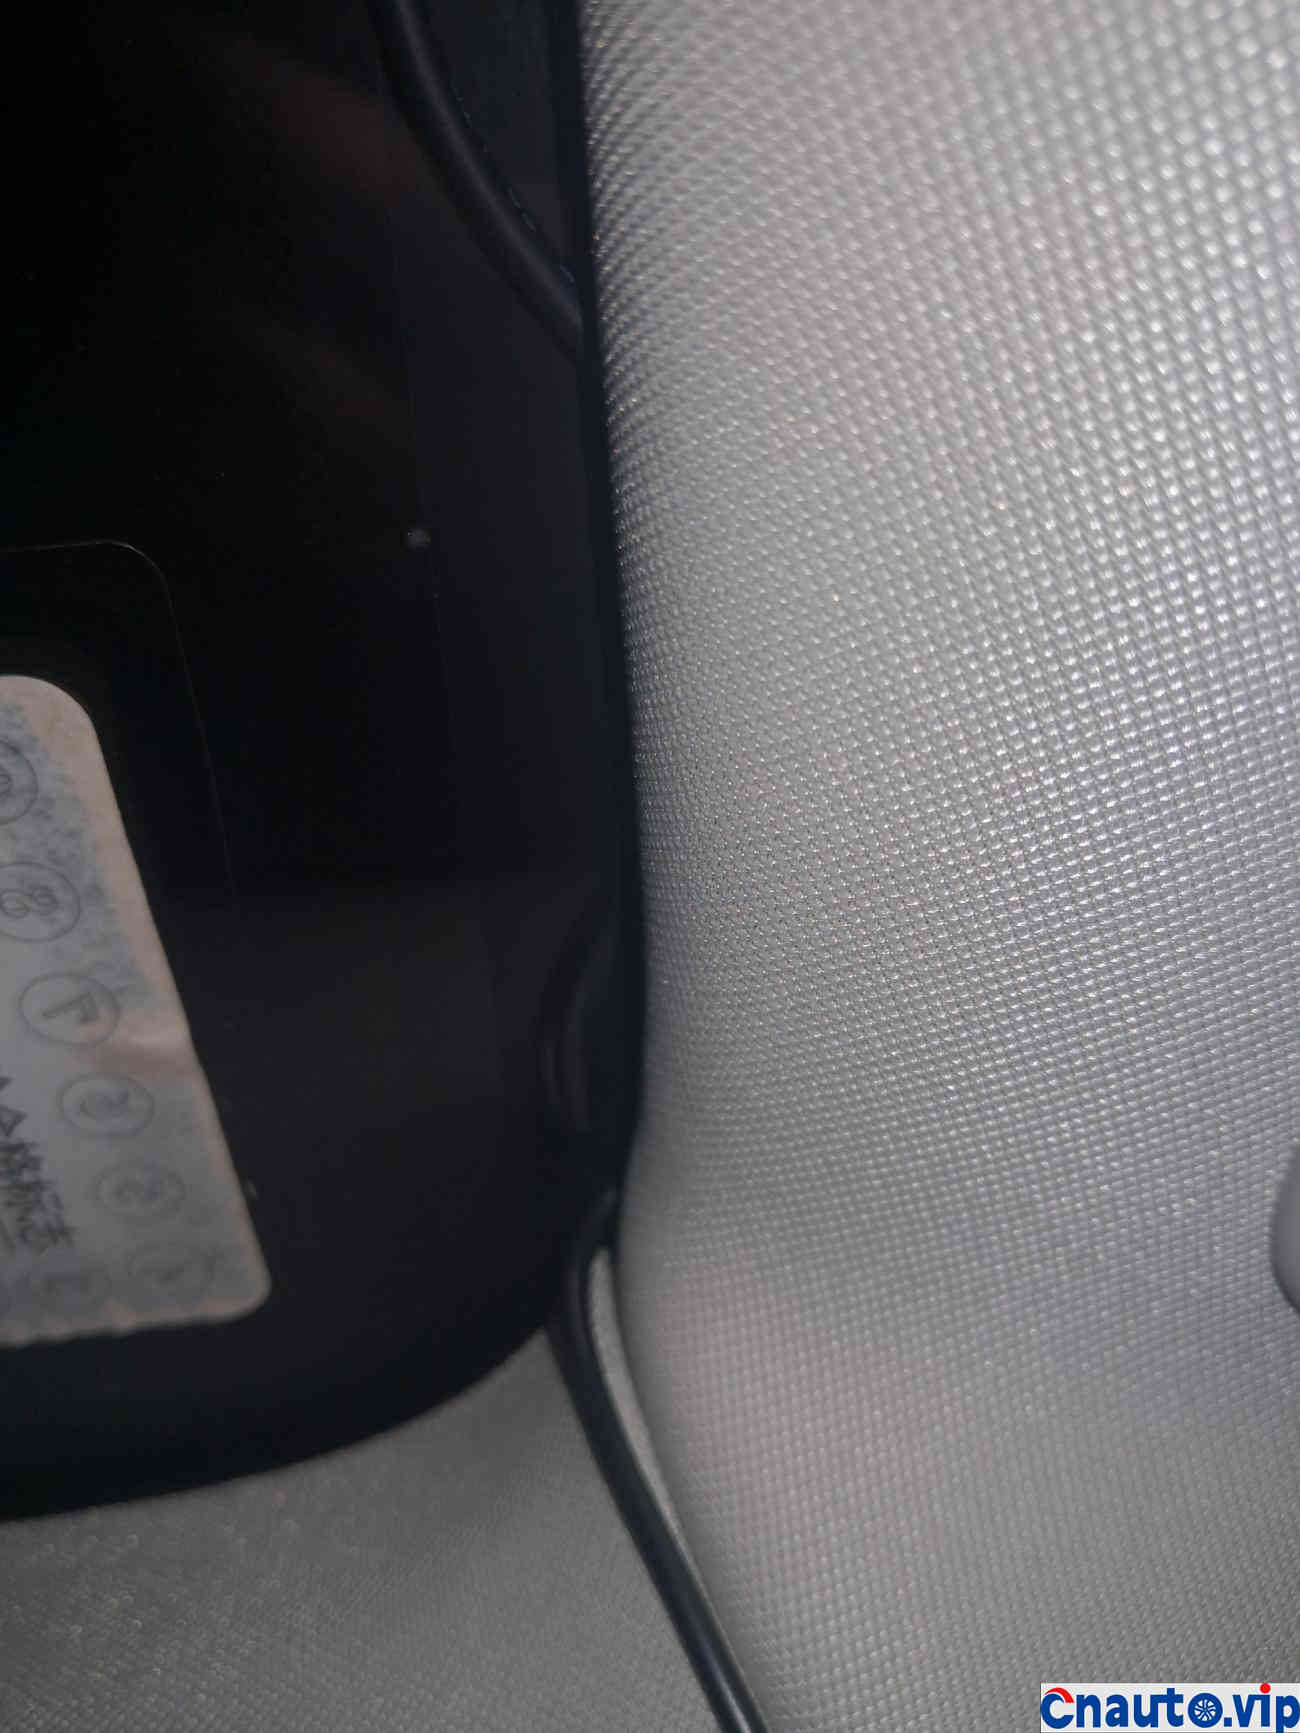
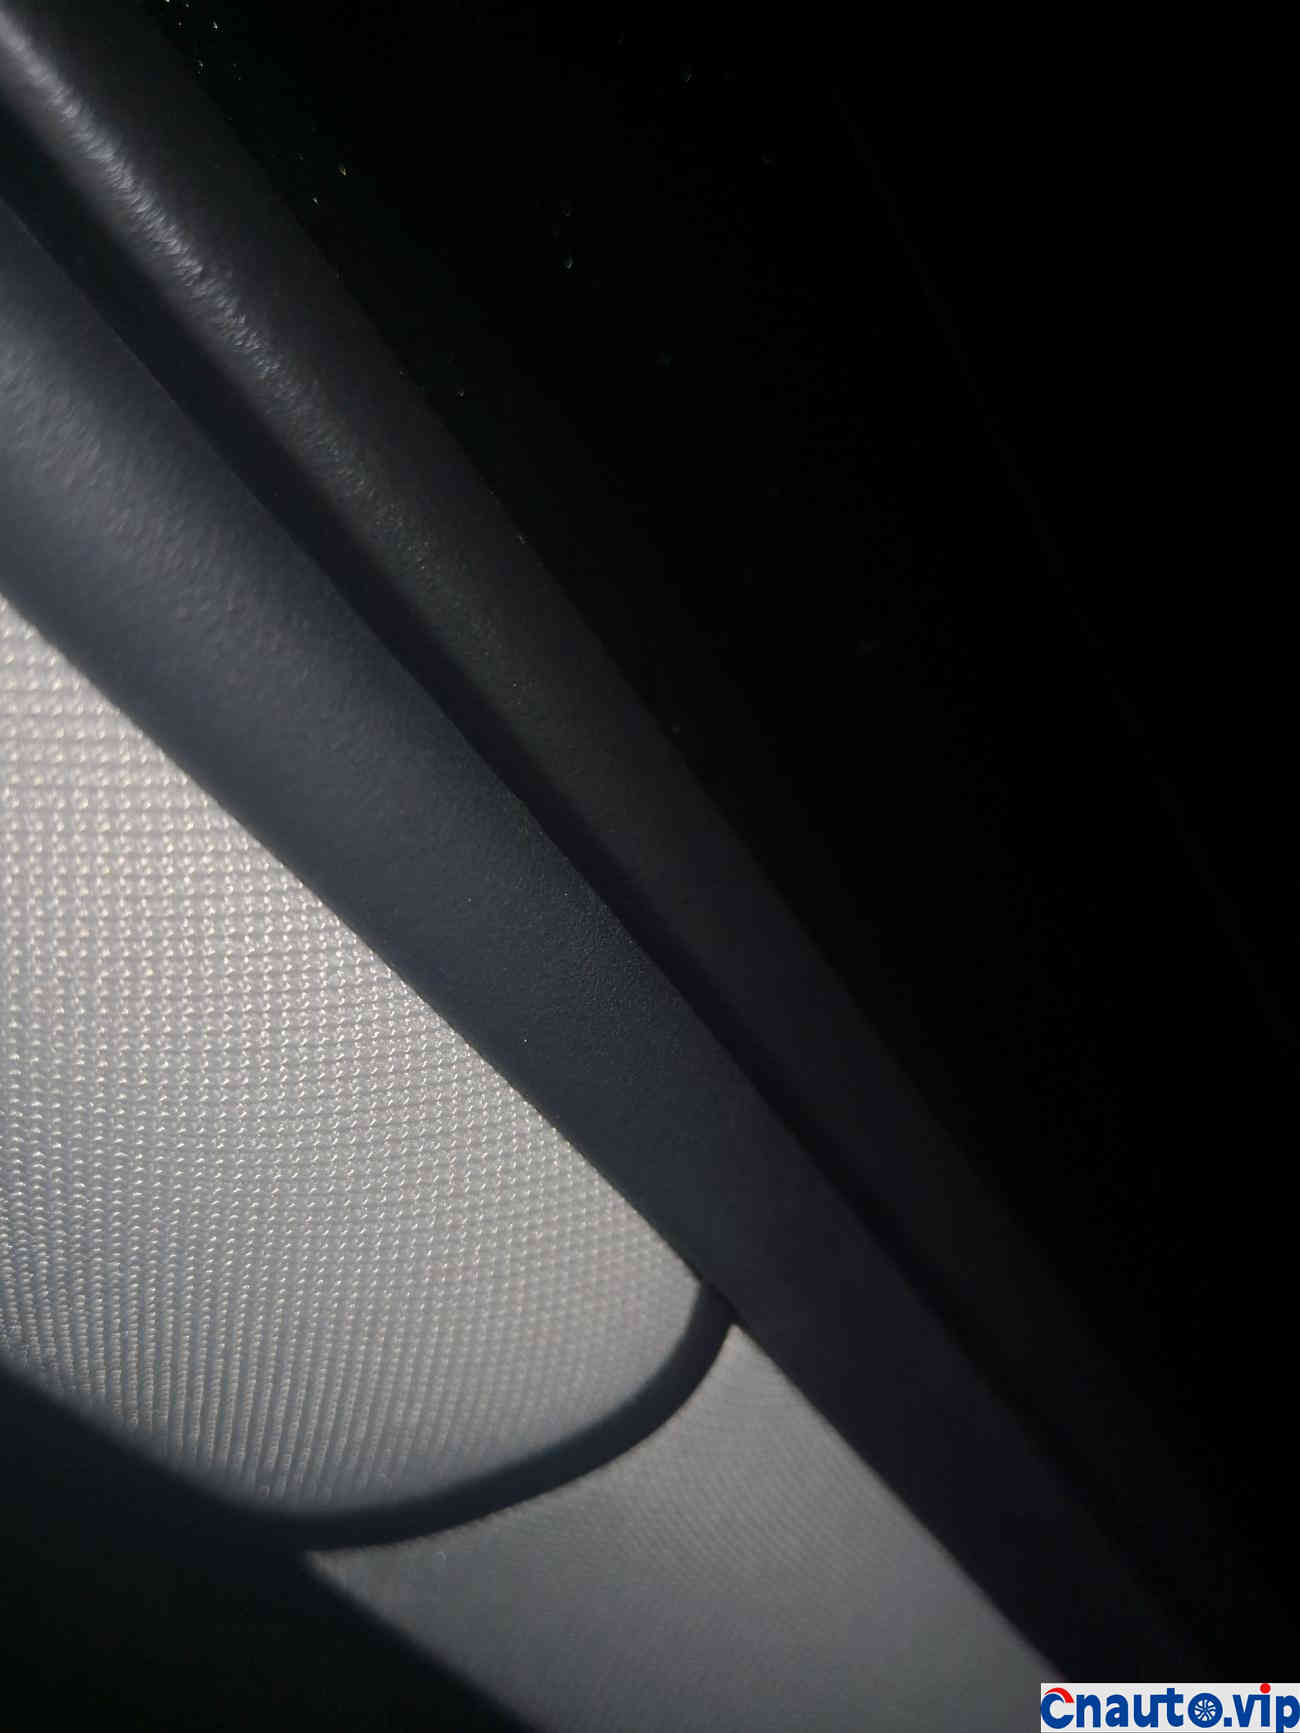
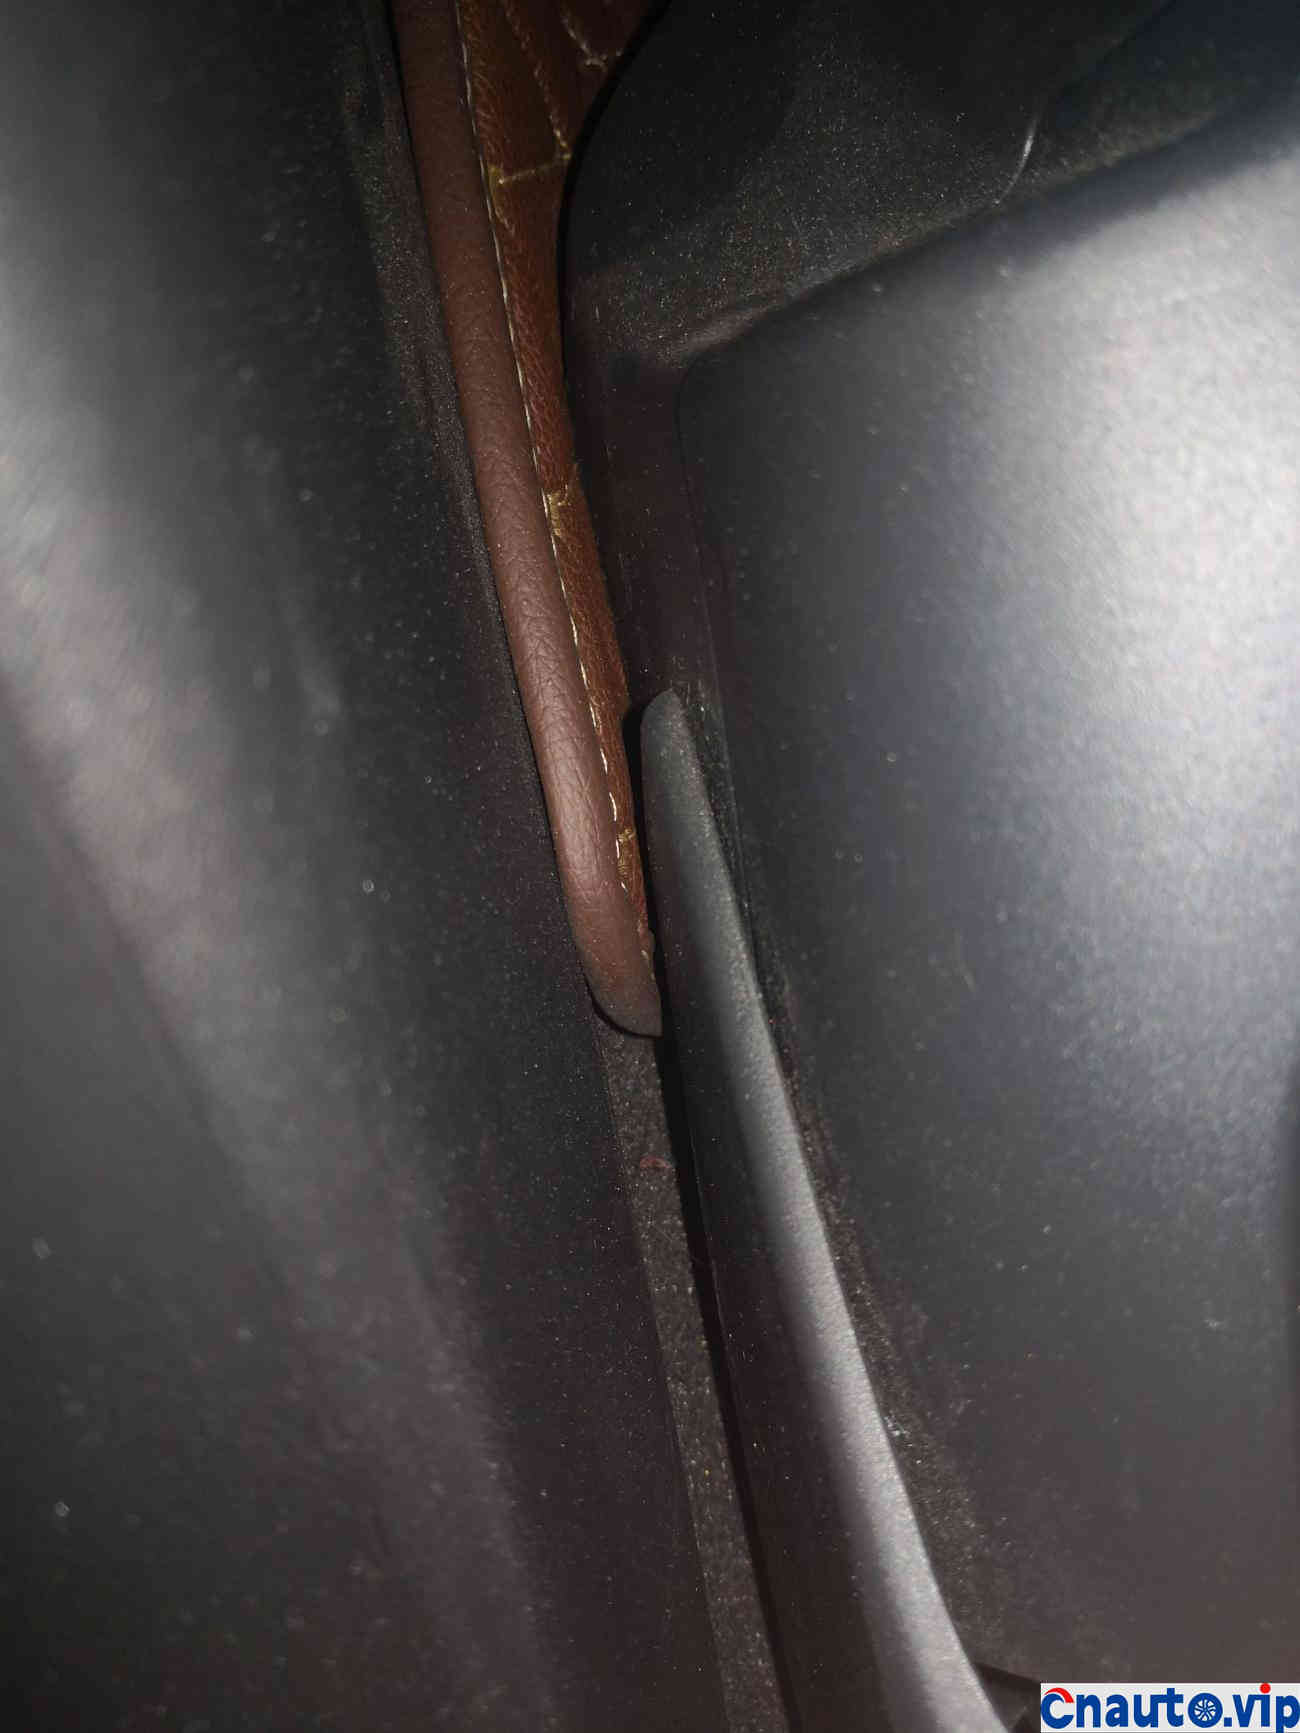
Then there is the specific installation. First of all, determine the installation position of the driving recorder. My suggestion is to install it on the right side of the front windshield, which is to the right side of the radar in the middle, and position it as close as possible. In this way, when driving, it will hardly affect the line of sight, and you will basically not see the driving recorder during driving, which will feel more beautiful. Then plug in the wire, and then move towards the top of the driving recorder. There is a small gap between the roof and the cloth. Use a small rocker to pry open it a little, plug the wire in, and then stroke it bit by bit until it reaches the a-pillar. There will be a seam on the gusset plate at the A-pillar. Press the wire over, and then continue to stroke the wire. The rubber strip of the bai driving frame will be broken all the way to the bottom of the car. I took photos below, and I will write it below the photo. Then you zip the line back, and you’re almost done. Be sure to pay attention to the process of threading and avoid places that may be pressed by moving the seat back and forth. Finally, plug in the US USB interface, or use the cigarette lighter adapter to plug it in, and you’re done! The whole process doesn’t take too long, but you must be patient. I feel that the assembly process of Volvo cars is still very good, so sometimes the seam is not easy to open, and there are air bags on the a-pillar. Therefore, it is not recommended to use the online method of wrapping the line into Group A. I personally don’t dare to try it. I think my wiring method is also quite good. I will introduce it to you for your reference.
Below I attach some photos of my installation process for reference
The first step requires a small rocker, but when you buy this small rocker, he will always bring one for you when you buy a driving recorder. The purpose of this small rocker is to pry open the gap and insert the wire in, so that other tools are not needed.
There are two ways to connect it. One is to connect it to the cigarette lighter of the seat in front, and the other is to connect it to the cigarette lighter at the back. The method of connecting it to the cigarette lighter at the back is recommended because connecting it to the front will affect other uses, such as mobile phone charging and Volvo’s unique aroma, which are not very easy to use because there is only one cigarette lighter hole. So I recommend connecting it to the cigarette lighter hole on the back. Like the s90, there is a USB interface on the back, just plug it in directly. I prefer to use the second one, which is to plug it directly into the back row.
Then there is the specific installation. First of all, determine the installation position of the driving recorder. My suggestion is to install it on the right side of the front windshield, which is to the right side of the radar in the middle, and position it as close as possible. In this way, when driving, it will hardly affect the line of sight, and you will basically not see the driving recorder during driving, which will feel more beautiful. Then plug in the wire, and then move towards the top of the driving recorder. There is a small gap between the roof and the cloth. Use a small rocker to pry open it a little, plug the wire in, and then stroke it bit by bit until it reaches the a-pillar. There will be a seam on the gusset plate at the A-pillar. Press the wire over, and then continue to stroke the wire. The rubber strip of the bai driving frame will be broken all the way to the bottom of the car. I took photos below, and I will write it below the photo. Then you zip the line back, and you’re almost done. Be sure to pay attention to the process of threading and avoid places that may be pressed by moving the seat back and forth. Finally, plug in the US USB interface, or use the cigarette lighter adapter to plug it in, and you’re done! The whole process doesn’t take too long, but you must be patient. I feel that the assembly process of Volvo cars is still very good, so sometimes the seam is not easy to open, and there are air bags on the a-pillar. Therefore, it is not recommended to use the online method of wrapping the line into Group A. I personally don’t dare to try it. I think my wiring method is also quite good. I will introduce it to you for your reference.
Below I attach some photos of my installation process for reference


Hot Information
Tesla Autopilot and similar automated driving systems get ‘poor’ rating from prominent safety group
 April 1, 2024
 Localization of EV parts without production scalability may not help cut EV price, says President, Amara Raja
March 27, 2024 
JCTSL may turn bus stands into charging points for e-buses
March 27, 2024 You May Like