[Xindong Late Autumn] Five Years of Xindong–Replace the rear shock absorber buffer rubber block by yourself
About Xin move, I always think it is very good. I treat it like a family when I can undertake all kinds of tasks in our family, and I care about its health all the time.
It has been five years since I bought a car, and in the third year, I found that the two pieces of buffer glue on the rear shock absorber began to age slowly, and there were many small cracks. At that time, I didn’t pay much attention to thinking that the usual rotten road was not too much. Half of the full load should not be broken quickly, but I was so optimistic that in the fourth year, I found that the buffer glue had begun to disconnect and reveal that half of the shock absorbers inside could be seen. Thinking about how bad it was, it was delayed to replace it because of various things at that time, until the same problem appeared in my colleague’s Polo rear shock absorber in the fifth year of this year, and its Polo shock absorber oil seal began to seep oil to remind me that I should also pay attention to this. It is not good to let the shock absorber retire in advance because of small losses.
Some time ago, I finally found two rear shock absorber blocks made in Germany on the Internet. I don’t know if it’s true or false, but the feel is much better than the original one, and it’s tough and not easy to crack. the 90% discount of the original kind of rubber is broken, and the price is also moderate. 40 yuan a pair is relatively cheap. I was going to change it as soon as it was finished, but I had a lot of things to deal with, so it was postponed for more than half a month. Shanghai happened to be holding the Expo this Saturday. After finishing the work at hand, I parked the car in a corner of the company. Get ready to replace it yourself, or you don’t know when to change it.
When it’s dry, roll up the sleeves and pick up the tool to start dismantling. The tool can easily remove the top two bolts with a 17 sleeve tool plus a lengthened arm and then connected with a ratchet wrench. The rest is the following one that is also fixed with the suspension, but this screw needs to be fixed by another No. 17 wrench before it can be unscrewed, otherwise it will not come out together.
After the whole is removed, there is a material cover at the top, and you can see a positioning bolt fixed between the shock absorber and the car body. that requires a No. 13 club wrench plus a movable wrench, and the No. 13 wrench is twisted in the opposite direction, and the middle is clamped with a movable wrench not to rotate together to separate the shock absorber top mechanism from the shock absorber rod. at this point, you can remove the old buffer glue and dust cover and install a new buffer cover. But it takes some strength and skill to install the new cushion cover, because it is not very good for the card to clip an edge at the bottom of the buffer glue into the dustproof sleeve before it can be installed, otherwise the dustproof cover will fall off and it will not play a dustproof effect. it was in that piece that I finally stuck two plastic covers into the dustproof sleeve with soapy water, and my thumb broke out blood because I tried too hard. Practice needs to pay a price, and then the steps are the opposite of the above. If you don’t understand, you can ask me for advice because I can’t take many steps by myself. Because they are not on the shelves, they are installed entirely on their own wisdom and skills. Share a small number of installation photos below. Hope to help the majority of car users, this shock absorber and Volkswagen Polo, Xinrui, Jingrui, new Jetta, new Santana, Haona, installation steps similar to can be used for reference.
I didn’t shoot my phone like that because my hands were dirty.
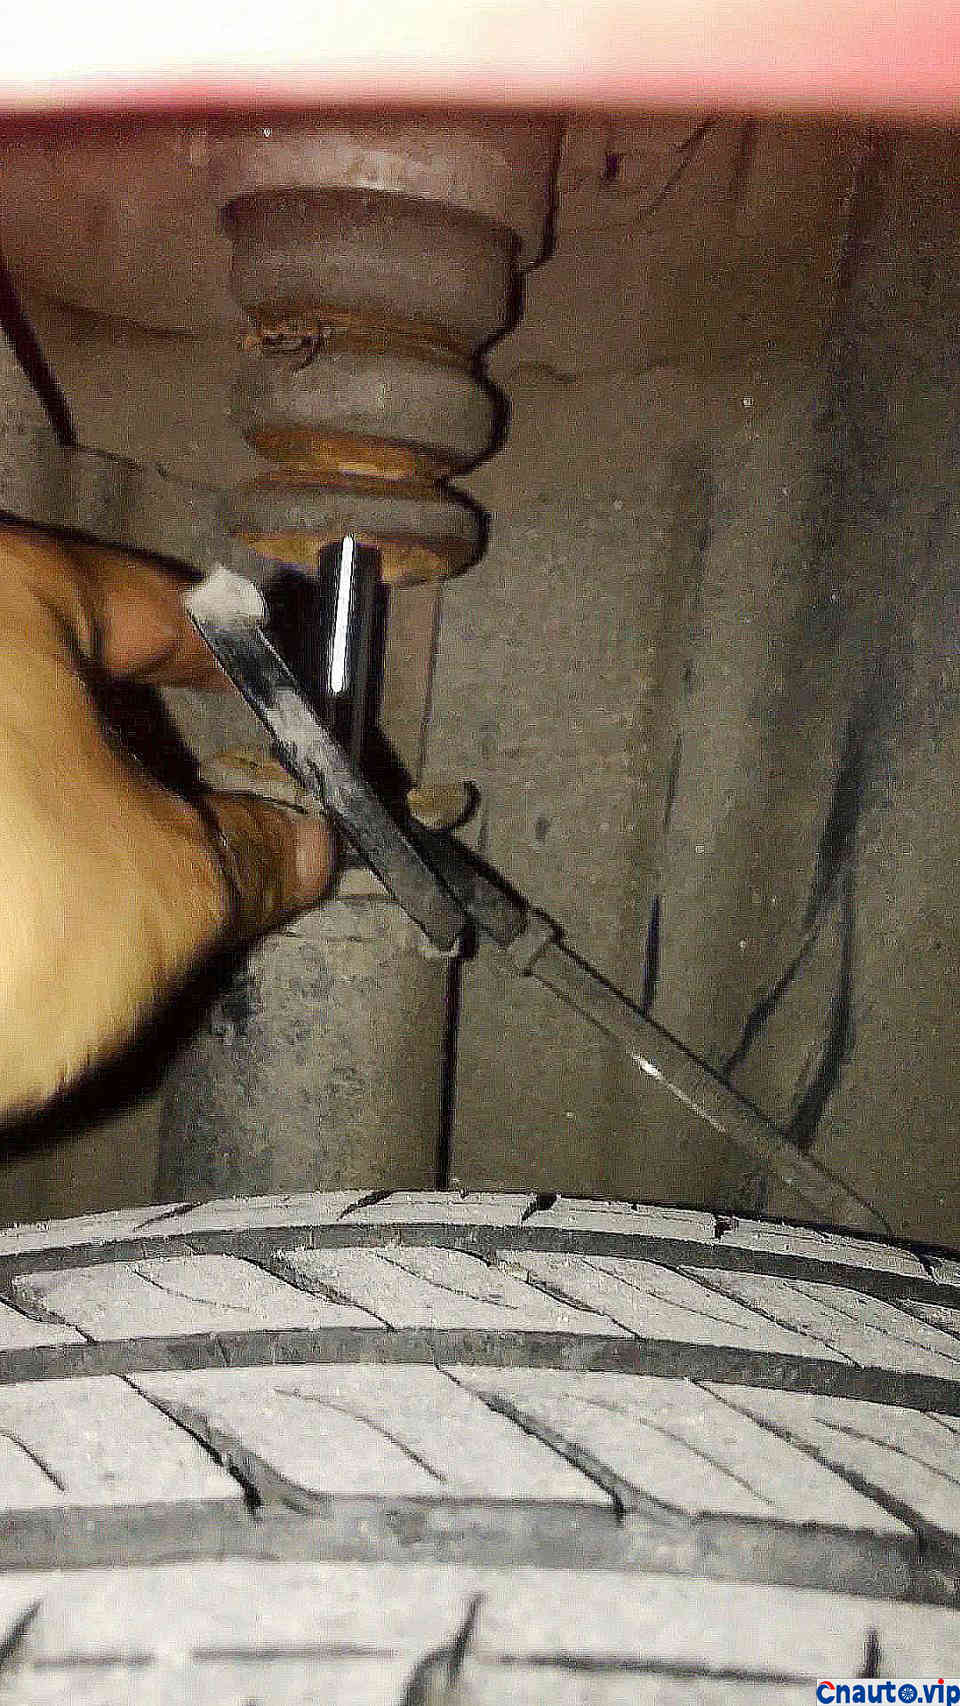
The buffer block of the rear shock absorber for more than four years has been completely broken in two.
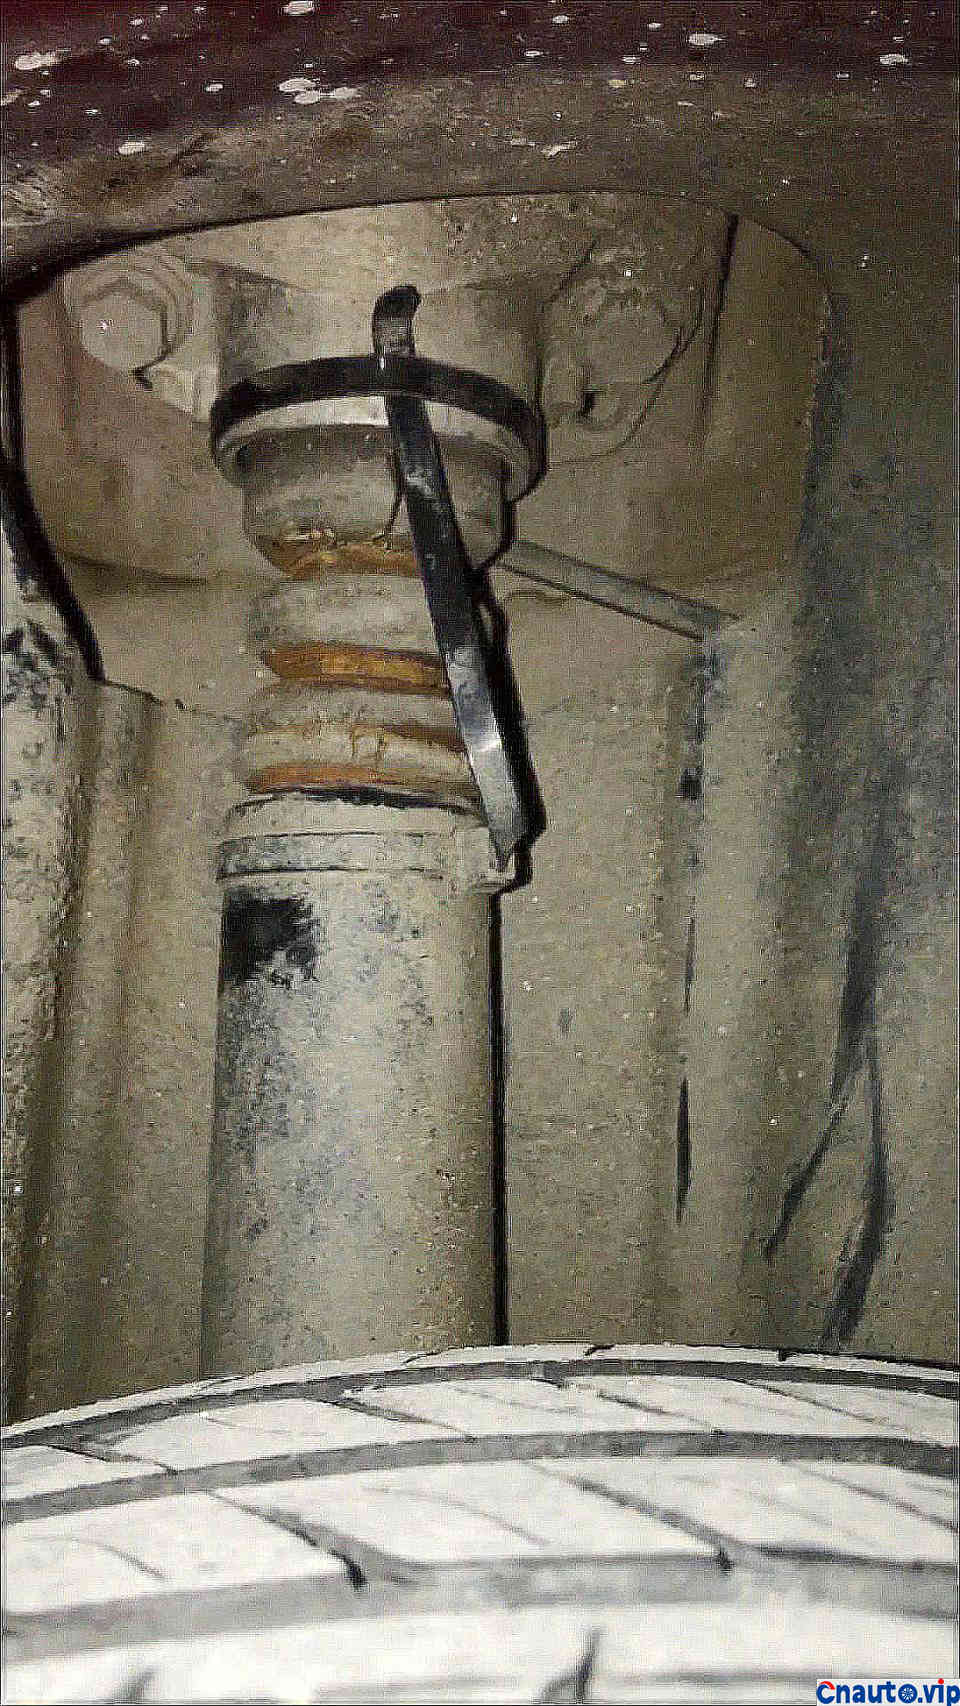
At that time, it was fixed for a year, mainly to prevent sand and gravel from entering the oil seal of the shock absorber cylinder.
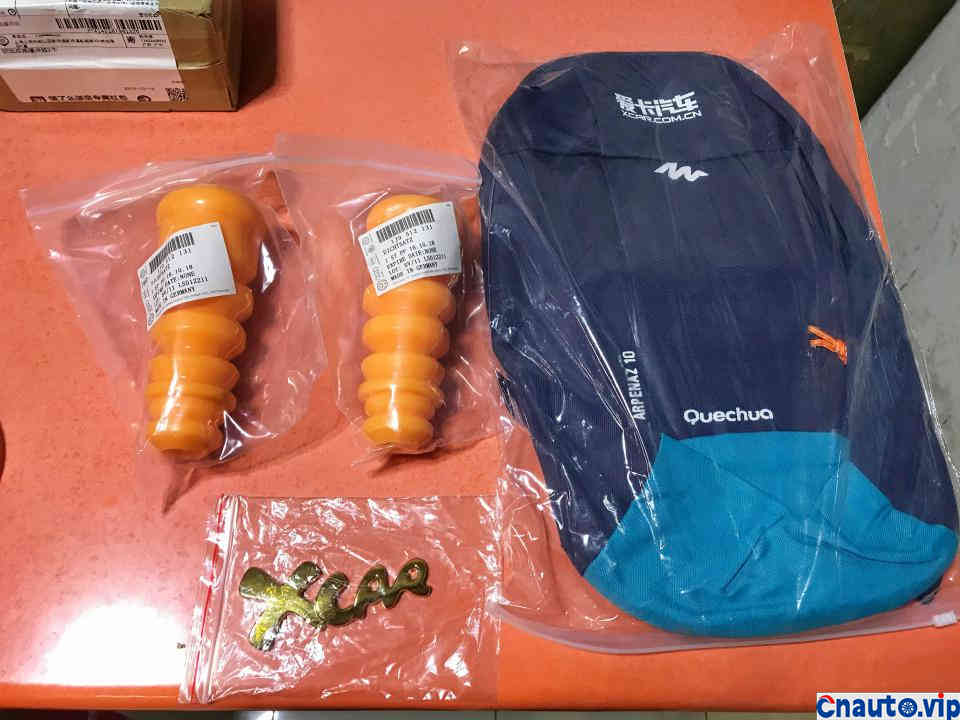
It’s not too late to make up for being late.
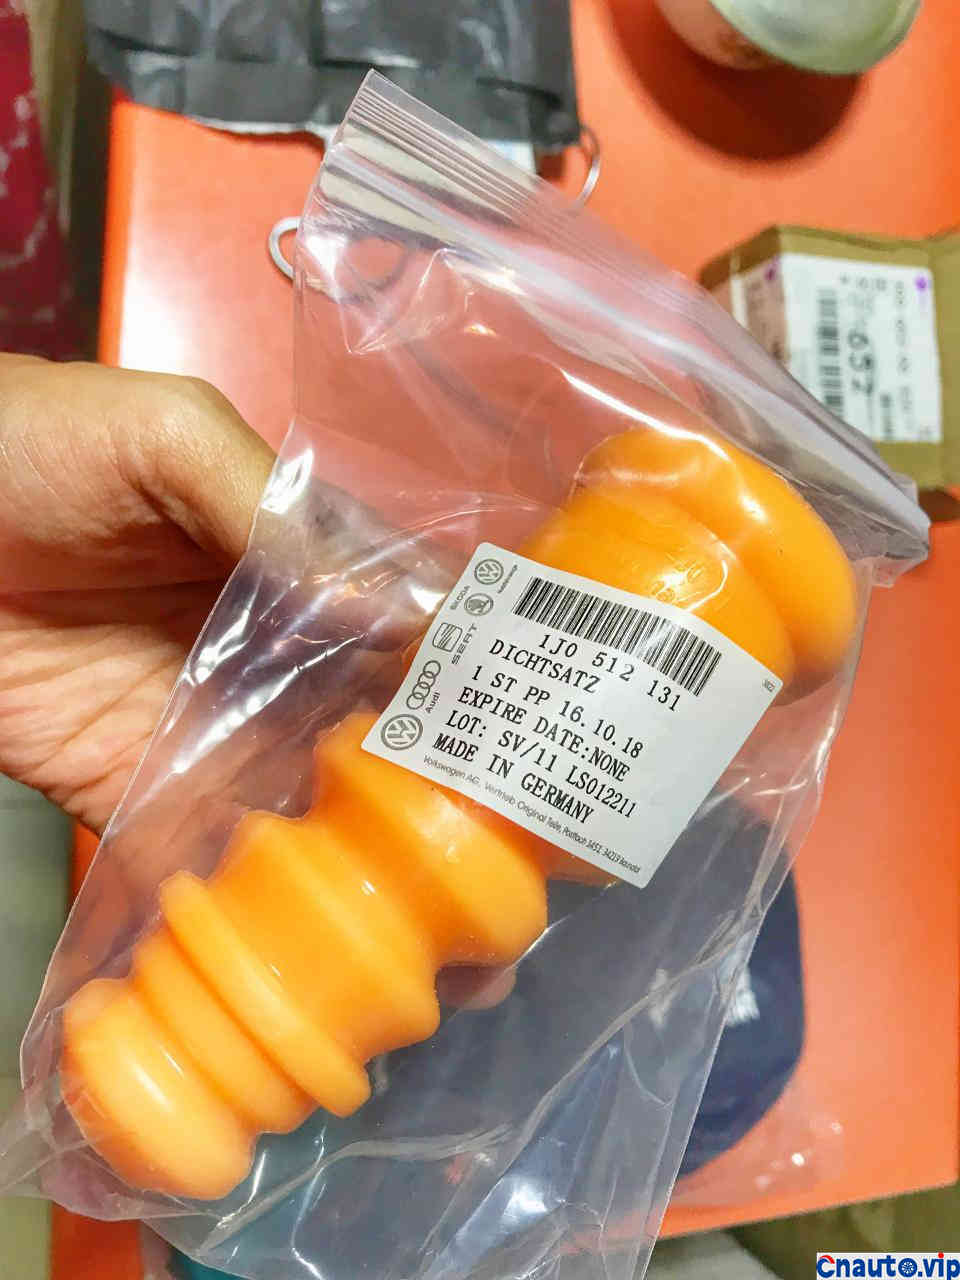
Made in Germany feels so good.

Usually after work, I either take my children to class or dance.

It’s either logical thinking or mathematical pinyin. My wife is driving all the time.
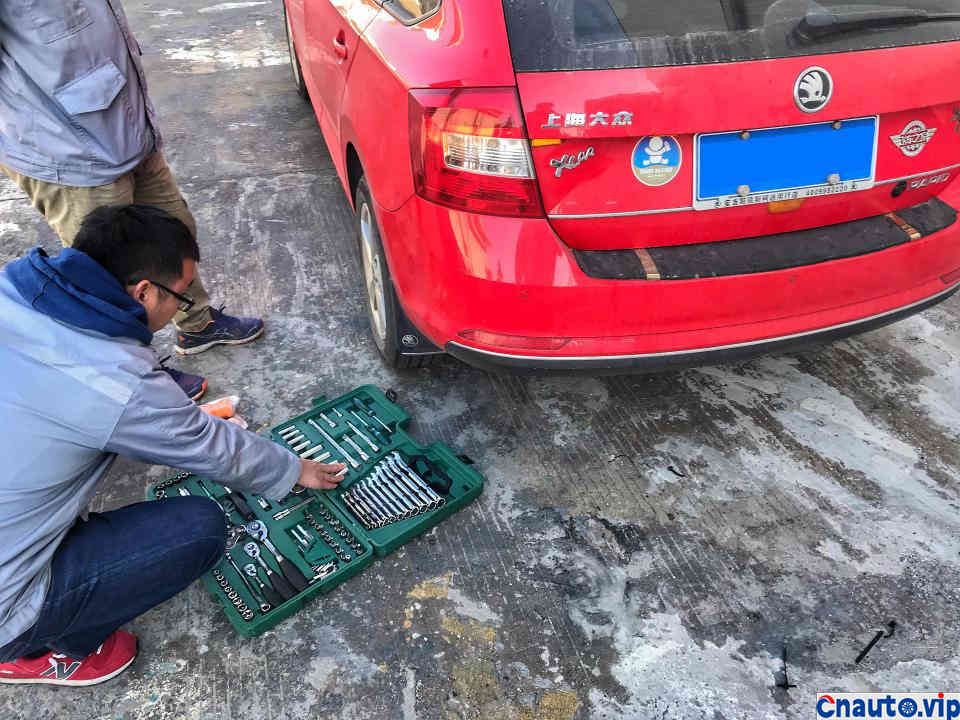
It’s not Saturday to open the toolbox and dry it during the noon break.
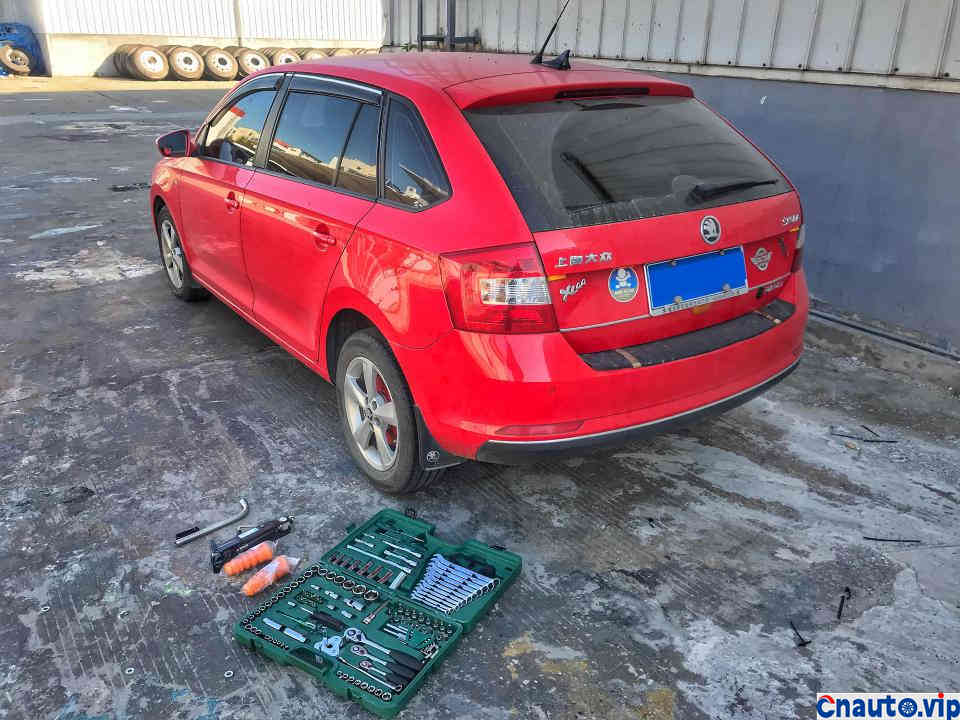
After loosening the hub bolts, get ready to lift and unload the wheel.
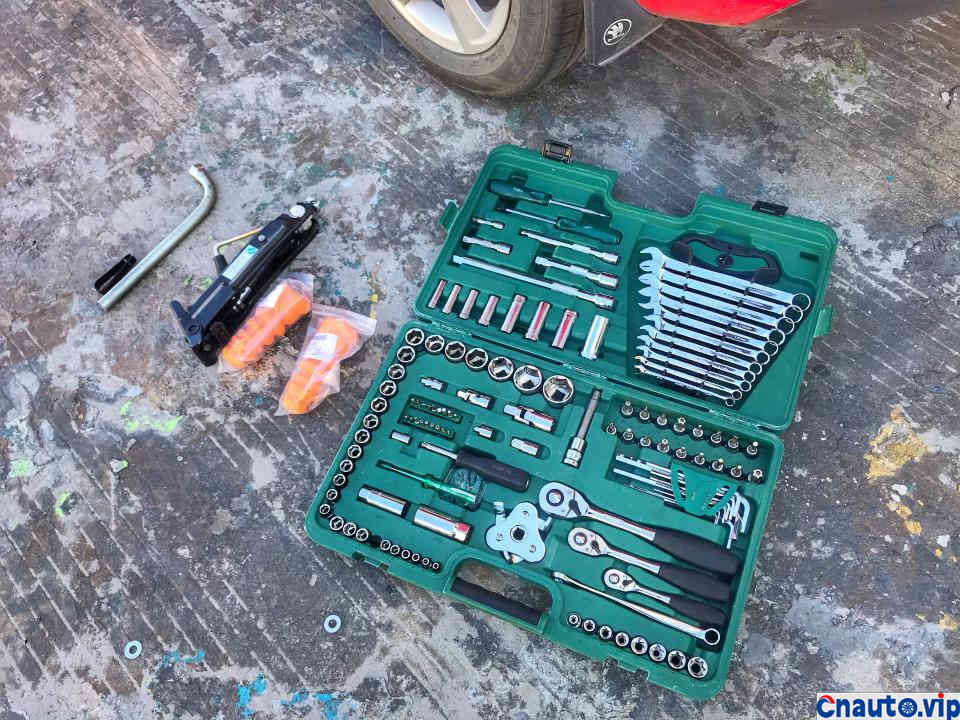
See if this tool is complete? Without them, there is no way to get inside to unload bolts, because the space is not very large and difficult to use.
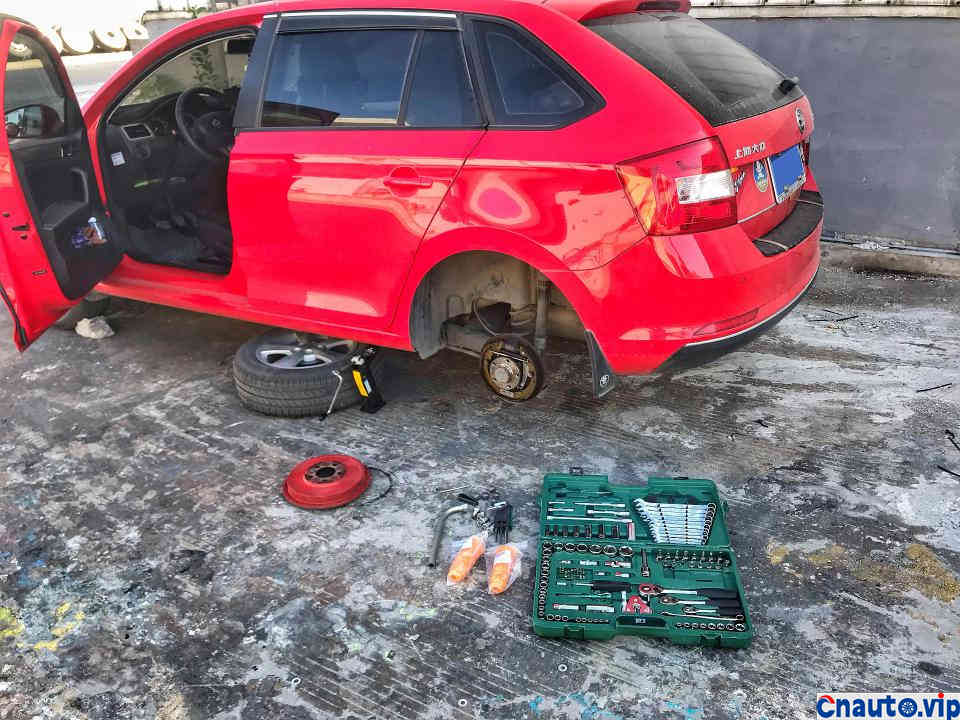
Remove the hub pad under the Jack in case of accident, remove the brake drum, clean the brake ash and adjust the brake shoe clearance
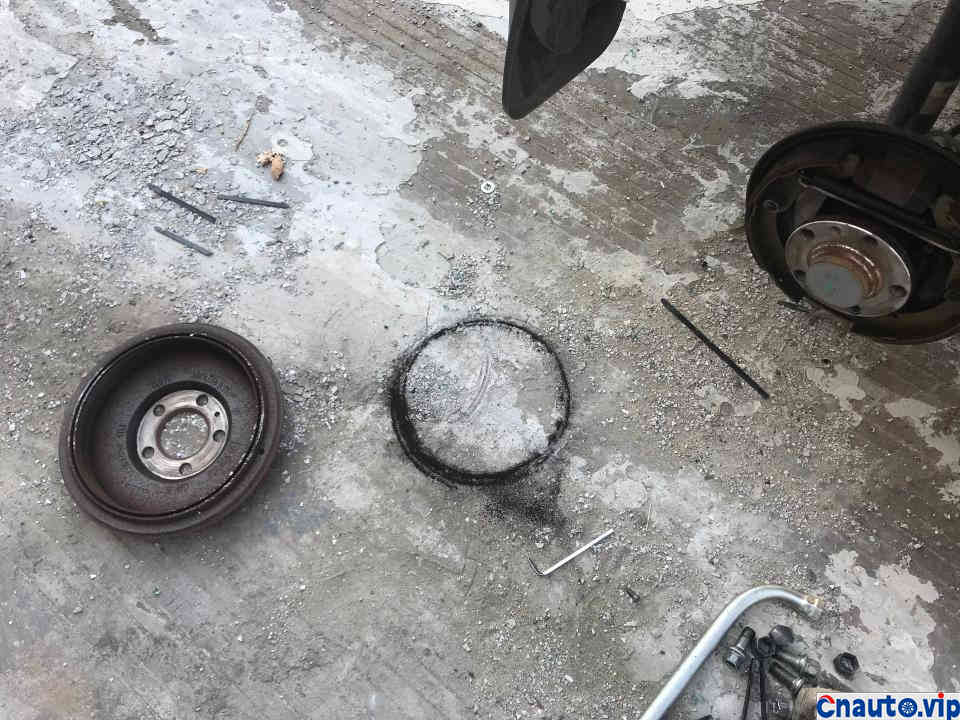
Take off the brake drum and put it on the ground, and a round brake powder appears in front of you.
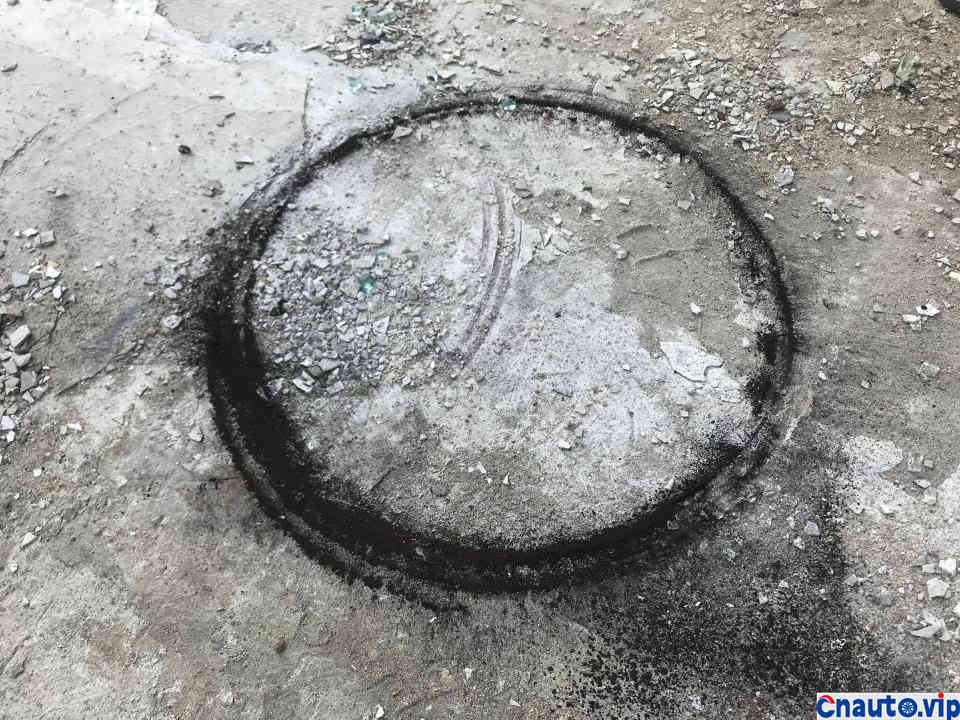
Look at the disadvantage that the thick brake powder can’t fall out and drum the brake.
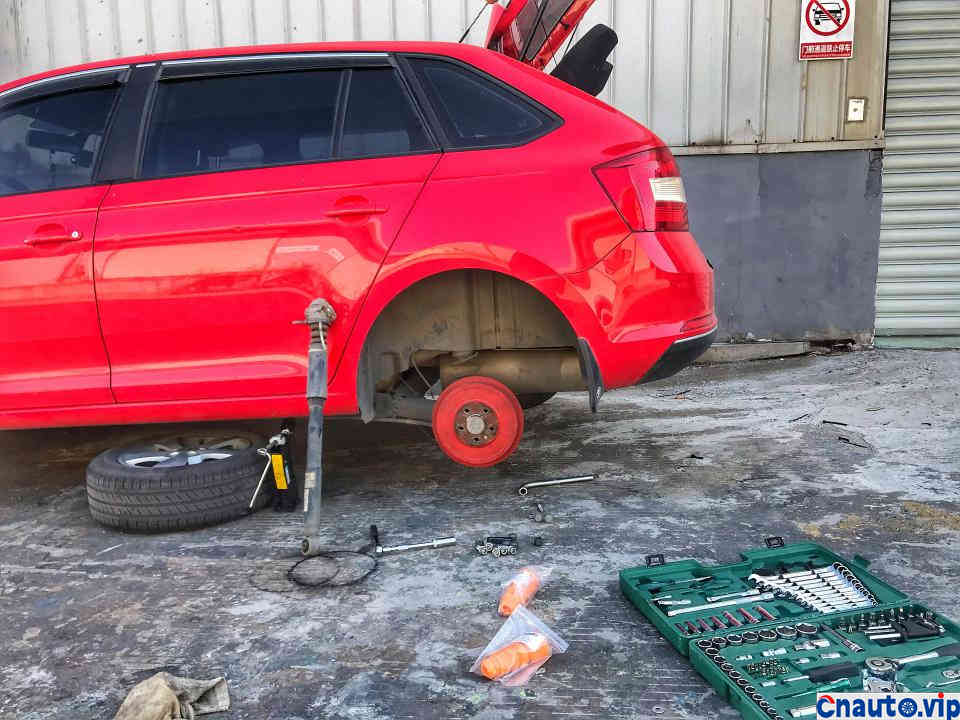
After cleaning, replace the brake drum and remove the shock absorber assembly.
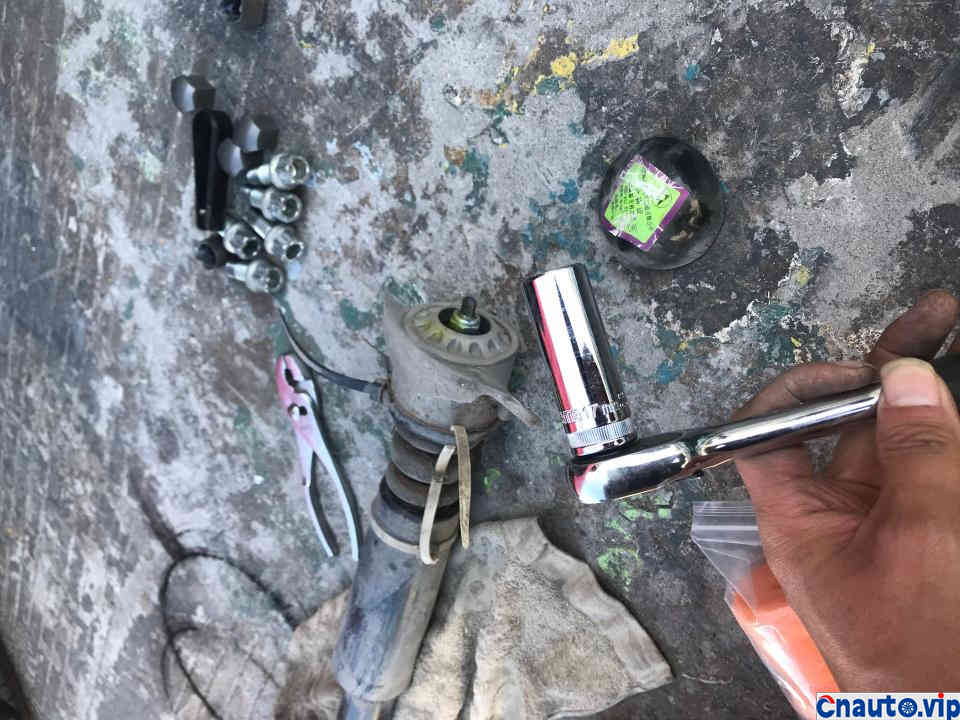
17 caliber socket wrench
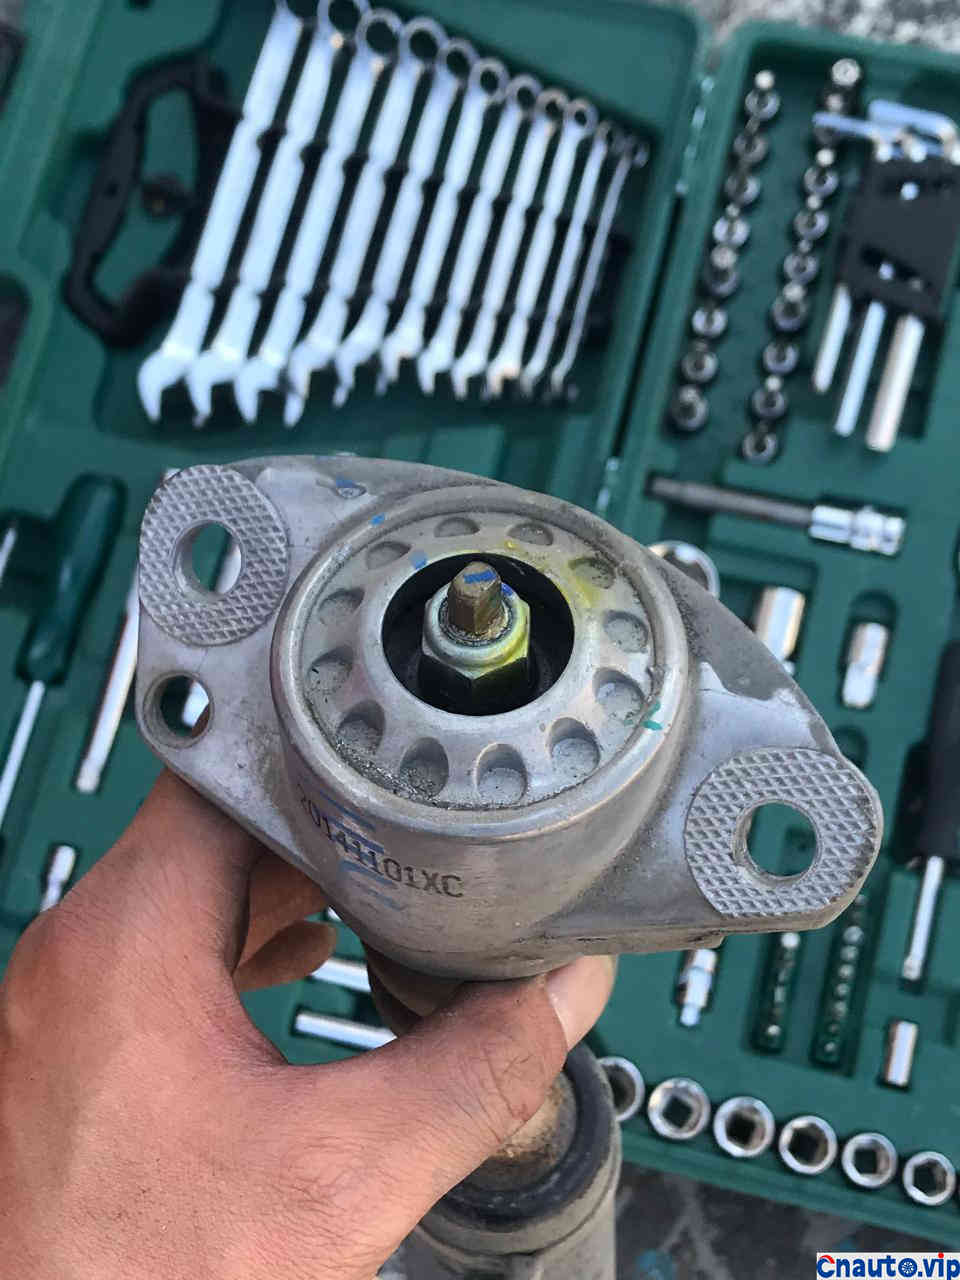
Close-up at the top of the shock absorber, No. 13 club wrench + movable wrench can separate them.
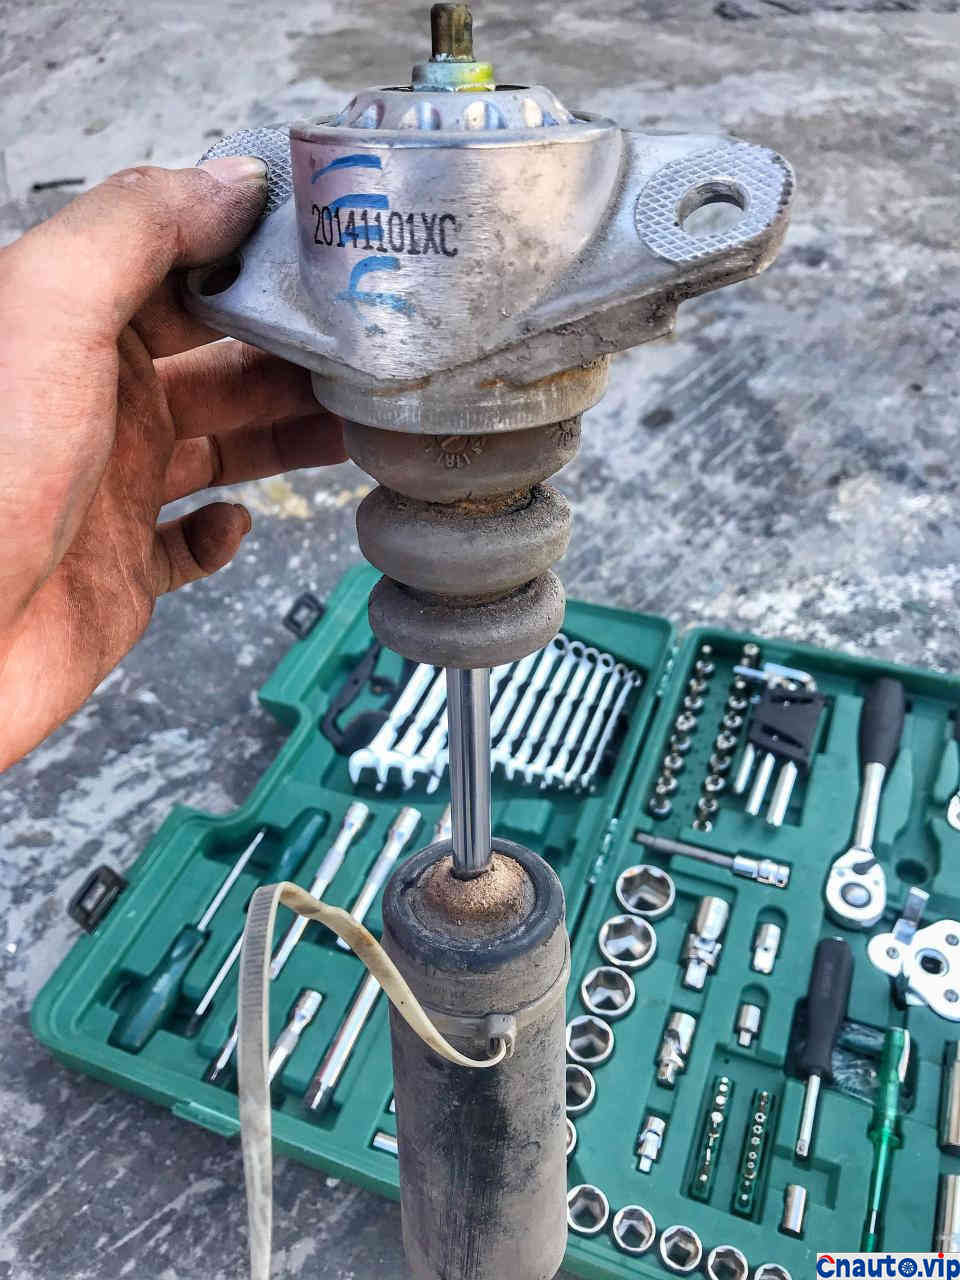
Fortunately, there is an old cushioning glue stuck in the dust cover, which keeps the sand and gravel from falling on the surface of the oil seal.
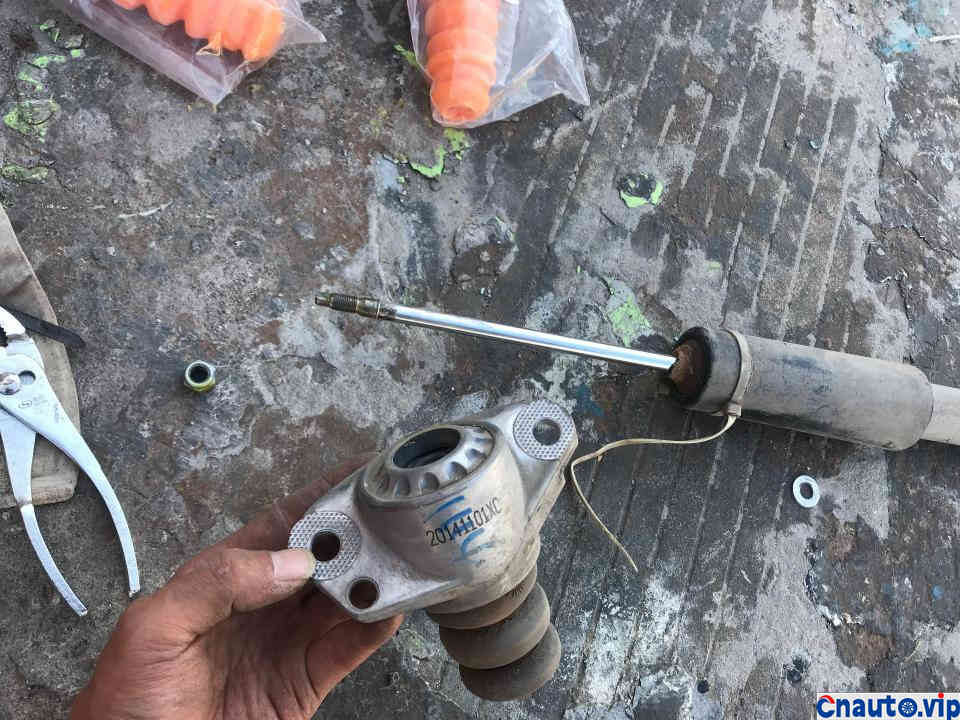
After the top is separated from the pole, the old rubber block and dust cover can be easily removed.
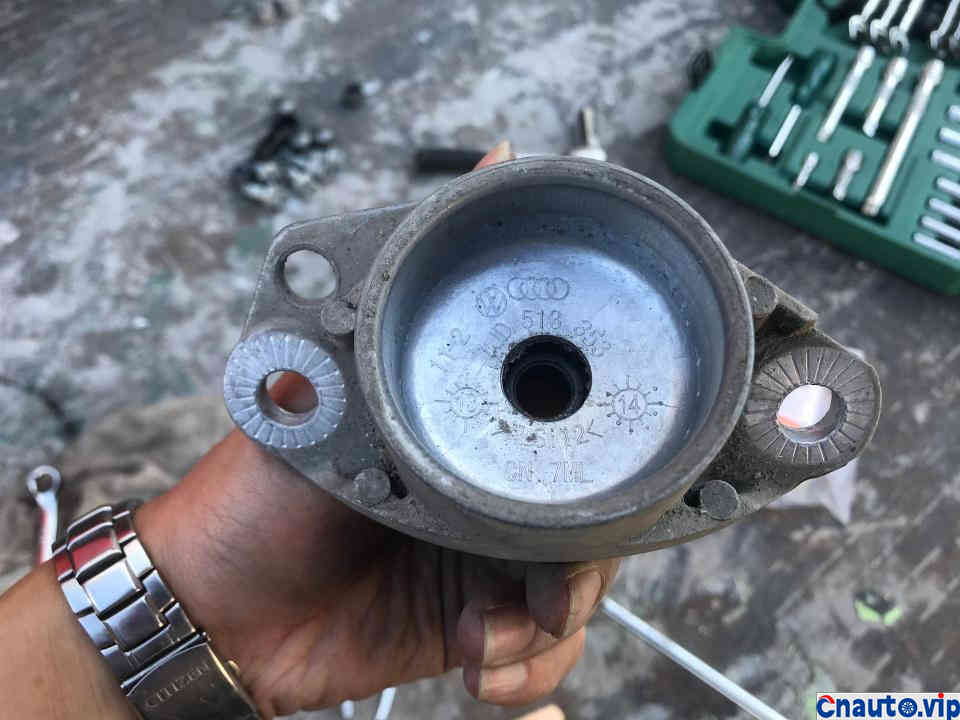
Top inside close-up
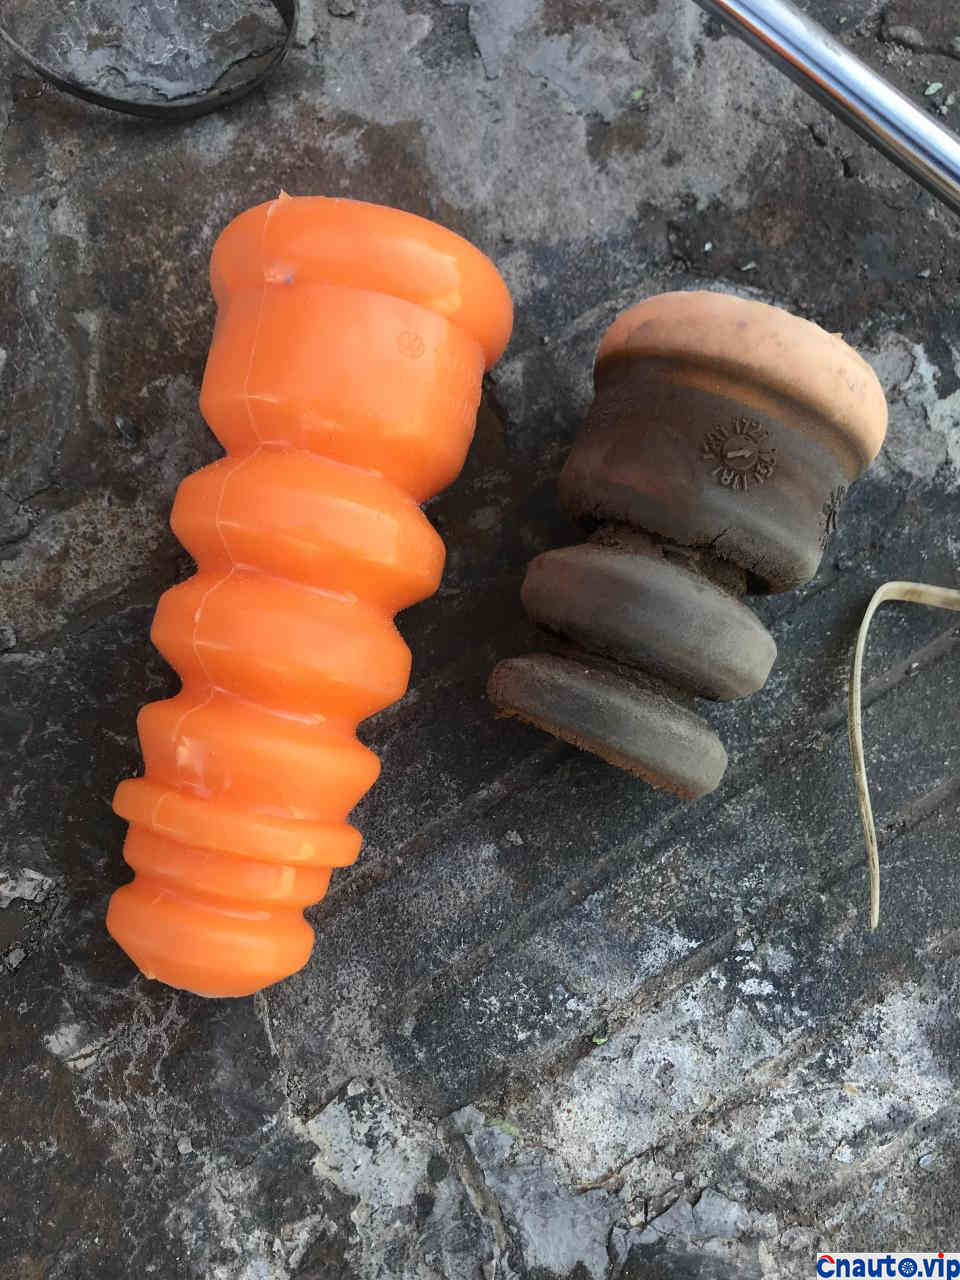
The texture of the contrast between the new and the old is really better than the former.
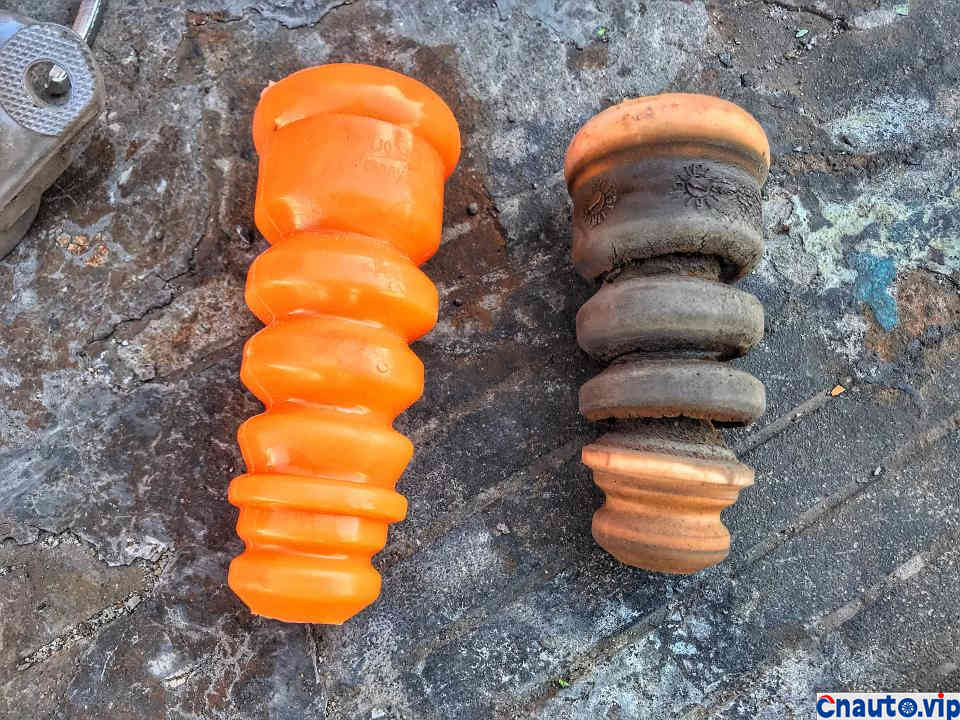
The original factory and this material are not of the same grade at all, how can the original factory be so bad?
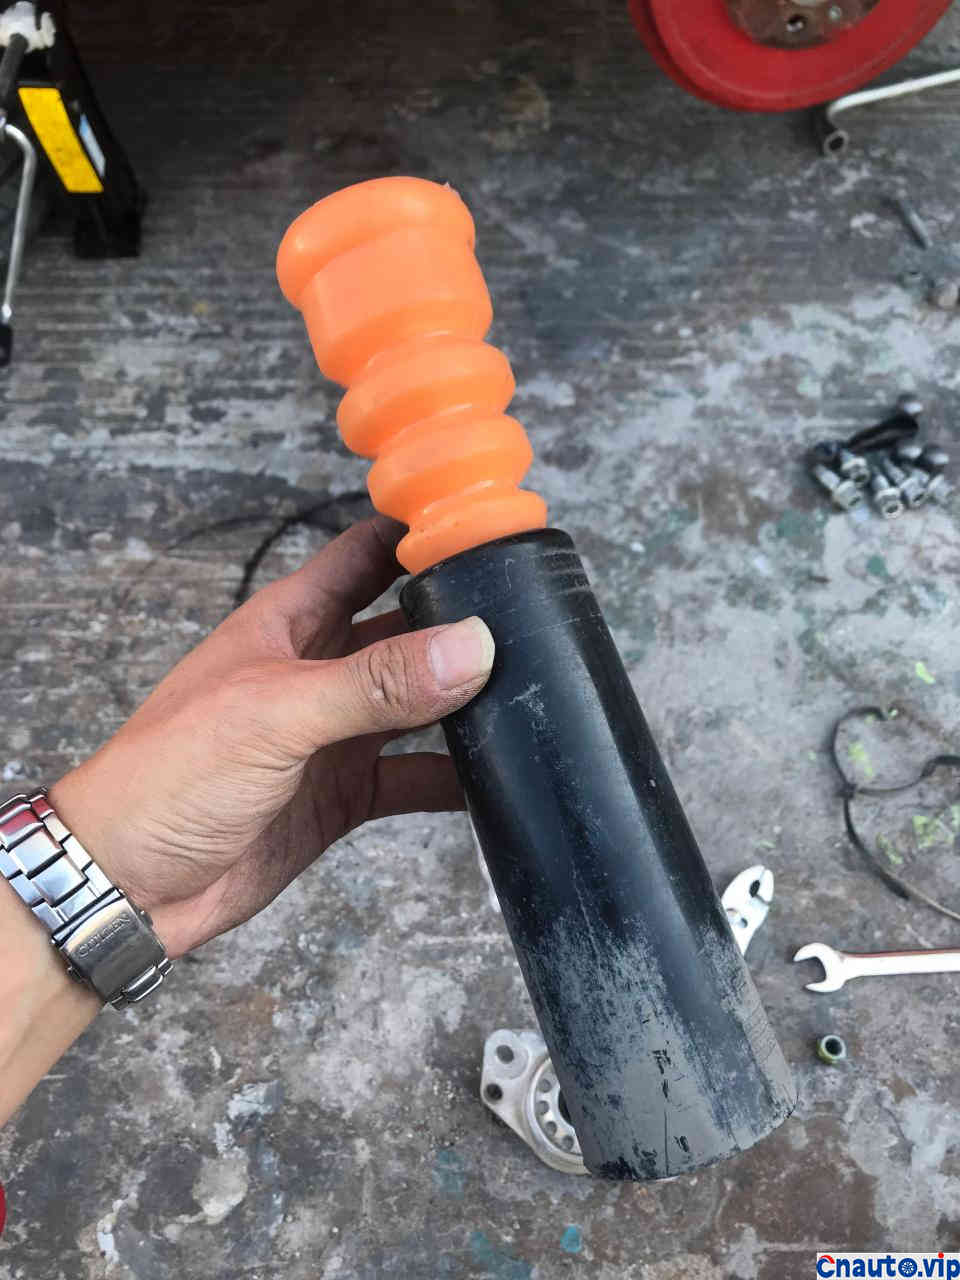
It is only when the bumper glue convex edge is jammed into the wind and dust cover that it is installed in place, otherwise it will fall off a few times and will not play a dustproof effect.
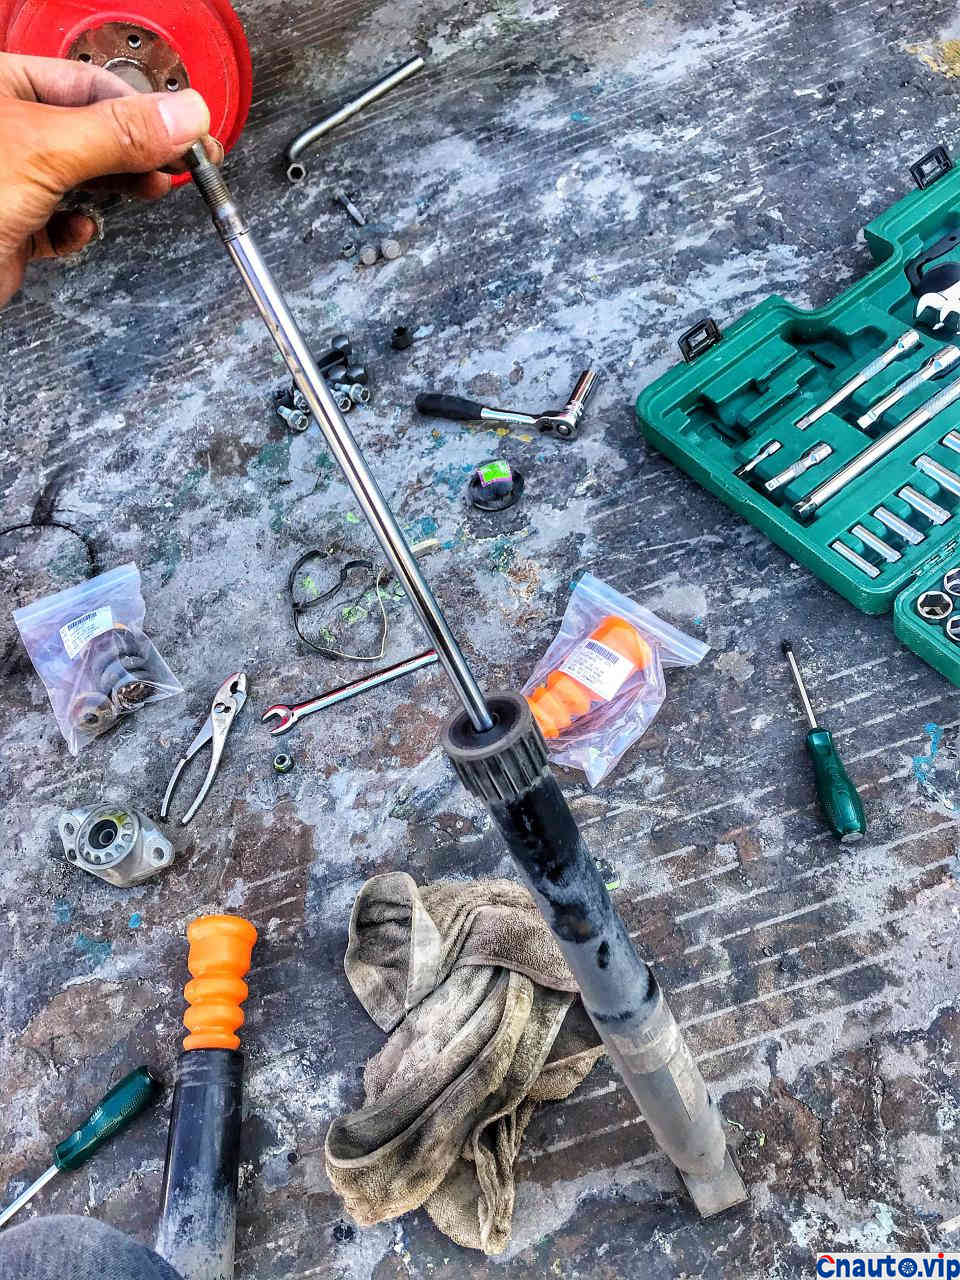
This is what it looks like to remove the rubber block and the dust jacket. In the middle, too much sand and gravel in the oil seal will lead to abnormal wear and tear of the oil seal and lead to oil leakage. Fortunately, mine hasn’t missed yet.
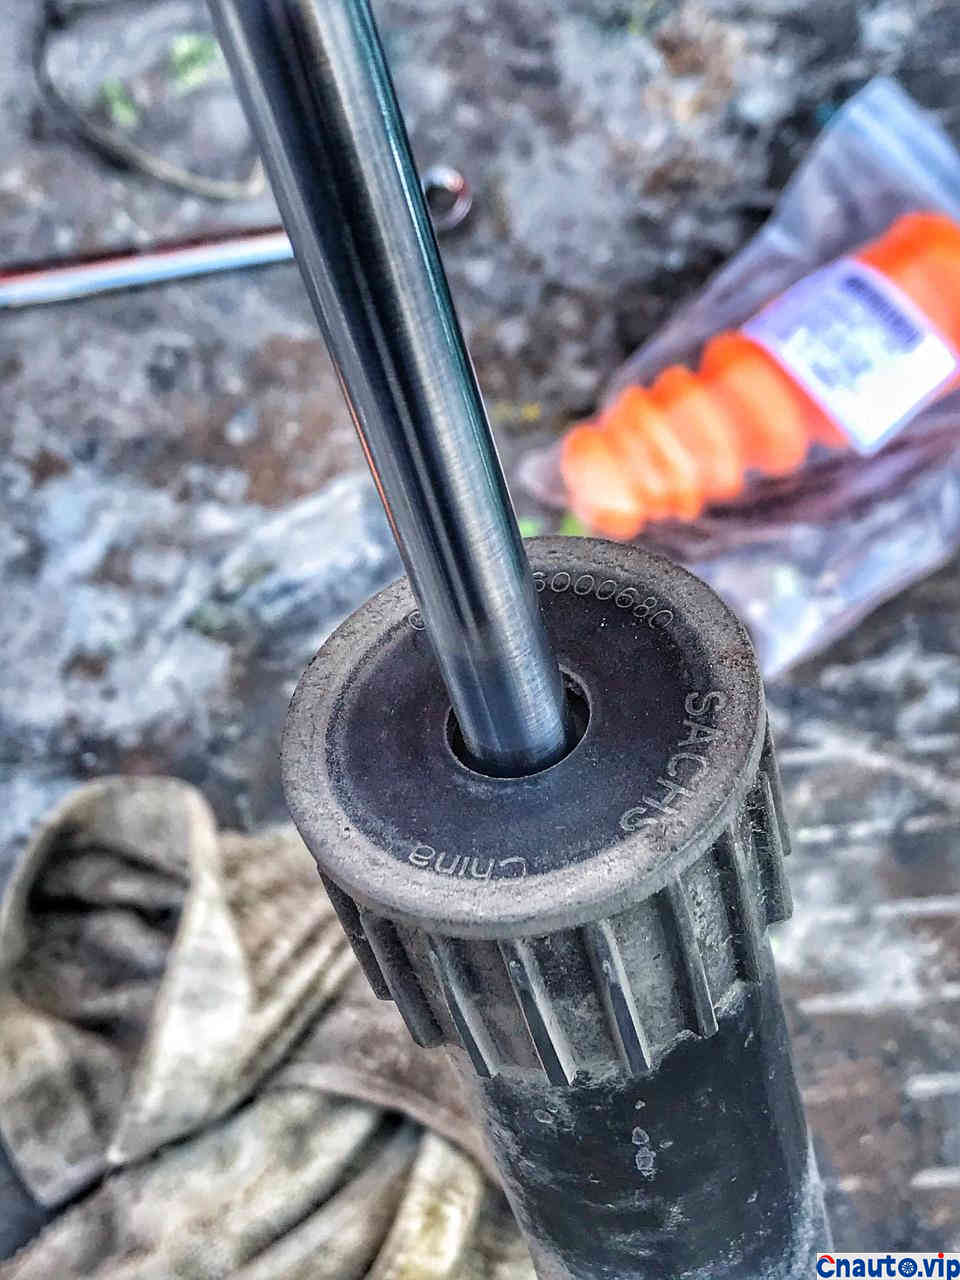
Oil seal close-up-it’s easy to pile up sand and gravel here.
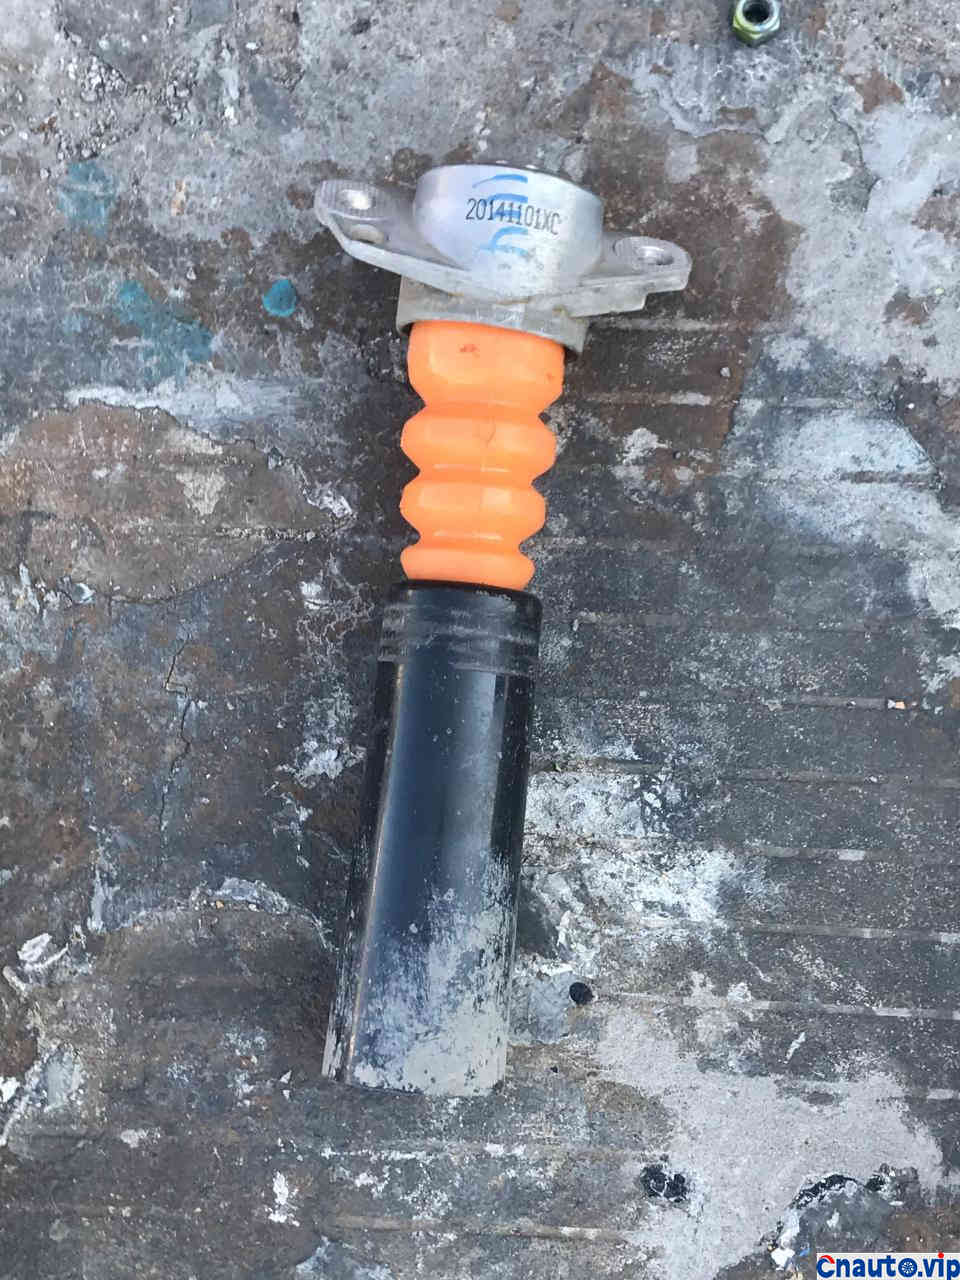
The upper part also requires a certain amount of strength to push it in before it is installed in place, and at this time it is considered to be ready to reset at the end of the replacement.
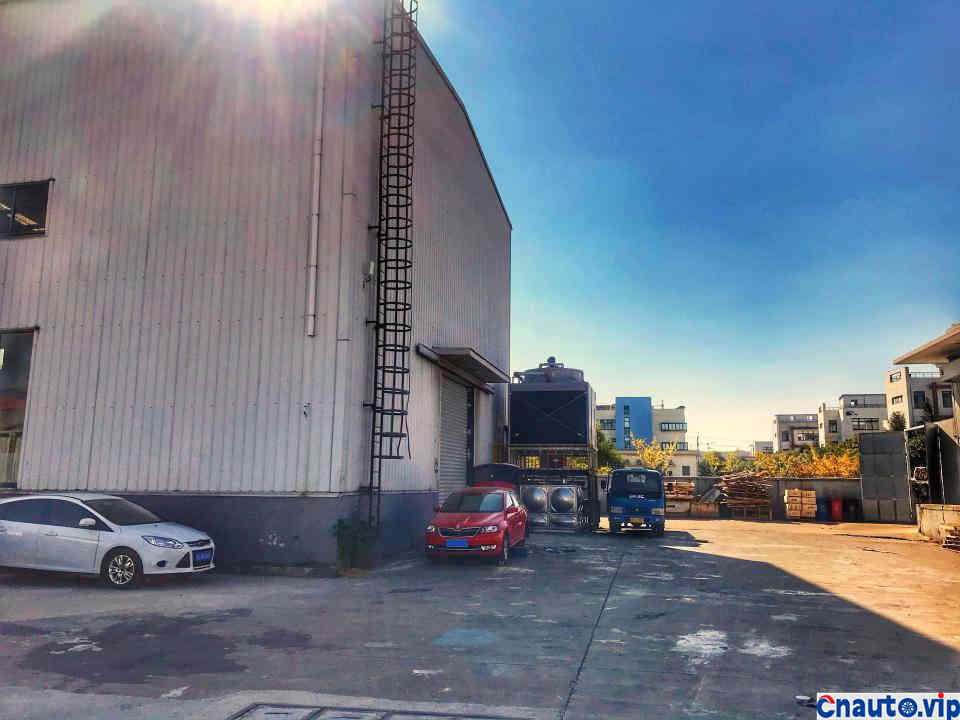
Stand up and exercise when you are tired. I have been squatting and my feet are numb.
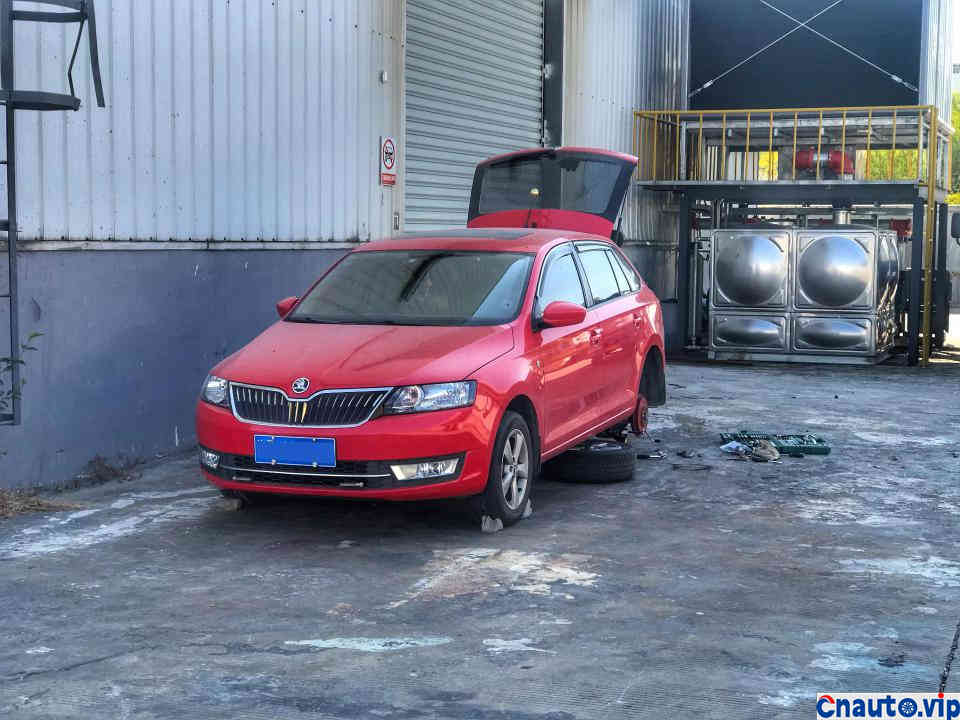
The left rear wheel is under construction
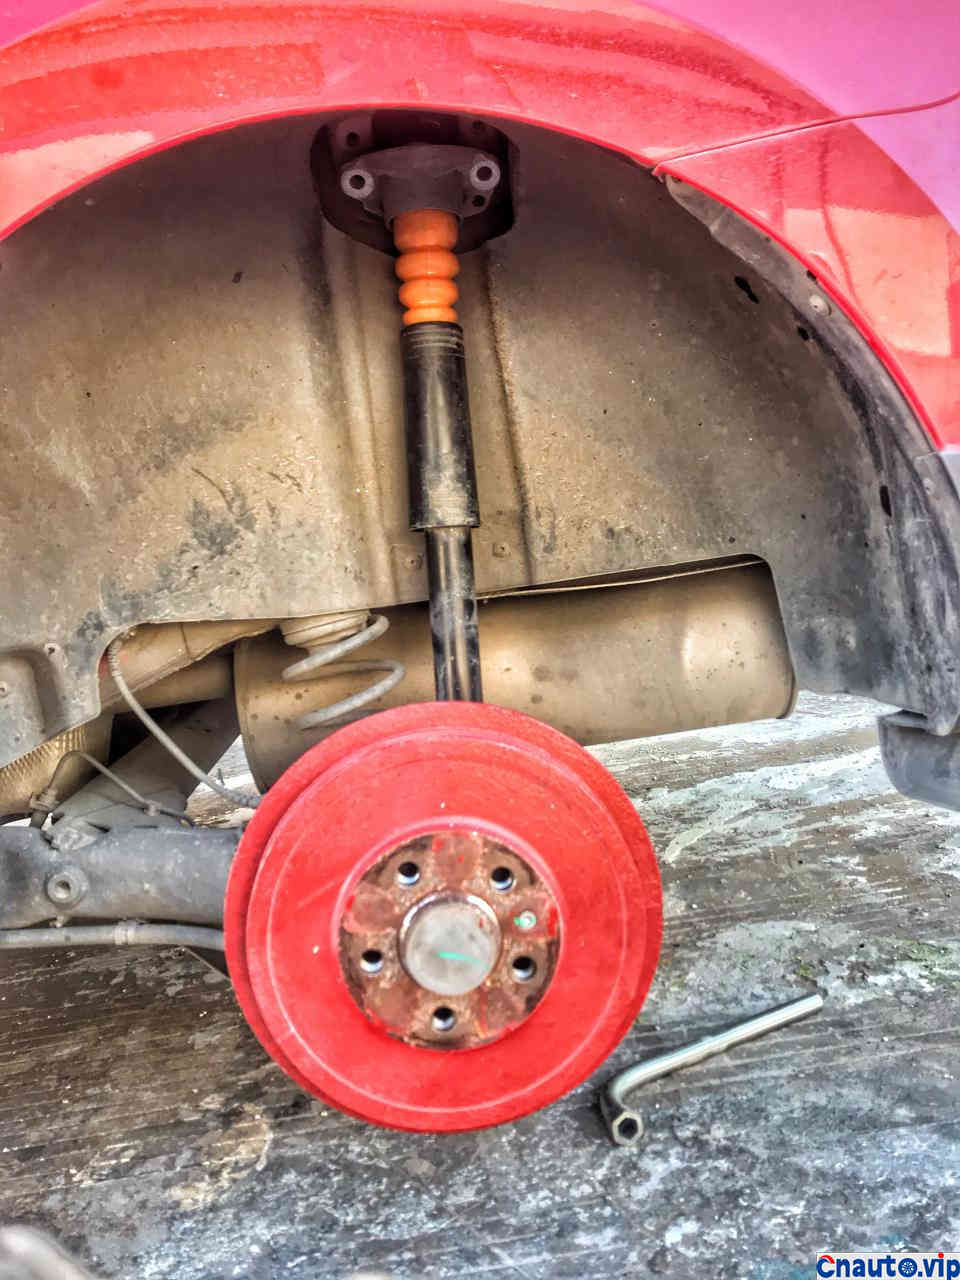
Ready to reset, now put the shock absorber assembly to the designated position, and then fix it one by one according to the principle of going up and down first.
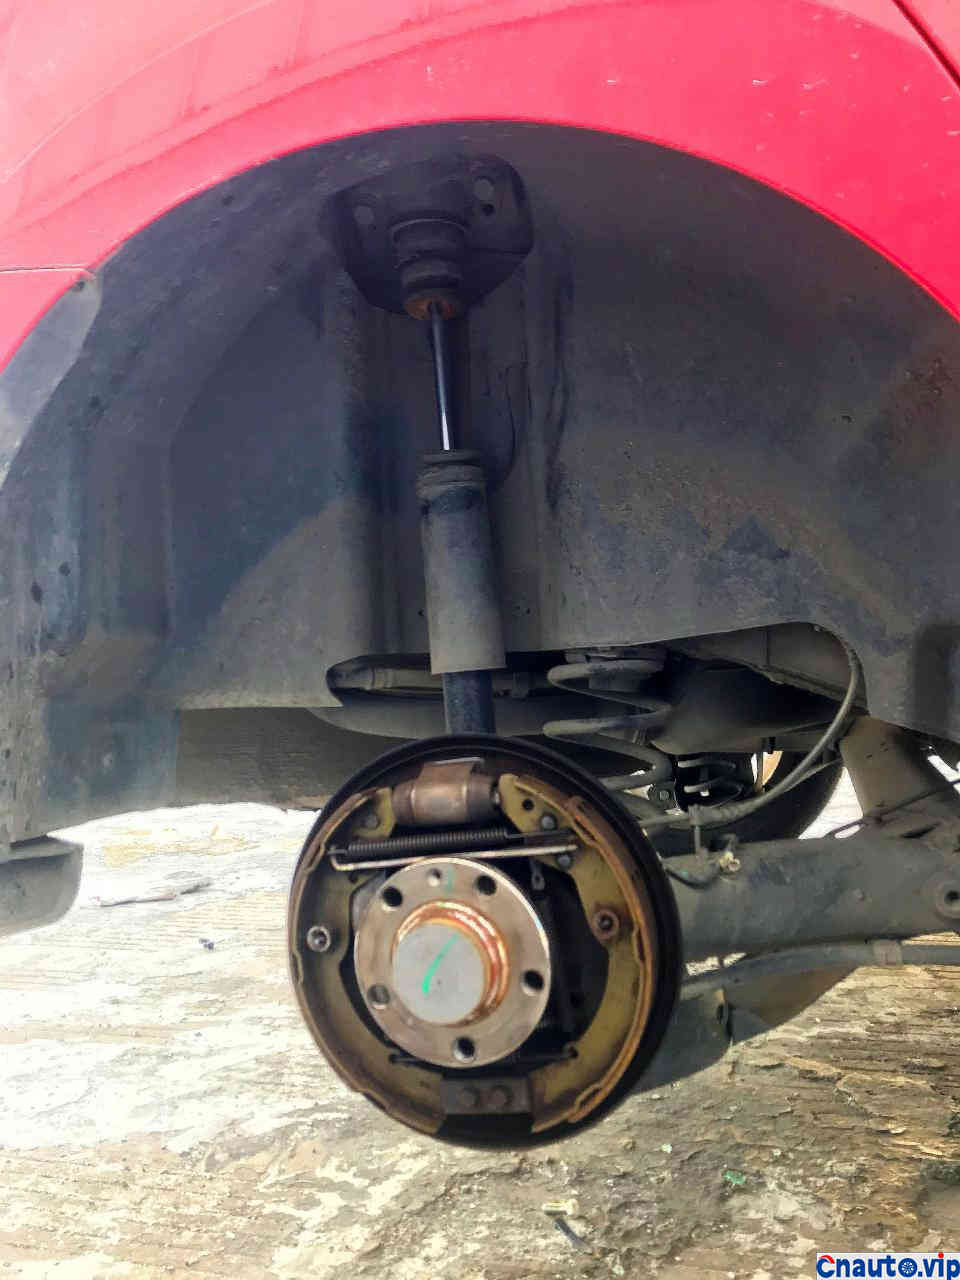
The right rear wheel operates the same way, and the old buffer glue has been disconnected.
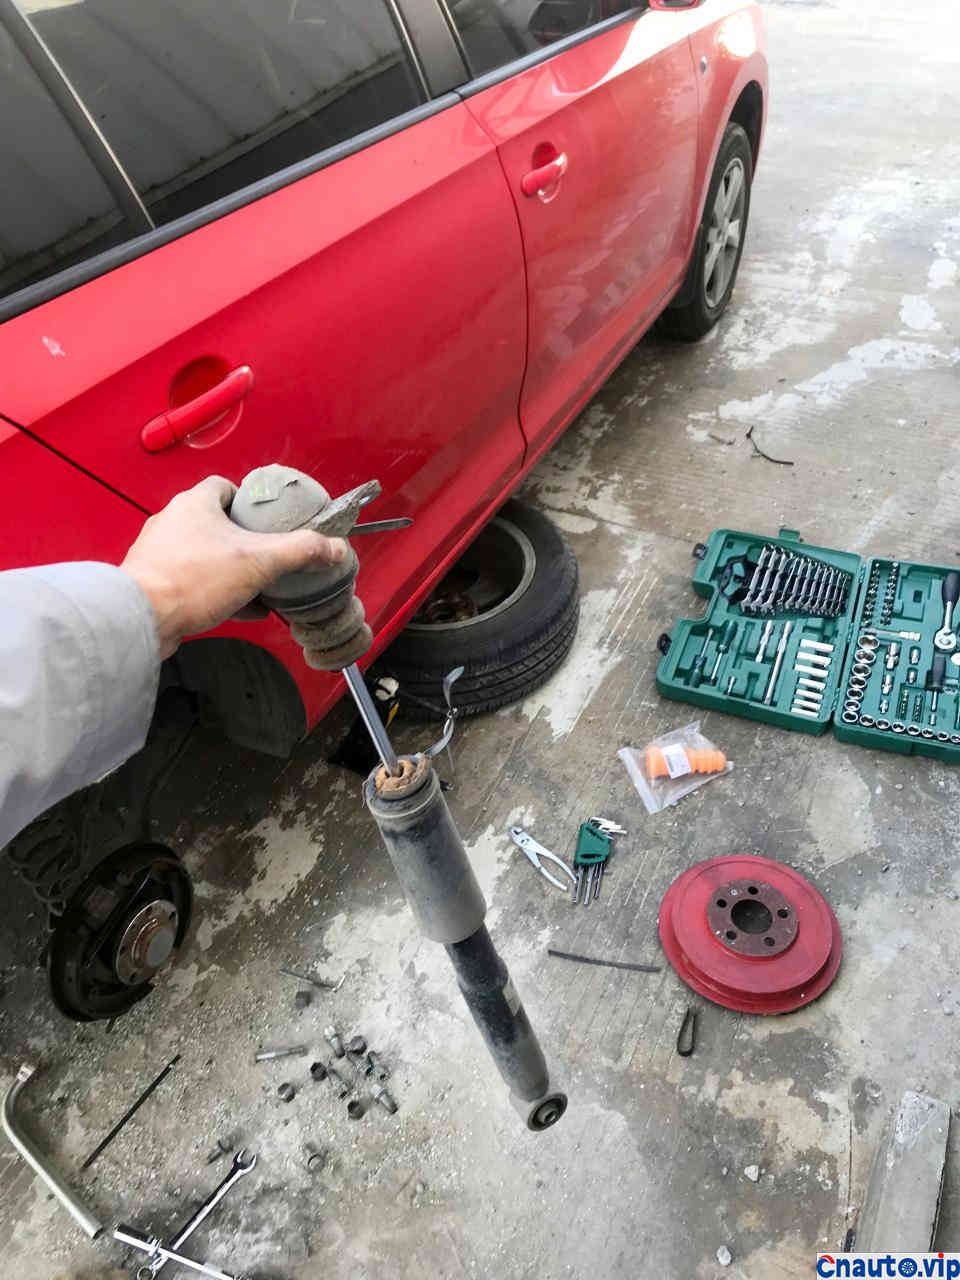
Remove the shock absorber assembly
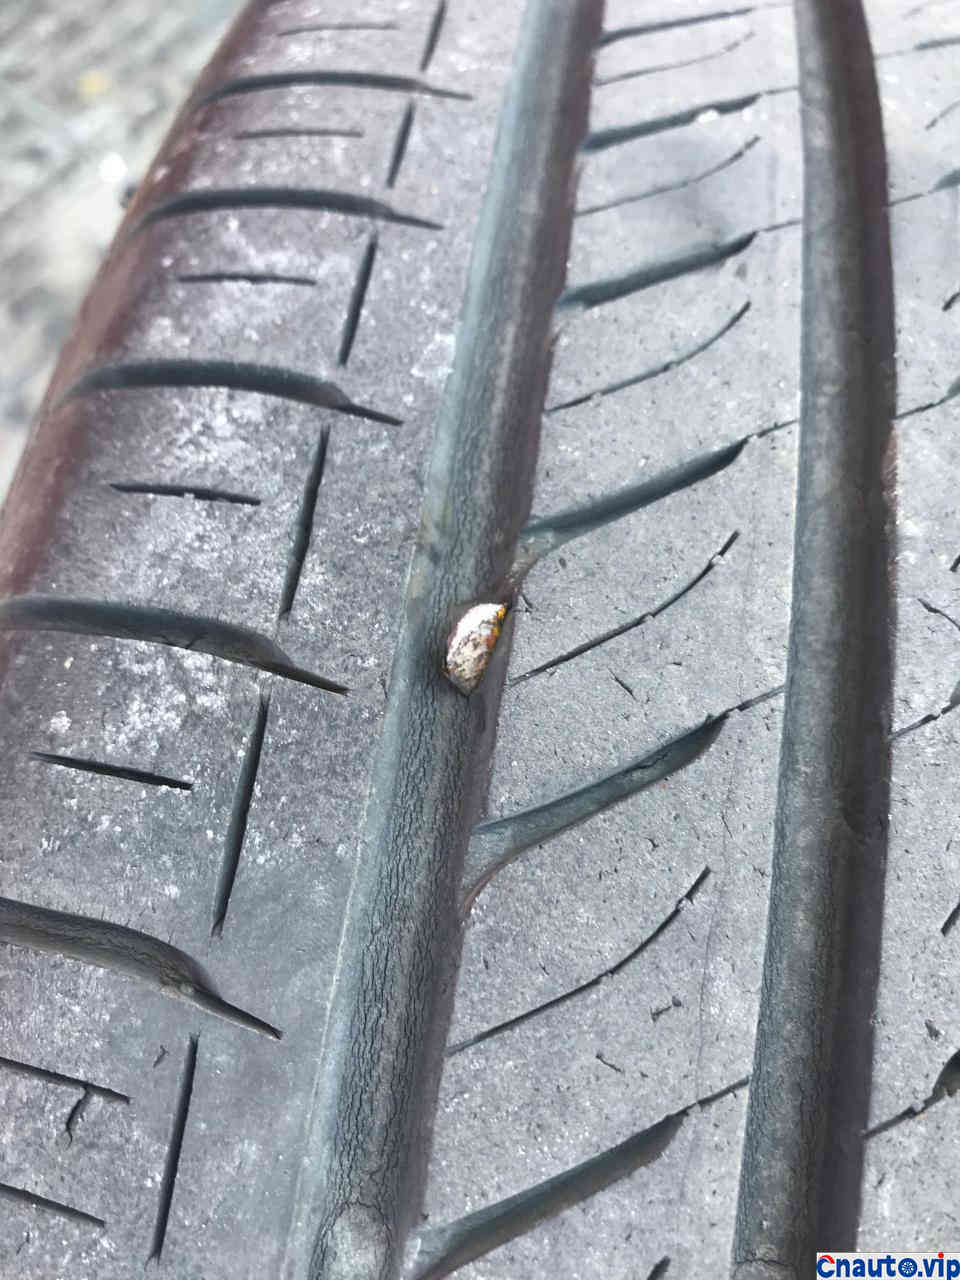
When I took it off, I found another patch on the tire.
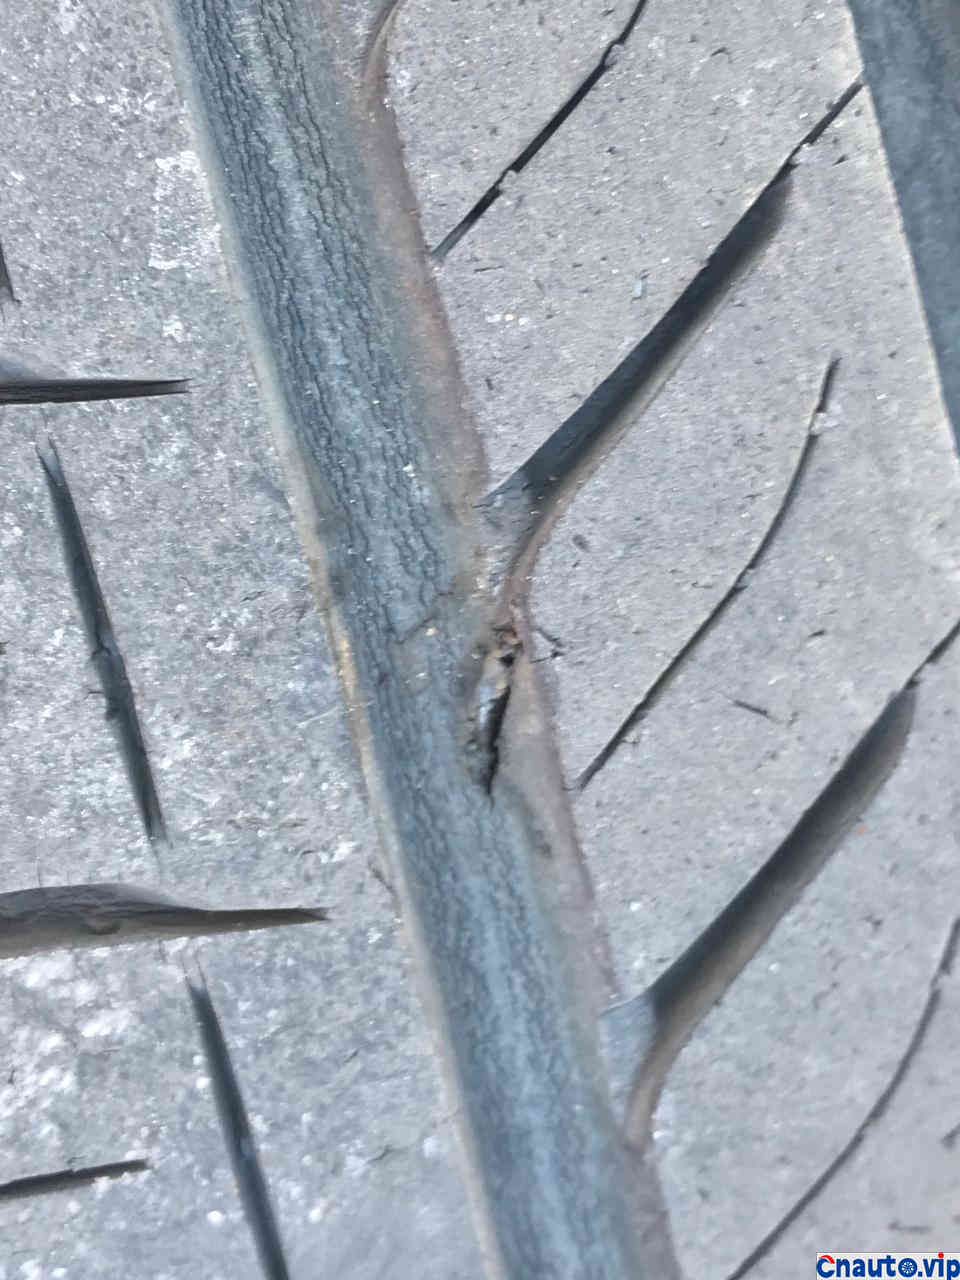
The hole in the patch is still quite deep, but there is no air leakage.
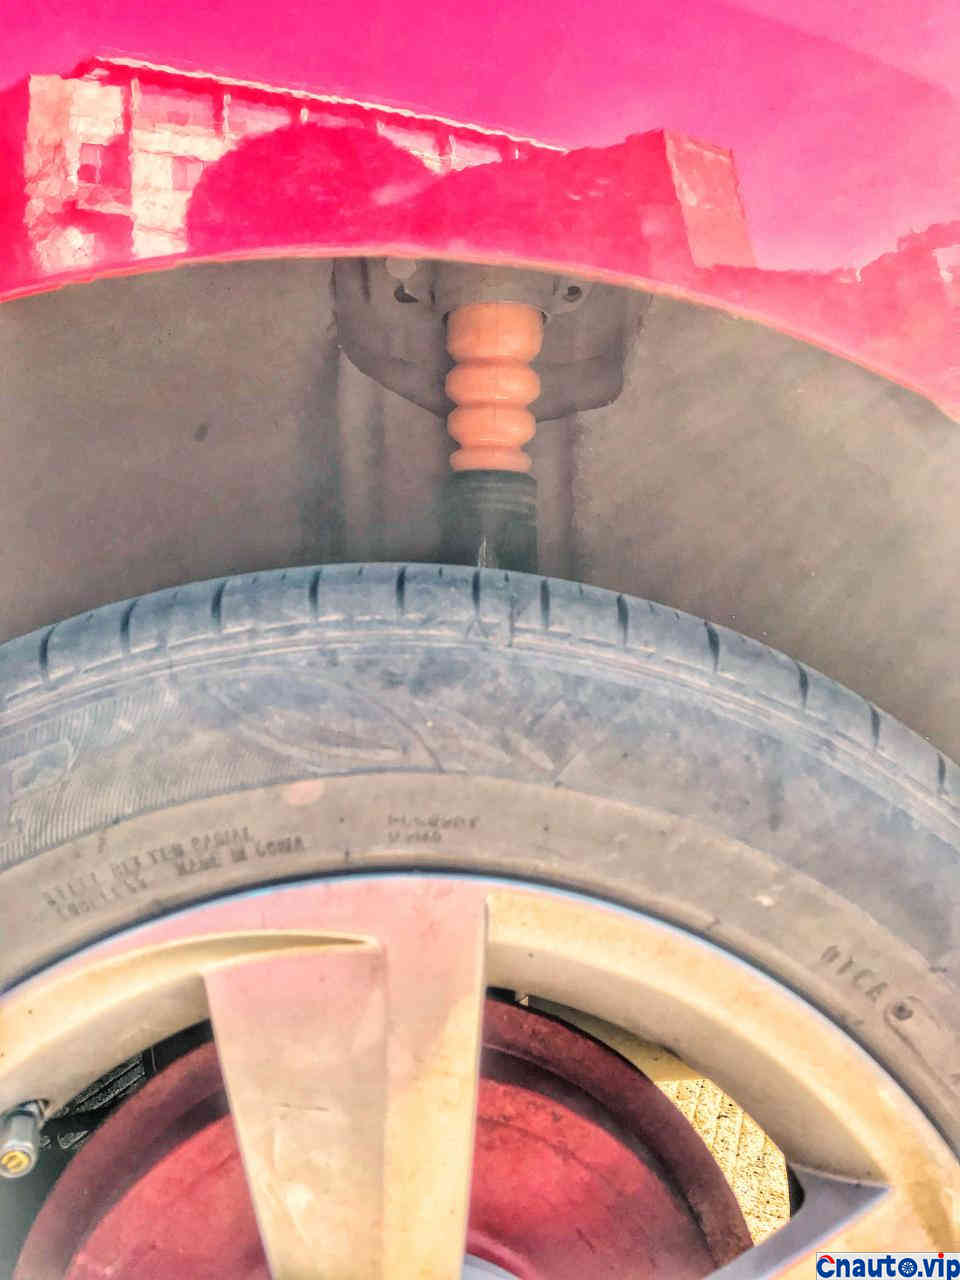
The right rear wheel is the same step. After the completion of the stall, we can see that the buffer glue and the shock absorber are fused together.
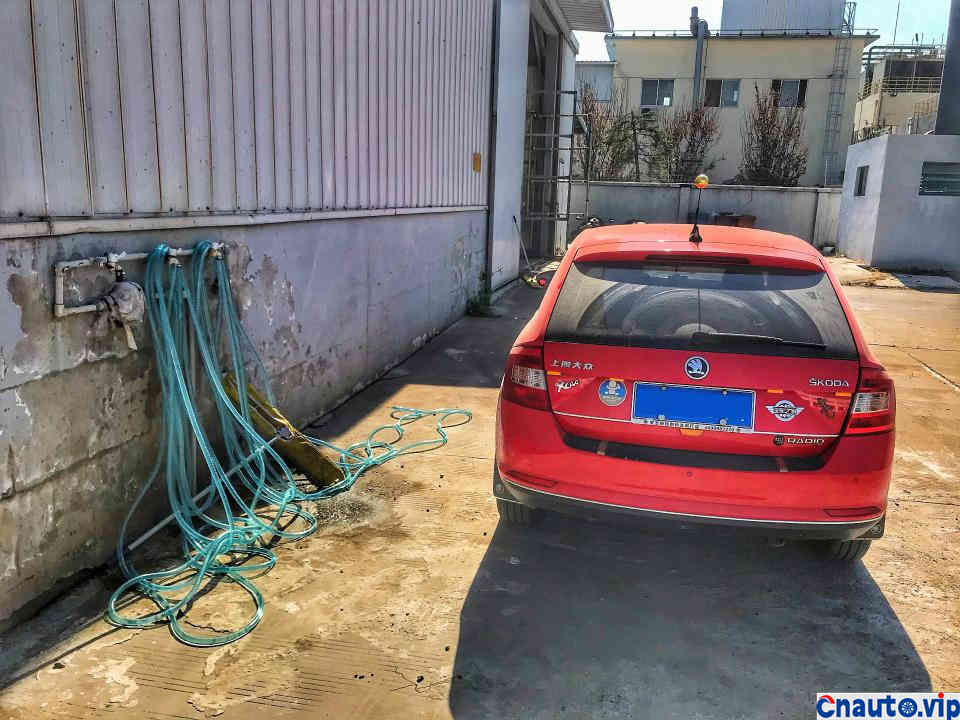
Finally, we drove to the company to wash the car to announce the end of the maintenance.
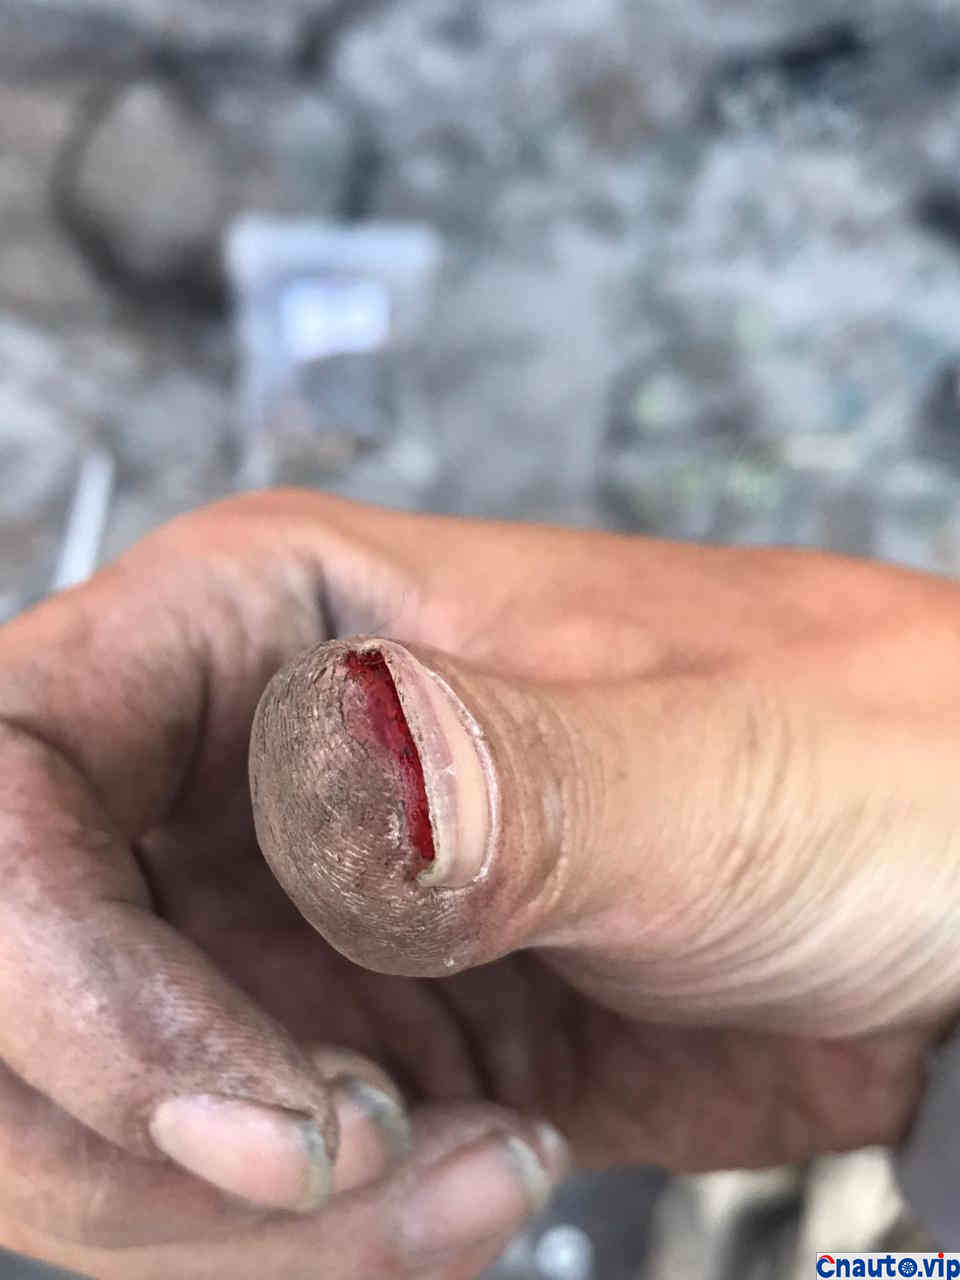
Look, my thumb is just to tuck those two buffer glue into a tear.
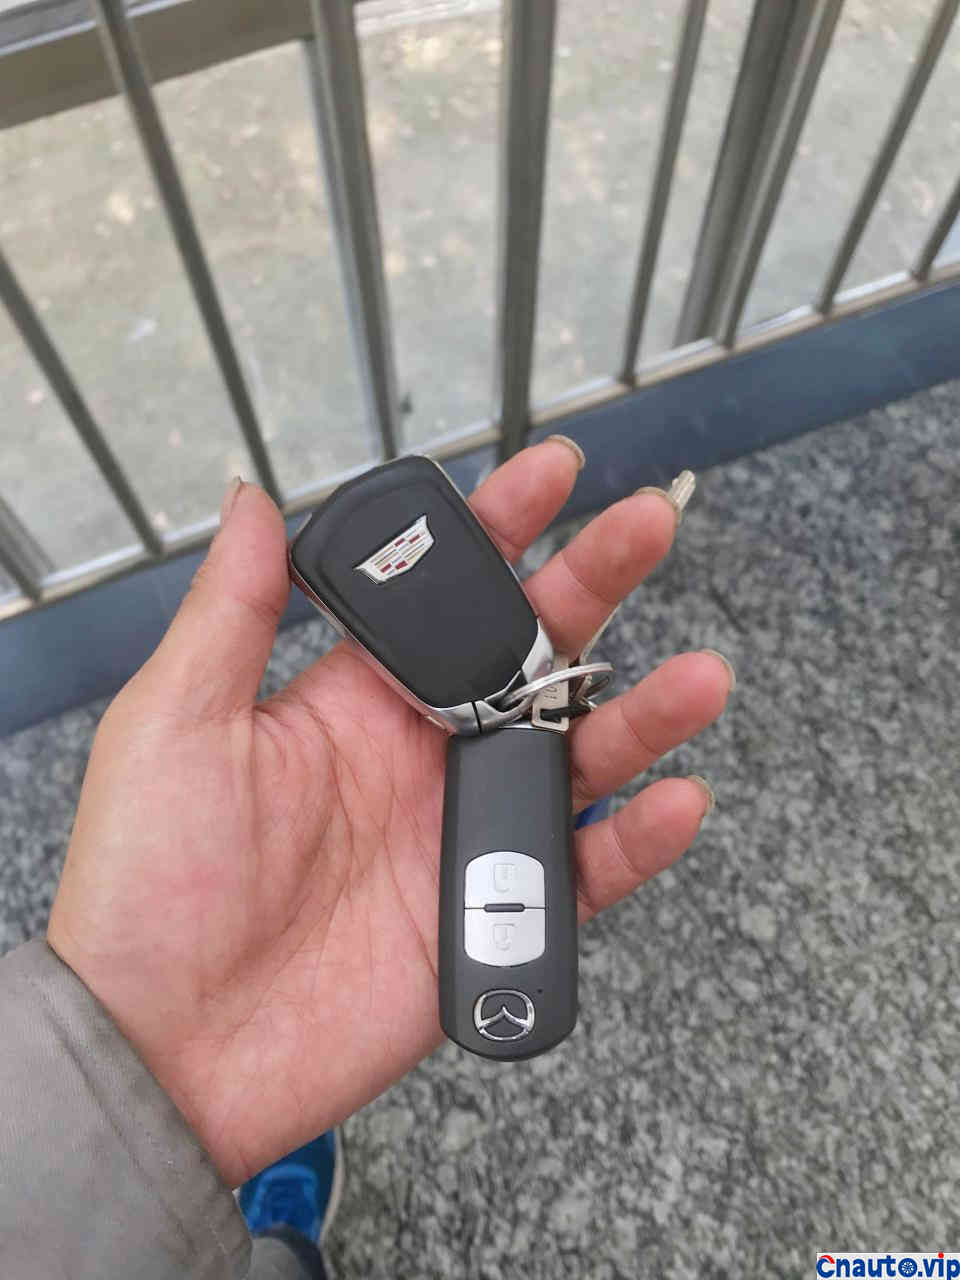
The other two stations have not found this kind of phenomenon for the time being.
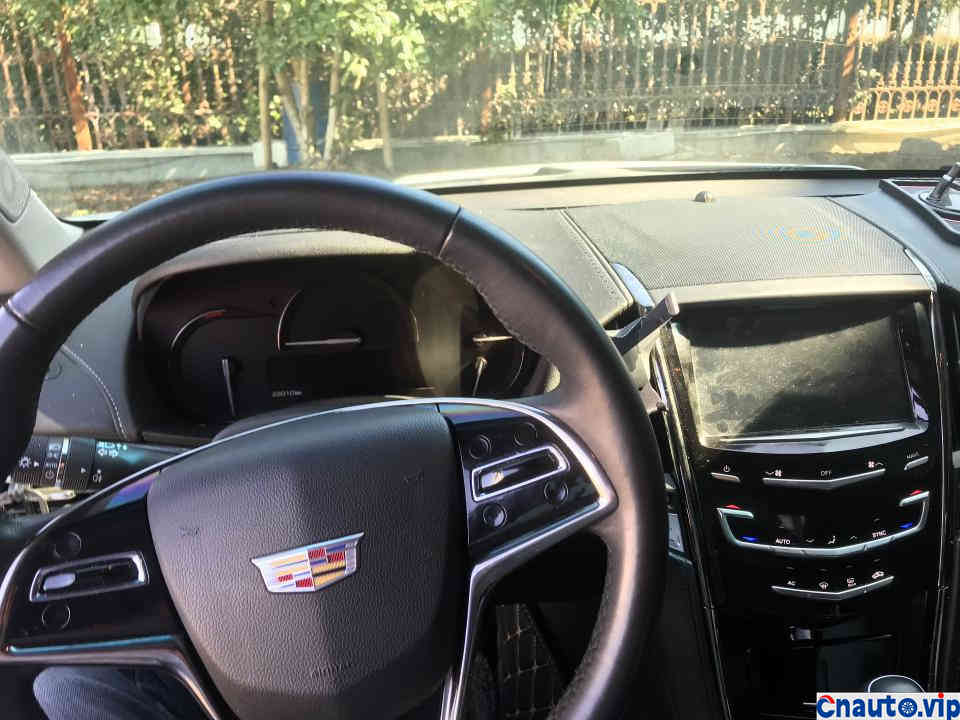
Take my Xiao Kai and get ready to go home.

Because it took me an hour to fix Xiaoxin, I missed lunch time, so I didn’t forget to pack myself a lunch to fill my stomach.
The replacement process is over. I hope I can help you.
The replacement process is over. I hope I can help you.
Hot Information
Tesla Autopilot and similar automated driving systems get ‘poor’ rating from prominent safety group
 April 1, 2024
 Localization of EV parts without production scalability may not help cut EV price, says President, Amara Raja
 March 27, 2024
JCTSL may turn bus stands into charging points for e-buses
 March 27, 2024
 You May Like

