12 Cruze headlight replacement work!!!
The final conclusion is: either replace an original headlight assembly or replace a shell.
Being stingy, I naturally chose the latter.
In fact, after a period of careful consideration (I actually regretted it when it was over), I started the car in 12 years and have been following me for eight years. The old Cruze has solid workmanship but touching fuel consumption. During this period, apart from replacing the spark plug and battery once, it hardly caused any burden to me. However, as a car that has been in the United States for 12 years, it feels a little unsatisfactory if I don’t use it myself.
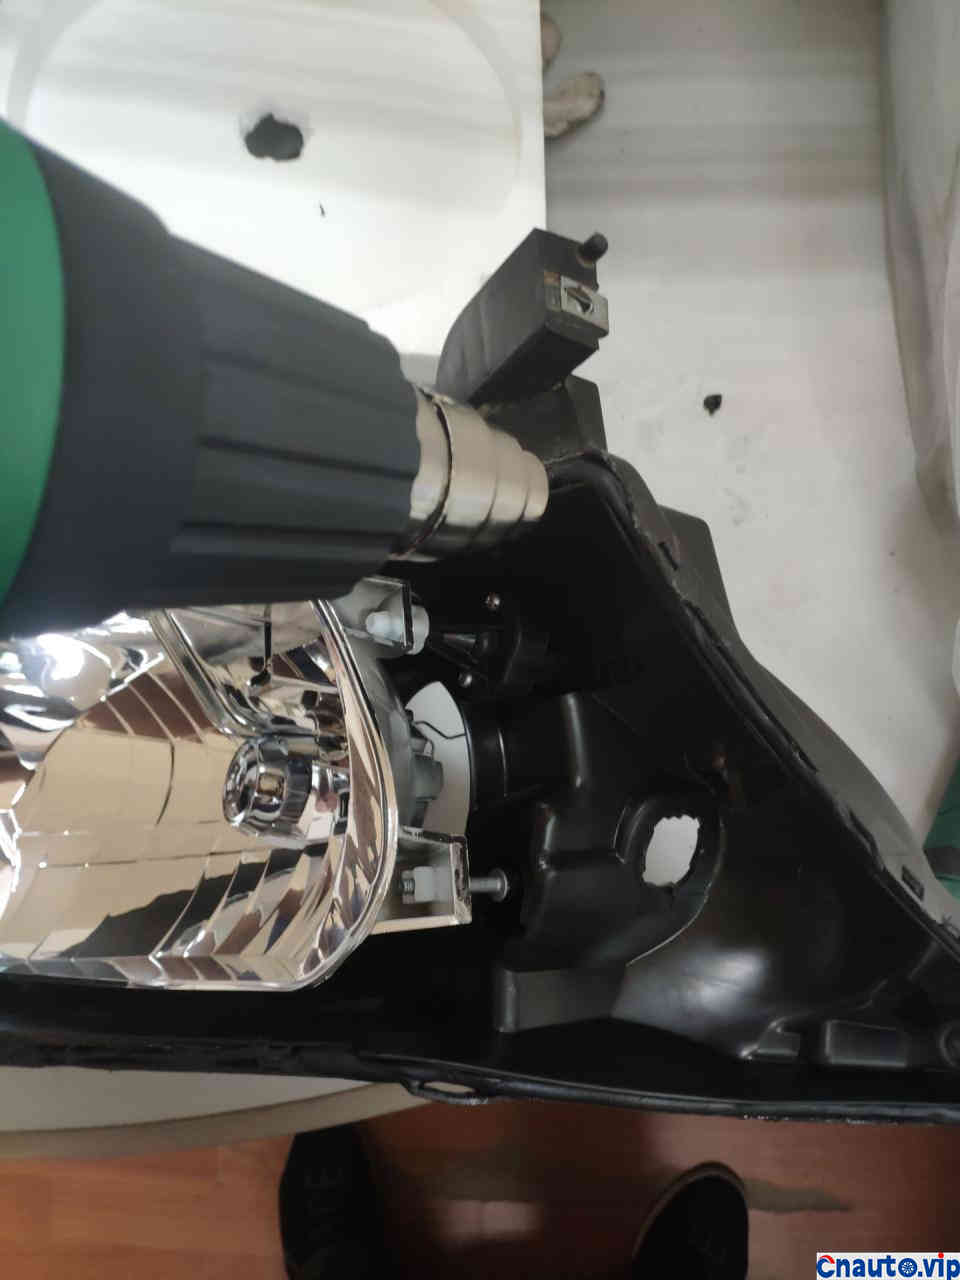
Less chatter, material preparation: a set of socket wrenches (the specific model is reflected in the picture), a cross word screwdriver, a hexagonal screwdriver, a new large lampshade, snake glue, a hot air gun, a helper ~~~
Tear the front enclosure from one corner and create a miracle with great force!!
Pull the perimeter around the car a little bit and pull the cord off the fog lights.
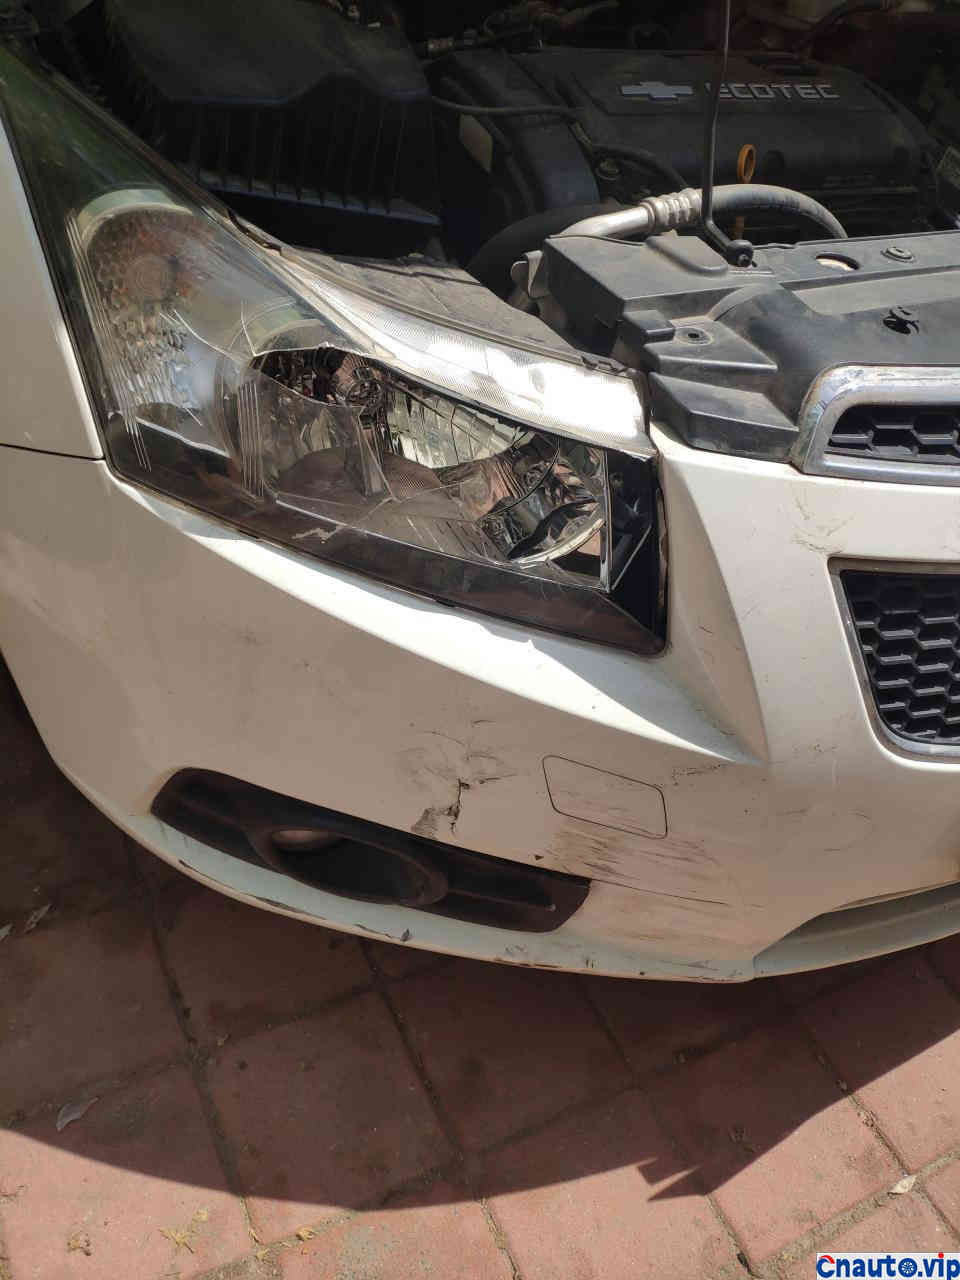
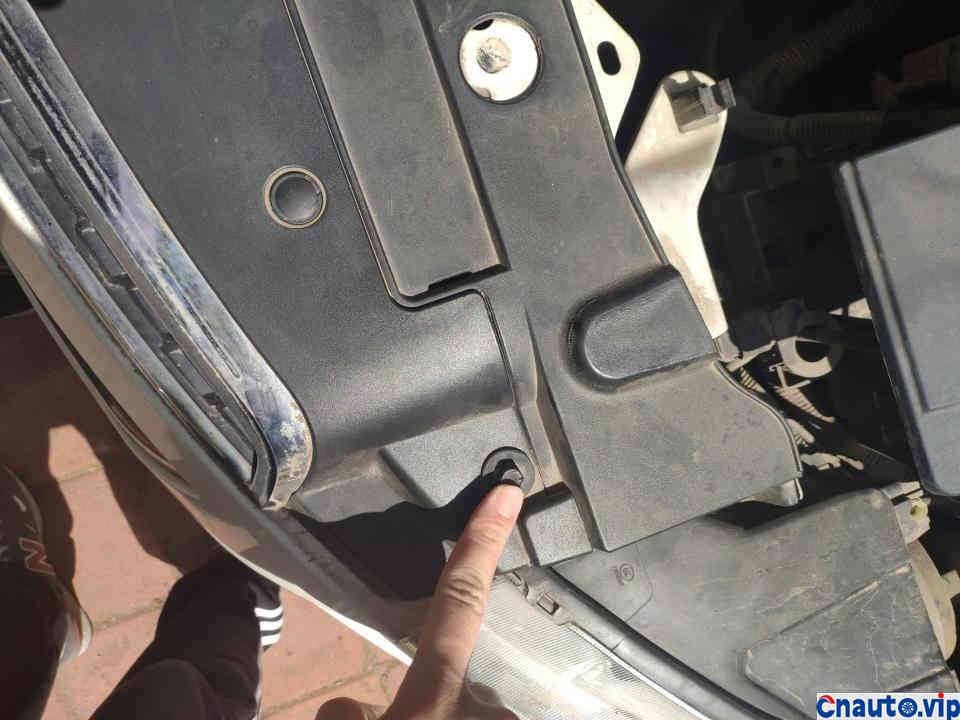
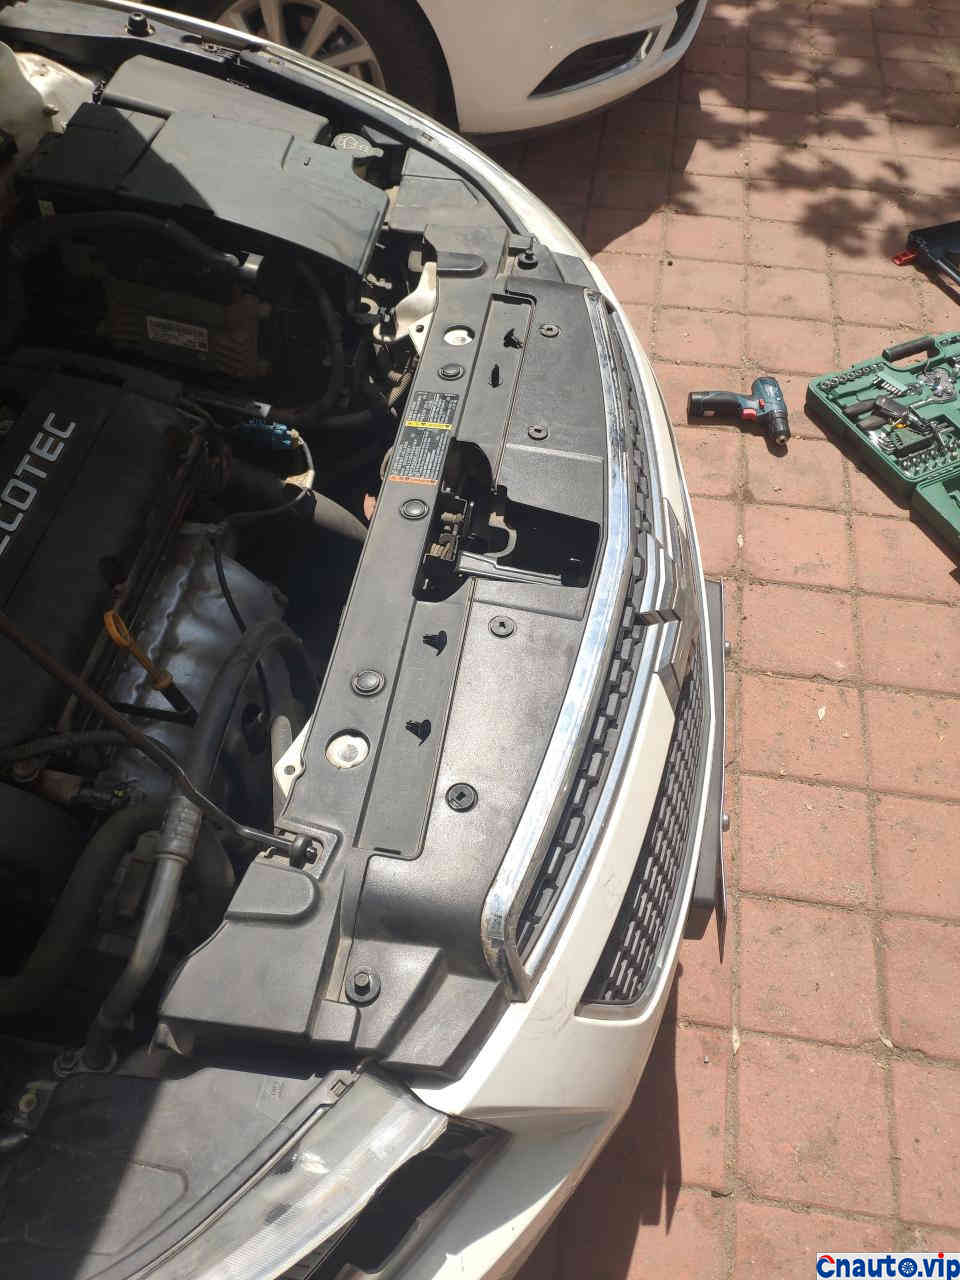
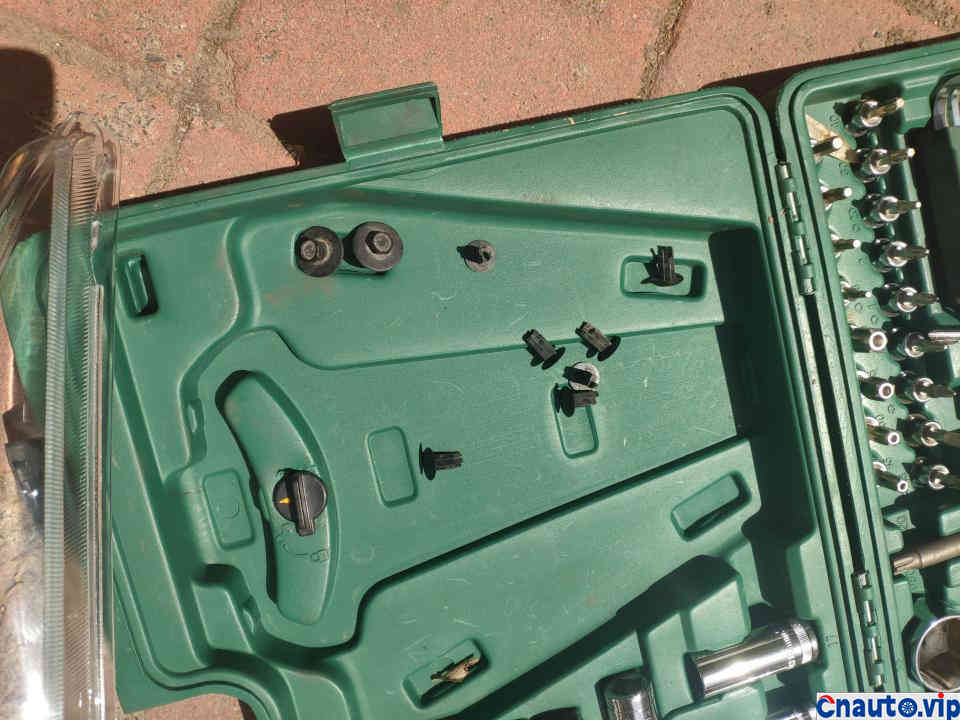
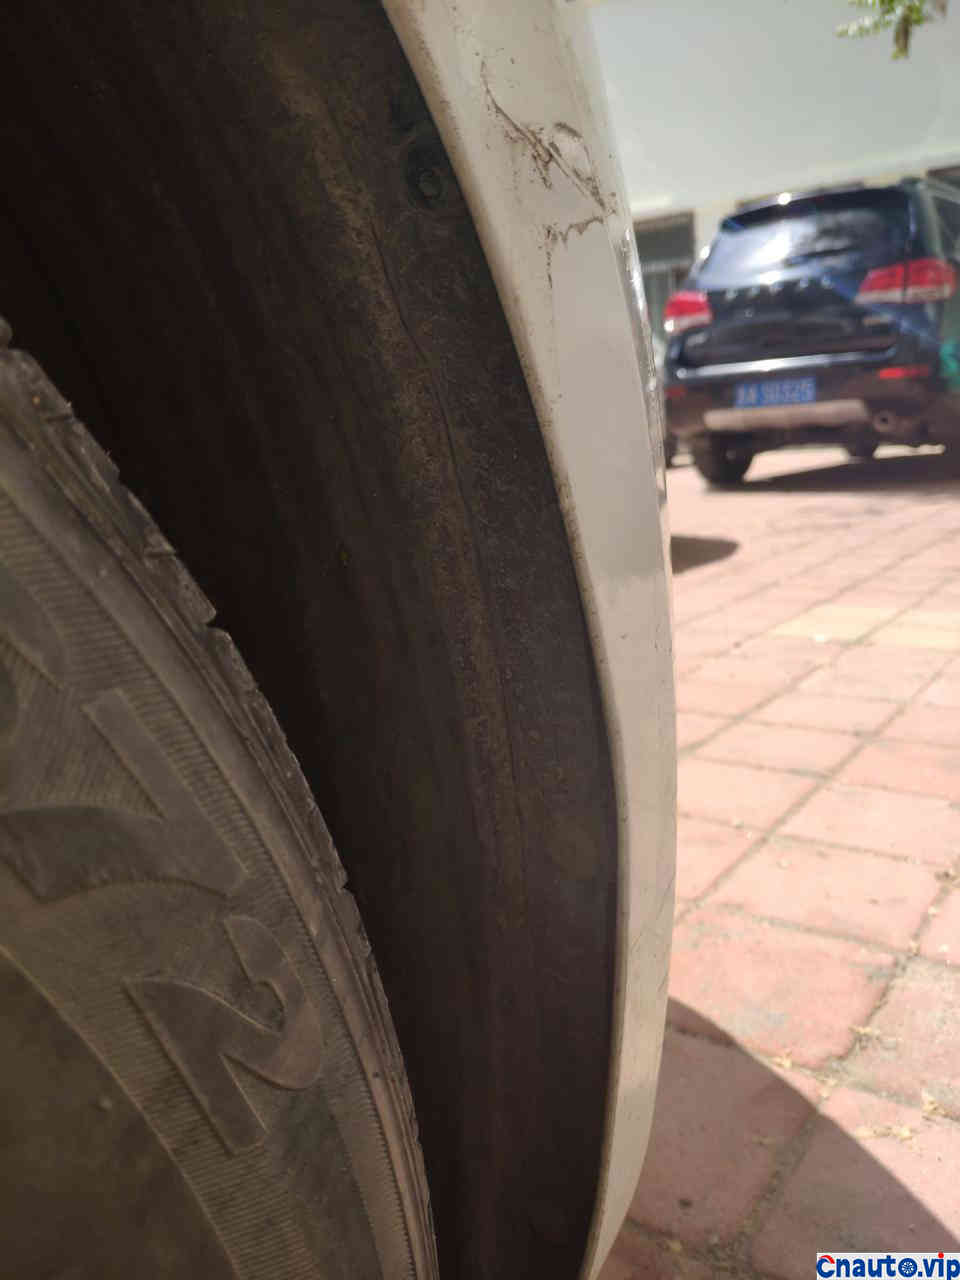
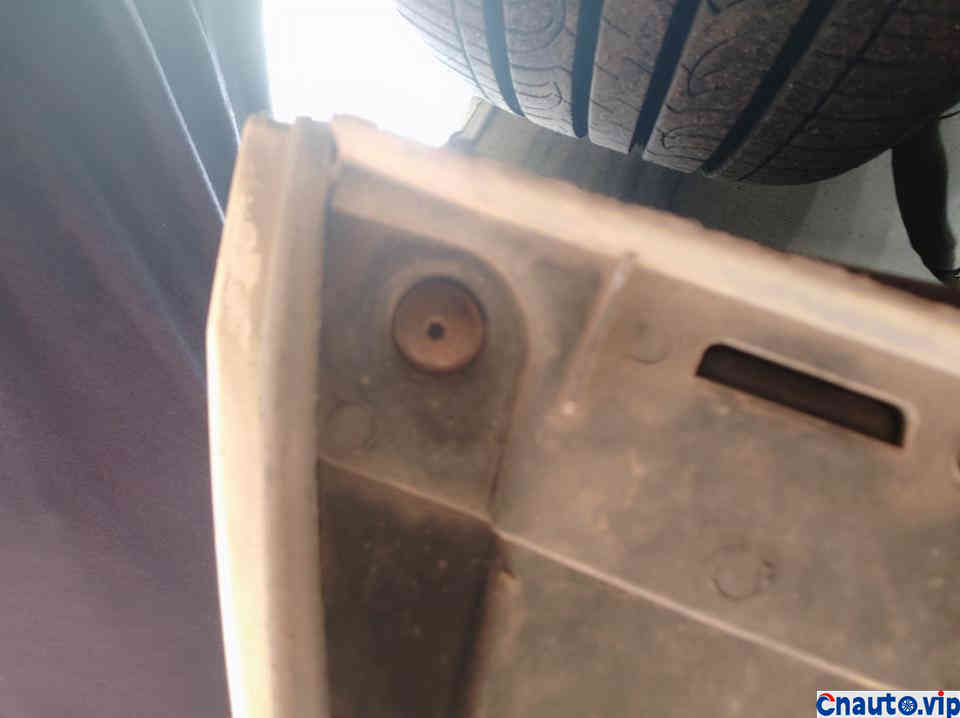
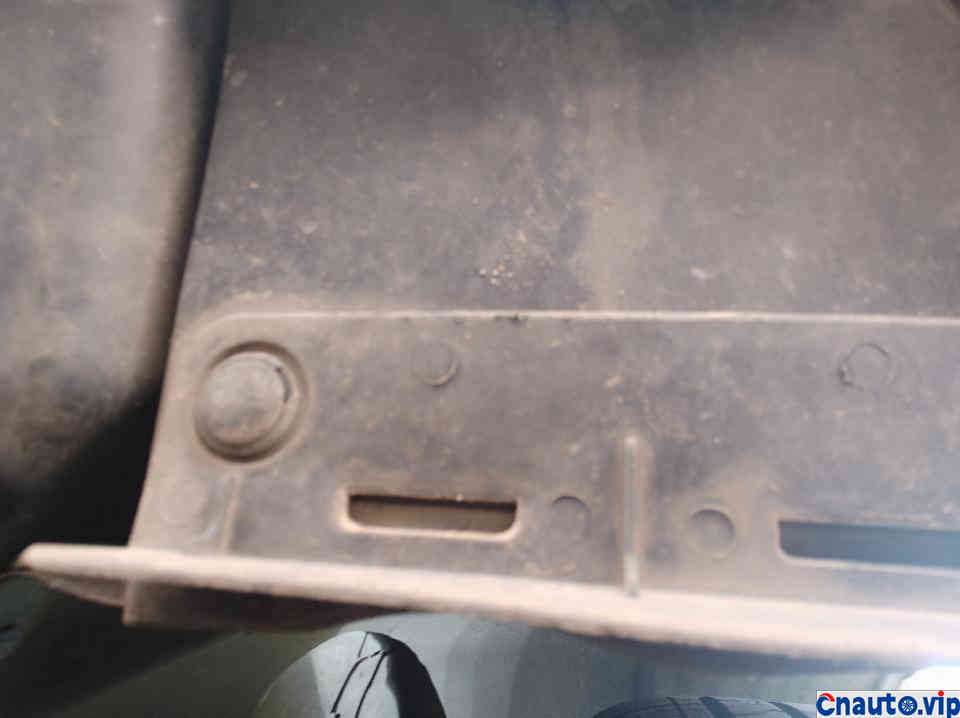
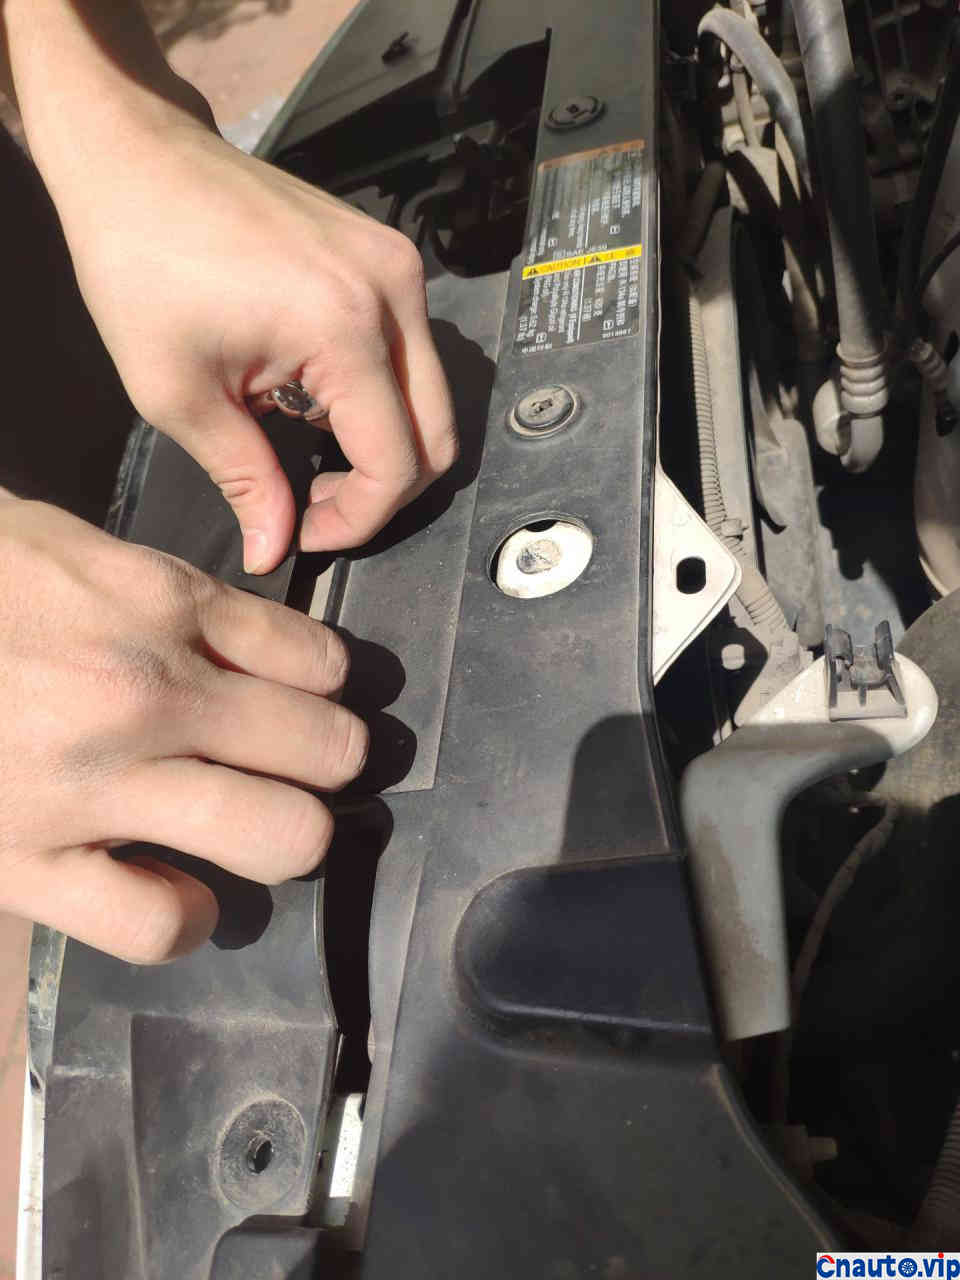
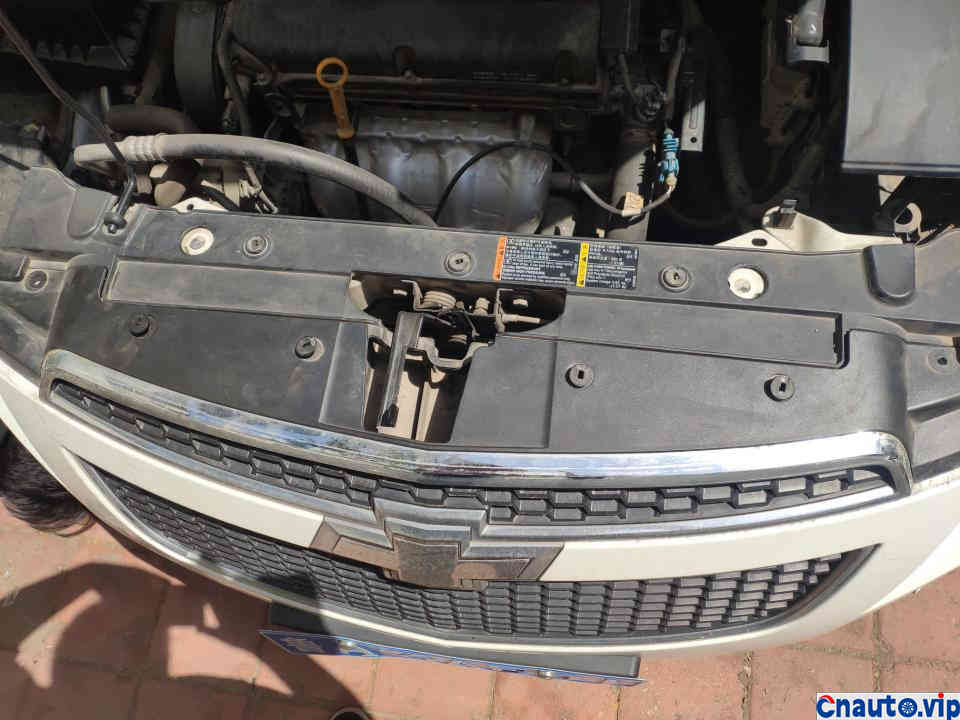
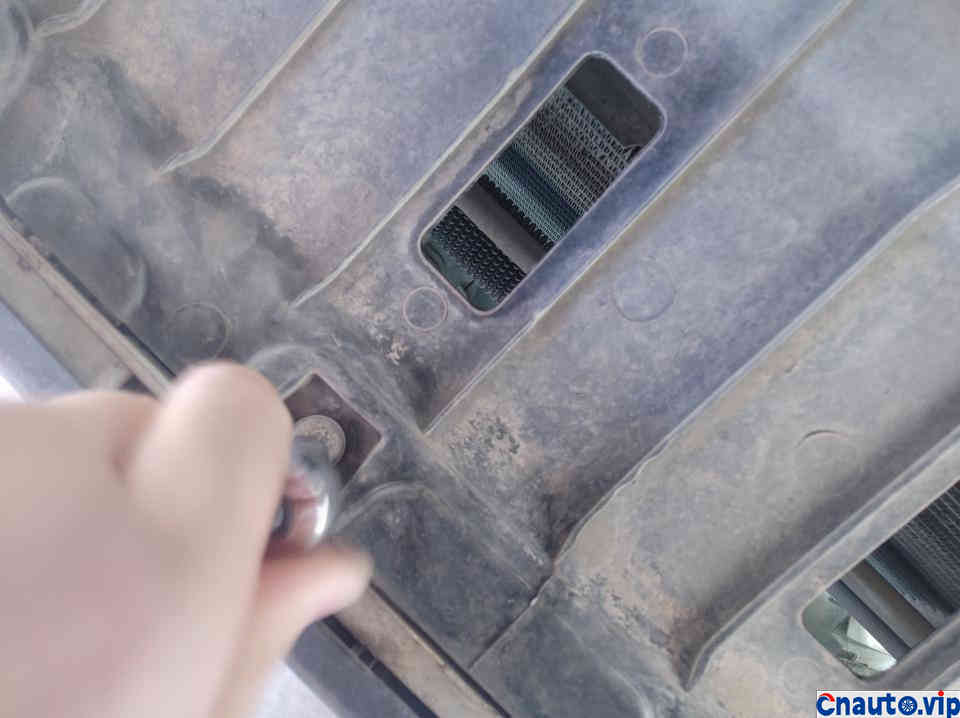
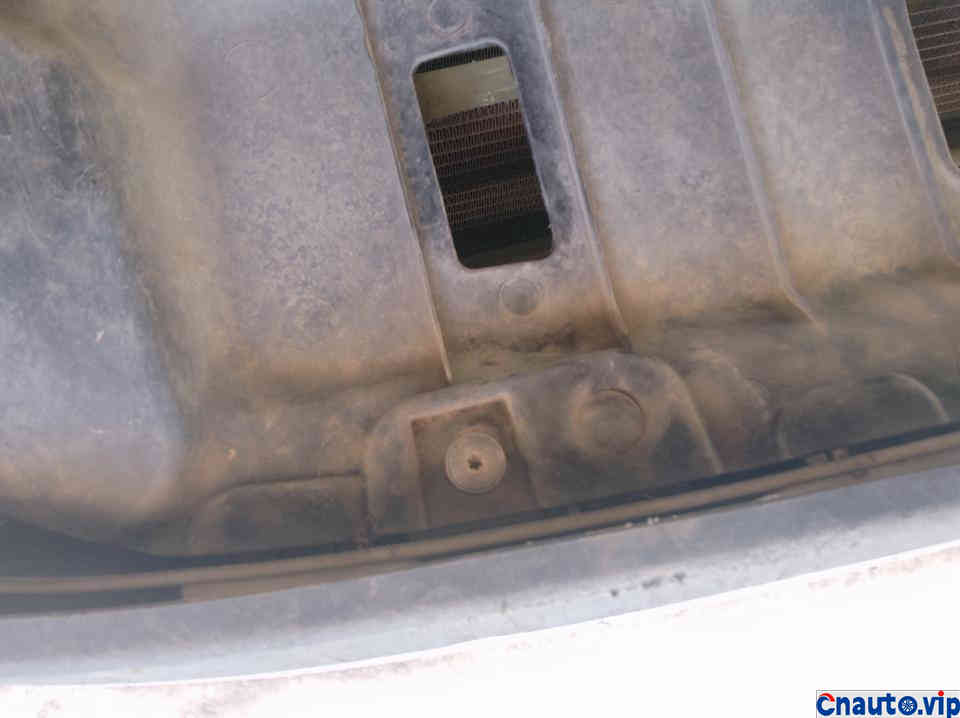
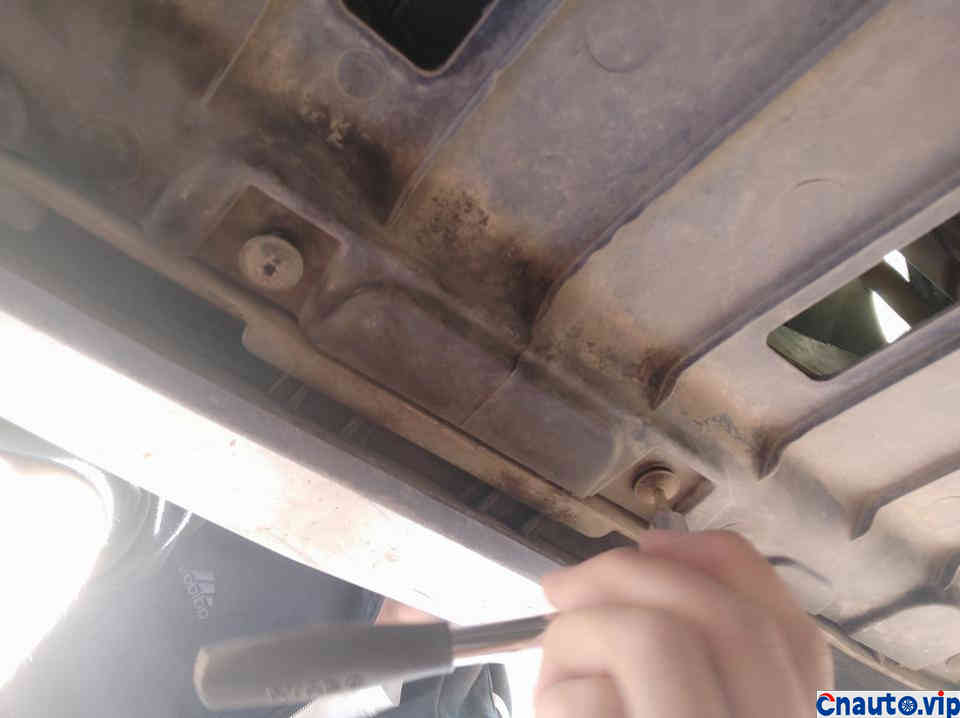
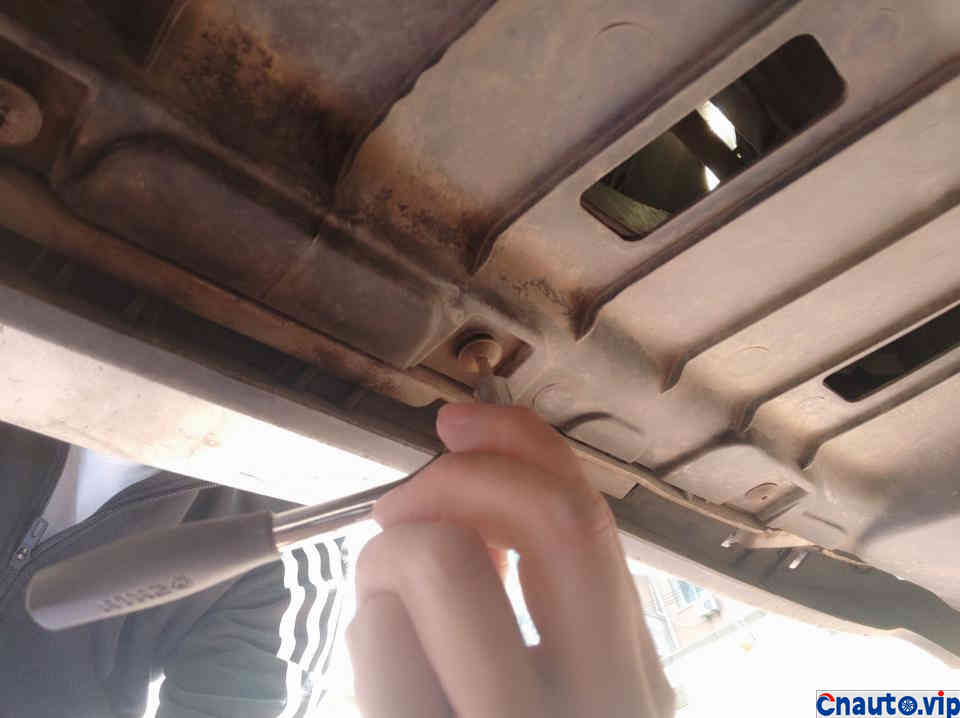
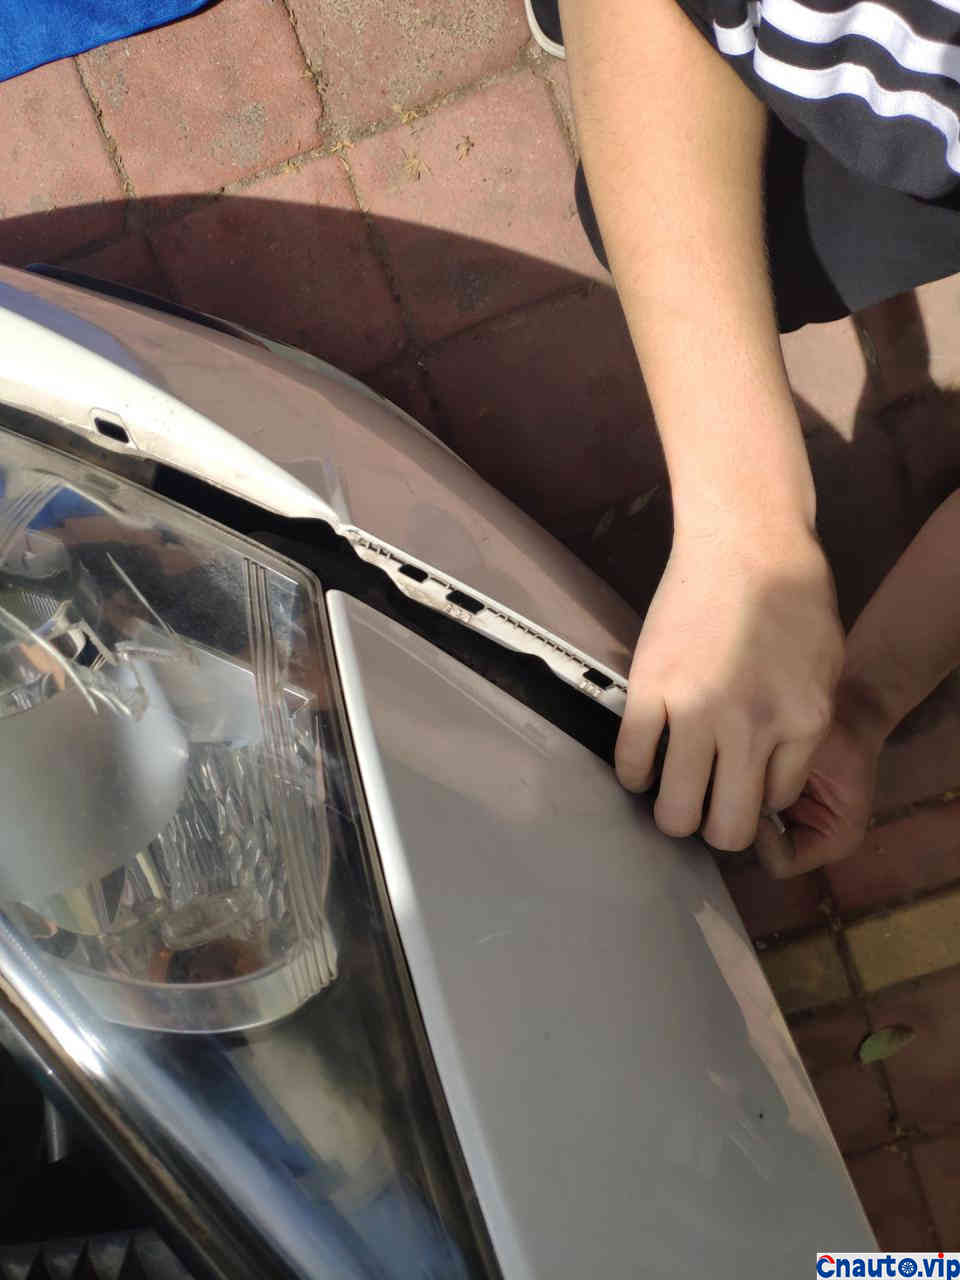
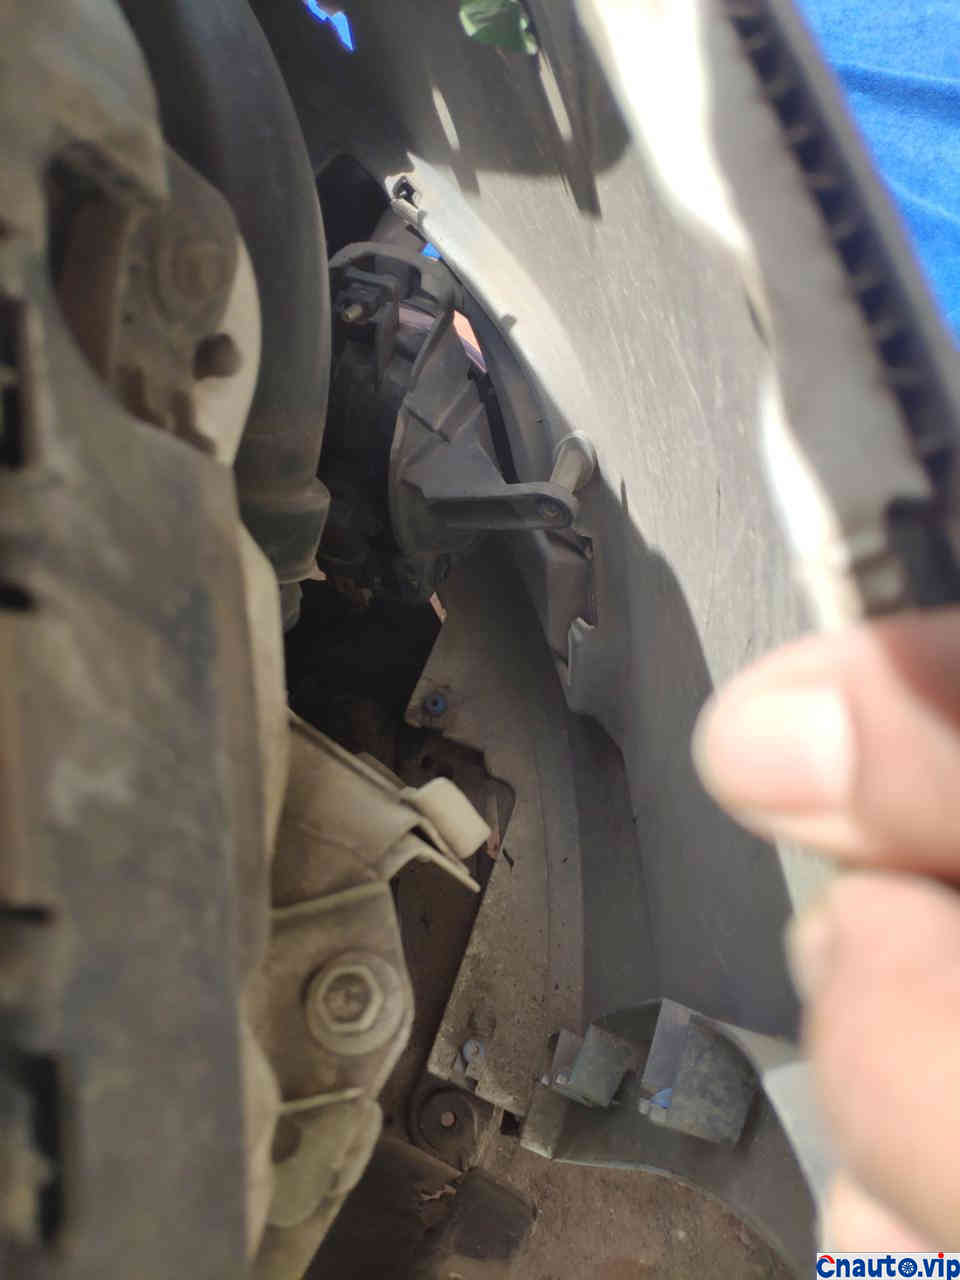
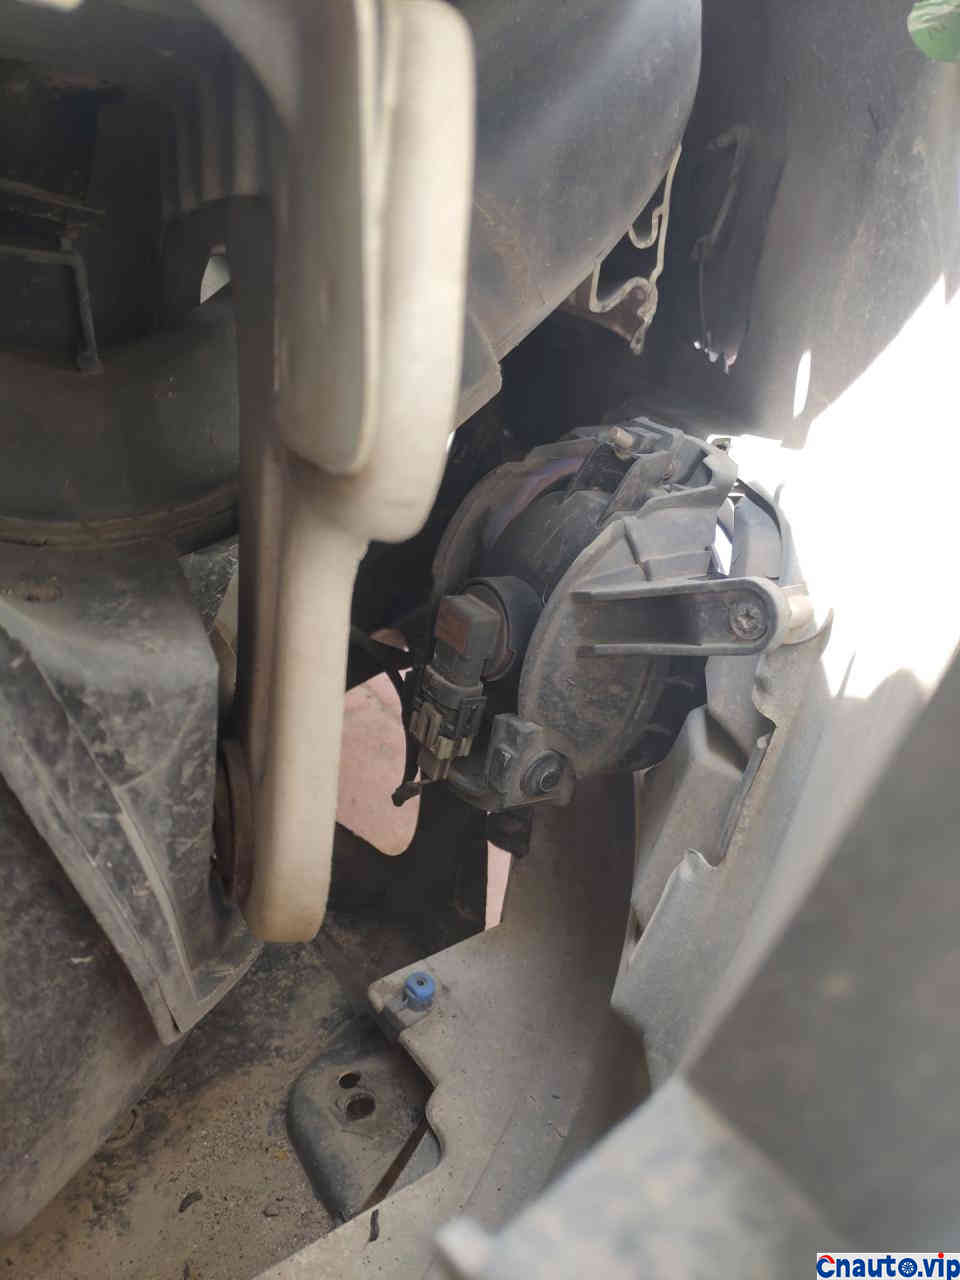
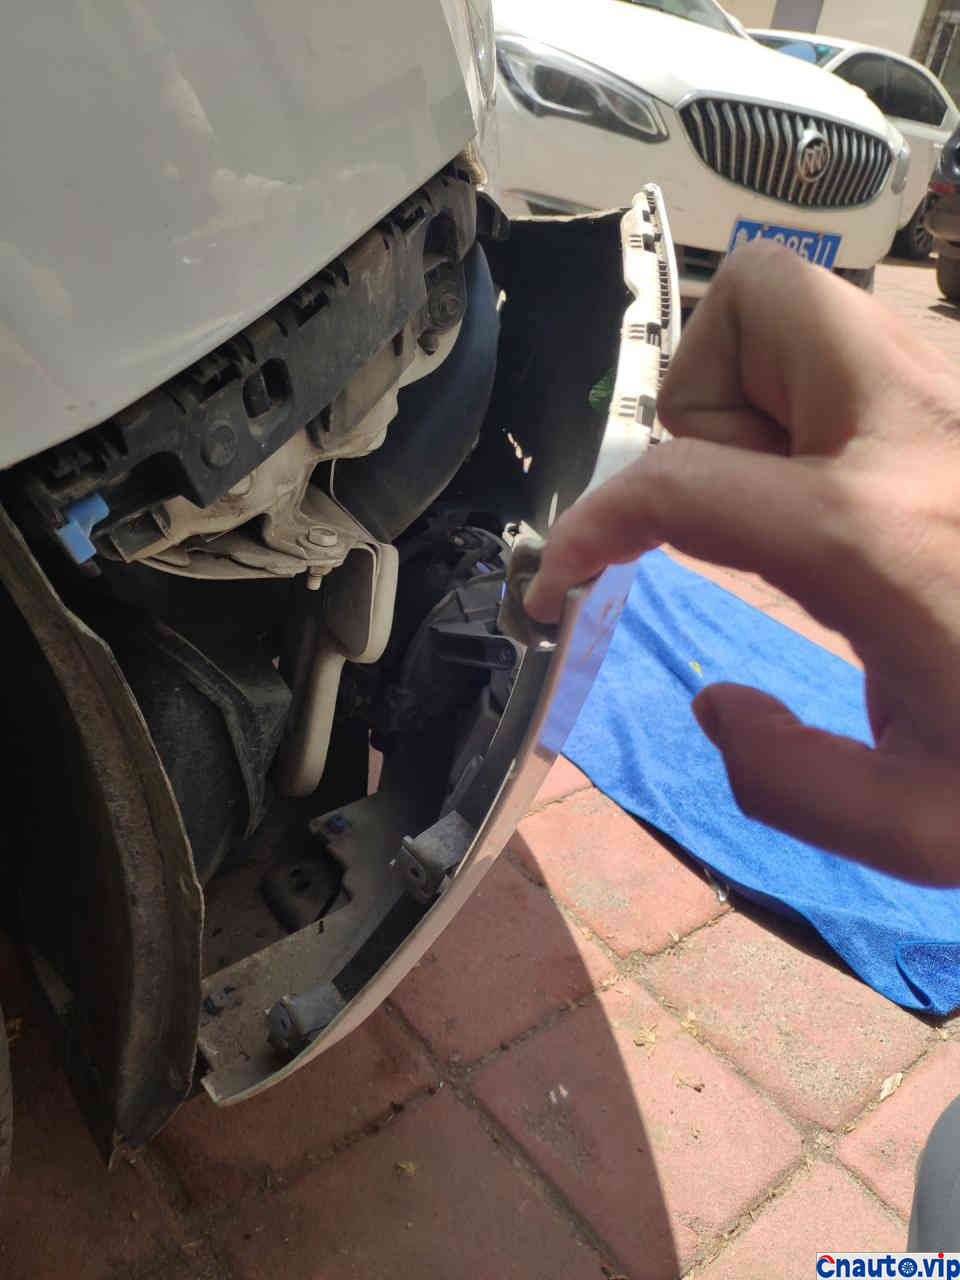
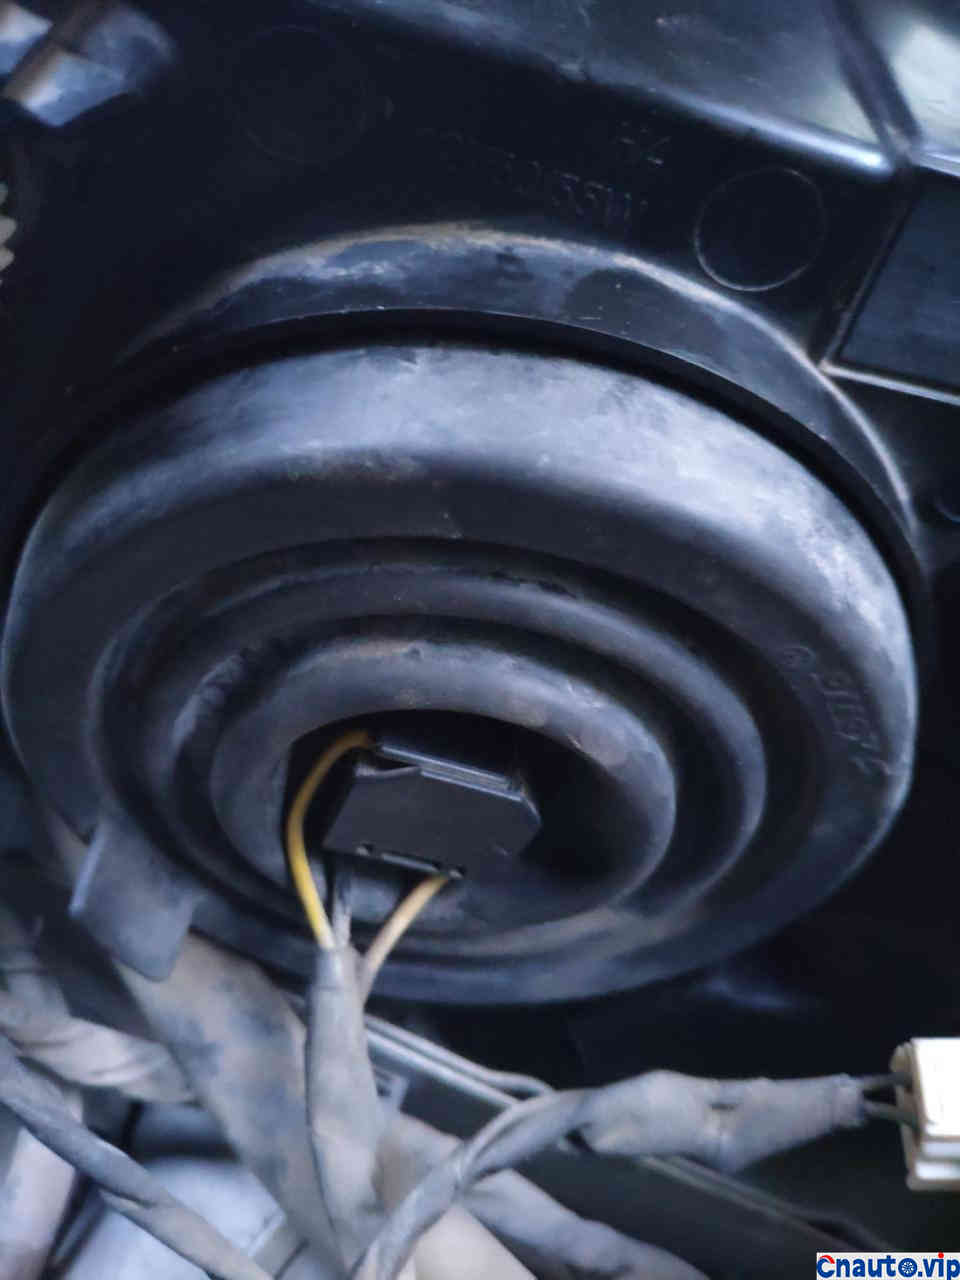
Remember to unplug the power when removing the headlight.
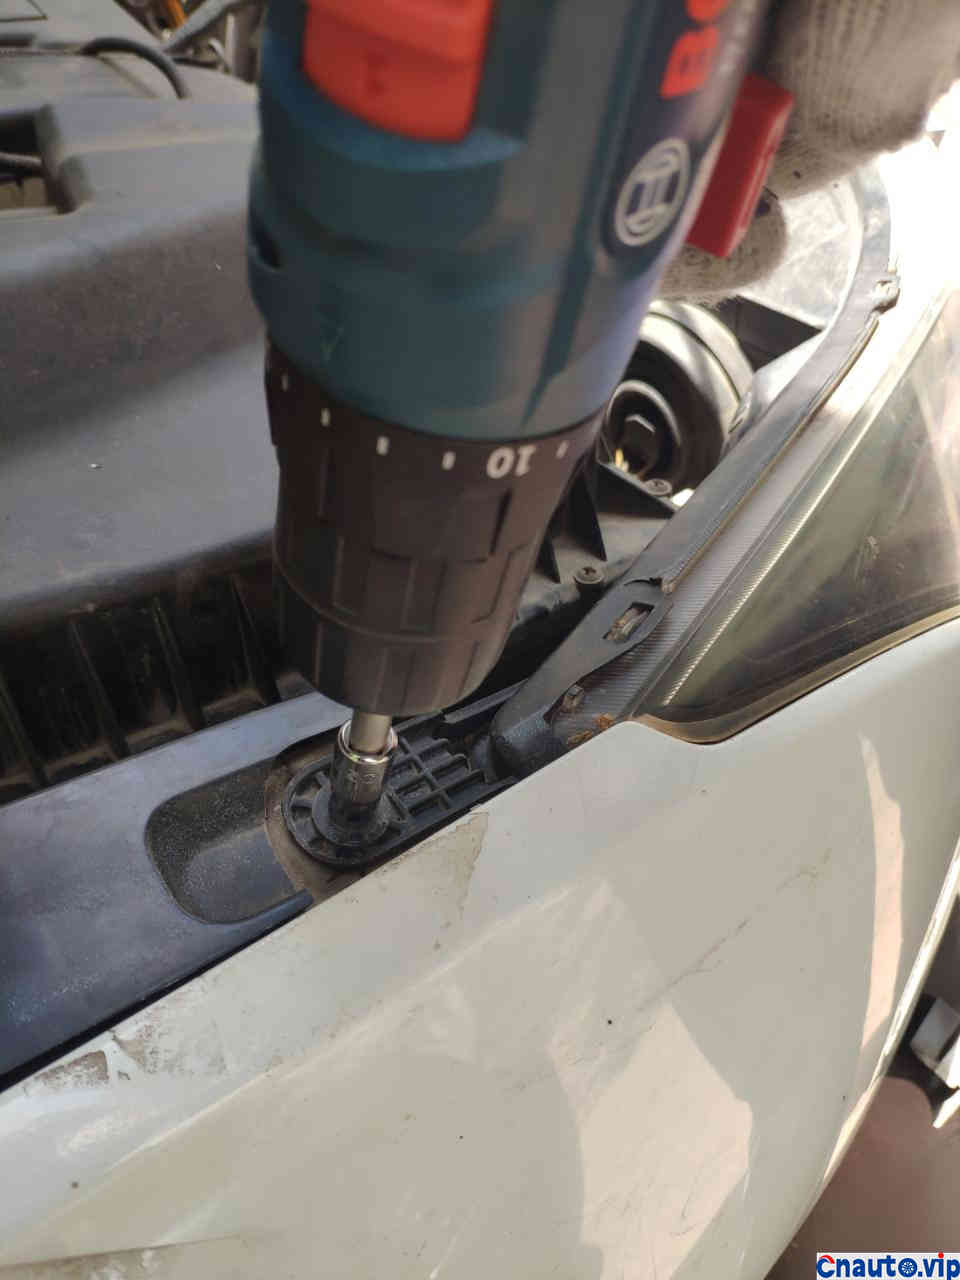
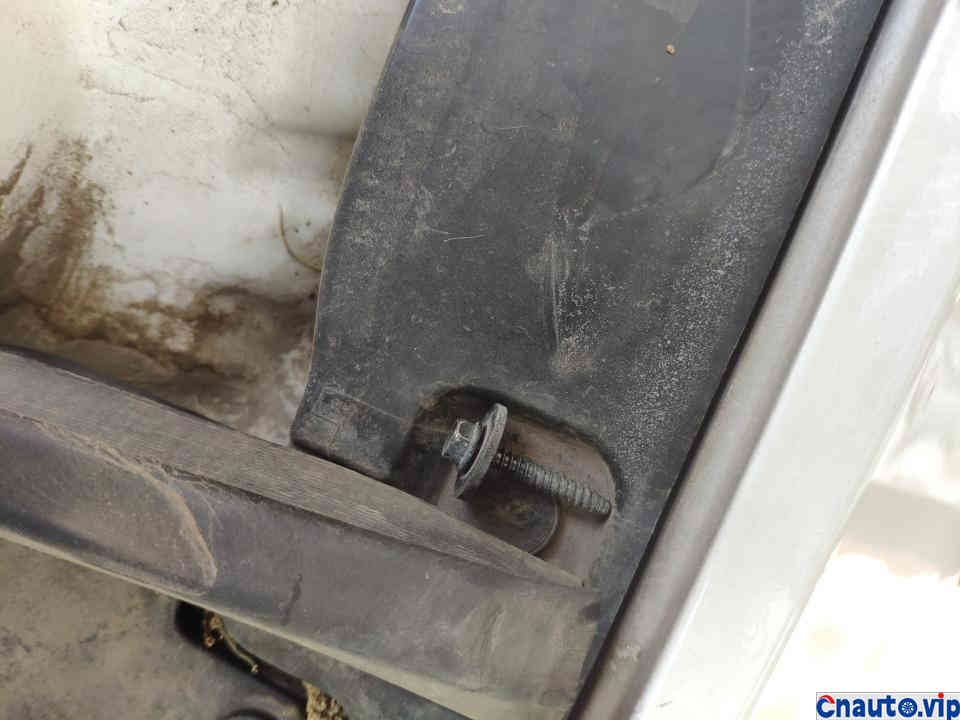
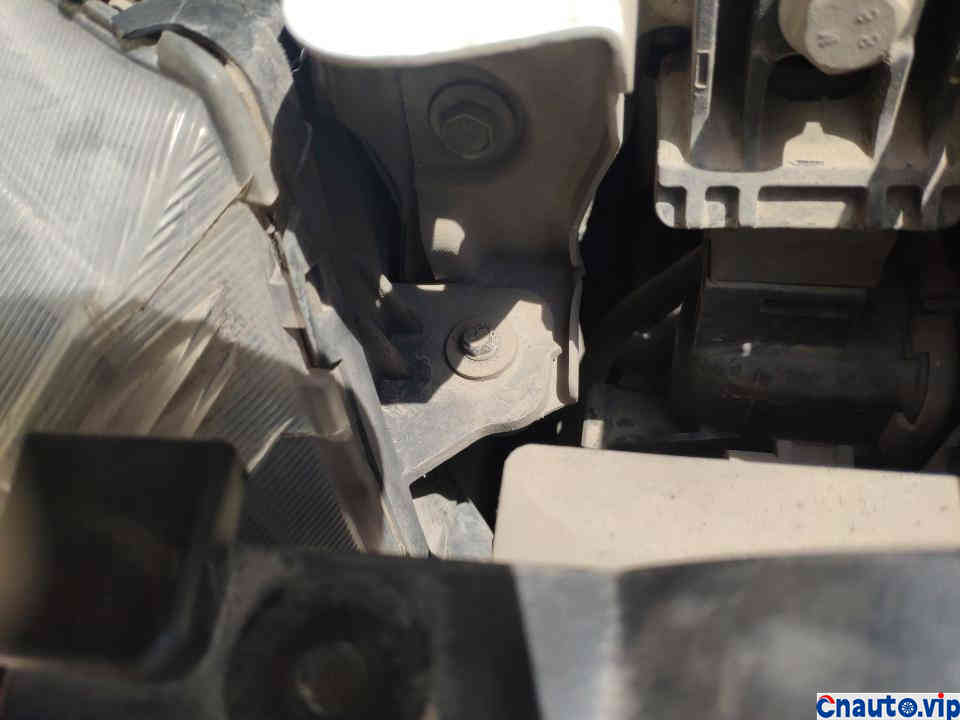
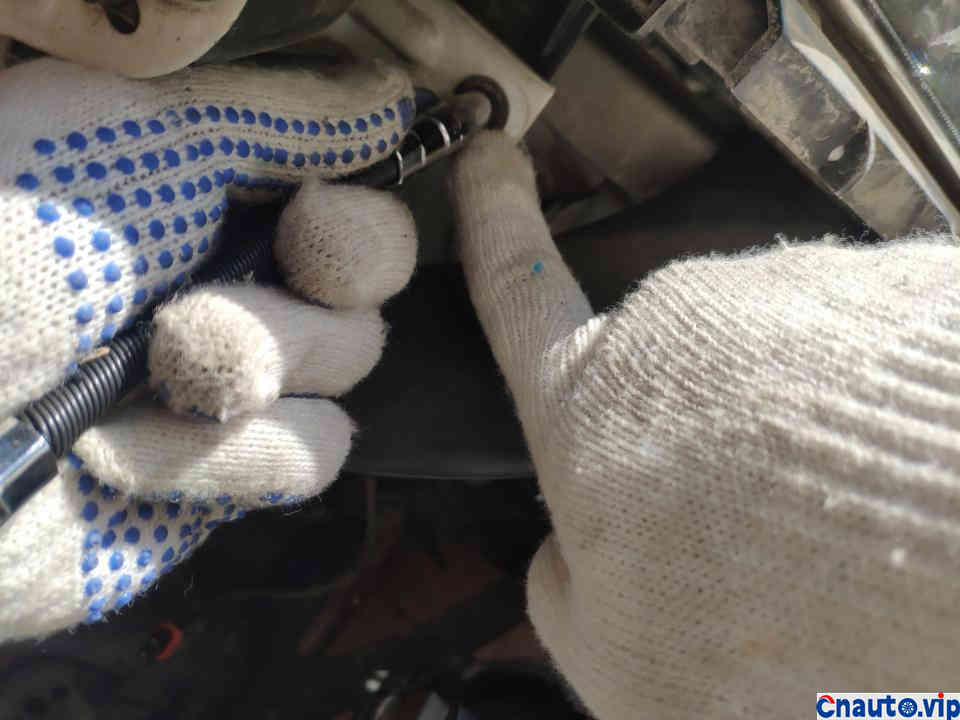
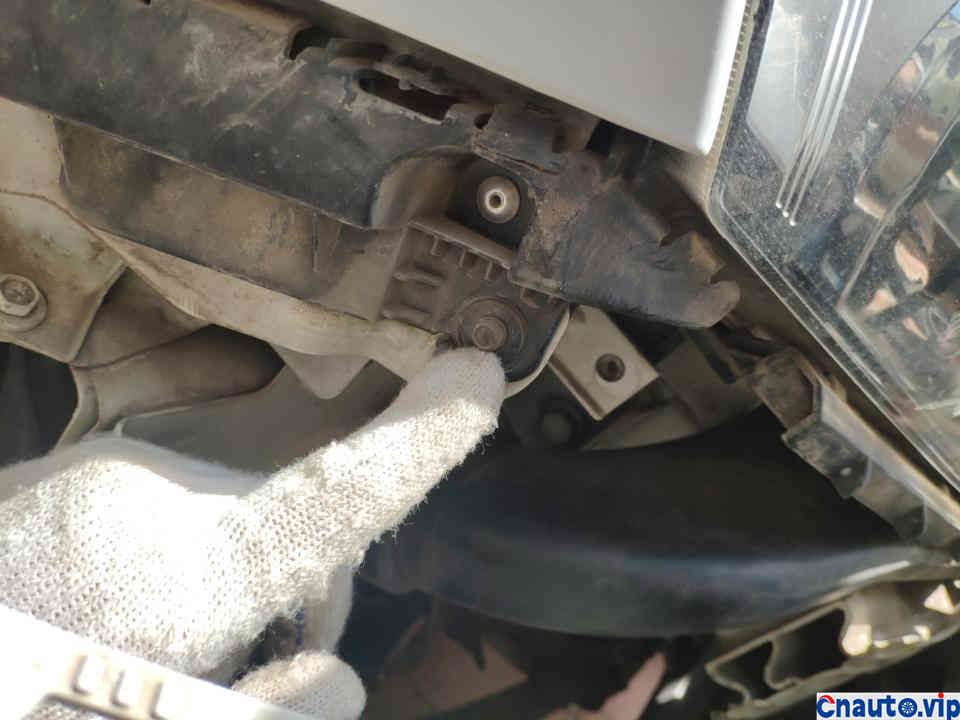
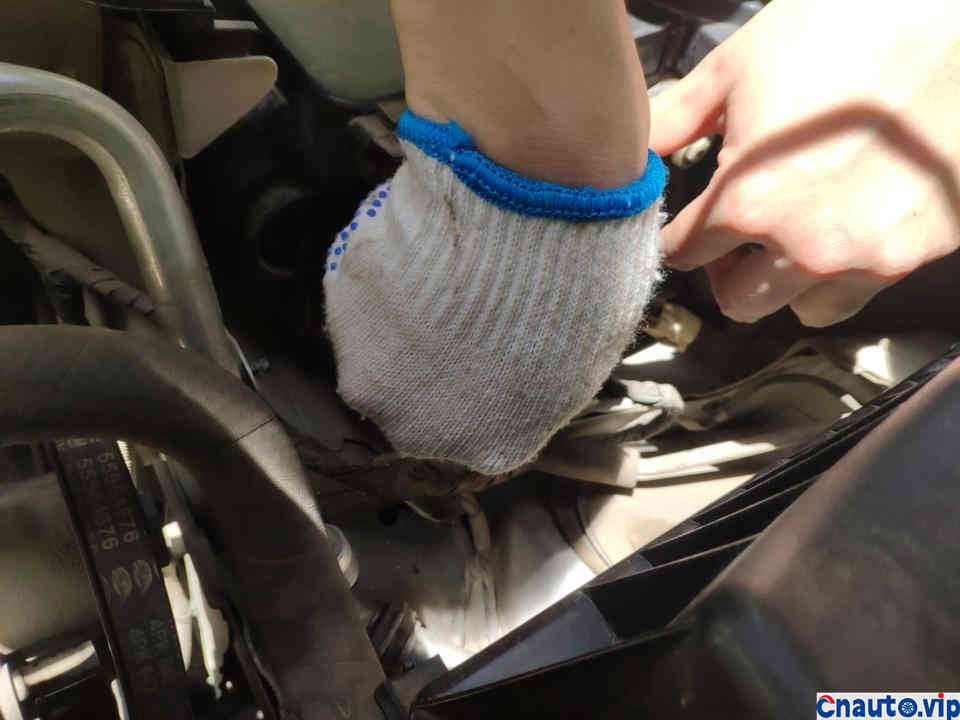
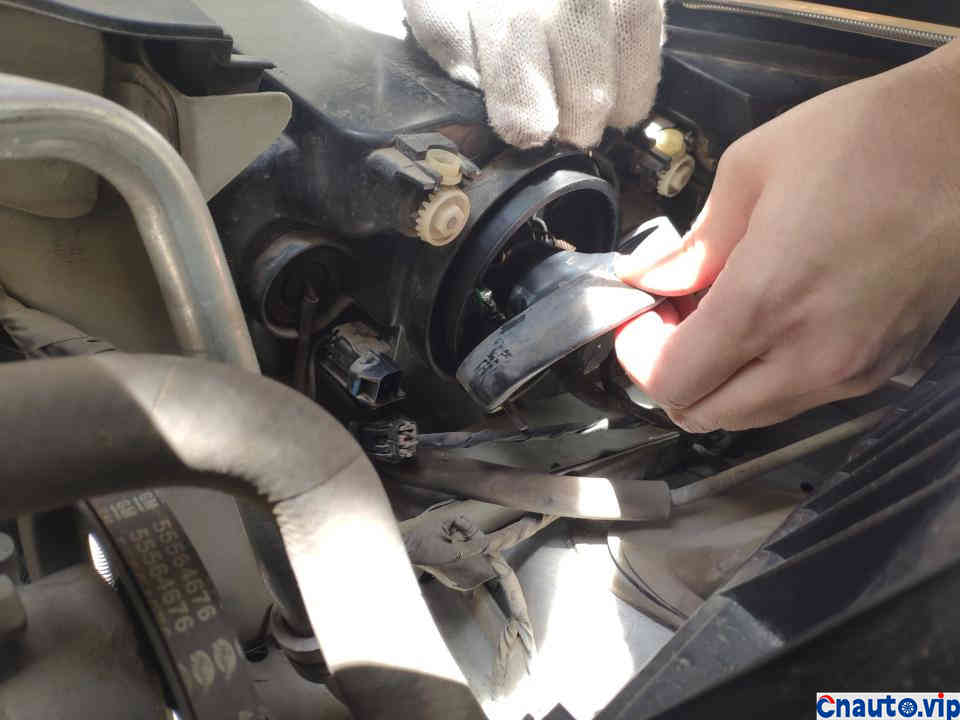
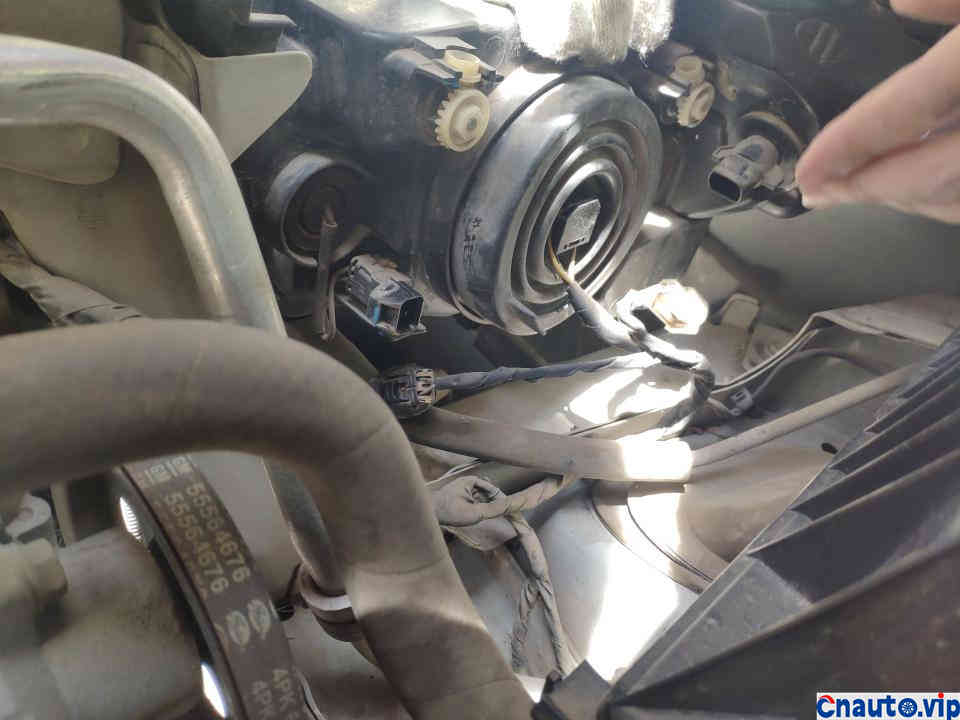
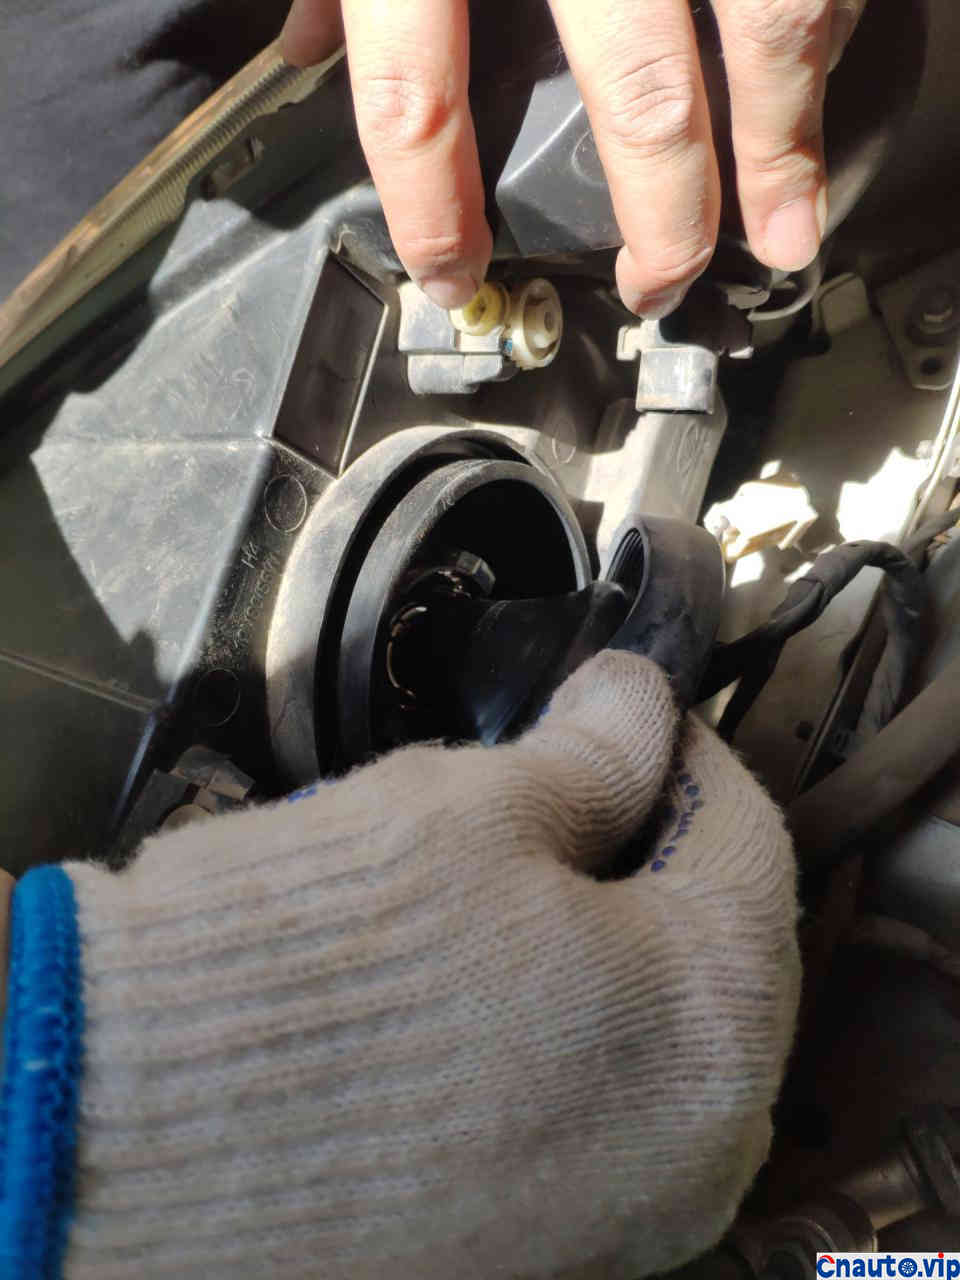
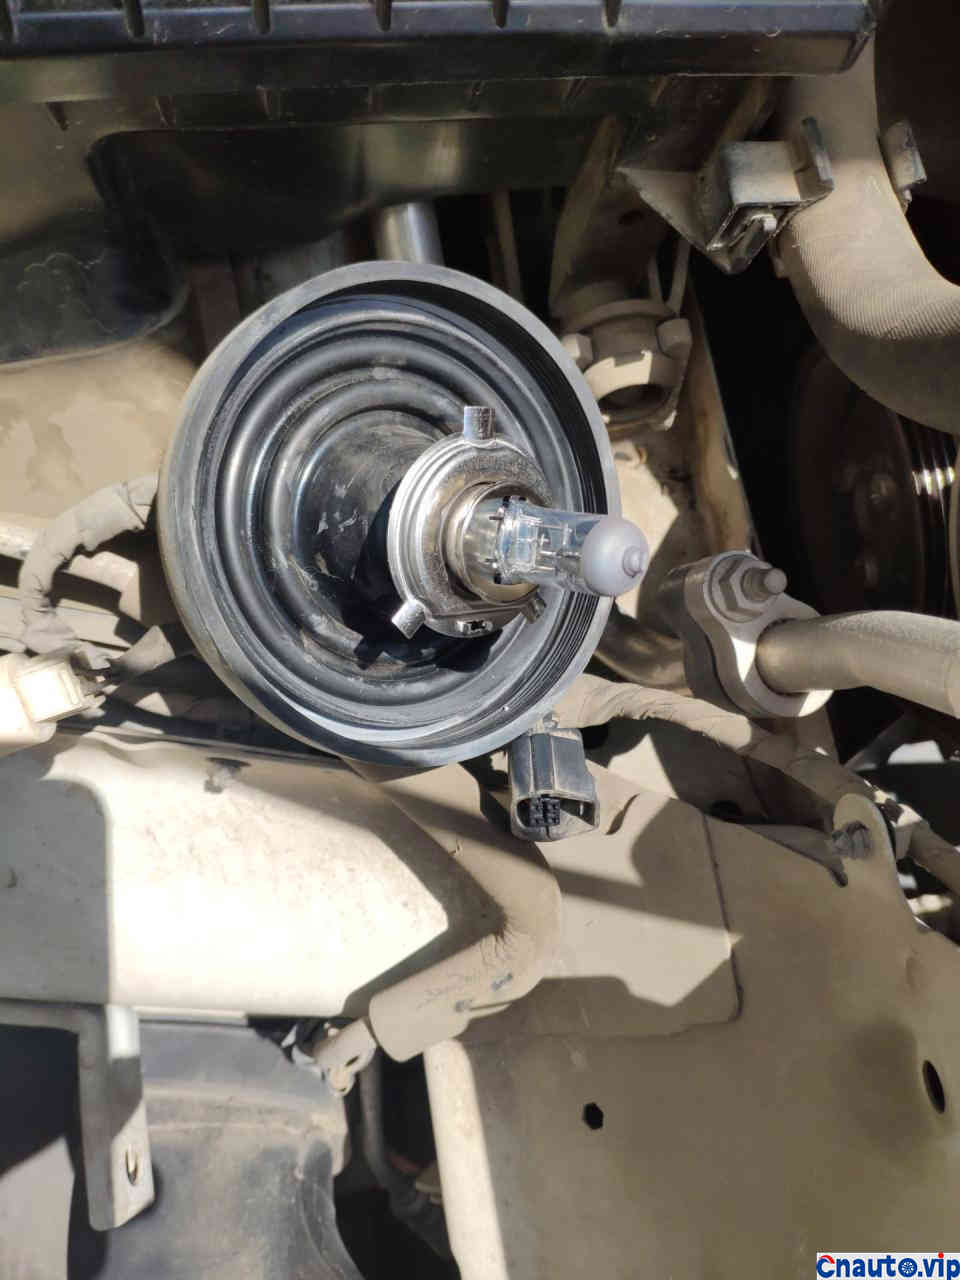
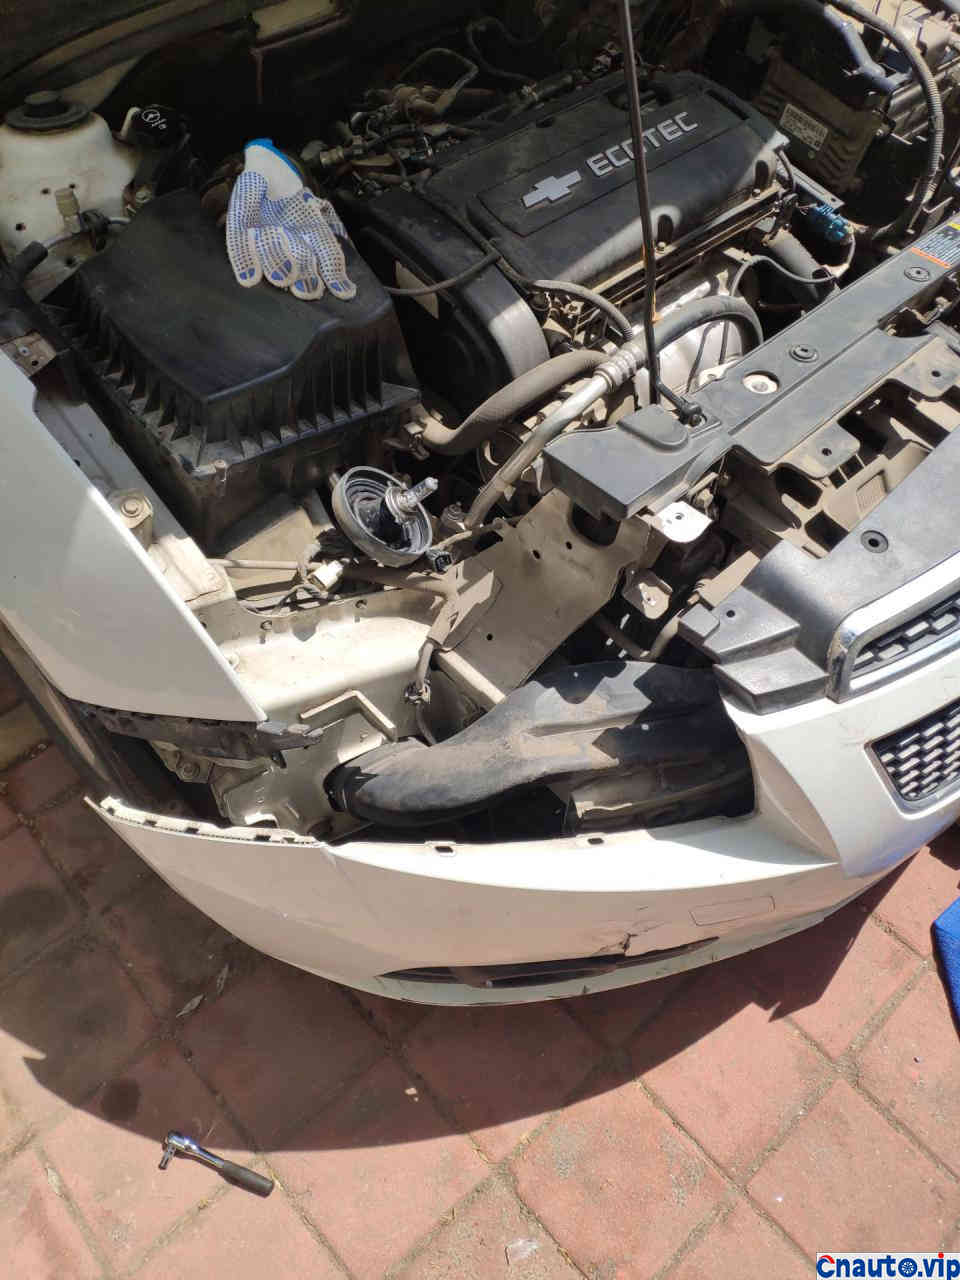
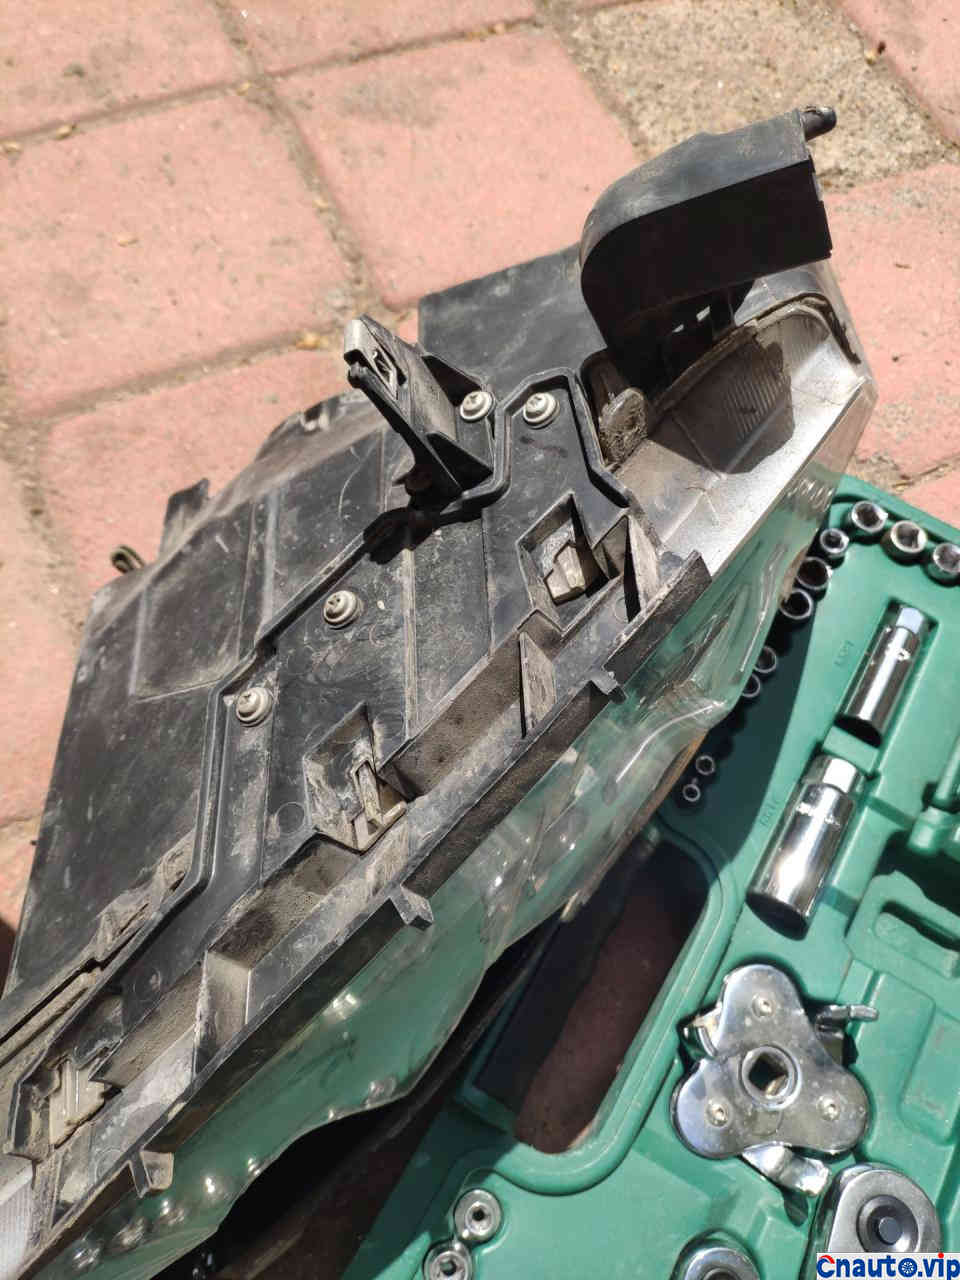
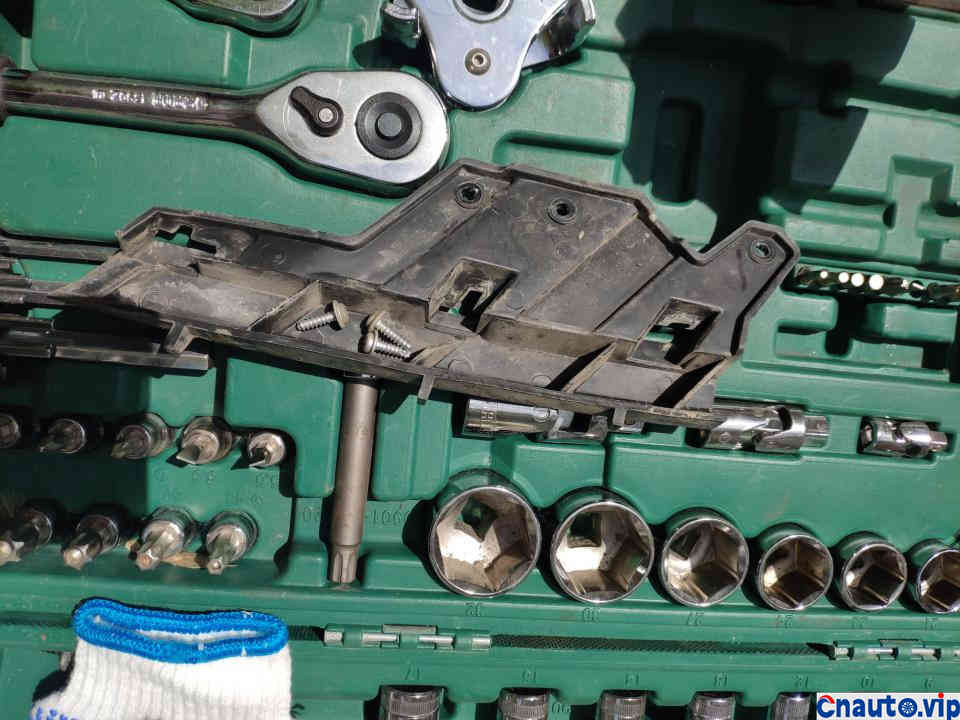
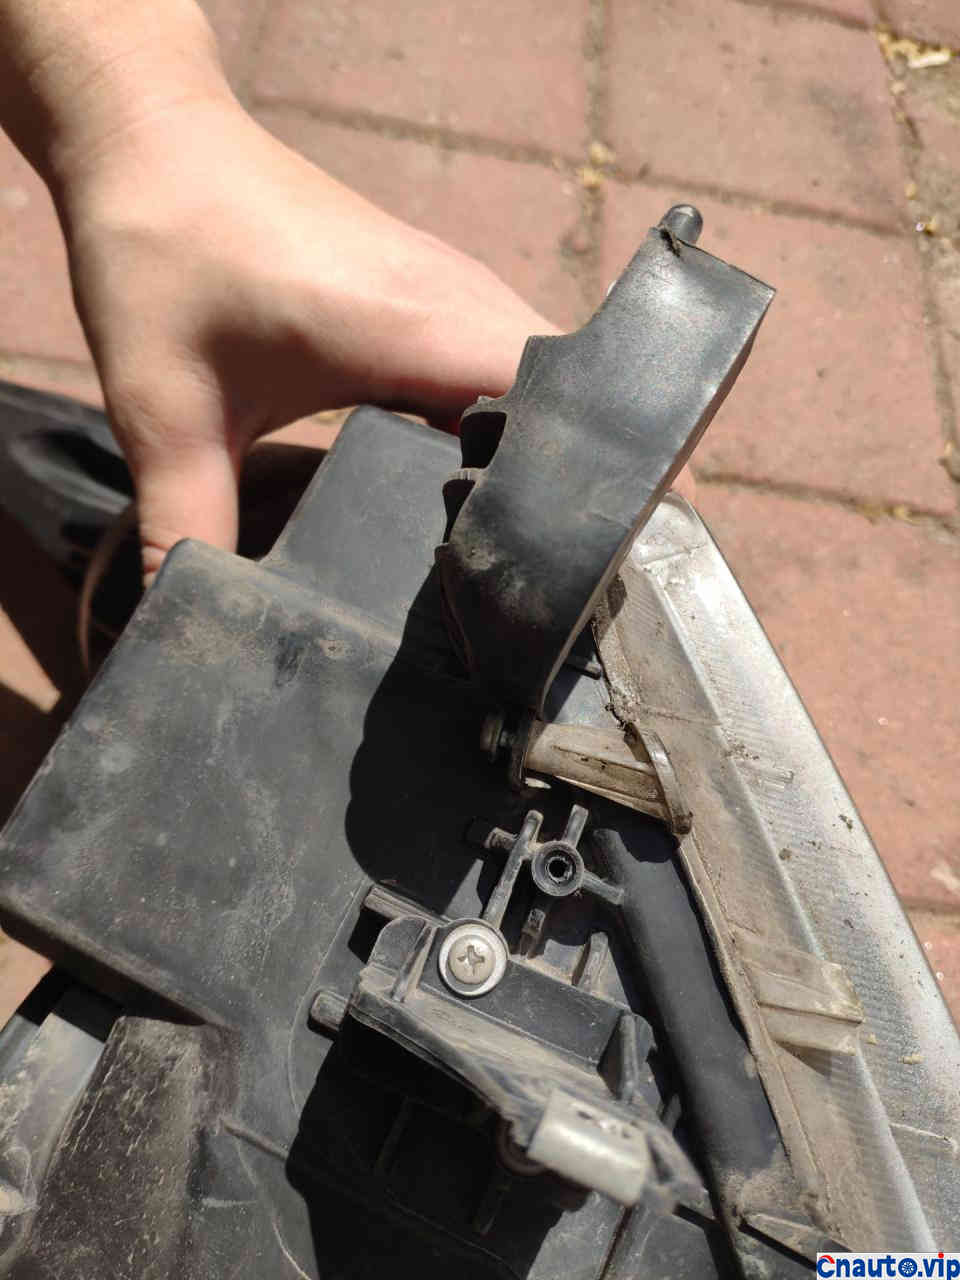
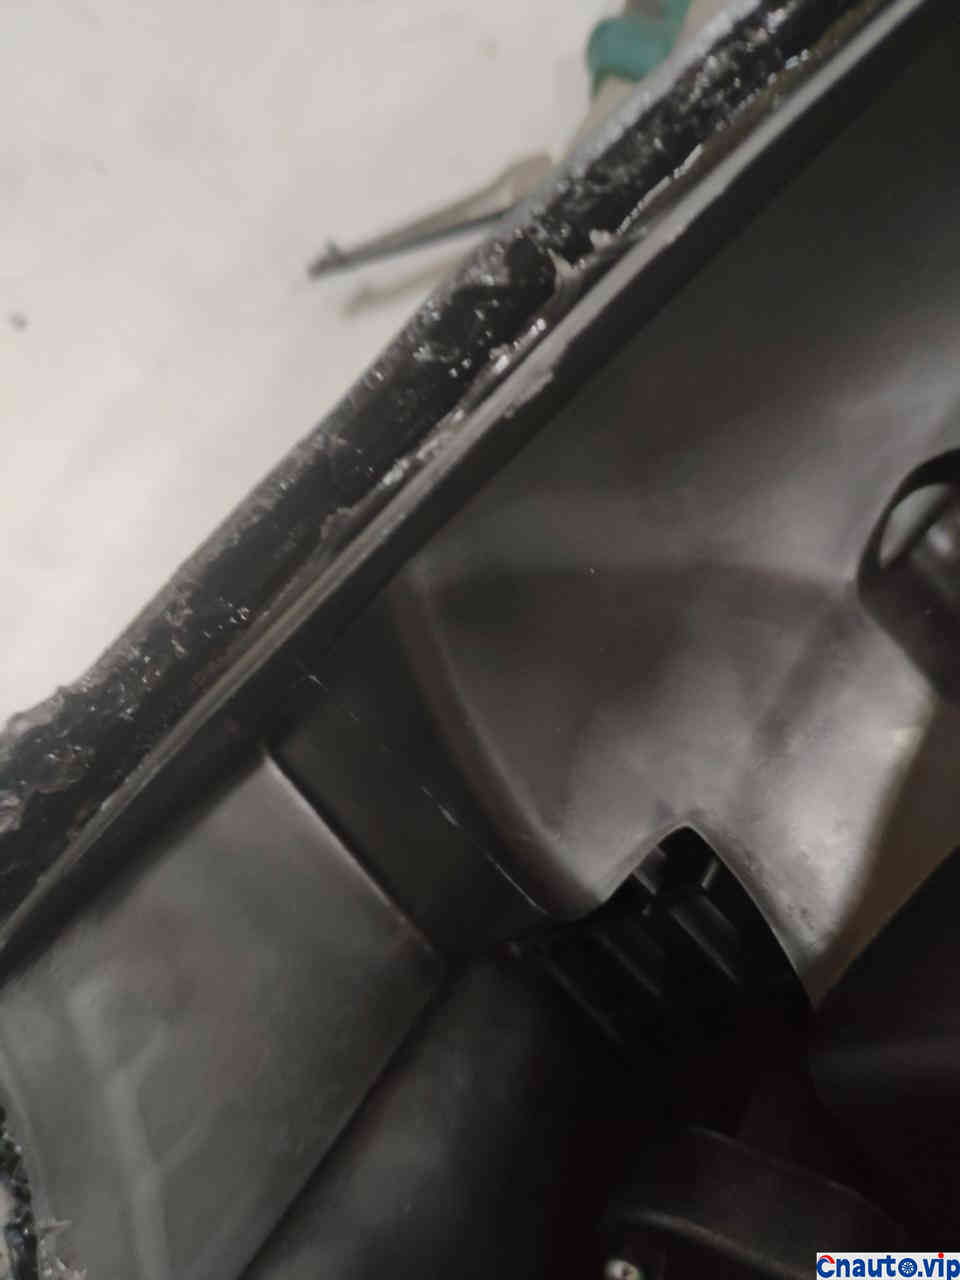
Clean the card groove after removing it, clean up all the glue before it, bury the newly purchased snake glue into the groove, blow it soft with a hot air gun, and embed the lamp shade in it
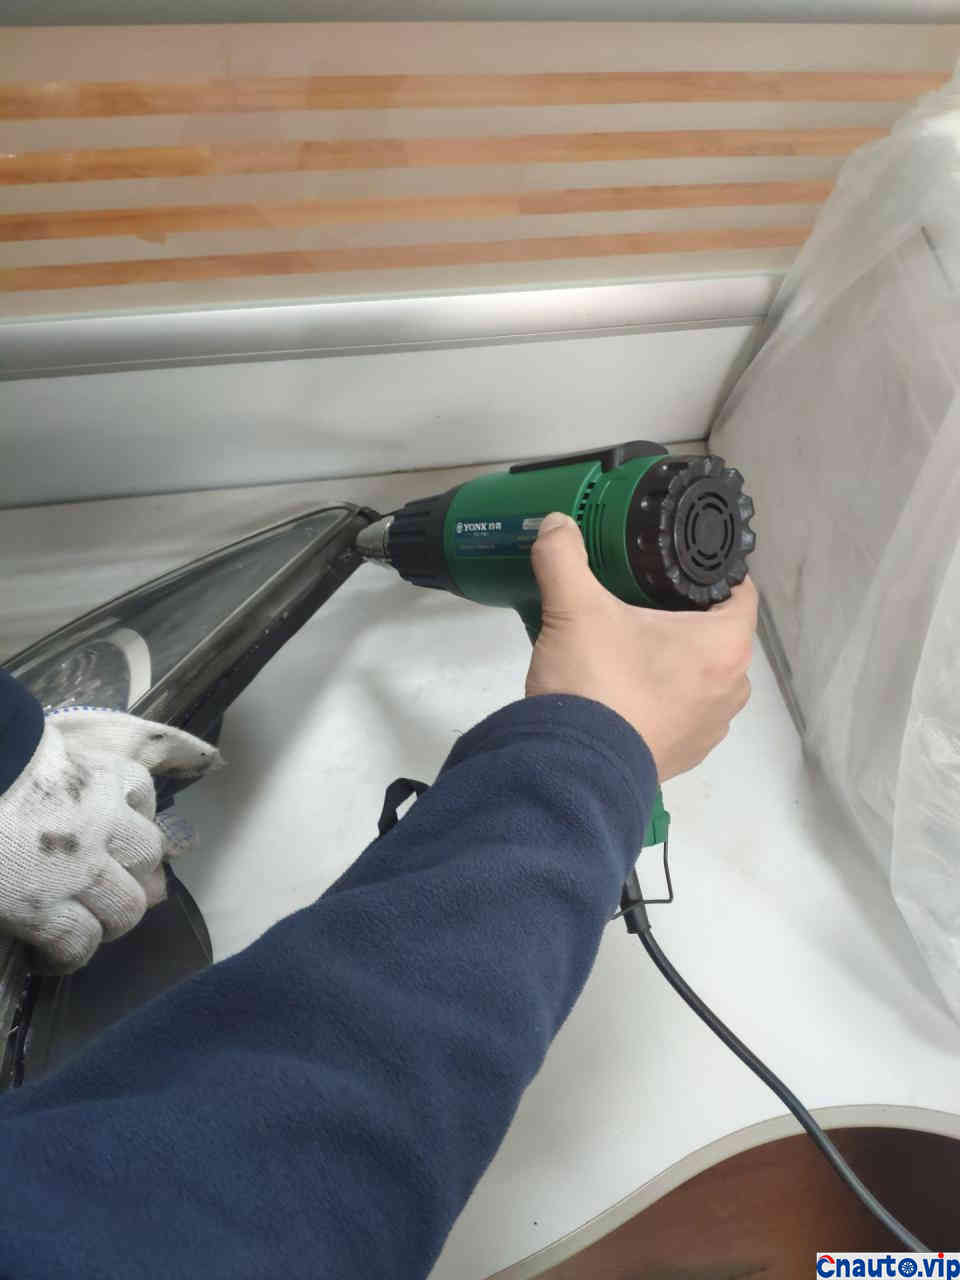
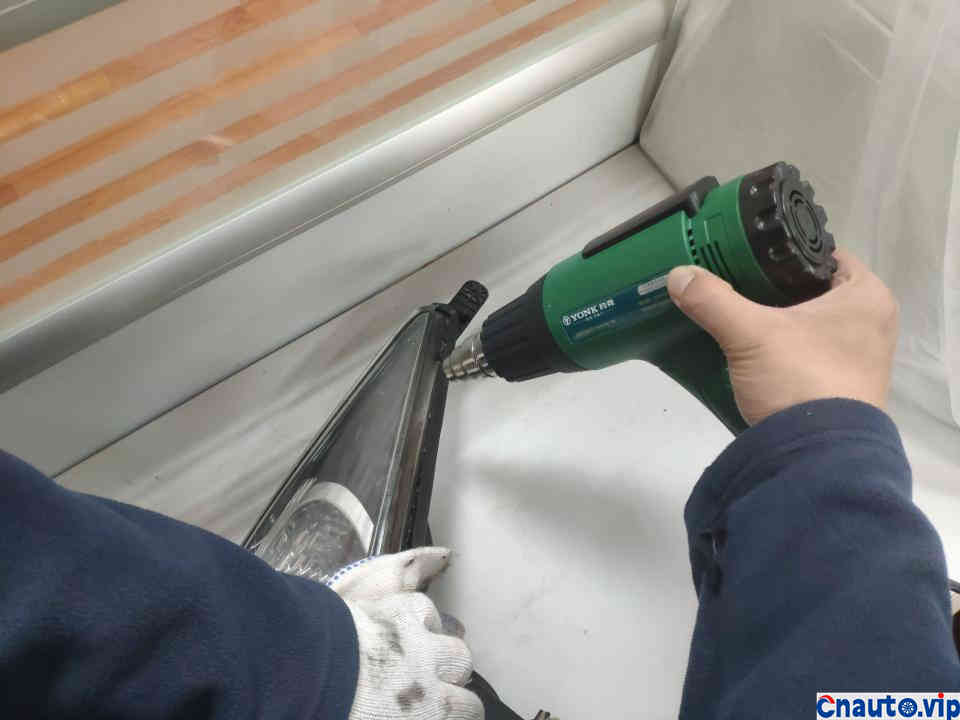
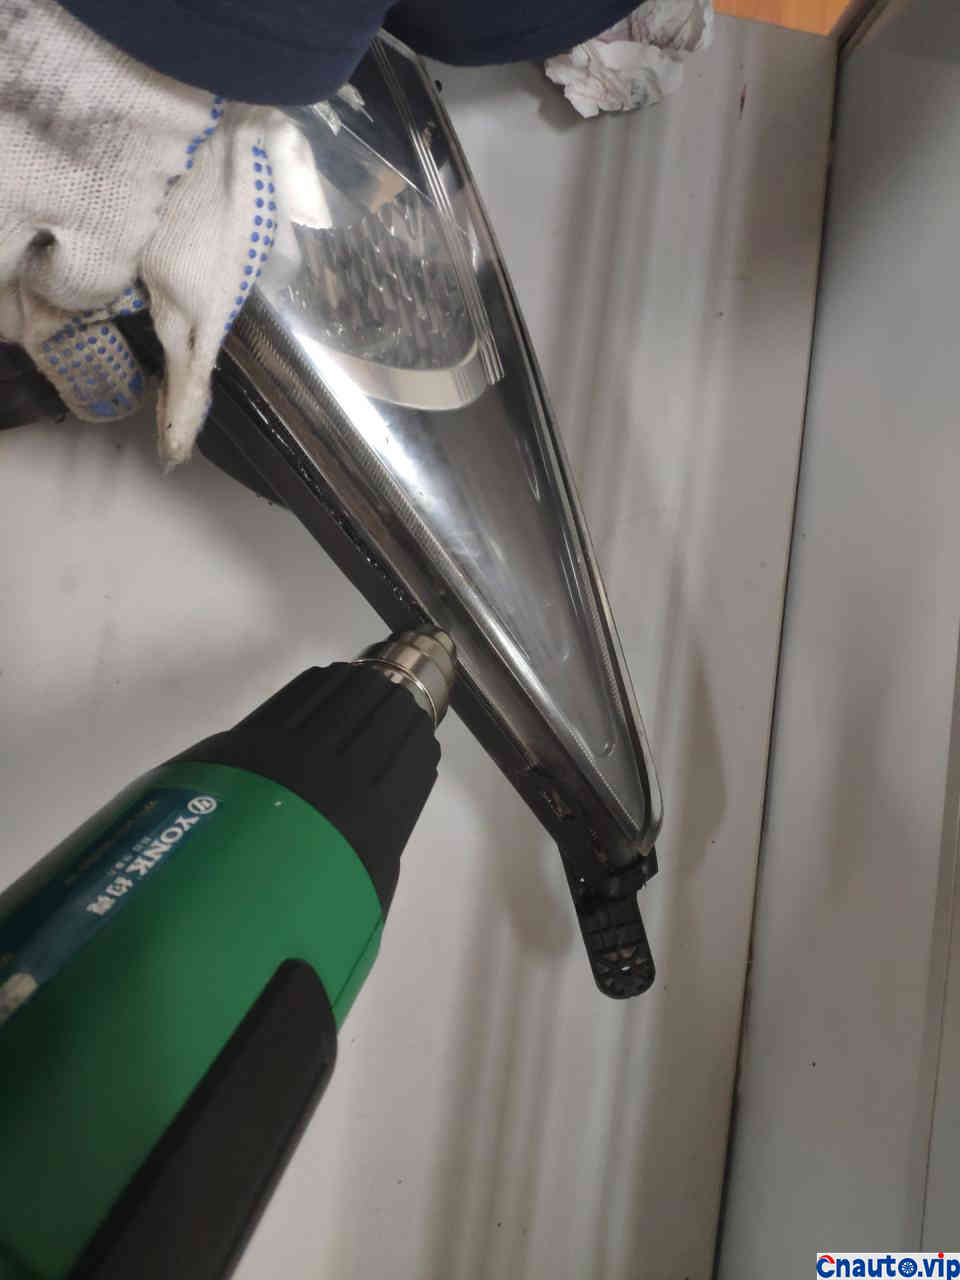
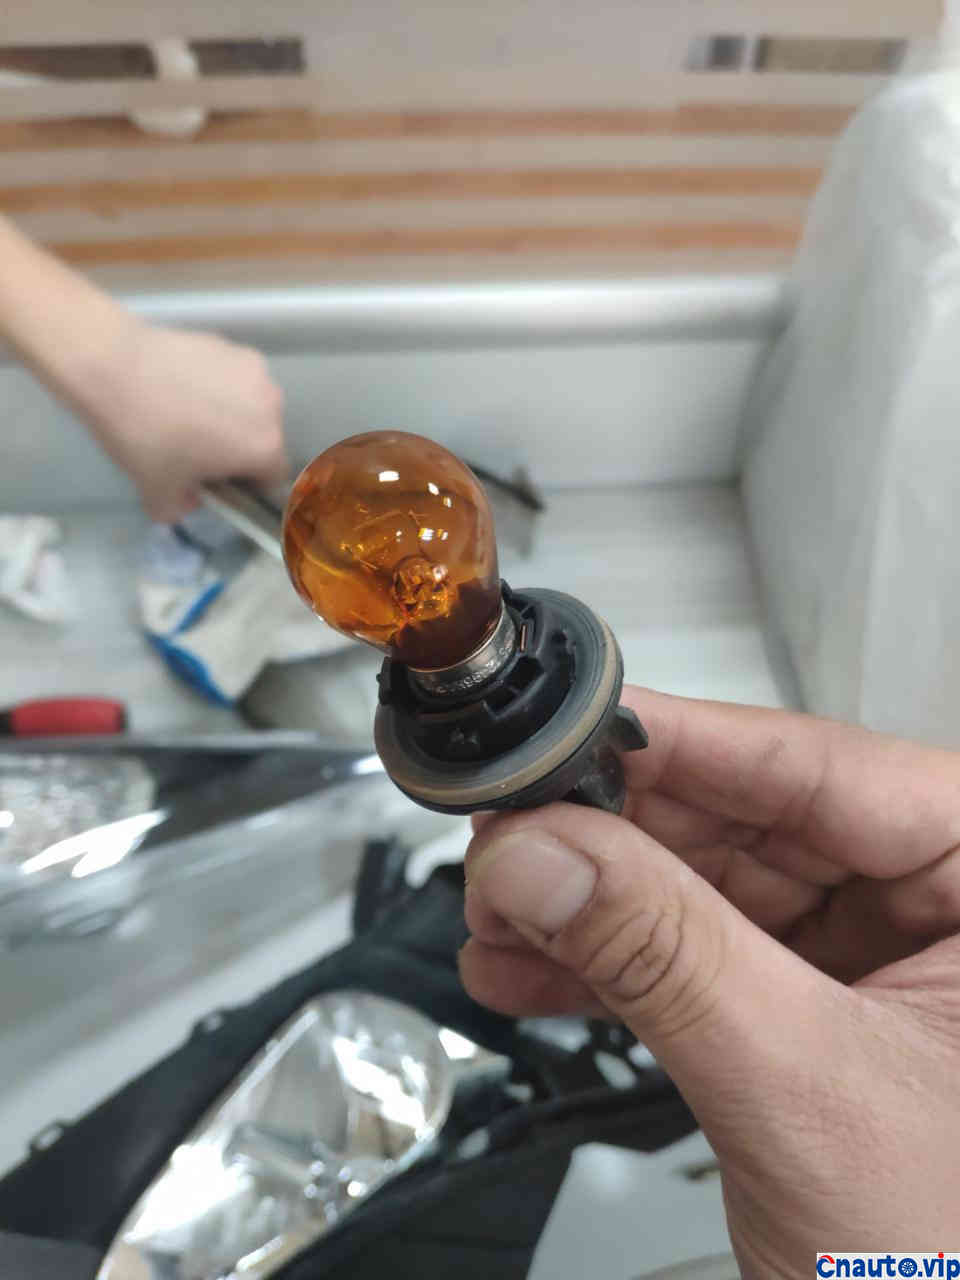
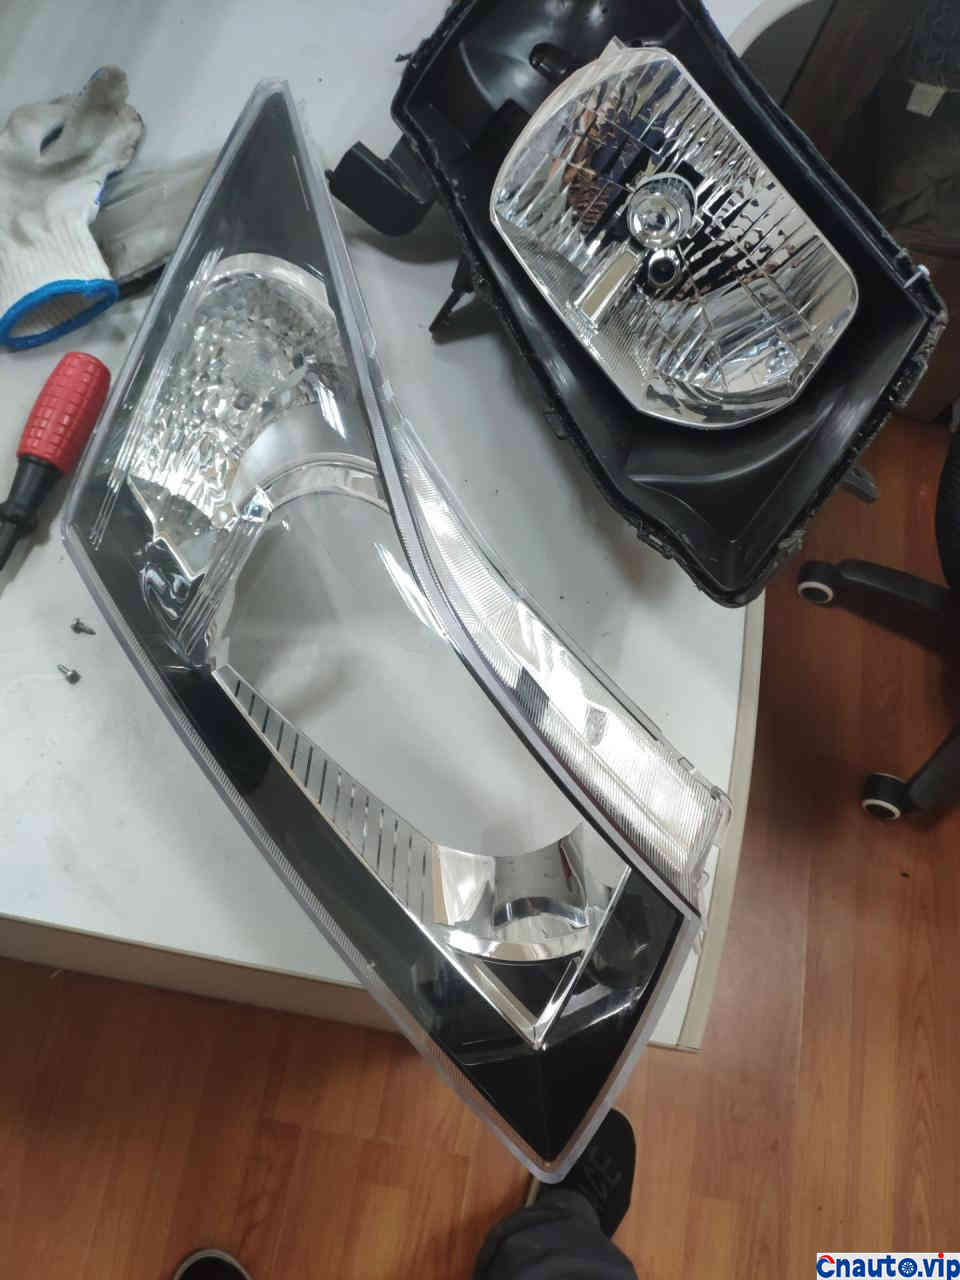
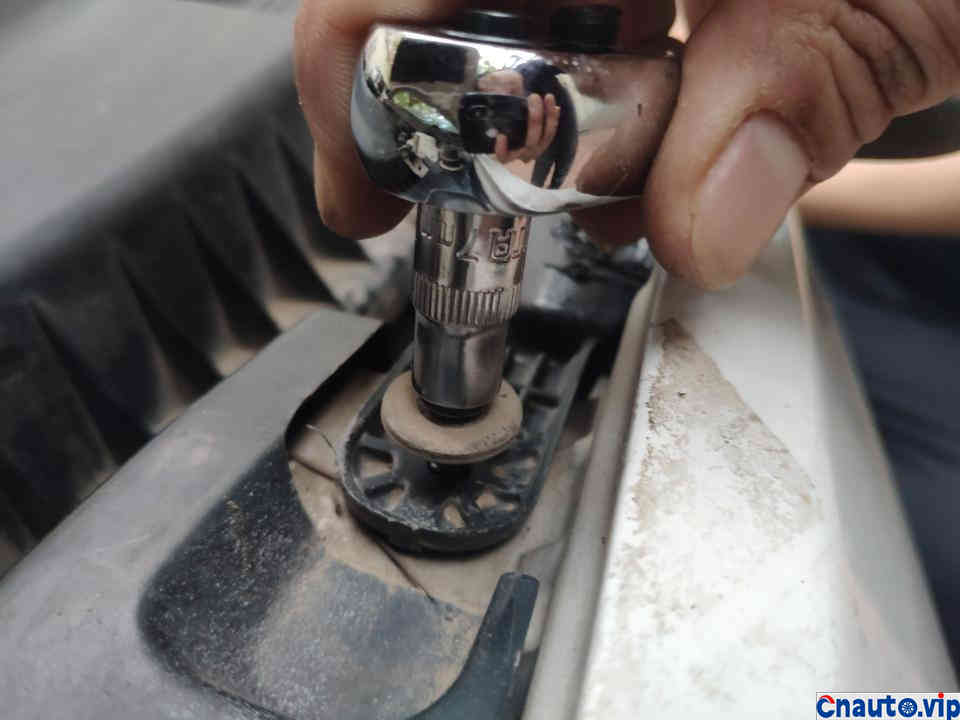
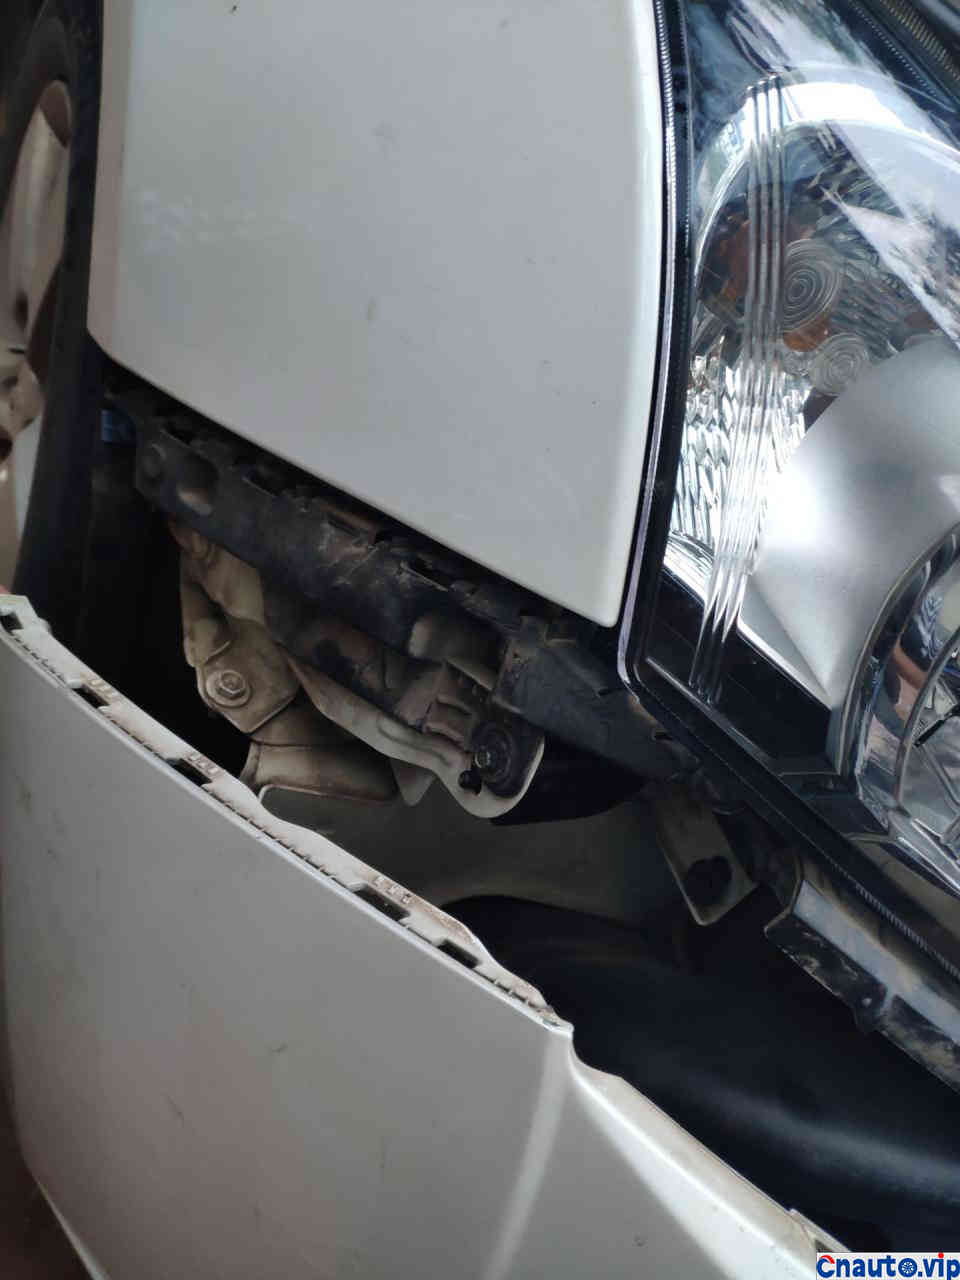
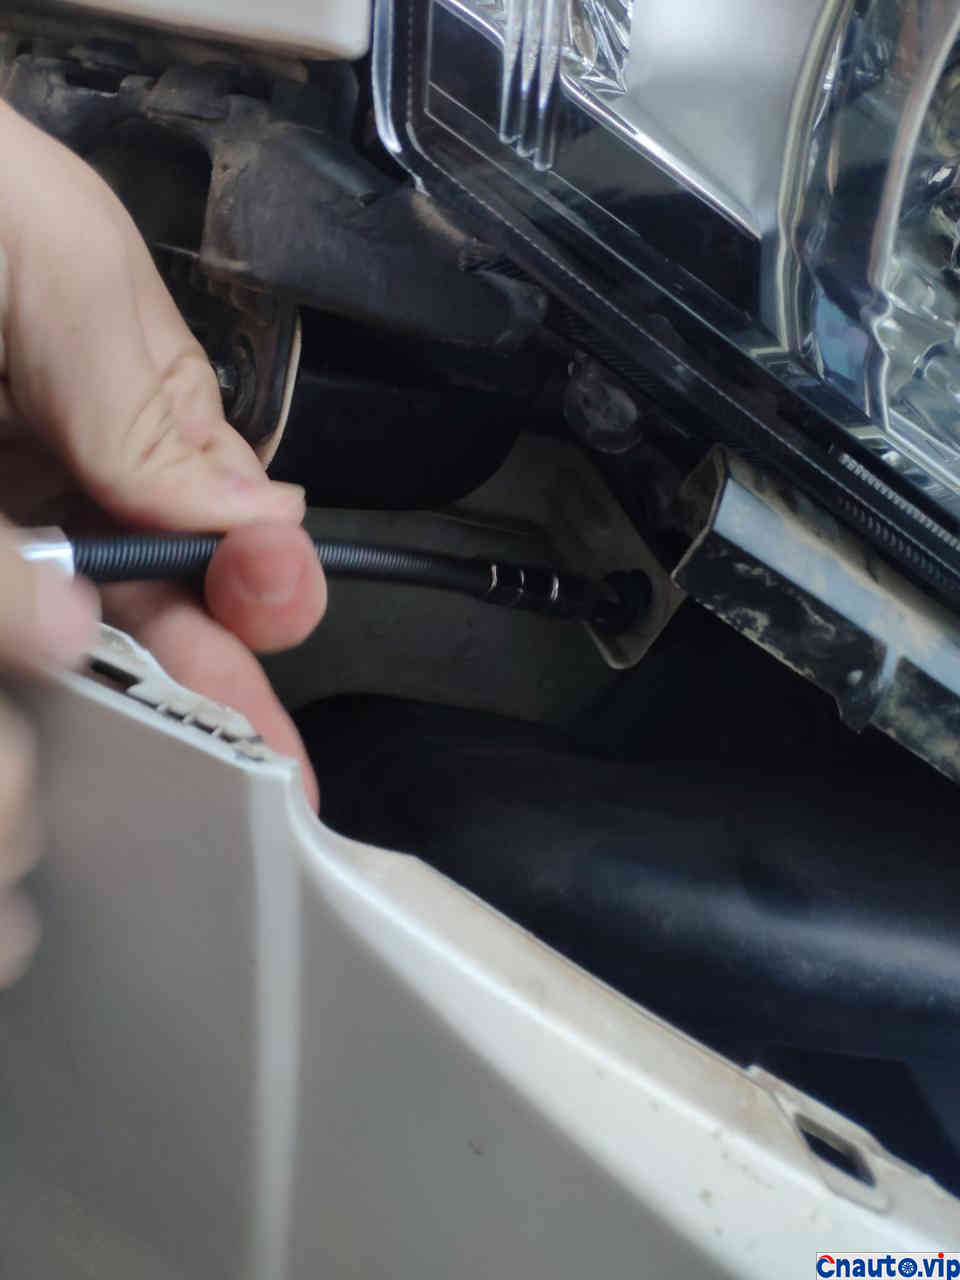
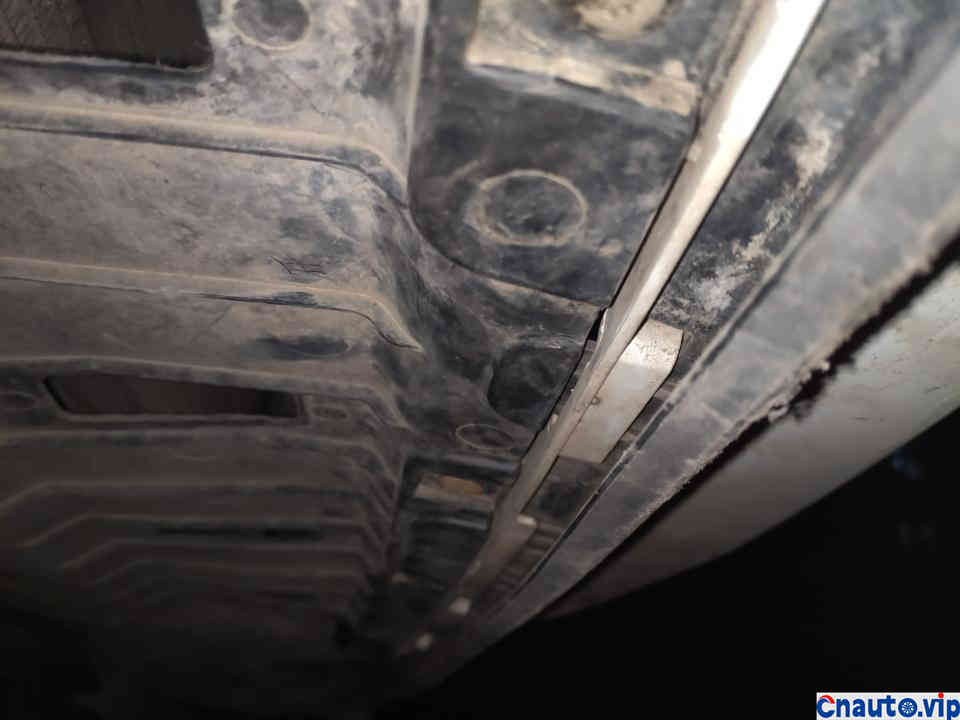
There will definitely be omissions in the details of the interpolation described above, but all the precautions have been explained. In addition to the need for some brute force and courage when surrounding and tearing, please be cautious if other steps encounter resistance and check whether there are any unseen fixing devices.
、
I hope it will help everyone!!
 April 1, 2024
  March 27, 2024
 March 27, 2024
