Middle East overbearing rearview mirror fault repair
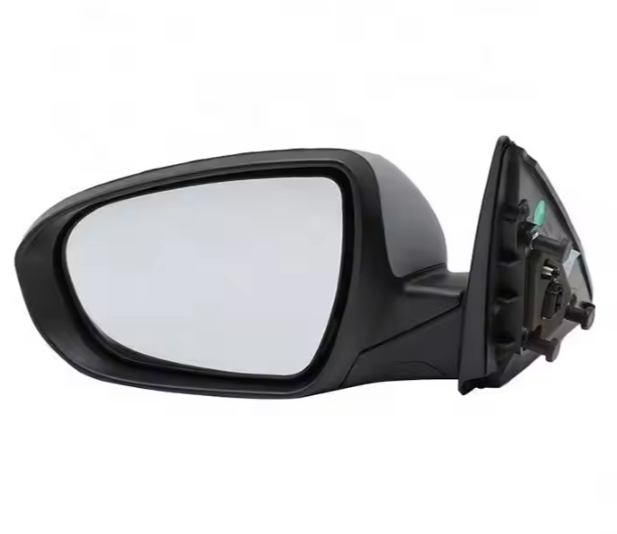
After 12 years of hegemony in the Middle East, the left rearview mirror was tilted N times, resulting in the fact that it could not be fixed in the accurate position when folding and opening and igniting. It was necessary to fix it by hand. After online inquiry, it was determined that it was a folding motor failure. I placed an order online to purchase accessories and started. Repair journey.
The after-sales price for the rearview mirror assembly is around 3000, and the online accessory price is around 130.
Repair requires courage and meticulous, meticulous and meticulous, no less than a precise surgical operation, which takes about 4 hours. I hope everyone can do what you can!
During the repair process, it is inevitable that some buckles will be damaged. It is better to replace the assembly for compulsive illness.
Tools used: flat-mouth, Phillips screwdriver, rice head combination tool (head and handle are at right angles), small mouth (the smaller the better), sharp-mouth tweezers
The repair process is as follows:
1. Press down on the lens near the car body side of the rearview mirror, reach into the lens away from the rear side of the car body, and use appropriate force to remove the lens. The lens is fixed by 4 plastic snaps.
2. The most strenuous step requires a bold and meticulous step: use a cross to remove the 4 fixing screws of the shell, and use a flat mouth to remove the shell. There are 4 large buckles and N small buckles around it. The force needs to be greater. Pay attention to skills and be more strenuous. Personally, I feel that the side near the car is easier to remove. It was the first time to remove it, so it took more than an hour. Only after experiencing it.
3. Unplug the turn signal signal and remove the turn signal, 3 screws
4. Remove the 3 motor fixing screws with a cross, and gently pry off the power board with a flat mouth.
5. The most meticulous and precise step: Take a photo of the 2 power plugs and mark the wire sequence. Turn signal plug: Use sharp-tipped tweezers to gently pry out the 2 internal clips, use a small opening to pry open the internal clips, and gently Pull out the power cord; motor plug: Use the small opening to gently flip the clips to unplug the power cord. Observe carefully, remember carefully, and use it when recovering.
6. Remove the base cover with the help of the small opening
7. Unplug the motor power cord
8. Gently pull all power cables out of the center hole of the motor
9. Use a rice tool to remove the three fixing screws at the bottom of the rearview mirror to separate the rearview mirror from the car body. Tools with straight handles can easily slip the screws
10. Remove the frame fixing screws. There should be 2 screws
11. Remove the last fixing screw of the motor
12. Fix the motor, shell and lower cover well
13. Thread the power cord through the center hole of the motor
14. Carefully observe the position of the docking hole between the motor and the base, insert the motor plug, unscrew the car power supply, press the folding switch, install the rearview mirror against the hole with quick eyes, and turn off the power supply.
15. Fix the 3 fixing screws under the rearview mirror
16. Restore the turn lamp plug and motor plug one by one
17. Fix the turn signal and motor and plug in the plug
18. Restore the shell and fasten the buckles one by one
19. Lens recovery stuck
20. Adjust the rearview mirror on the car and repair it perfectly
Because it was the first time to disassemble and disassemble it took a long time, and overall it went smoothly.
This is the first time I posted here, and this is the third time I edited it. It takes about 8 hours to repair and edit. I hope it will help everyone.
I wish all riders health and safety!!!
Hot Information
Tesla Autopilot and similar automated driving systems get ‘poor’ rating from prominent safety group
 April 1, 2024
 Localization of EV parts without production scalability may not help cut EV price, says President, Amara Raja
 March 27, 2024
JCTSL may turn bus stands into charging points for e-buses
 March 27, 2024
 You May Like

