[People, Car, Life, Show my attitude towards using cars]: BMW5 hands-on teaching how to replace air conditioning filter elements

  9
 August 19, 2024
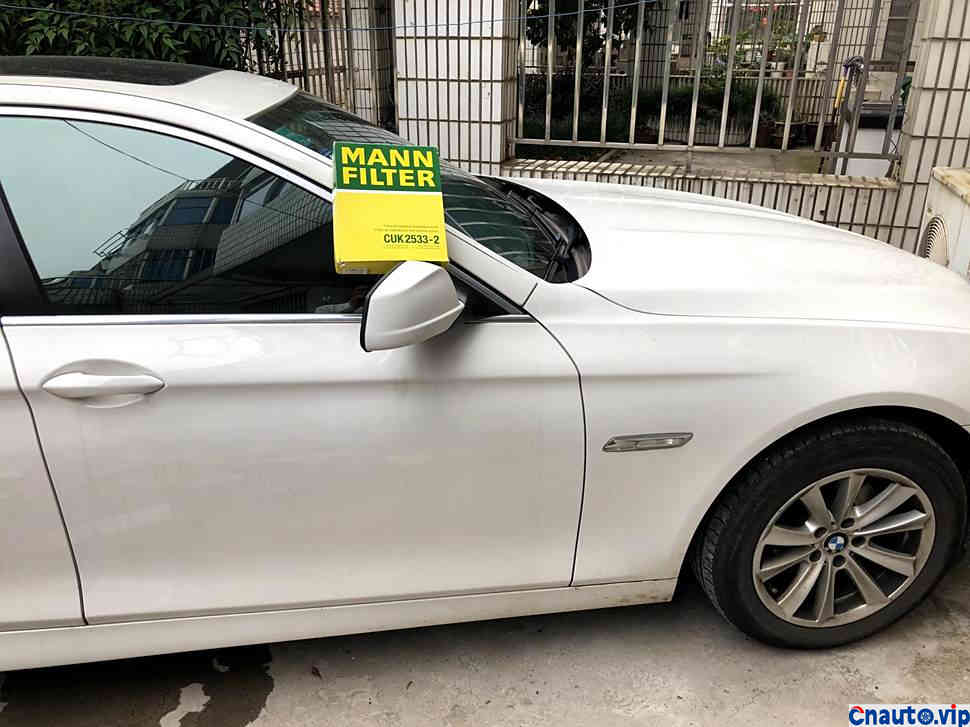
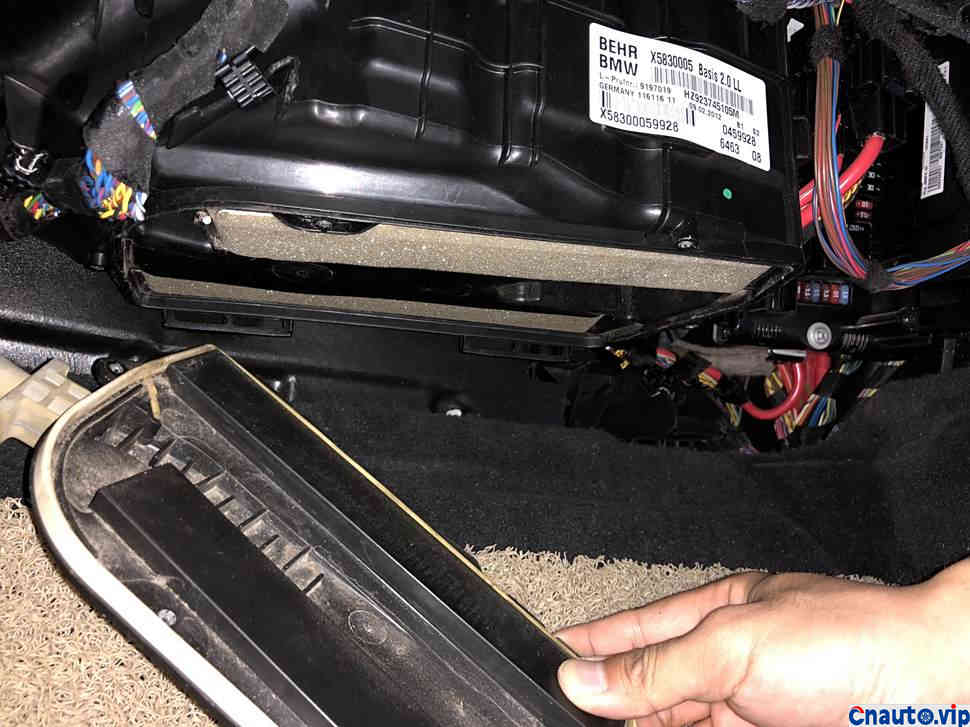
Hello everyone, I am Watermelon, I am very pleased to share here with you diy hand-in-hand teaching of the replacement of air-conditioning filter element process post, thank you! I am also glad to be able to participate in the website specially pushed out “[people’s car Life] to show my attitude towards using cars, iPhone Xs and other gifts to win home!” “A good activity. My BMW 5-Series is the BMW 5-Series F18, the previous generation of BMW 5-Series, in fact, the air filter element is very easy to replace, in the engine cabin, remove a support rod, in the T20 screwdriver under two screws is enough, but the air conditioning filter element is very difficult to replace, 4S store price in 999 originally should be 1199, and then reduced the price, it is indeed difficult to replace in the glove box at the bottom of the two groups of filter elements. If you want to replace it, you need the screwdriver of the T20, a side plate controlled by the center, the whole replacement at the bottom of the glove box, the light bulb line, and then the box with the filter element. (remember that a total of four screws must not forget the one behind the white windpipe). All accessories use clever effort, do not pull hard, will be damaged.

Accessories such as air filter elements are easy to wear out. 4S stores will advise you to change them once a year. The manual usually needs to be replaced for 2 years or 20, 000 km. I think it is better to change it frequently for the sake of health. I usually change it once a year.

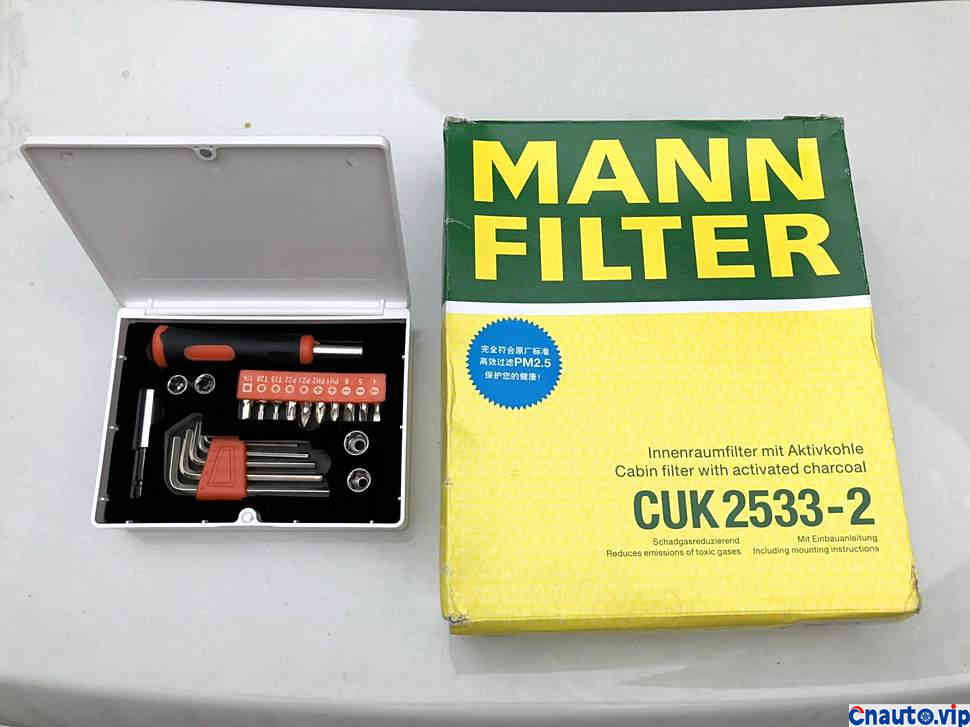
We are not advertising, go to the network above is OK, in fact, bmw is used by the original factory OEM, only limited to the F18 model code for cuk2533-2 (two pieces) this is the code, of course, Mahler also has, this you see, it is recommended to buy authentic, generally in 100 more than 200 or so.

Need a set of maintenance tools, is the need for hexagonal wrench, and with a good cuk2533-2 filter element, is not recommended, we can go to compare!

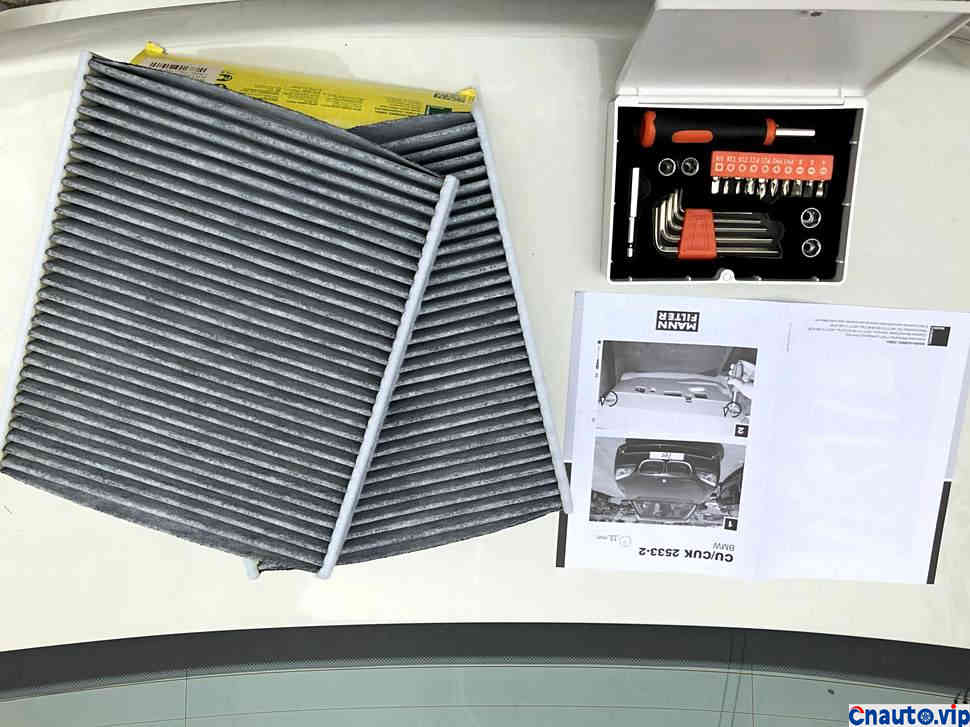
Haha, the tool on the left is also made of BMW gadgets, and the F18 523LI model has two filter elements. It can effectively filter the inlet and outlet air.

There are also some simple installation tutorials, of course, the need for details or watermelons I will teach you, learn from each other.

Installation tutorial, pay attention to the display position of picture No. 5, there is a circle on the left where there is a white pipe, and that place has the location of the fourth engraved screw, which is really hidden compared to the price, but it is actually difficult to use a wrench or screwdriver, because it is hidden behind the pipe. Everyone must pay attention, the box must be 4 screws before it can be opened, can not pull, it will be broken.

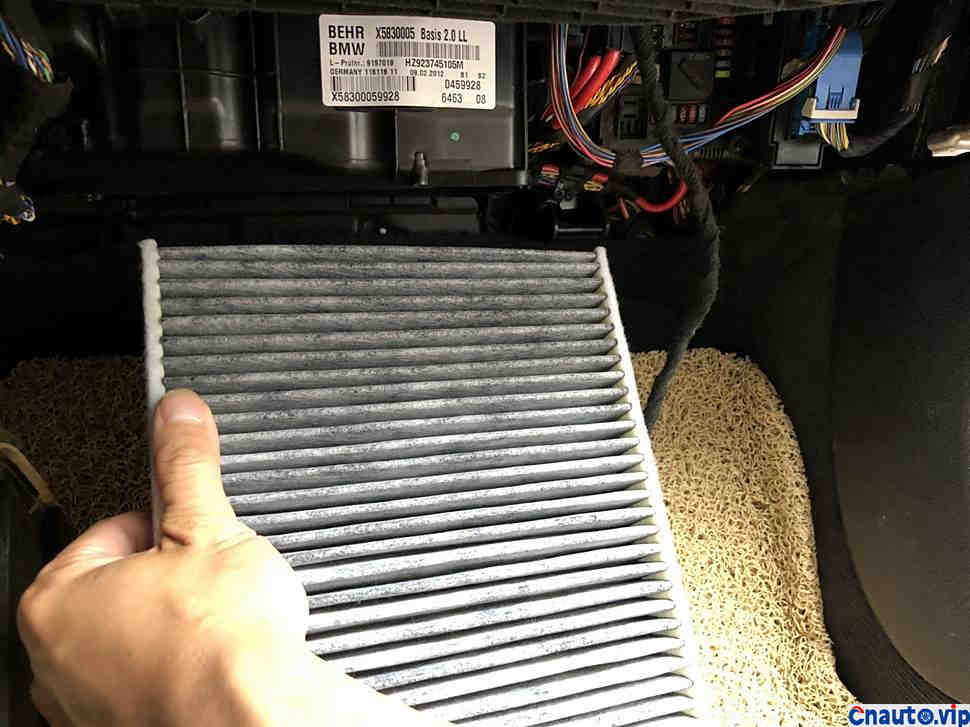
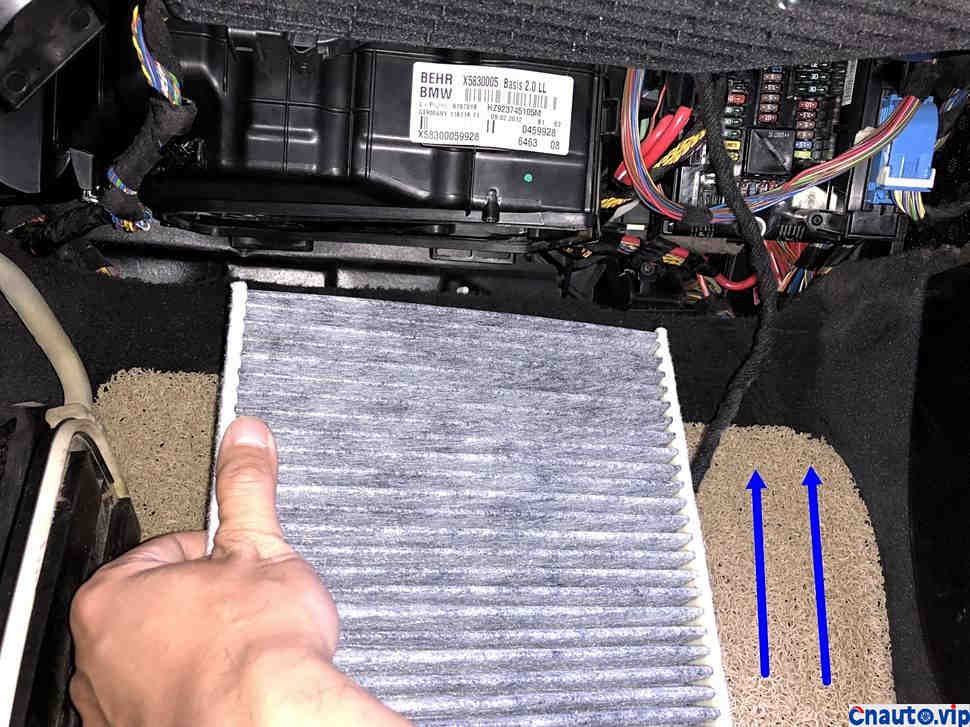
In fact, the filter element is directional, there is a difference between activated carbon and suede, see that arrow? The arrow cannot be pointed wrong. Otherwise, it will not have a good filtering effect, and the installation will be wasted.

Take a look at the filter element

Ready to start work, prepare a towel, you need to lie on this welcome pedal position, sideways to the co-pilot foot place to change, I want 999 4S store replacement charge, this replacement tedious behavior in it.

There is a side bar on the side that needs to be replaced, there is a screw here, an ordinary Phillips screwdriver can be replaced, there is only one on this side.

There are two cross nuts at the bottom of the glove box that need to be removed. One on the left, one on the right!

One on the right, take a look!

One on one side, left and right. Don’t forget.

After the screw of the side bar is removed, it needs to be pulled off.

Be sure to pull it down gently, or it will break the clasp and plastic mouth inside.

One black screw on the side bar, two on the ground floor of the glove box, a total of three to be put away!

The plastic shell at the bottom of the glove box will fall off when you gently lift it up in front, and then pull it out again.

It is also necessary to copy gently, because there are two plastic clips, and the wire with the interface of the lamp below will fall off if it is pulled off!

I said that the position of the lamp will be here, there is a small bayonet inserted into the line, need to pinch it off.

That’s it! it just fell off!

Lower the bottom shell.

There are a total of four hexagonal screws at the bottom of the box of the air filter element, the model of T20, look at a total of four, do not make a mistake, disassemble one by one, and then there is one behind the white tube on the left, don’t make a mistake!

Just disassemble it in order!

Open the box and you can see 2 filter elements inside!

Just pull down the two filter elements, but be careful not to damage the box of the filter elements!

The comparison of new and old filter elements, the above is new, the bottom is used!

It is indeed a little dirty, it seems that the air quality is not optimistic, it is necessary to change it once a year.

Just make a comparison.

Then just follow the steps and put it back in.

Take a look at the direction indicated by the arrow in the photo and install it back in this direction. The height is reversed, take a look, it is the direction of the arrow, not the direction of my line, please pay special attention to it, please pay special attention to the direction indicated by the arrow above the filter element, not the wrong direction of my arrow. ]

Install it back in the order of the gas arrow, so that both pieces have to be installed back.

Both need to be installed!

After installation, cover the lid and install the 4 inner hexagon screws back.

Press the screwdriver to turn and OK!

The lower cover plate is going to install the lamp.

Install the screws back in order!

One on the right!

Install this side panel back!

Remember that the buckle is installed first, and then the screws are installed here.

The installation is finished. Thank you!

Update the direction of the installed arrow, which is unknown to the copilot, that is, the arrow points to the left!

Recommended Suppliers