Install a large navigation screen and a reversing image for your good brother. This wave of operation was indeed a bit difficult, time-consuming and laborious, and it was not recommended to do it. To achieve satisfactory results, various routes must be perfect, and it took nearly a day.

The old car machine from before was not changed, but it was no longer used. The cd and radio were completely eliminated.

This is the only line for low-cost vehicles. It’s very simple

Connect it to the line and just connect it as required. I wanted to get power from the cigarette lighter first to see if the reversing image was working, but it didn’t work. For some unknown reason, I still got power from the reversing light.

The line is ready

wiring is electrified

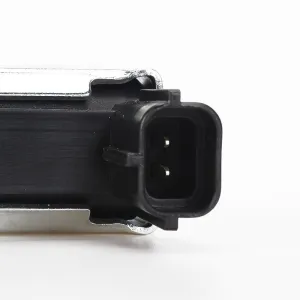
Don’t forget this when you reverse the camera to get power. You can’t do it without it.

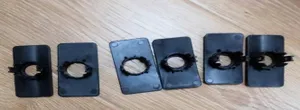
I removed the left one, but it didn’t work. The camera screw was stuck and replaced it with the right one. Don’t connect the electricity here, remember. You need to get electricity from the reversing light.

The armrest box can make a hole and you can put the USB socket out of here.

Just like this, very good

When running the line, use a hard iron wire to pull it, which works best. like this

Look, this one is also tied with iron wire. It’s not too difficult

When installing, the original photo light, which has a rubber waterproof mat, has to be removed and pressed against the camera.

This Octavia car is really awesome. It is an 11-year-old car, and the plastic baffle on the back is removed. The inside is as bright as new, and even the solder joints are not rusty.

The track behind, once again praised this car for its rust-proof, not at all.

It’s a rare place to come. This wiring requires a video cable and a reversing light cable.

My new weapon, the endoscope, doesn’t work well when walking the wires in the trunk. It’s difficult to get.

It’s just that it’s difficult to walk in this position and the space is too narrow. If I don’t have the patience to walk inside, I’ll wrap it with tape outside.

Get down from this position, get out of the wiring pipe, and go inside. difficult

Take the extra wire, connect it from the backup light, walk to the trunk lid, connect the rectifier, and connect the camera.

If you go through this hole, there is also a shock-stopping piece here

Clean up the end and start installing the link tube. Be sure to remove it, tighten the rubber leather case and jam it in again.

done


 April 1, 2024


