Restoring the original halogen reversing bulb for Hei Lang
The horn didn’t sound a few days ago, so I went to the store to claim a loudspeaker. After the loudspeaker was replaced, when the master backed up the car for Heilang, I saw that Heilang had a reverse light on the left side of the car. There was something going on at that time, and I was in a hurry, so I didn’t bother the master to deal with the problem of reversing lights.
This reversing light bulb is my own later replacement of the LED bulb, and for this bulb problem, I think I can deal with it, taking advantage of today’s free time to HeiLang to see what the problem is.
This reversing light bulb is my own later replacement of the LED bulb, and for this bulb problem, I think I can deal with it, taking advantage of today’s free time to HeiLang to see what the problem is.
Here to complain, the beggar version of Lang Yi is equipped with a reversing radar, but there is no light alarm function.
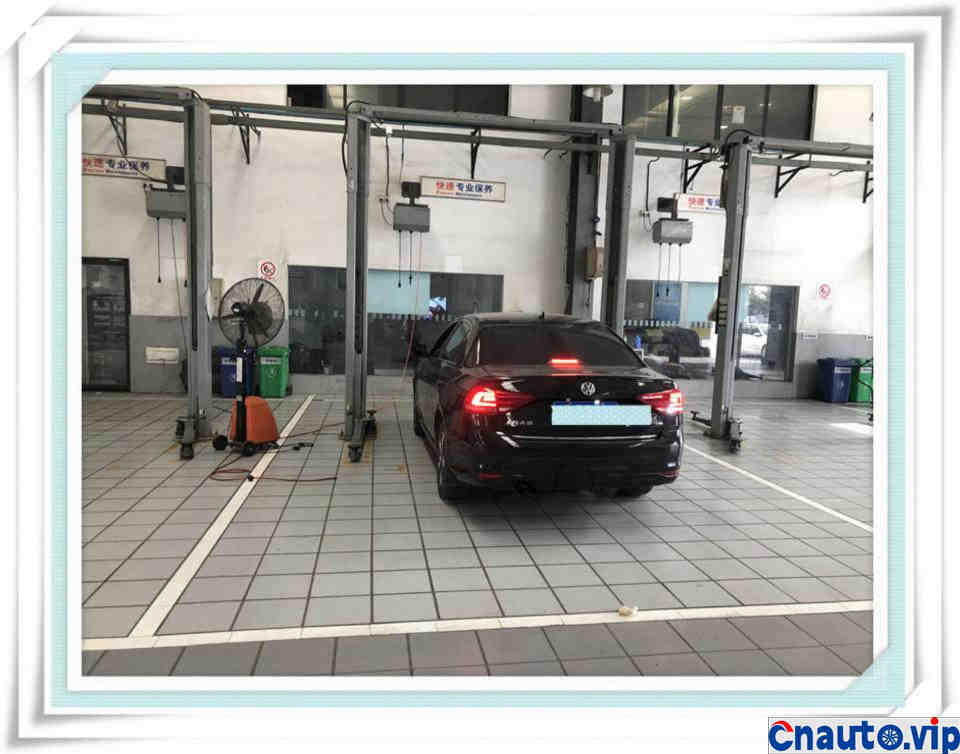
This is the problem that the master found when he backed up after changing the loudspeaker in the store a few days ago. I don’t know when it broke down.
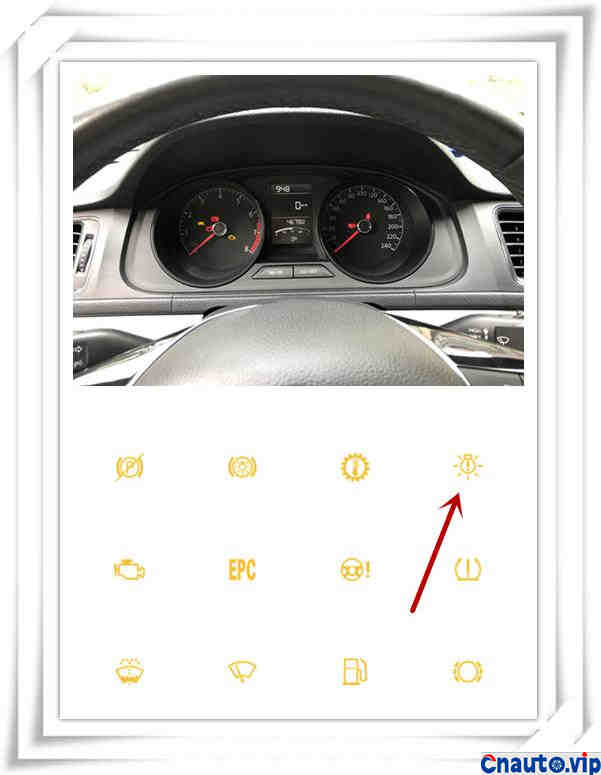
The reason for our beggar version of Lang Yi is that there is no light alarm function, and we only know if there is something wrong with the light. The arrow above refers to the fault light of the light alarm function, and our beggar version can only look at the picture.
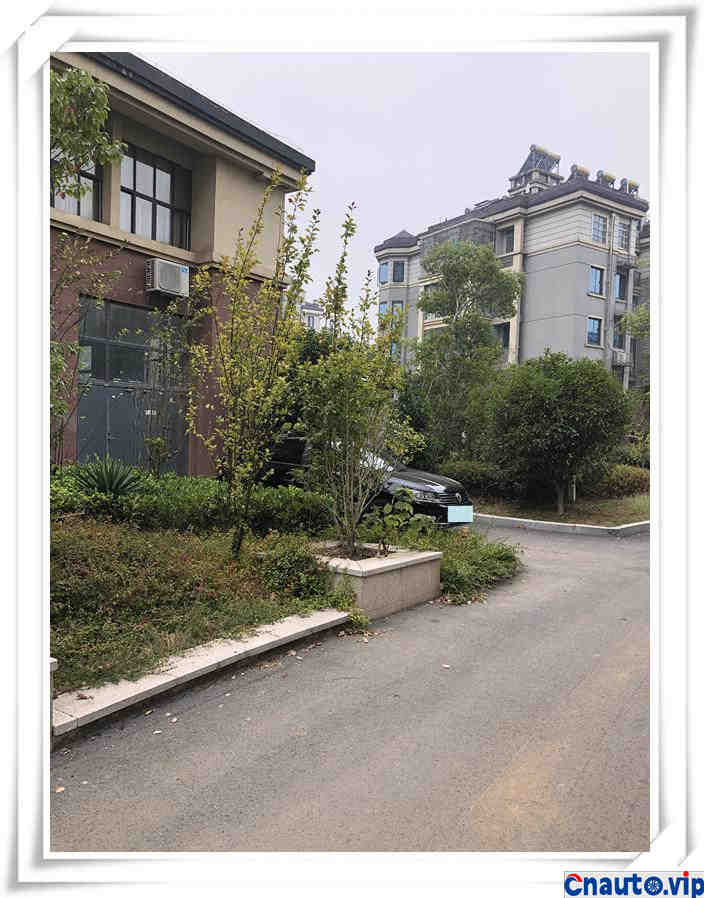
Today, I happen to be quite free at home. I can solve the problem of reversing lights for Heilang. In other words, the parking space is really tight, and it is really difficult to park a car.
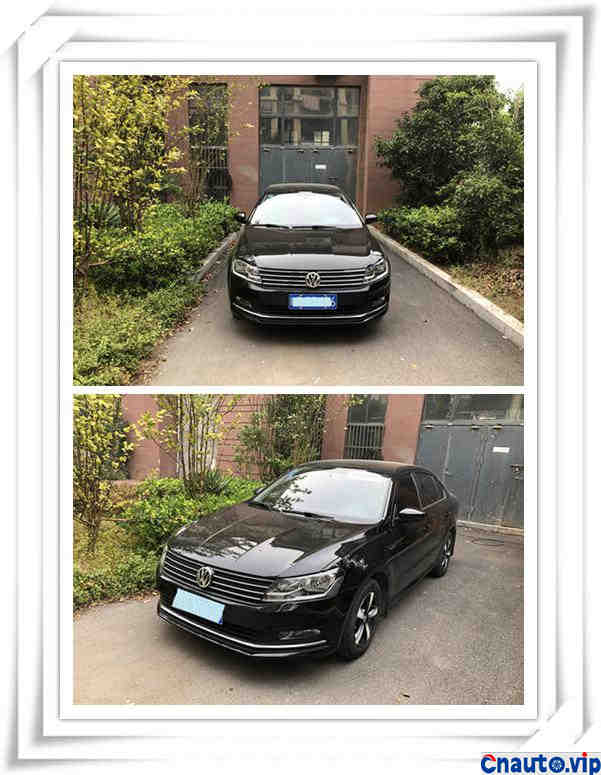
However, we are lucky that the parking space is relatively fixed every time, so every time I take a picture of Heilang, I am basically in this position, so don’t think that I am always using the previous picture. [hee hee]
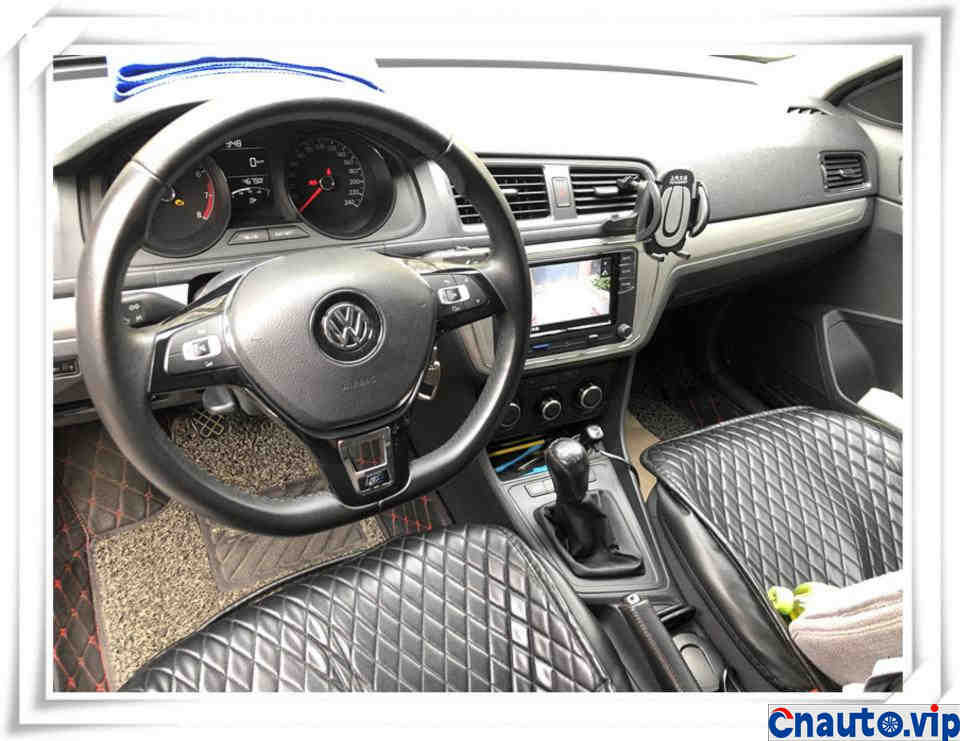
First of all, the vehicle is powered on, do not start the vehicle, then put on reverse gear, and then go to the rear of the car to observe the reversing lights.
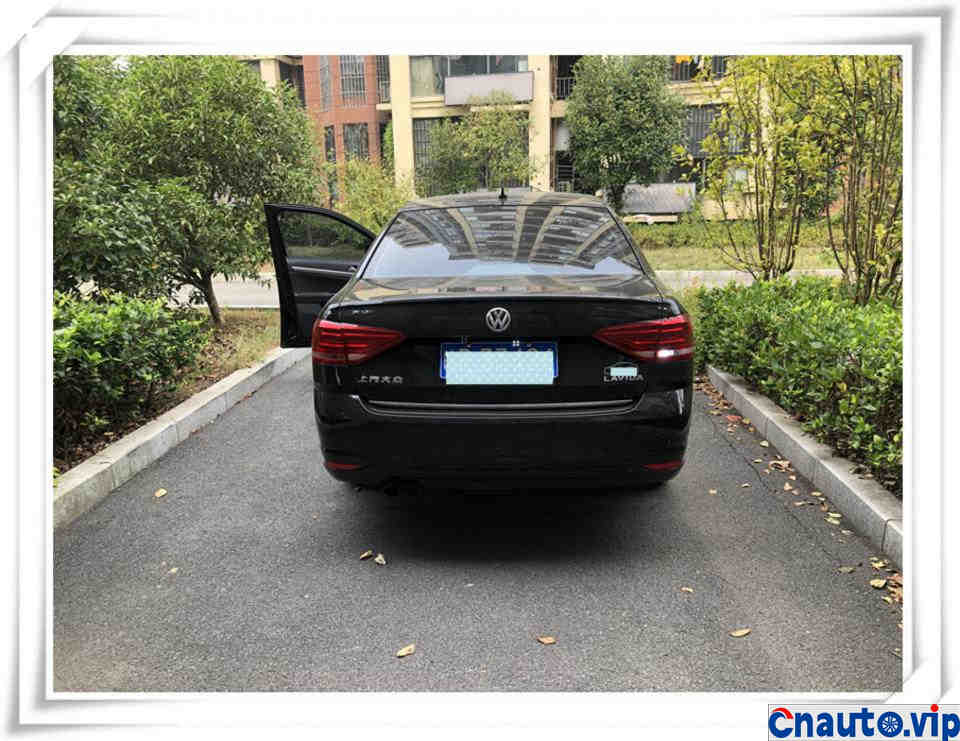
You can see that the reversing light on the left is not on. (the 17 Lang Yi has two reversing lights and the 19 Lang Yi has only one reversing light)
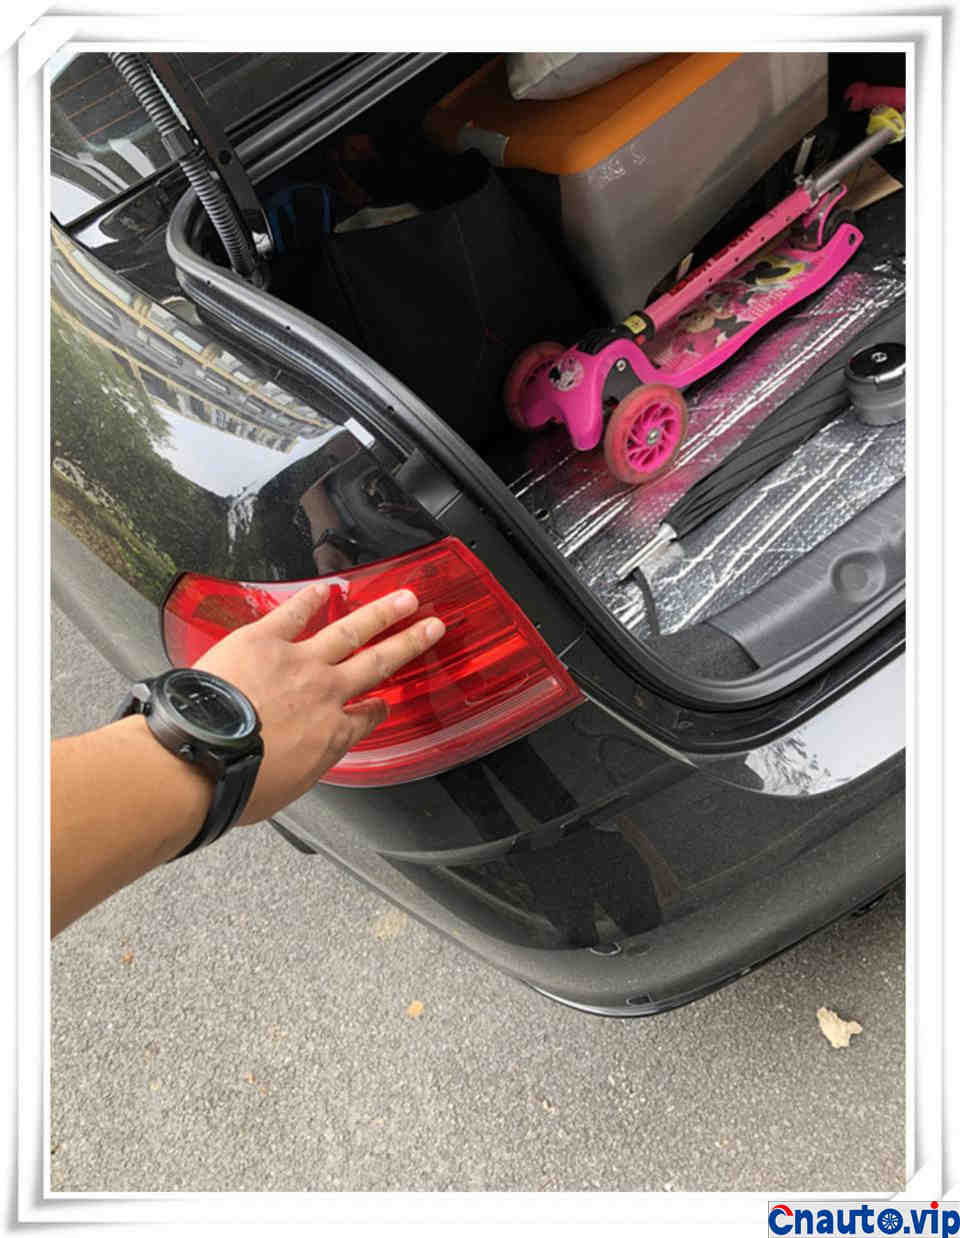
The reversing light bulb of the original car was a halogen incandescent bulb. Later, I changed the LED bulb myself. Now the reversing light bulb is not bright. At first, I thought that the contact was bad. I clapped a few times in the lamp shell or not. In order to find out the reason, I had to remove the taillight and check it.
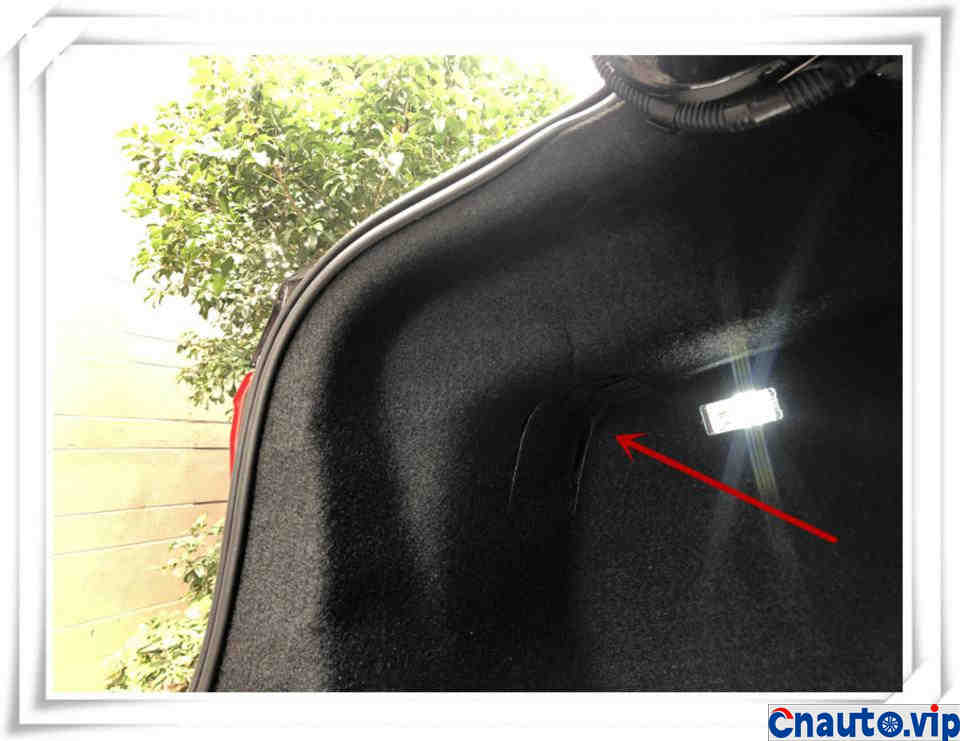
Taillight removal is very simple, open the trunk, corresponding to the position of the inside of the taillight, you can see that the flannelette of the position pointed to by the arrow can be opened, and the inside of the flannelette is the position where the taillight screw is fixed.
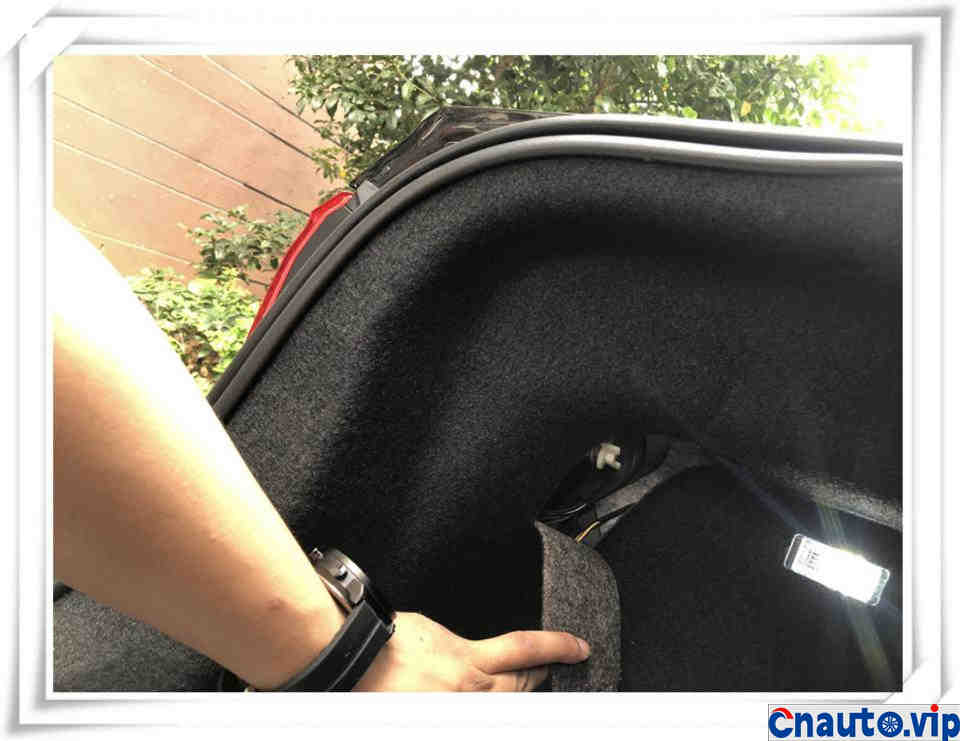
When the flannelette is torn off, you can see the fixing screw and the taillight plug.
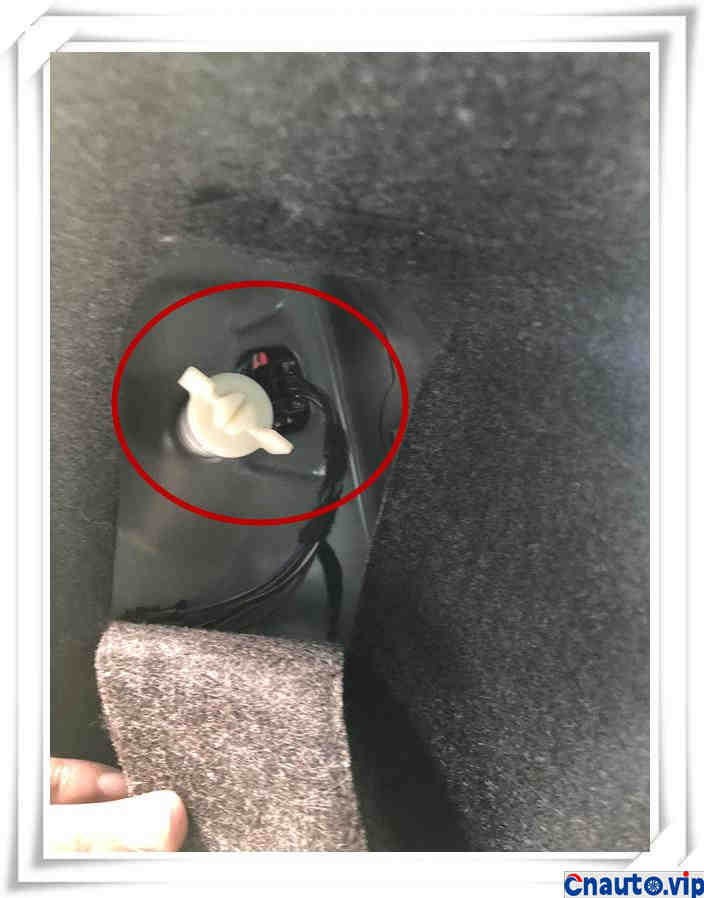
The screws and plugs that secure the taillights are shown in the picture above. The white one is the fixing screw, which can be removed by turning counterclockwise.
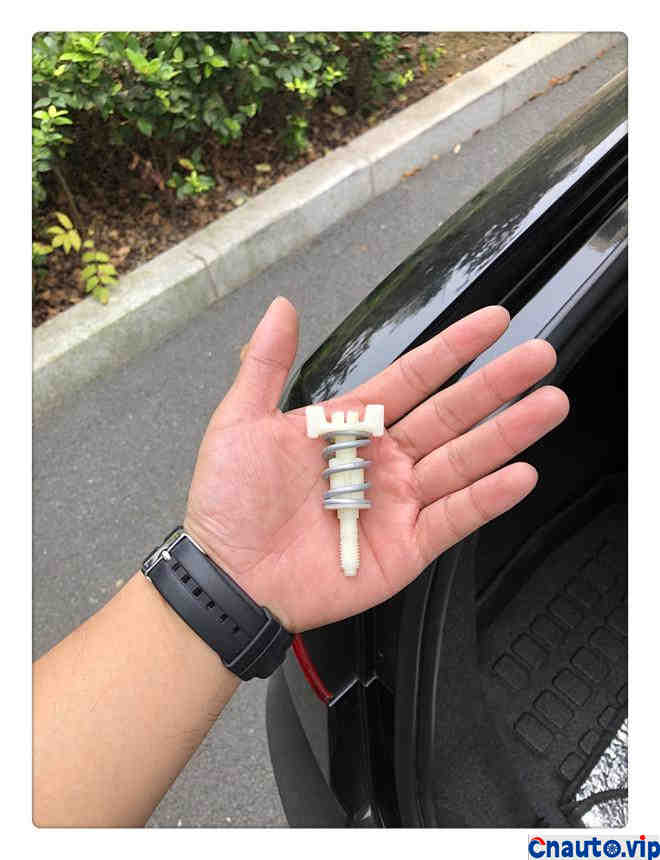
This is the taillight fixing screw, plastic material, the middle spring part is a better fixed taillight when installed.
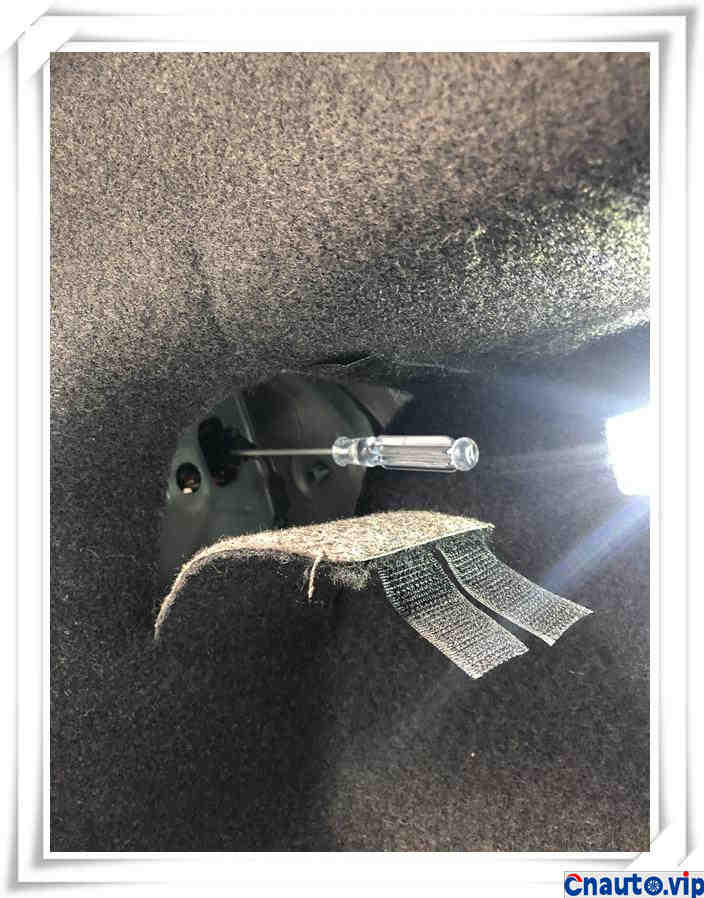
Our hands are relatively thick, the taillight plug is not easy to remove, borrowed a flat mouth to remove the plug.
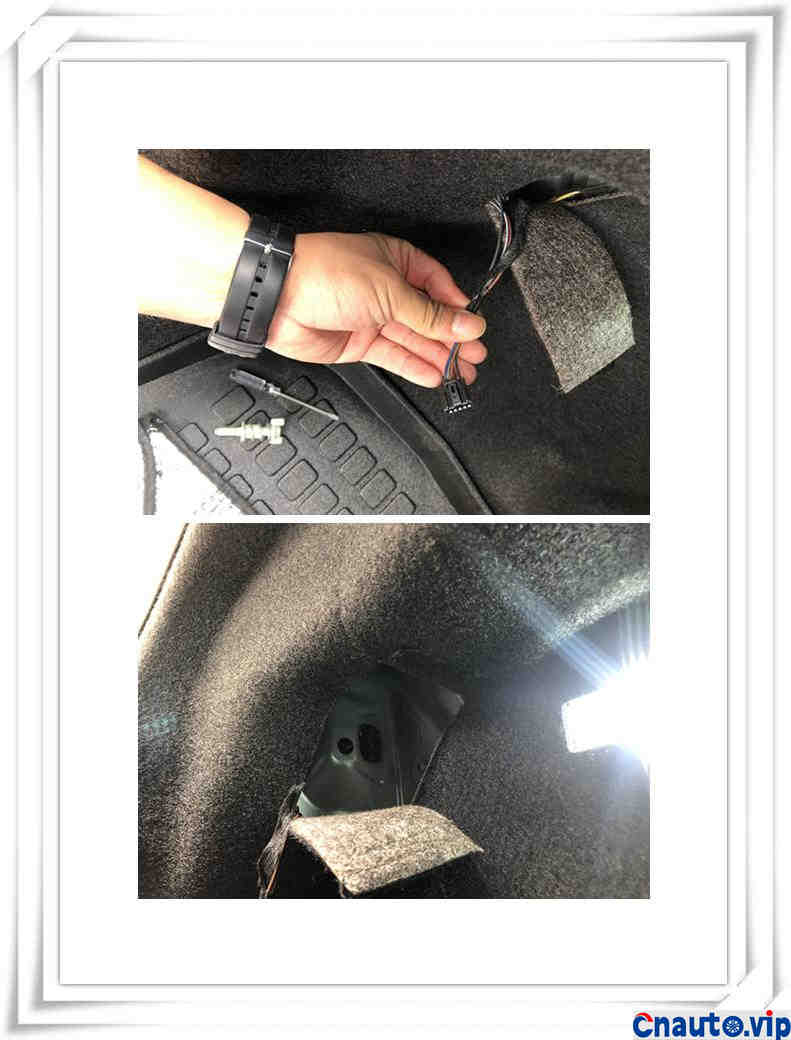
When this plug is unplugged, remember to hold the taillight with the other hand to prevent the taillight from falling without a fixed point.
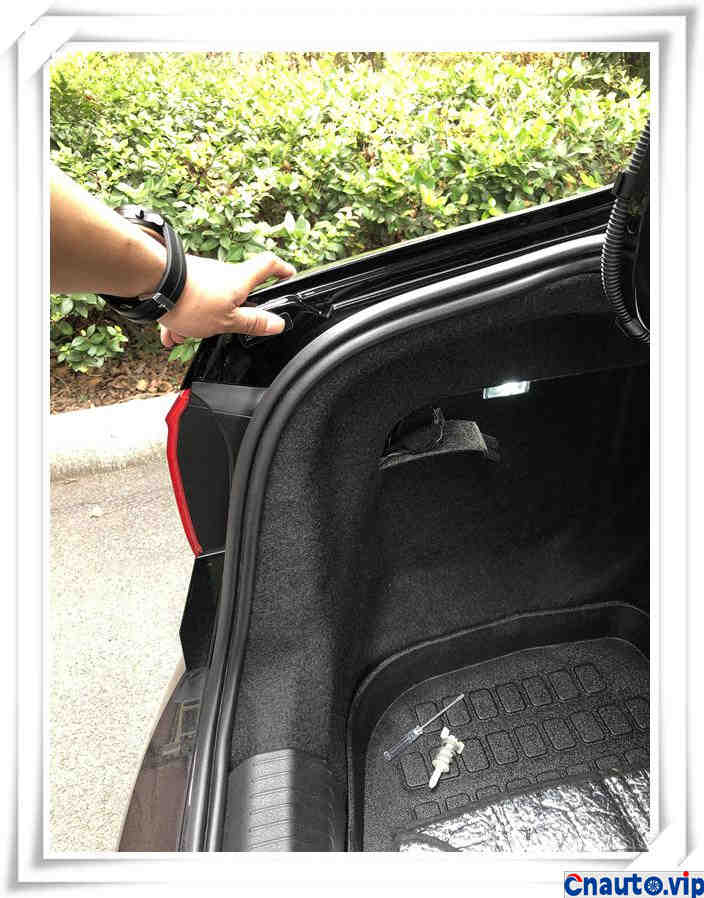
The screws and plugs that secure the taillights have been removed, and the next step is to remove the taillights from the body.
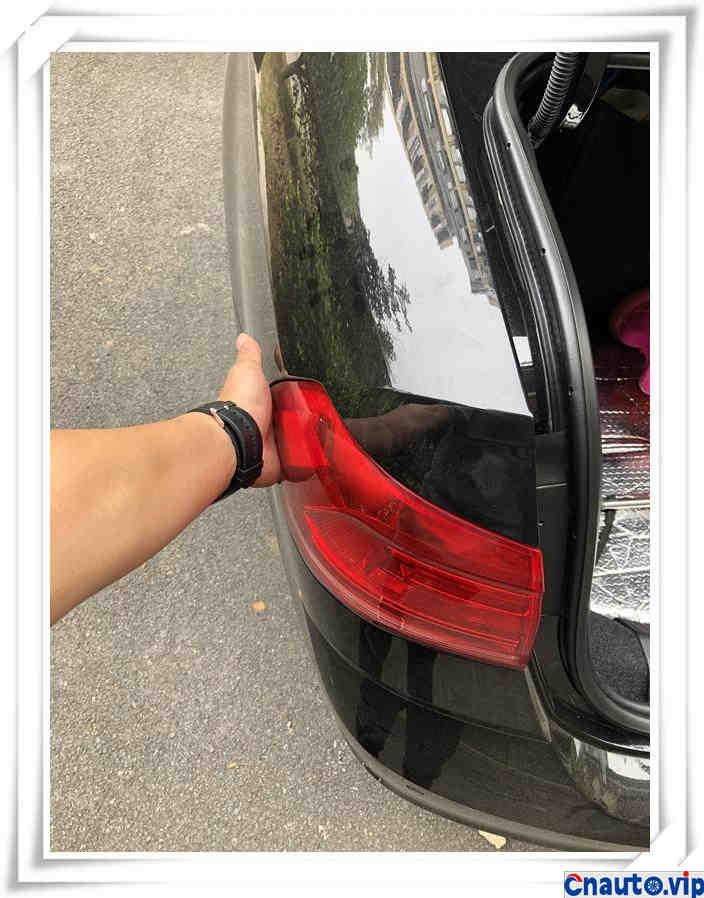
In fact, there is also a clasp on the inside of the position where my hand is pressed. When you remove the taillight, you can loosen and remove the taillight by slightly slapping the taillight back.
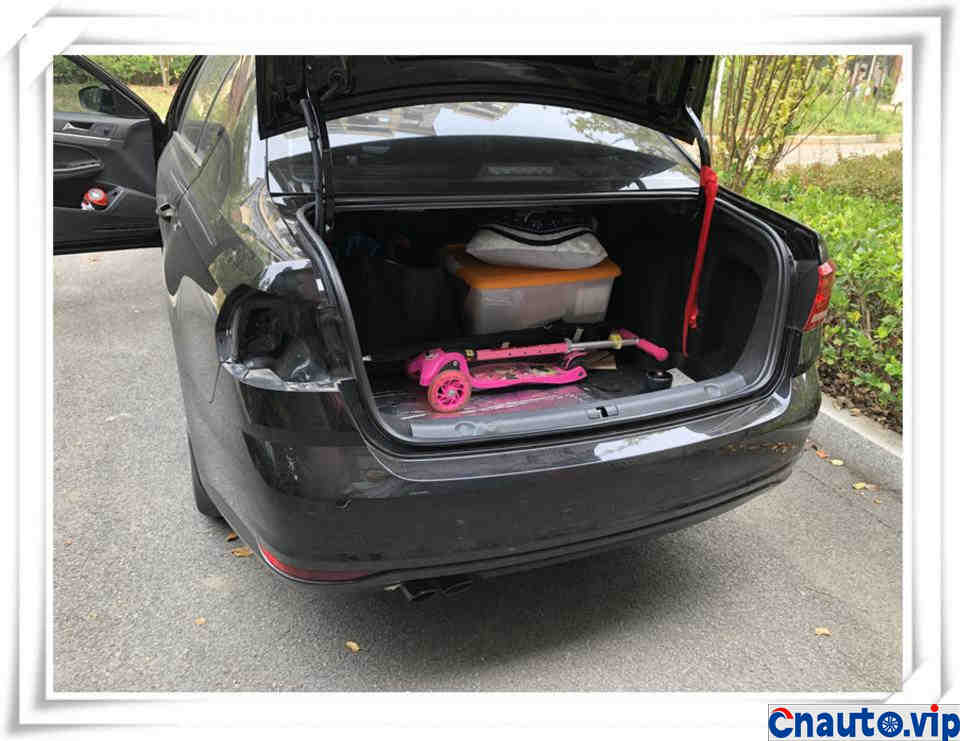
Taillights have been removed, black looks good this position is not too dirty, if it is a white car, there will be a very obvious black and white effect.
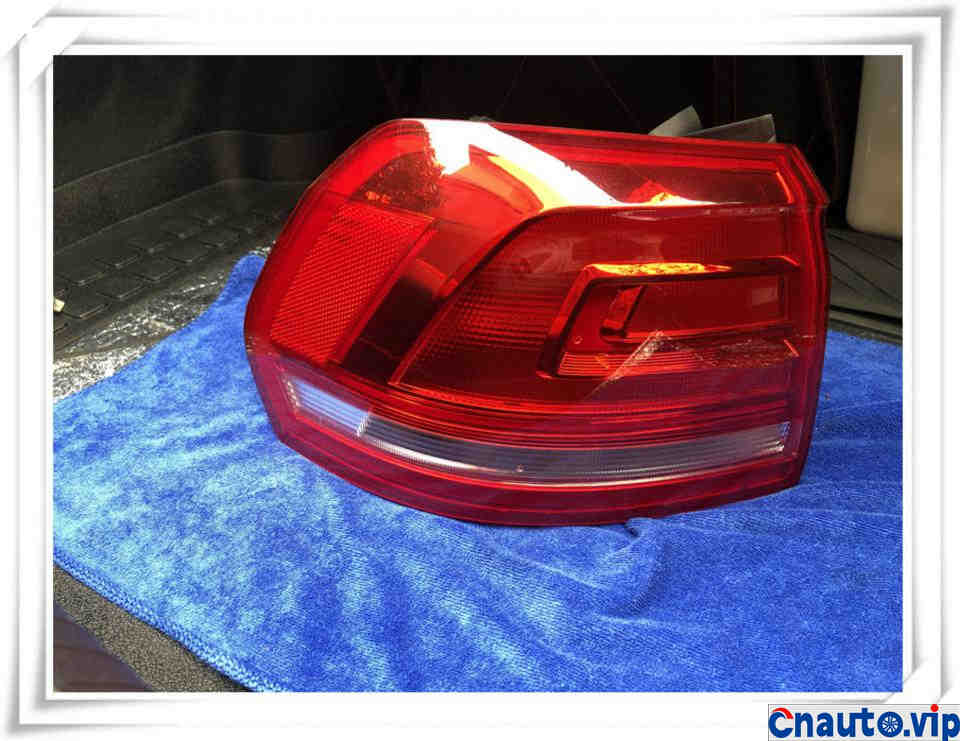
Has removed the taillight, before also thought of changing to the high-equipped LED taillight, but the high-equipped LED taillight price let me hope and stop.
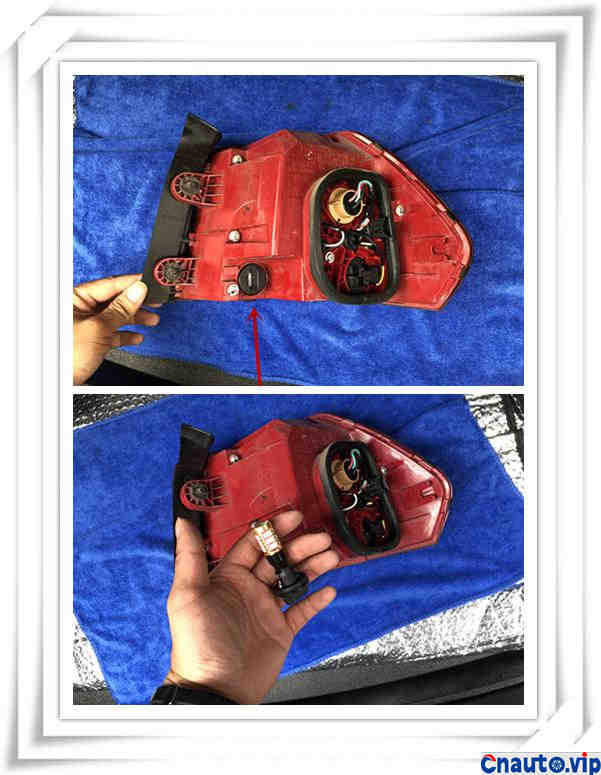
In order to avoid scratching the surface of the lamp shell during operation, I use a towel under the taillight. The position of the reversing lamp is shown by the arrow on the picture. This is a knob-like disassembly method, which can be turned to remove the light bulb.
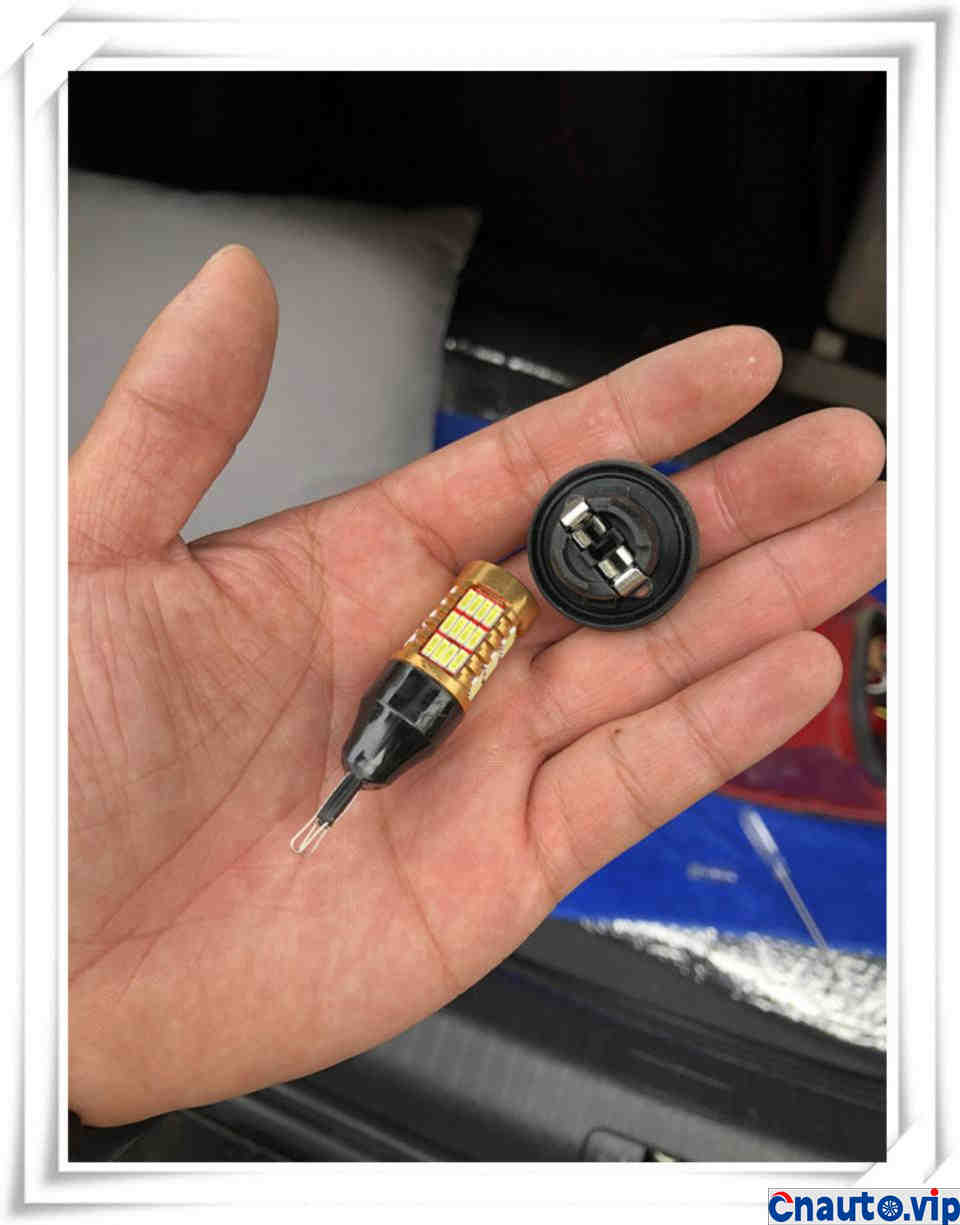
This reversing lamp is a plug-in lamp holder design. At first I thought it was due to poor contact between the lamp holder and the light bulb. I reinstalled the light bulb and the lamp holder to see if there was a light bulb problem.
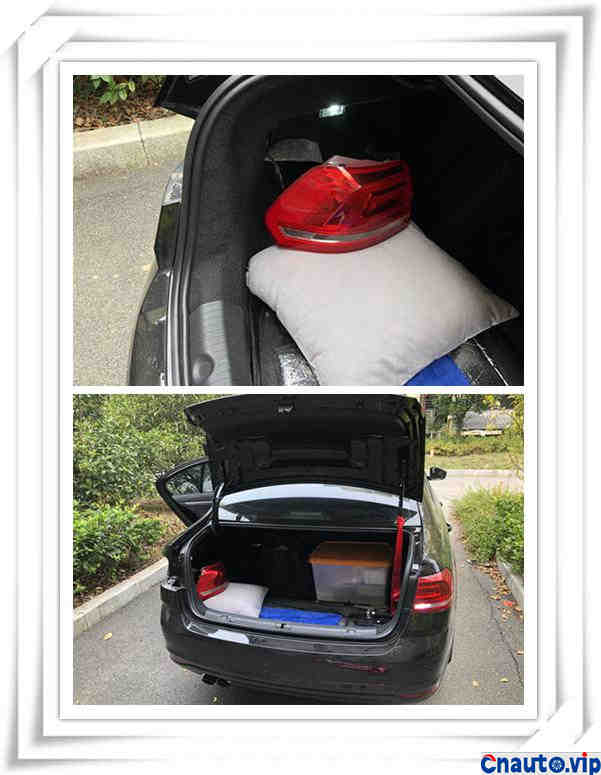
As you can see in the image above, after the LED bulb is re-fixed, the taillight is plugged into the trunk to check if there is something wrong with the bulb, and the LED bulb on the left is still off.
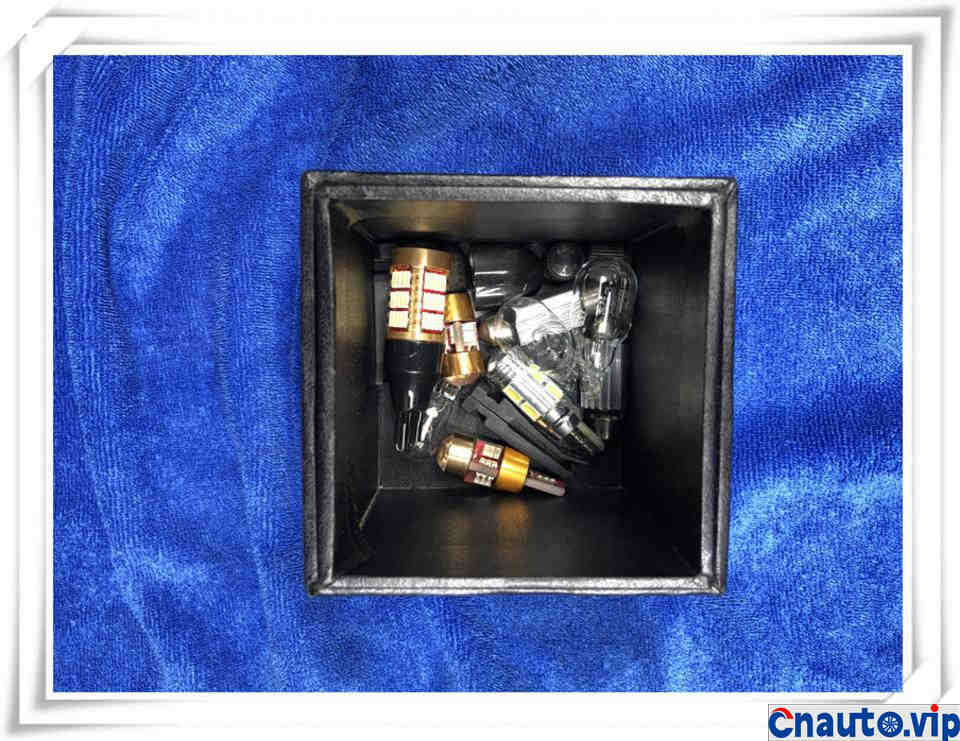
Fortunately, my habit is that the light bulbs replaced by the original car have been retained, and now change into the halogen light bulb of the original car to test what the problem is. If the light bulb is still not bright, it may be caused by the circuit problem. If the halogen light bulb works properly, it means that the LED bulb is damaged.
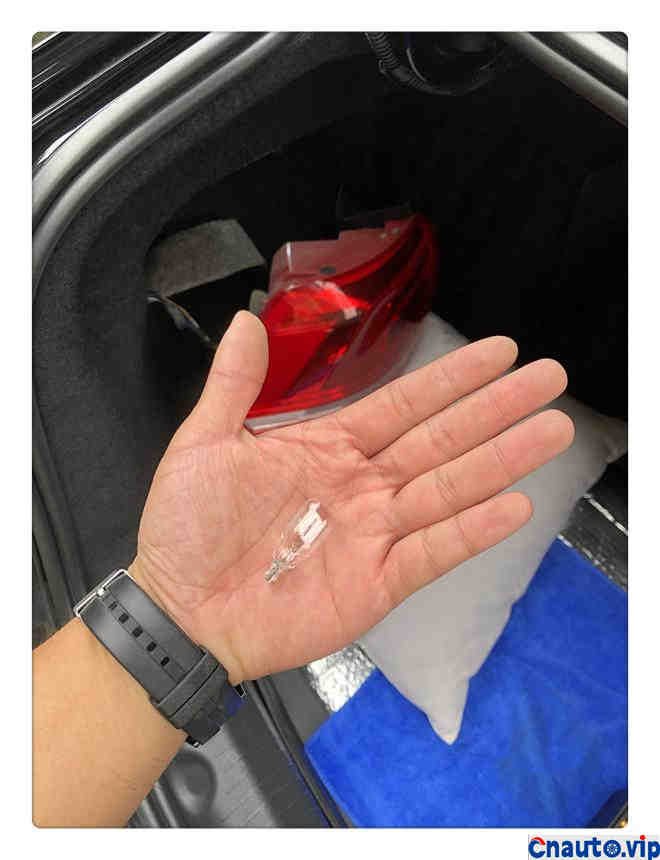
This is the halogen light bulb of the original car.
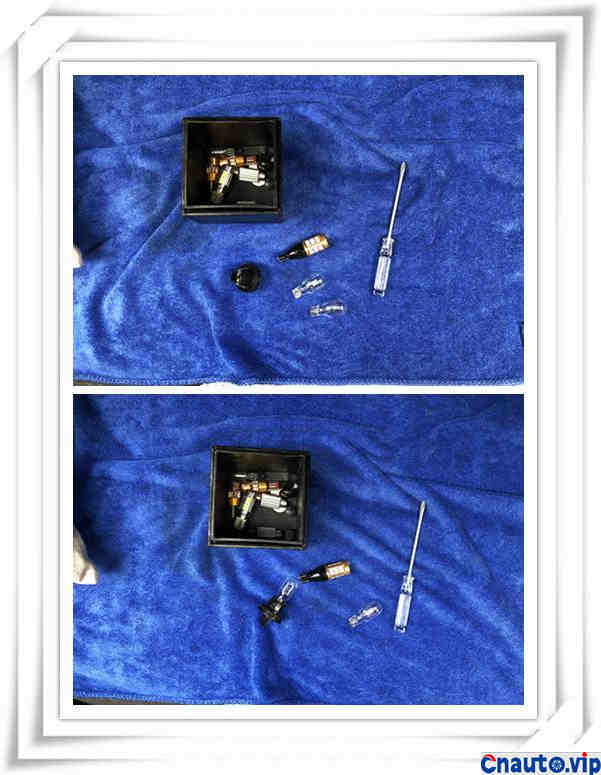
The LED bulb has been removed and replaced with the original halogen bulb.
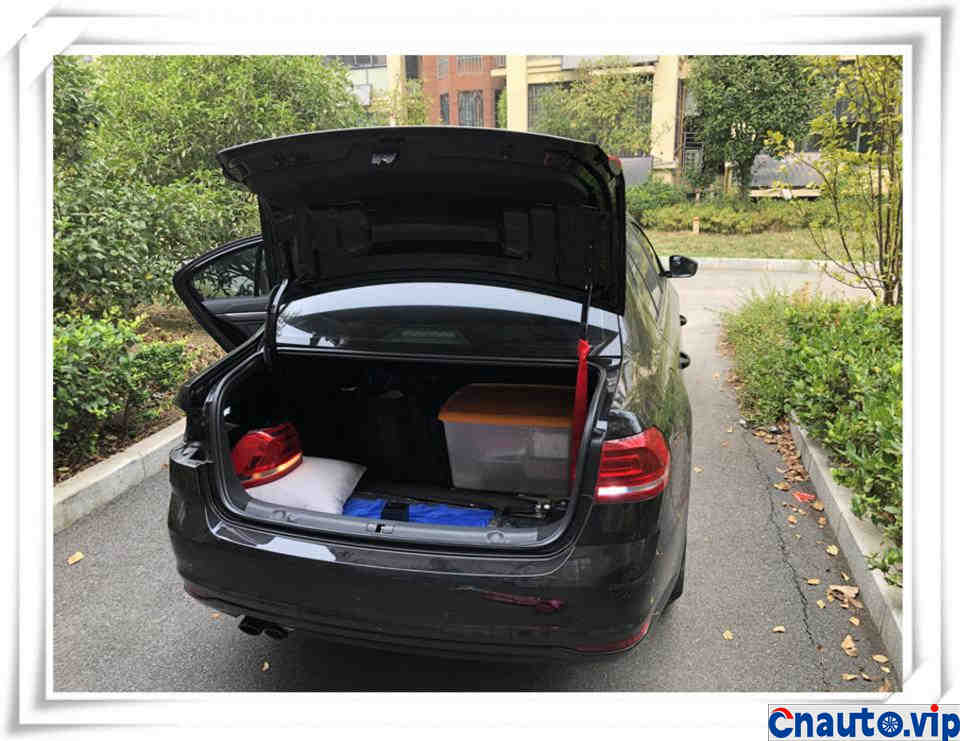
After the installation of the halogen bulb of the original car, the taillight is plugged into the back box, and you can see that the light bulb on the left is now lit normally. Compared with the reversing lights of the two taillights, the LED on the right is obviously brighter.
Because I don’t have a spare LED reversing light bulb, I can’t install a halogen LED bulb. Although I can’t see the reversing light when I reversing, I still feel uncomfortable. In order to pursue the same lighting of the two bulbs, I still restore the original light for Heilang.
Because I don’t have a spare LED reversing light bulb, I can’t install a halogen LED bulb. Although I can’t see the reversing light when I reversing, I still feel uncomfortable. In order to pursue the same lighting of the two bulbs, I still restore the original light for Heilang.
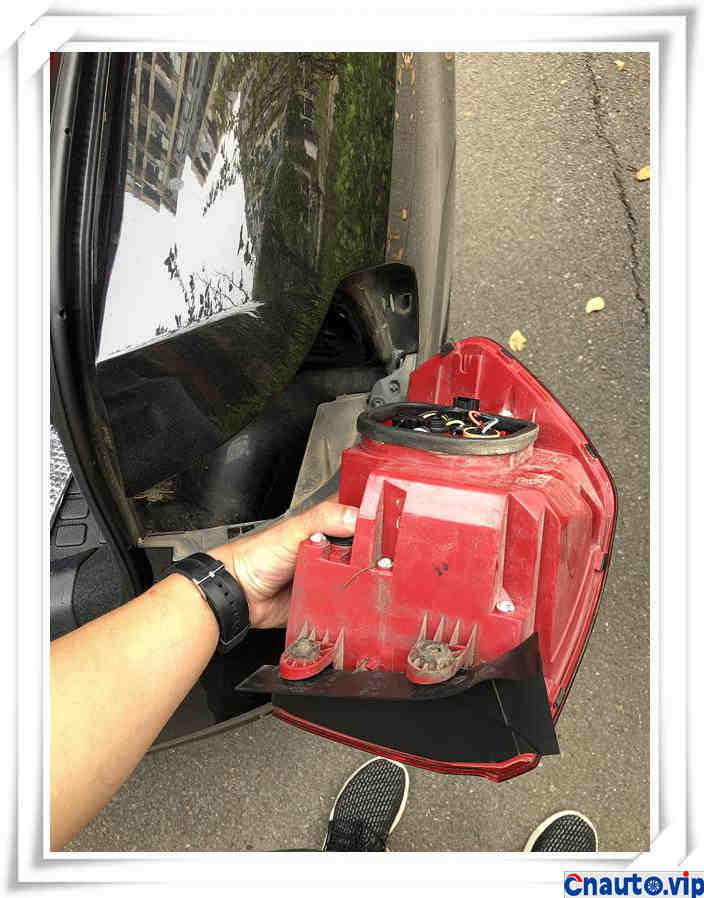
Just do it, then remove the taillight on the right and replace the LED bulb with halogen.
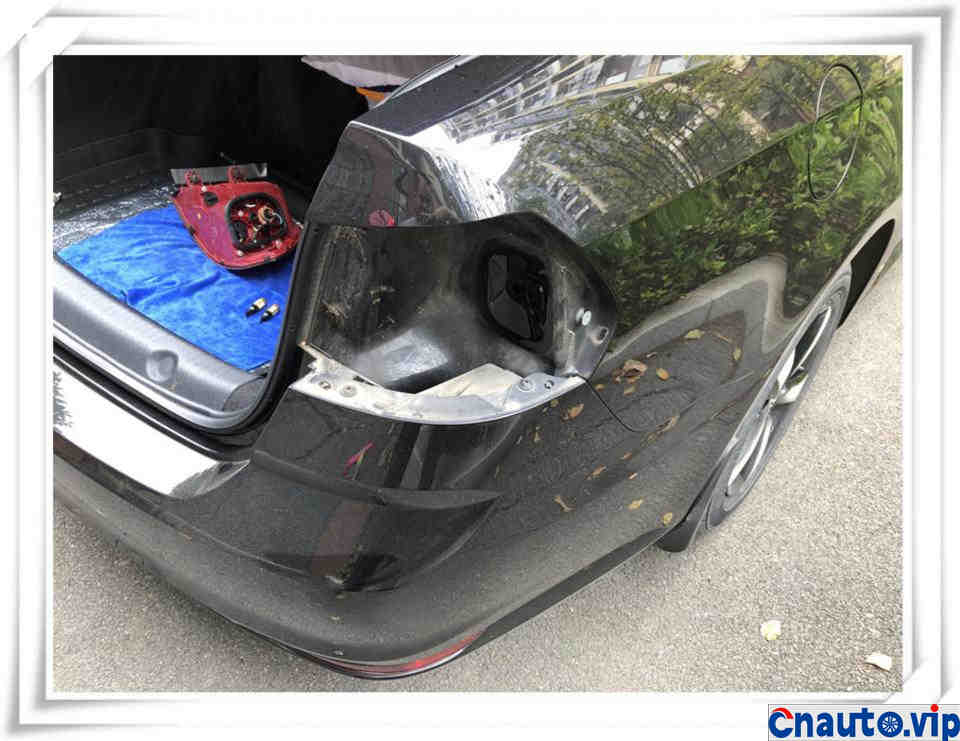
The right rear taillight has been removed.
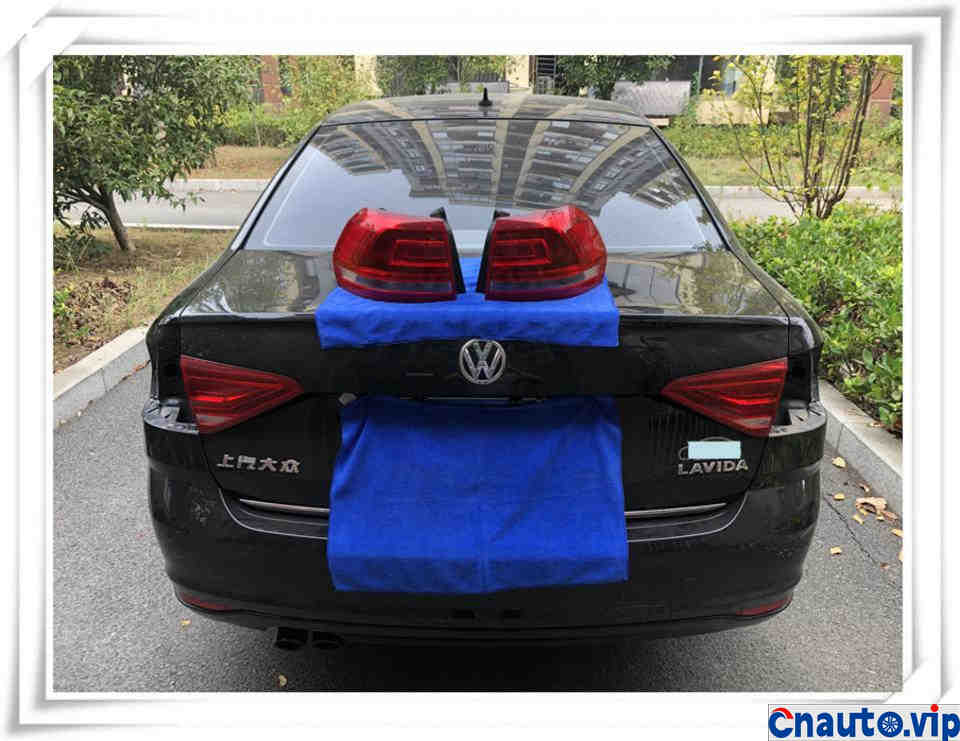
Both rear lights are removed, and the next step is to replace the LED bulb with the original halogen bulb.
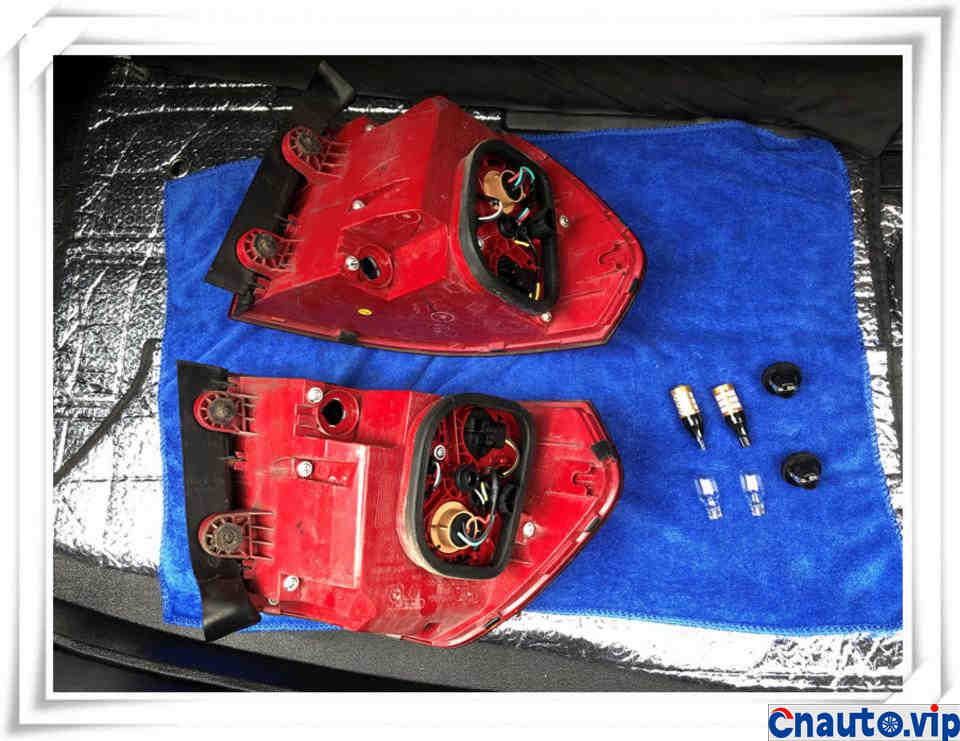
The taillights and bulbs are in place, and now they are replaced. The bulb base of the insert is easy to disassemble and disassemble, so it will not be described too much.
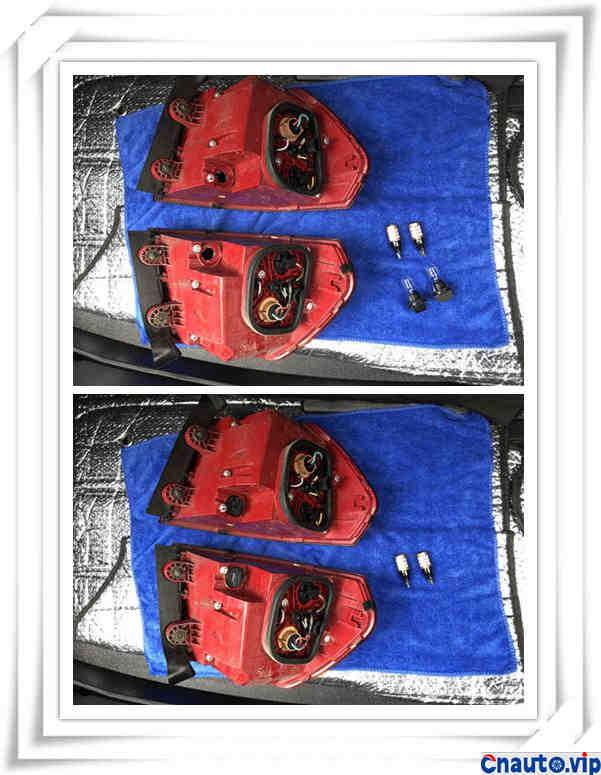
The bulb has been replaced and installed on the lamp housing.
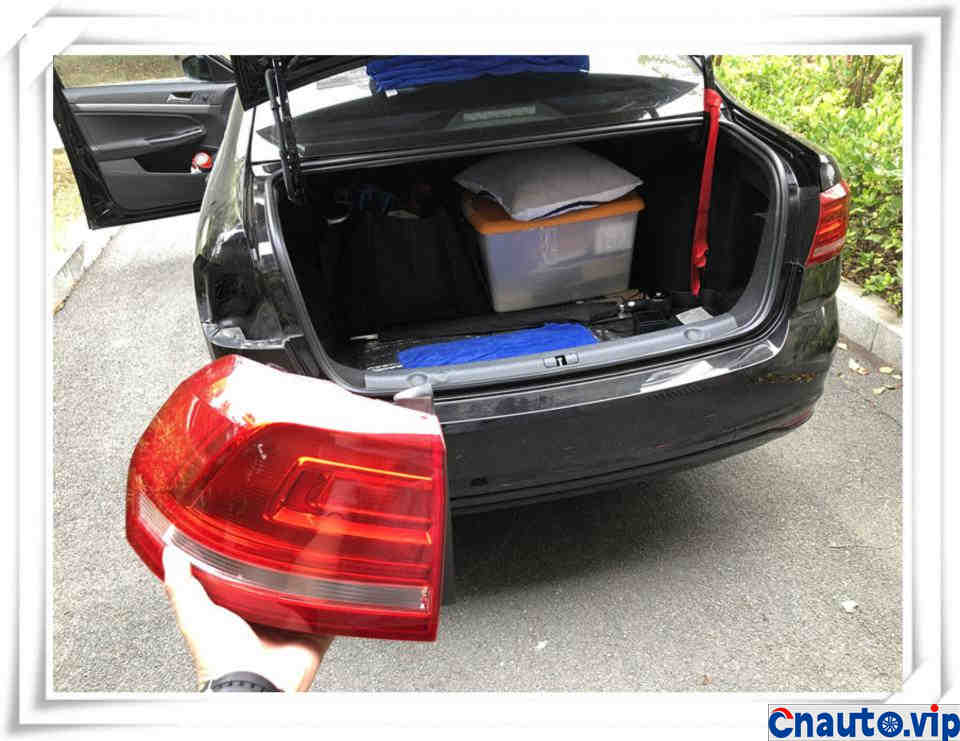
Everything is in place, and now it’s time to install the taillights.
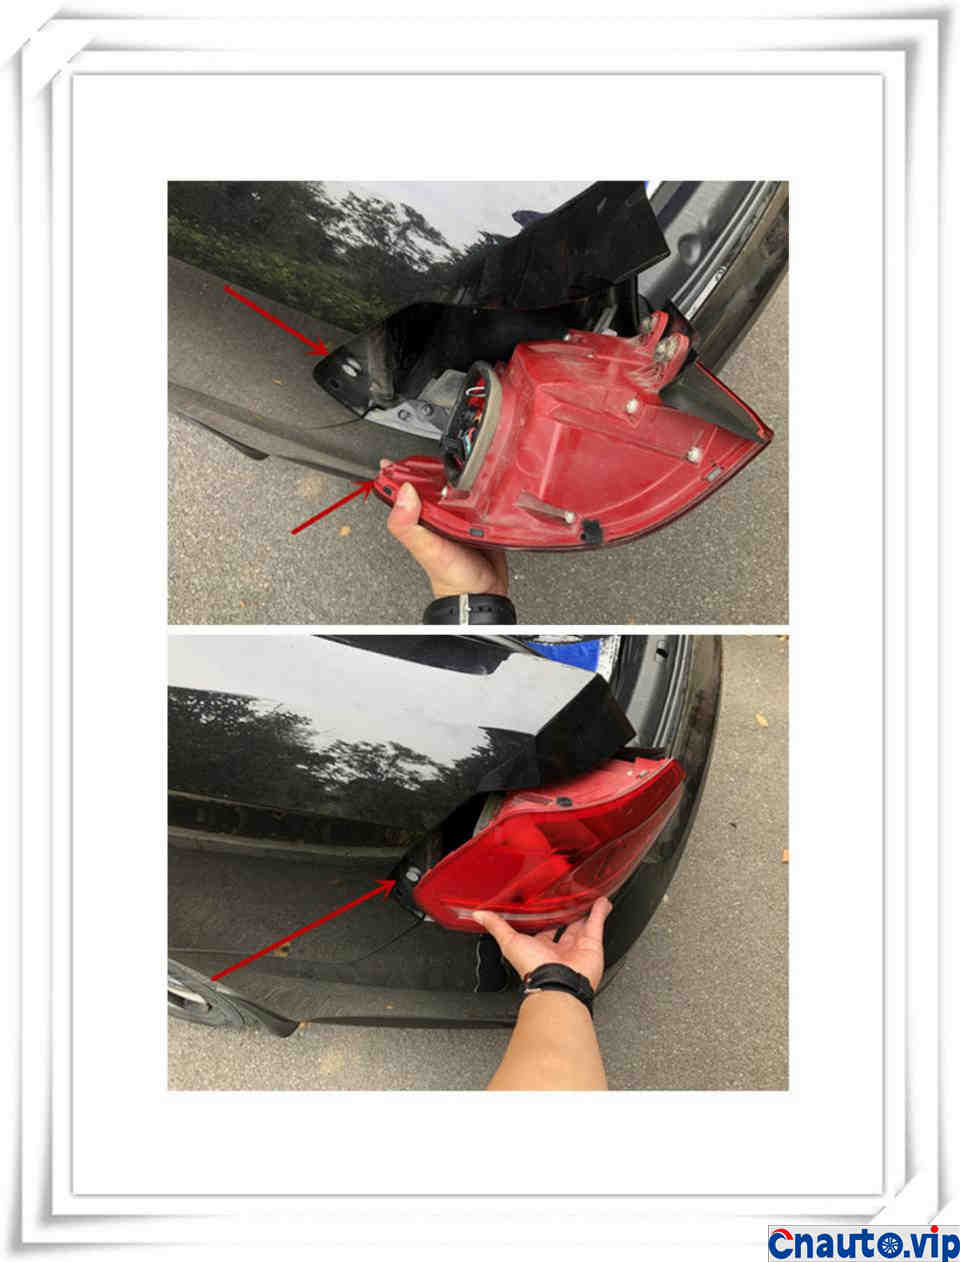
The installation of the left and right taillights is the same, and the above disassembly method and installation process is repeated, I will not say much, remember to look at the location of the arrow above, the corresponding installation can be.
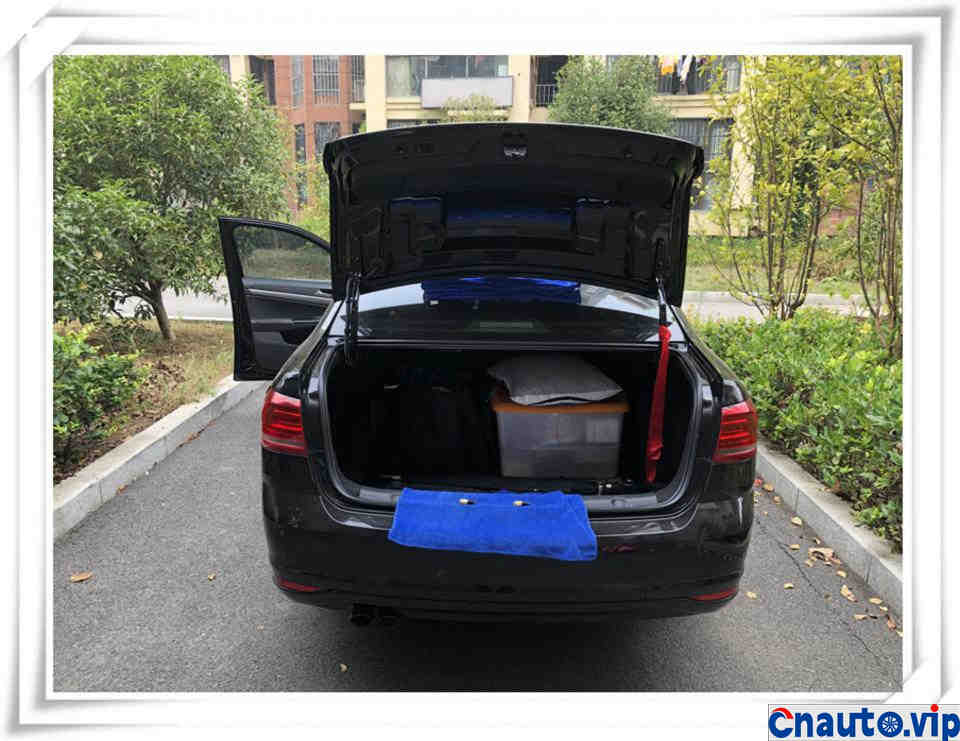
After the taillight has been installed, is it very simple? in fact, there are a lot of things in the car that we can operate by ourselves, and there is no need to bother others.
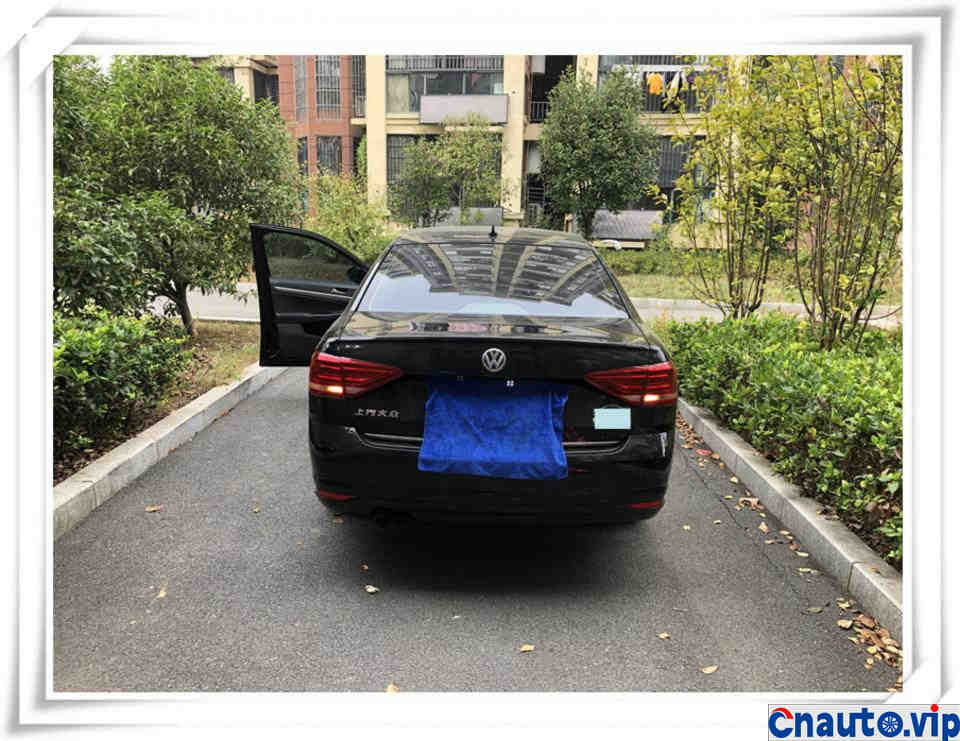
Put up reverse gear, you can see that all the reversing lights are on, and the whole process starts automatically. For a rookie car owner like me, it is full of sense of achievement. [hee hee]
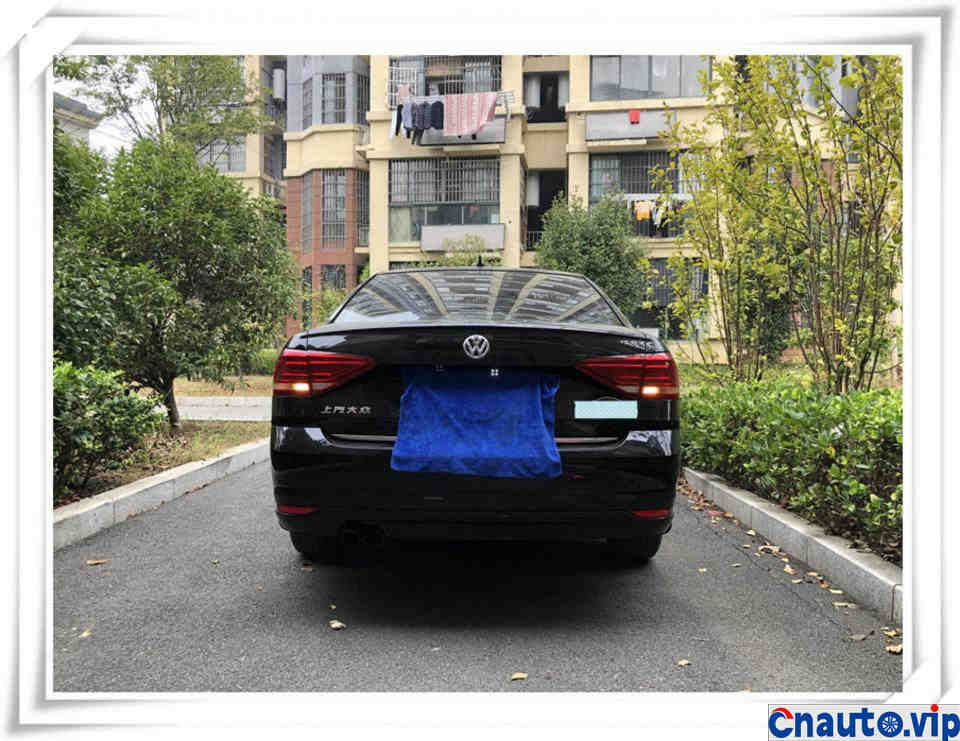
This is the end of the task of replacing halogen bulbs for Heilang.
In the end, interested riders, who do not like the halogen reversing light bulb of the original car, can change it into the LED bulb themselves, but I still suggest you to buy a better quality LED bulb, do not map cheaply, like me for cheap LED bulbs, the quality is poor and a waste of money. It’s the same old saying that every penny is worth a penny.
Hot Information
Tesla Autopilot and similar automated driving systems get ‘poor’ rating from prominent safety group
 April 1, 2024
 Localization of EV parts without production scalability may not help cut EV price, says President, Amara Raja
 March 27, 2024
JCTSL may turn bus stands into charging points for e-buses
 March 27, 2024
 You May Like

