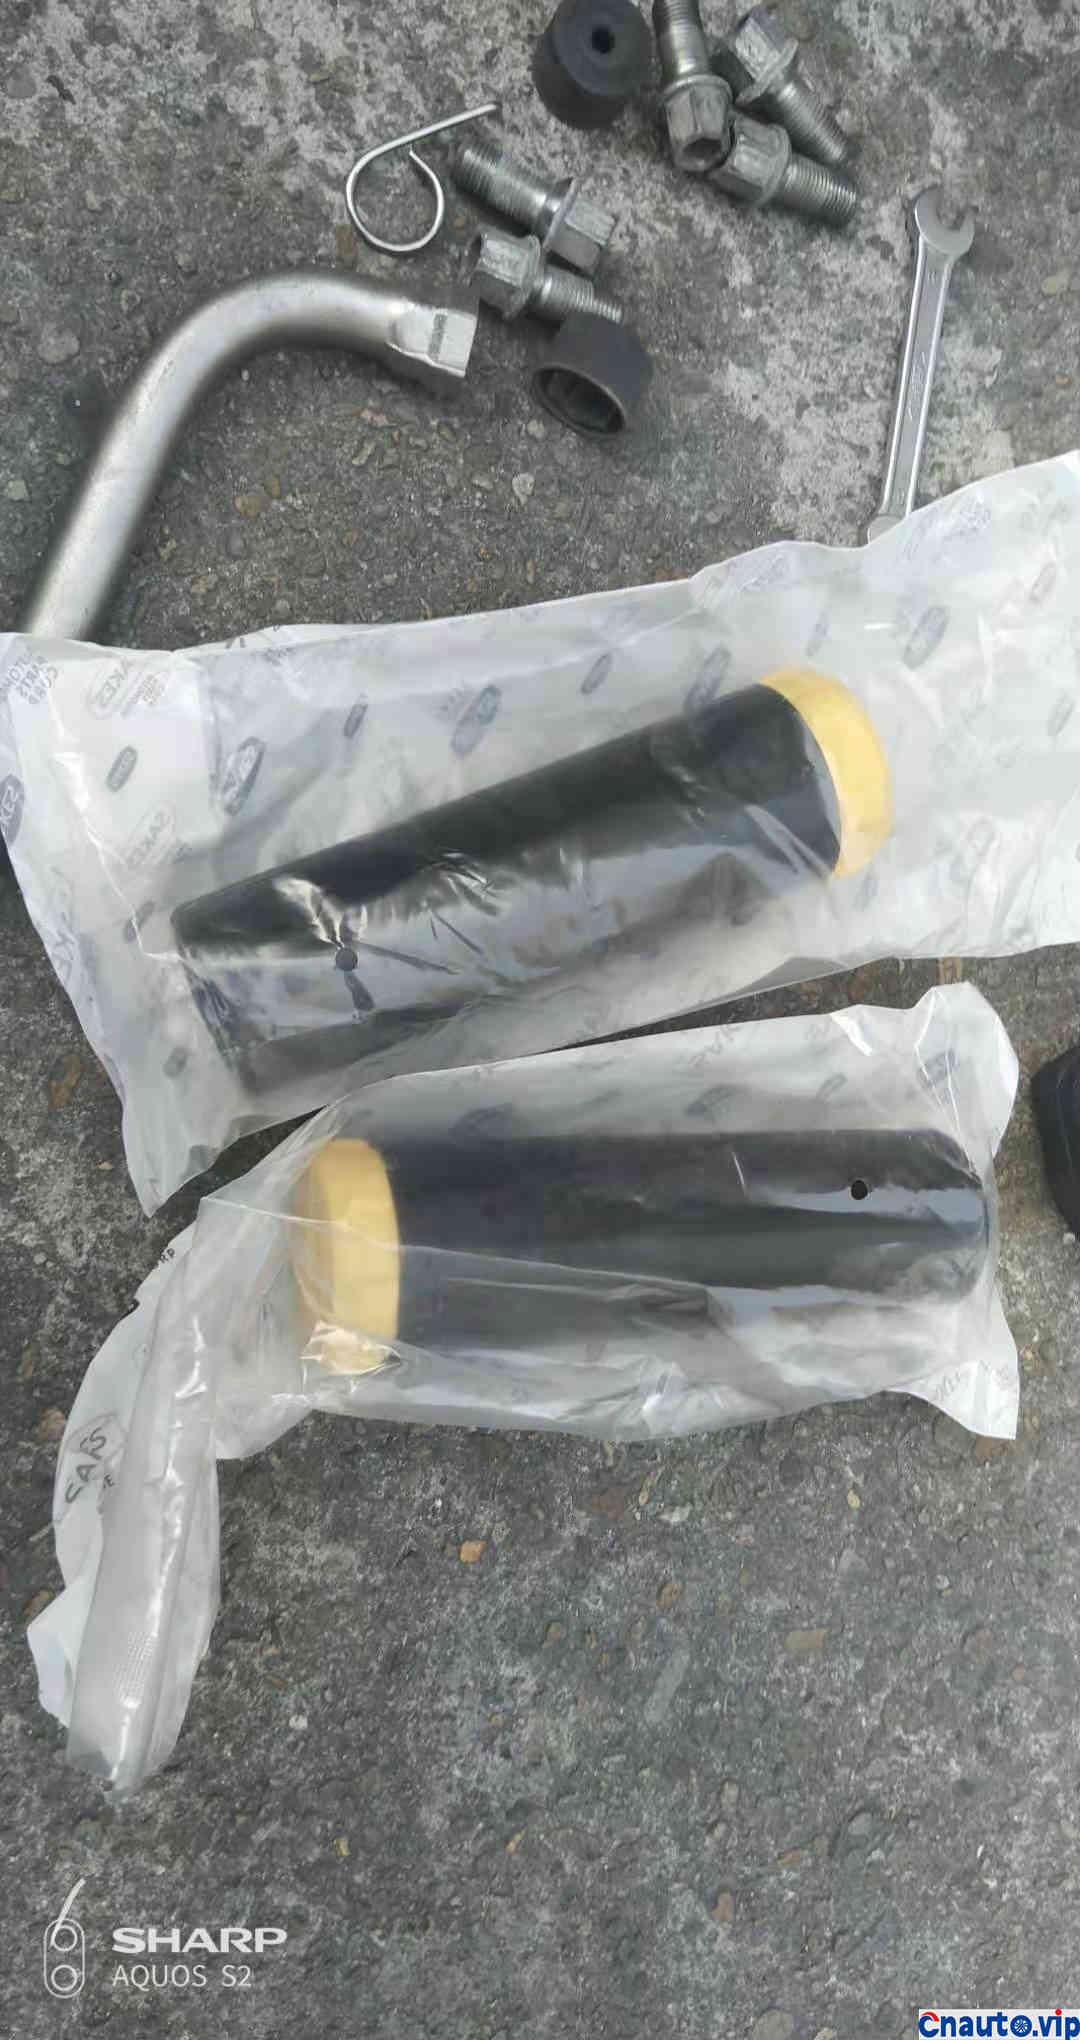
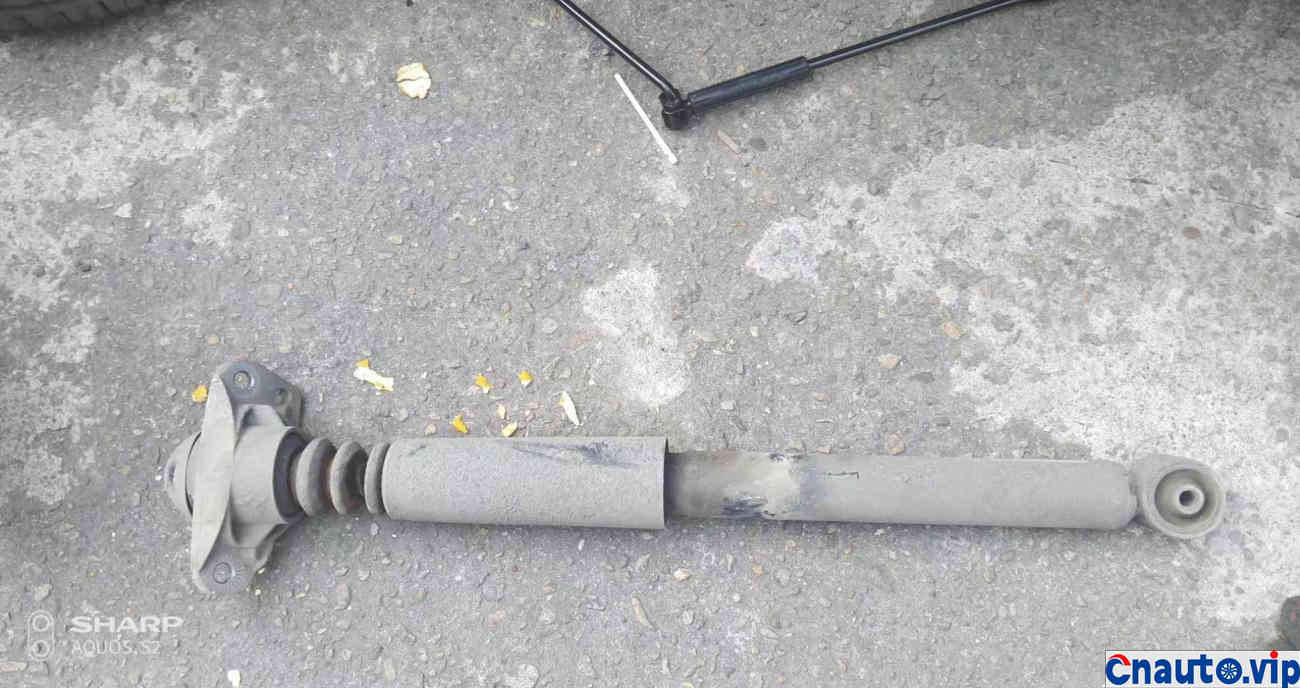
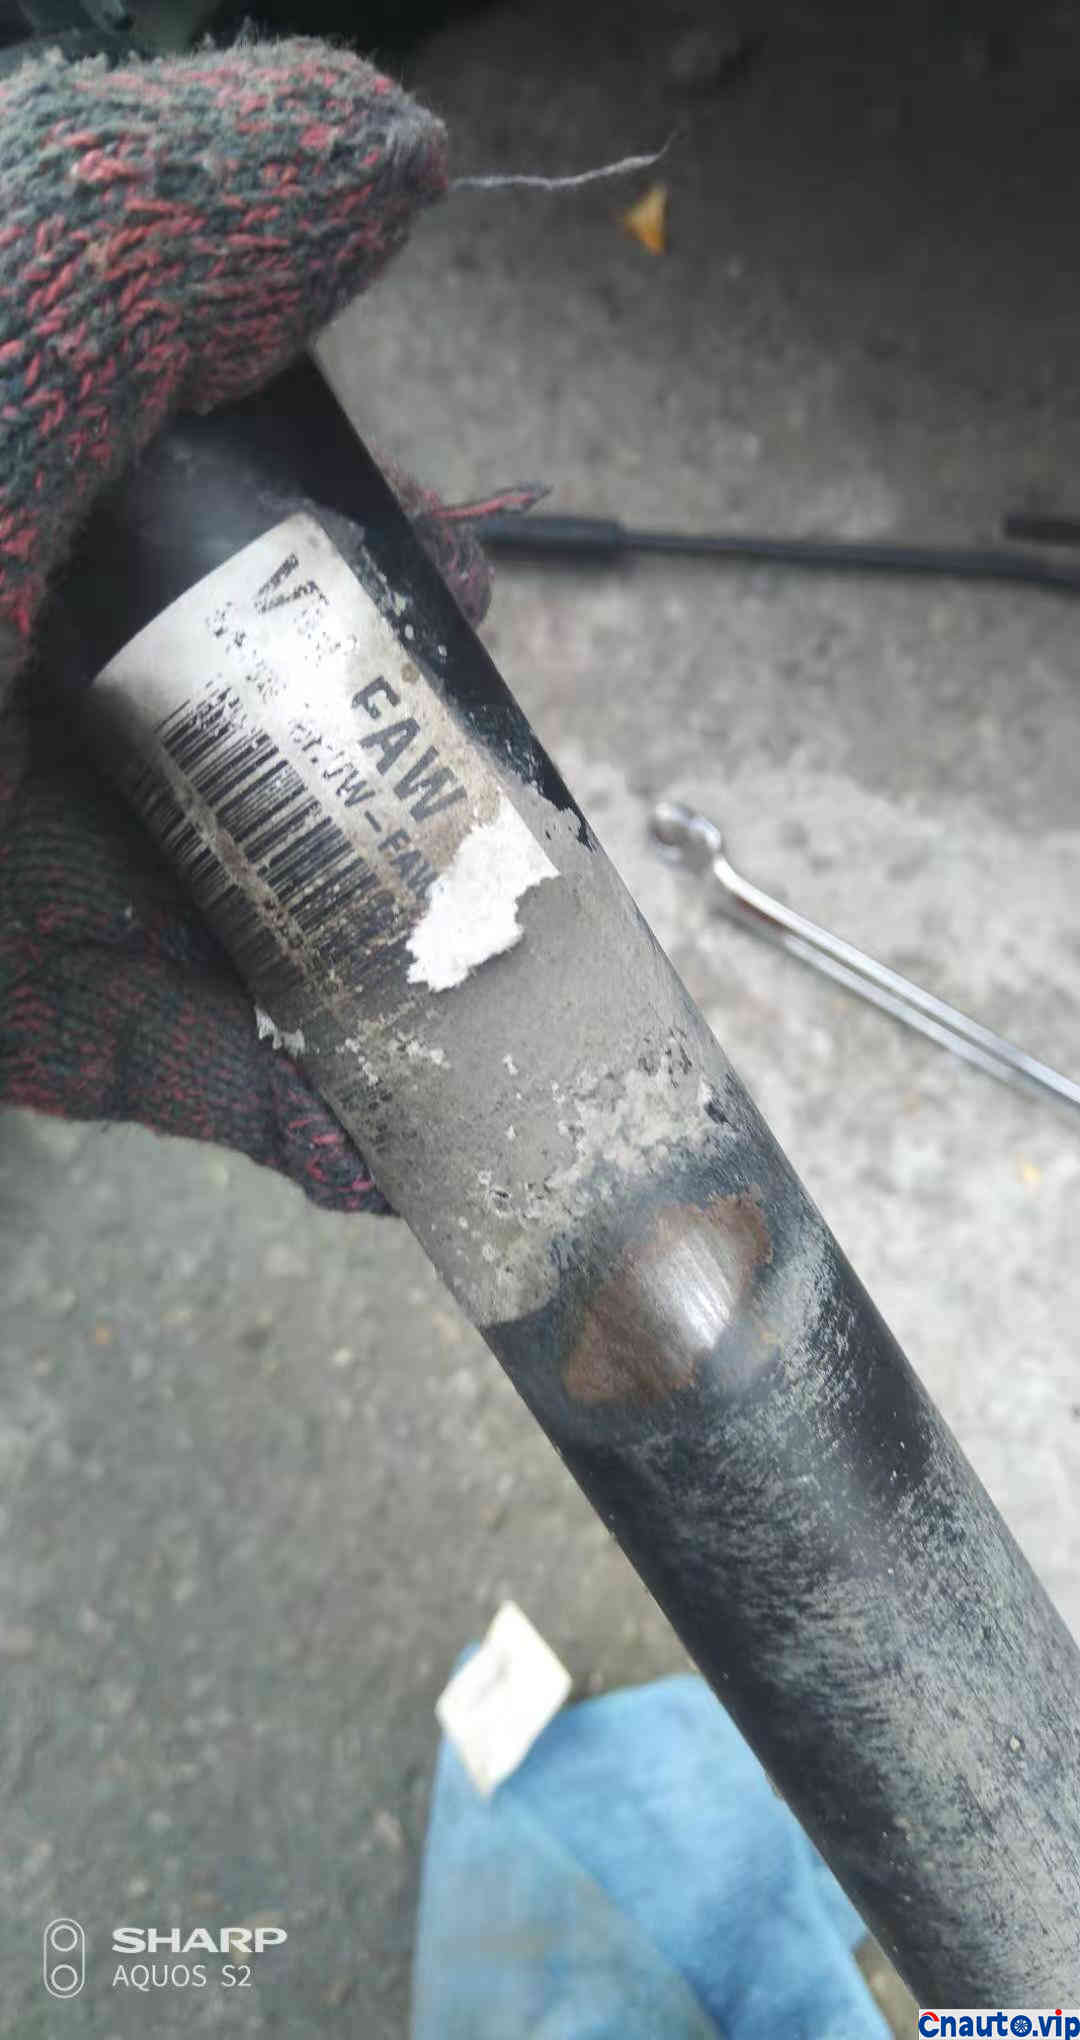
Last month, I purchased four Pirelli P7 tires online. After lifting, I found that the shock absorbers on both sides had slight oil stains. The two exposed rubber sleeves have aged and cracked and are almost separated. Therefore, the intention of replacement came into being.
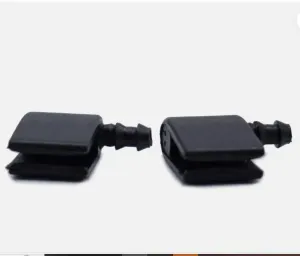
I bought a pair of domestic rubber sleeves made of original factory materials online. Another is that the use of beef tendons is not very good and options are excluded. The evaluation life of so-called imports is not long either. They would just make it a cheap 30 set.
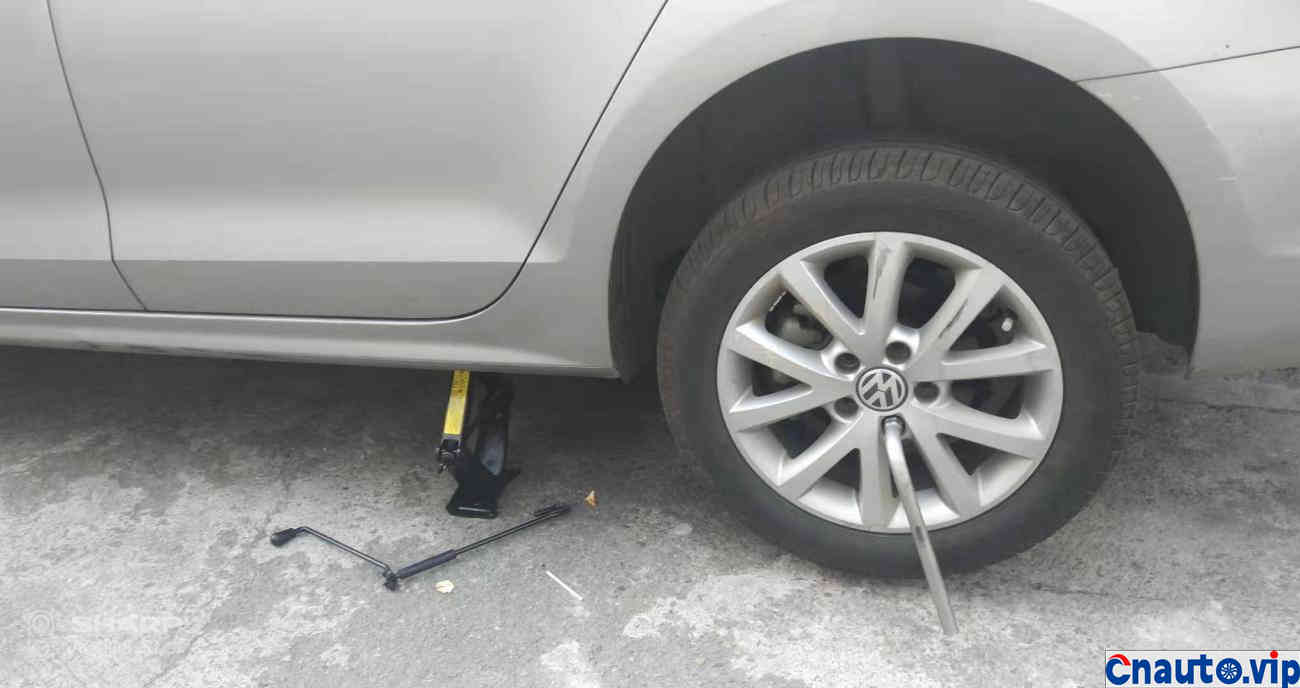
First, find a hard ground with less people and make it easier to use jacks. Loosen all bolts before fully lifting the left rear wheel.
Remove the tires under for protection. It is best to use a maintenance security bracket. I bought a pair and I’m still on the road, so I won’t wait.
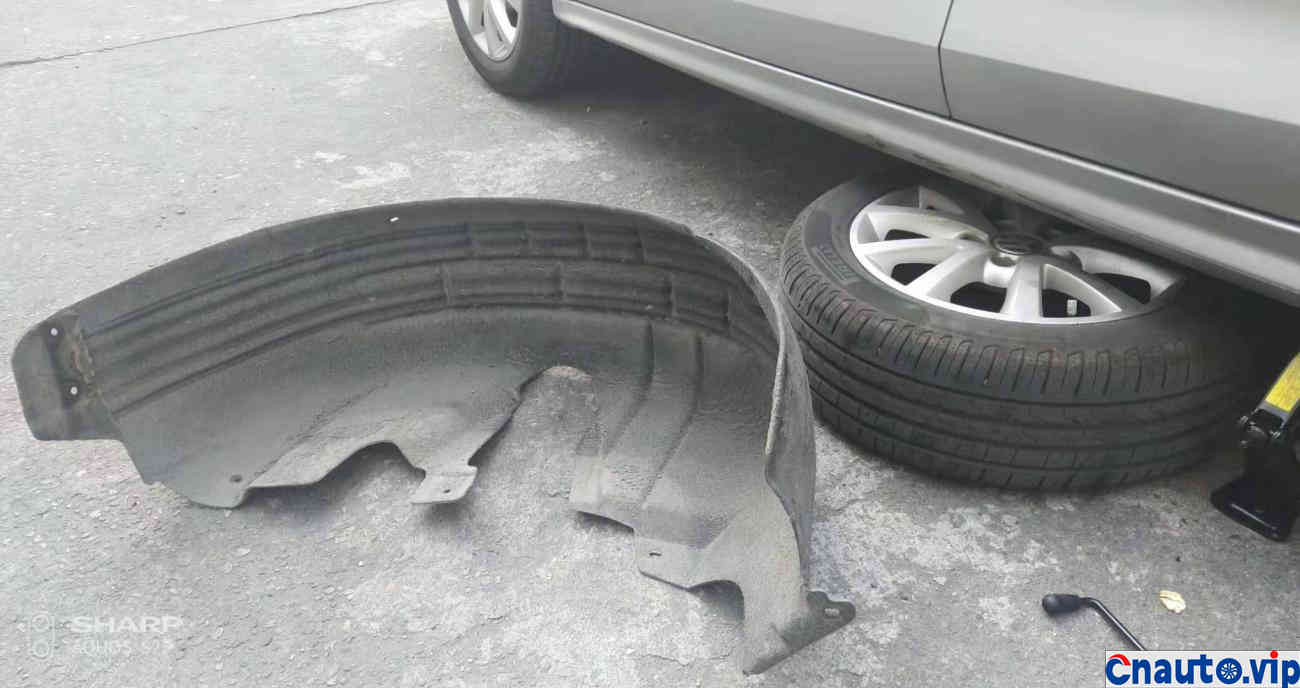
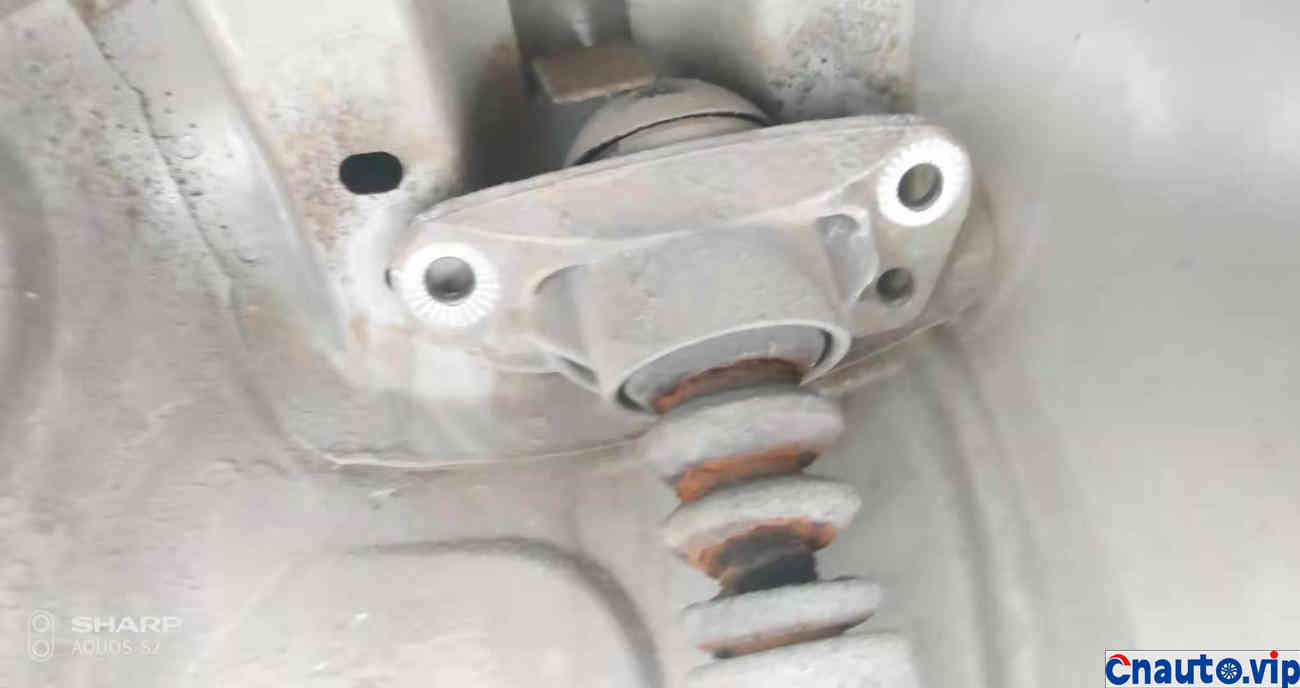
Remove the wheel housing with a T20 inner ring wrench. Use the 16 socket extension rod to unscrew the two bolts on the upper retainer of the shock absorber.
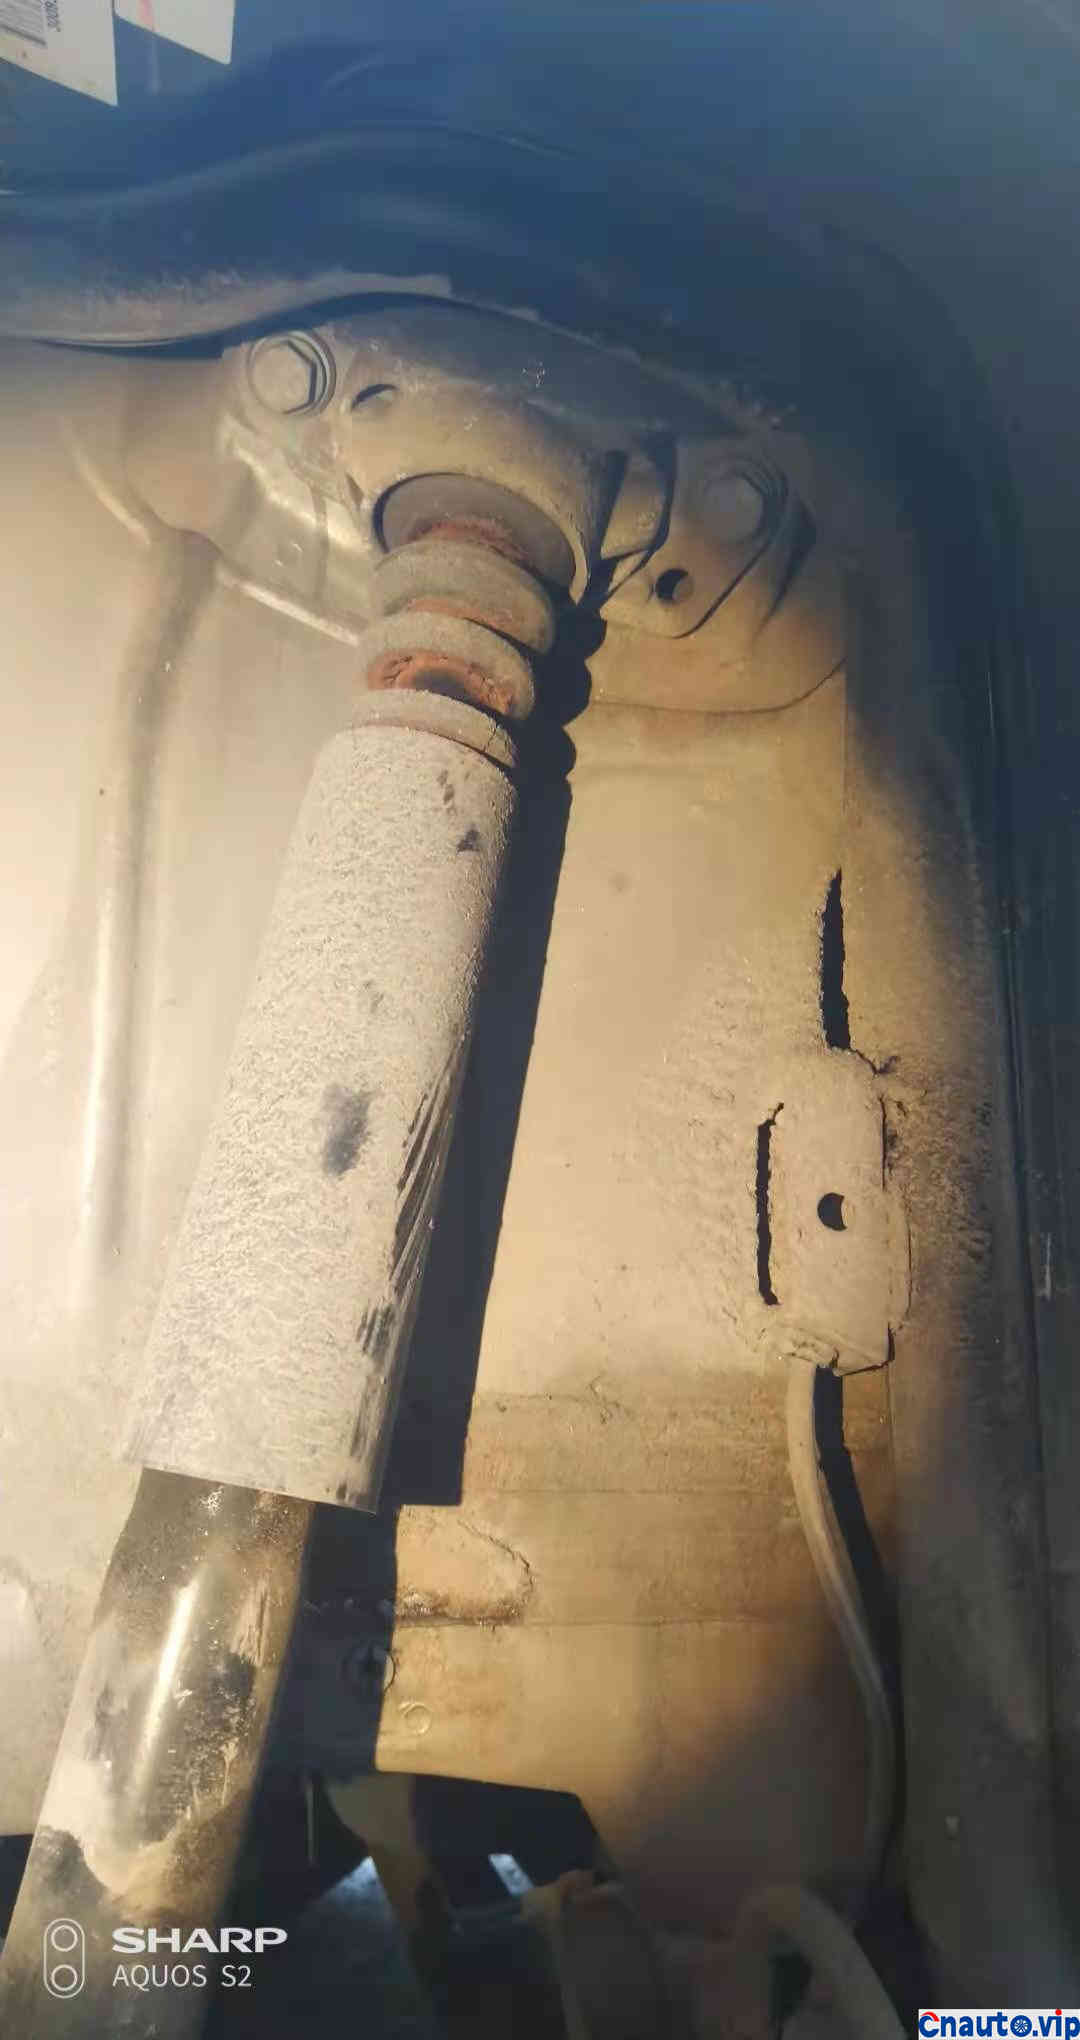
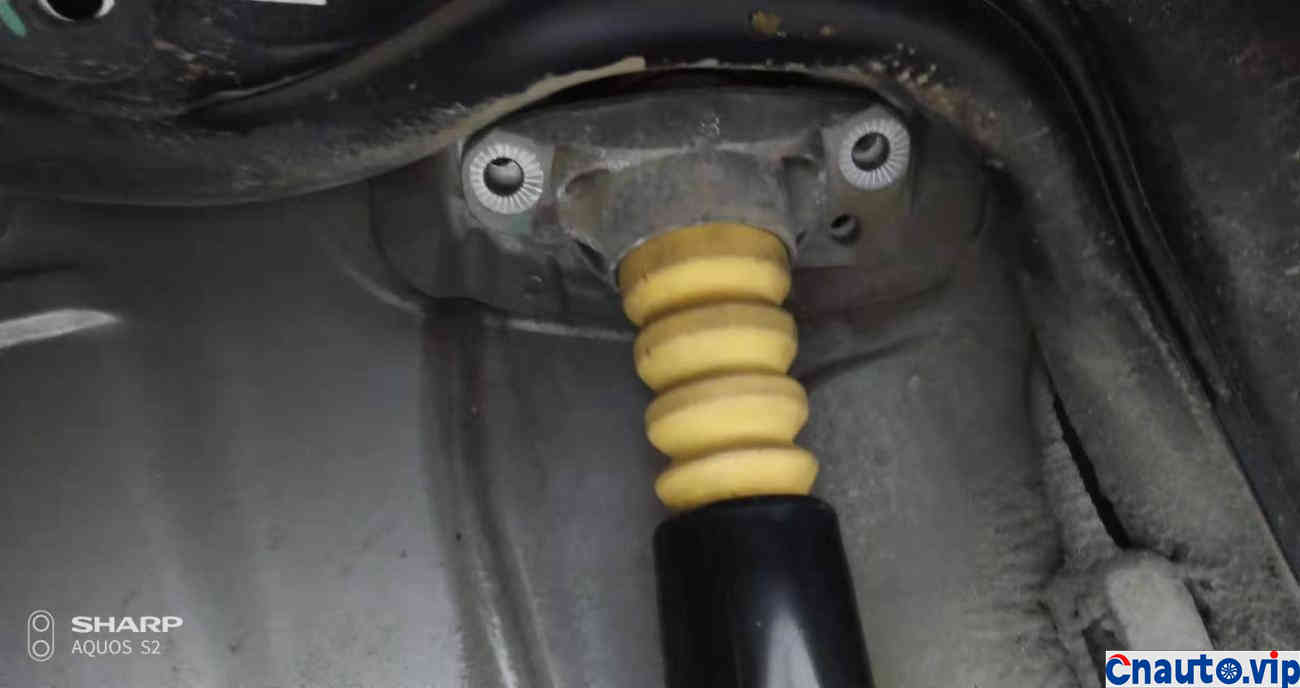
It is indeed aging beyond its shape.
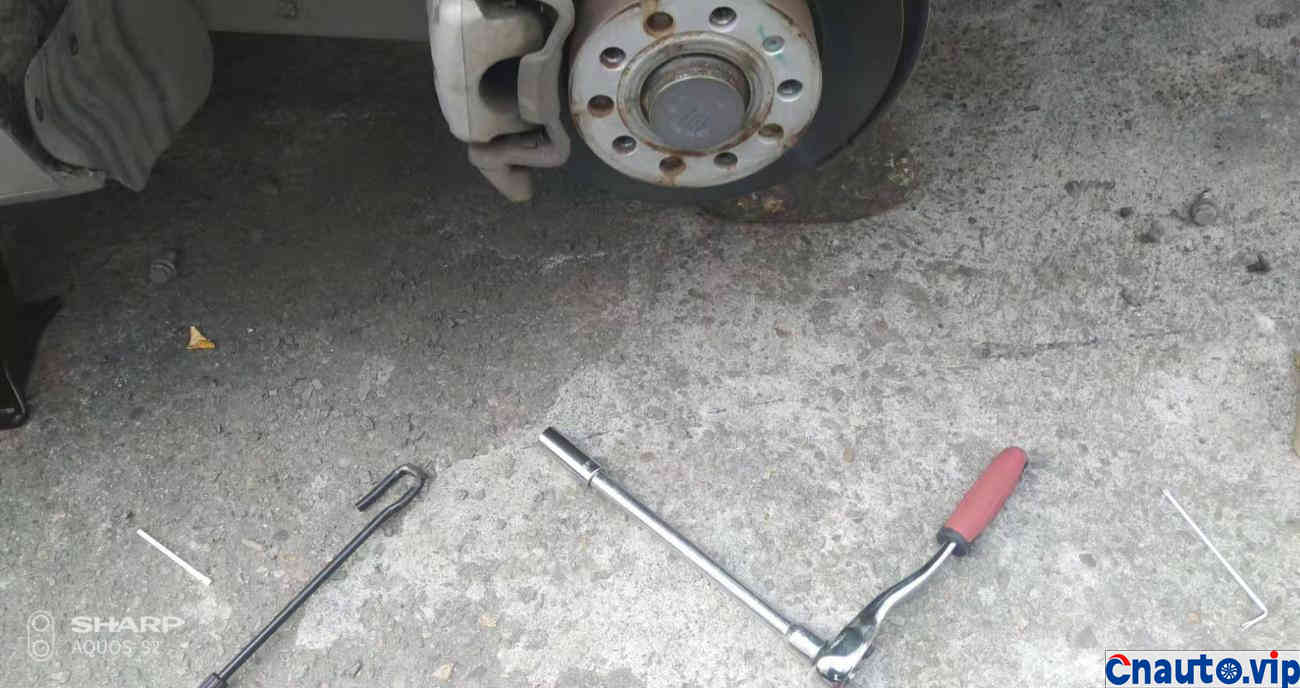
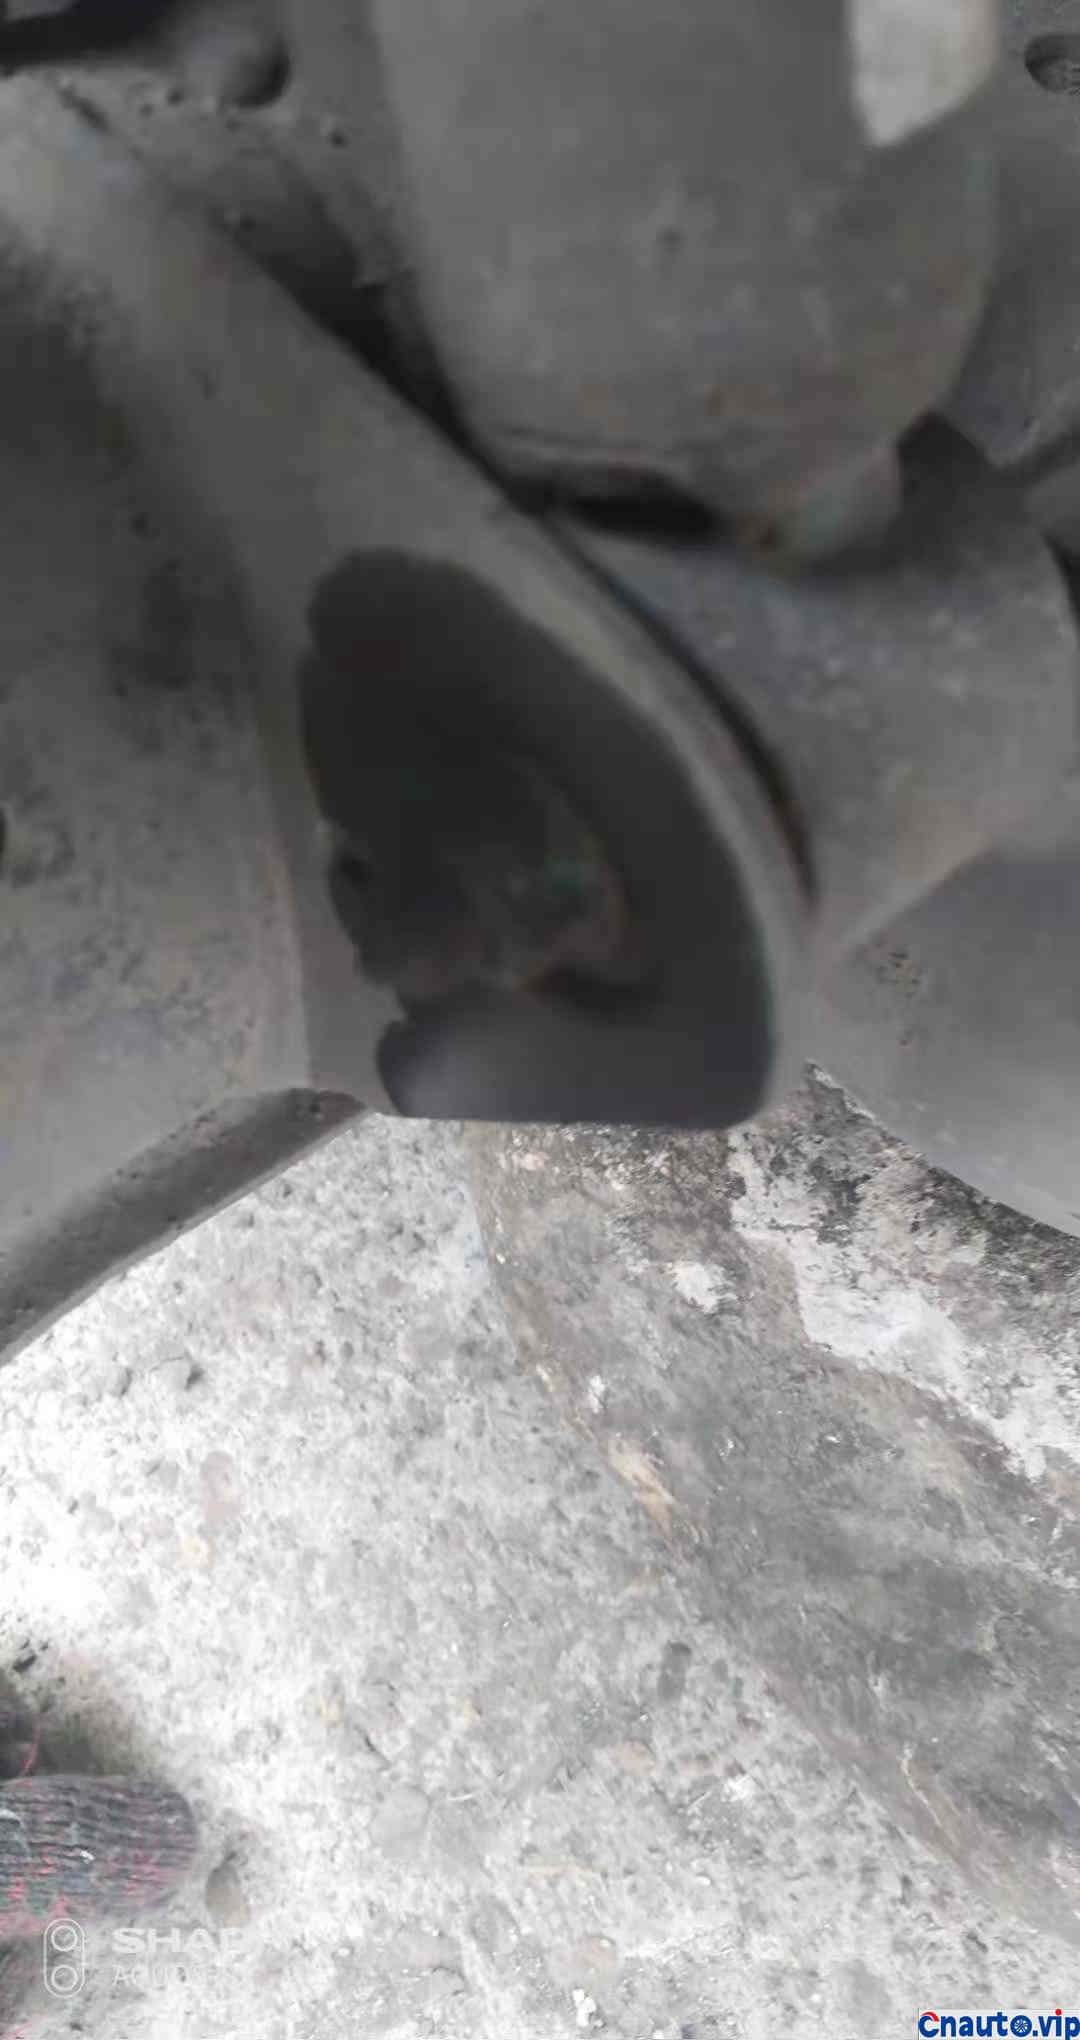
The fixing bolt at the lower end is easily eroded by mud and water. Click DW40 before tightening.
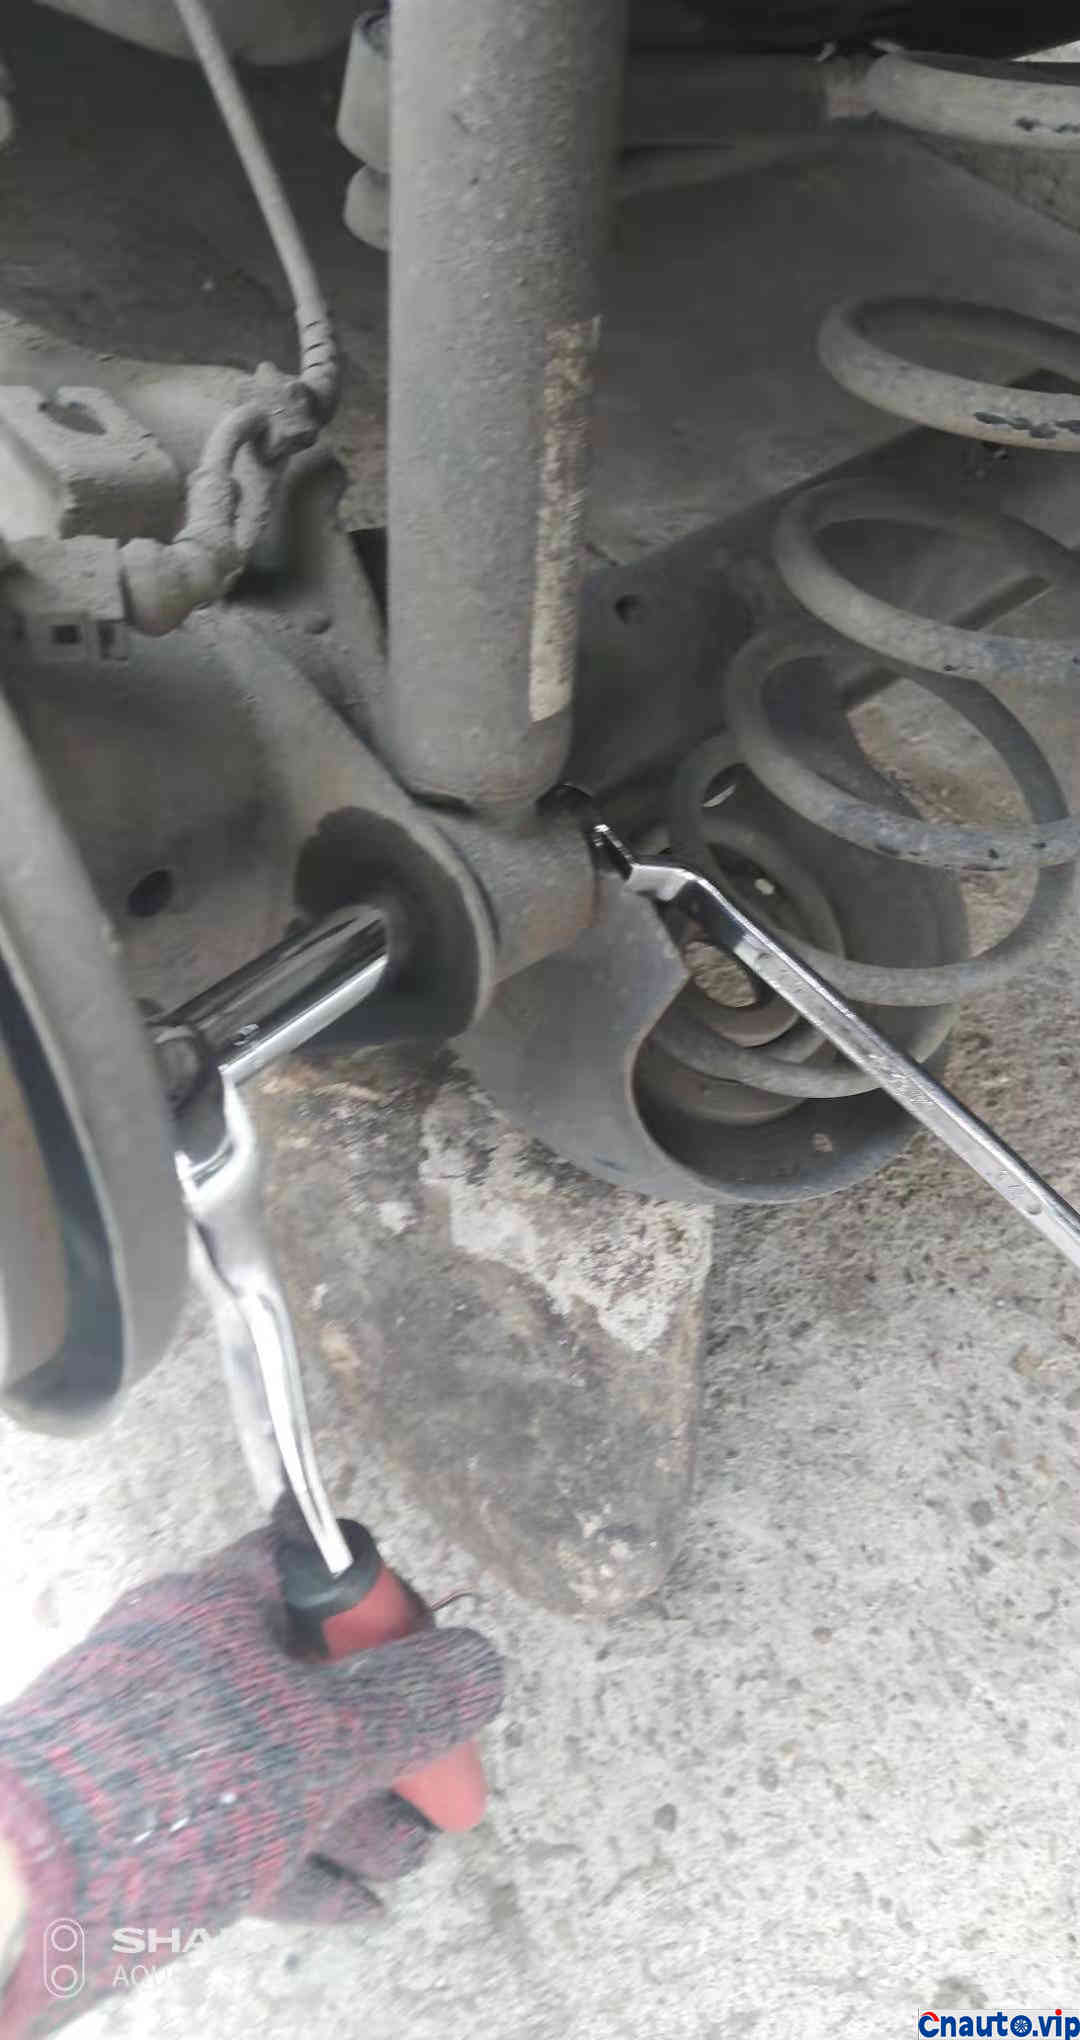
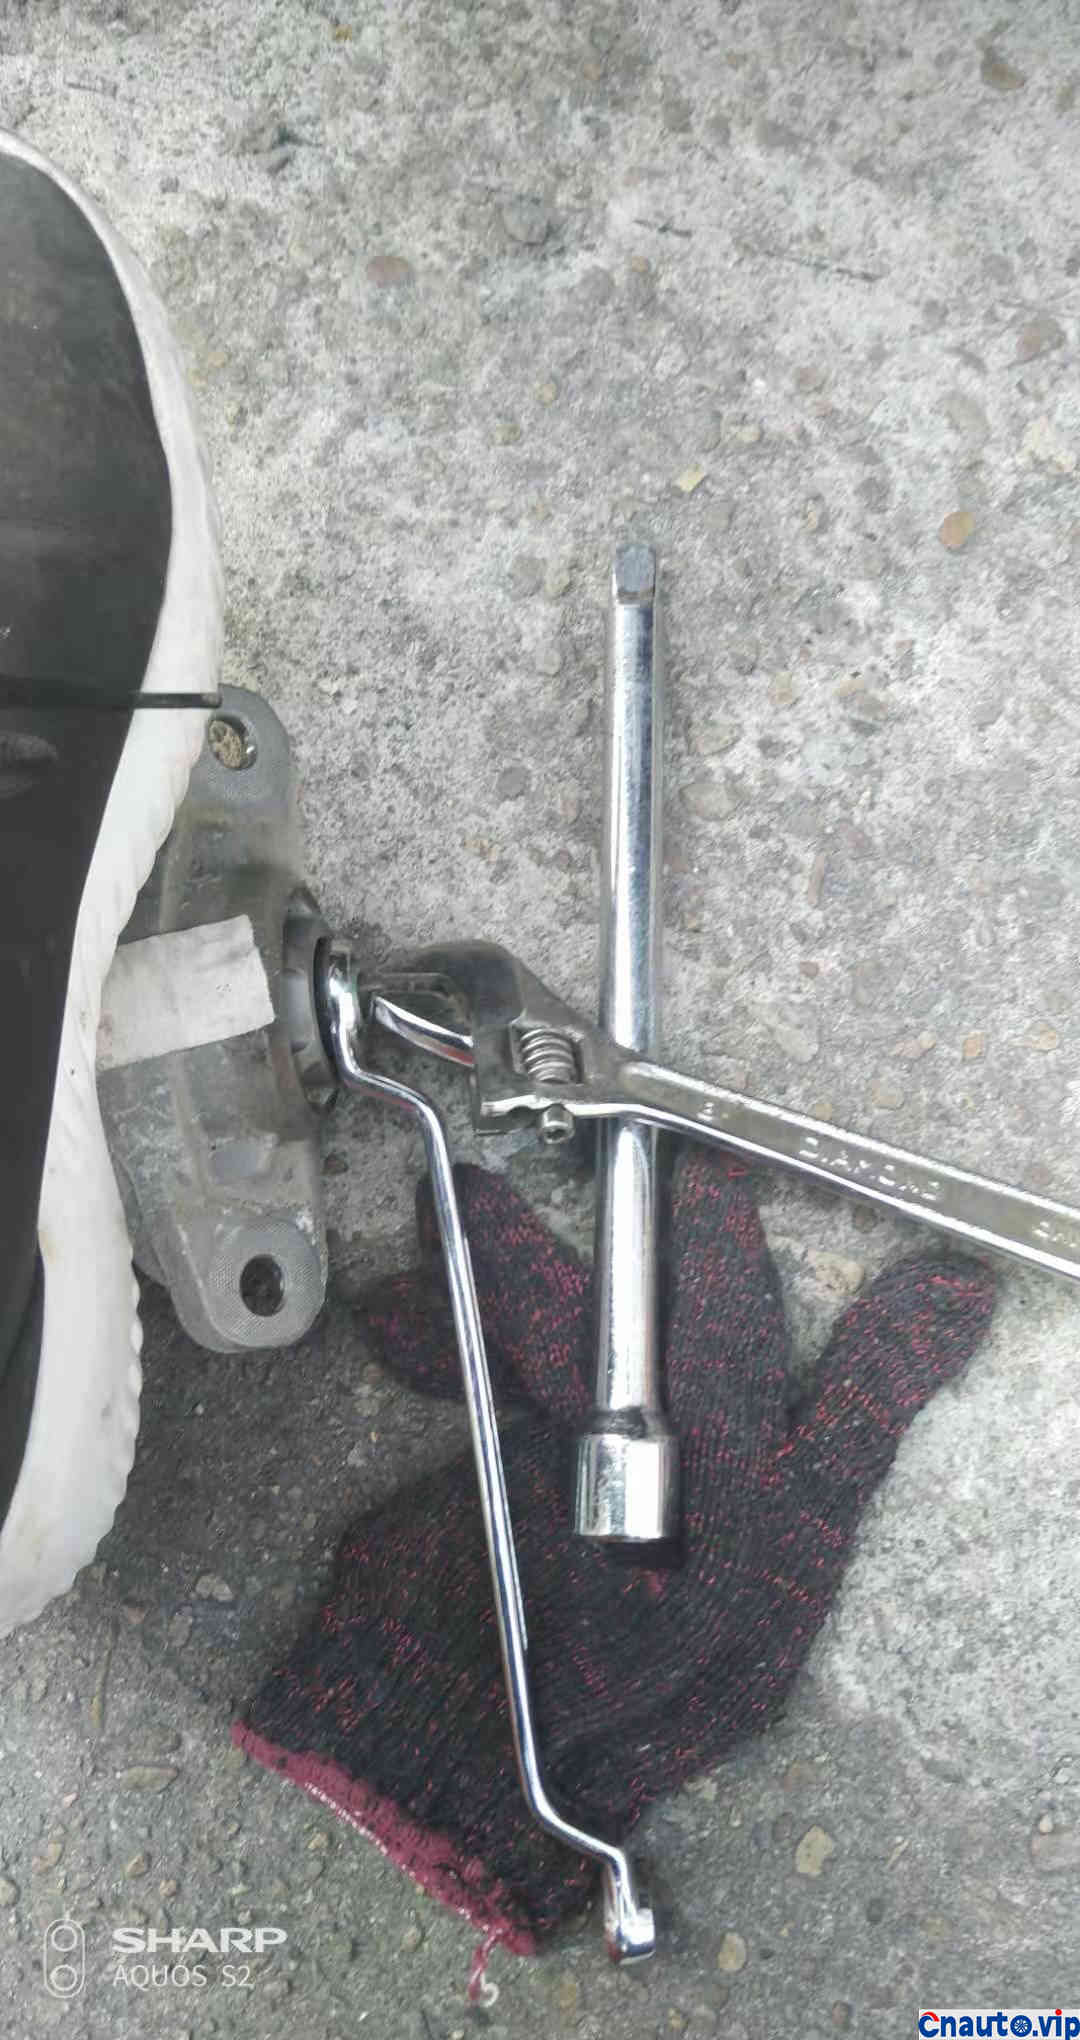
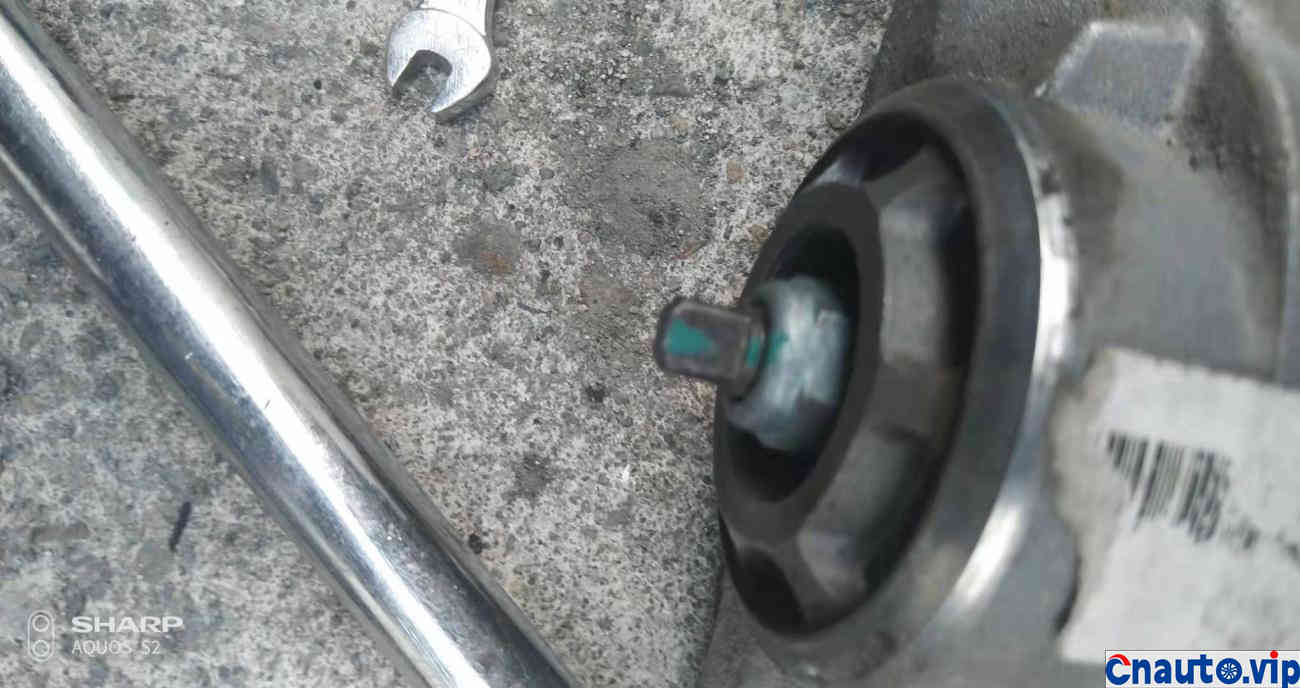
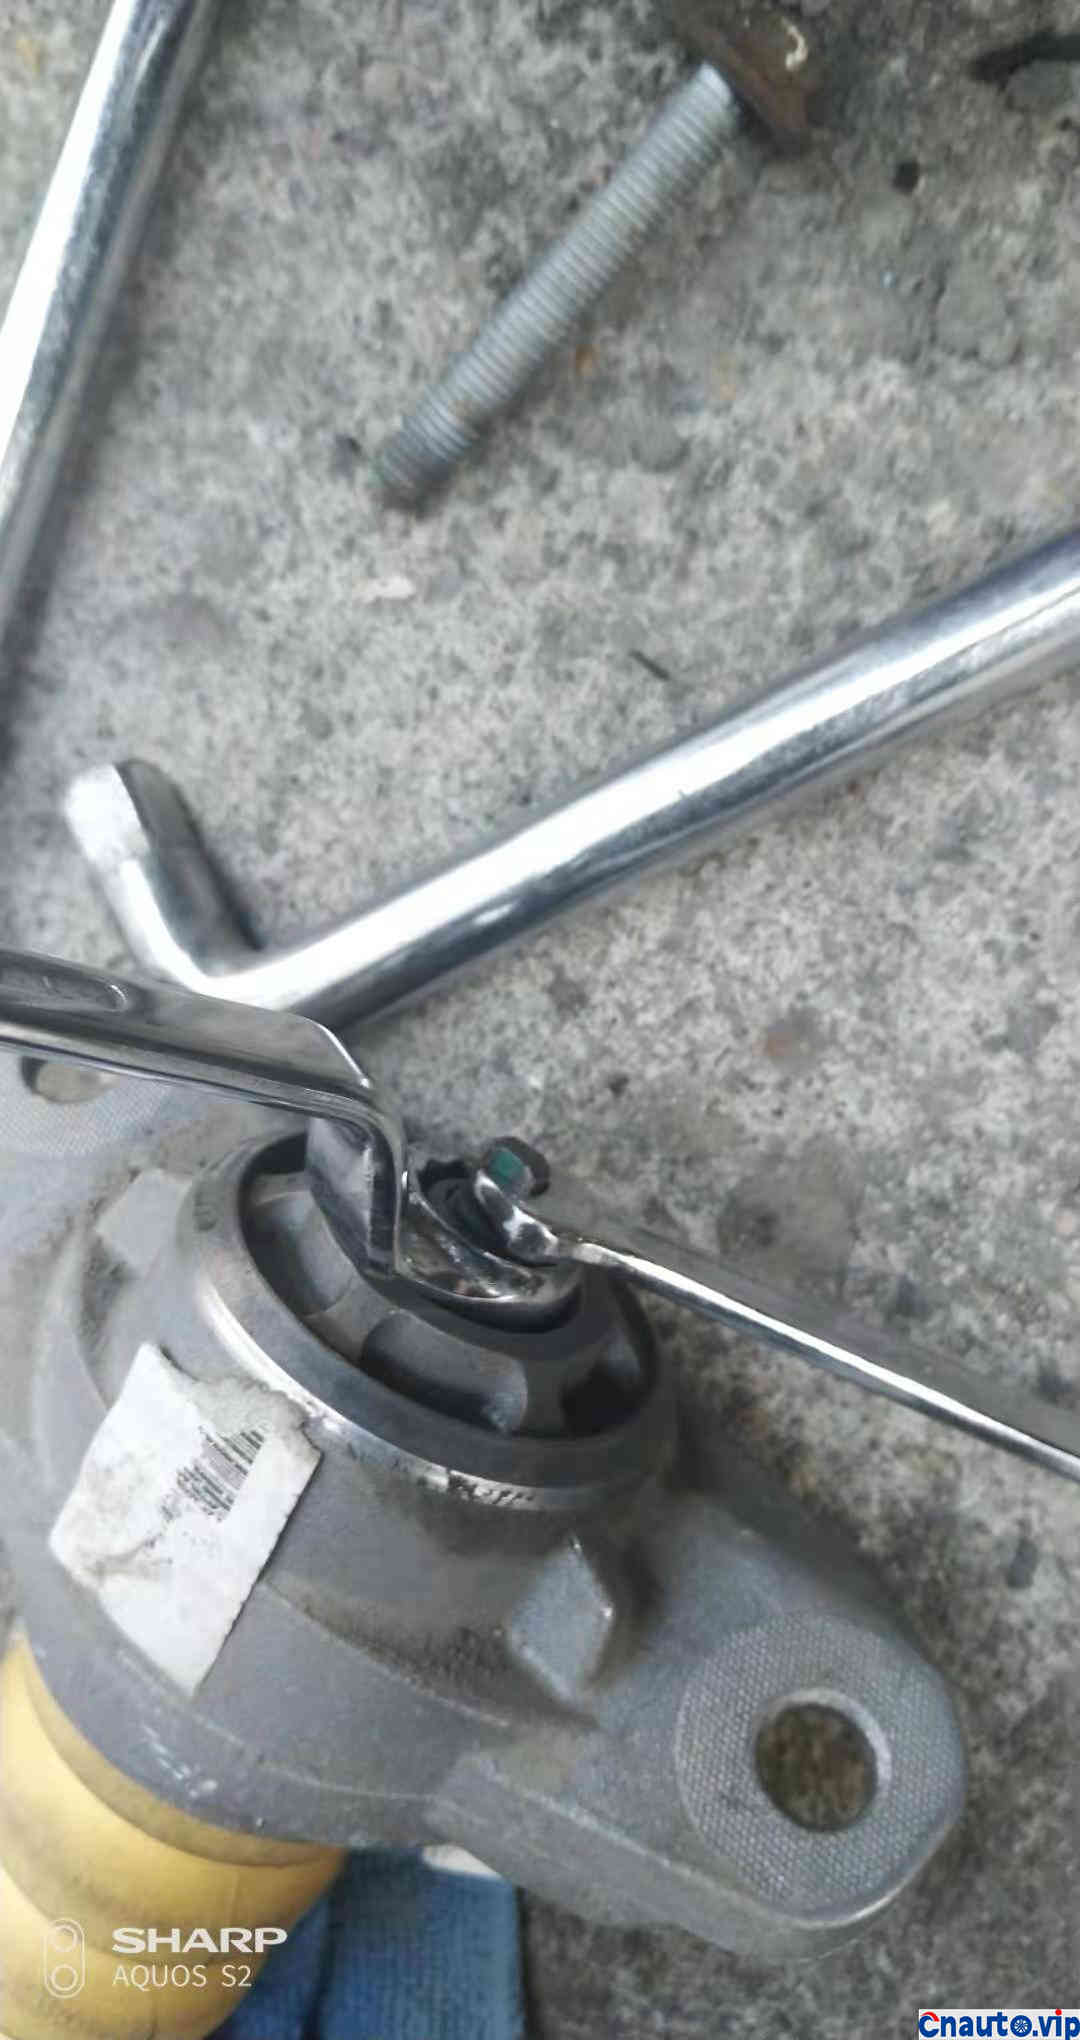
It is necessary to match both inner and outer wrenches to be 16 mm.
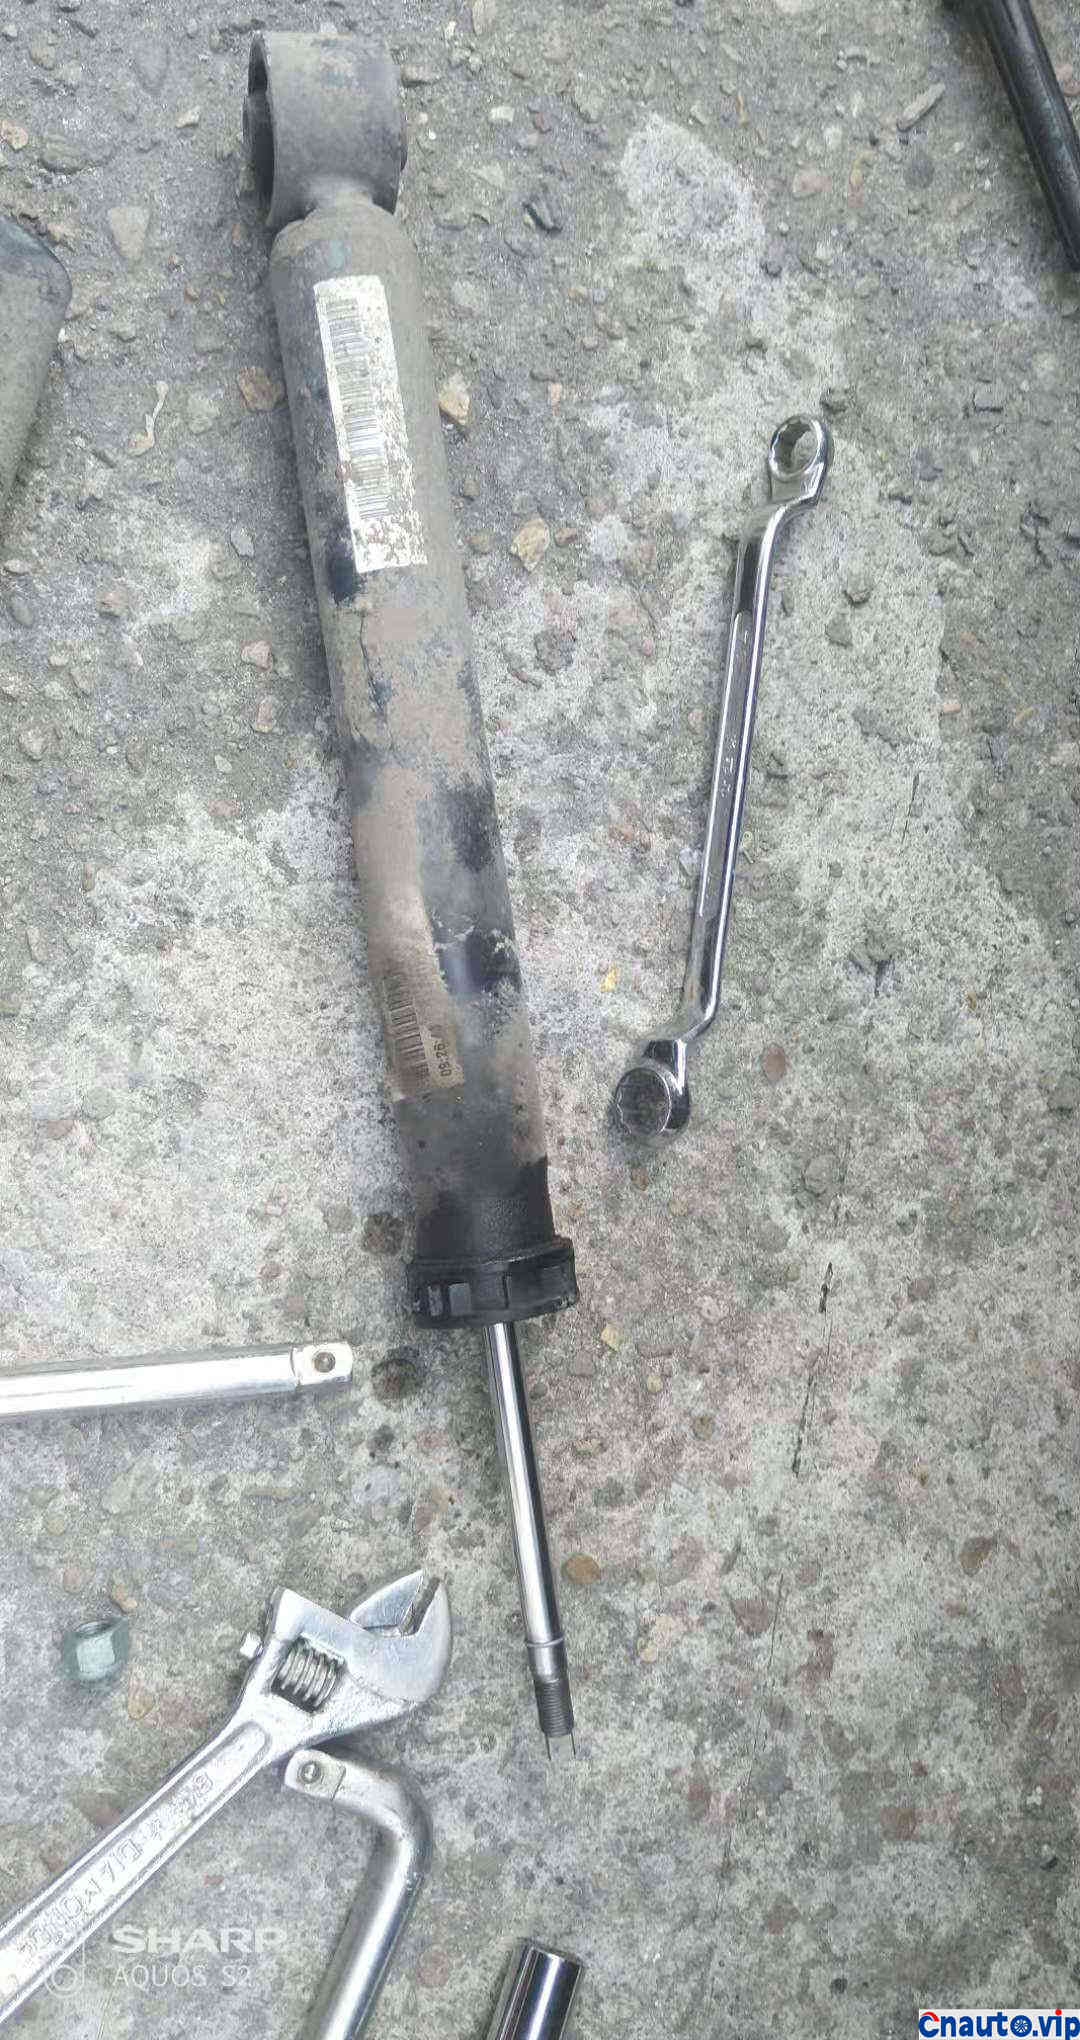
The shock absorber is coming down. The oil leakage is fine, and there are wear marks on the inside of the support spring.
Pry open the top dust cover, first loosen the nut with a 16 socket, and then use a 17mm ring wrench (a 17 wrench is easier to clamp the nut) to remove the shock absorber from the shock absorber base with a loose wrench.
The jacking shock absorber has damping and can be pushed out slowly, indicating that the shock absorber performs normally.
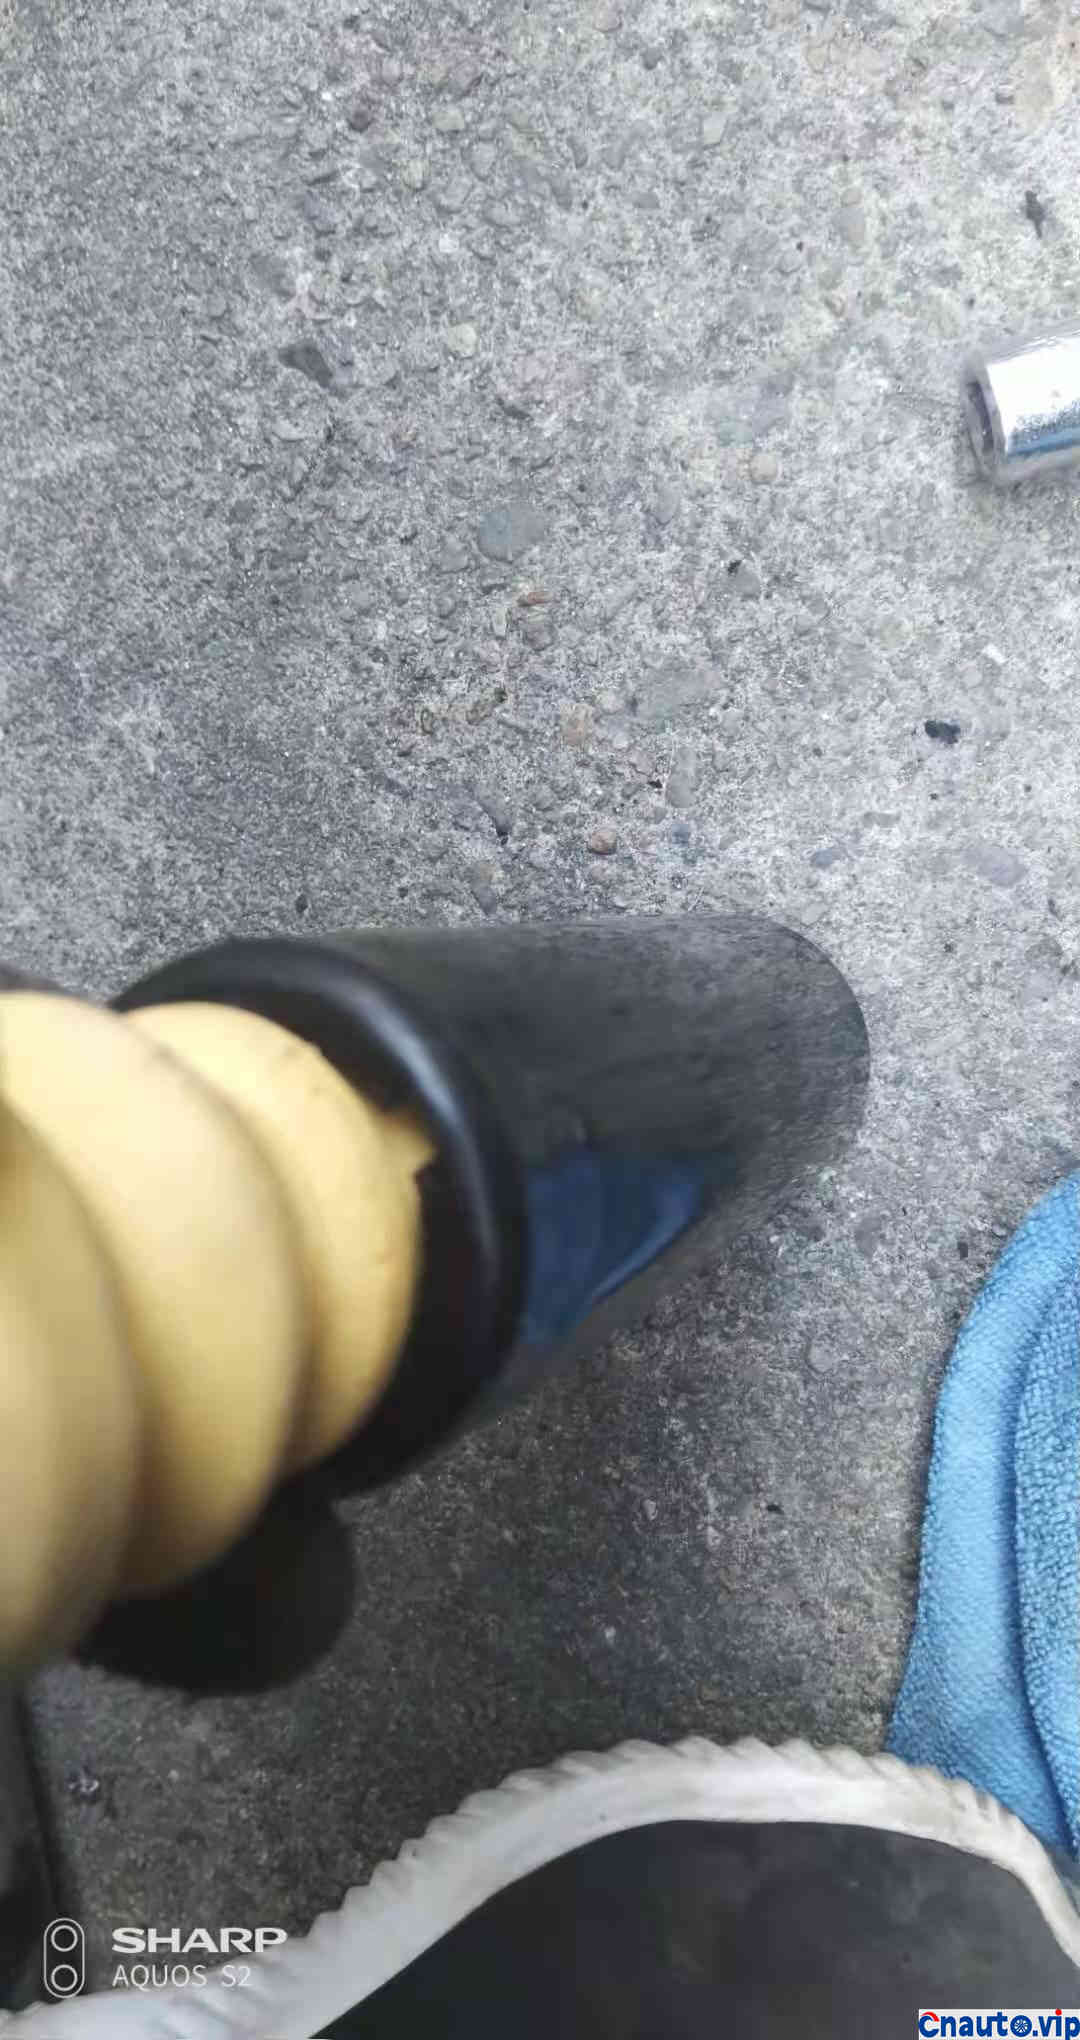
Use the side of a linear screwdriver to slowly press in the buffer glue from the gap in the dust sleeve.
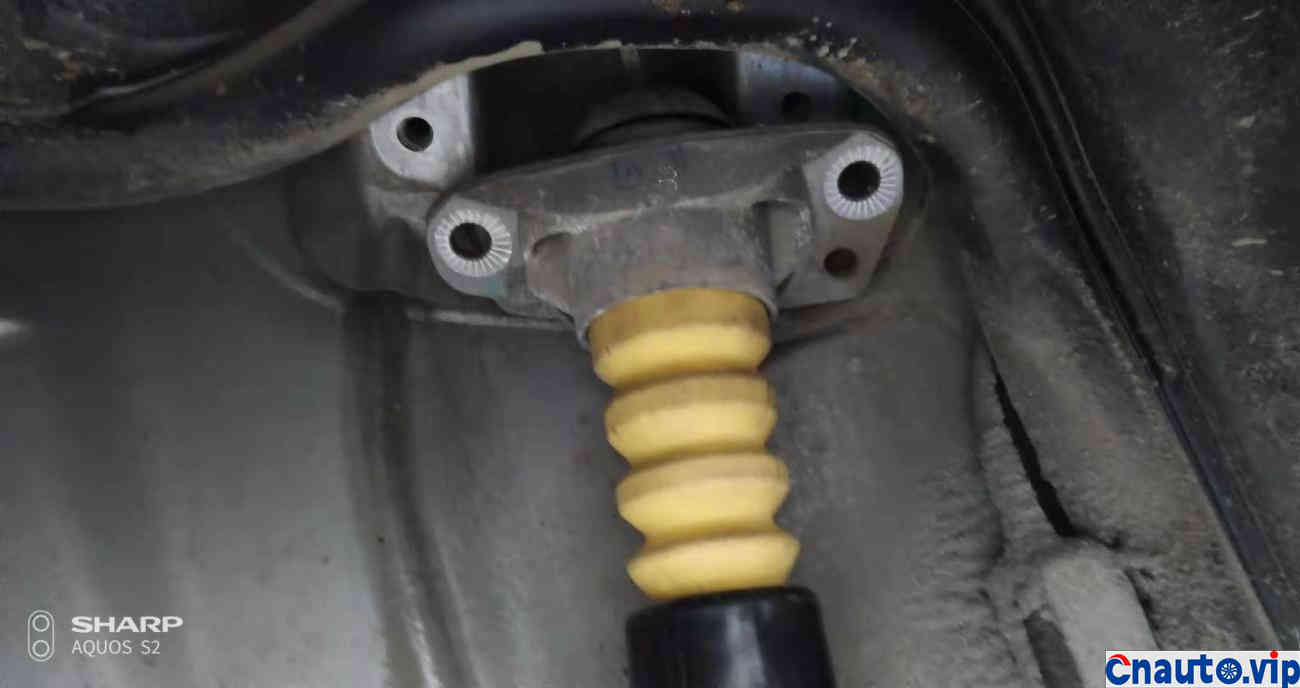
Install new buffer rubber into the shock absorber seat and fix it. The bolt position can be observed and the original positioning paint marks are aligned.
Install the bolts of the shock absorber and the chassis first. The distance between the shock absorber seat and the original screw hole needs to be adjusted with something to hold the suspension and then lower the body.
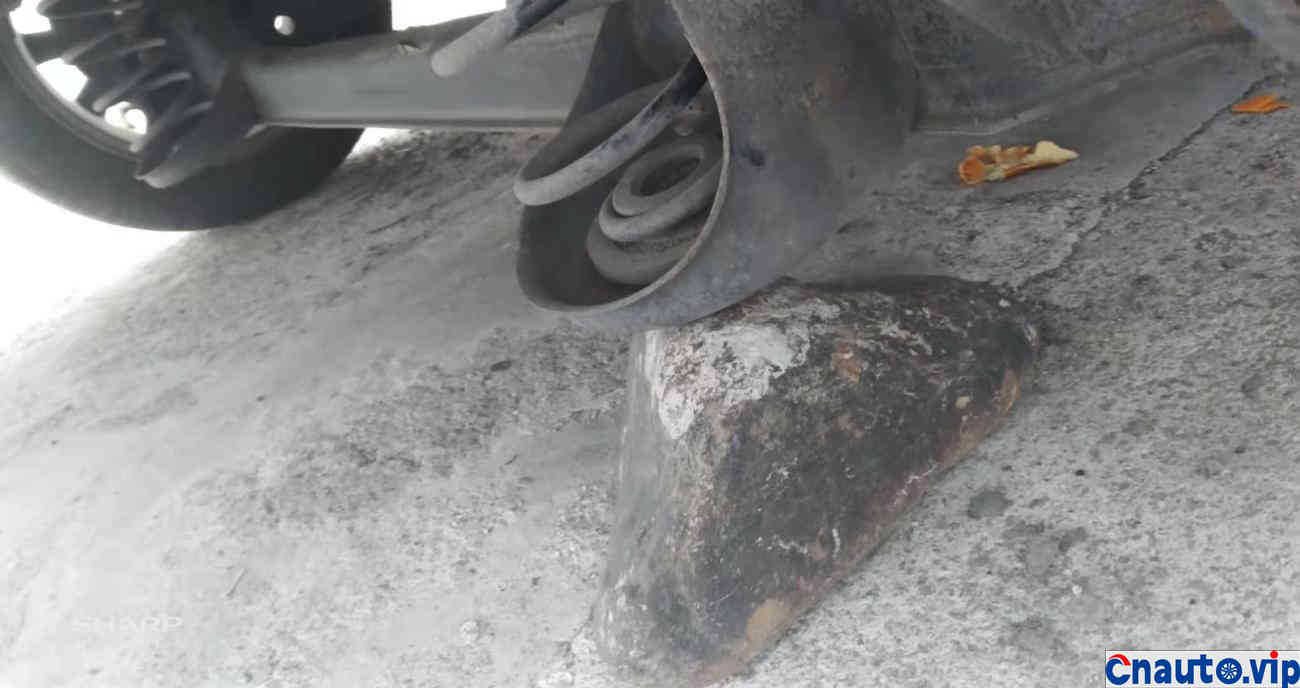
I found a nearby big stone above my head.
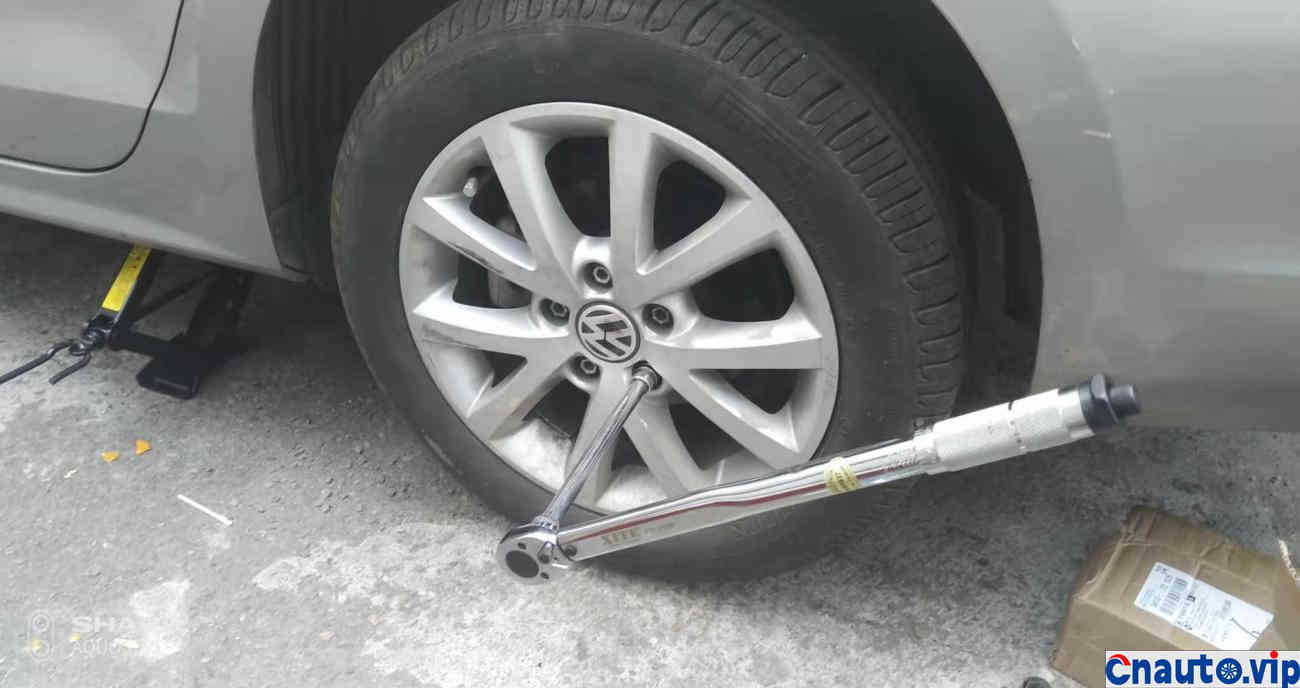
Install it back in the reverse order, finally install the tire and land on the ground, tighten it with a torque wrench.
Changing this is actually not complicated, it just takes a little effort to tighten the screws. Next time, it’s time to find time to change brake fluid. Pressing on the brakes is obviously not as strong as before.


 April 1, 2024