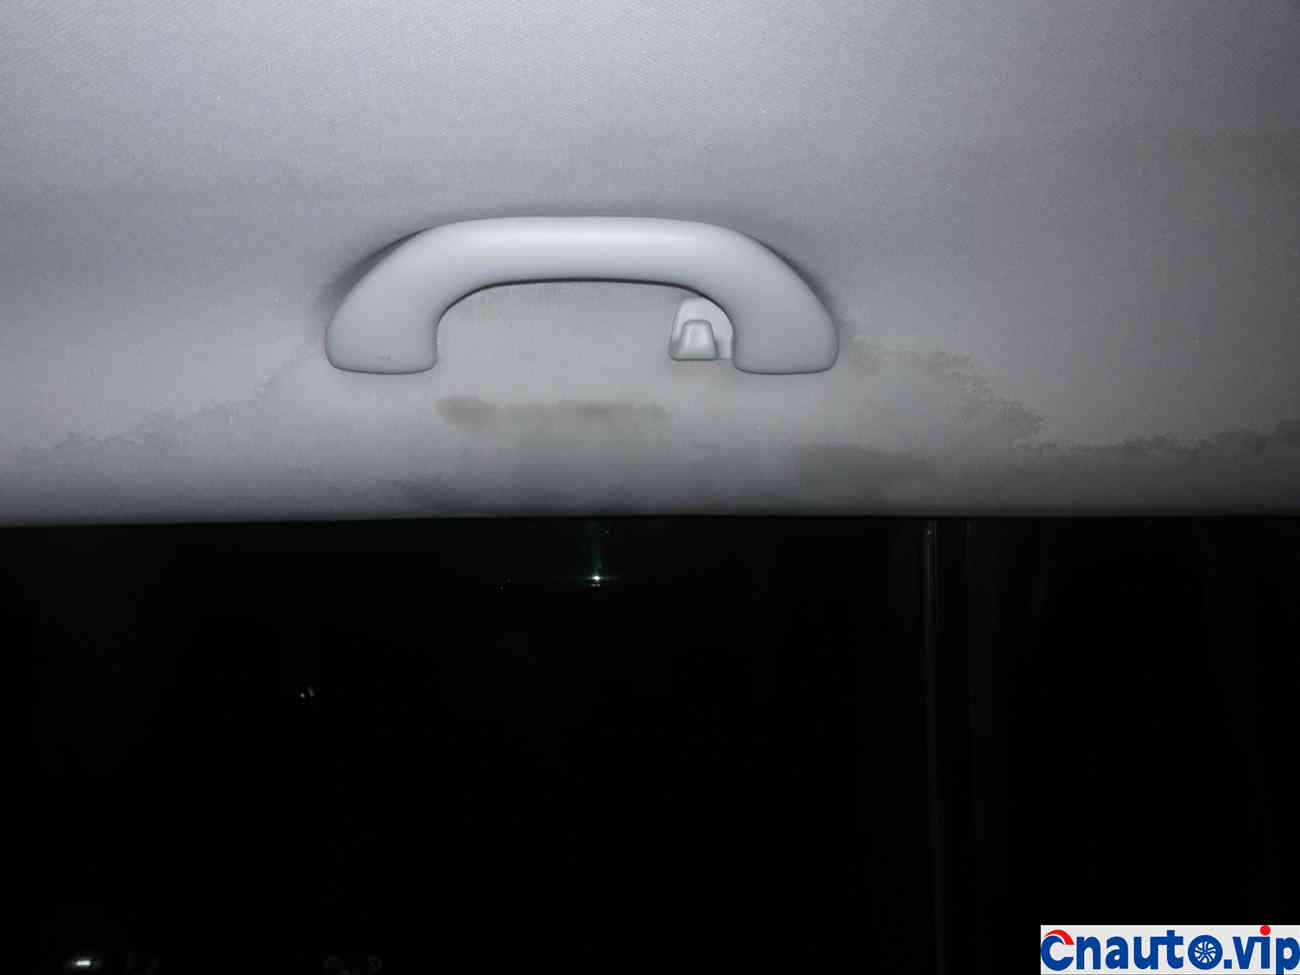
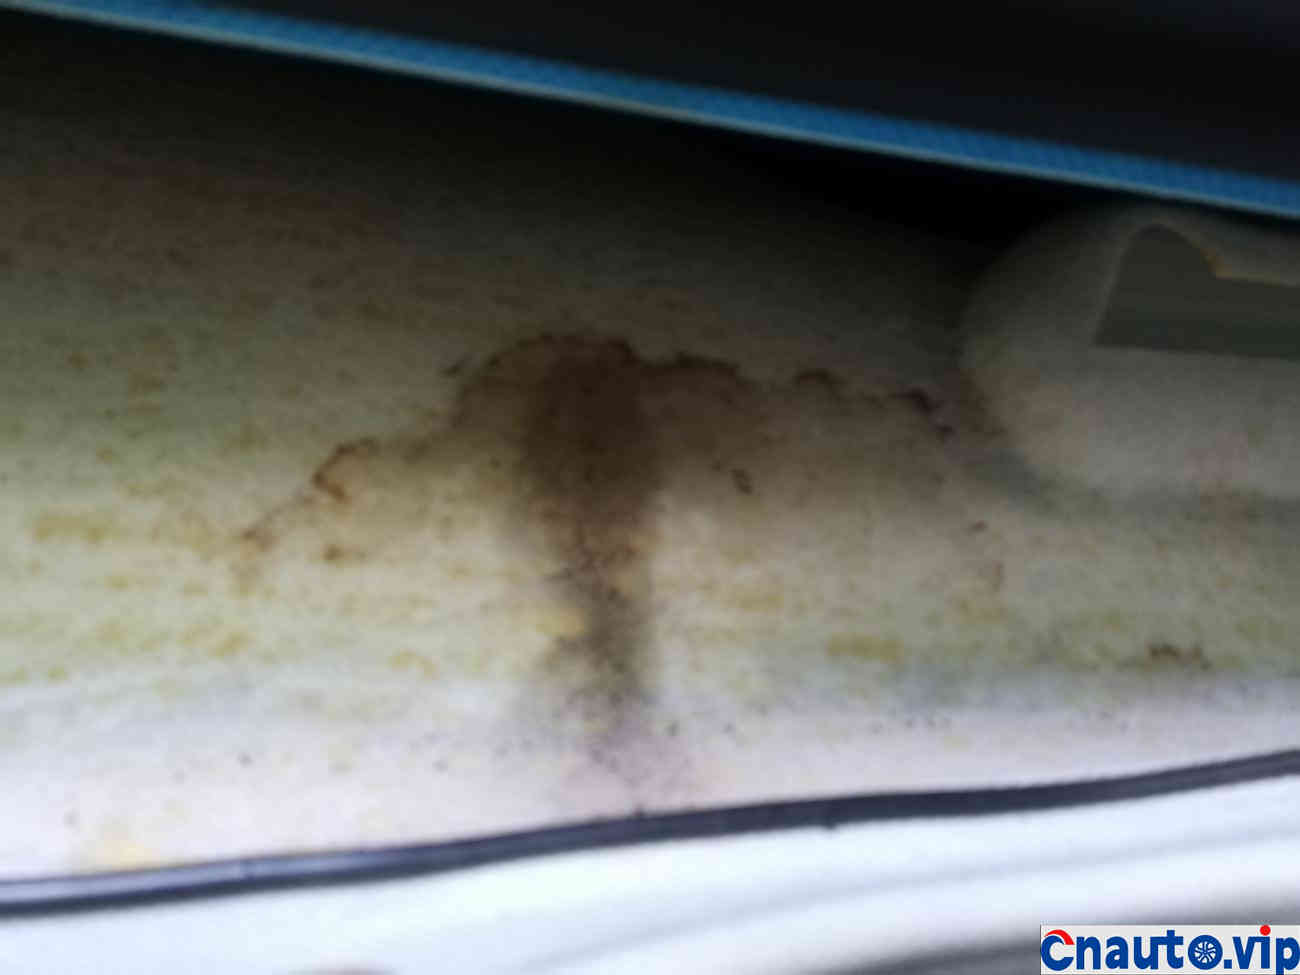
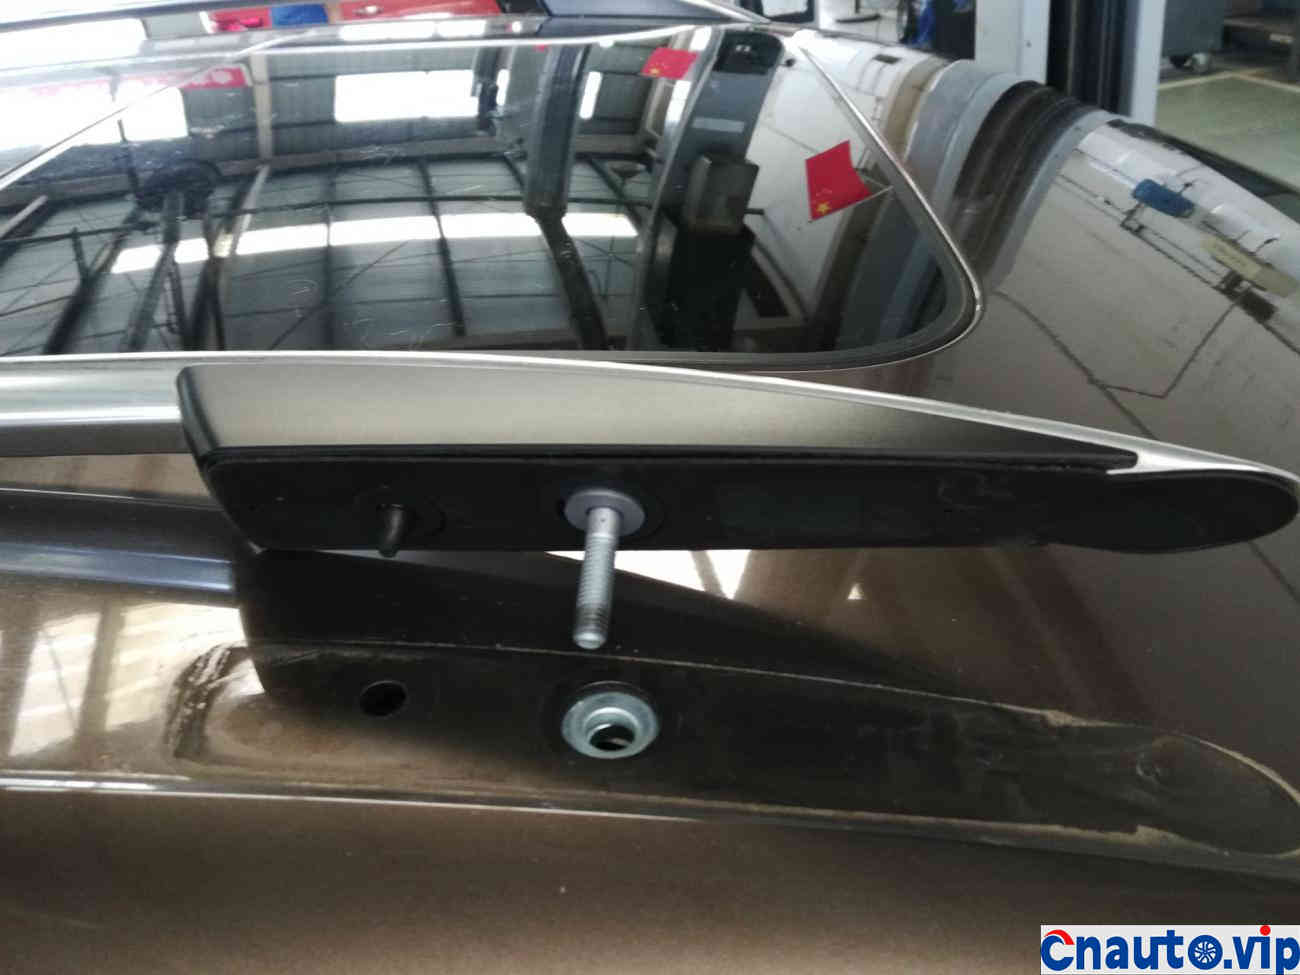
The autumn rain is continuous, and I am worried about autumn, just for the leakage of rain. Suddenly one day, I found that the roof handle on the right side of the rear seat was soaked in a large area. Judging from the traces, it had leaked from rain more than once. I didn’t pay much attention to this position, but when I discovered it, I was really shocked! We must deal with it quickly! It’s hard to tell whether this is caused by the skylight leakage or the luggage rack feet! After a careful investigation online, I initially determined that this was a rain leak caused by the sealing of the luggage rack feet. The legs at both ends of the Tour ‘an roof rack have sealant pads, but the middle leg does not have sealant pads but is sponge pads. Over time, rain leaks will be inevitable.

To replace and install the middle leg sealing gasket of the luggage rack, remove the luggage rack. It is not difficult to remove the luggage rack, but the trouble lies in removing the interior roof of the car. This amount of work is still a bit large! To remove the roof, you have to remove the A-pillar and B-pillar upper trim panels, remove the C-pillar and D-pillar trim panels, remove the roof handle, and remove the car top strip. The whole process is still quite complicated! Of course, you can also choose to apply sealant directly around the roof rack feet, which is relatively simple and easy. Considering the long-term nature, I still chose to remove the luggage rack and replace it with a foot sealing rubber pad.
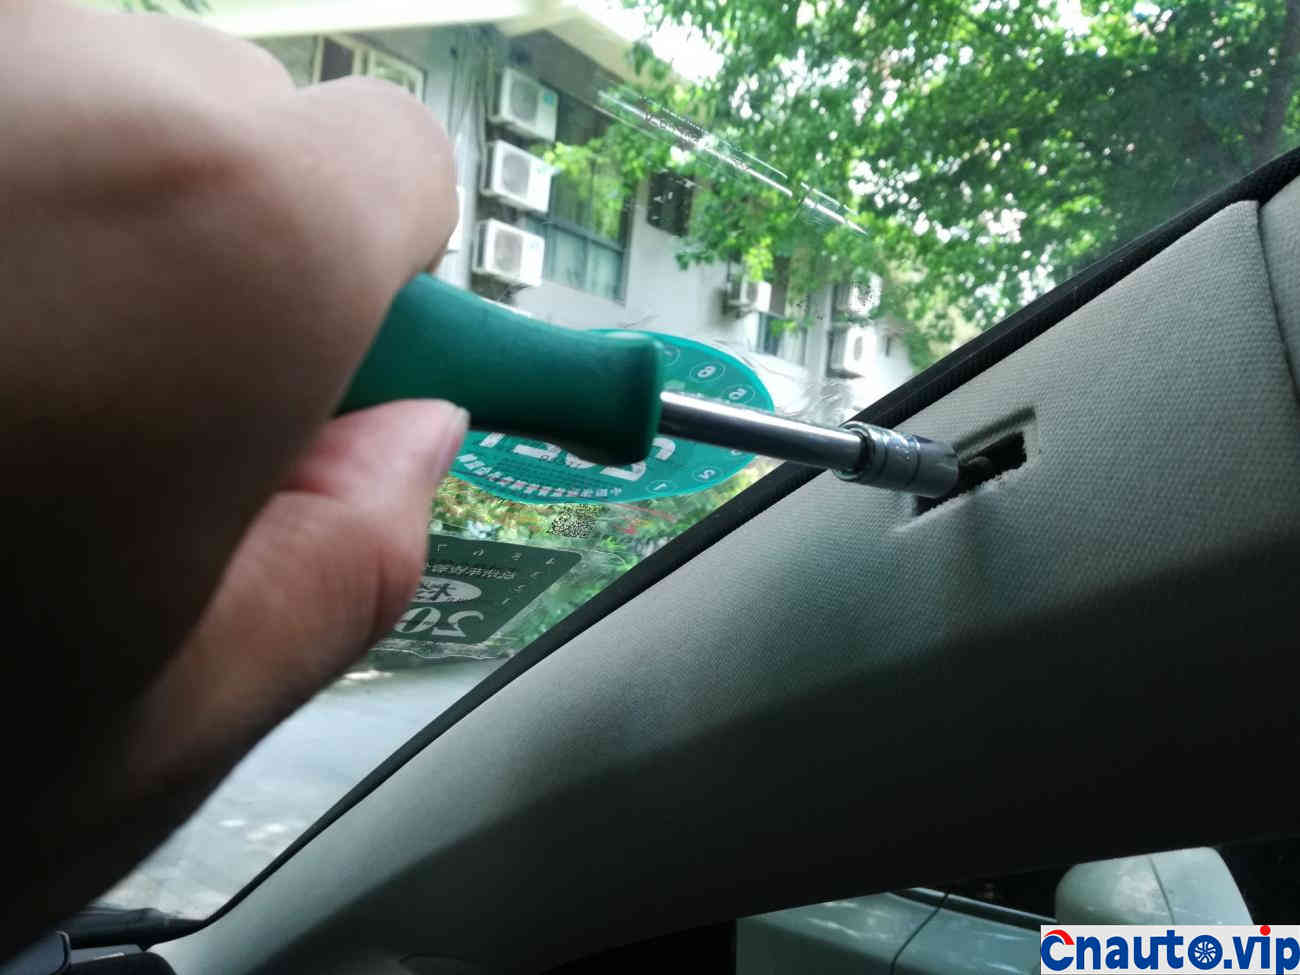
Start with the A-pillar upper trim panel.
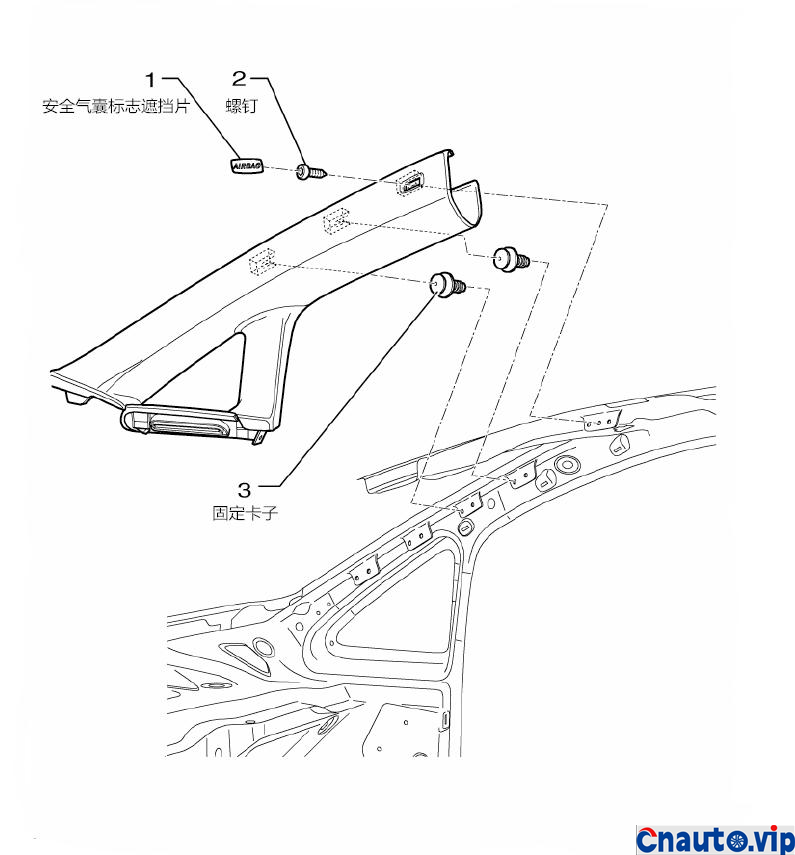
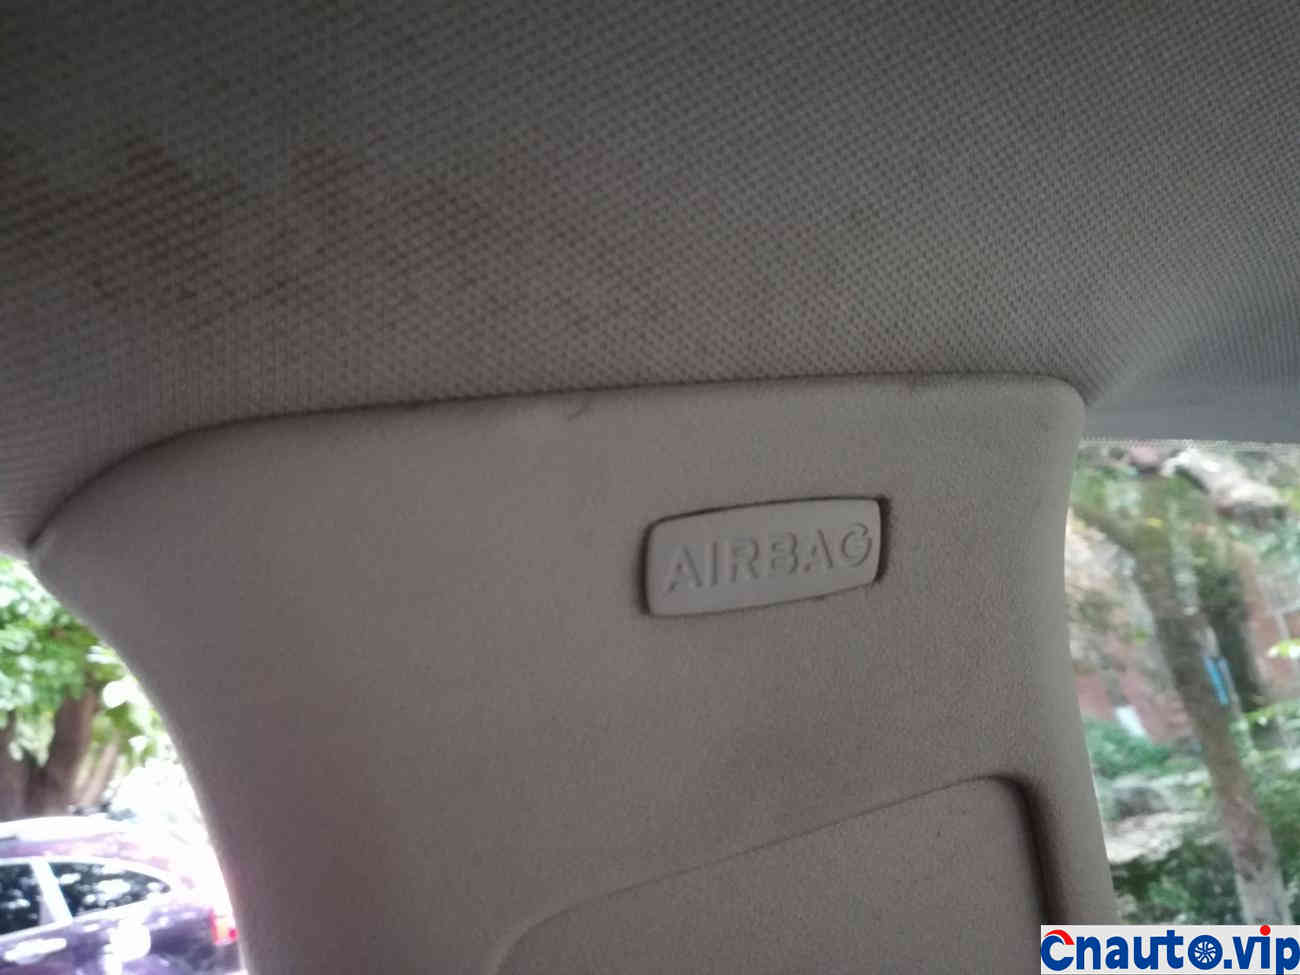
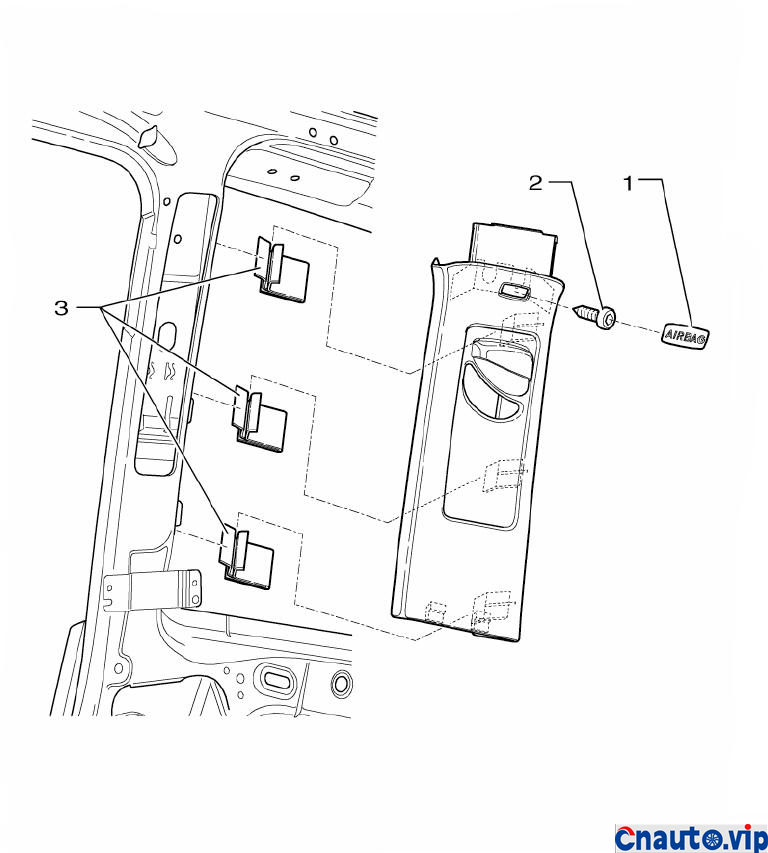
Remove the airbag sign blocking plate and screw out the screws.
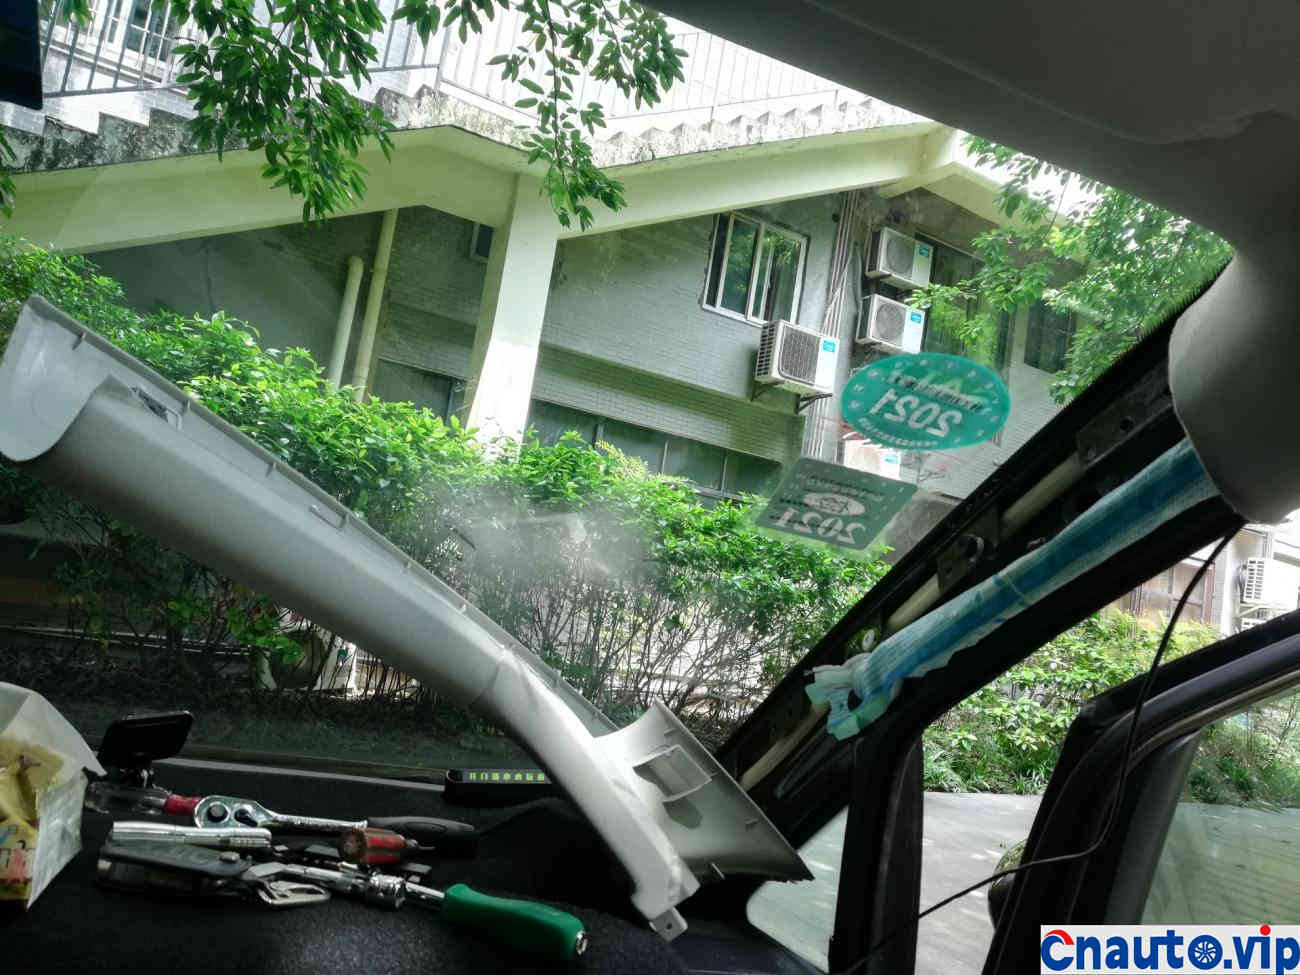
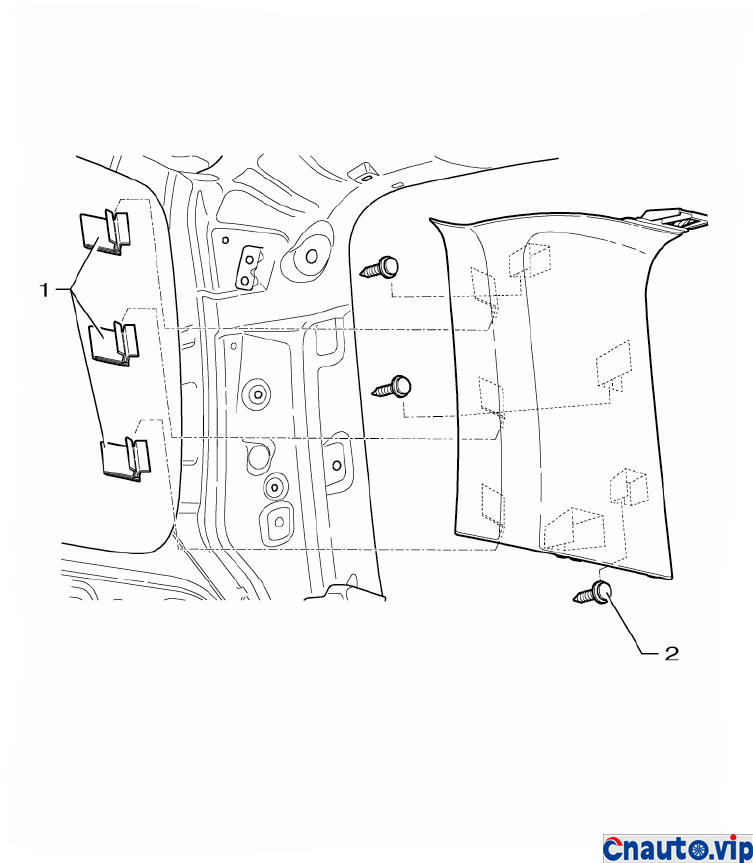
Starting at the lower end, pull the trim panel out of the bracket.
Removing the B-pillar upper trim panel is relatively simple.
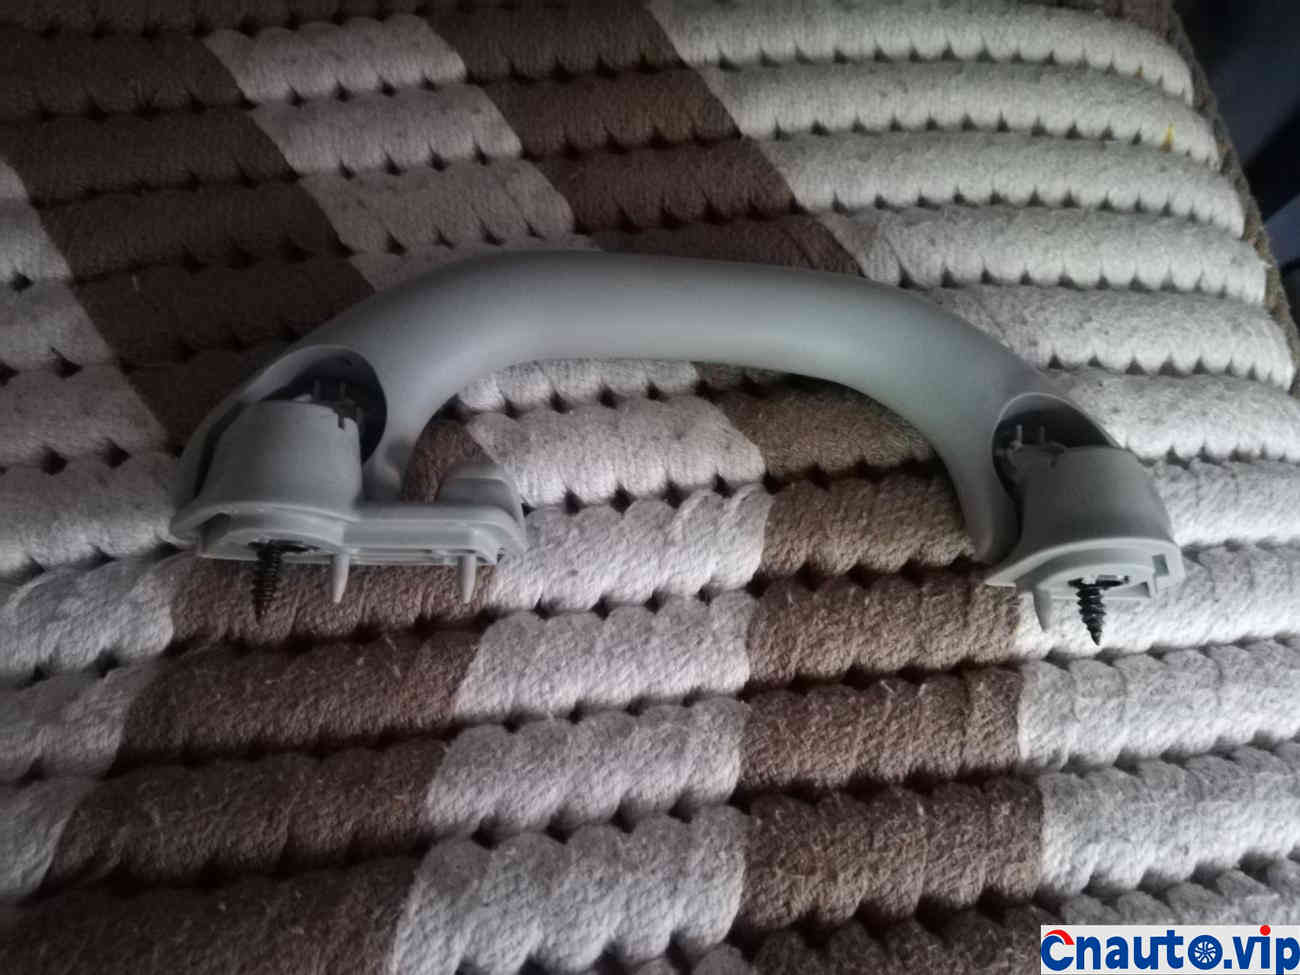
Remove top handle
Removing C-pillar trim panel
Remove D-pillar trim panel and roof strip
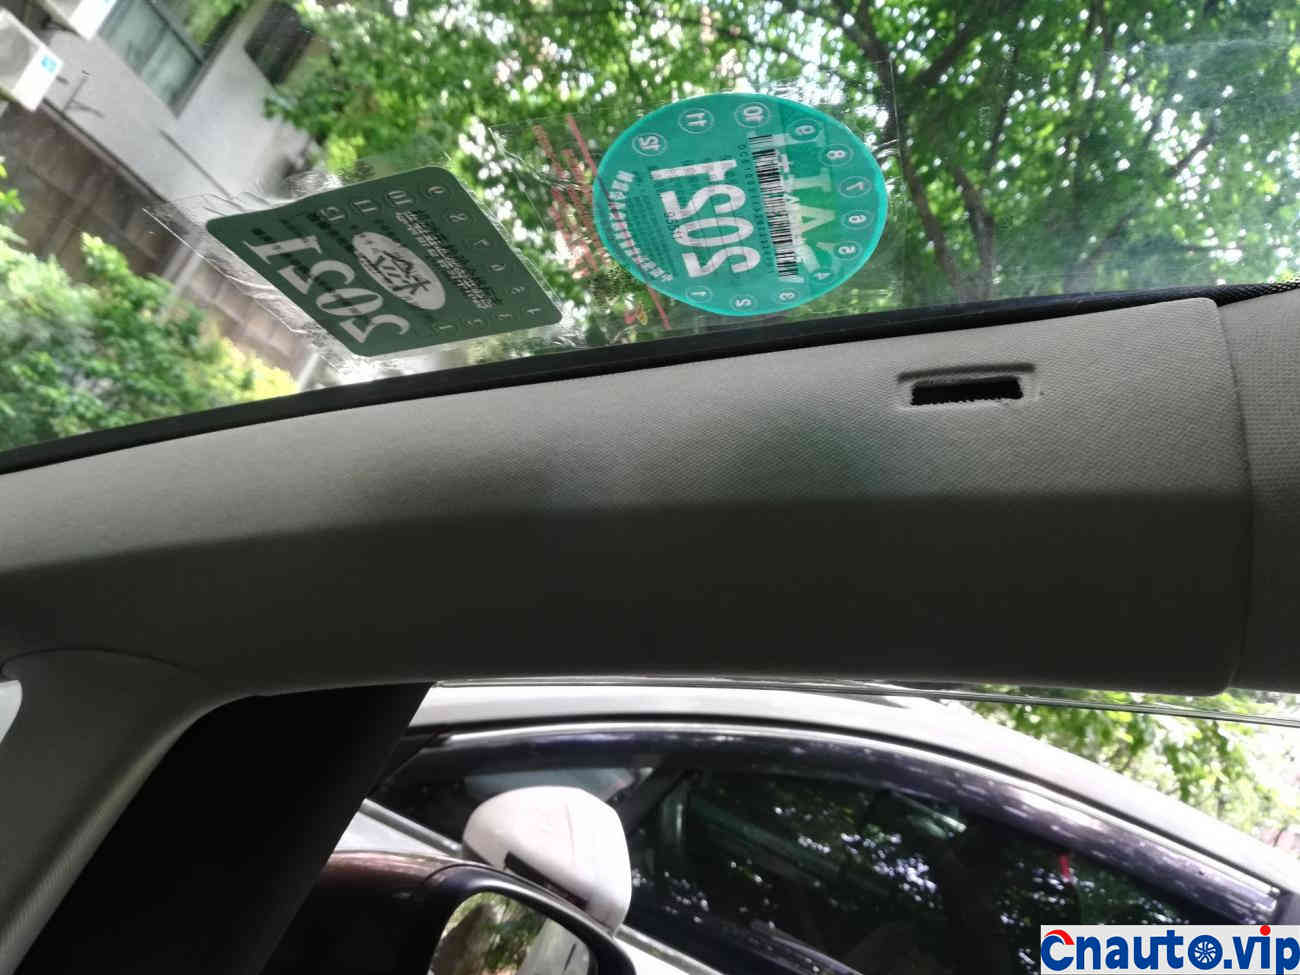
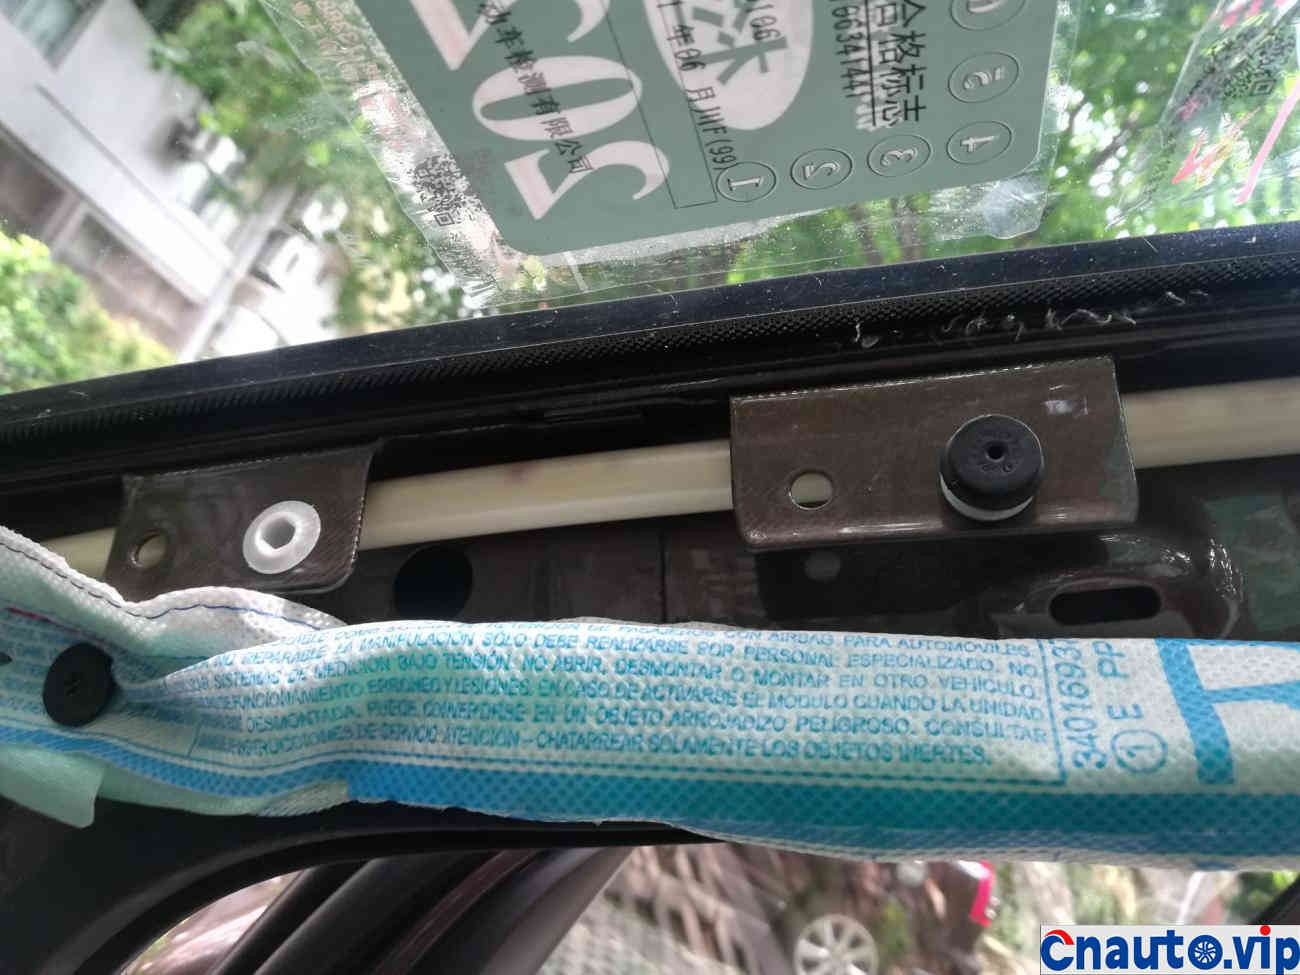
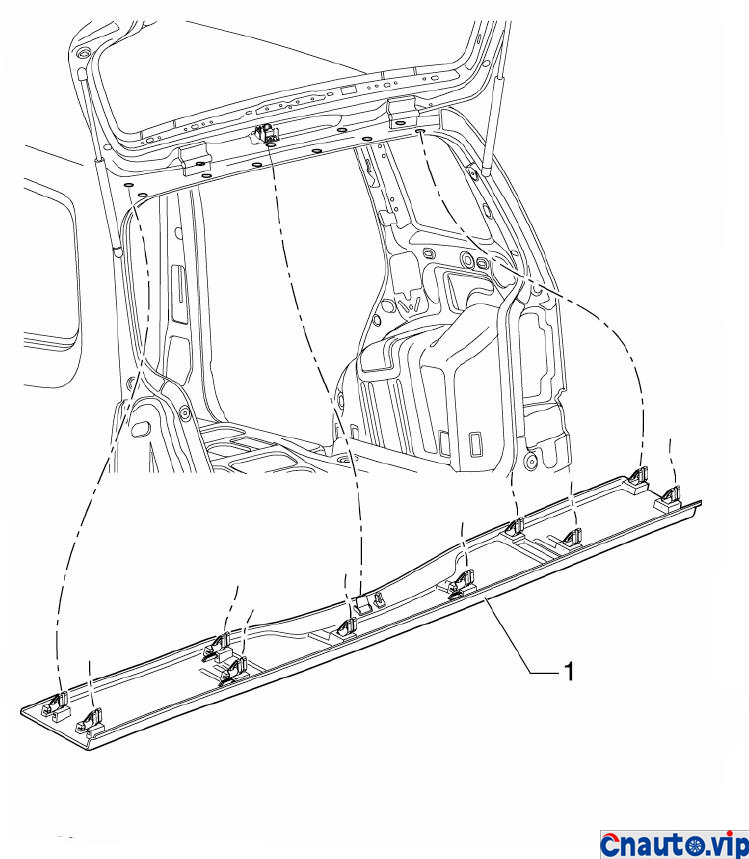
Open the trunk and pull the top strip rearward out of the support in the roof beam and the rear trunk lid seal bead.
This makes it easy to operate!
Obviously, it is the sealing problem of the middle leg of the luggage rack, where rainwater leaks in.
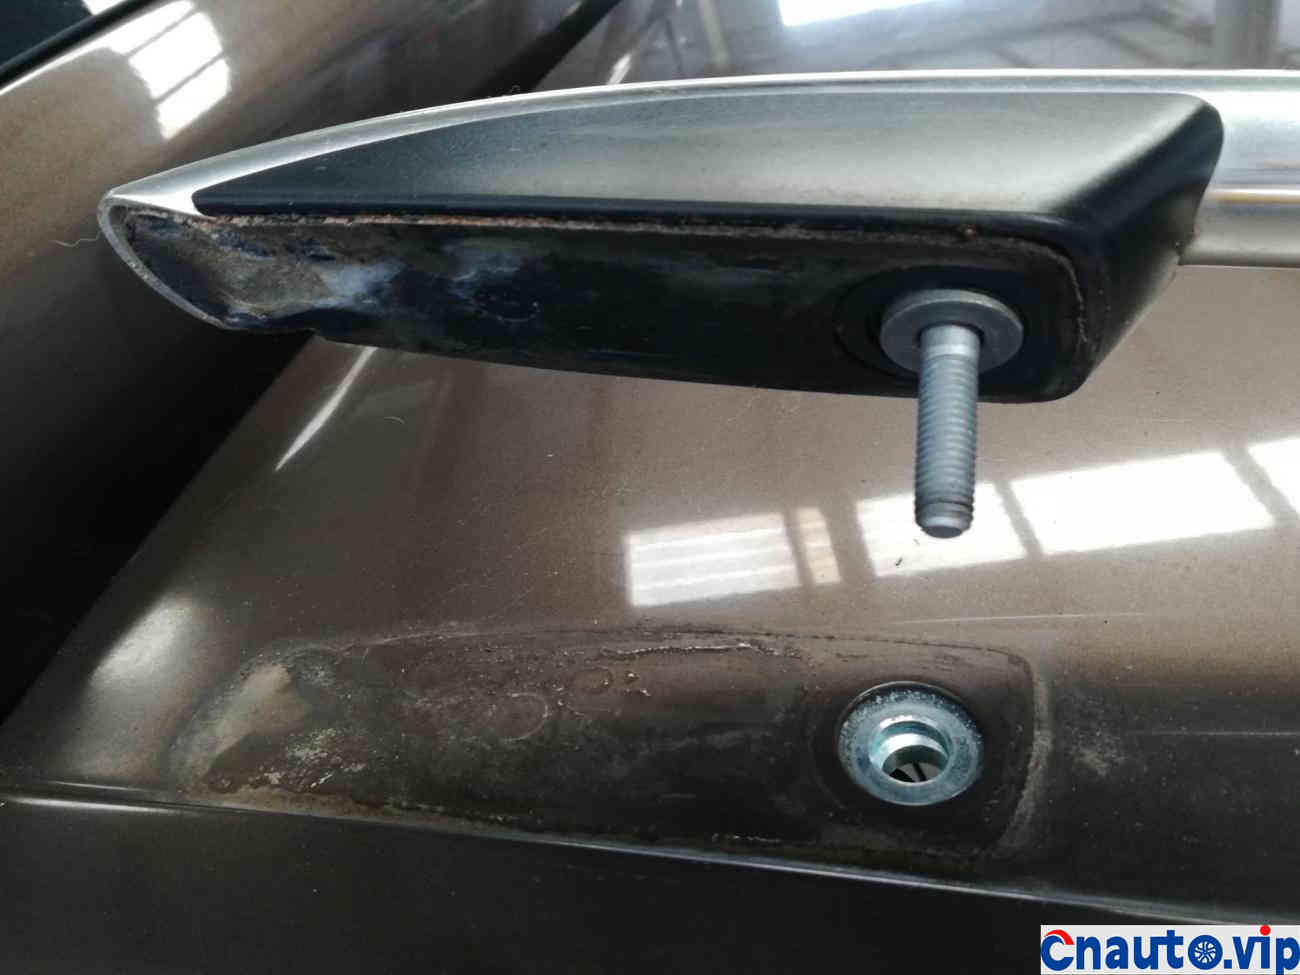
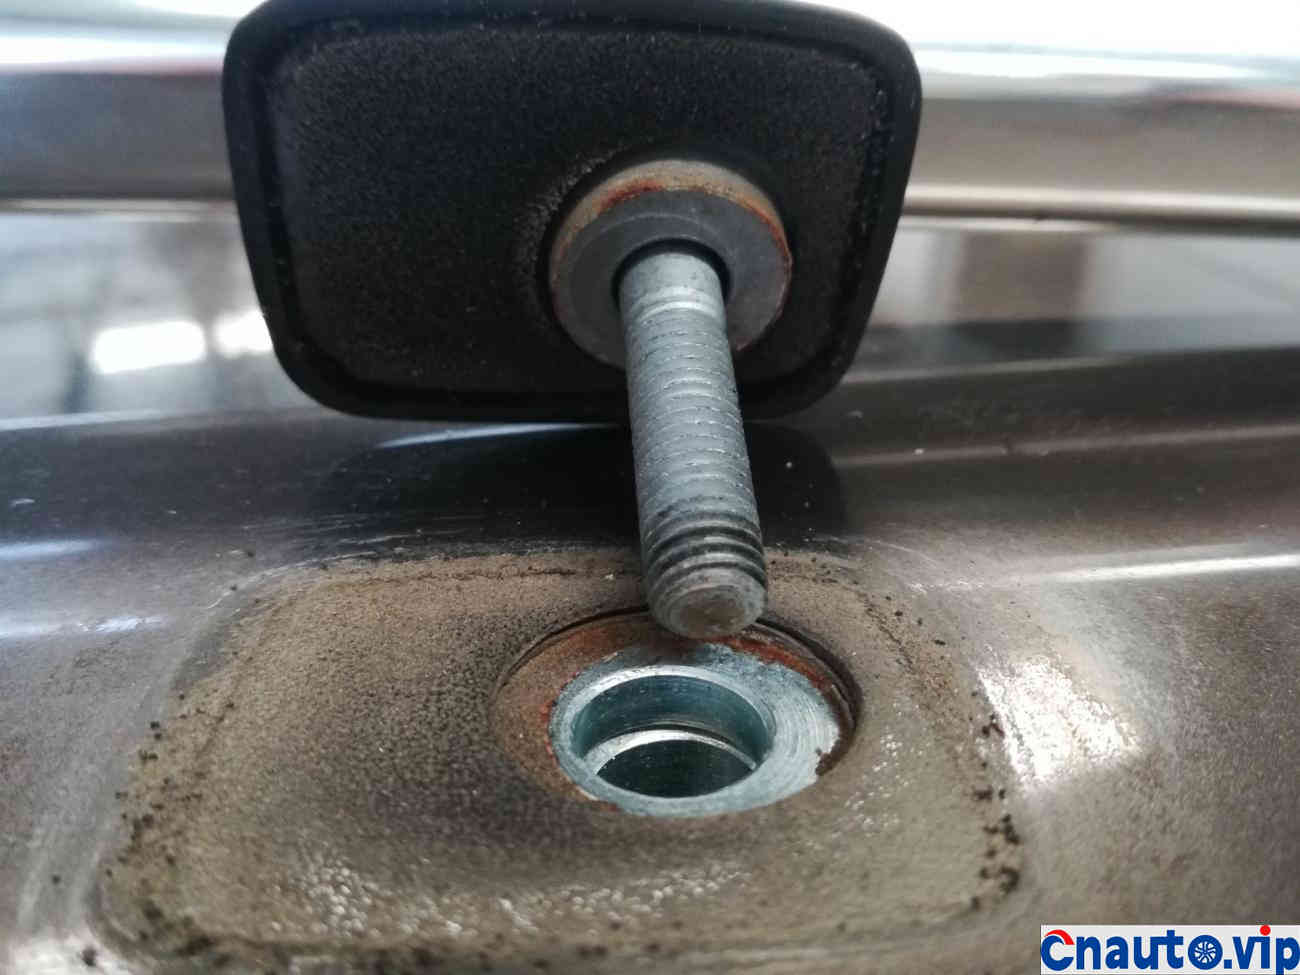
Start removing the luggage rack. Some riders did not remove the luggage rack from the car, but removed the nuts on the middle leg, applied sealant from the inside, and then tightened the nuts. This may not be a good idea.
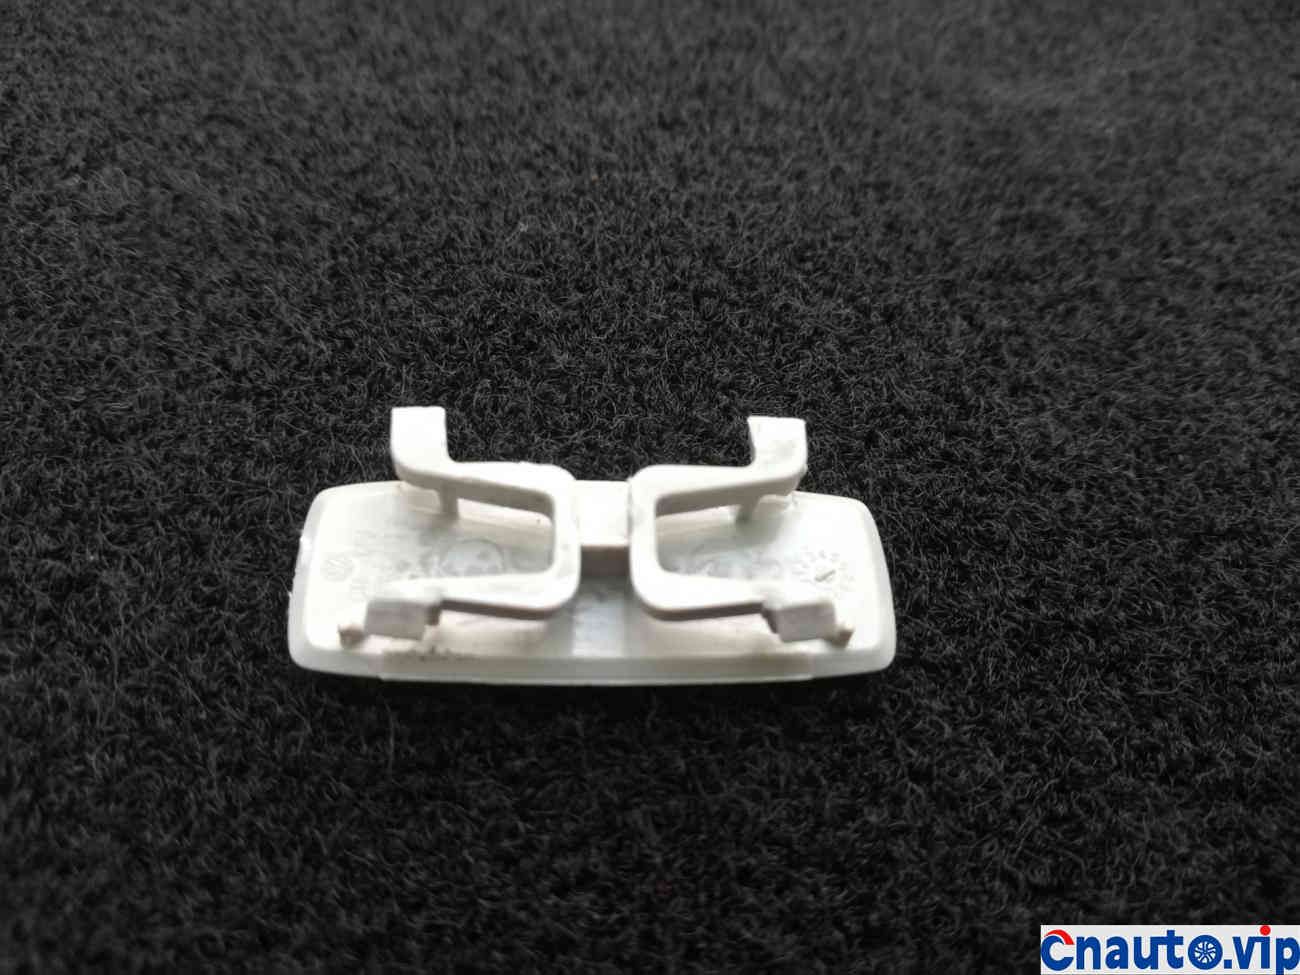
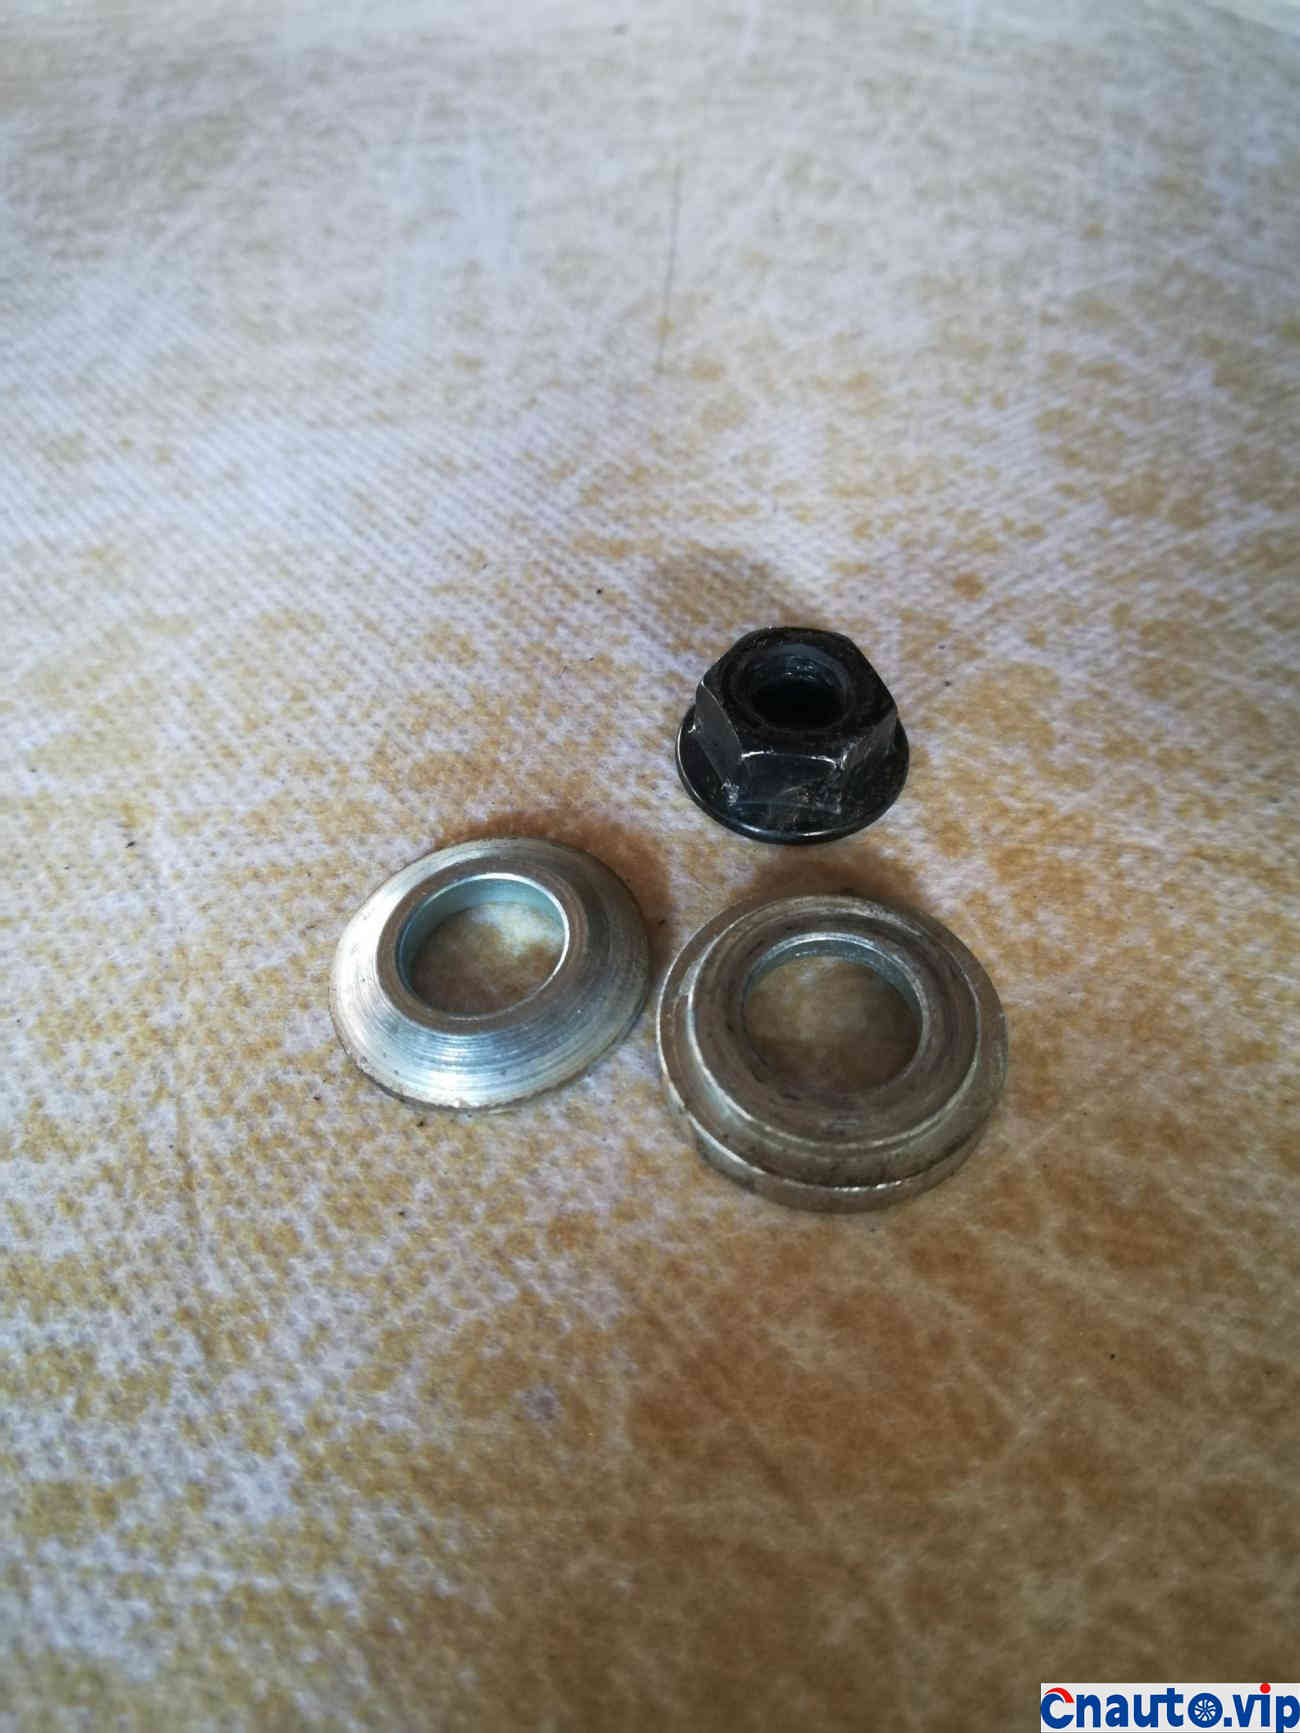
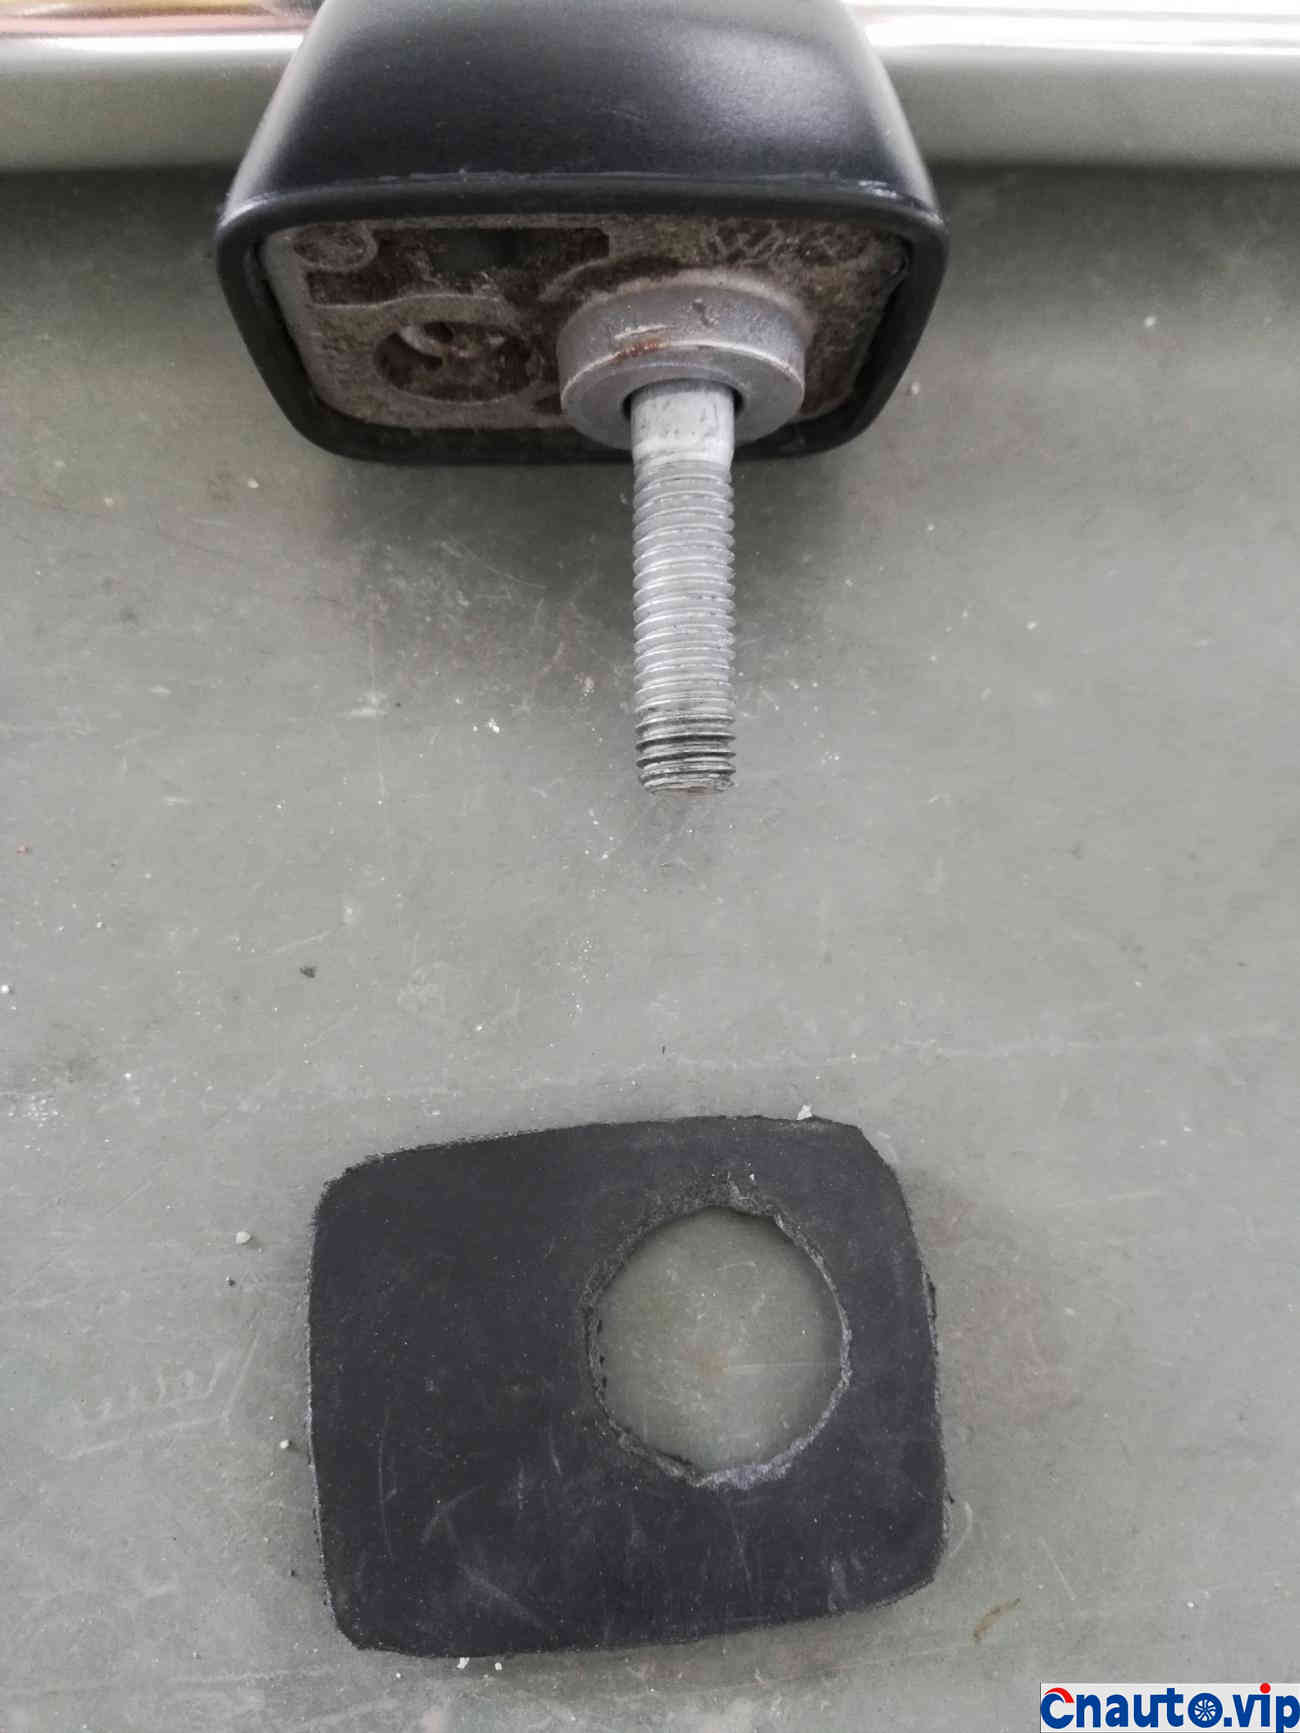
The legs at both ends of the luggage rack have sealing rubber pads, but why is the leg in the middle a sponge? It’s strange!
Remove the sponge from the middle leg and find a piece of rubber and cut it according to shape and size.
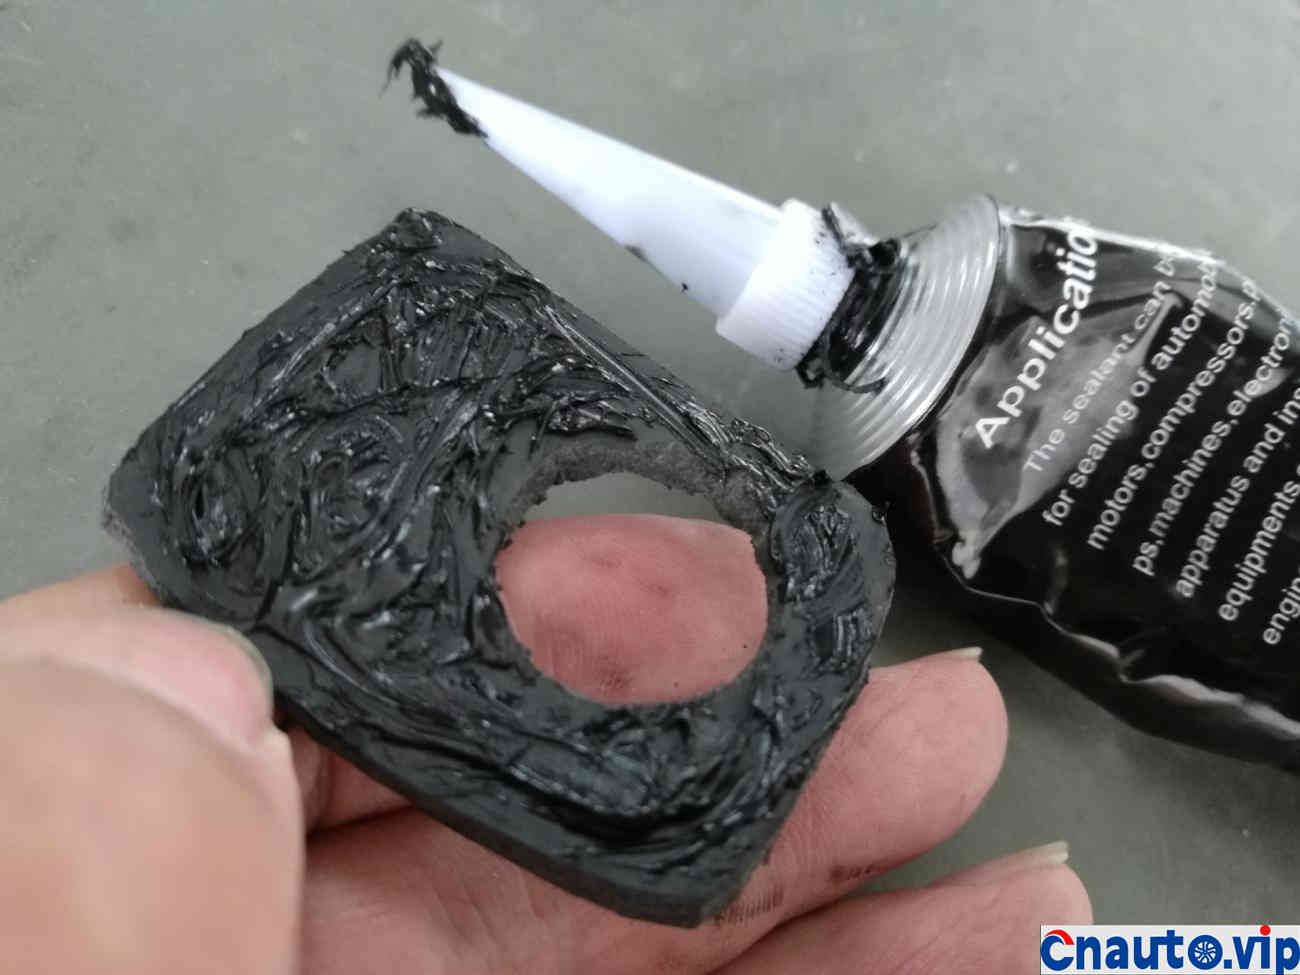
Glue is a must! Kraft sealant, let’s go! Of course, all three legs of the luggage rack must be coated with sealant, otherwise it will be removed in vain. The process of reloading is no longer tedious!


 April 1, 2024