Replace the glove box hinge
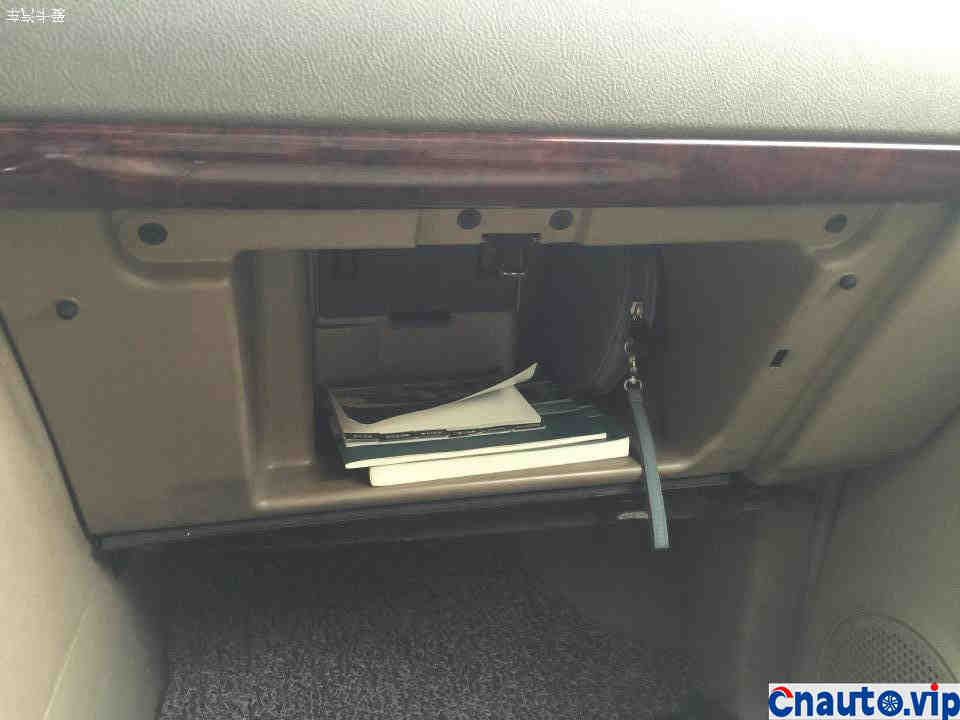
After years of disrepair, the plastic hinge has been used for a long time and finally broke. At first, I thought I had to replace the entire assembly. Later, I found this hinge and replaced it separately saved money and trouble, so I bought a hinge directly and replaced it.
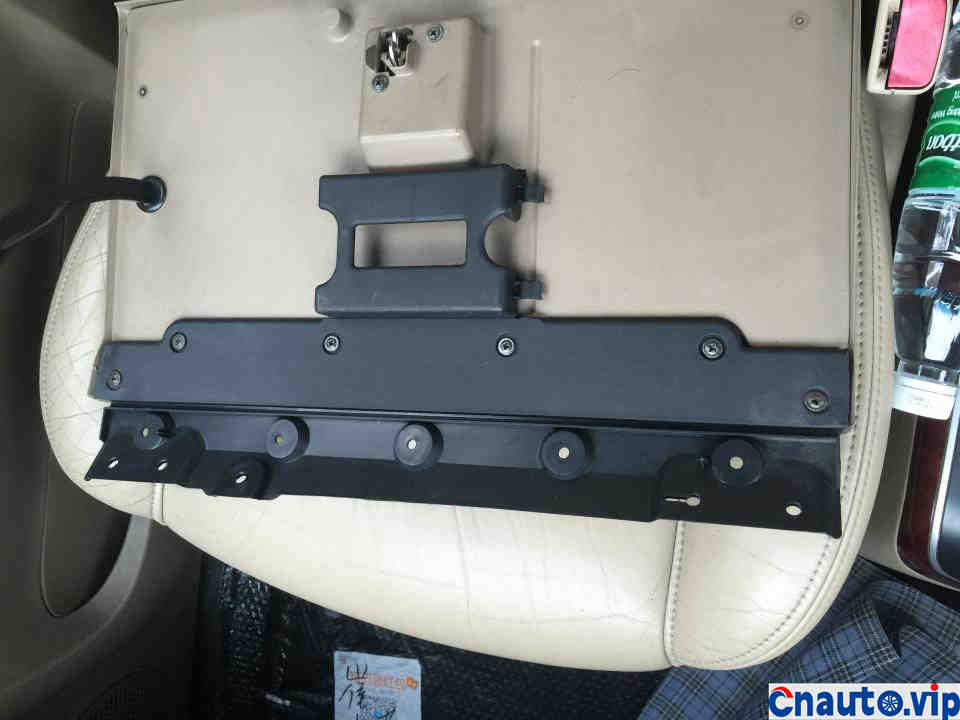
Because it was done intermittently and for some time, many photos were not taken. Let’s talk about it briefly and make up for the shortcomings. The hinge on this picture is a new hinge, but in fact, the old one is only half. You can just use a Phillips screwdriver to loosen the six screws on it. It’s easy. Then replace the new hinge, tighten the six screws back, and the rest requires tools.
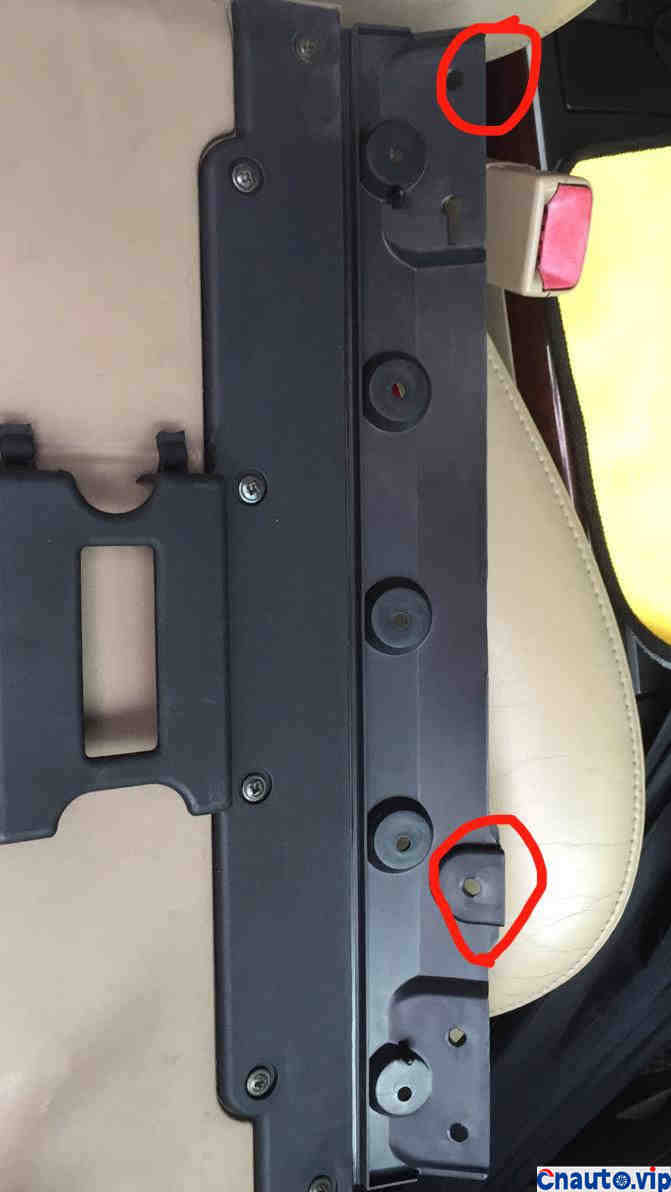
The holes in these two red circles are threaded, and there are hexagonal black screws at the bottom. They can be removed when loosened. The key thing that is difficult to get is the five holes next door, because the five holes are full of rivets, which are fixed as soon as they are punched in. An electric drill is needed to open them, and special tools are needed to drive in the rivets.
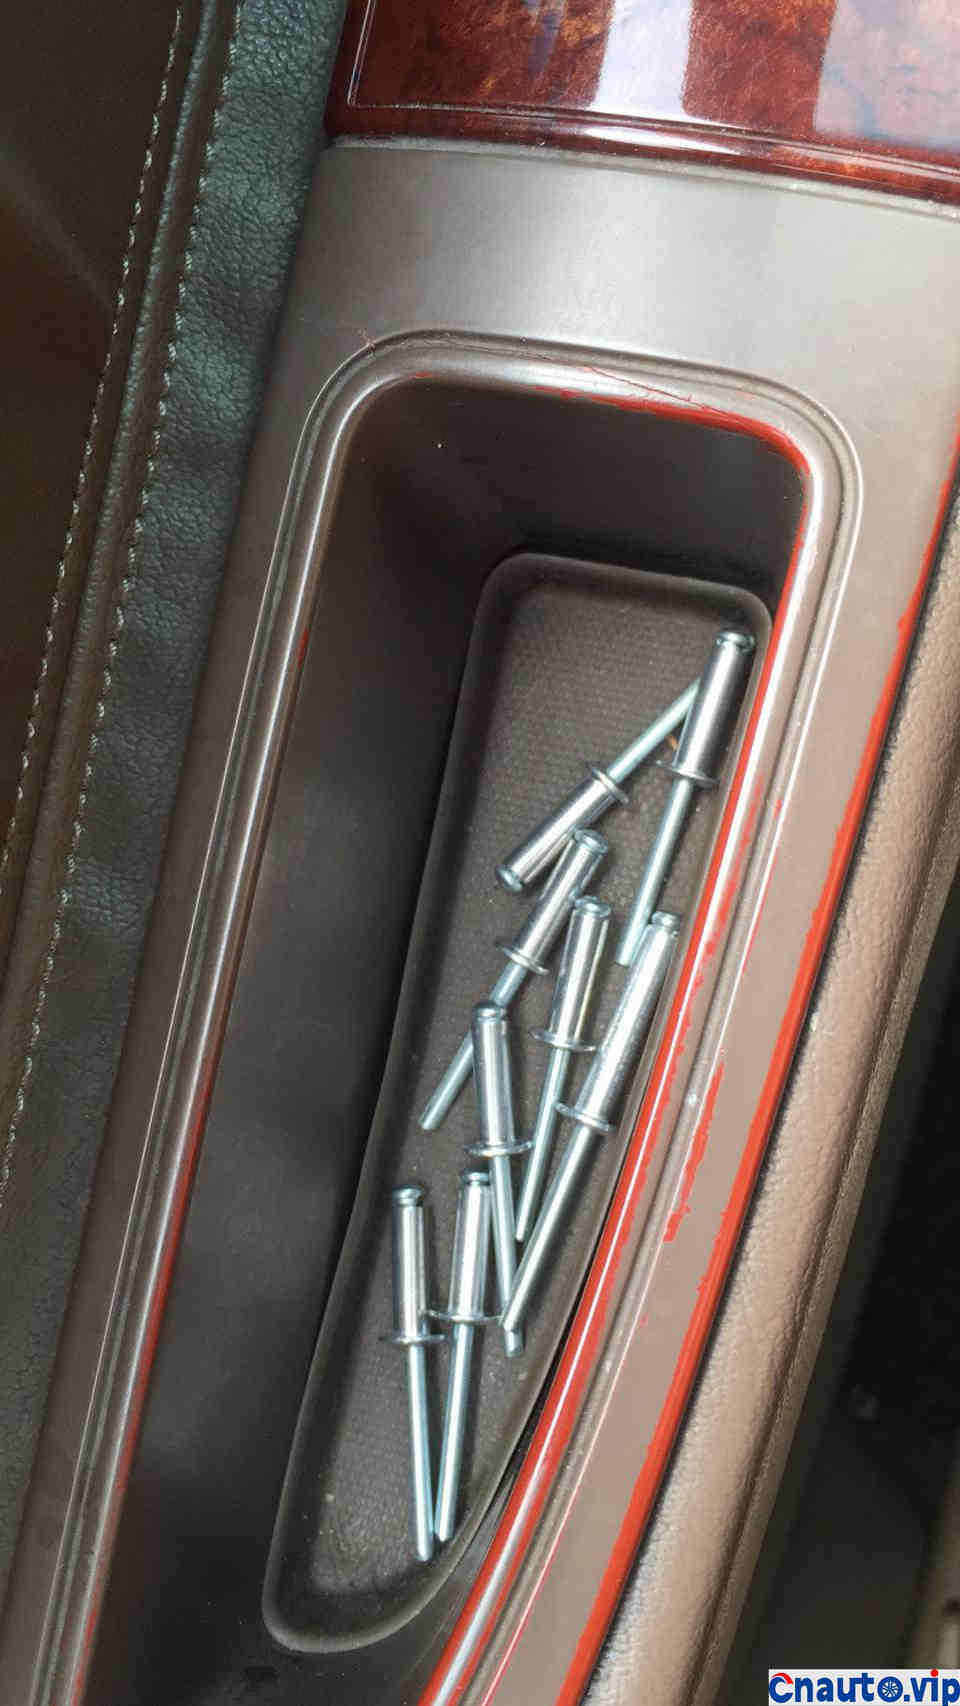
The thick and long one on the right was found for me in my friend’s 4S shop. It is inappropriate, too thick and long. The shorter and thinner one on the right is something I bought at a hardware store. I don’t know how big the original car is, but this one can also be used. I just don’t know if it is the same as the standard rivet.
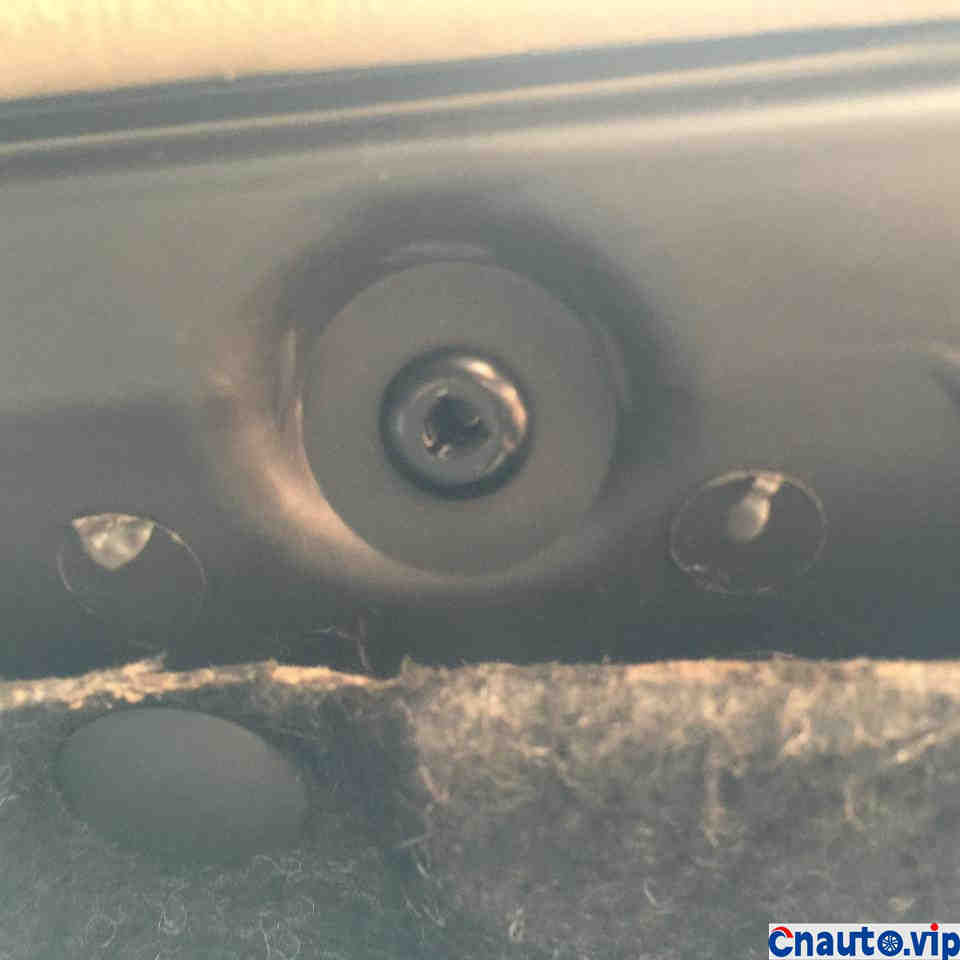
The standard car is black. There is no black one in the hardware store. They are all white, so it is not so entangled. Anyway, it is facing down and out of sight is clear.
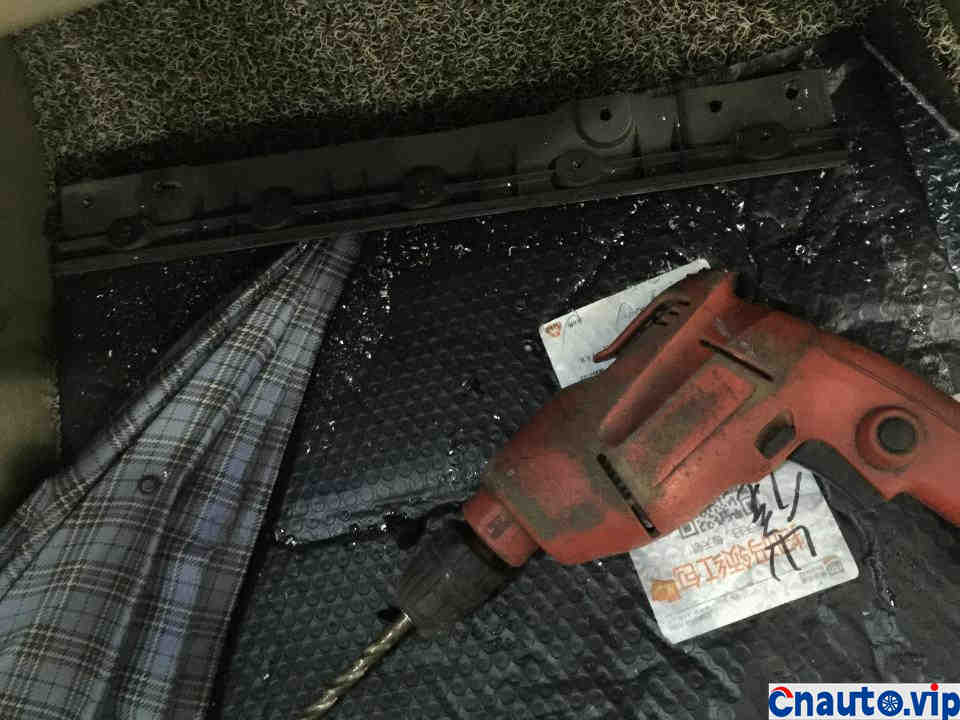
The electric drill gun penetrated the rivets on the hinges of the five original car, and the hinges could be directly removed. Next, install the new hinge and punch new rivets.
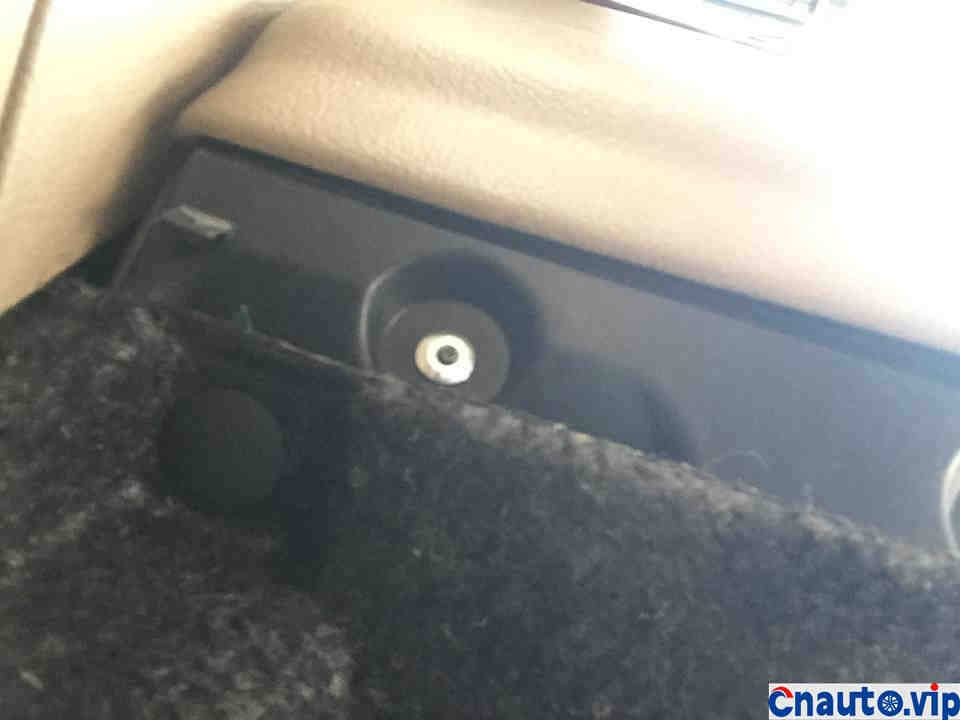
The standard position means that the color is not the same as the original factory one, but it takes a little more trouble than the original ones that the group friends said to use screws.
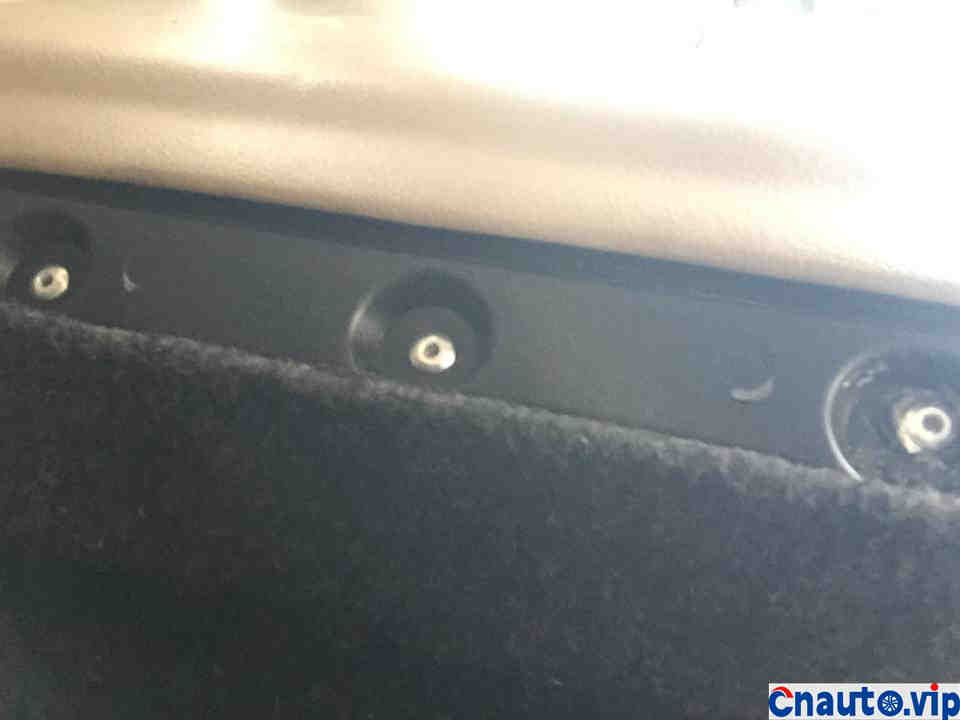
The outermost one started to drill a big one in and found it big, so he directly drilled it with an electric drill and re-drilled it, so the hole was not so neat and unsightly. As long as it was firm, it would be fine.
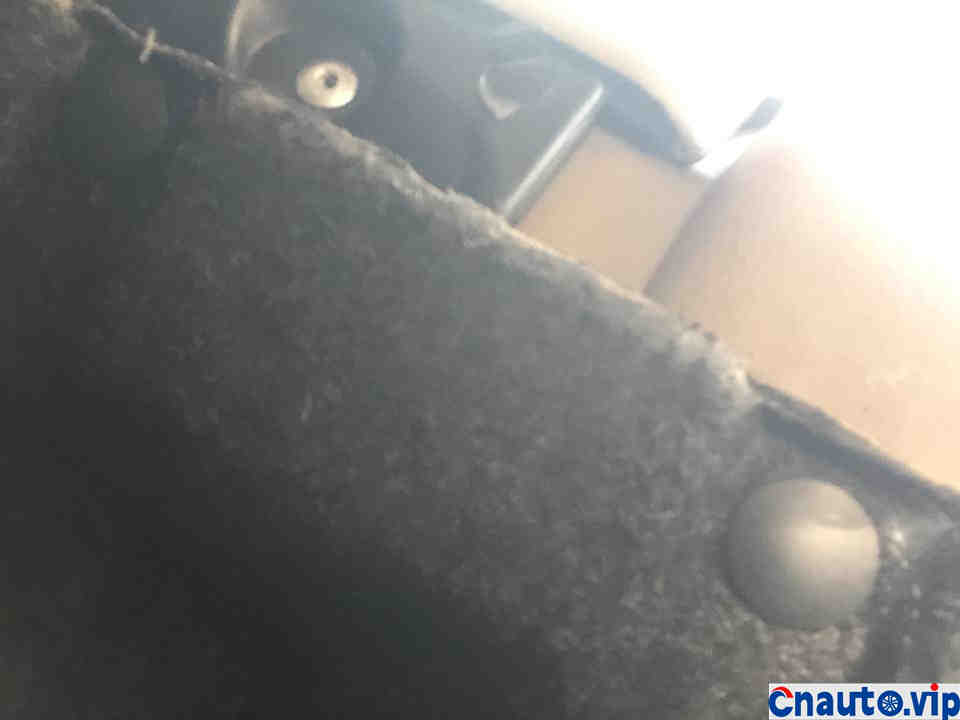
After the rivets are put in, tighten the two hexagonal screws, and finally cover the outside with a layer of black and tired sound stopping cotton, and fasten the buckle and you are done.
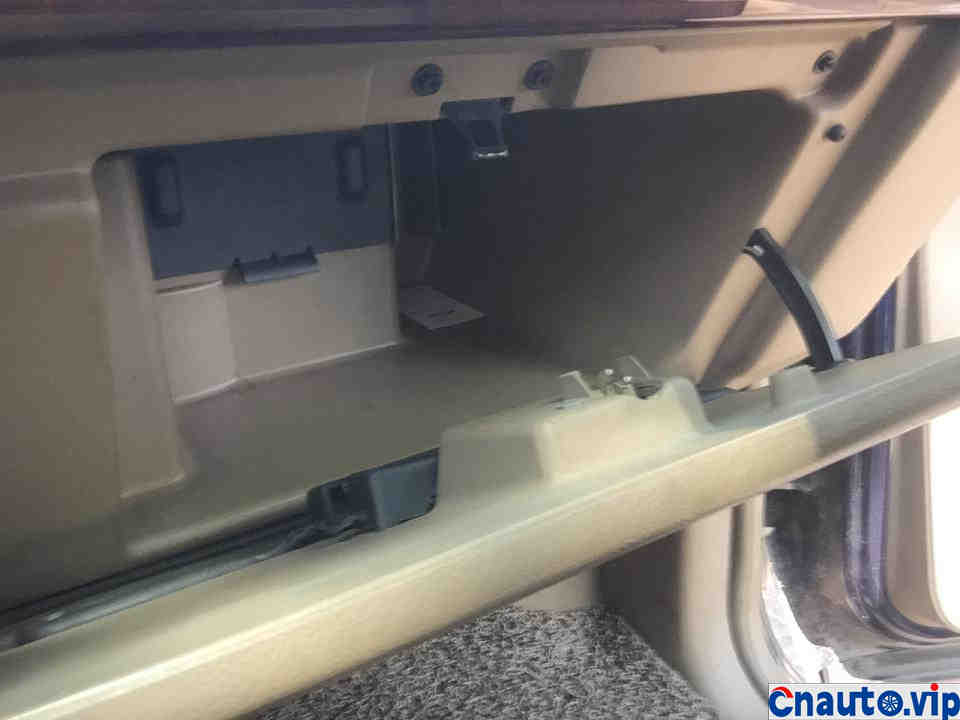
I tried it and it was good. It was a perfect job.
This hinge was actually made very early, but the time span was quite large, and then I always forgot to post it. I just posted a post about changing the gearbox oil and spring today, so I sorted out my mobile phone and uploaded this picture together. If there is anything you haven’t mentioned, you can leave a message, and there will be a reply if I know.
Hot Information
Tesla Autopilot and similar automated driving systems get ‘poor’ rating from prominent safety group
 April 1, 2024
 Localization of EV parts without production scalability may not help cut EV price, says President, Amara Raja
 March 27, 2024
JCTSL may turn bus stands into charging points for e-buses
 March 27, 2024
 You May Like

