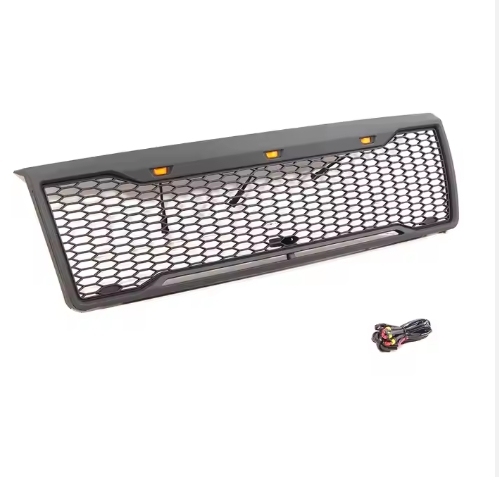
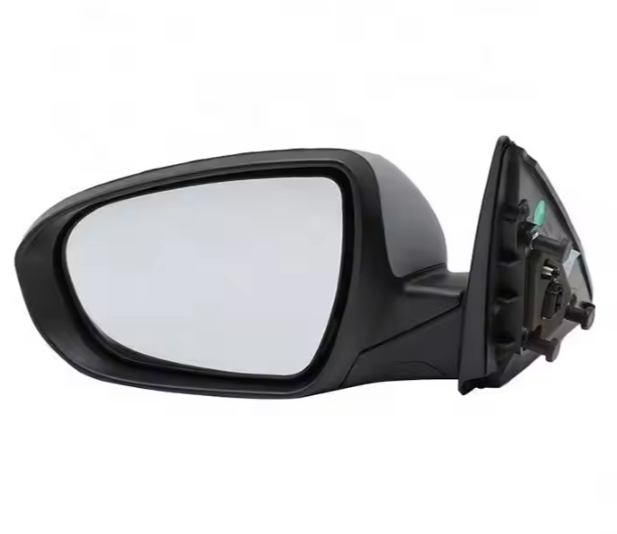
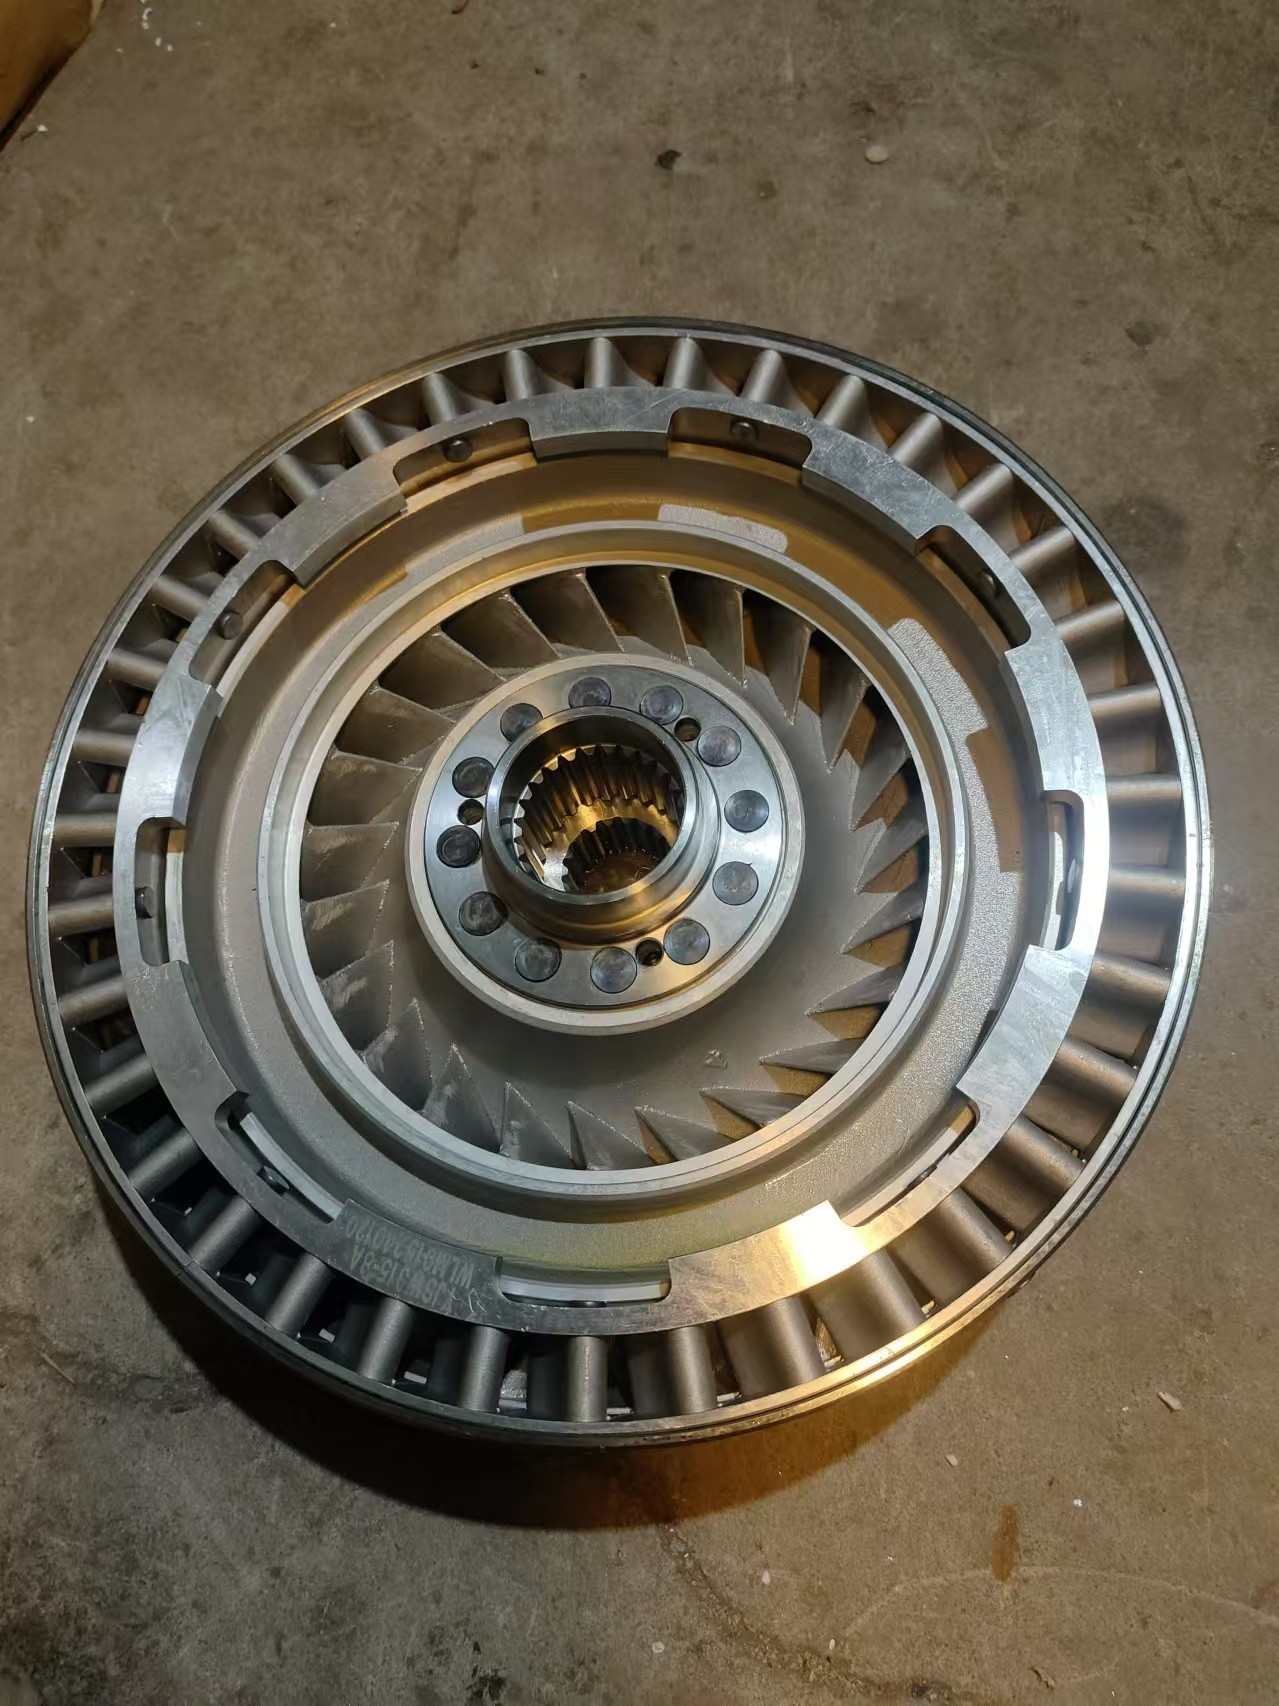
Disassemble the gl8 front bearing assembly to provide a practical basis for separately replacing the bearings of the front bearing assembly
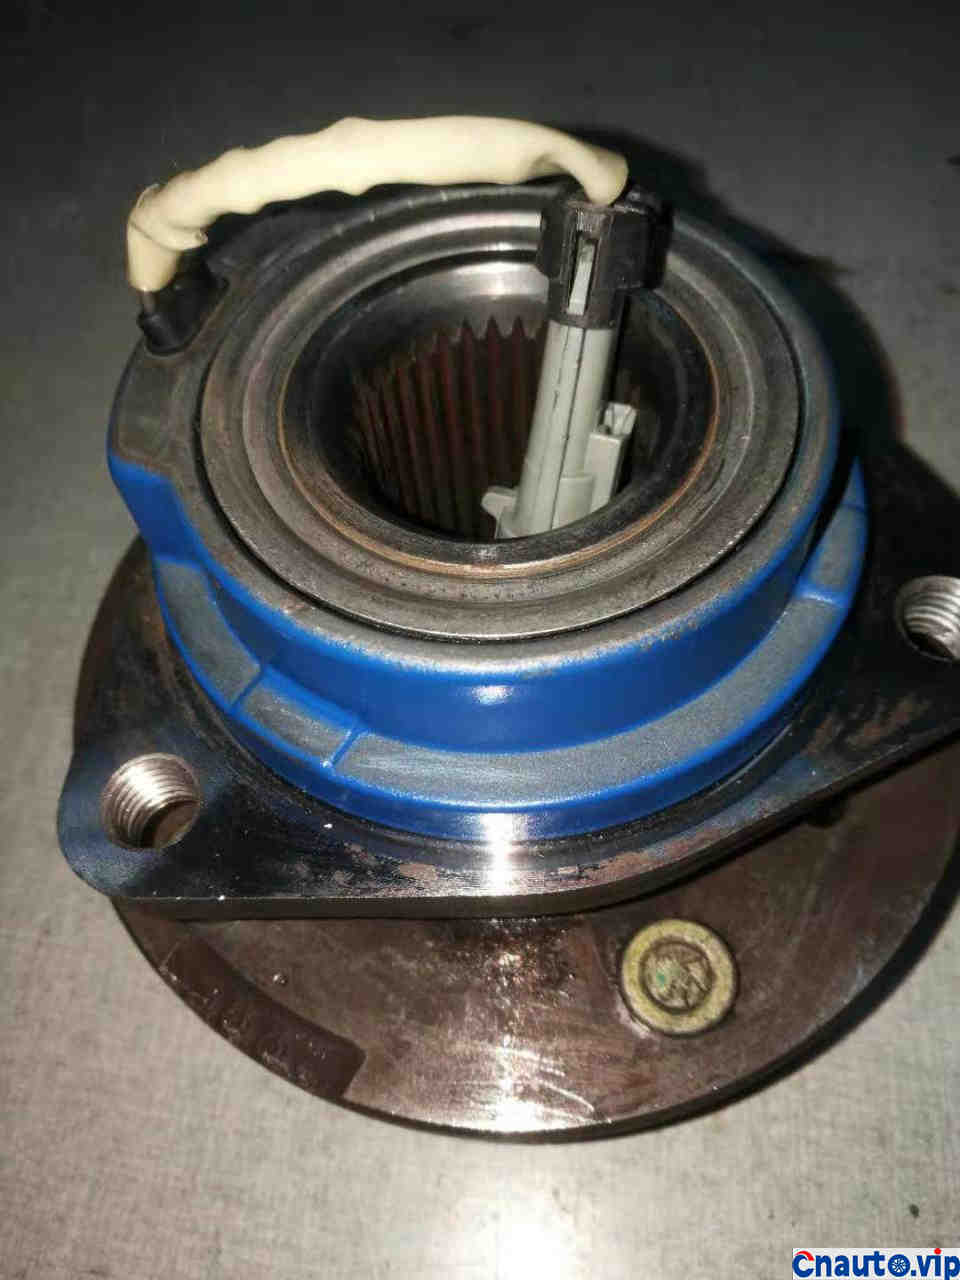
The above one is a bad bearing assembly that I replaced the front bearing assembly two days ago. I don’t know where the damage is. It looks fine, but it’s a pity to throw it away. Can I just replace the bad bearing and continue to use it? Of course, it means replacing it yourself. It is better to find a factory to replace it and buy a new assembly. The general opinion is that it is basically impossible without special tools. In line with the idea of trying first and doing a test to see where the damage is. Besides, scrap iron is a lump. It will be a waste if you don’t play with it. Today, I spent the whole morning studying and dismantling this bearing assembly. The prerequisite is to use simple tools that ordinary people have. Here are pictures and pictures according to the disassembly order:
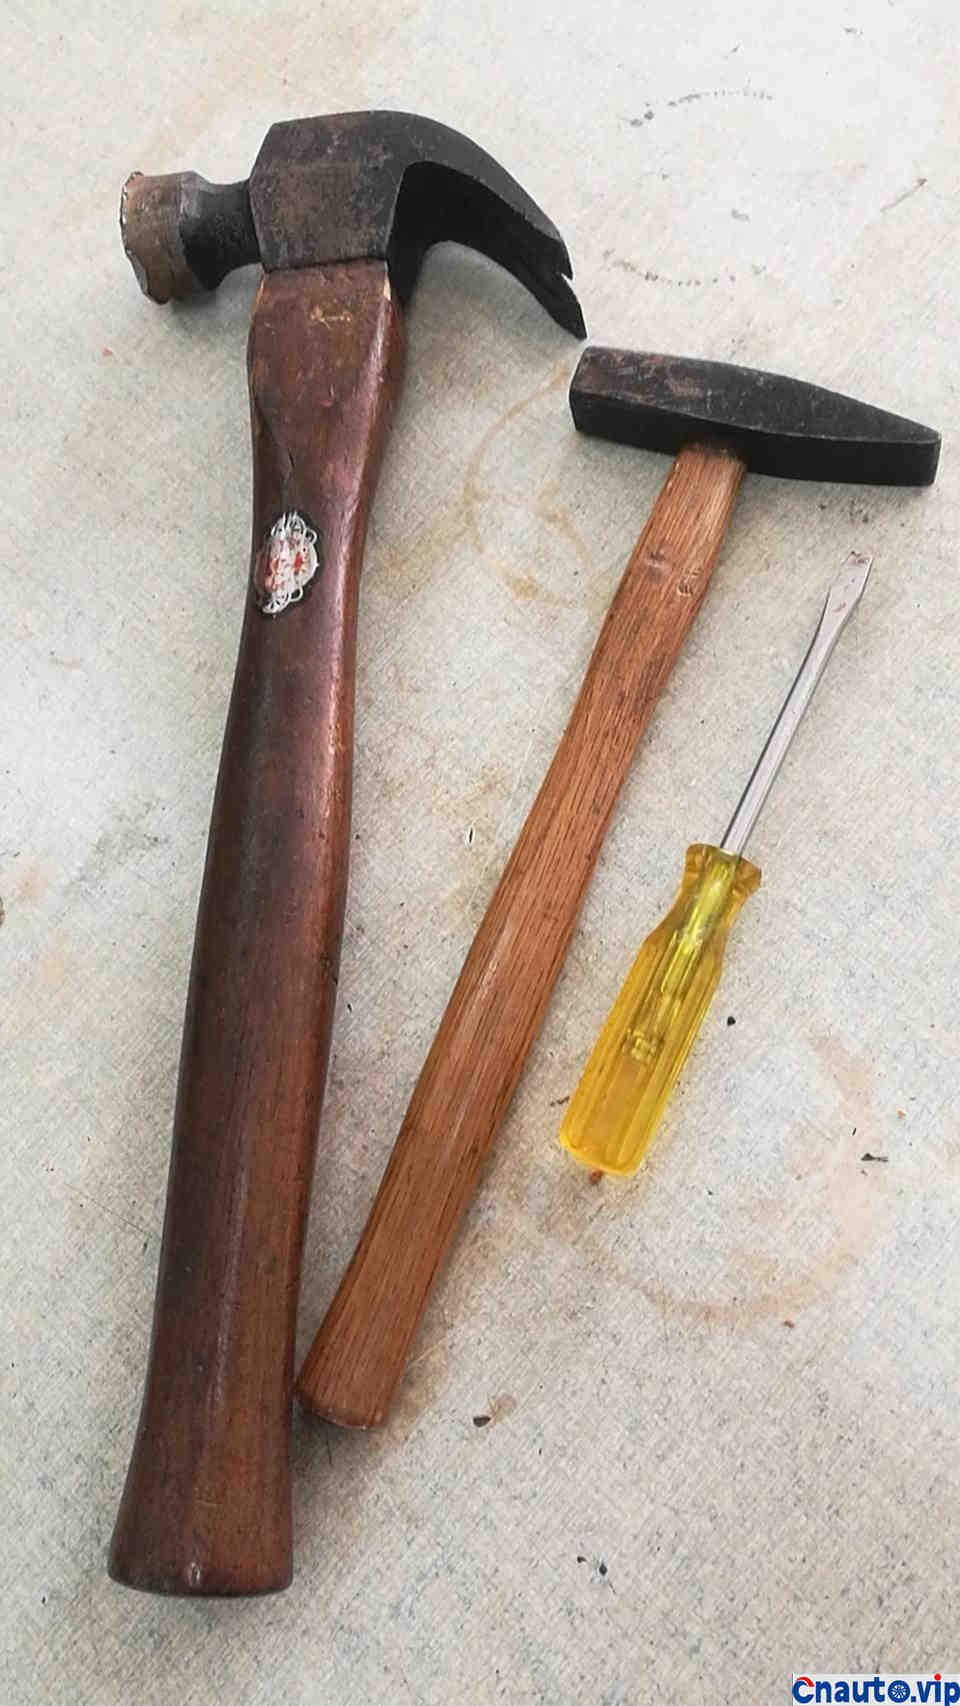
the tools used
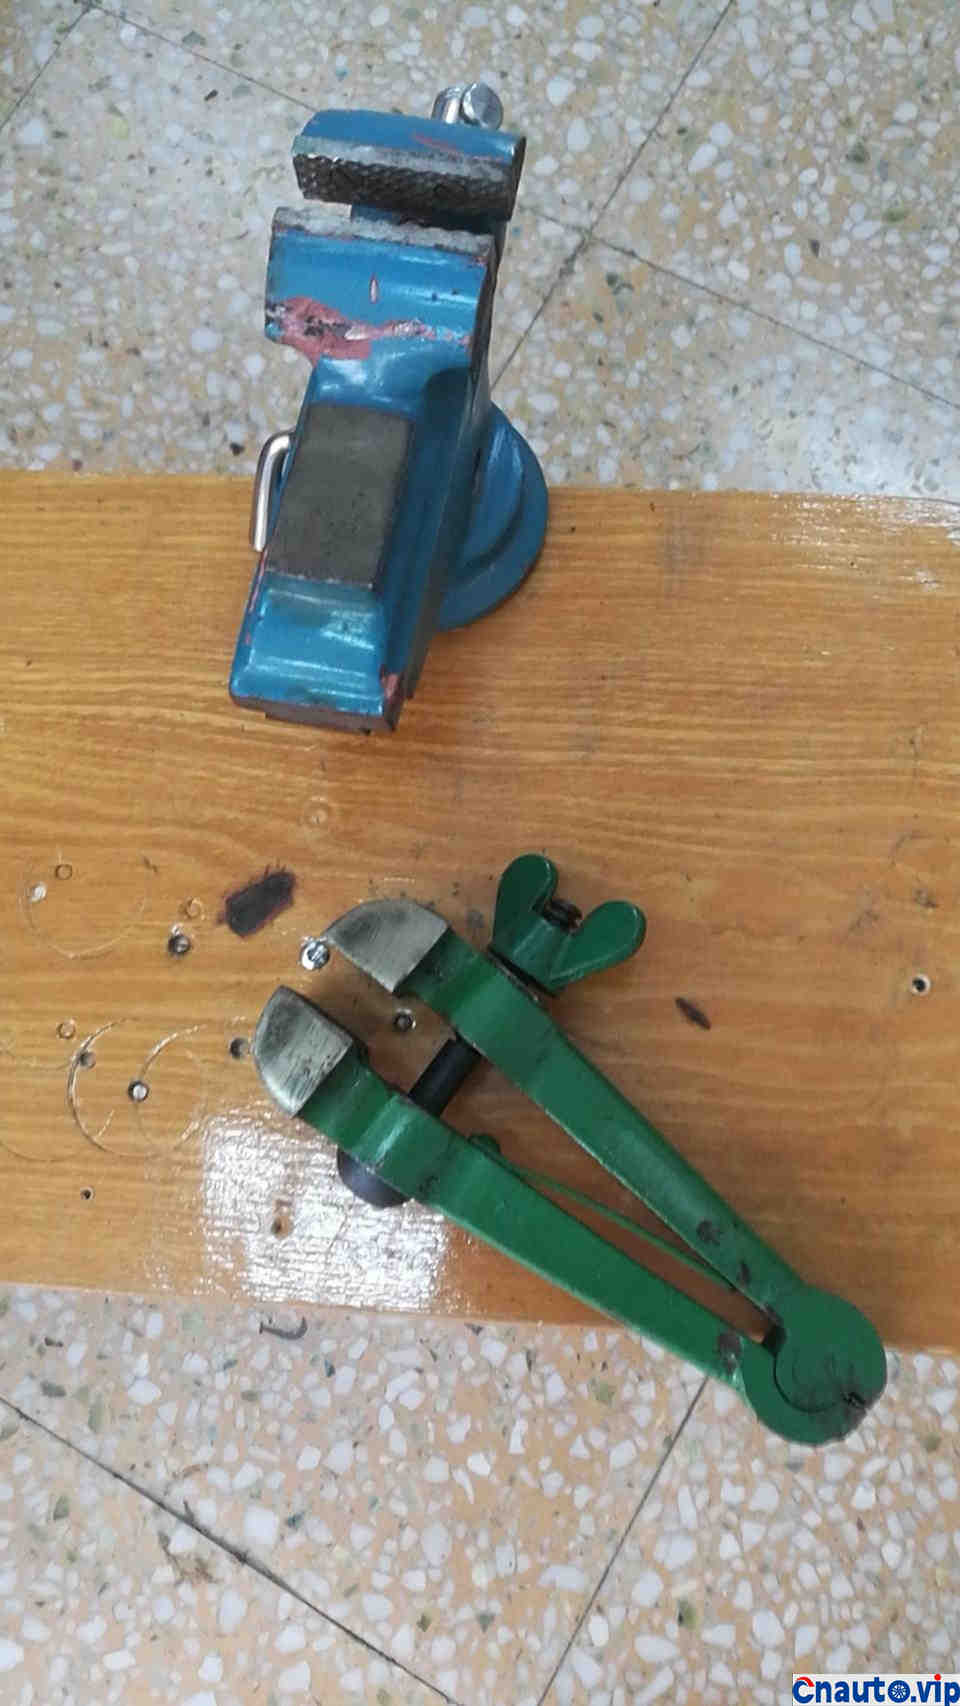
The tools you use are not very advanced tools.
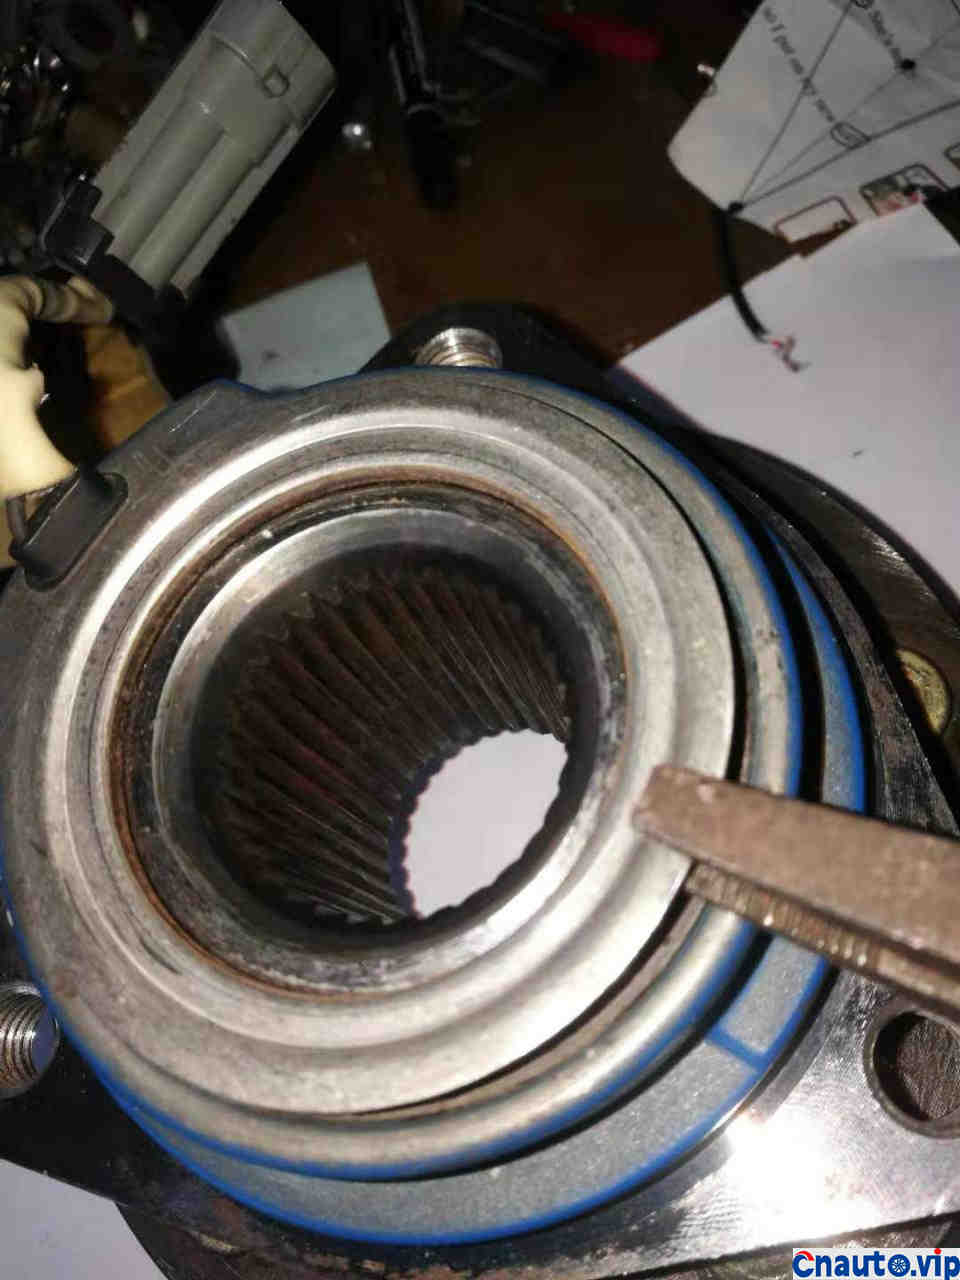
I started observing for a long time, but I didn’t know where to start, so I skipped here first (later I found out that it was wrong)
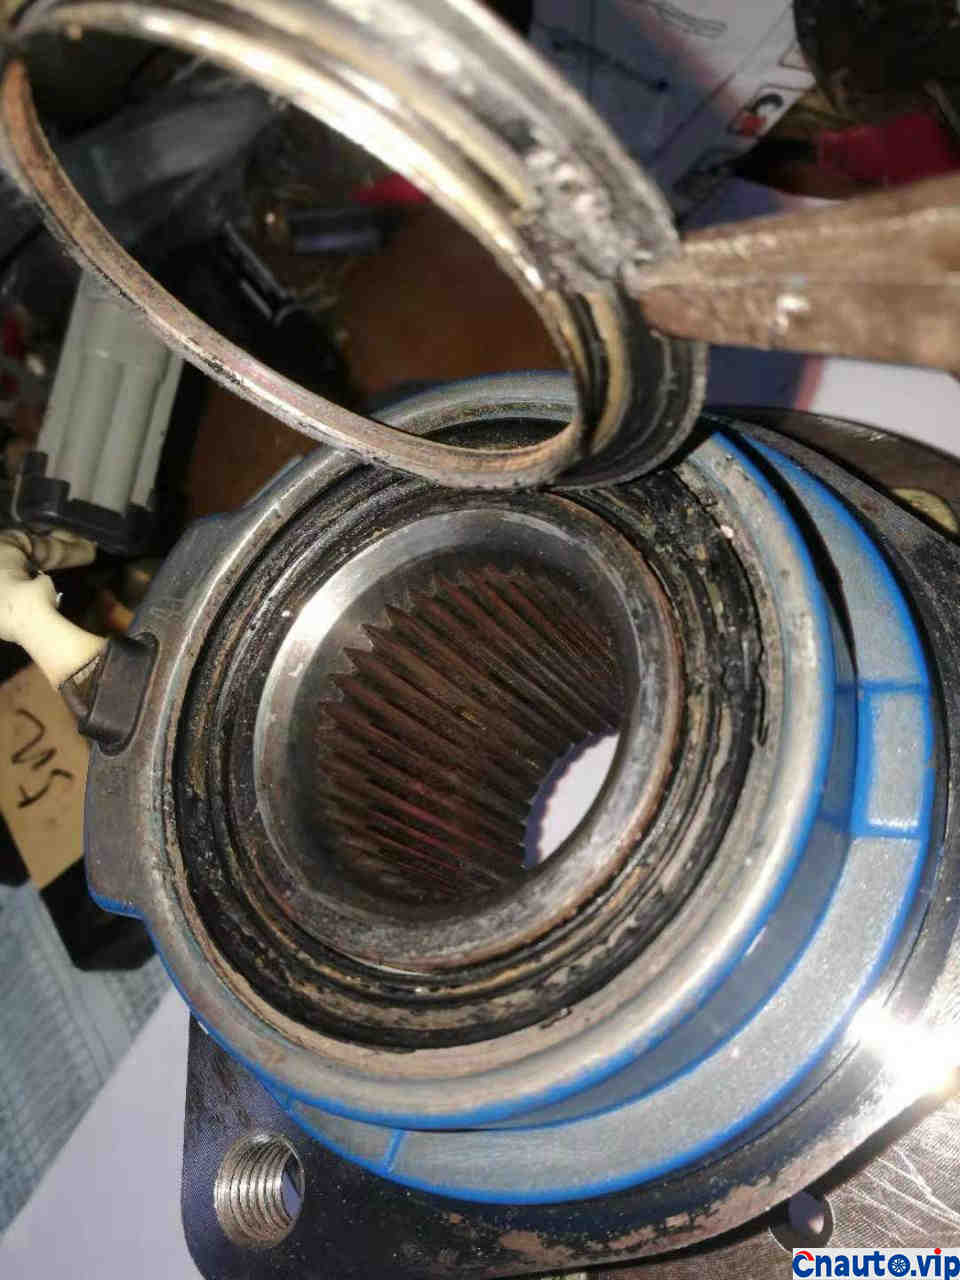
It was easy to open (later found out to be wrong)
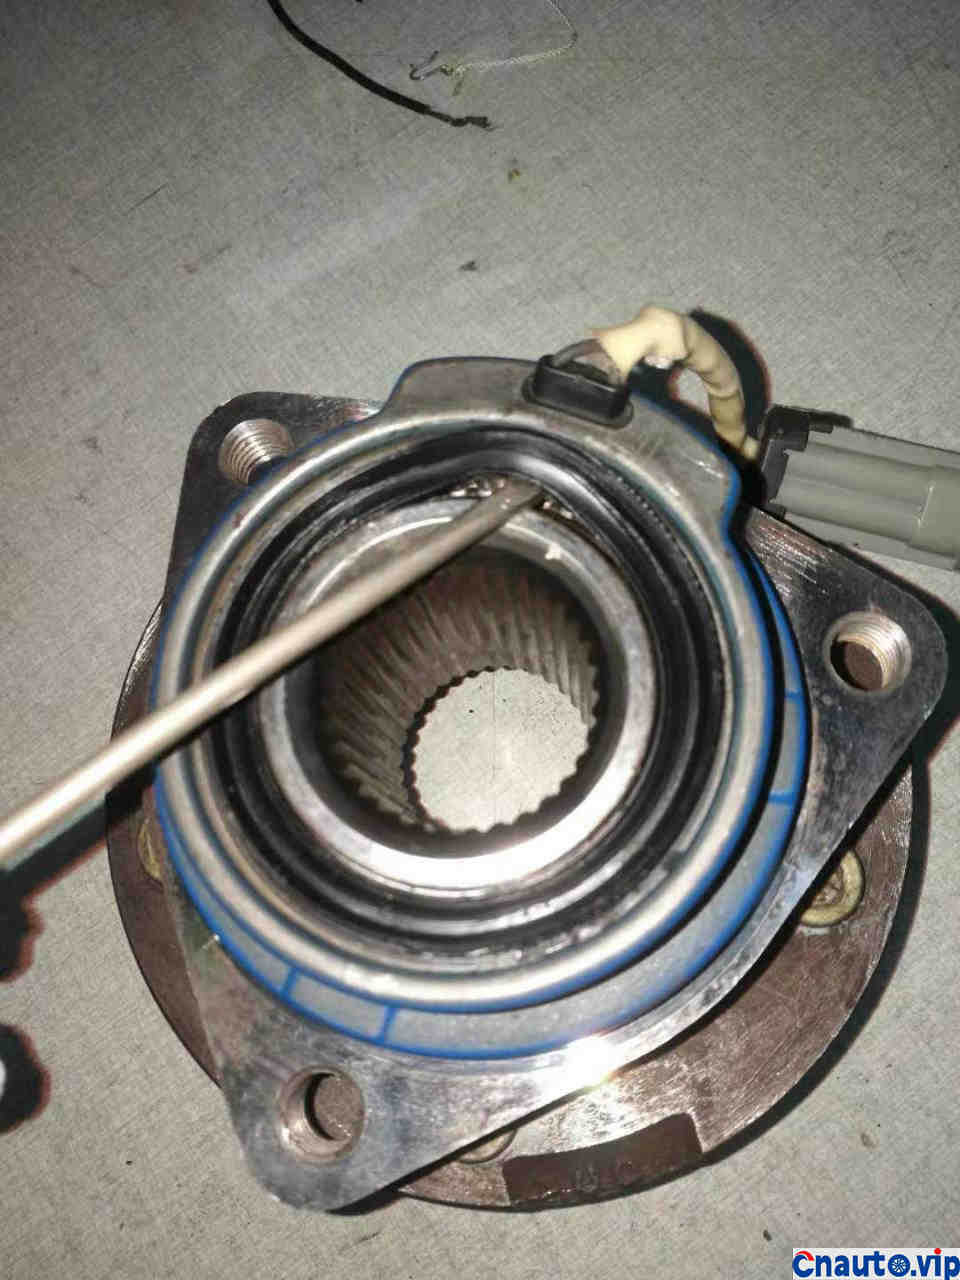
Doing this (later found to be wrong)
I couldn’t do it anymore. I couldn’t find the entrance to be demolished. After looking at it for a long time, I wondered why the green part had to be turned green. Isn’t it one? After knocking, the sound was different. Looking down:
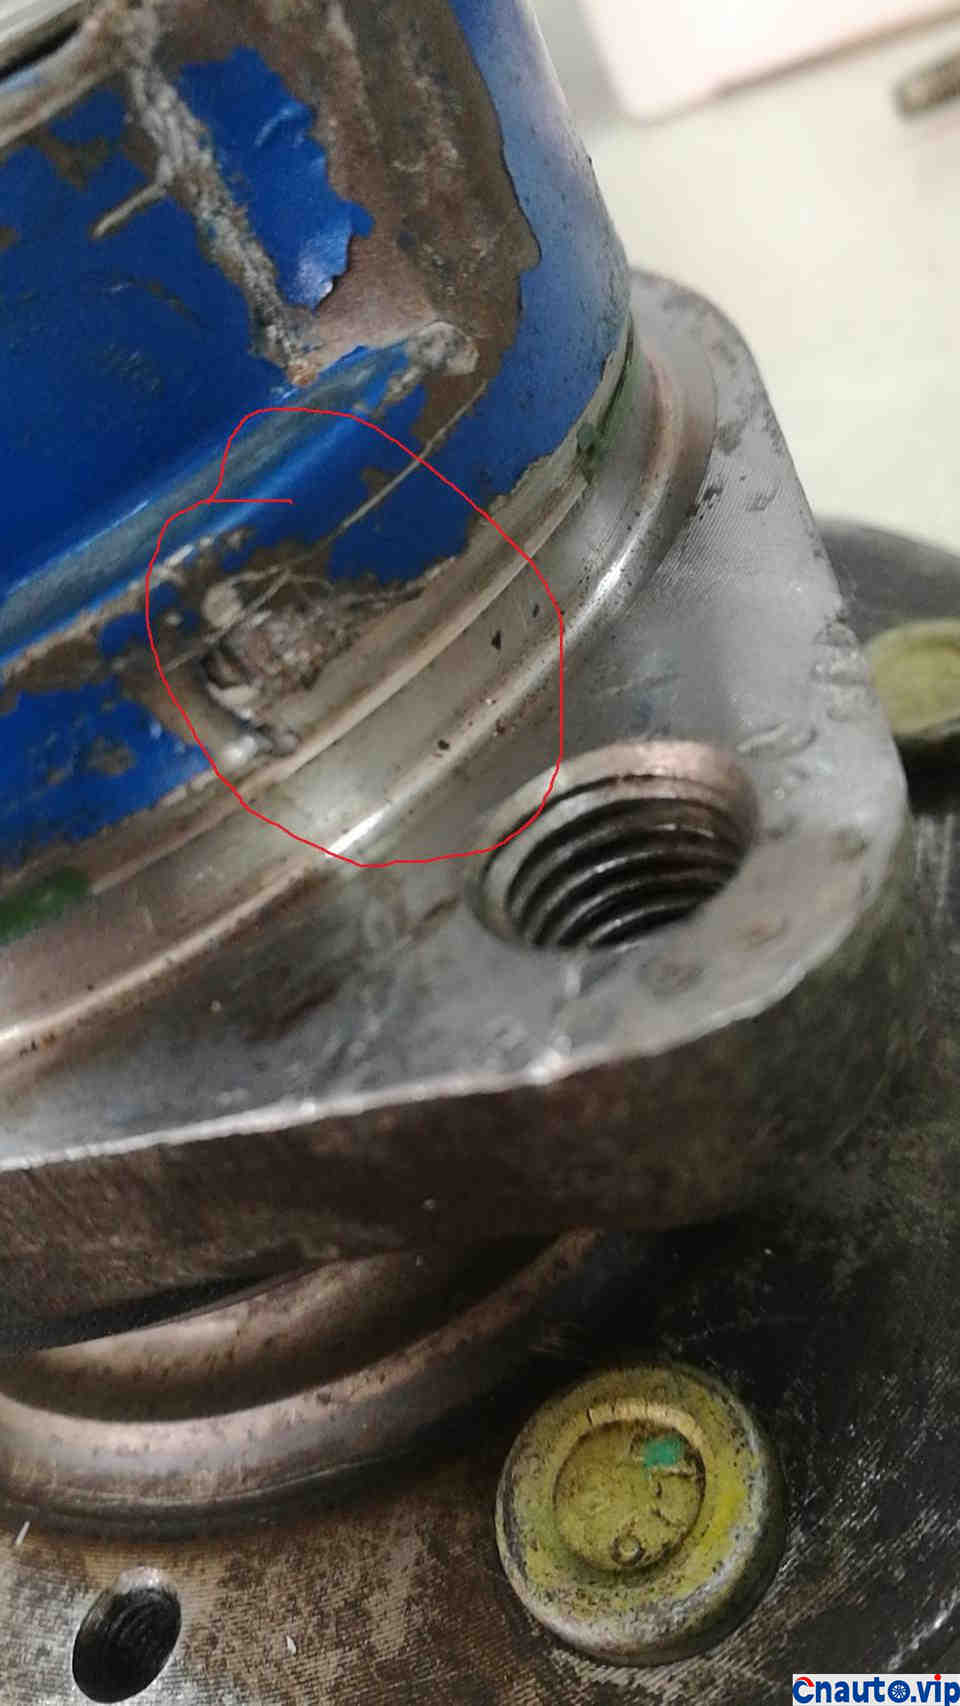
Looking for this green place, I used a screwdriver to knock out a hole, and found that it was iron sheet, maybe it was threaded (later found out to be wrong)
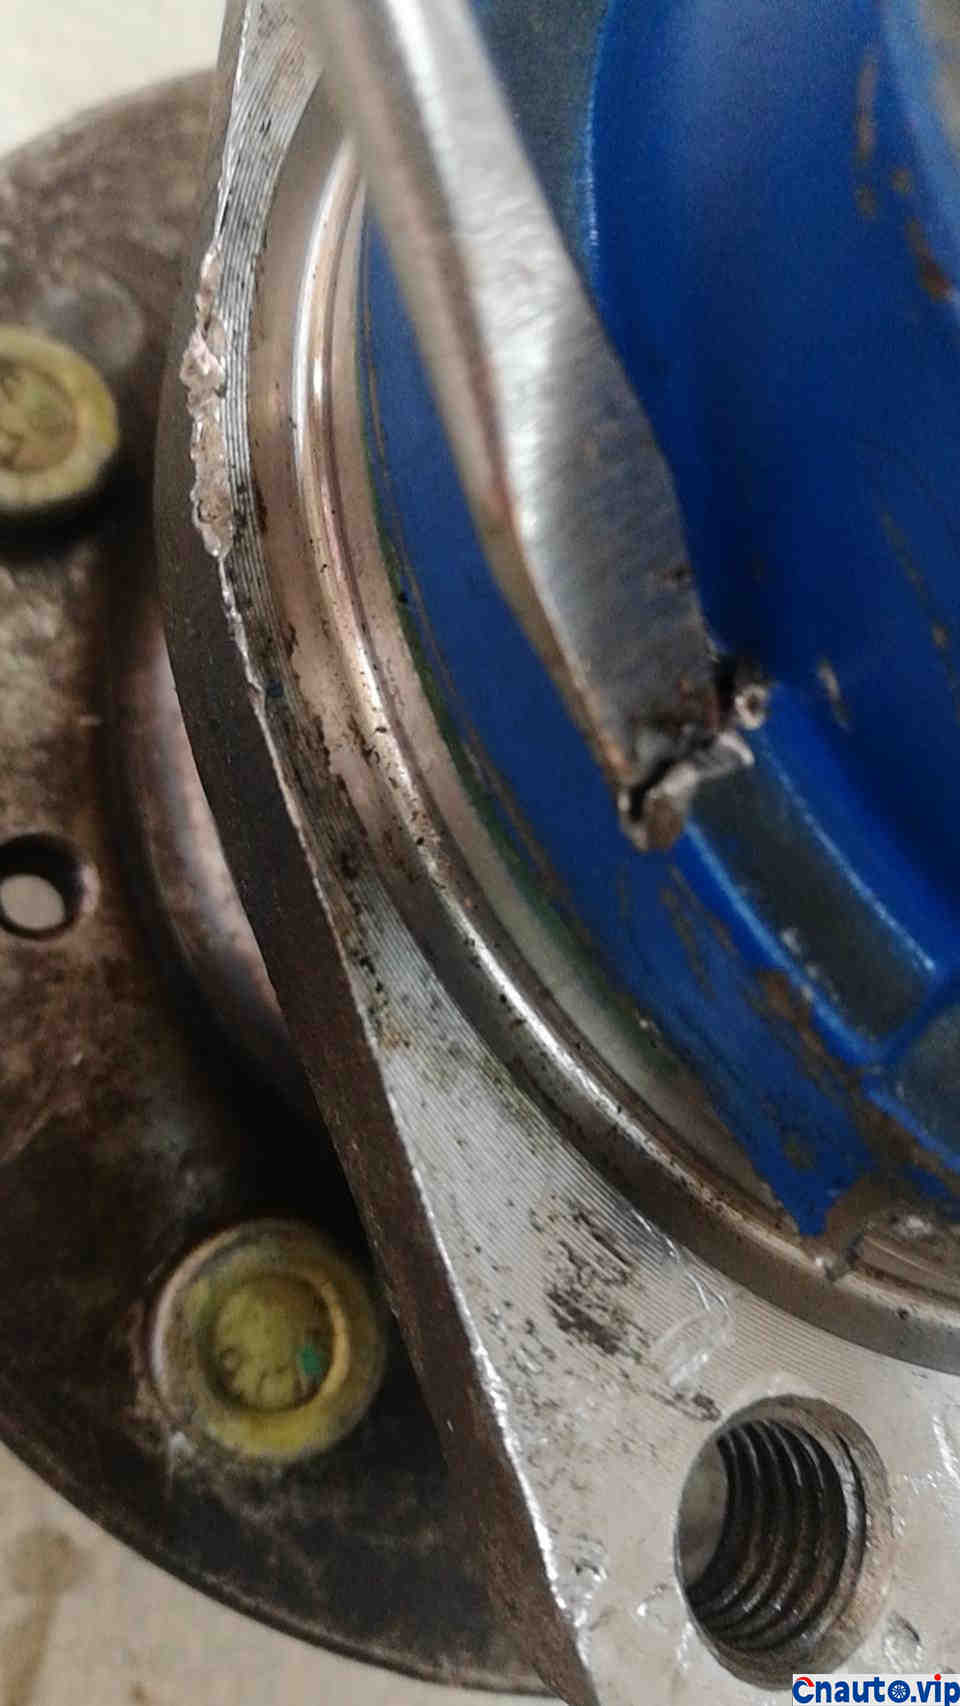
I tried to screw it down like this with a screwdriver (later found out to be wrong)
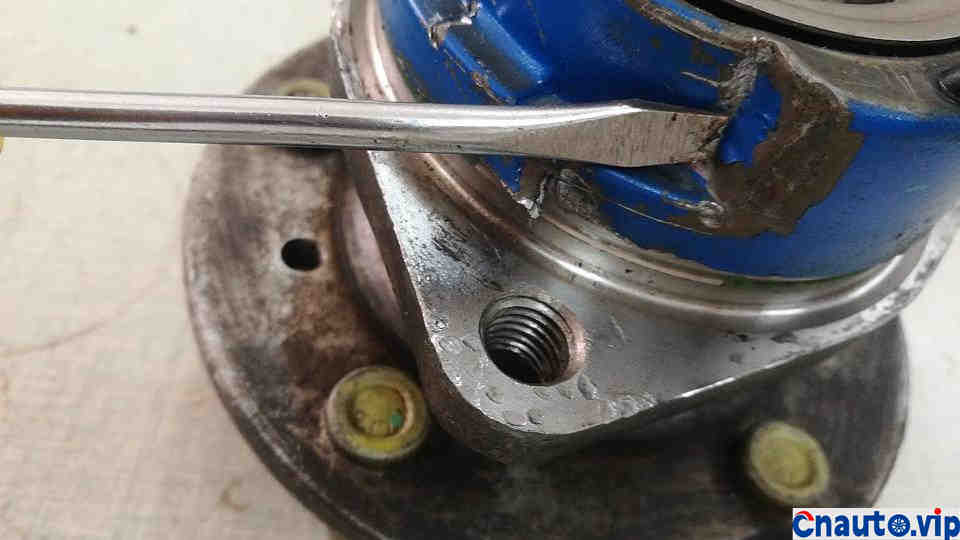
(It was later discovered to be wrong)
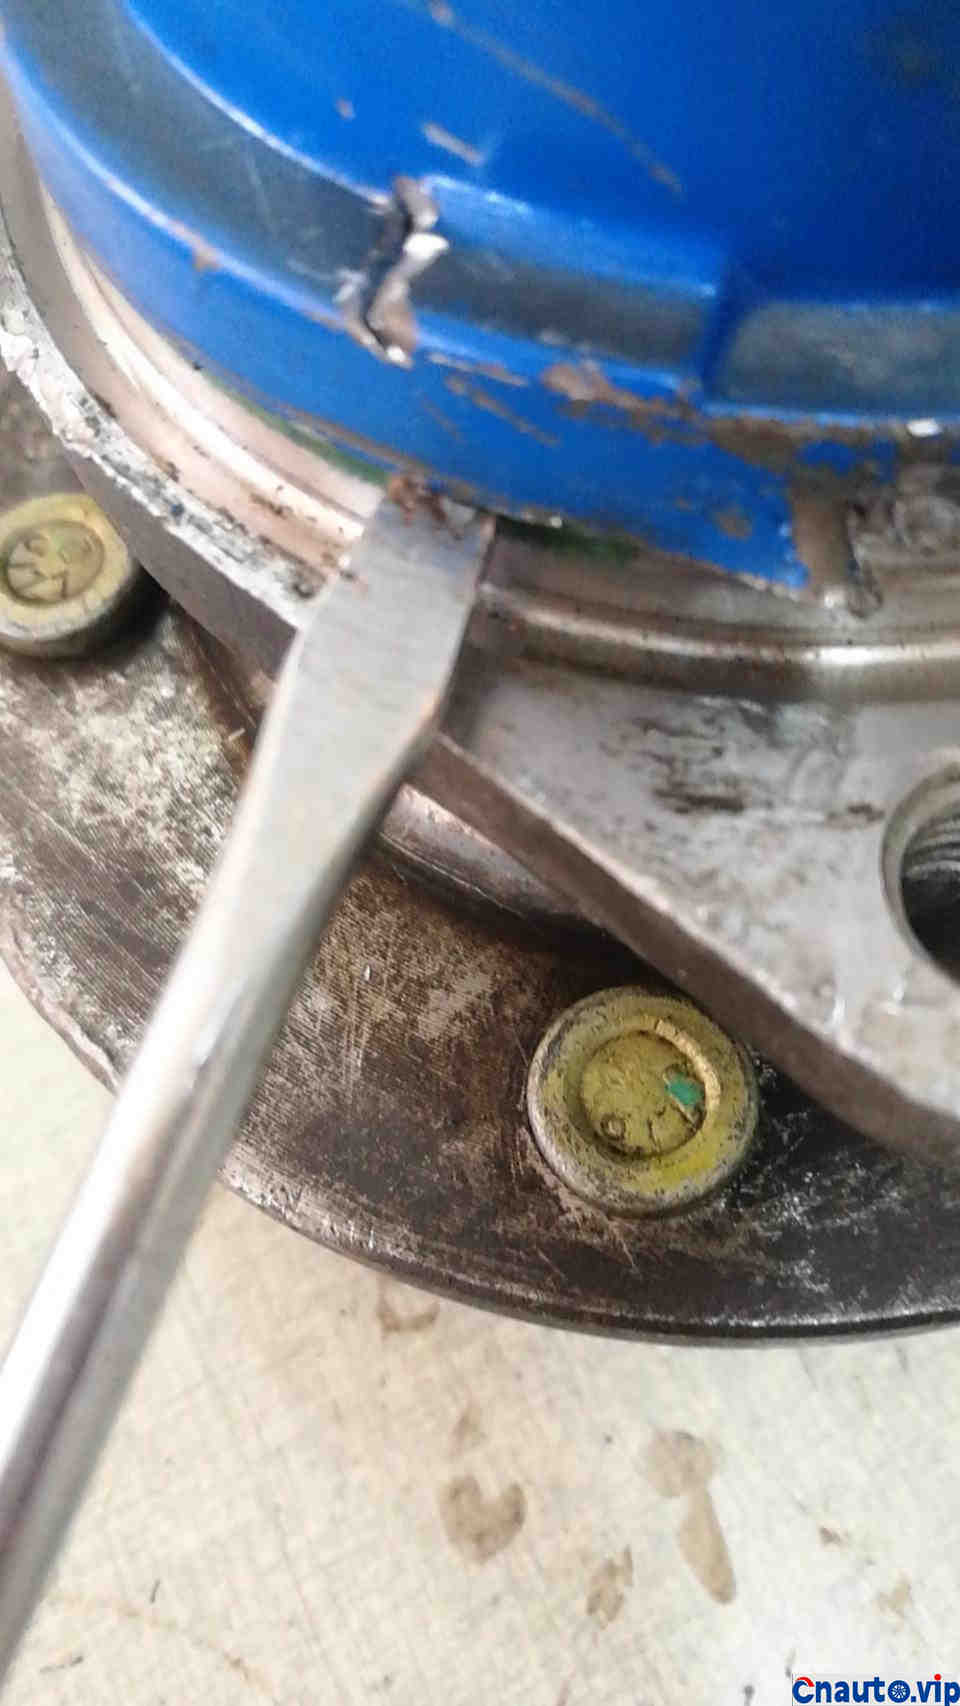
The correct way to do this is to use a screwdriver to gently tap from different positions from below,
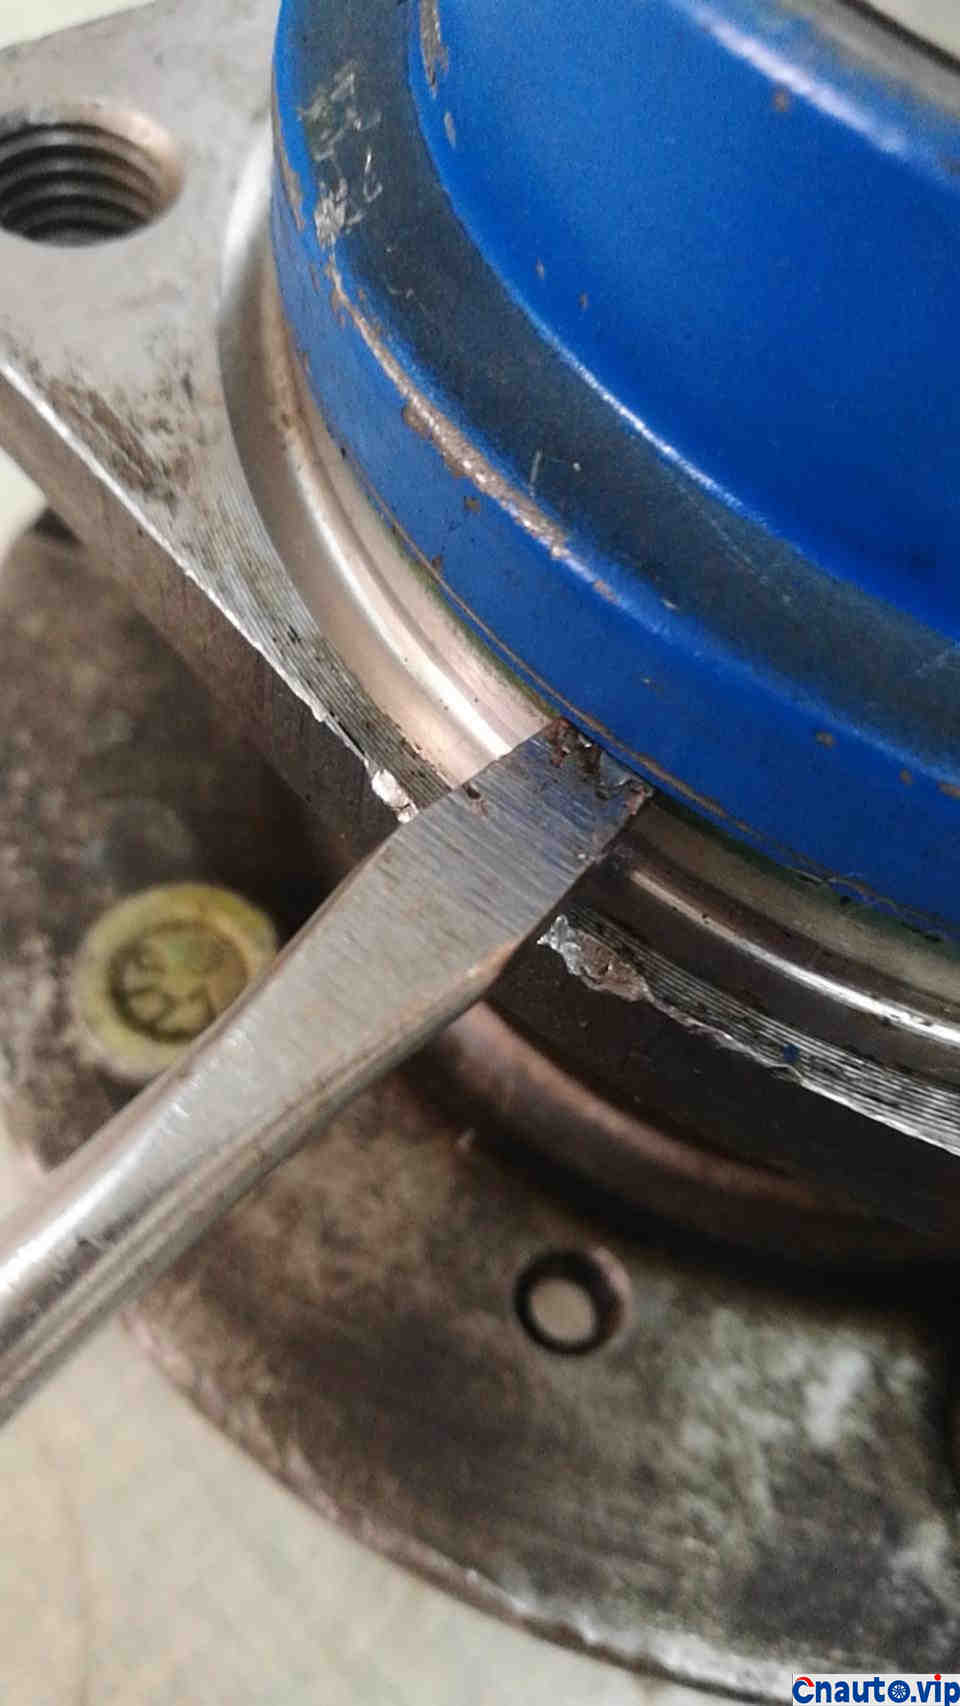
Beat somewhere else
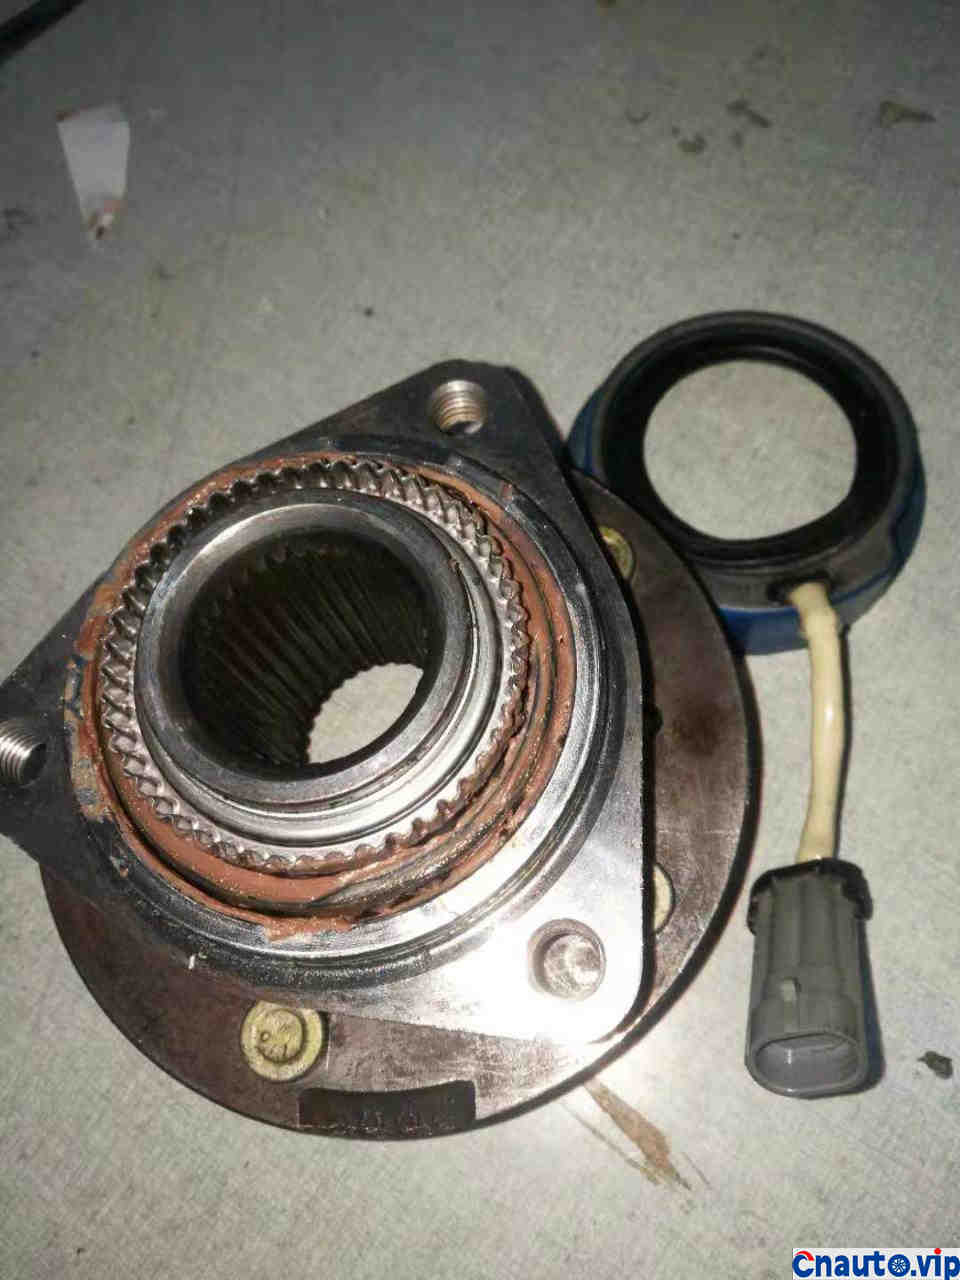
Open it like this, the cover should be an “ABS” sensor
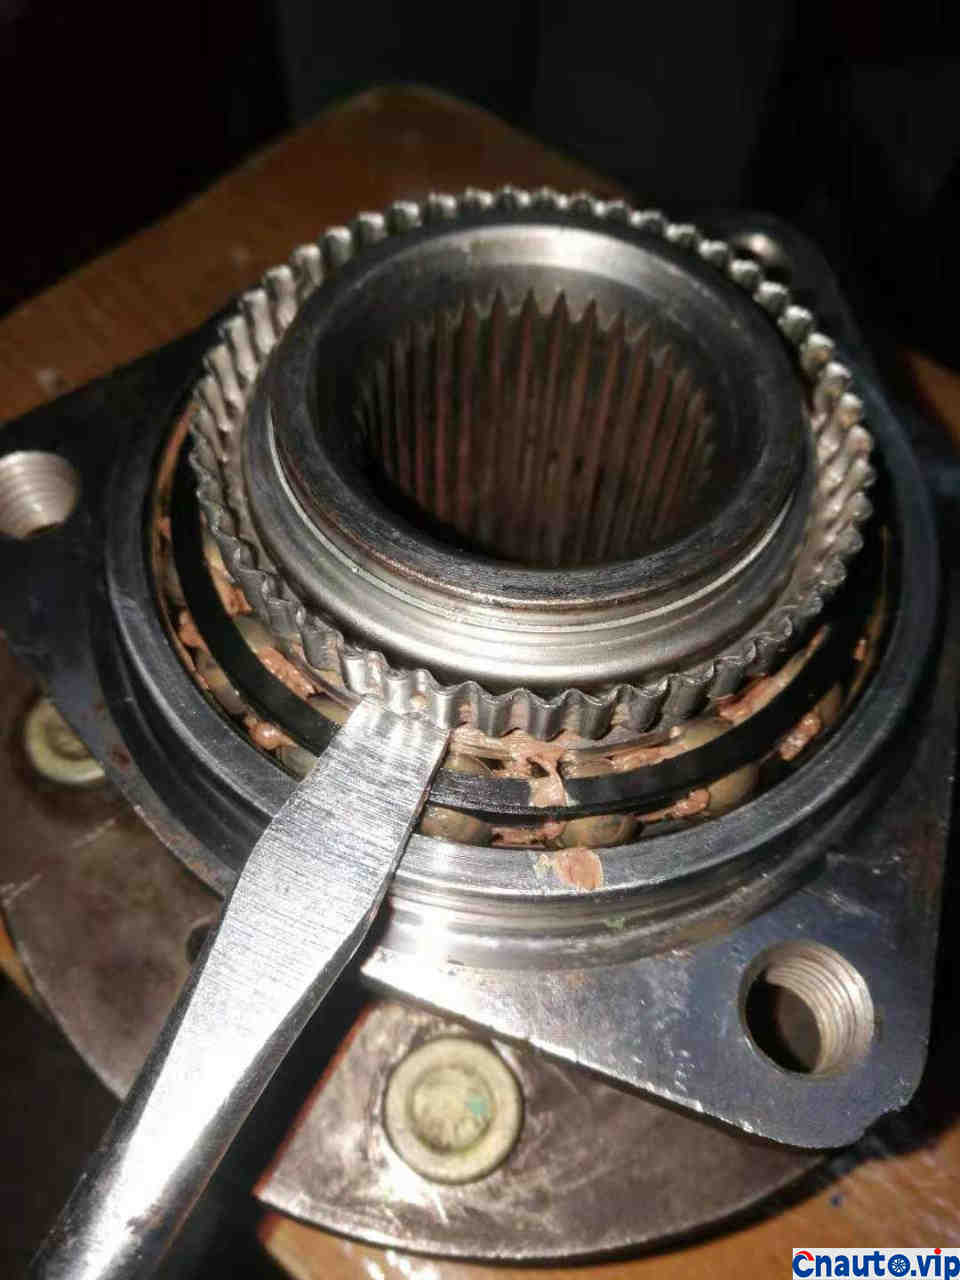
Or is the screwdriver knocking and twisting slowly
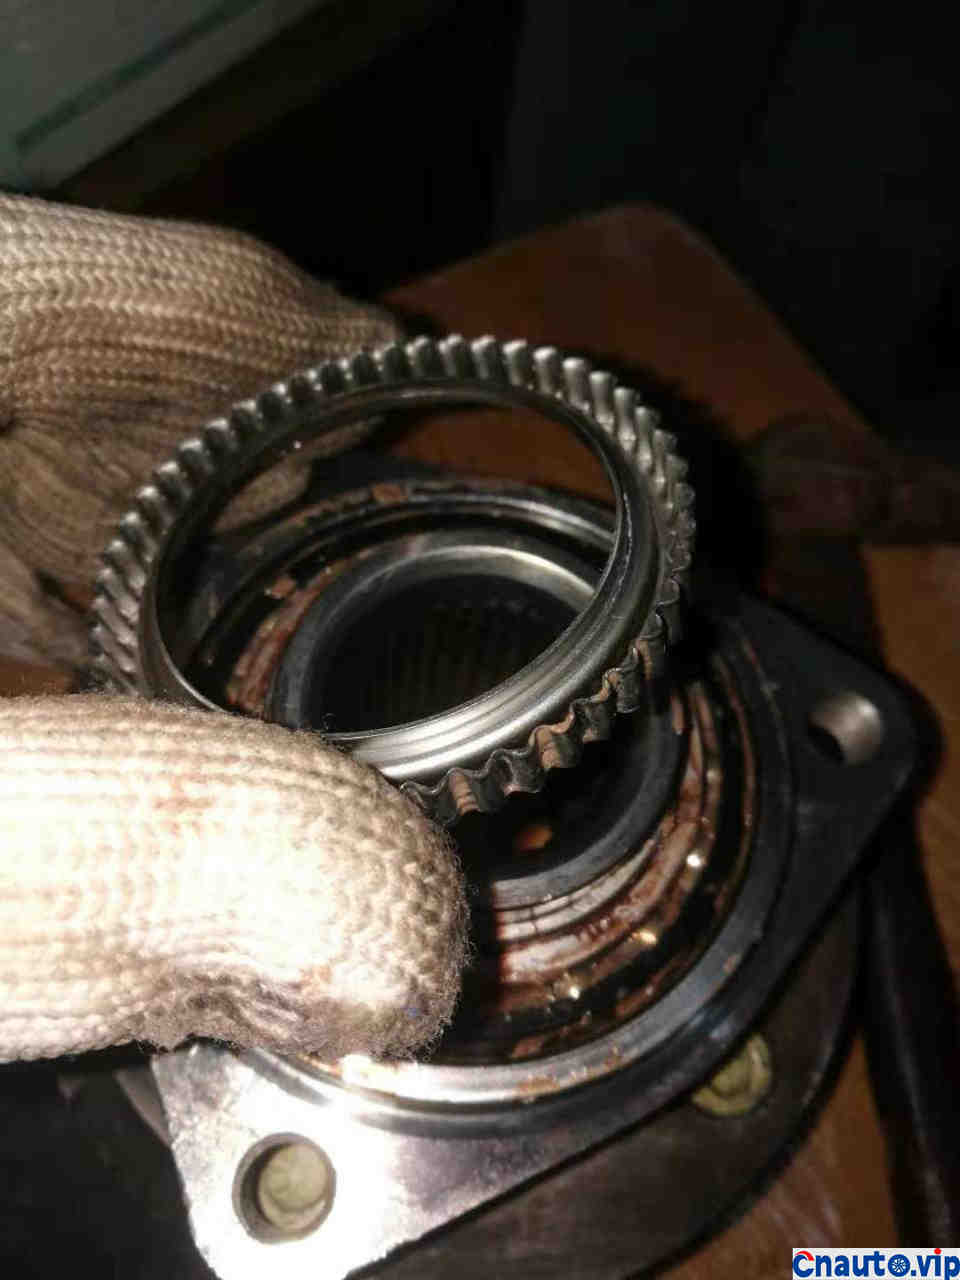
It’ll be out in a minute.
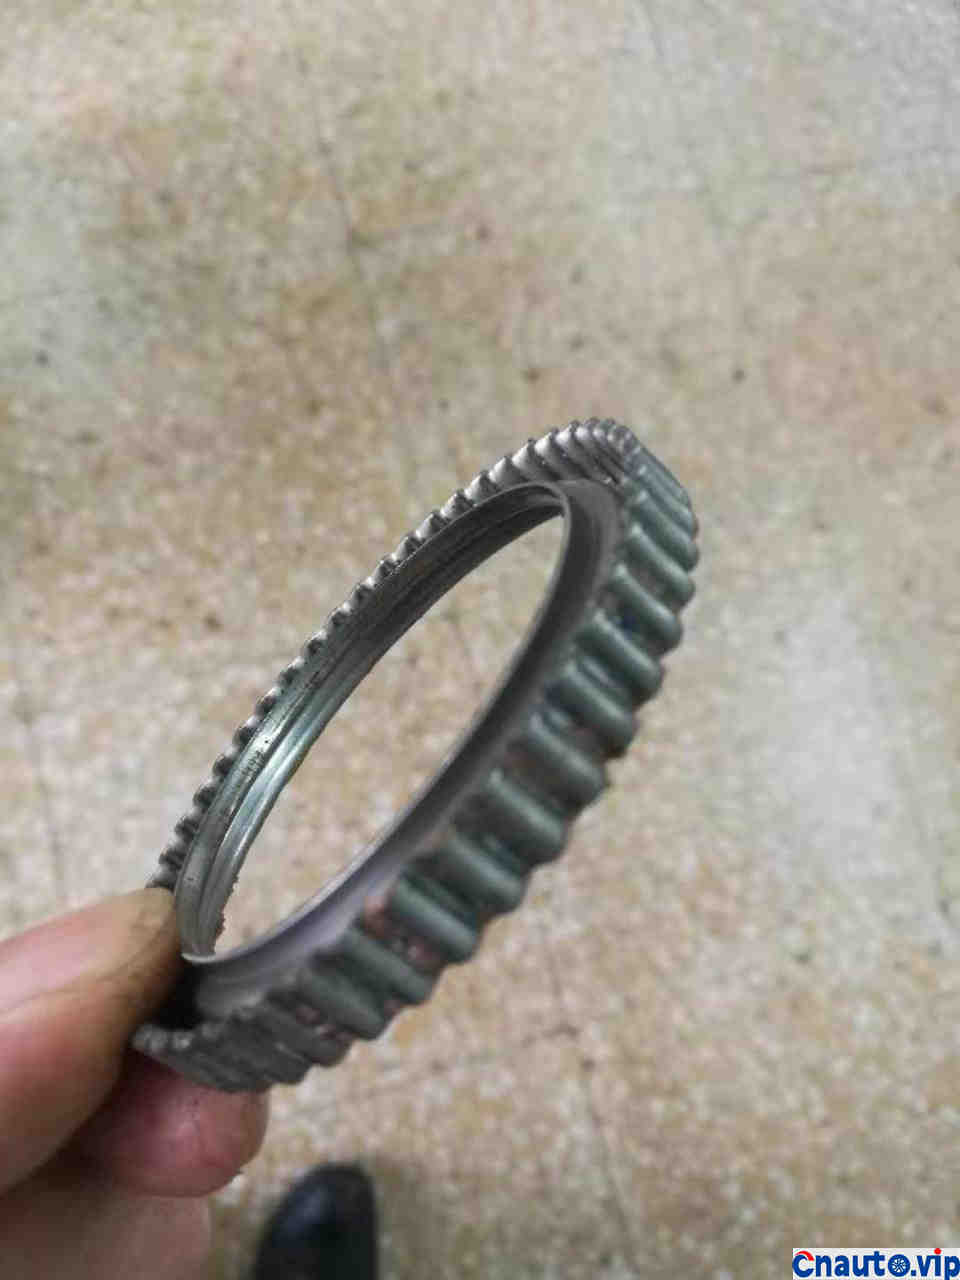
This is the thing. It should be the “ABS” sensor accessory
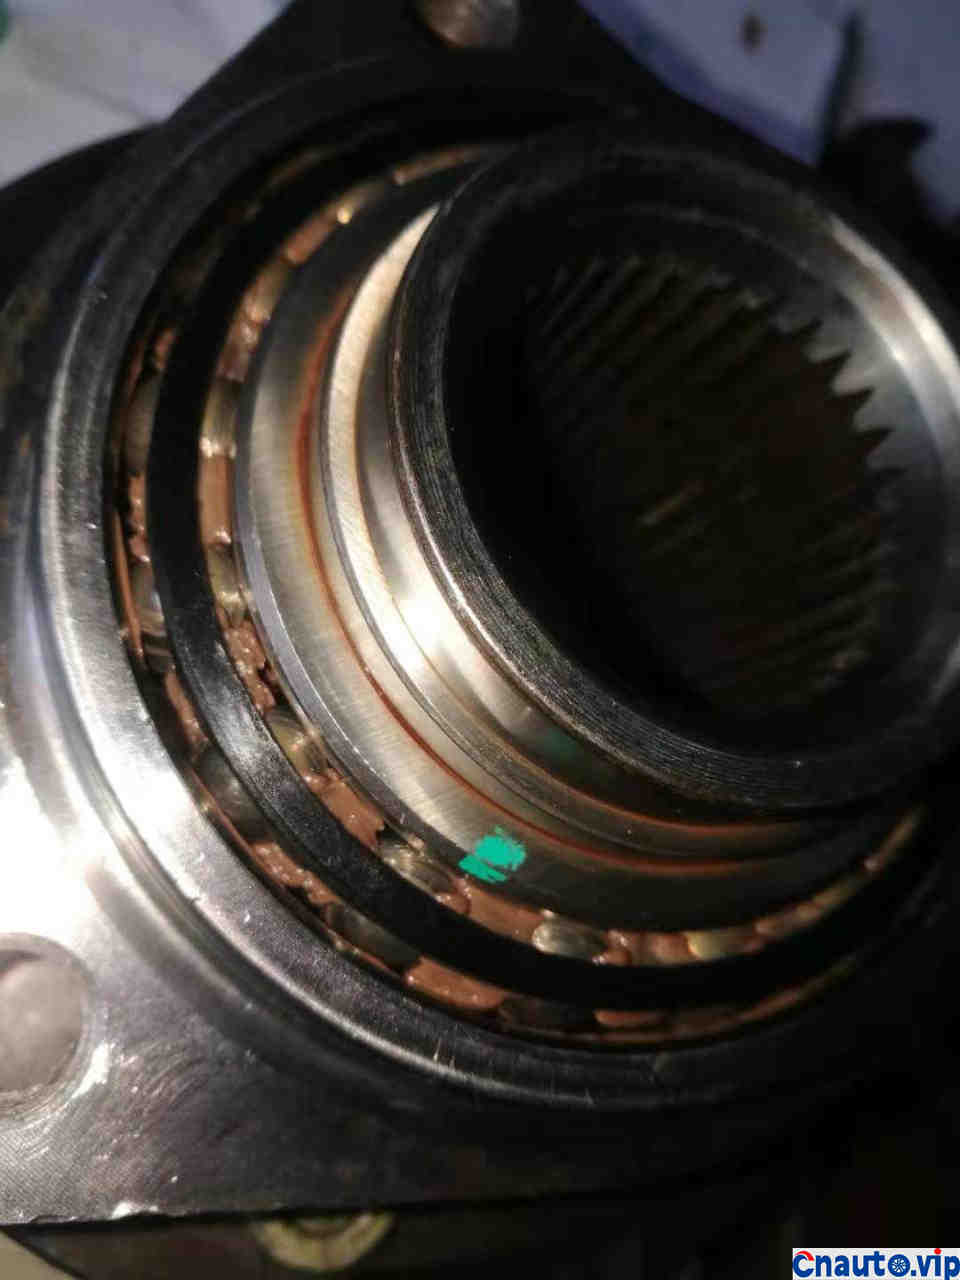
Inside, you can’t see the so-called circlip that is usually found in bearings.
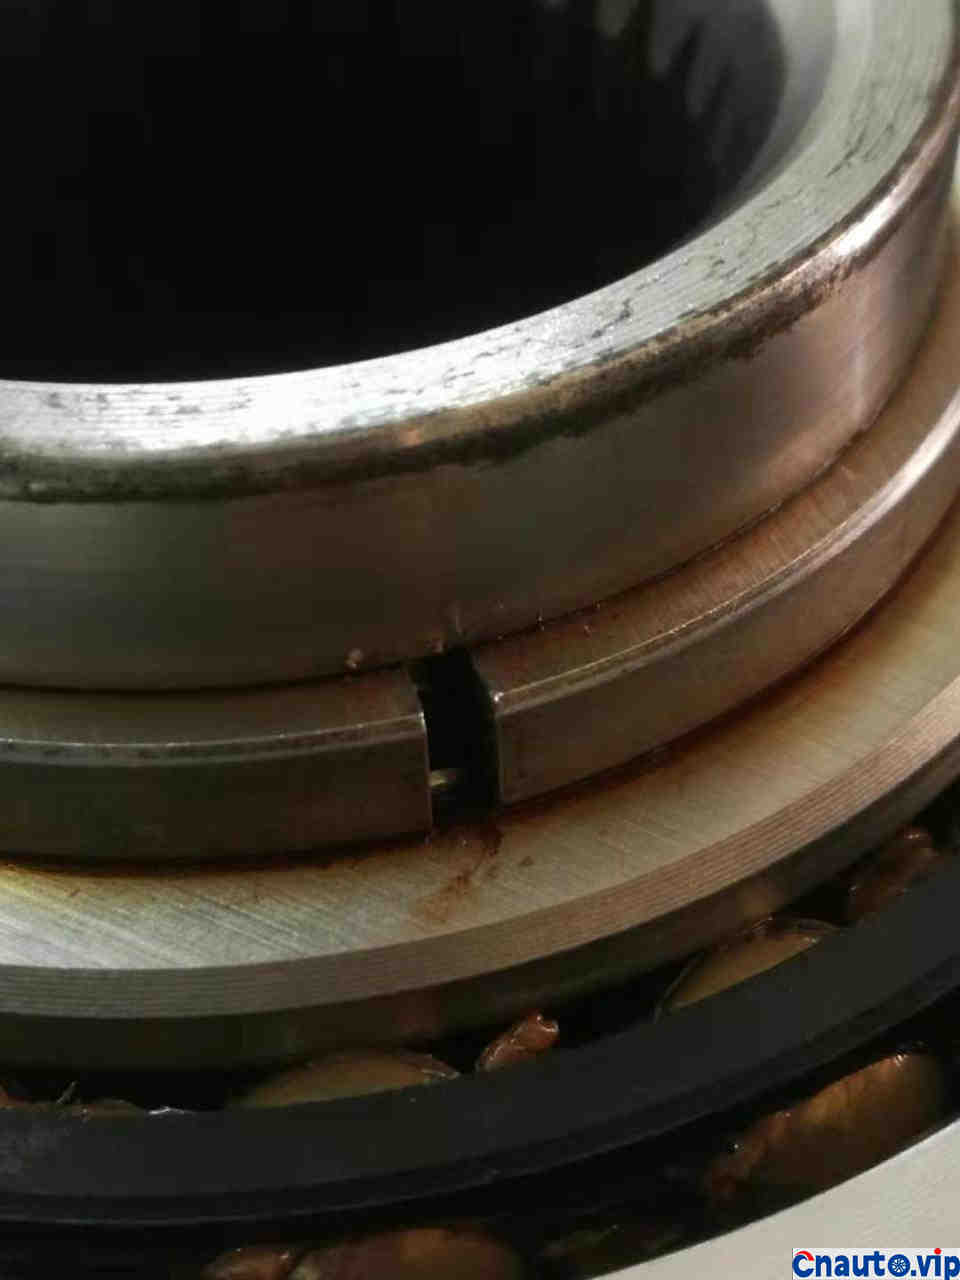
Found an opening
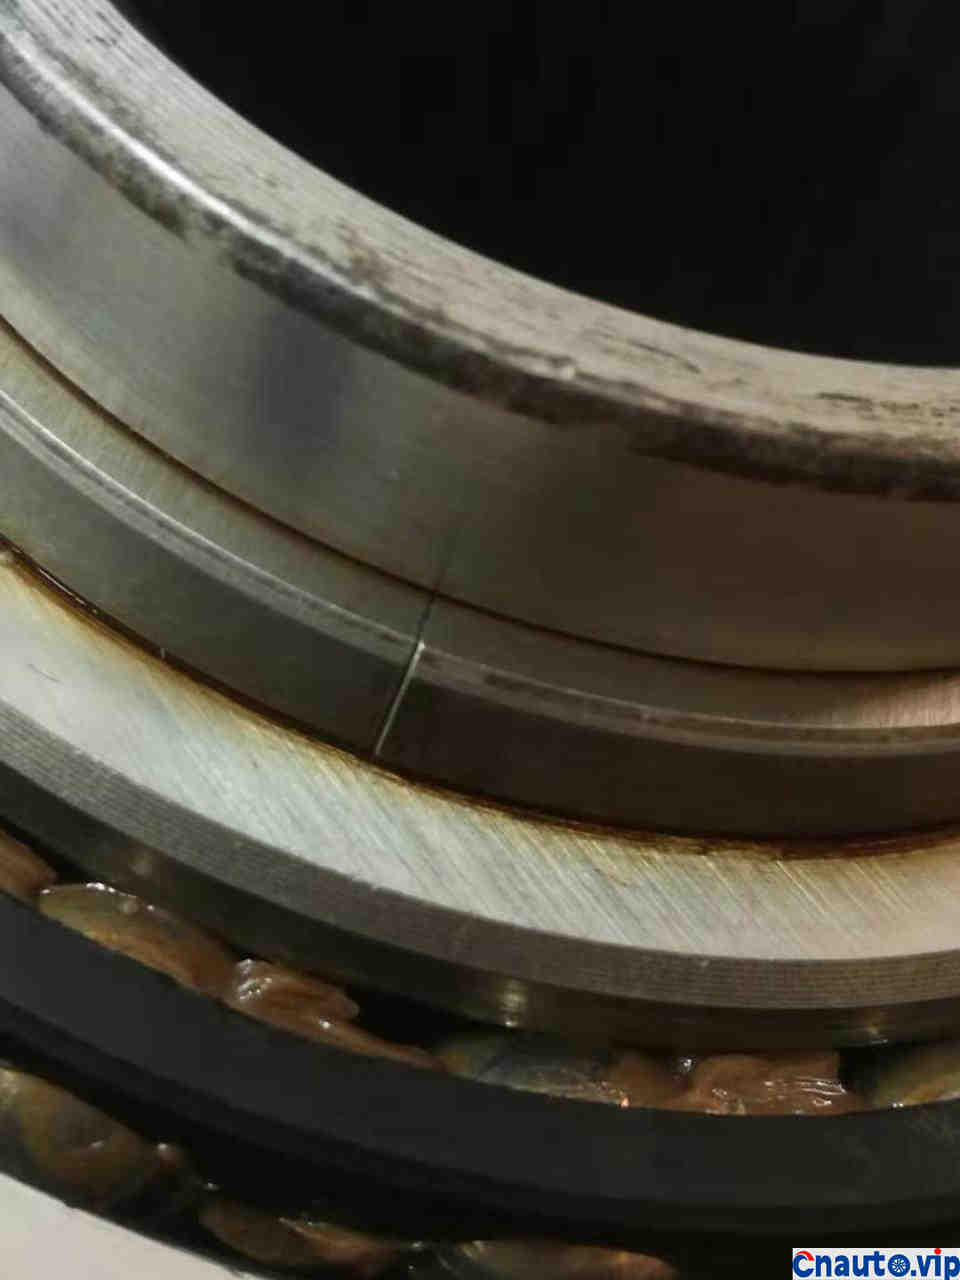
Another crack was found, which was actually also a mouth
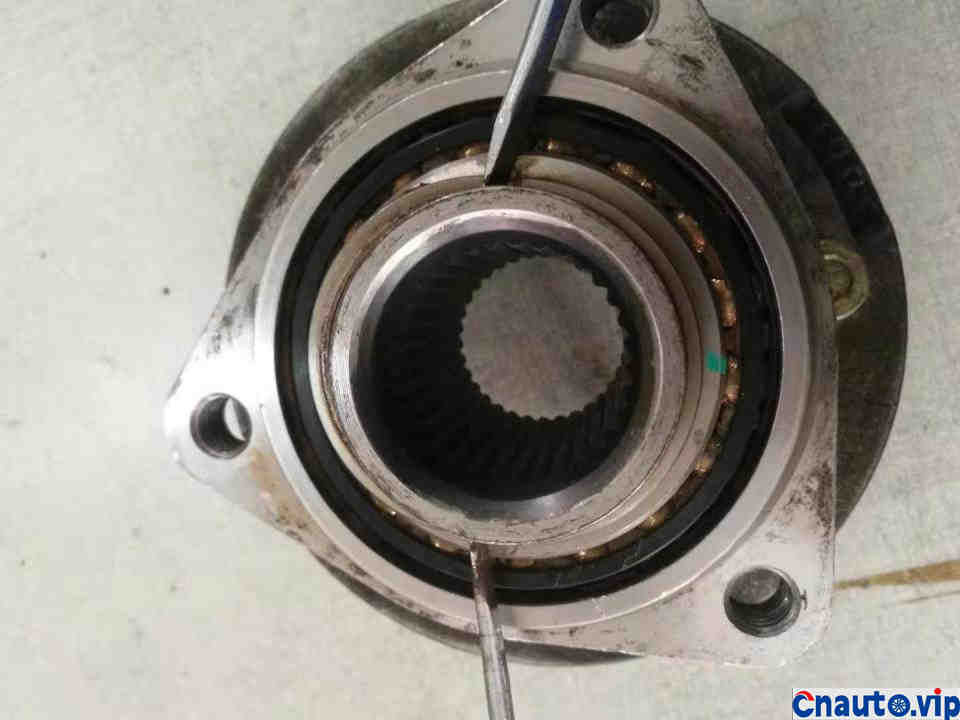
Two screwdrivers work together,
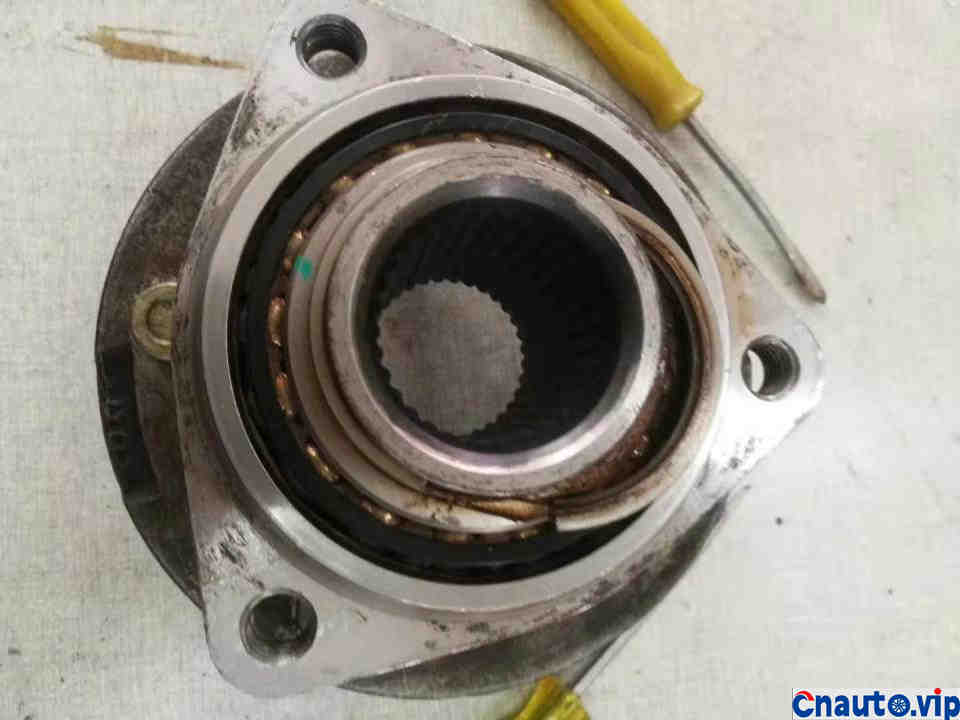
It popped out.
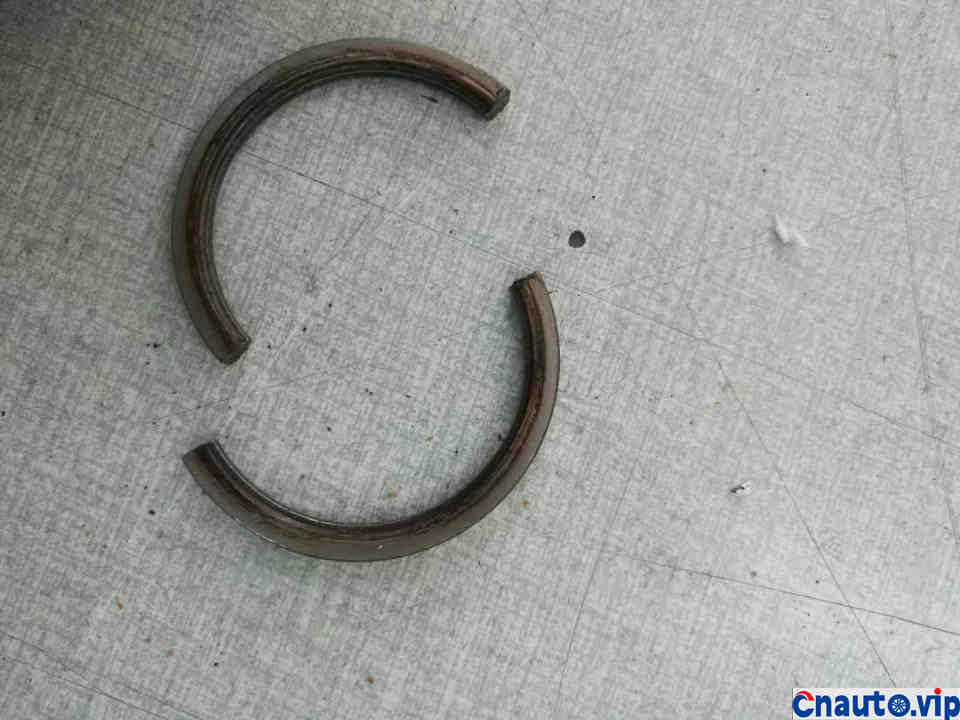
That’s them,”circlip”
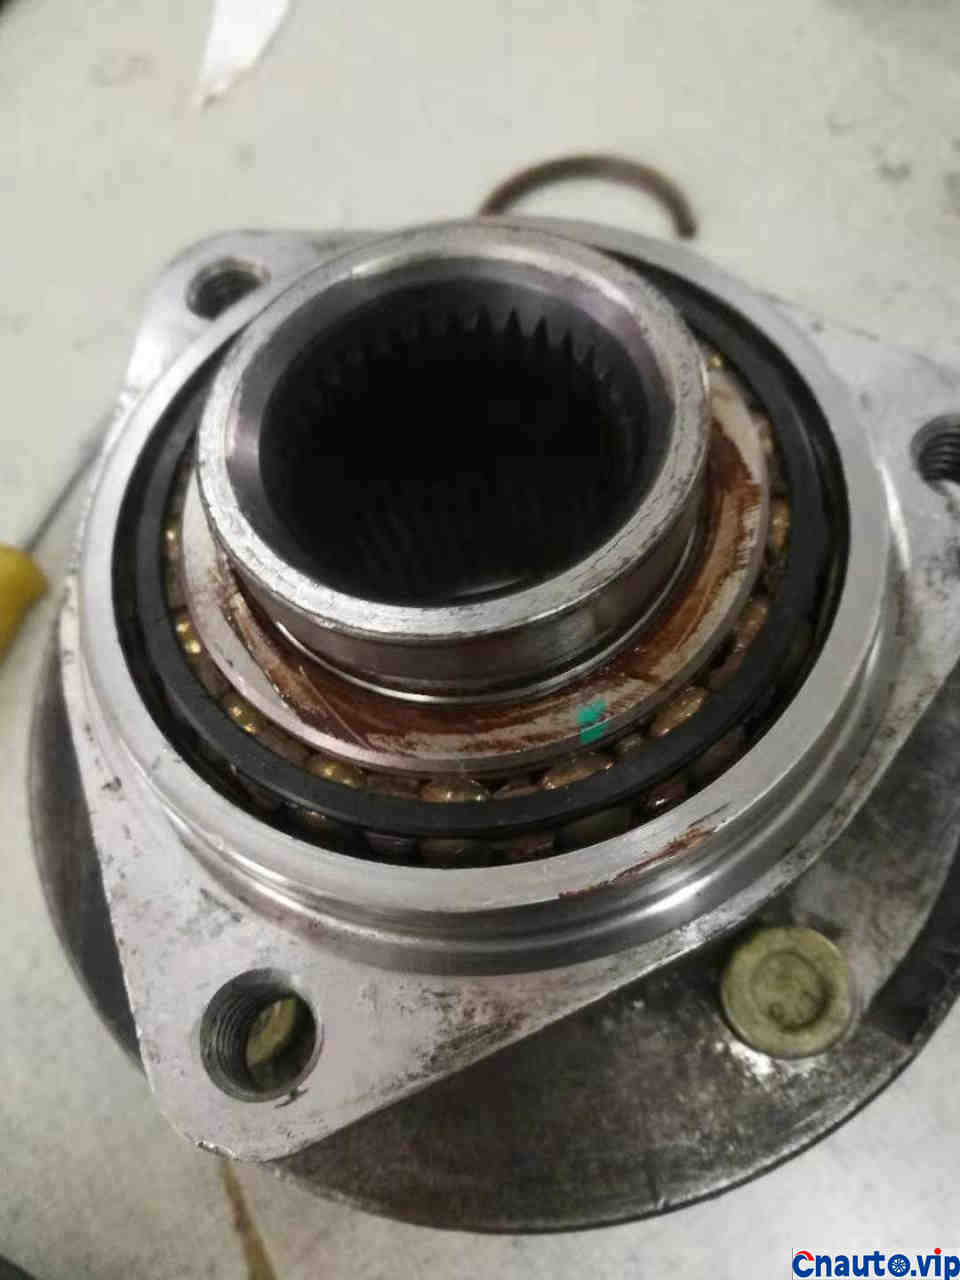
Now it’s like this. Without the circlip, the bearing cannot be taken out
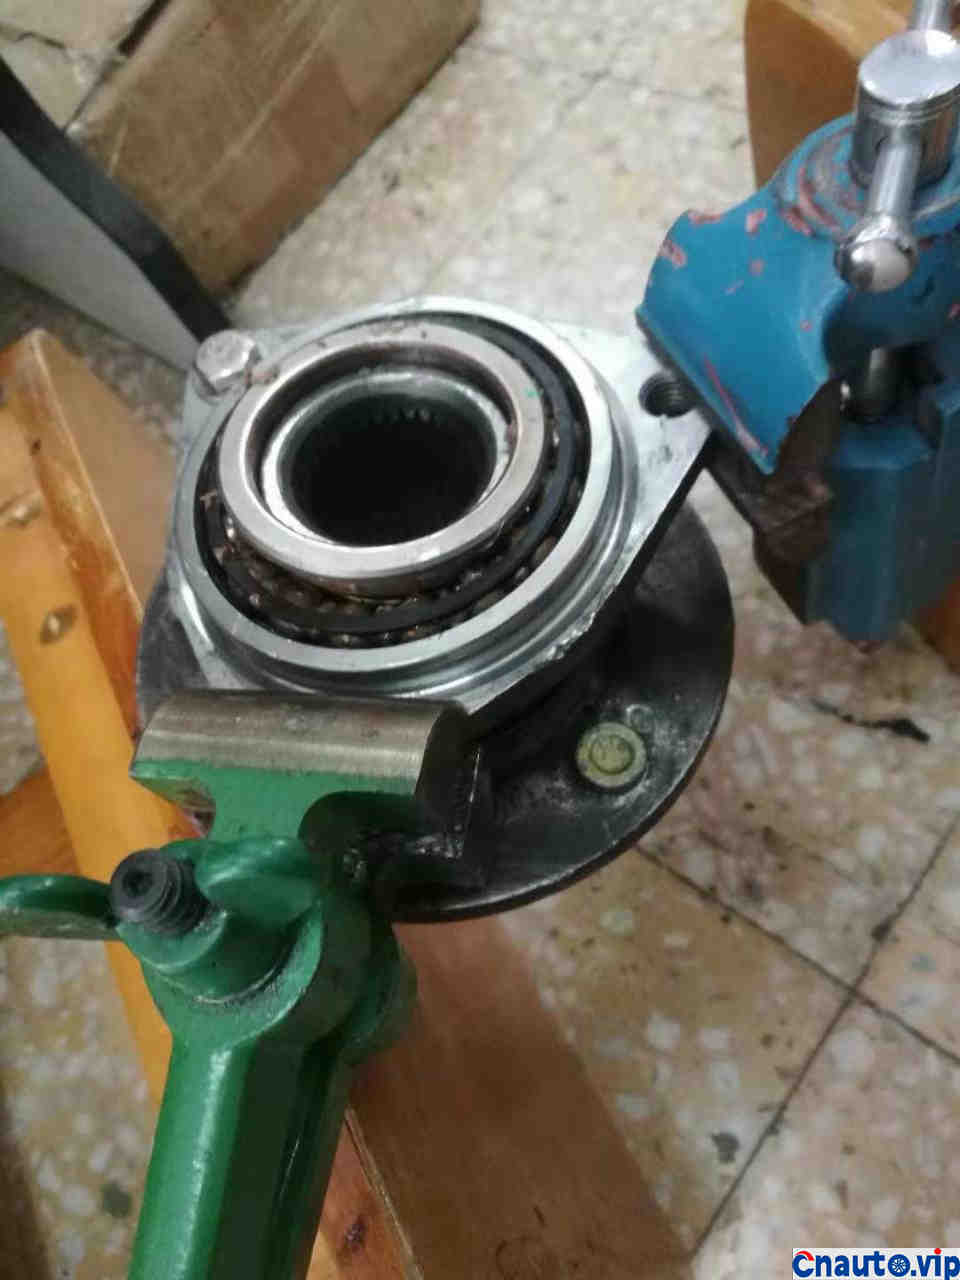
Knock it like this (how to knock it and think of a solution), use a little force, how powerful can such a small hammer have? There is no better tool, but keep knocking, knocking
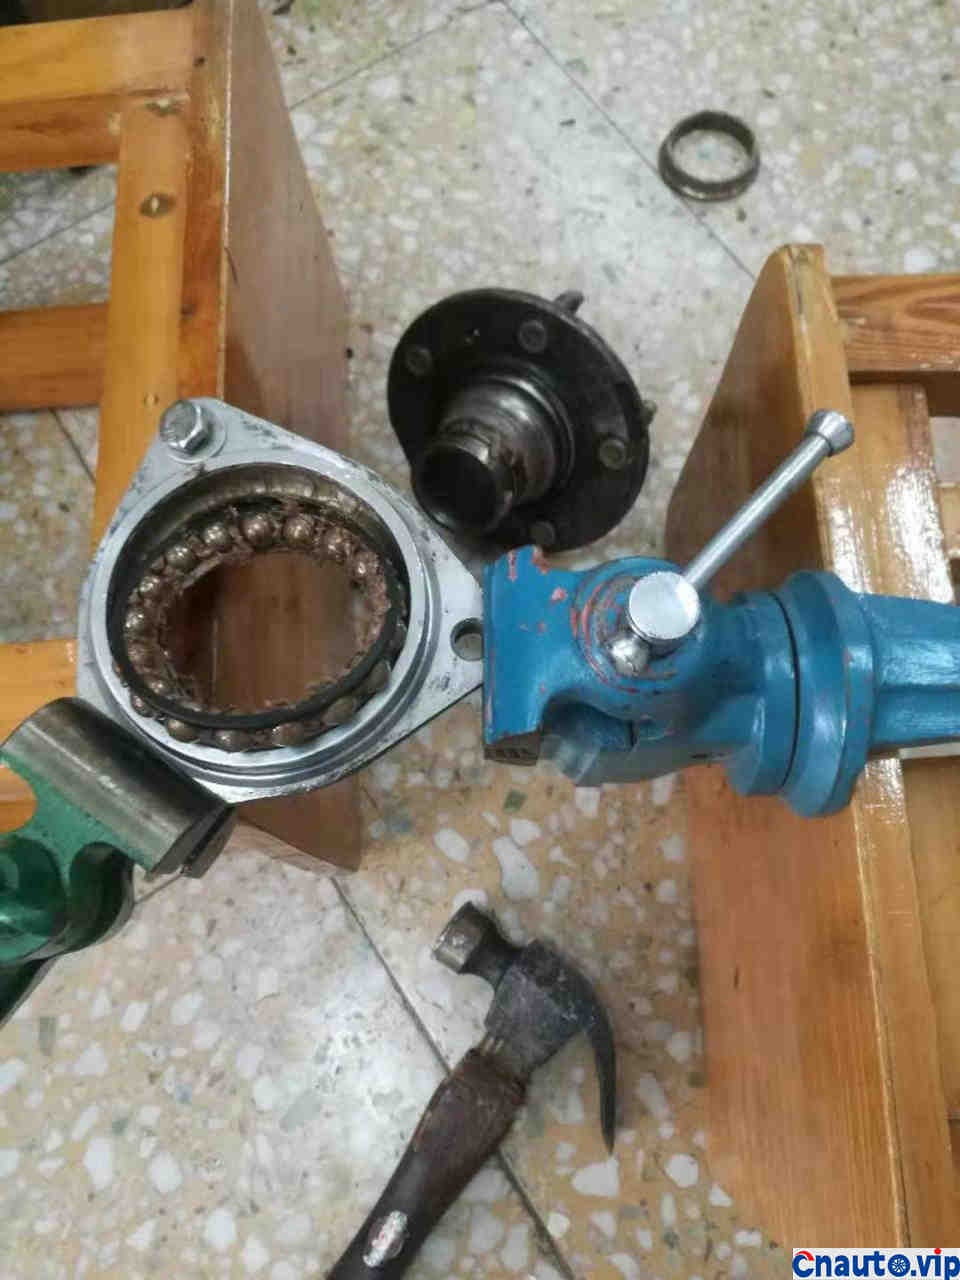
Finally it came down,
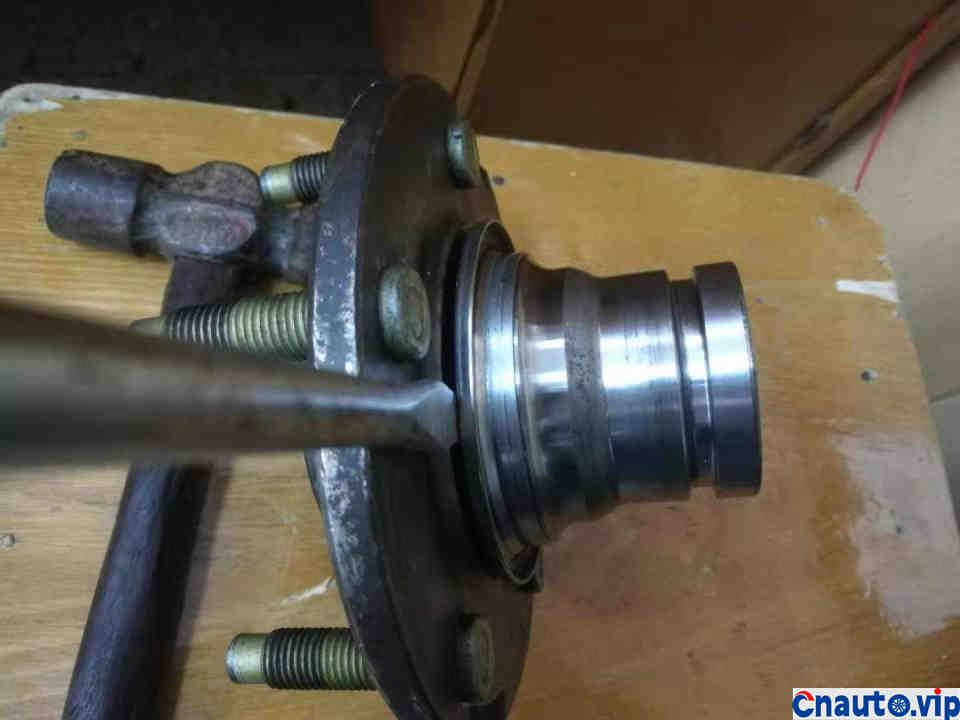
Or gently tap and twist with a screwdriver
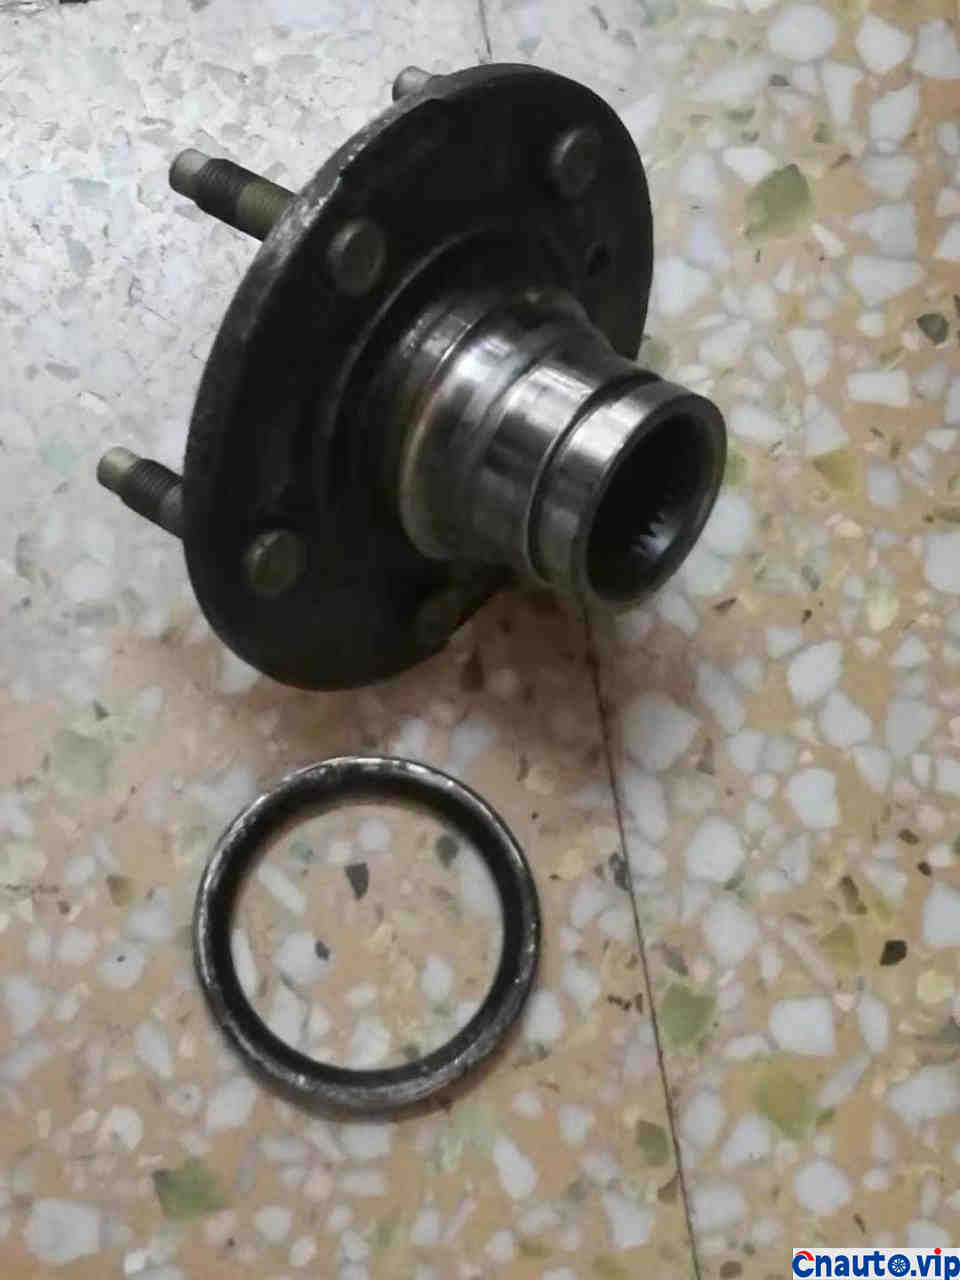
It’s not difficult, I knocked it out
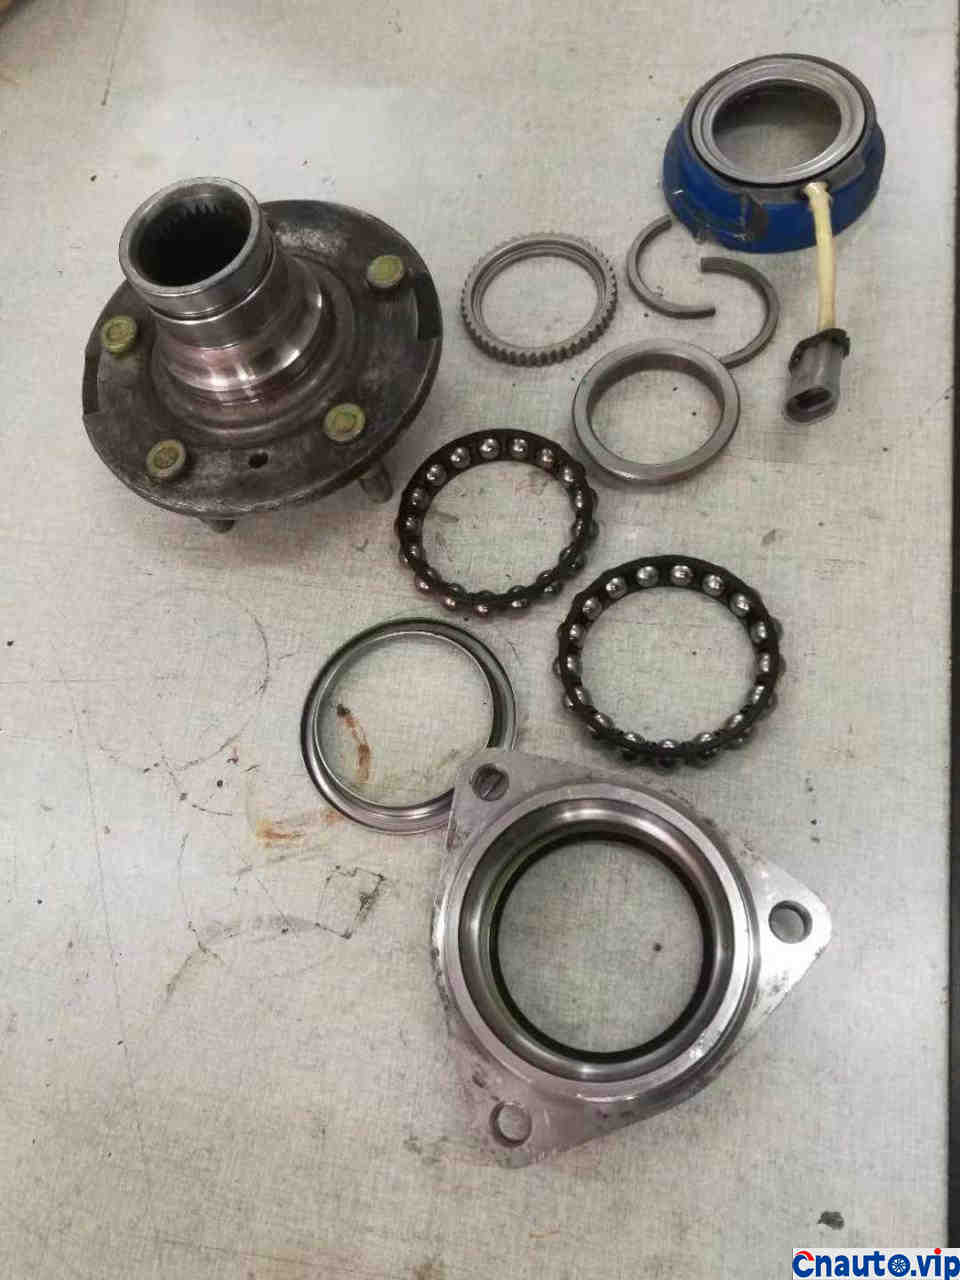
That’s all the things that were removed. This is what it looks like after the butter has been cleaned out.
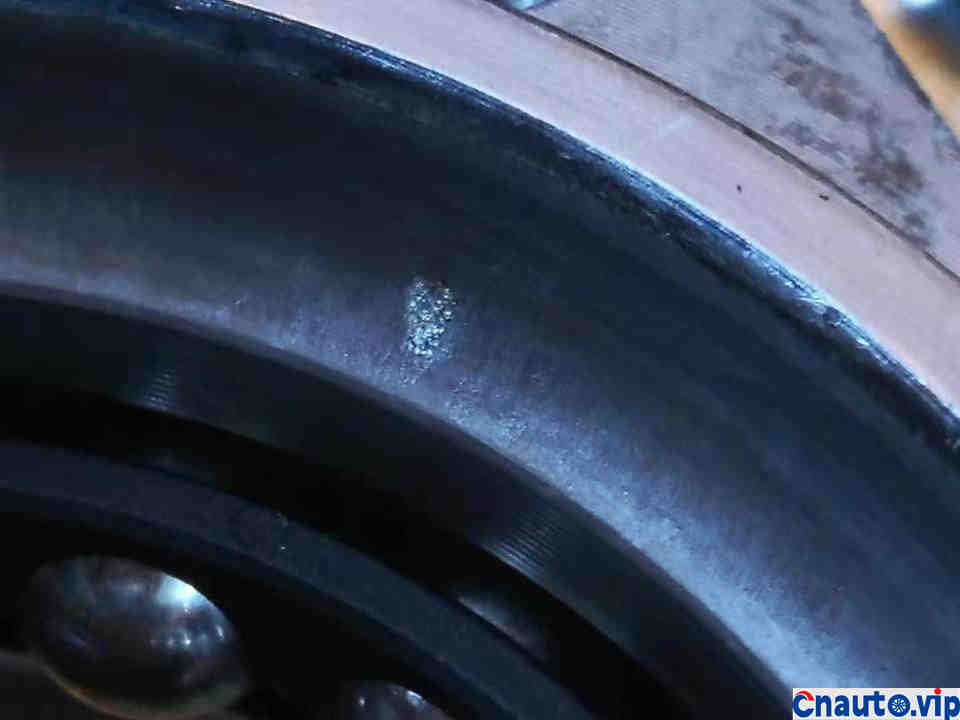
The purring noise turned out to be here. I don’t know how it happened. Maybe it might have been accidentally scraped by steel balls that were poorly lubricated (such as the speed was faster than the deceleration slope). All the steel balls were inspected and found to be in good condition.
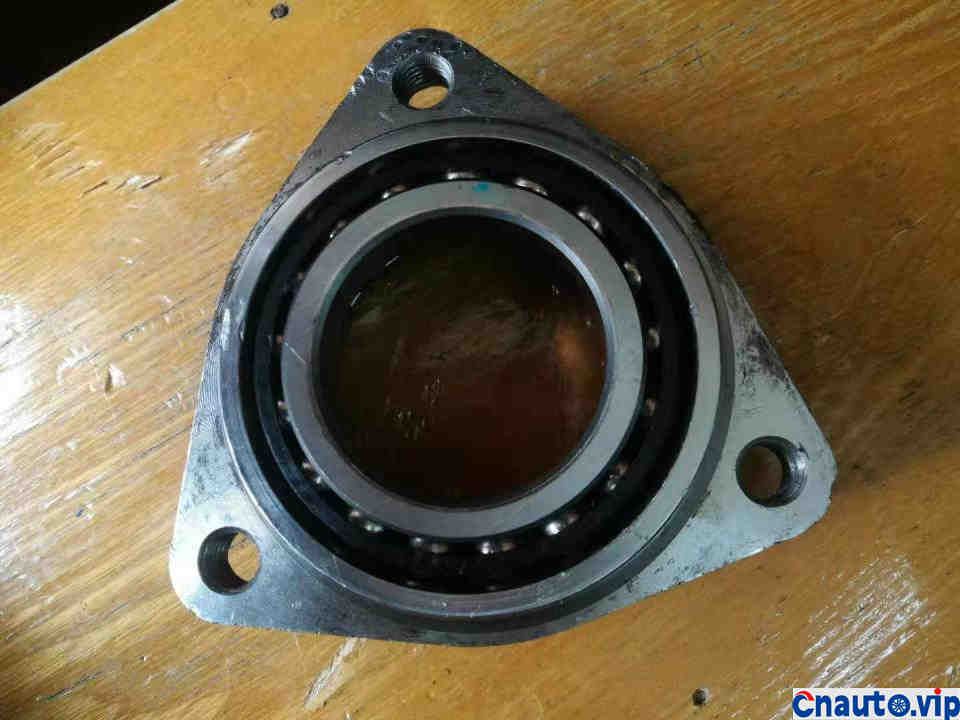
This is the bearing we want to replace???? Is it???? I guess it won’t be cheap to buy!!!!
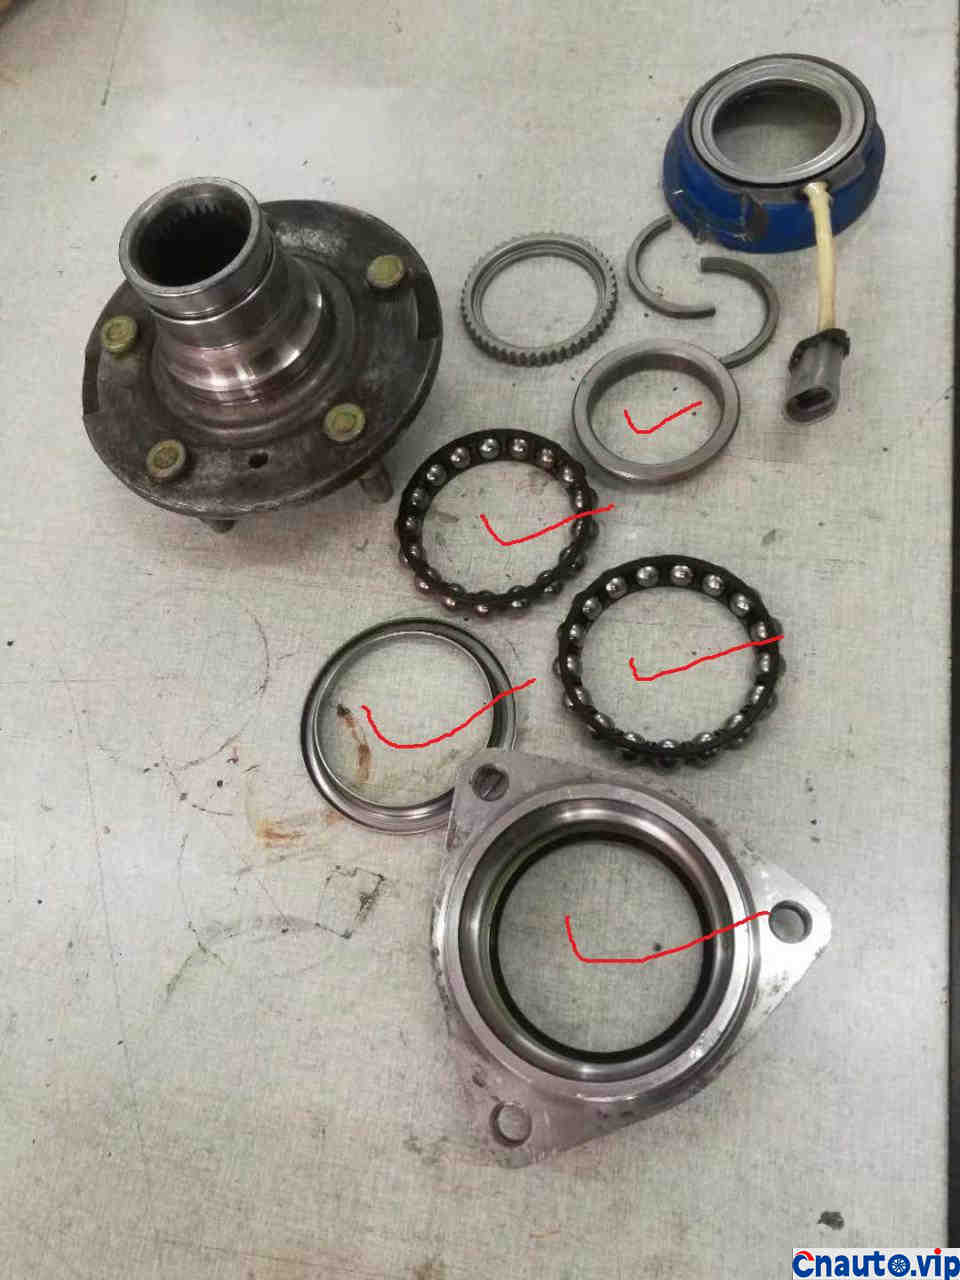
This bearing is assembled from these things.
To make a brief summary, it is not difficult to remove. Ordinary tools will do. It is easy to remove and install. It is not very tight. The key is that it is stuck with that very good circlip, but this bearing is not easy to buy, and the cost is not low, right? Whether there is any value in this exchange depends on people, it is purely fun, welcome to complain, thank you for watching!
Hot Information
Tesla Autopilot and similar automated driving systems get ‘poor’ rating from prominent safety group
 April 1, 2024
 Localization of EV parts without production scalability may not help cut EV price, says President, Amara Raja
 March 27, 2024
JCTSL may turn bus stands into charging points for e-buses
 March 27, 2024
 You May Like

