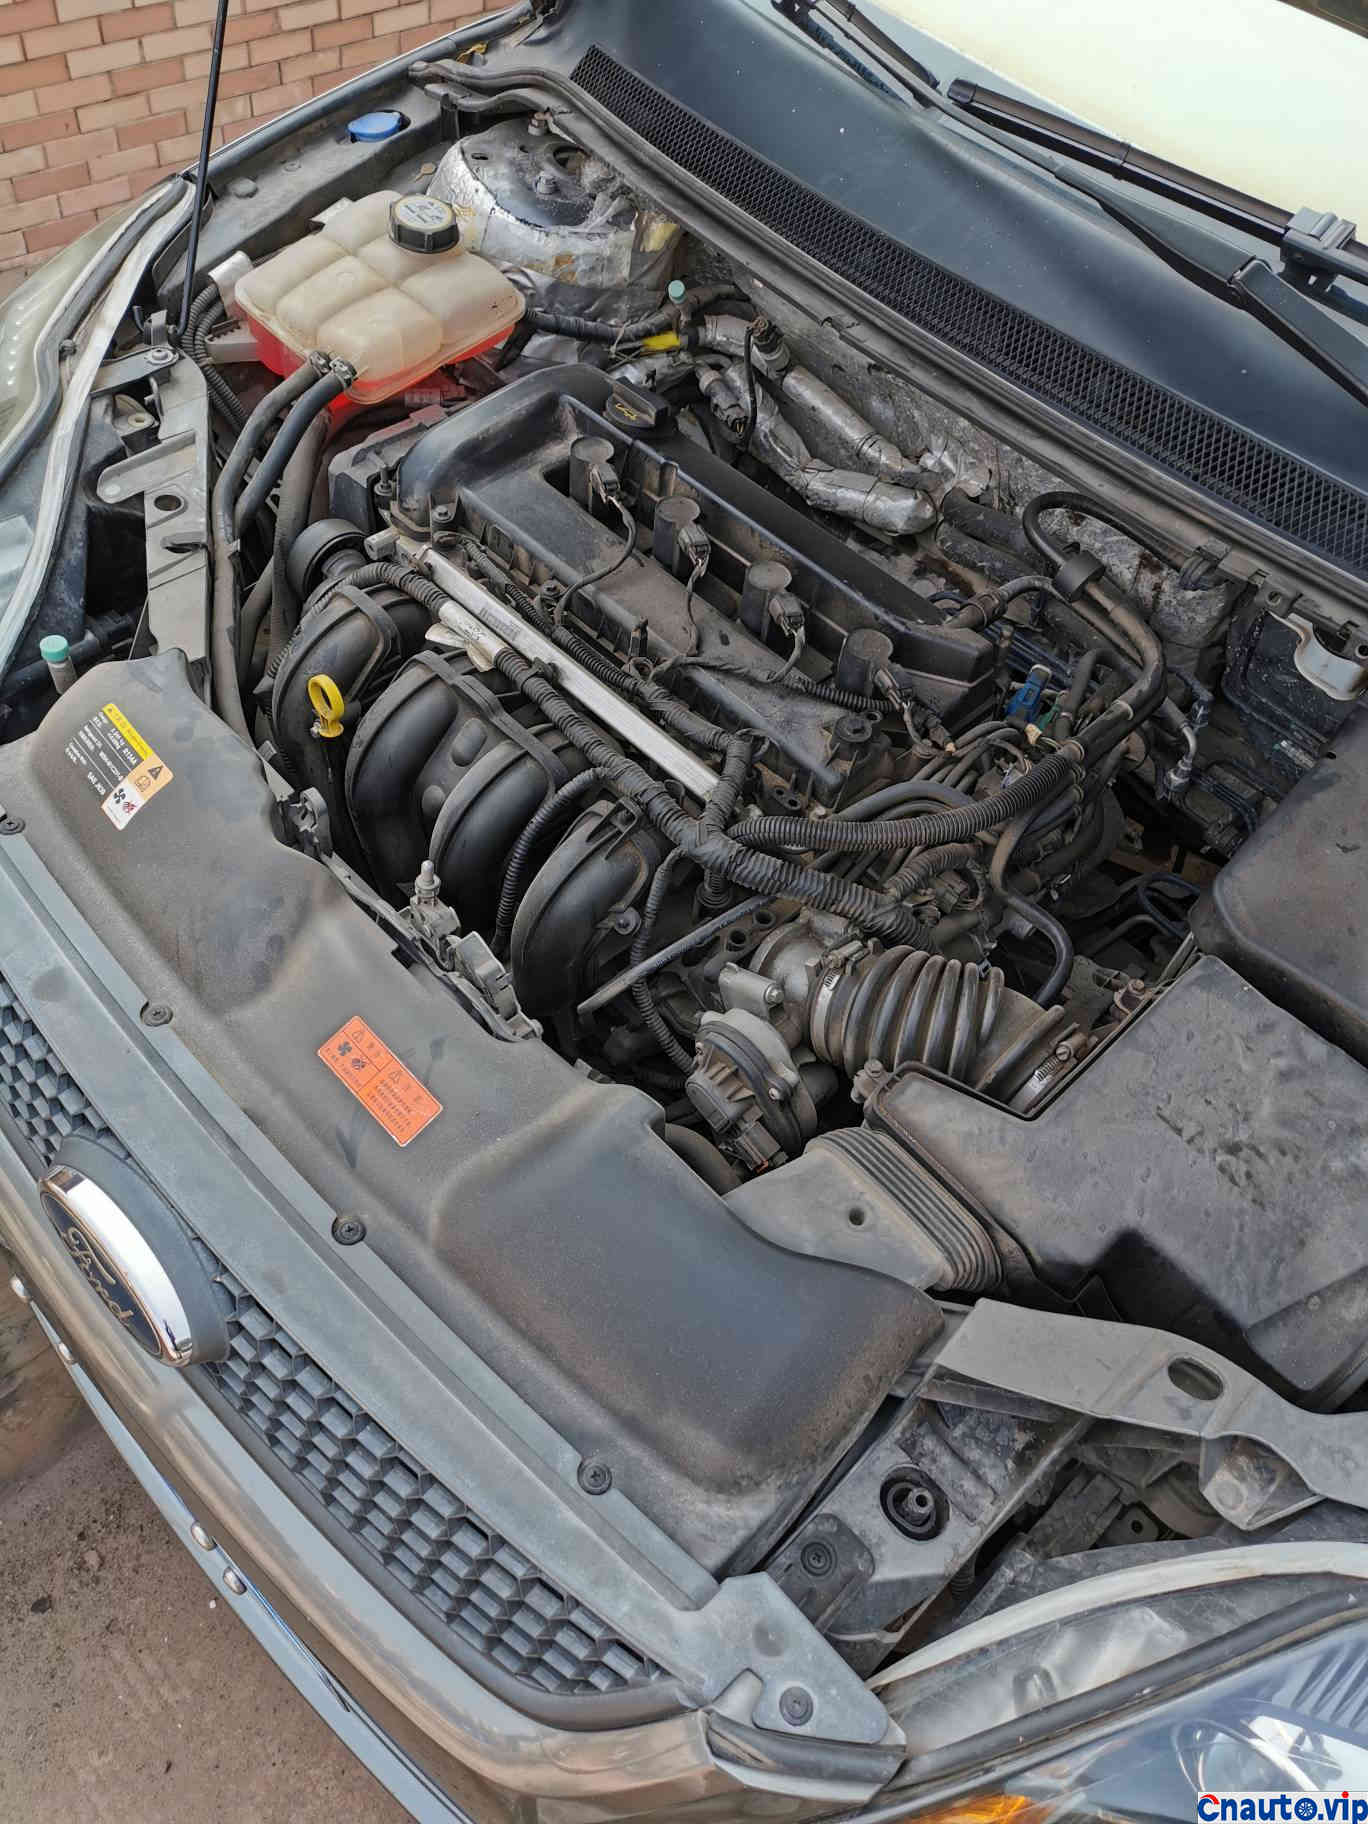
Let’s start with the background:
The 2013 classic focus has a mileage of 81500 kilometers. Wading in June and July 2019, according to the subsequent water marks, the water reached the height of the tightening wheel of the intake manifold. Shortly after that, the engine became louder, and after investigation, the belt was changed and the bearing of the tightening wheel was tightened. It’s a little lighter without any change, but it can’t be eradicated.
Tried to spray wd40, practice proved that it was useless. The sound became louder and louder before the Spring Festival. Of. Colleagues all said why it was so loud that they caught up with the tractor.
Finally, I couldn’t stand it. I took the car slot to the unit and unloaded the belt. It caught fire, and it was quiet. After the fire, there was only exhaust pipe and very light and soft valve sound. The sound of the crash was completely gone. At this point, the basic judgment is that the generator bearing is dead.
Solution: 1, go to the 4s store, basically change the entire generator assembly, the cost of online experience says about 1500. 2, remove and replace the bearing, the cost will not exceed 200. I chose the latter.
Tools: 17 wrenches are used to remove belts, 10 wrenches are used to unload generators, and wind cannons are used to dismantle the pulleys of generators, and tongs are used if there is no wind cannon. Remove the bearing with a 3-inch two-claw pull yard (online purchase is about 25 yuan), and remove the back cover of the generator with a screwdriver and an 8-inch wrench. A 6-branch pipe is used to install the bearing.
Get in the slot.
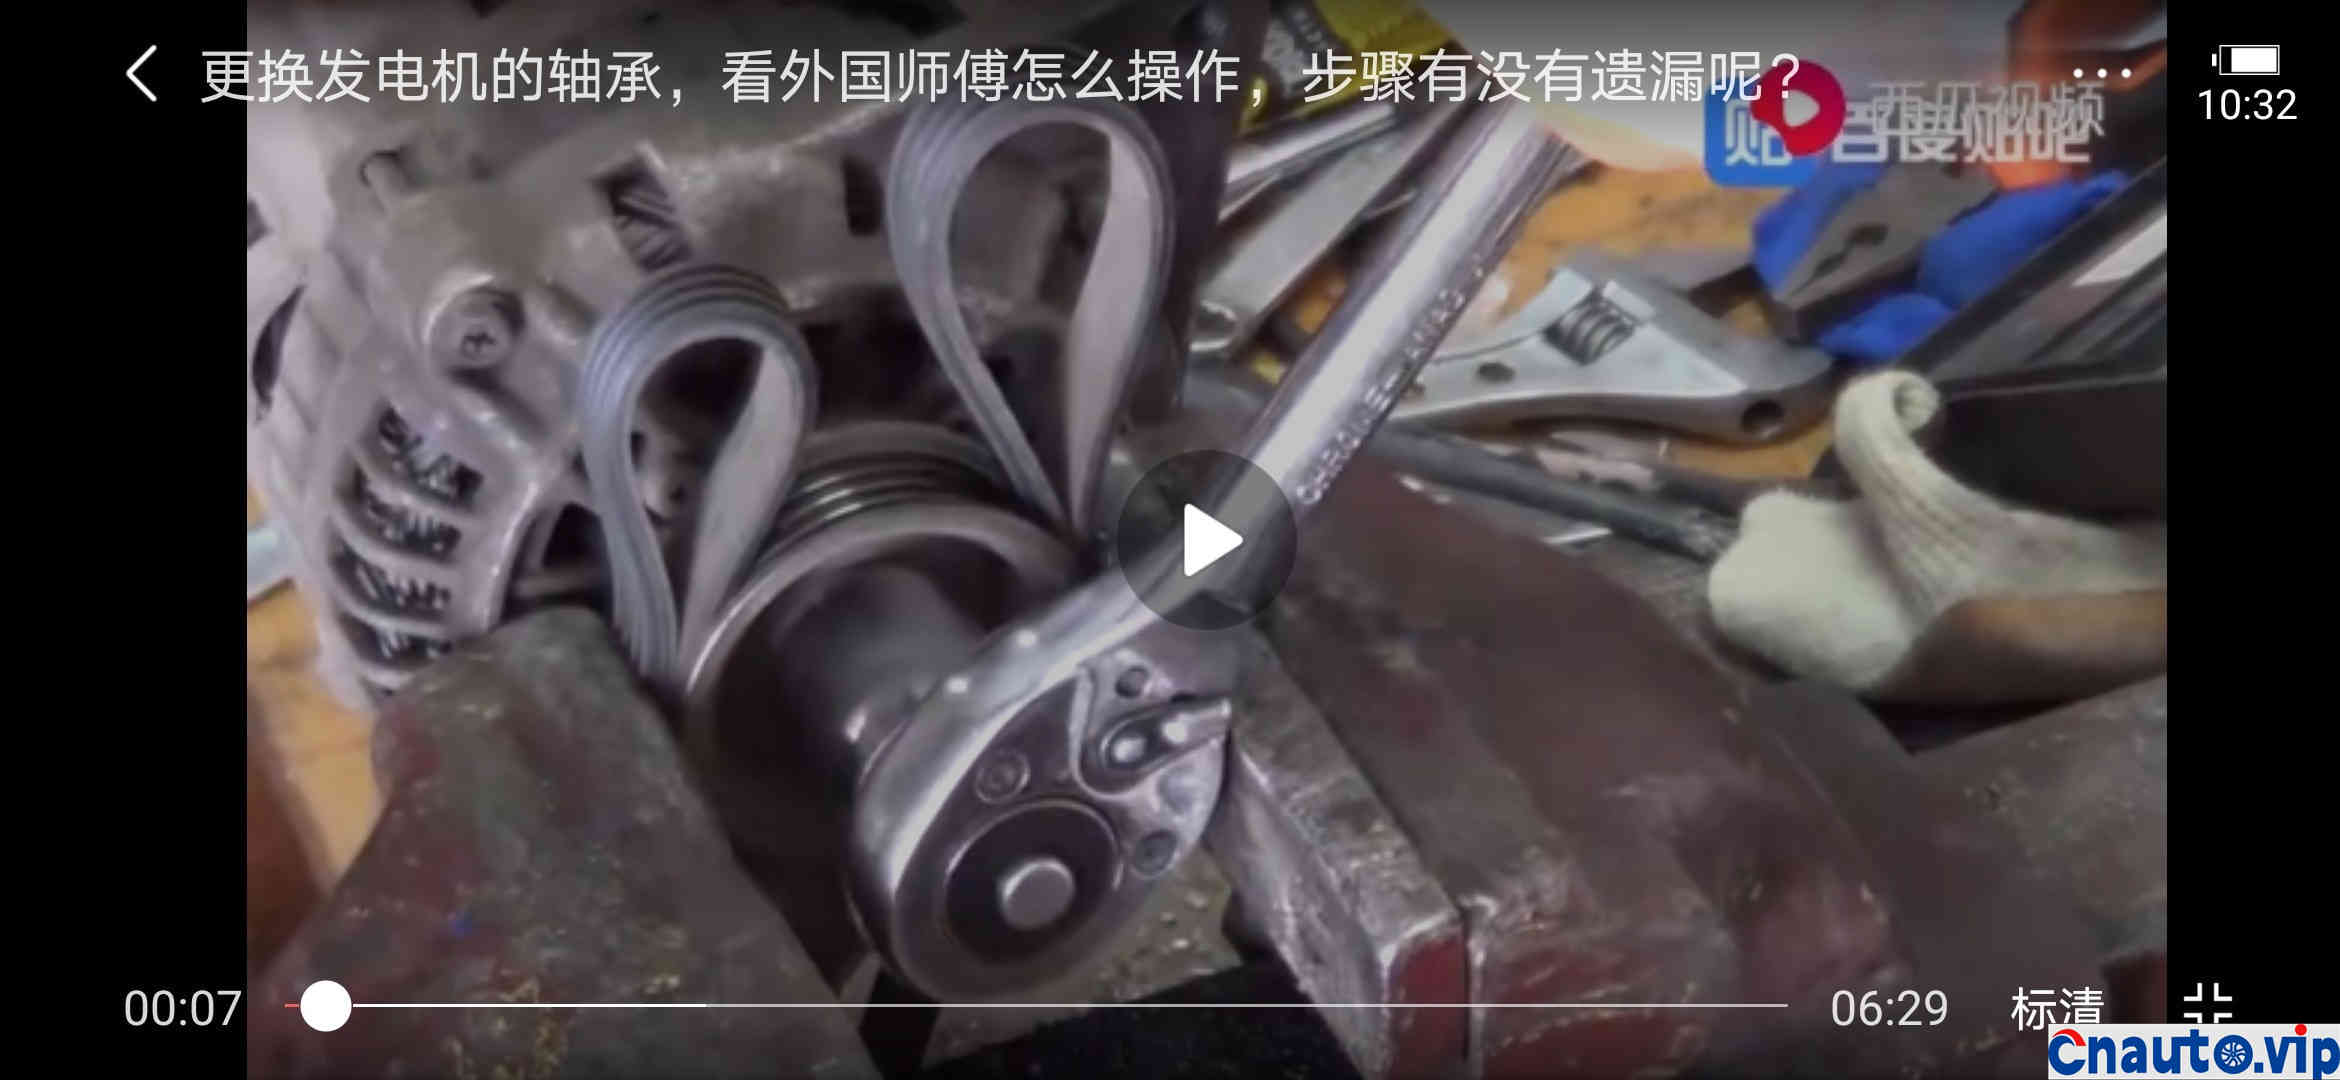
The vice jammed the pulley and removed the nut.
There was no idea to post at that time, and there were not many photos.
Disassemble the generator:
1. First remove the negative electrode of the battery. Then unload the belt, it is very simple, with the 17 wrench stuck, to the copilot cabin to the end, you can remove the belt.
2, the relevant accessories disassemble, disassemble the oil probe, an 8 nut on the intake manifold, a 14 nut under the engine, and two small buckles in the middle are easy to remove. Then you can take out the whole ruler. The main purpose is to make room for the generator. Remove the left headlight.
3, the generator has three screws, first remove the top one, and then remove the lower two.
4, after the generator has removed the screw, it can adjust its position in a small space and rest assured that it will not fall off. Use a word screwdriver to plug out the control cord of the generator. Then remove the positive output line of the generator. The generator can be slowly moved out. Pay attention to the observation, if the cooling pipe is blocked, you can press it with your hand, no problem. Pay attention to the small weight of the generator and be prepared.
Due to the Spring Festival, online can not buy bearings and pull code, can only find local shops to repair air conditioners, motors.
To decompose the generator:
1. Clamp the generator pulley with a tong. the pulley can use the old belt and put 2 layers as a buffer layer so that it will not pinch the pulley. At first, the repair shop also wanted to clip it directly, but then I told them this method. Yell, good idea.
![]()
. After holding the nut with a sleeve, remove the nut by tapping so that you can take off the pulley. If you use a wind cannon, it will come down directly without clamping wheels.
2. Remove the rear cover and look at the screwed one. The black plastic buckle of the thread should also be taken off. Remove regulator, carbon brush.
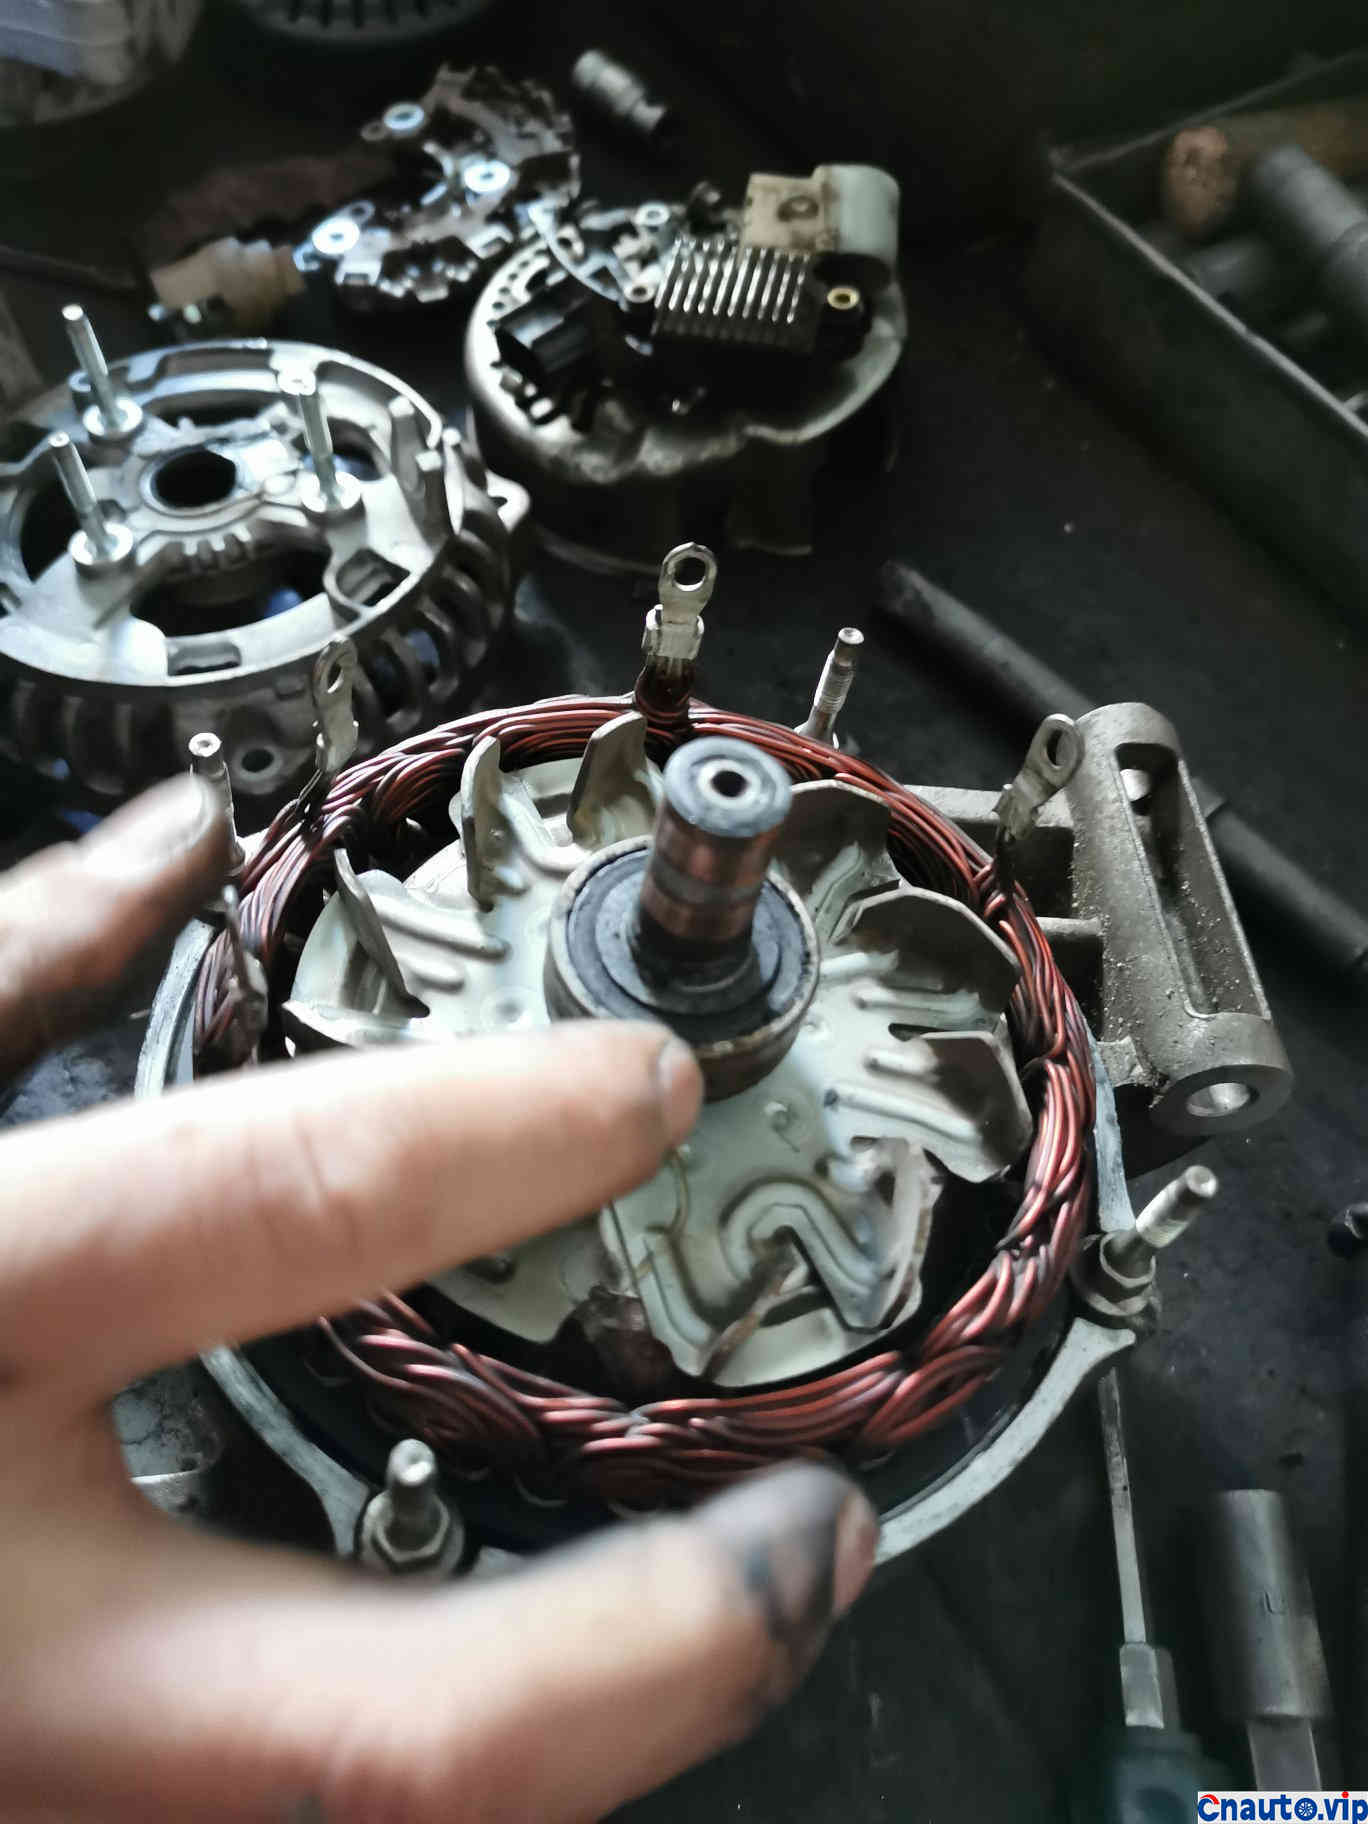
3, separate the front and rear cover, hit it with a word screwdriver, pry slowly, and you can separate it.
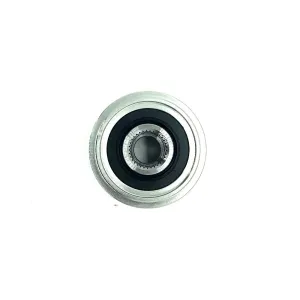
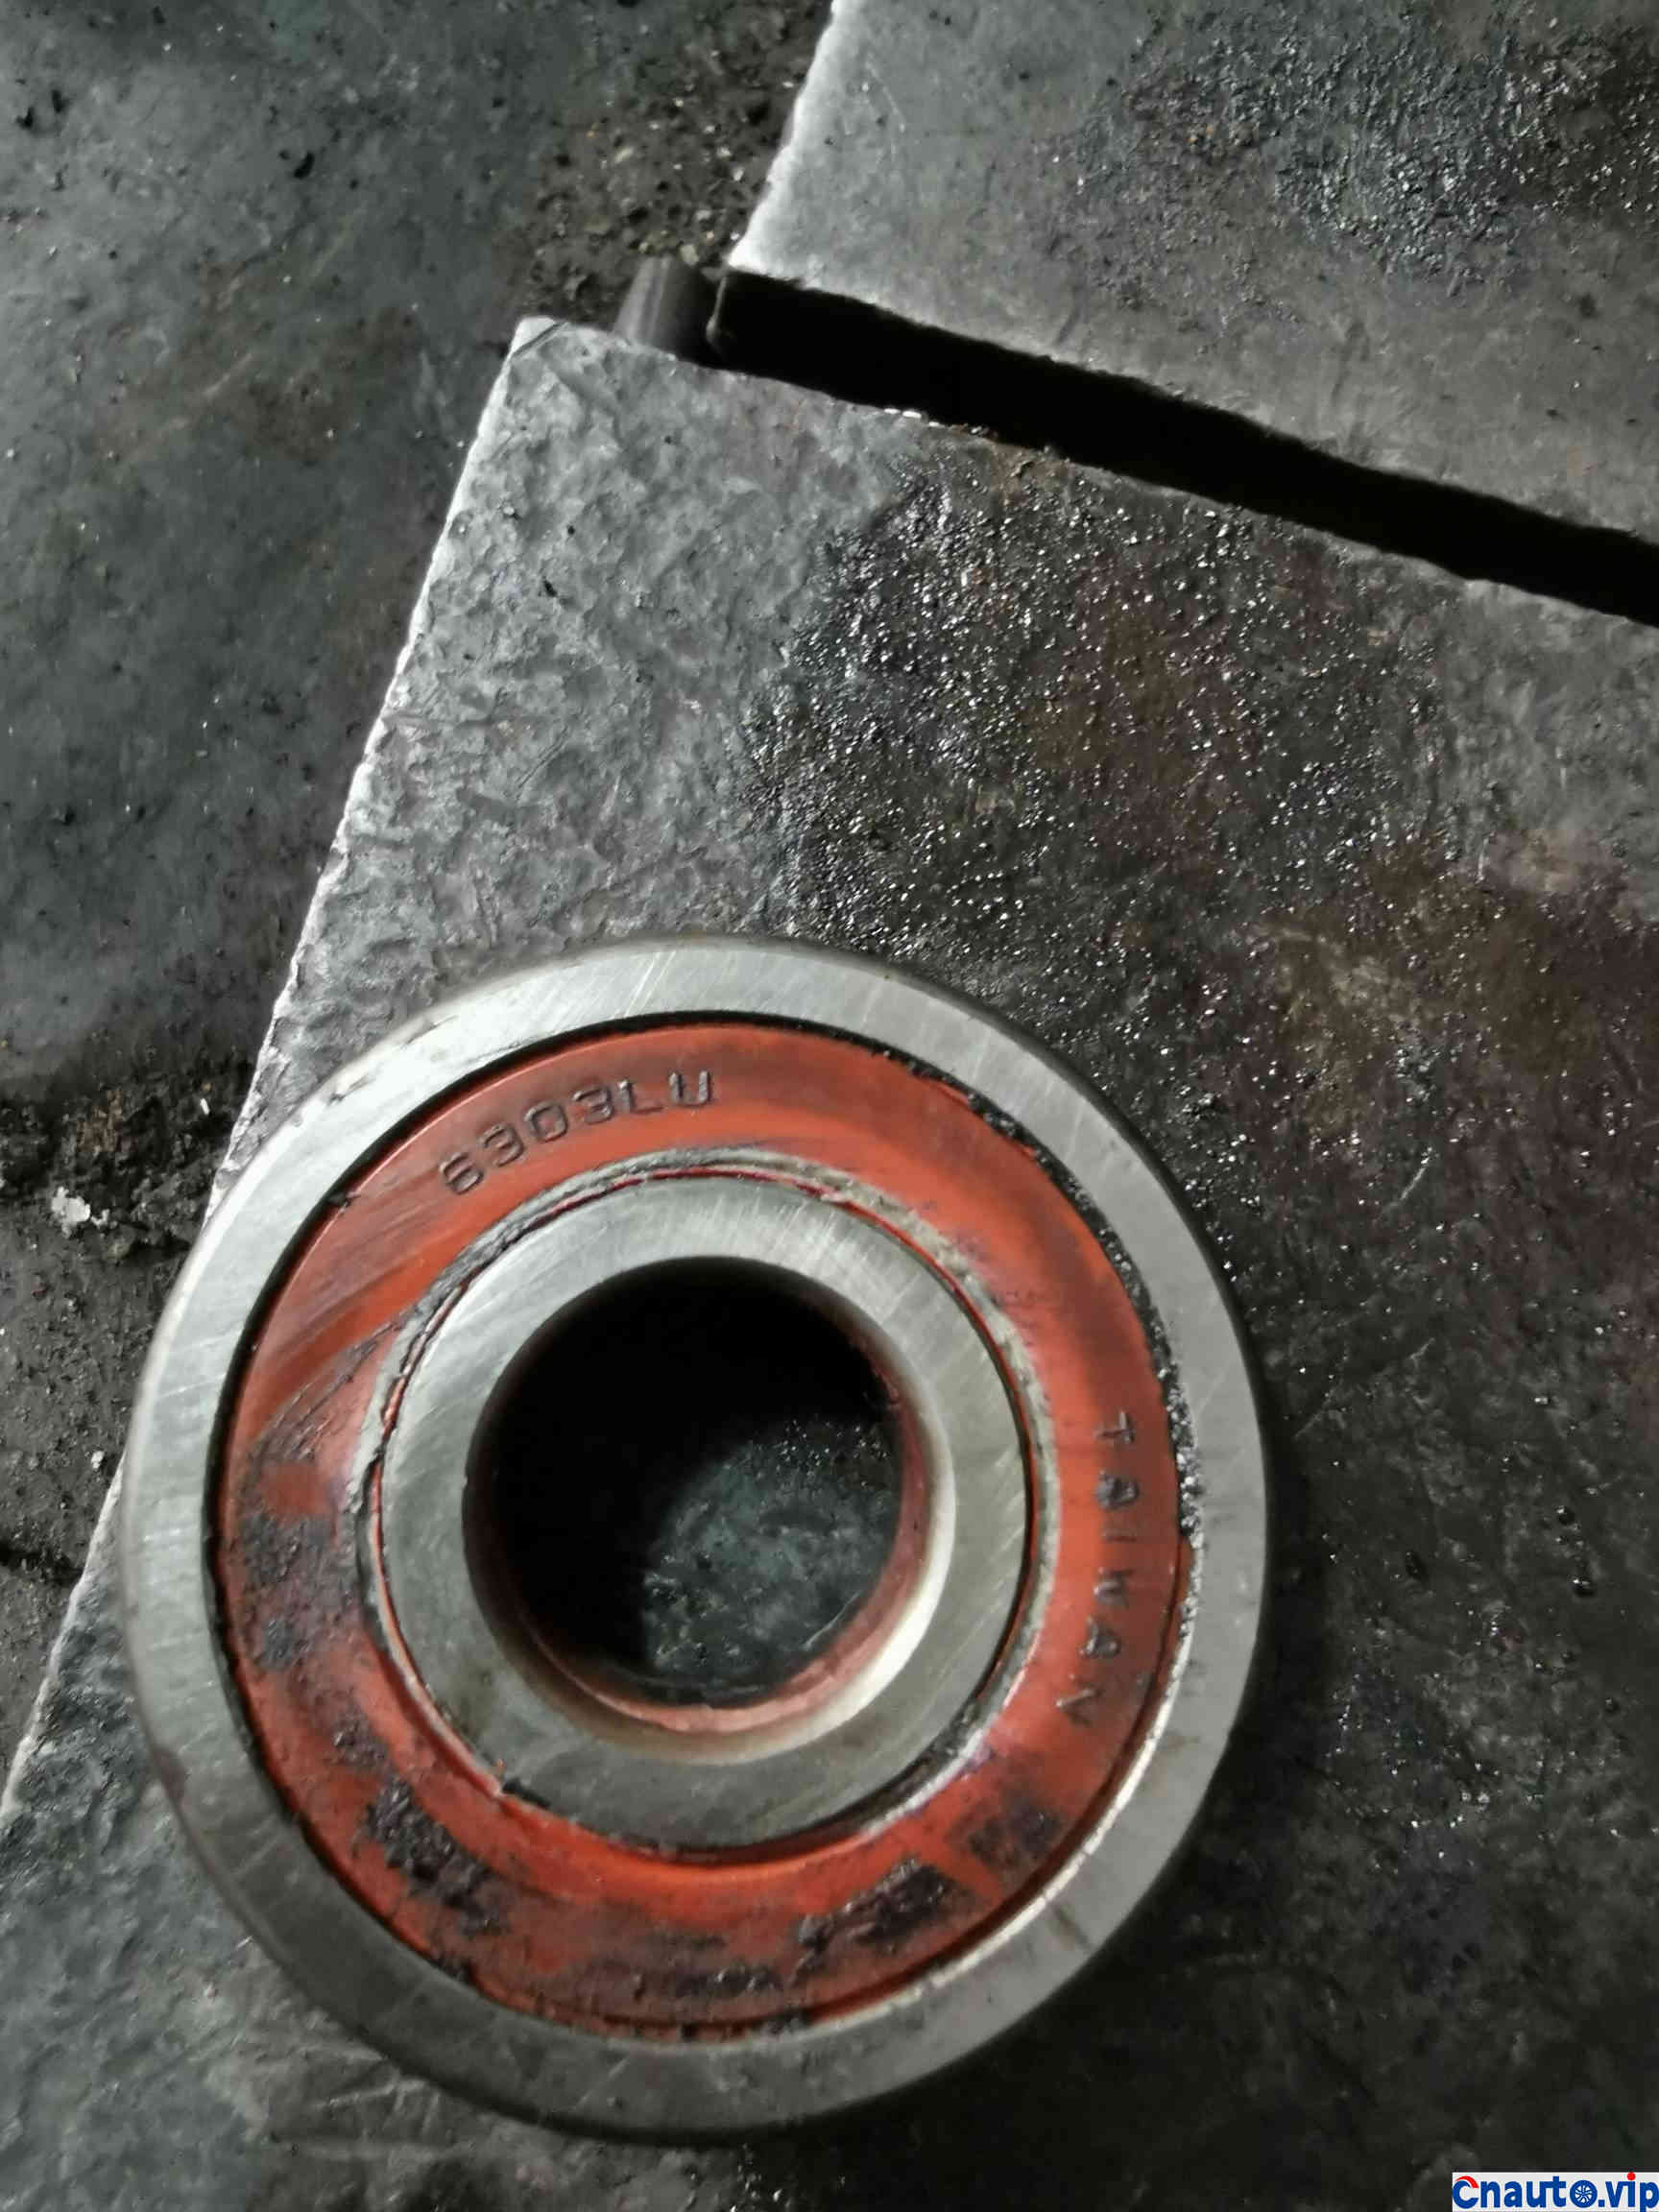
This is a small bearing, which is the worst and gets stuck.

This is a new small bearing. The one near the copper ring.
This is a big bearing.
Remove the large bearing, remove the large bearing, first remove the cover, 4 small screws removed, you can knock out the bearing.
When the tools are in place in advance, disassemble and assemble them in 40 minutes.
Installation skills
1. Screw the generator positive output nut. Holding the generator with the left hand and twisting the right hand is also very tired.
![]()
2. Put the generator into the narrow space in the direction in which it has been installed. Find out the relative position of the generator pulley and the three screws.
3. Plug the generator control cable into place.
4, adjust the position of the generator, first use a screw in the lower row, twist two or three laps, and fix the generator without falling.
5, install the top screw. Pause until there is only one centimeter left. The position is narrow, a little twist, there is no hurry.
6, install the following two screws and screw them in place.
seven. Tighten the upper screw.
8, install the belt
9, installed oil probe
10, install the left headlight
11, install the battery negative.
You can hit the car, adjust the front and rear glass to rise and fall with one button. We’re done.
Write at the end:
1. Try to wade as little as possible. If the water level exceeds 1-4 tyres, don’t take risks.
2, if the generator has a crash sound, basically the bearing is broken, you can refer to change the bearing.
If you have tools, you can change them by yourself. it takes about half a day.
There are not many pictures, please forgive me. For reference only.

It’s lucky. I wax once a year, except for the spray paint on the rear bars and other original car paint. Manual, power is OK, show fuel consumption of 7.5, daily maintenance basically depends on their own, including oil. In our fifth-and sixth-tier cities, labor is too expensive. It takes 100 to change the oil.


 April 1, 2024