The old driver replaced the old C (W204) brake pads himself
Lao C is about 110,000 kilometers away. Recently, it was cold and the brakes were sizzling. Although there was no warning, I obviously felt that I couldn’t stop and was probably almost exhausted. Coincidentally, we stocked up on motor oil and three filters on the 11th Day, and bought brake replacement tools and new brake pads. Replace it yourself during your free time on weekends, and one person operates the entire process. Replacement is relatively simple.
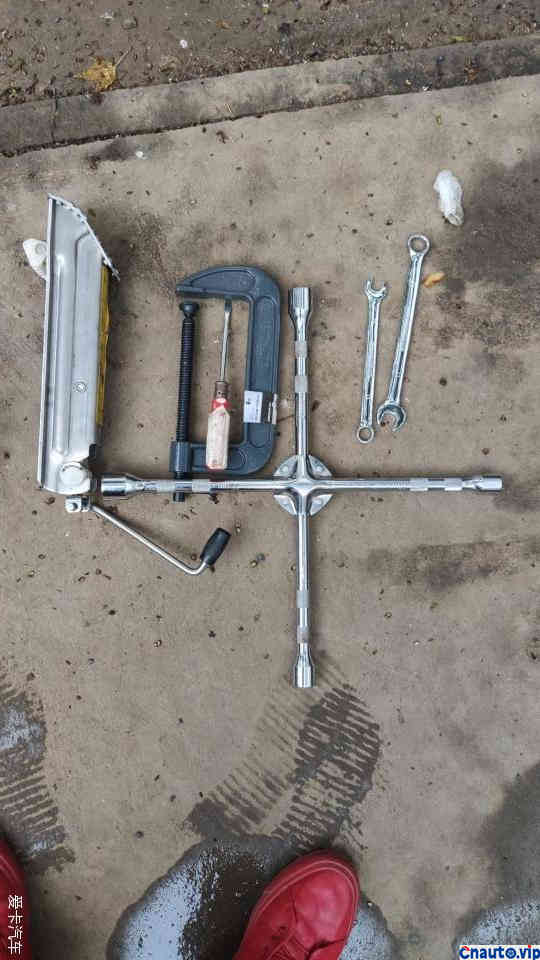
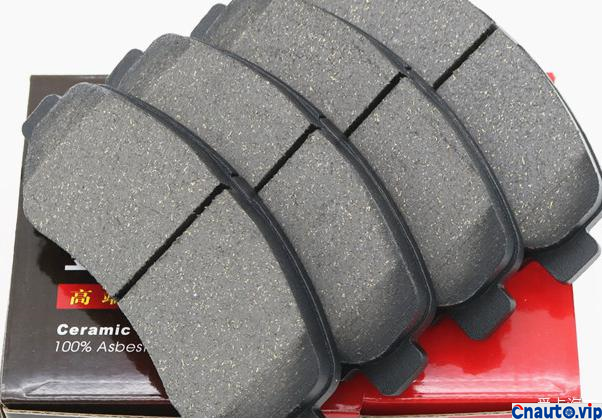
1. Tools: jacks, tire screw wrenches, No. 13 and No. 17 wrenches, T45 plum wrench, one-word screwdriver, 6-inch G-clip, eight front and rear brake pads, induction wires (2 pieces). What I bought was the locally produced gold unicorn ceramic slices. I bought them from a certain Bao Double Eleven, which is very affordable.
1. Tools: jacks, tire screw wrenches, No. 13 and No. 17 wrenches, T45 plum wrench, one-word screwdriver, 6-inch G-clip, eight front and rear brake pads, induction wires (2 pieces). What I bought was the locally produced gold unicorn ceramic slices. I bought them from a certain Bao Double Eleven, which is very affordable.
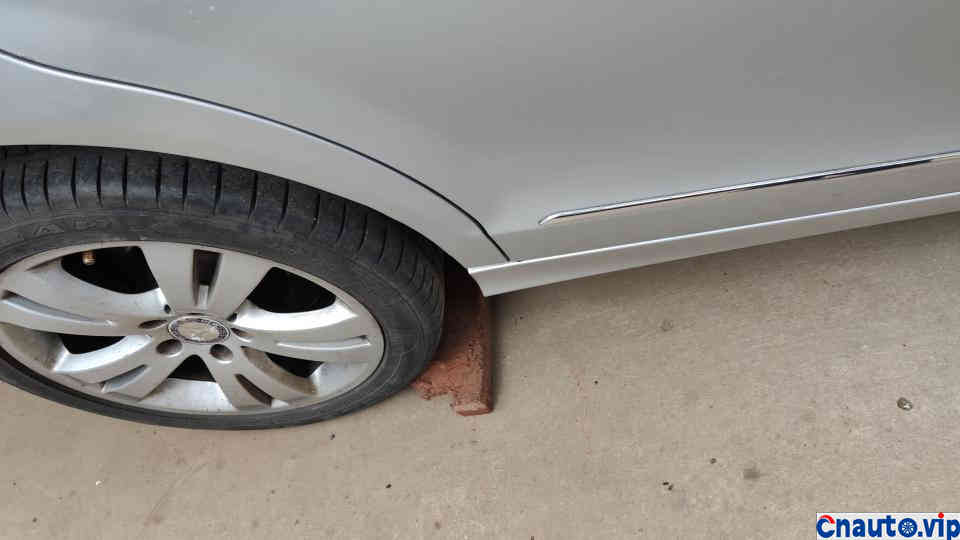
2. After stopping the car, use a wrench to loosen the hub screws first, use a jack to lift them up and then completely remove the screws. If it takes too long, the wheel hub cannot be taken off, and it will fall off after kicking it with two feet. Change the left front wheel first, turn it to the right, and expose the brake caliper for easy starting.
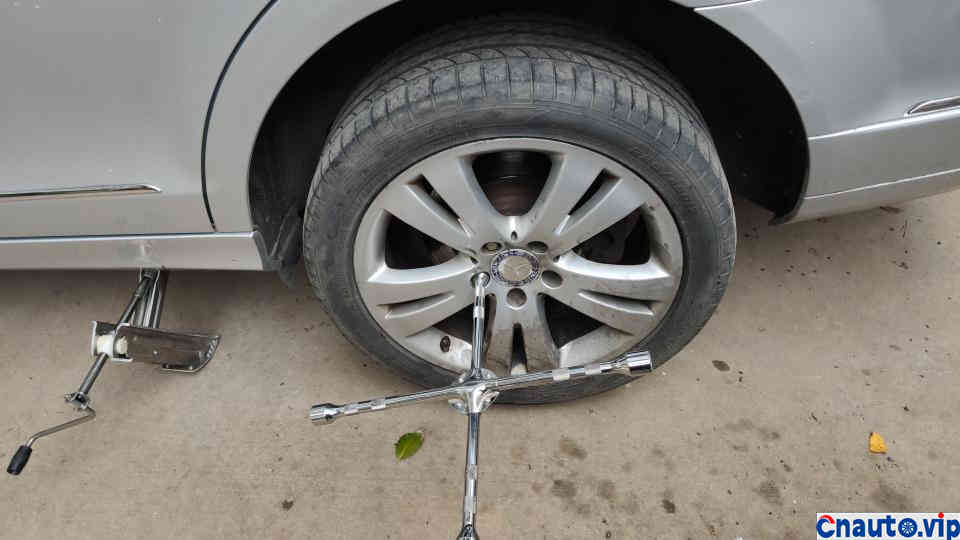
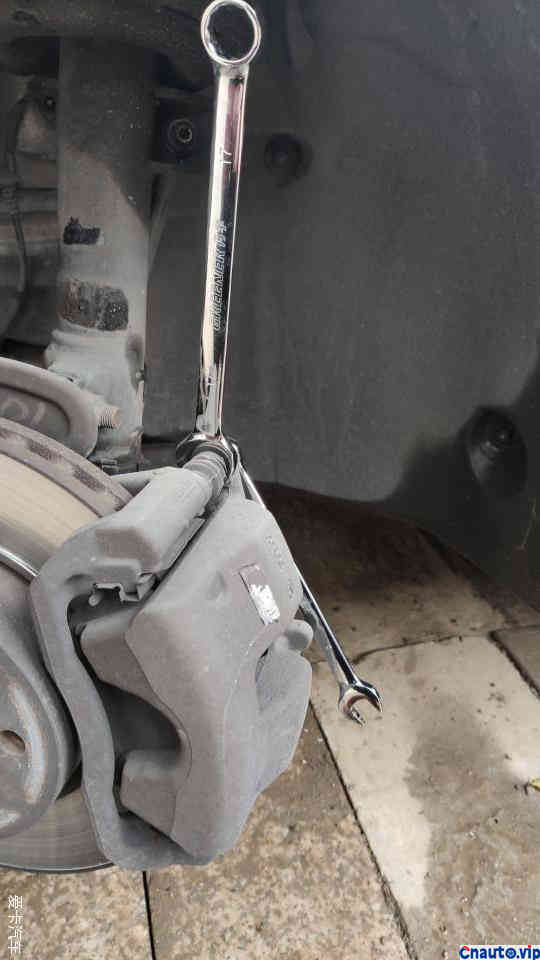
3. There is a screw at the top and bottom of the caliper. A small wrench of 13 presses the outer screws, and a large wrench of 17 clamps the large one inside. Screw the left wheel down without using too much force. Just tap it down with your palm.
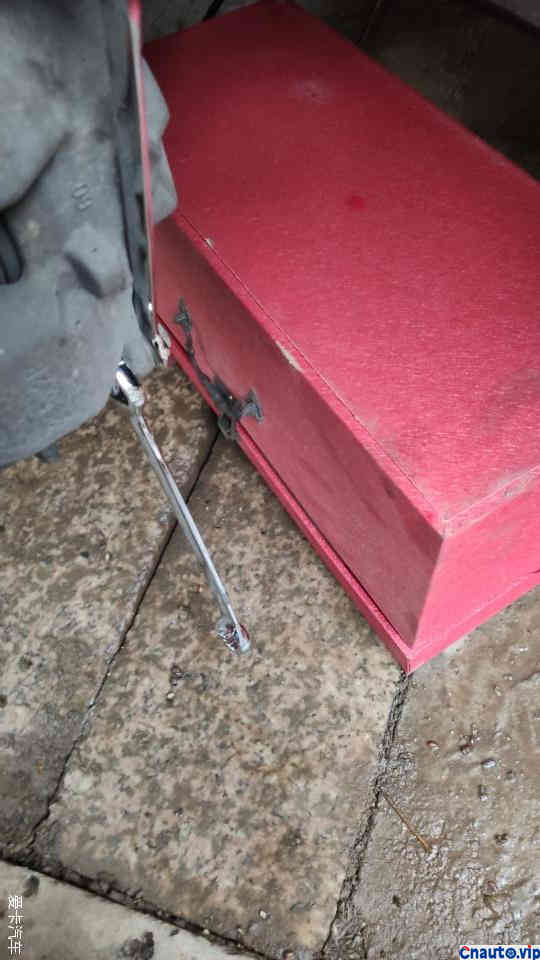
Remove the screws below, gently shake the caliper and remove them. Find a box to pad them. There are wires on the caliper, so be careful not to put any pressure on it.
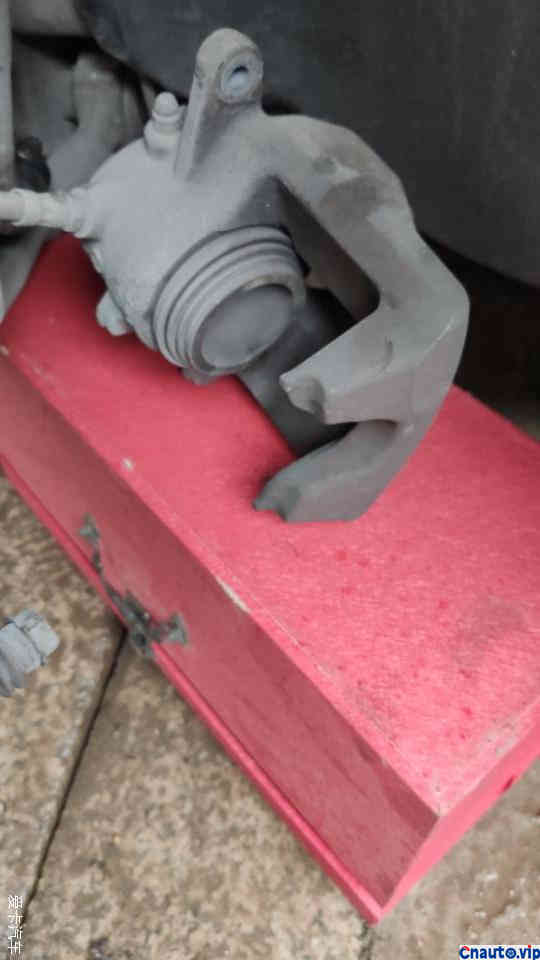
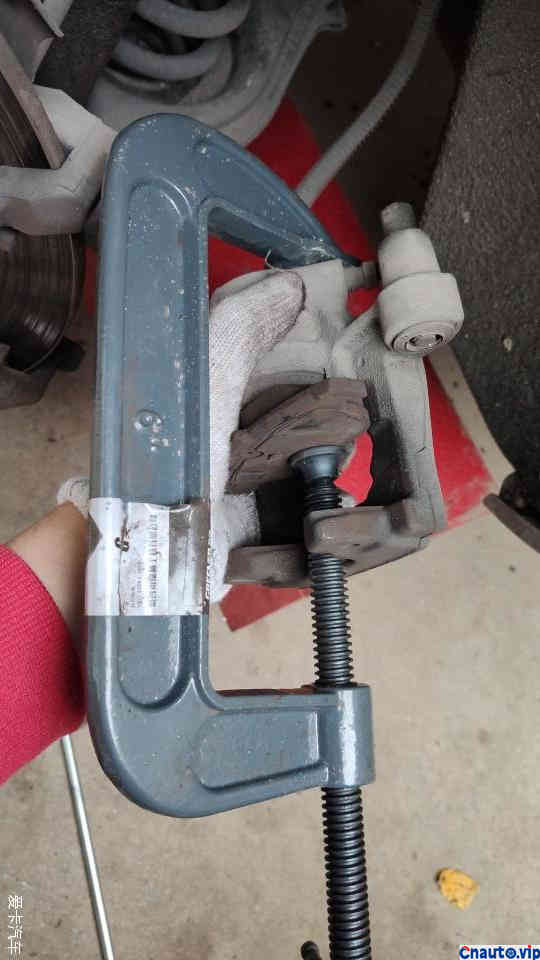
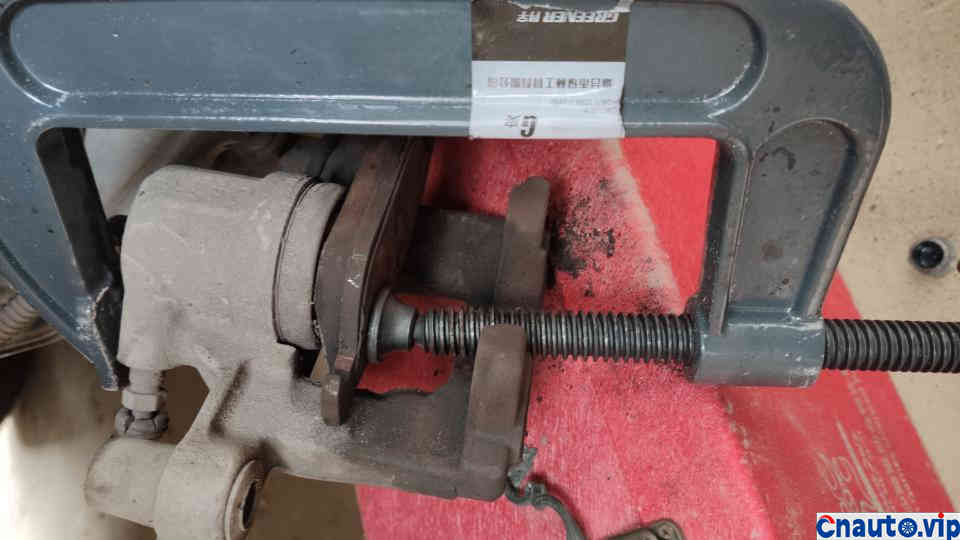
Part of the piston has sprung out, so press it back with G-clips, otherwise it will not get stuck with new brake pads.
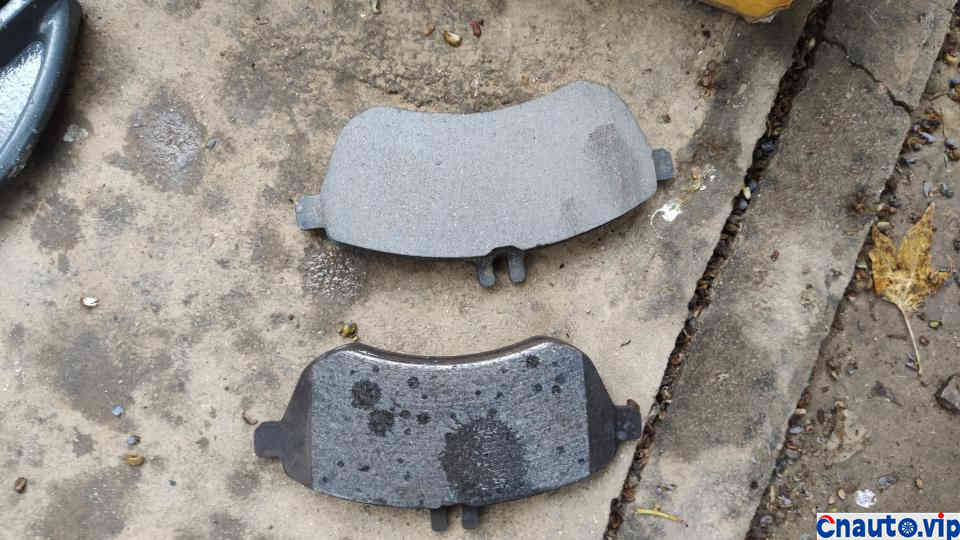
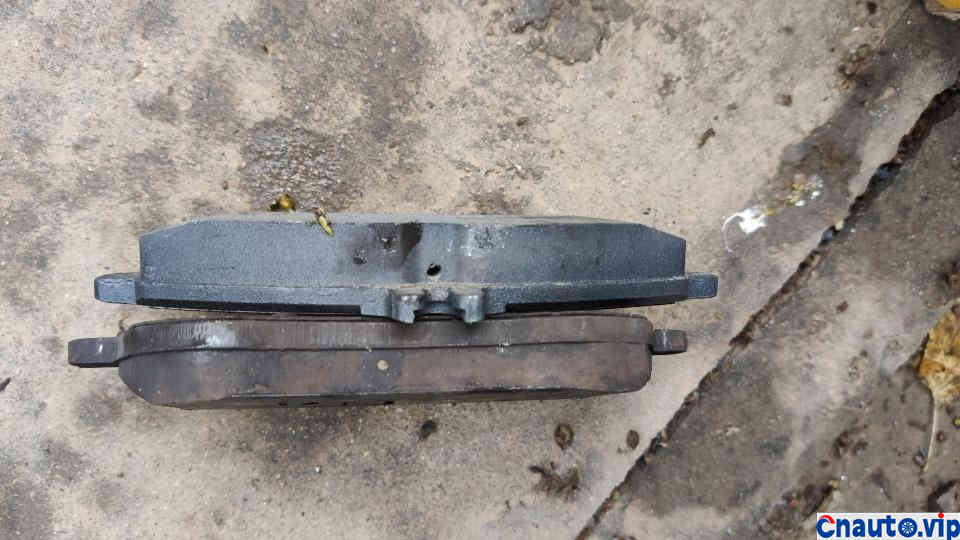
The old one can earn another 10,000 yuan.
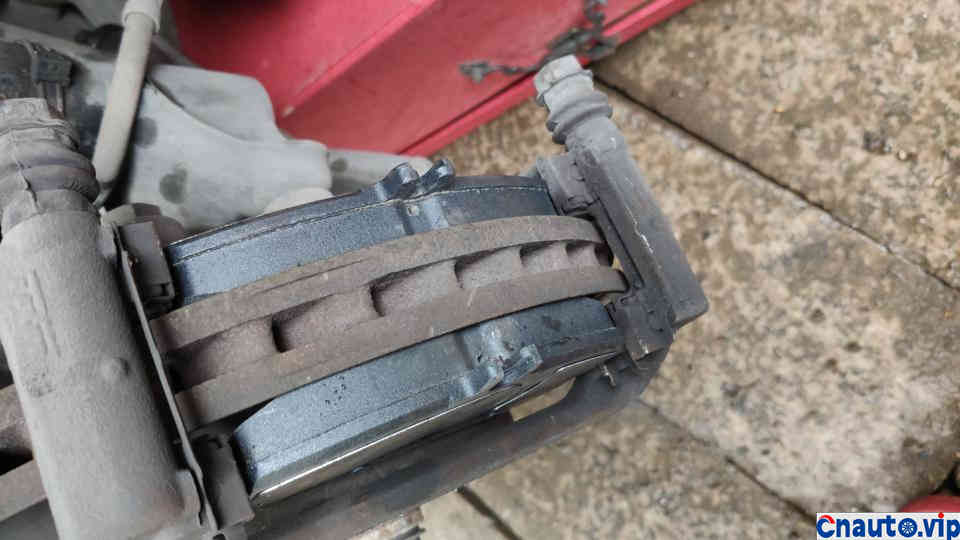
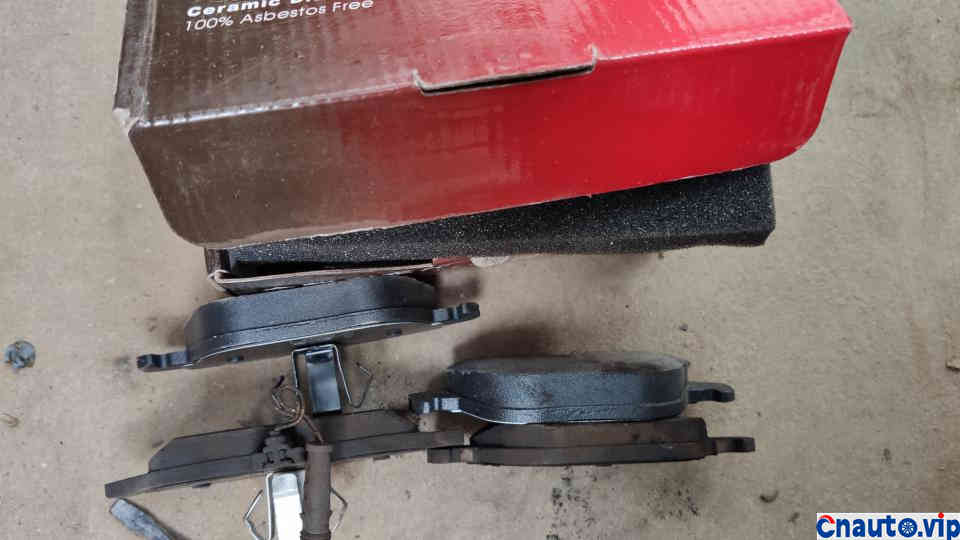
4. Put on new brake pads. The new brake pads have been polished from the factory. There is no need to sharpen the corners and replace them with new ones.
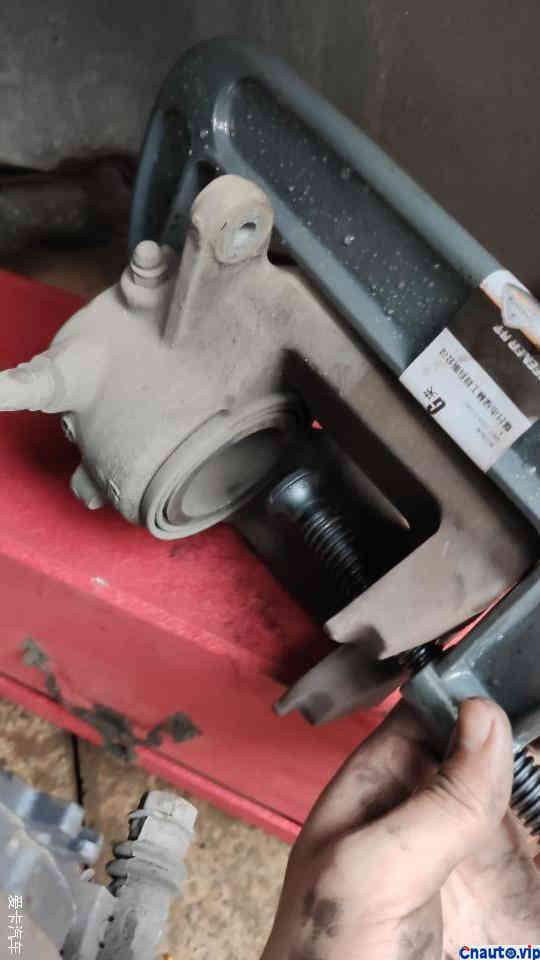
5. Use the old brake pads on the G-shaped clamp pad to press the piston back.
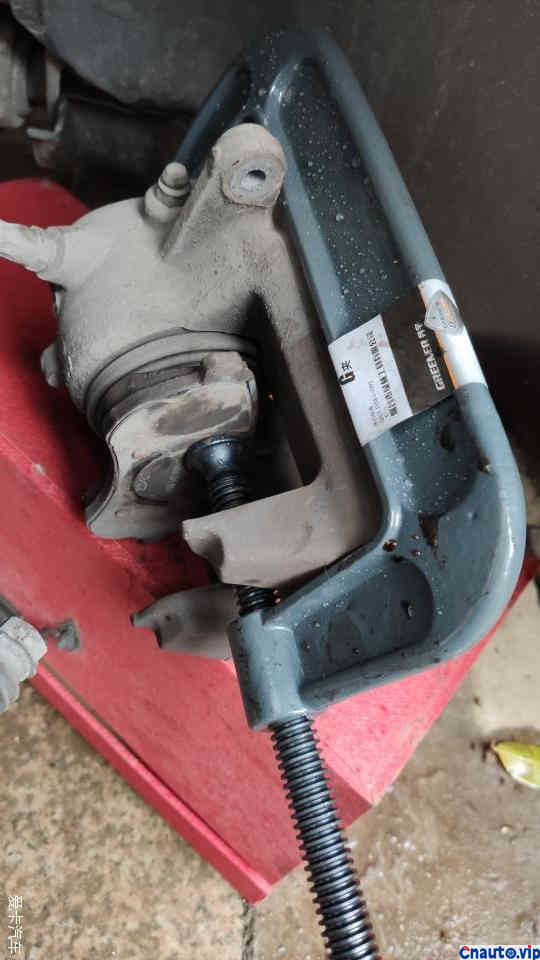
Press it into this state, install the caliper, and replace the screws, and the left front wheel will be ready.
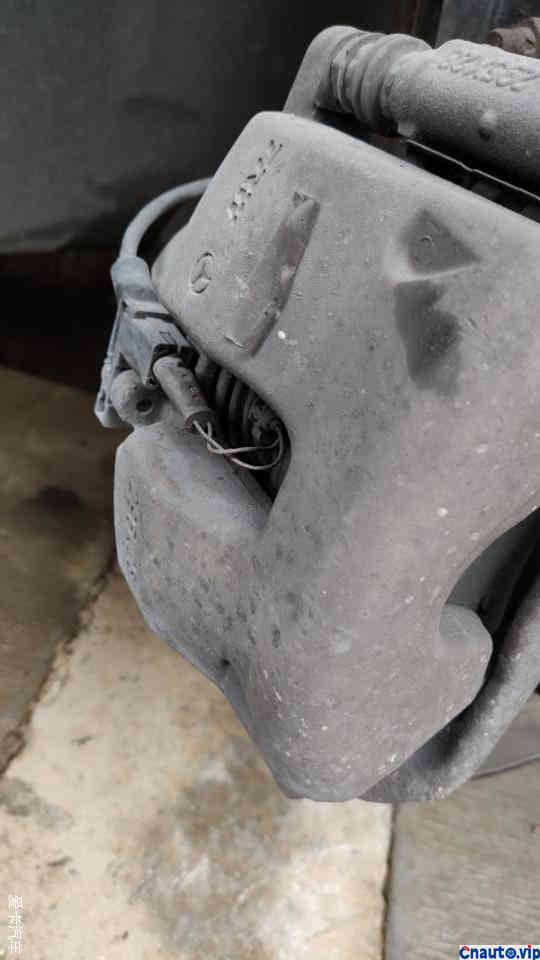
There is an extra alarm cord on the right front wheel. It has not been worn out yet, so it is pulled out in advance. The other procedures are the same as the left front wheel, except that when tightening the screws, the screws are turned in the opposite direction and the right side is pressed upwards.
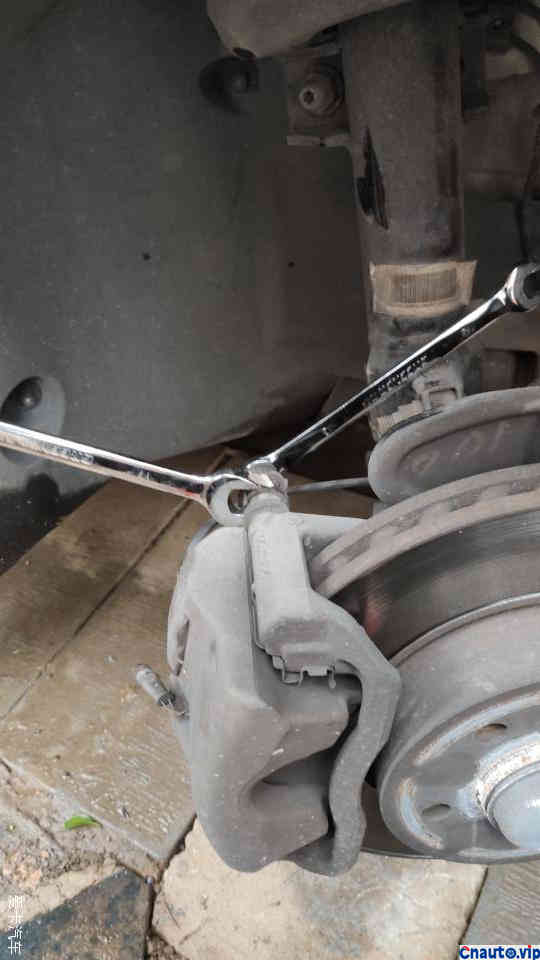
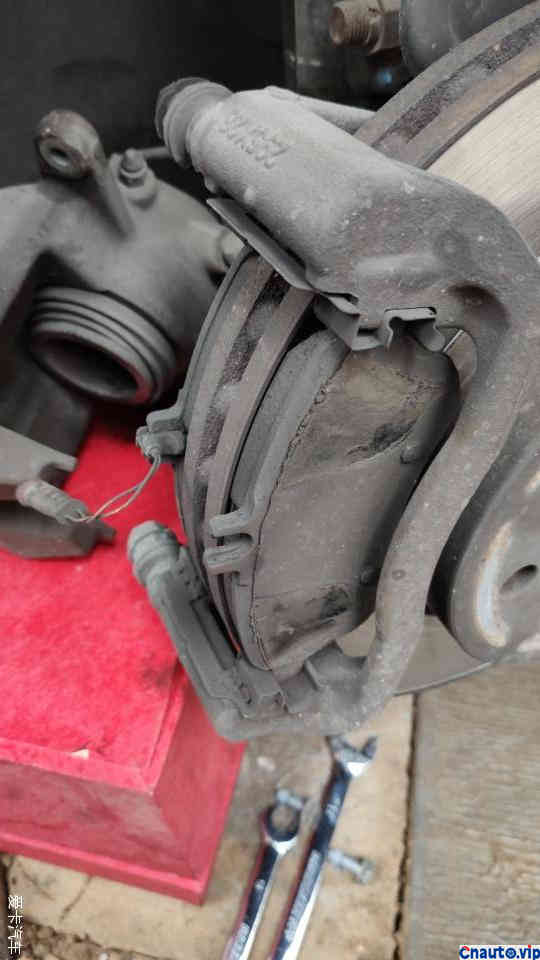
Grind the right side relatively thinly.
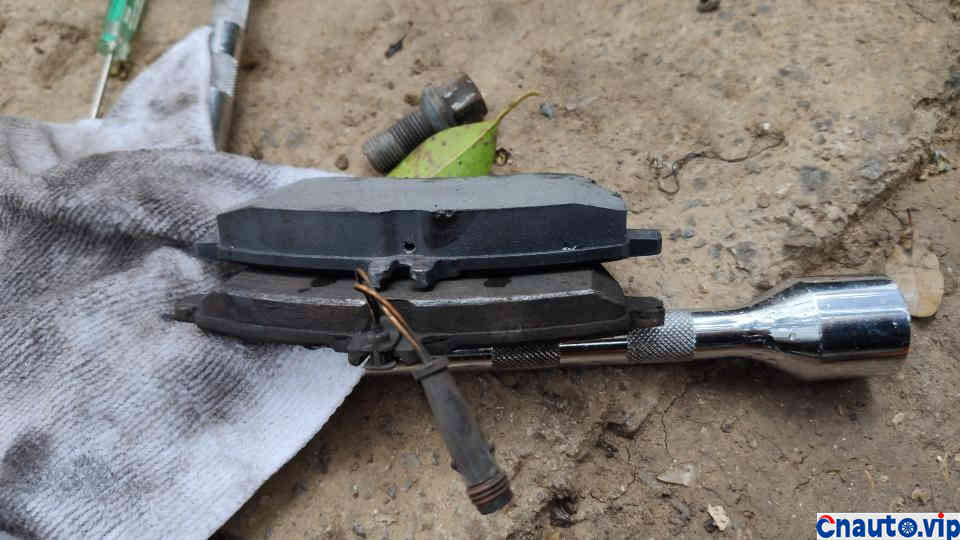
6. The rear wheel is relatively simple.
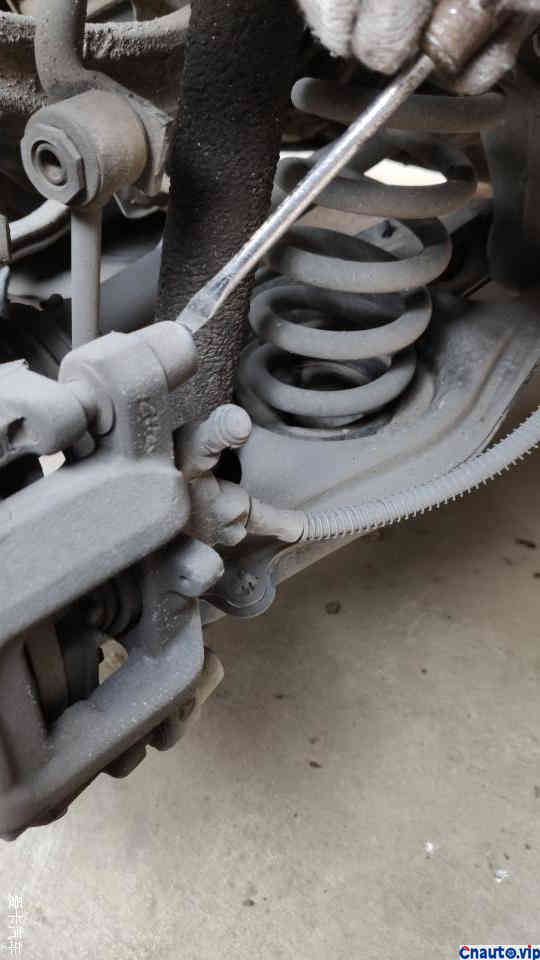
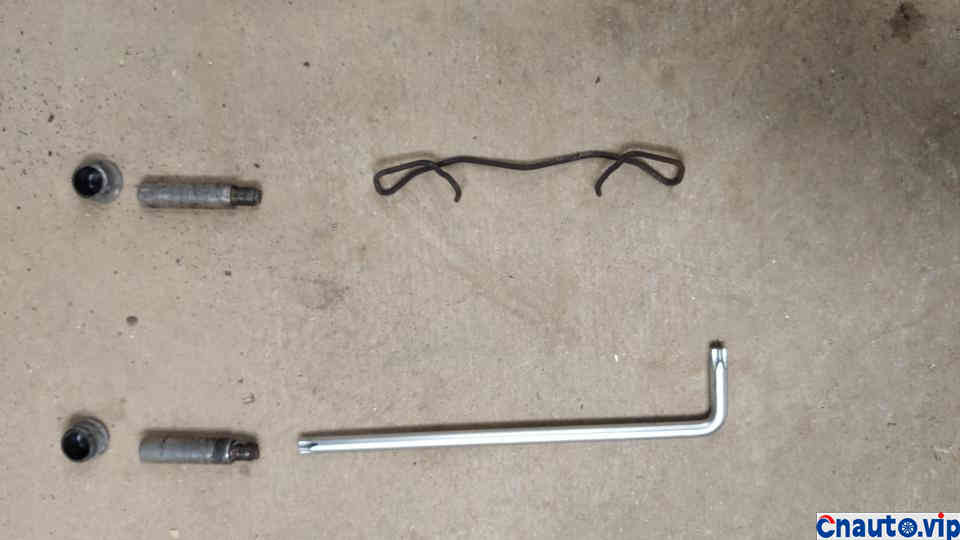
The rear wheel is relatively simple, with the upper and lower dust caps prying off.
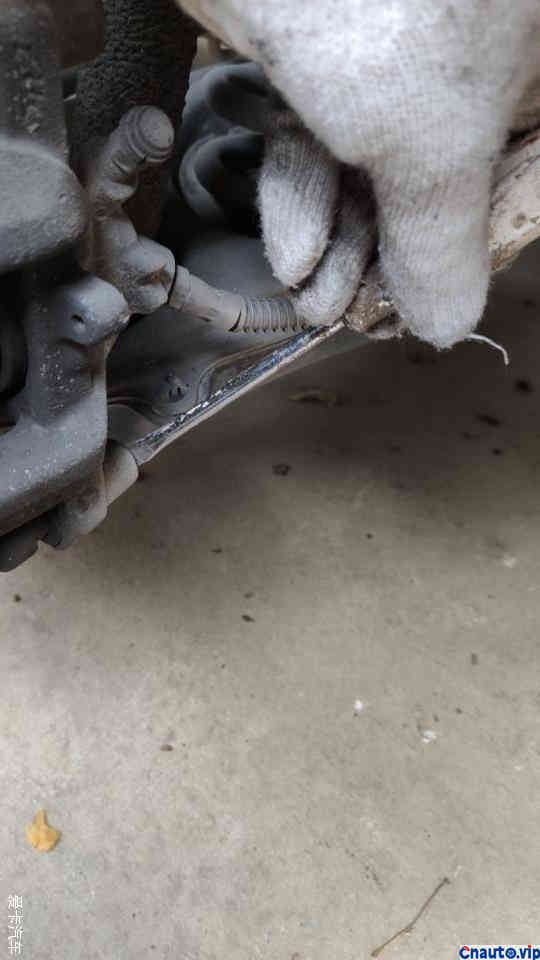
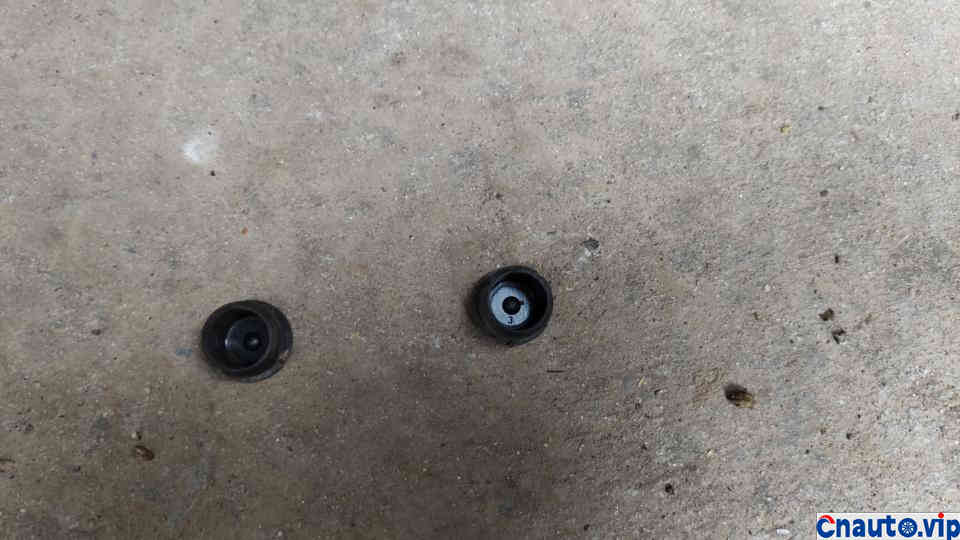
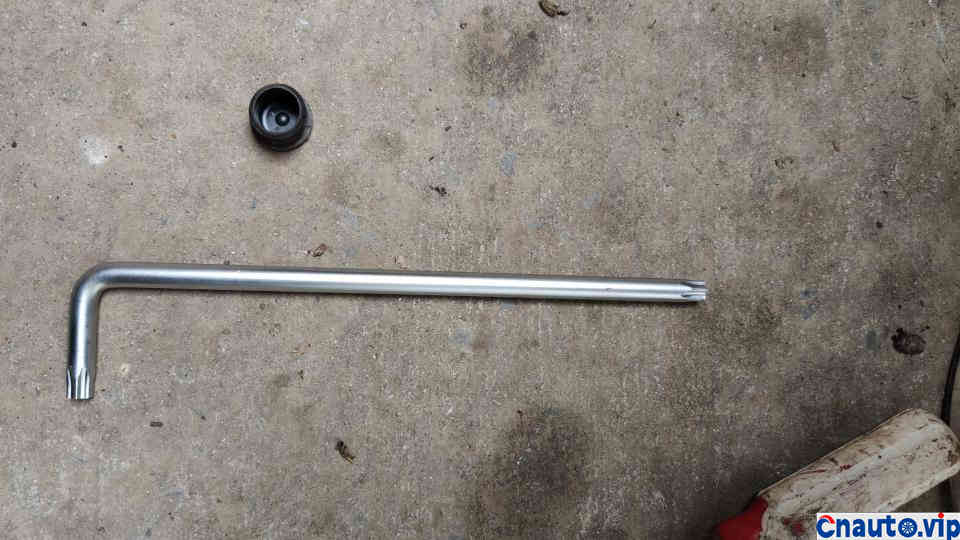
Tighten the left wheel down with a T45 ring wrench.
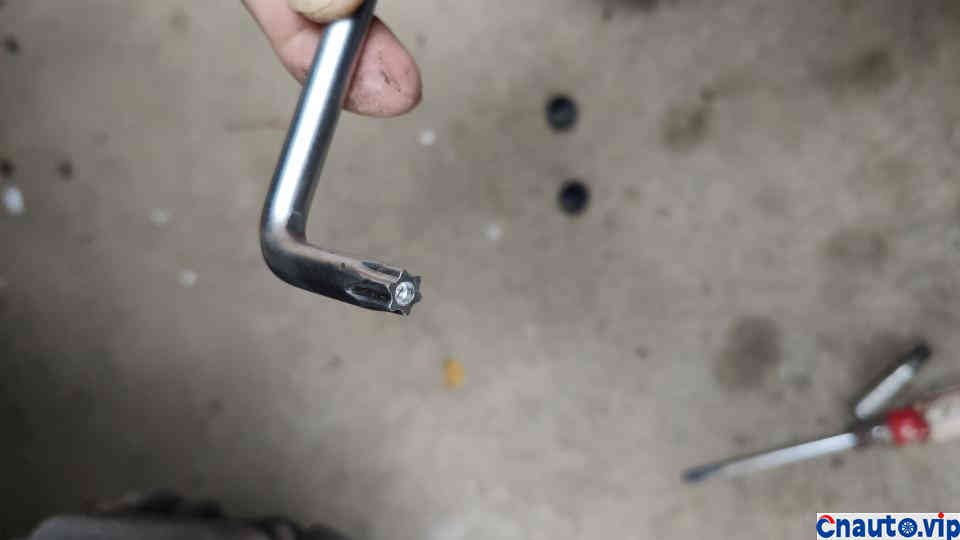
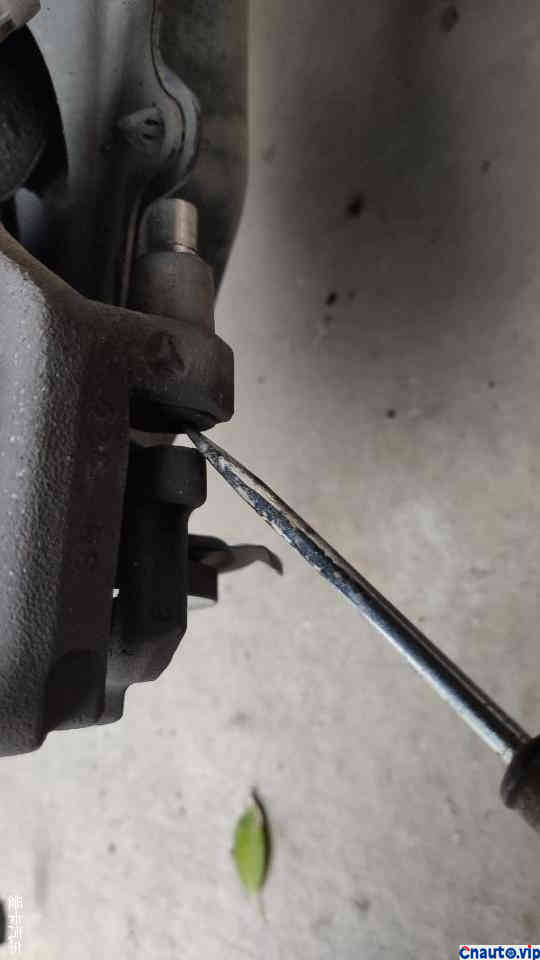
The screwdriver drives out the nut.
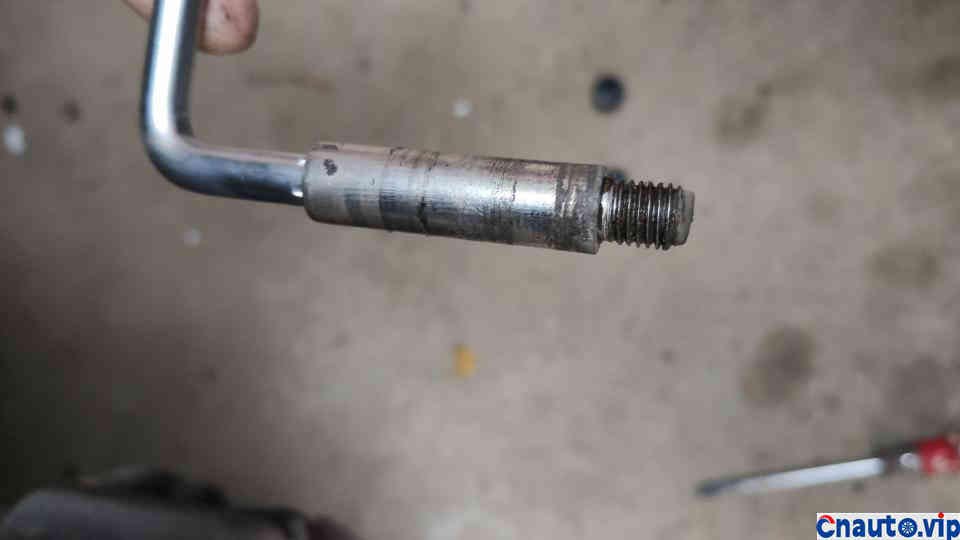
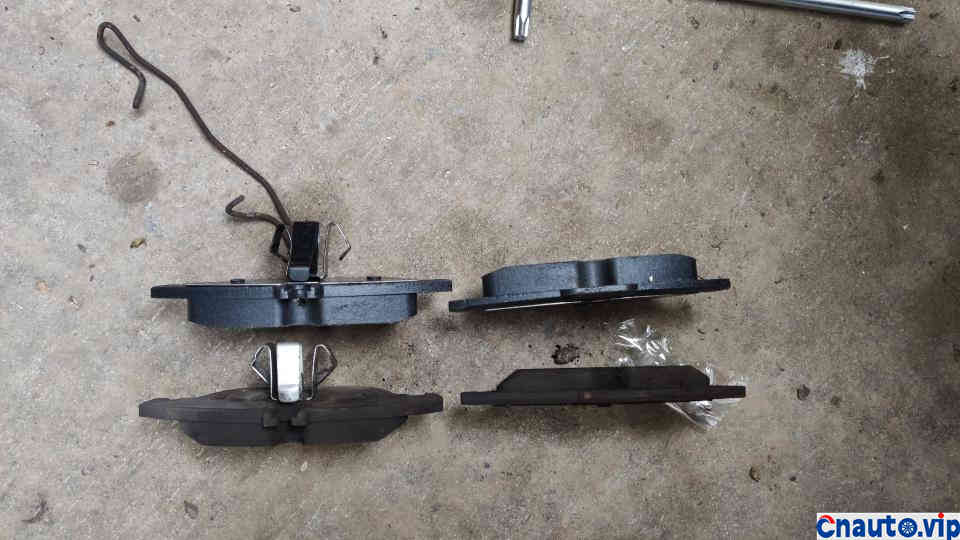
Contrast between old and new.
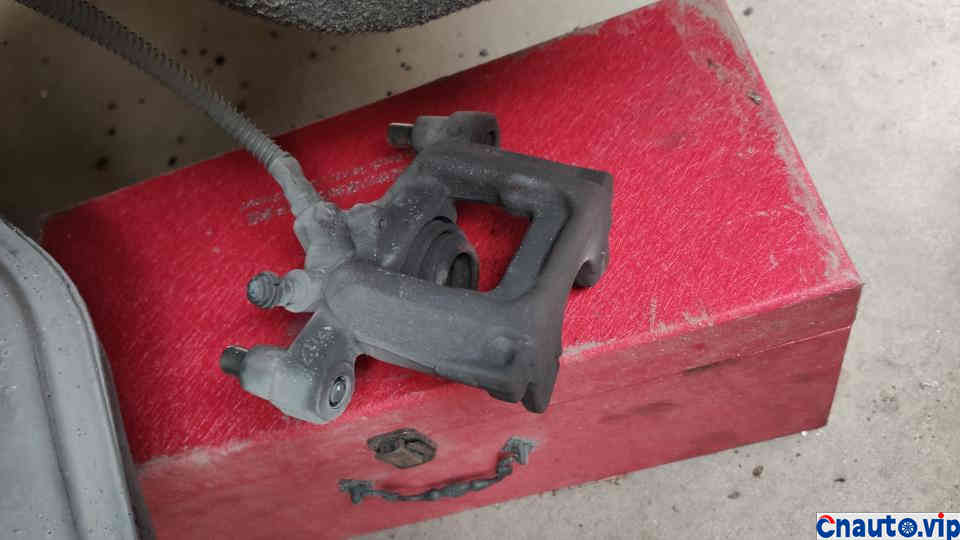
Press it back on with G-clips as well.
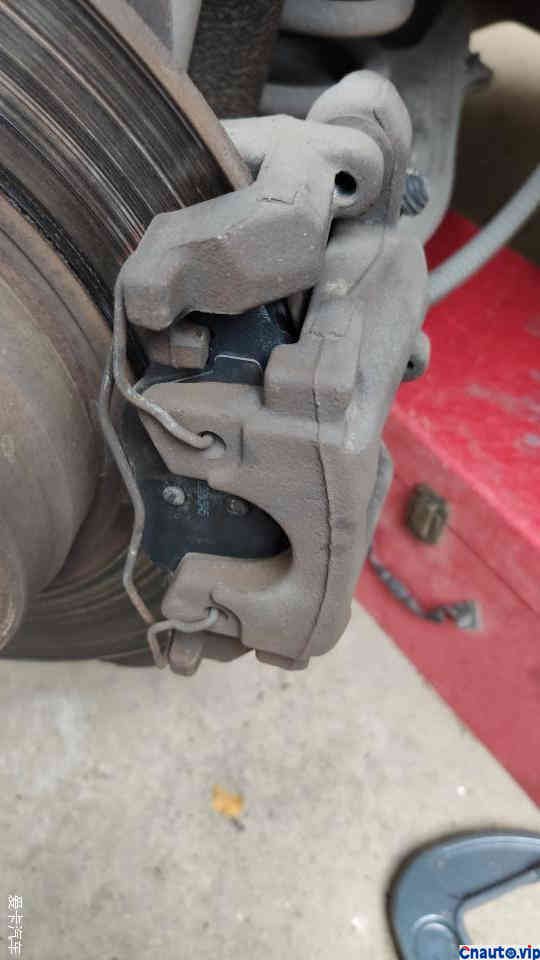
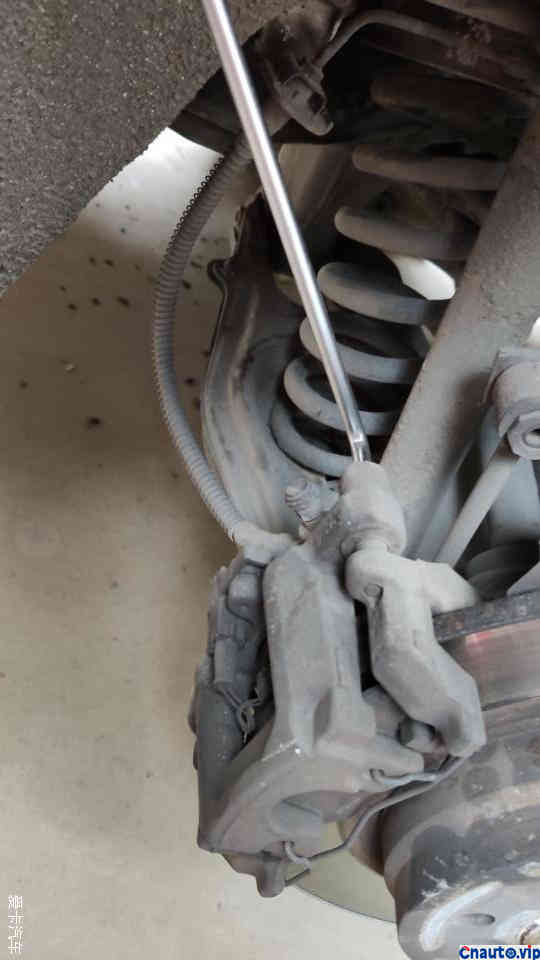
Push up the right rear wheel.
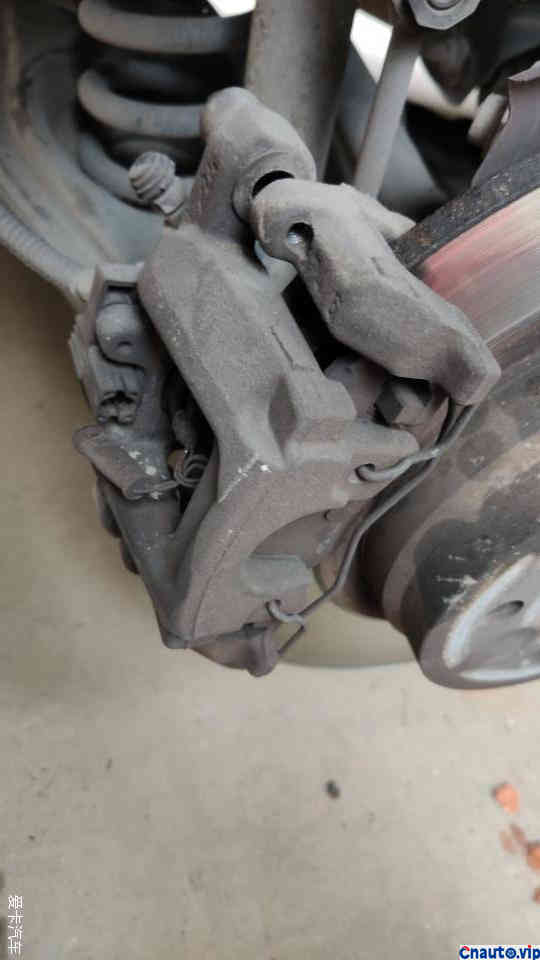
Be careful to unplug the sensor cord.
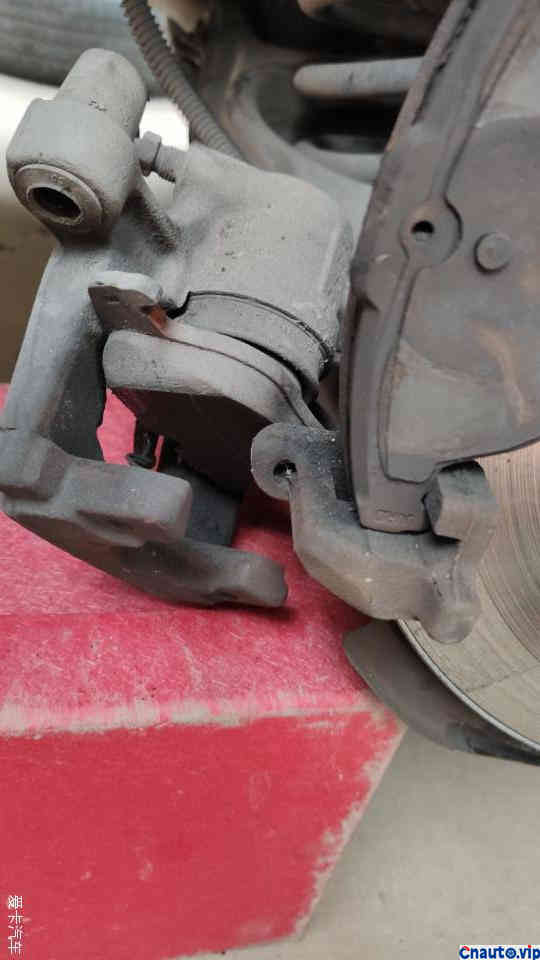
After everything was installed, the wheels were reversed and operated by one person, which lasted 3 hours.
Pay attention to the brake fluid level not to overflow during operation. After installation, apply the brake a few times to allow the oil to recover. Newly replaced brake pads should be running-in at low speed for a period of time, and pay attention to maintaining the distance between cars.
Pay attention to the brake fluid level not to overflow during operation. After installation, apply the brake a few times to allow the oil to recover. Newly replaced brake pads should be running-in at low speed for a period of time, and pay attention to maintaining the distance between cars.
Hot Information
Tesla Autopilot and similar automated driving systems get ‘poor’ rating from prominent safety group
 April 1, 2024
 Localization of EV parts without production scalability may not help cut EV price, says President, Amara Raja
 March 27, 2024
JCTSL may turn bus stands into charging points for e-buses
 March 27, 2024
 You May Like

