


-
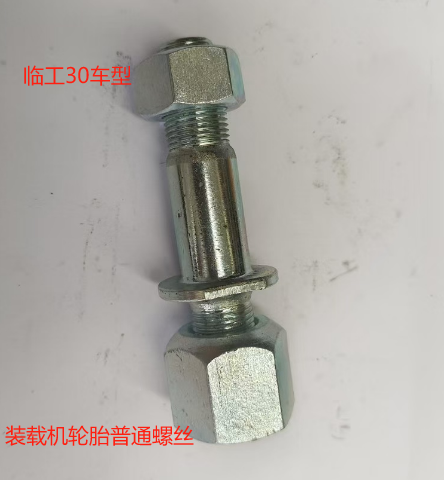 Screws installed in machine tyres
 -
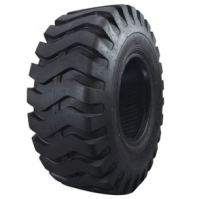 China off The Road OTR Radial Tire Supplier China Tyre 26.5r25 Radial OTR Tire
 -
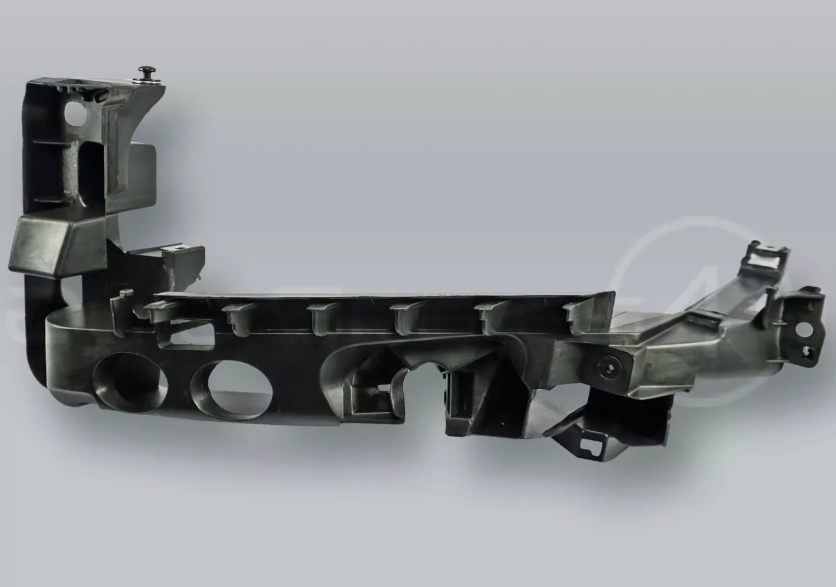 Front Bumper Headlight Bracket Support LEFT fits 2009-2013 AUDI A3
 -
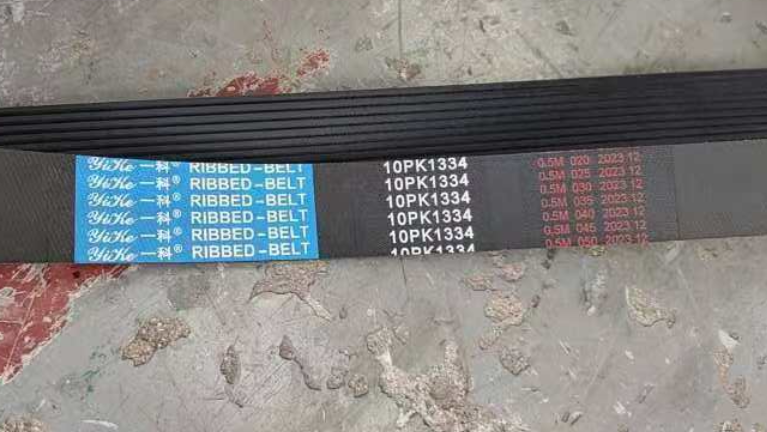 10PK1334 Belt
 -
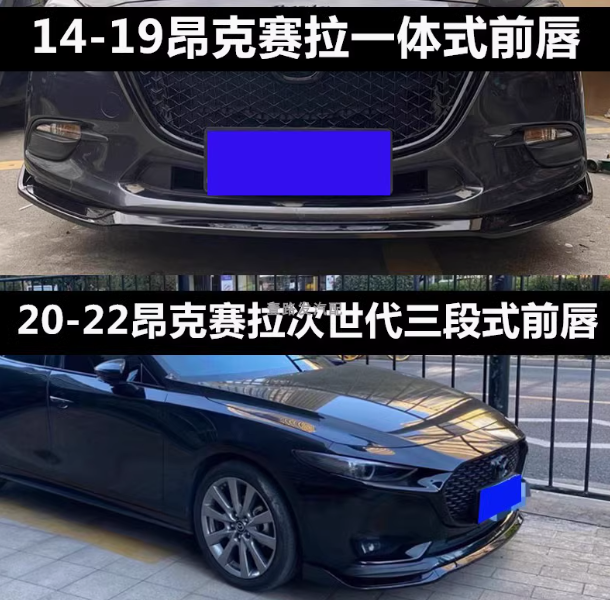 Suitable for 14-19 Axela integrated front lip modification
 -
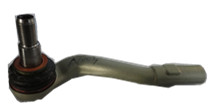 Pull rod ball head-R Suitable for Mercedes W204
 -
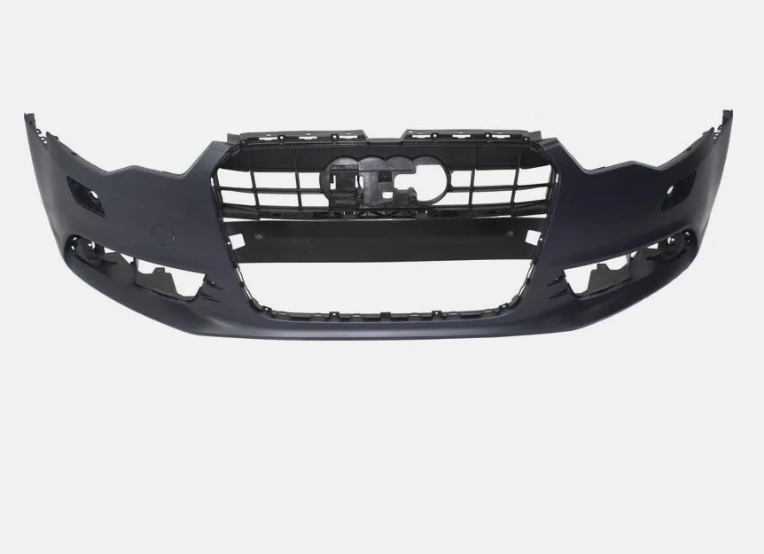 Bumper Cover Front For 2012-2015 Audi A6
Q
who owns firestone tyres

I'm a seasoned industrial engineer with a keen interest in machine learning. Here to share insights on latest industry trends.

Hi, I’m HydroPowerPro. Exploring the nuances of industrial hydroelectricity production, one turbine at a time.
You May Like

Repairing an engine mount may not always be possible, so the steps below are typically for replacing it. However, having these steps in mind might help in some situations where a repair is feasible.
Materials you will need include:
• New Engine Mount
• Wrench Set
• Bottle Jack
• Screwdriver
• Socket Set
• Engine Hoist (not always necessary)
1. Locate Damaged Engine Mount: The first step is to locate the engine mount that is in need of repair. The locations will vary depending upon the make and model of the vehicle, but there are typically several holding the engine and transmission in place.
2. Support Engine: The next step will require a bottle jack. The engine will need to be supported to take the weight off the mount. Place the bottle jack under the engine and pump until it makes contact and takes the weight.
3. Loosen Bolts on Engine Mount: Locate the bolts that secure the engine mount and use your wrench or socket set to loosen them. In some cases, there may be multiple bolts.
4. Raise Engine Slightly: The next step is to raise the engine slightly with the bottle jack. This will relieve pressure on the bolts and make it easier to remove the engine mount. Be sure not to raise the engine more than is necessary, as it can cause damage to hoses and other components.
5. Remove Old Engine Mount: Now remove the loosened bolts and then the mount. You might need a screwdriver to pry it loose.
6. Install New Engine Mount: Once the old engine mount is removed, you can place the new one. Reverse the removal process: fit the mount into place, insert the bolts, screw them in finger-tight.
7. Release Jack Slowly: With the engine mount bolts in place, let the vehicle's weight down onto the mounts by lowering the bottle jack carefully.
8. Tighten Bolts: Double-check your bolts and make sure they're all tight now, with the full weight of your engine resting in its normal position.
9. Re-check After a Few Days: Plan to re-check the bolts after a few days and possibly re-tightening them as they may loosen due to the engine's vibration.
Please note that if you are not experienced with car repair, this can be a complex and potentially dangerous task which should ideally be performed by a professional mechanic. Always refer to your vehicle's factory service manual for specific procedures and torque specifications.
Things to be aware of:
While you might be successful in repairing your mount, it may only be a temporary solution and the engine mount might not last as long as a new one. You also risk causing further damage to your vehicle. Task difficulty may vary based on the specific car model and the location, size, and type of engine mount.

Yes, the check engine light (CEL) can reset itself, but it depends on the nature of the issue. Modern vehicles have onboard diagnostic systems (OBD-II) that continuously monitor performance. If a fault triggering the CEL persists across several driving cycles, the light stays on. However, if the issue is temporary or gets resolved (e.g., a loose gas cap is tightened), the system will detect that the error is no longer present after a few cycles, and the CEL can turn off on its own. Nonetheless, it's crucial not to ignore the CEL when it first appears. Even if it turns off, the stored error codes can be accessed for diagnostics. For persistent issues, professional inspection is advised to avoid potential long-term damage.

Yes, a low battery can indirectly cause the check engine light (CEL) to come on. Modern vehicles rely extensively on electronic control units (ECUs) to manage various systems, including the engine, transmission, and emissions control. These ECUs require a stable voltage to operate correctly. When a car battery is weak or failing, it may not provide the necessary voltage, leading to irregular signals or malfunctions within these systems. This can trigger fault codes that activate the CEL. However, it's important to note that while a low battery can be a reason, the CEL can indicate a wide range of issues from minor to serious. If your CEL illuminates, it's advisable to use a diagnostic scan tool to retrieve the specific error codes or have a professional mechanic evaluate your vehicle to pinpoint the exact cause.

Yes, a low battery can cause the check engine light to come on. If the battery's voltage is low and not providing enough power to the car's systems and sensors, the check engine light may illuminate. However, this light could also mean that there is another issue with the car, so it's always best to have a professional diagnose it.
You May Like
Q&A
- •which tyres wear faster
- •how much does it cost to balance tyres
- •how to make a hydrogen engine at home
- •how to reset check engine light on honda accord
- •how to align transmission to engine
Popular Information
- •Chinese battery giant CATL shrugs off EV sales slowdown to press on with expansion
- •China to challenge Biden’s electric vehicle plans at the WTO
- •Hyundai to reduce network partners as part of “future proofing” plan
- •Volkswagen, Mobileye expand autonomous driving collaboration
- •Localization of EV parts without production scalability may not help cut EV price, says President, Amara Raja