


-
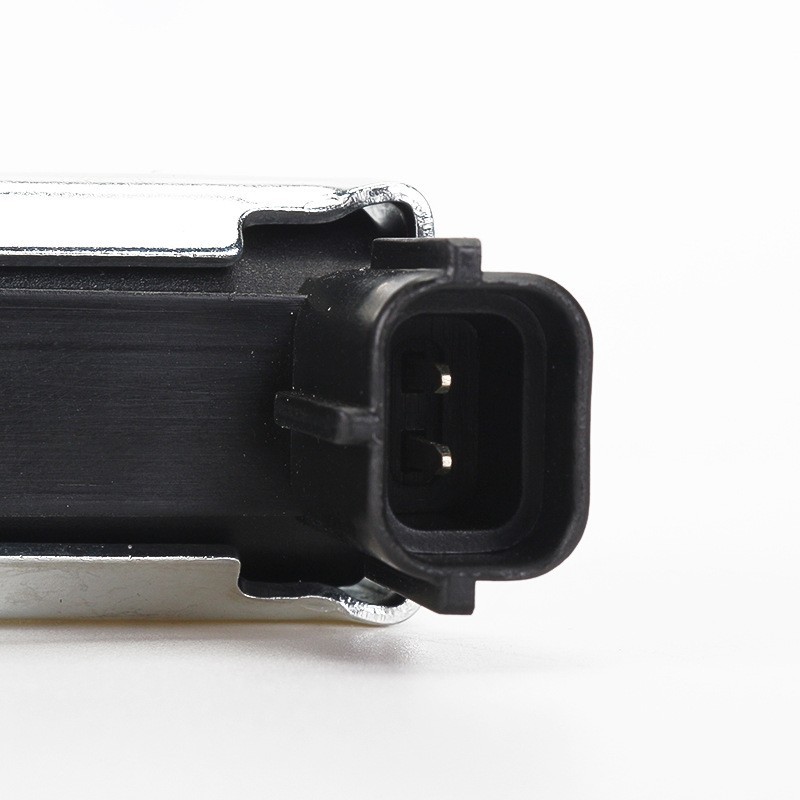 Control Motor, Auto Parts
 -
 Suitable for Tesla auto parts MODEL Y3 front cover engine cover 1493370-EC-A
 -
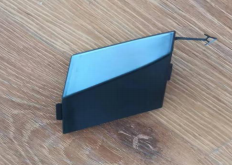 Surround the front bumper trailer cover
 -
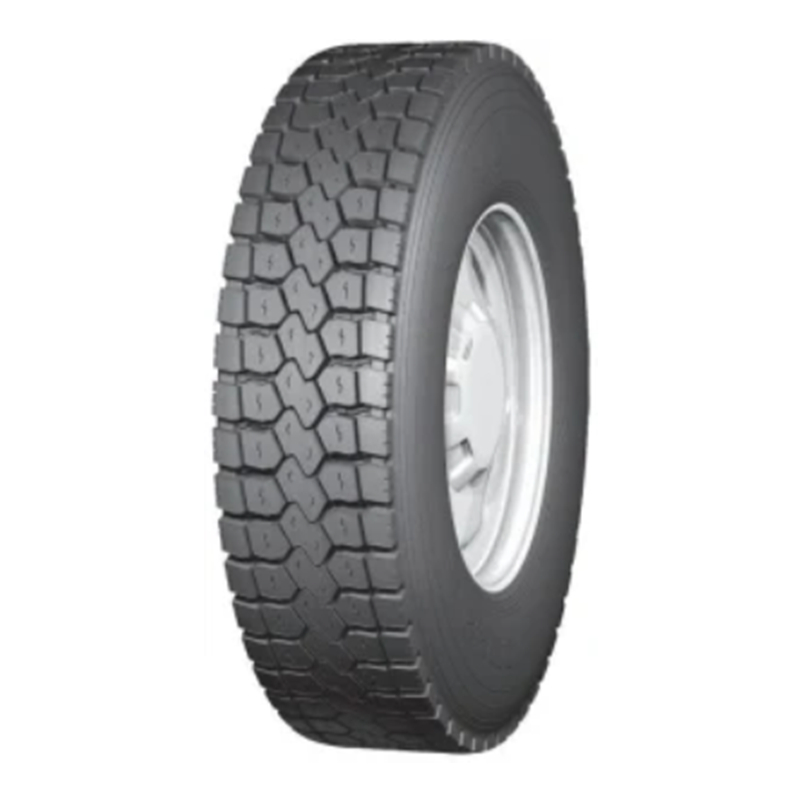 12r22.5 All Steel Radial Truck Tires, Bus Tires, TBR Tires, Radial Tire, Newcentury Tyre Factory Cheap Tyre
 -
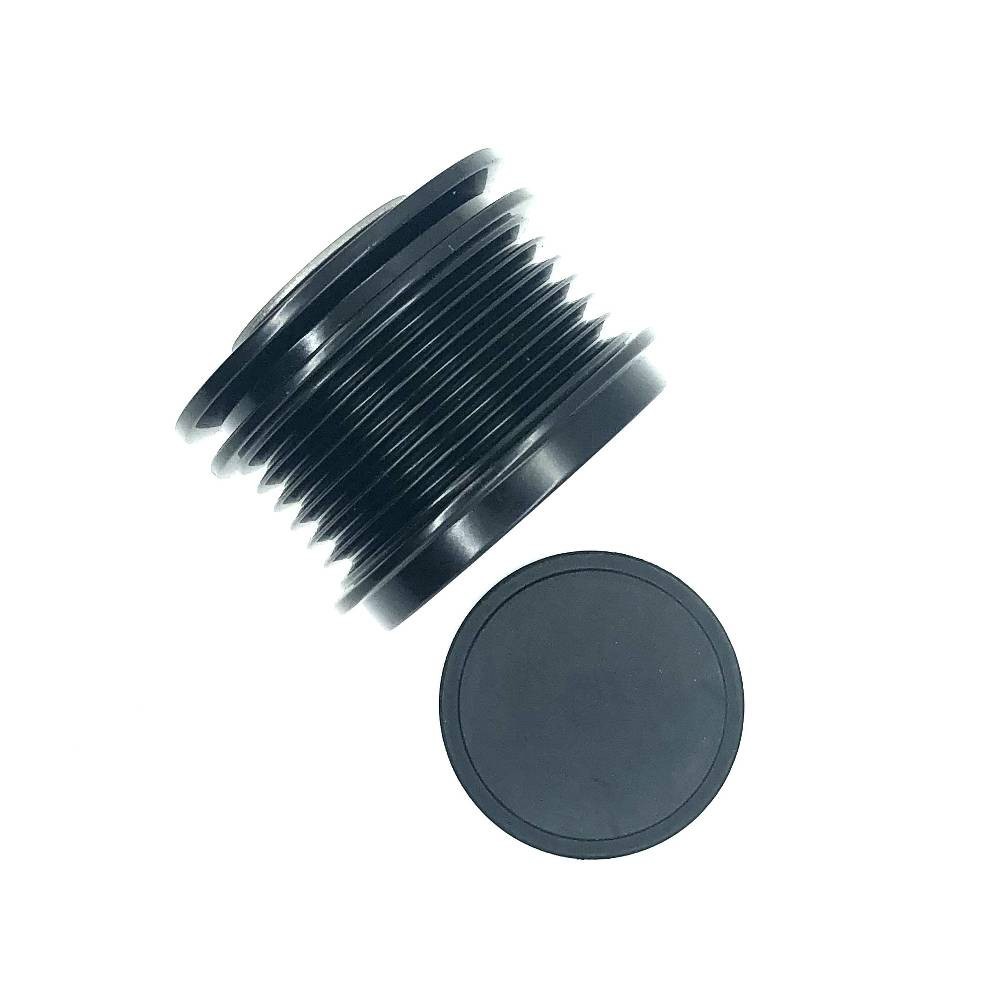 alternator pulley bearing for TOYOTA Highlander 2.0T
 -
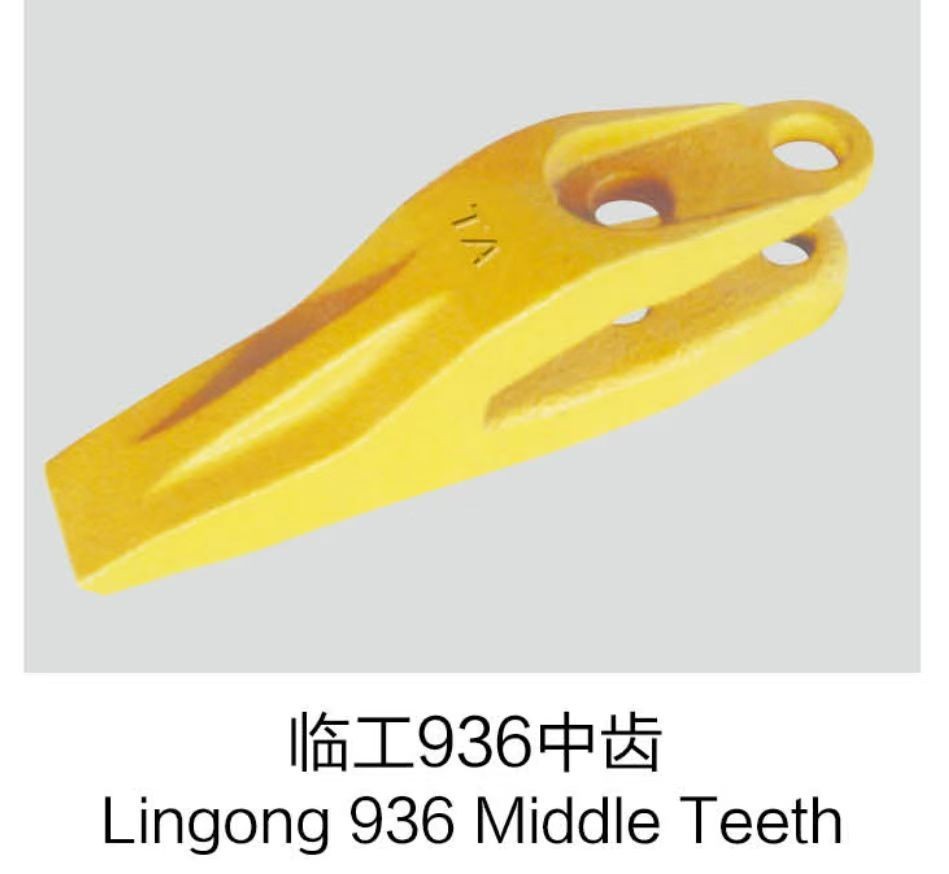 Lingong 936 Middle Tooth
 -
 Front upper grille chrome components
Q
is the 2.4 multiair a good engine

I'm a seasoned industrial engineer with a keen interest in machine learning. Here to share insights on latest industry trends.
You May Like

Before going into detail, it's important to note that "milky oil" typically indicates the presence of coolant in the oil, which usually points to a serious problem such as a blown head gasket, a cracked head or block, or a failing intake manifold gasket. It is recommended to take your car to a mechanic for an assessment if you see milky oil. However, if you still want to proceed by yourself, here's a general procedure to flush milky oil from an engine:
Materials needed:
- A suitable oil drain pan
- New oil filter
- The correct amount and type of engine oil for your vehicle
- Engine oil flush additive (optional)
- Basic hand tools: socket set, wrenches, filter wrench, etc.
- Funnel
- Shop rags
- Rubber gloves
- Safety glasses
Method:
1. Start by placing the oil drain pan under the oil drain plug.
2. Loosen the oil drain plug using a wrench or socket and allow the milky oil to drain into the pan. Be sure to wear rubber gloves and safety glasses to protect your hands and eyes from hot oil.
3. Once all the oil is drained, replace the plug and move the drain pan under the oil filter.
4. Next, remove the oil filter. This could require a filter wrench if it's too tight to unscrew by hand. Be careful here as well: the filter will have oil in it that can spill.
5. Before installing the new filter, apply a small amount of fresh oil to the gasket on the top of the filter. This helps it seal better and makes it easier to remove at the next oil change. Then screw the new filter onto its mount on the engine.
6. Now you will fill the engine with fresh oil. Your vehicle's owner's manual will specify how much oil the engine requires. Use a funnel to avoid spills and pour the oil into the engine via the oil filler cap on the top of the engine.
7. Start the engine and let it run for a few minutes. This allows the new oil to circulate through the engine and pick up any remaining contaminants.
8. Turn off the engine and let it sit for a couple of minutes, then check the oil level with the dipstick. If it's not at the "full" mark, add more oil a little at a time until it is.
Optional: Using engine flush products.
There are products available that are designed to flush out an engine. These can help remove more of the milky oil and other contaminants, but they are not without risk. Some older engines with lots of miles and plenty of wear may not respond well to an engine flush, with the potential for the flush to cause more problems than it solves.
If you decide to use an engine flush product, follow the instructions on the can. This generally involves adding the product to the old oil, running the engine for a specified amount of time, then proceeding with the oil change as described above.
Dispose of the old oil responsibly by taking it to a proper recycling facility or service station.
Bear in mind that flushing the engine will not fix the problem that caused the oil to become milky in the first place. That will likely require more extensive repairs. This is where an experienced mechanic can really help.

To reset the engine coolant temperature (ECT) sensor, you typically must address any underlying issues causing anomalous readings, rather than resetting the sensor itself. First, check if the sensor or its wiring is faulty and replace if necessary. Coolant levels and quality should also be examined, as low or contaminated coolant can affect sensor readings. Upon addressing these issues, disconnect the car's battery for a few minutes, which can reset the vehicle's computer system and clear any error codes related to the ECT sensor. Reconnect the battery, and start the engine, allowing it to reach operating temperature. Monitor the temperature gauge for normal operation. If problems persist, professional diagnostic equipment may be required to further investigate. This approach ensures not just a reset but a resolution to common causes of ECT sensor problems, promoting vehicle health and efficiency.

The weight of a 4-cylinder engine typically ranges between 300 to 500 pounds (136 to 227 kilograms). This variance is largely dependent on the engine's construction materials (aluminum vs. cast iron), the inclusion of ancillary components (like the alternator or water pump), and its intended application (automotive, marine, etc.). Aluminum engines are lighter and are preferred for most modern vehicles to enhance fuel efficiency and performance. However, cast iron engines, though heavier, are often prized for their durability and heat resistance. Understanding the specific needs of your vehicle or project can help determine the most suitable engine type, balancing between weight, performance, and durability.
You May Like
Q&A
- •best motard tyres
- •is service engine the same as check engine
- •is there a tax credit for hybrid vehicles
- •why is my engine shaking when i drive
- •can autozone check my check engine light
Popular Information
- •Tesla Autopilot and similar automated driving systems get ‘poor’ rating from prominent safety group
- •Automakers score victory as Energy Department weakens EV mileage rule
- •Volkswagen, Mobileye expand autonomous driving collaboration
- •Xpeng, BYD executives say Greater Bay Area firms’ expertise in smart tech, superfast battery charging will drive EV growth in China
- •Hyundai to reduce network partners as part of “future proofing” plan