


Q
how warm does a block heater keep an engine


Industrial Efficiency: Explore ways to increase efficiency in industries. Keen insights on process improvements, waste reduction and cost saving.
You May Like


Before starting a marine engine. it is important to conduct safety checks and preparatory steps to facilitate a smooth ignition. Begin by verifying the presence of sufficient fuel on board and ensuring that the batteries are connected and fully charged. Take note of any potential fuel leaks or loose connections. Once these initial checks have been completed. ensure that the boat is properly positioned in the water to avoid causing damage to the engine's cooling system. For outboard engines. leave them in the water at all times. Confirm that the termination switch is securely connected to the drive as this will be vital in case of an emergency shutdown. To eliminate any potentially explosive fumes from the engine compartment. activate at least four blowers for a minimum of one minute. Once this has been done. turn the key to the ON position to allow for the proper functioning of the engine fuel system. This may be accompanied by a beep indicating that the fuel pump is running. Finally. turn the key further to start the engine and allow it to warm up for several seconds. During this process. adjust any manual dampers as needed. It is also recommended to perform regular maintenance and inspections and strictly follow manufacturer's starting procedures in order to extend the lifespan of your marine engine and ensure safe operation


Creating an engine involves a complex process of design, engineering, and assembly. Initially, one must decide on the engine type, such as internal combustion (ICE) or electric. For ICEs, it involves choosing between configurations like inline, V, or boxer, and determining the number of cylinders. The engineering phase covers designing individual components such as pistons, crankshafts, and camshafts, ensuring that each part can withstand the operational stresses. Advanced CAD software is essential for design and simulation, allowing for adjustments before prototype creation. Material selection is critical, with aluminum and steel being popular for their strength-to-weight ratios. Once designed, each part is manufactured, either in-house or outsourced, and then meticulously assembled. Testing is crucial, including bench testing to refine performance and reliability. It's a resource-intensive process requiring a deep understanding of mechanical engineering principles, materials science, and thermodynamics. For hobbyists or educational projects, simpler engine kits are available to provide a basic understanding of these mechanisms.


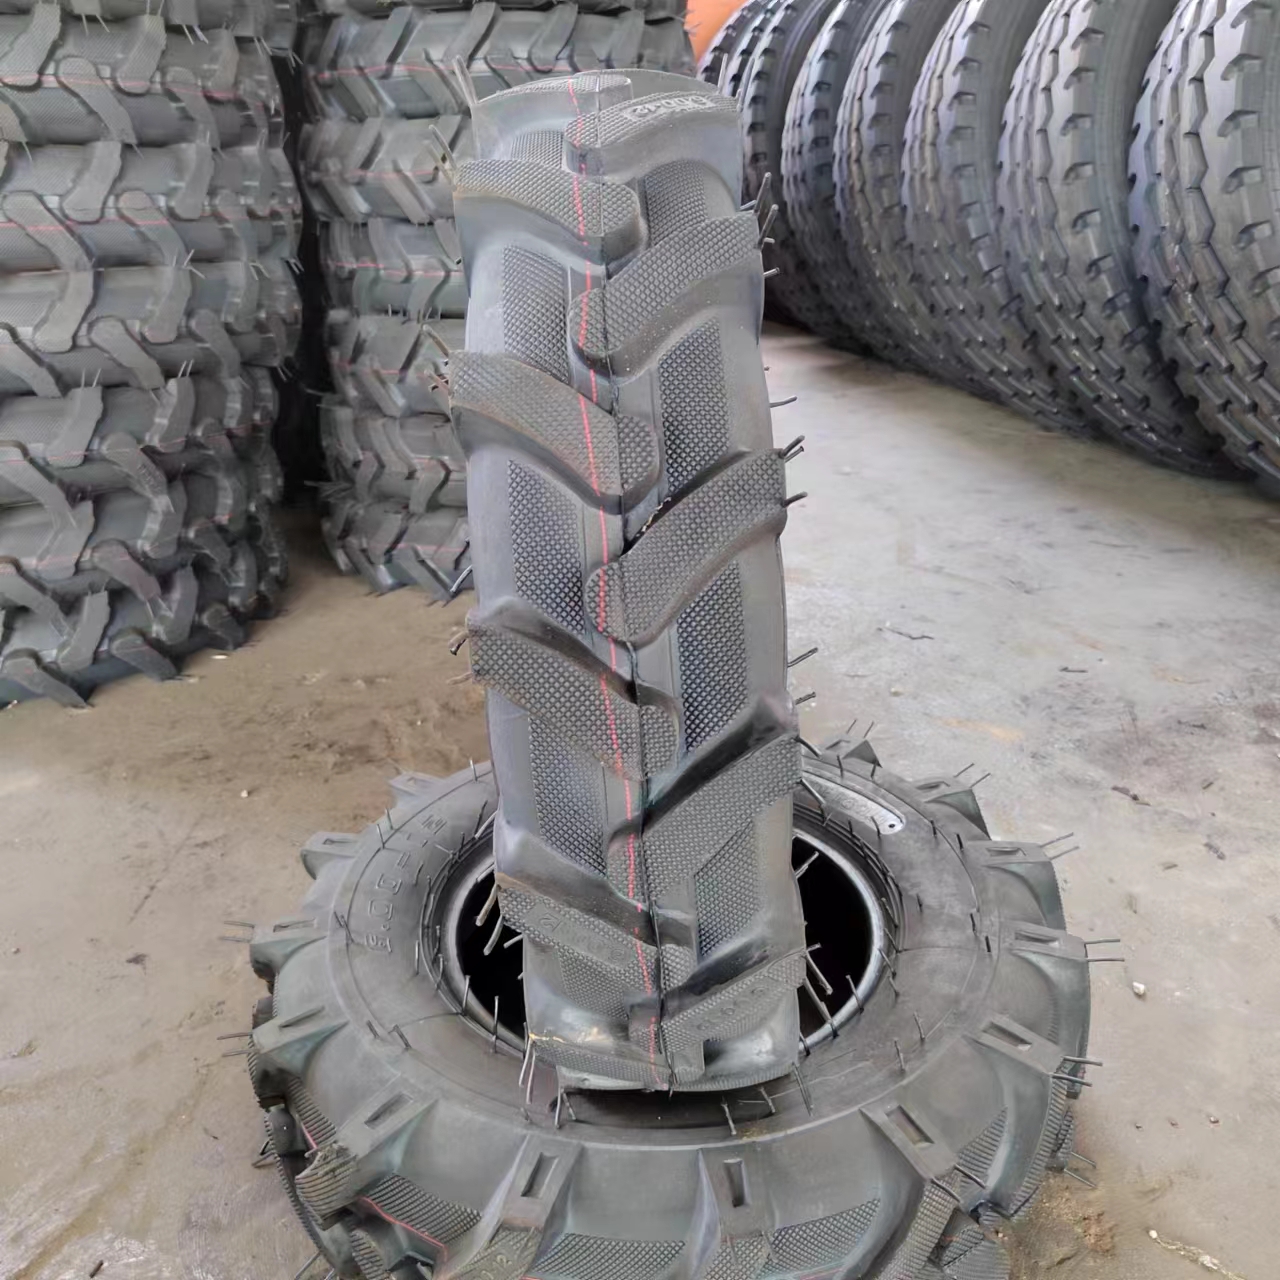
Filling tractor tyres with water can provide additional weight and stability. It's usually done with about 75% water and 25% air in each tyre. It's essential to ask a professional or consult your tractor's manual if this process is appropriate for your model. Here is a simple step-by-step guide to do this:
Materials Needed:
1. Water source like a garden hose or water pump.
2. Large bucket or a barrel.
3. Liquid tubeless tire ballast or Tire Water Ballast Kit.
4. Water and antifreeze mixture (if you're in a very cold area)
Steps:
1. Park the tractor on a level ground.
2. Locate the valve stem on the tractor tire. It should be positioned at the top to prevent water from spewing out during the filling process.
3. Remove the valve core using a valve core removal tool. Now your tire should not have any air in it.
4. Connect a liquid tubeless tire fill kit to your tire's valve stem. These kits usually come with all hoses and nozzles required to inject liquid into a tire and they are mostly designed to connect to a standard garden hose.
5. Turn on the water source. If using a pump, make sure it's pumping water into the tire.
6. Fill the tire until the water reaches the valve stem. Remember, you still need to leave room for air.
7. Turn off the water source.
8. After filling with water, pressurize the tyre with air. Your owner's manual should have the correct PSI for your tyres. Be sure to follow these guidelines to prevent over-inflation.
9. Replace the valve core and tighten.
10. Repeat these steps for each tire you wish to fill.
Note: Antifreeze can be added to the water to prevent it from freezing in cold weather. Always check your tire pressure after filling them for several hours or the next day to ensure a good seal. Always remember safety first. If you're unsure, it's always best to have a professional do it for you.

Before attempting this operation. be aware of potential issues that may arise. The added weight of the tractor can put pressure on the axle or bearings. while cold temperatures can cause tires to explode if water freezes inside them. It is recommended to consult your tractor or tire manufacturer prior to proceeding with this task.
You May Like


Q&A
- •are small engine repair shops profitable
- •how to reset toyota camry check engine light
- •what is the best 5.3 ls engine
- •what are class 3 vehicles
- •how do i know what type of engine i have
Popular Information
- •Tesla Autopilot and similar automated driving systems get ‘poor’ rating from prominent safety group
- •Hyundai to reduce network partners as part of “future proofing” plan
- •Stellantis to cut 400 engineering, technology jobs
- •JCTSL may turn bus stands into charging points for e-buses
- •Chinese battery giant CATL shrugs off EV sales slowdown to press on with expansion