


-
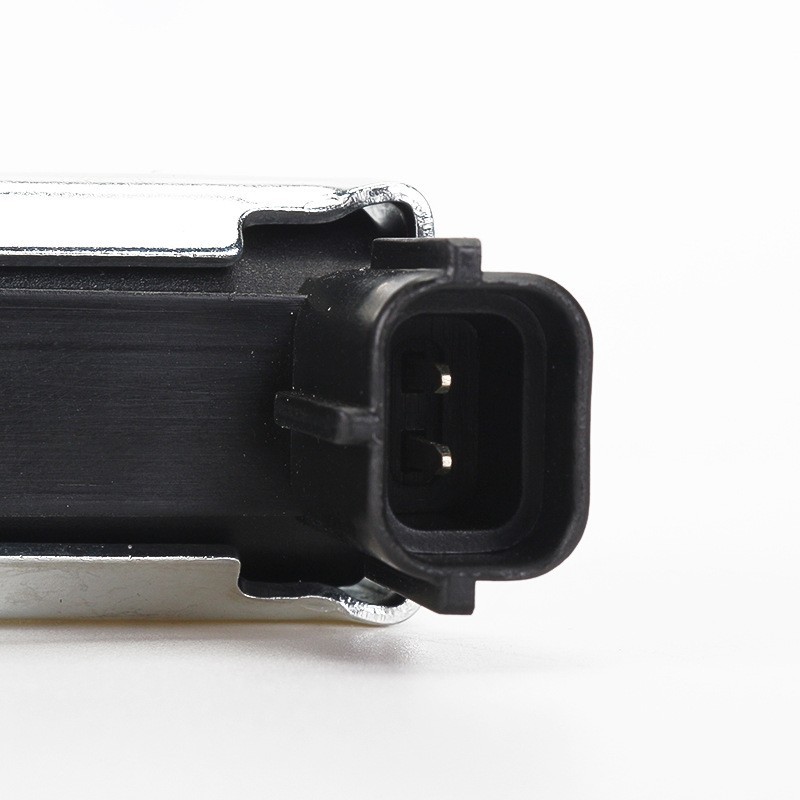 Control Motor, Auto Parts
 -
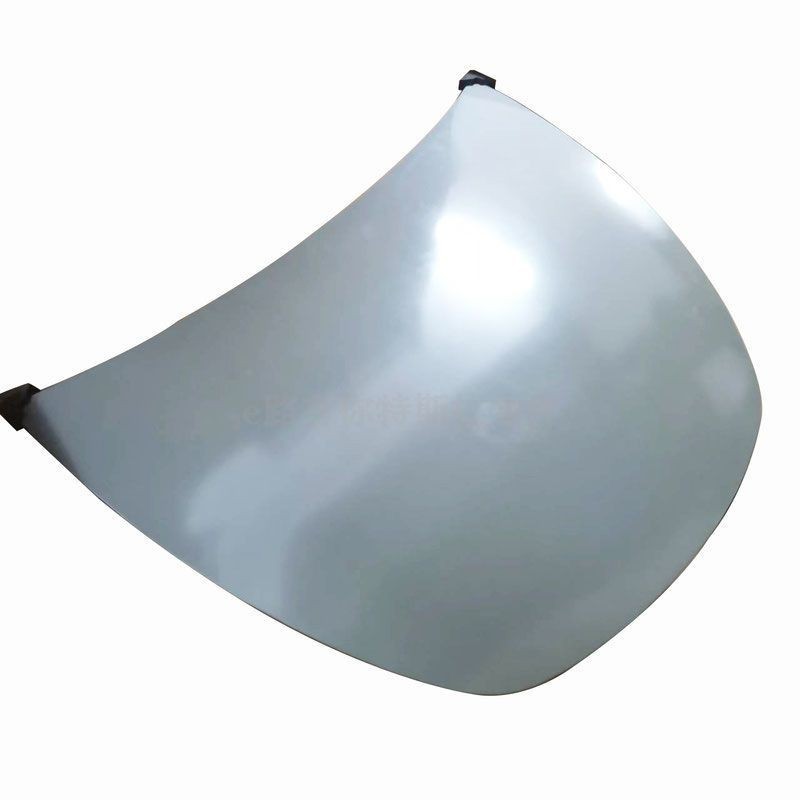 Suitable for Tesla auto parts MODEL Y3 front cover engine cover 1493370-EC-A
 -
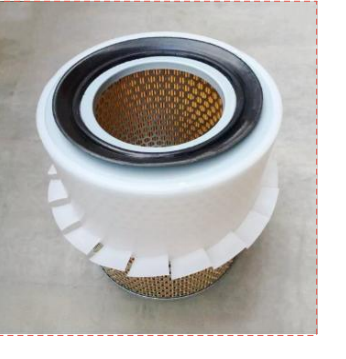 Air filter
 -
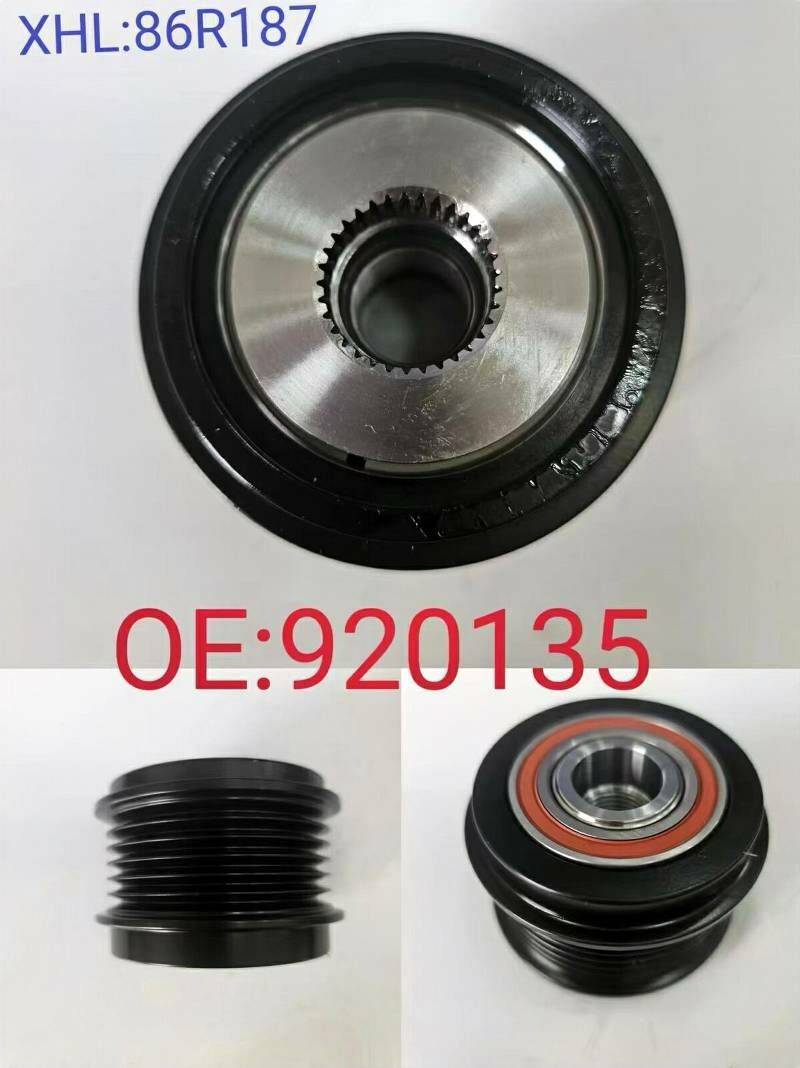 Overrunning alternator pulley
 -
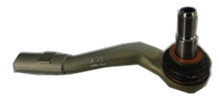 Pull rod ball head-L Suitable for Mercedes W204
 -
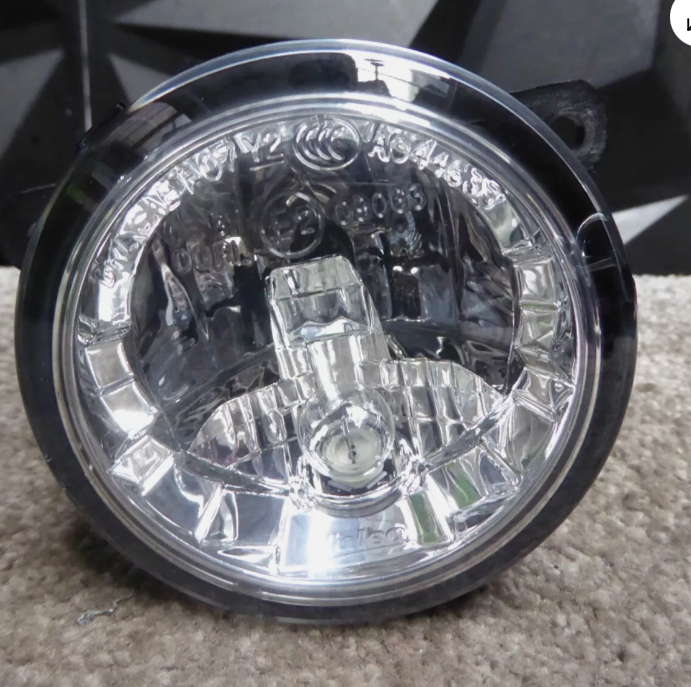 Suitable for FORD RANGER MITSUBISHI RENAULT NISSAN TOYOTA LEFT N/S FOGLIGHT VALEO
 -
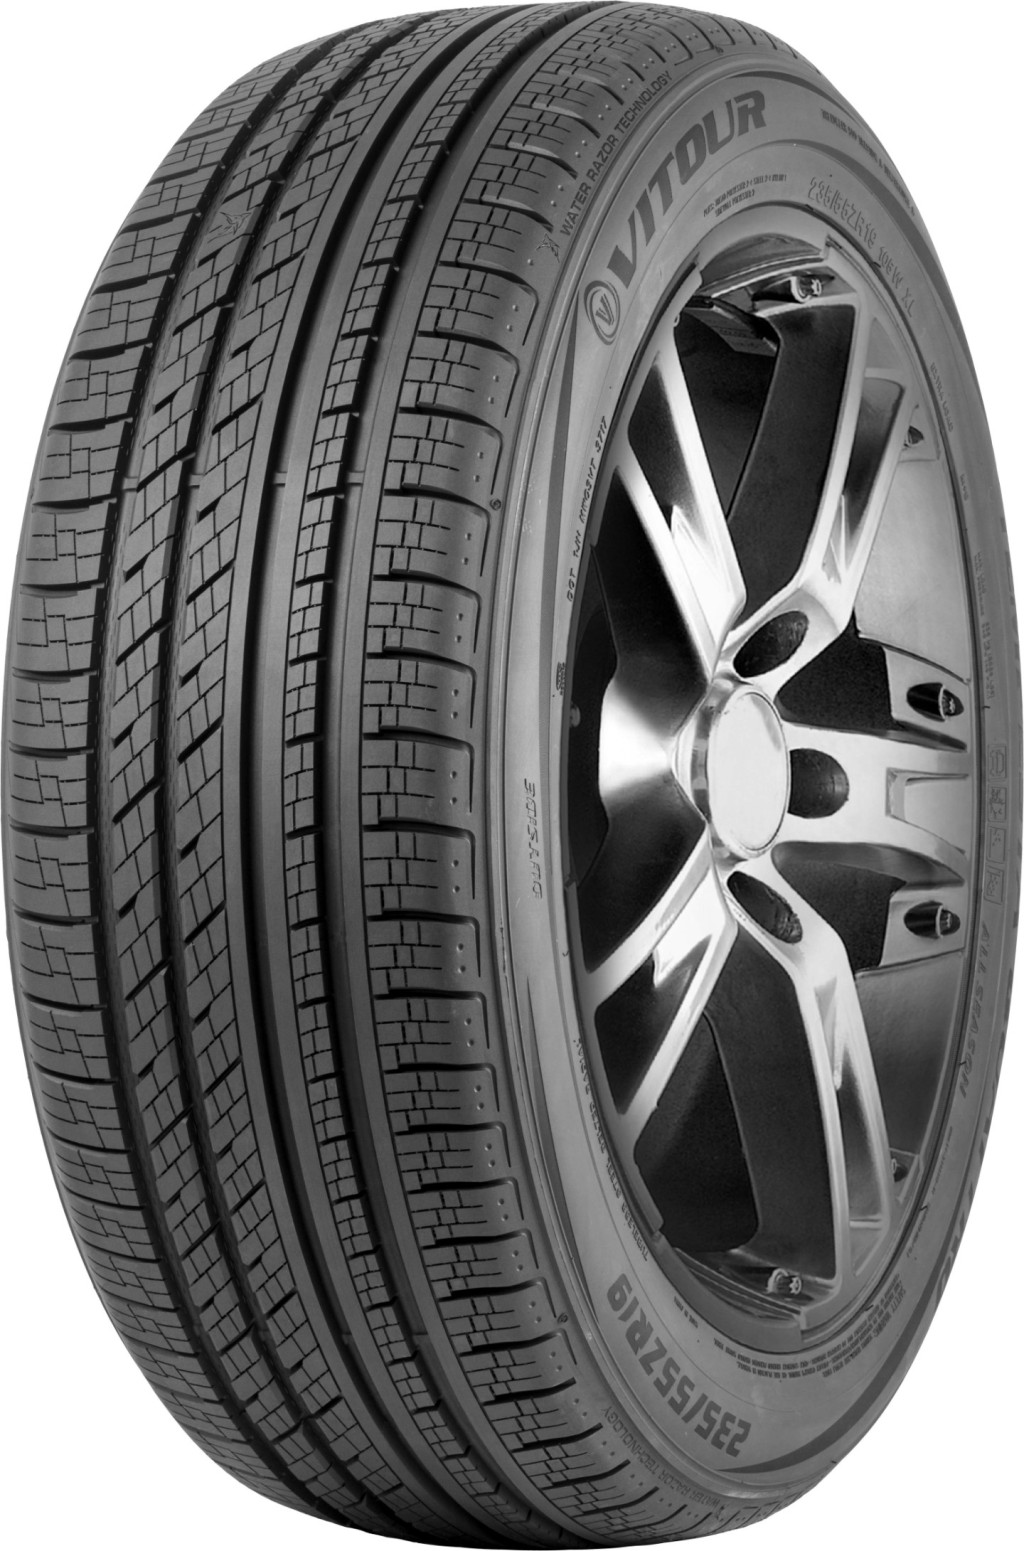 225/60R17 TEMPESTA QUATTRO 99H
Q
what is the best engine oil filter

I'm a seasoned industrial engineer with a keen interest in machine learning. Here to share insights on latest industry trends.
You May Like

1. Gather Necessary Tools: You'll need a degreaser (industrial strength for heavy grease), a pressure washer or hose with a spray nozzle, and safety gear like gloves and goggles to protect your skin and eyes from the chemicals. You may also need a scrub brush or old toothbrush for tough spots.
2. Cool Down the Engine: Never degrease a hot engine as it can cause rapid cooling that could crack the engine block.
3. Protect Sensitive Parts: Before starting, cover sensitive parts such as the alternator, air intake, and any electrical wiring with a plastic bag to protect them.
4. Apply the Degreaser: Spray the entire surface of the engine with a degreaser. Be generous with the product, ensuring that it gets into all the nooks and crannies. Let the degreaser sit for 3-5 minutes, but don't let it dry out.
5. Scrub: Use various brushes to scrub off the dirt, grease, and grime. Be careful not to damage any parts.
6. Rinse: Once you've scrubbed away the dirt and grease, rinse the engine with your hose or pressure washer. Make sure all the degreaser is rinsed away, as it can cause damage if left on for too long.
7. Dry: Once it's clean, dry the engine using a cloth or, better yet, let it air dry. If necessary, use compressed air to blow water out of tight spots.
8. Remove Protective Coverings: After everything is completely dry, remove the plastic bags used to protect sensitive parts.
9. Run Engine: Start your vehicle and let the engine run for a few minutes. This will help evaporate any remaining water in the engine area.
Please be aware that you may want to consider hiring a professional for this job, especially if you have no experience with car engines. The misuse of degreasers and power washers can cause serious damage to your vehicle. Additionally, remember to dispose of any waste water properly, as it contains oils and chemicals that may harm the environment.

Building a car engine involves a series of intricate steps, primarily focusing on assembling its core components: the block, pistons, crankshaft, camshaft, and cylinder heads. First, source a quality engine block - the foundation of your build. Ensure it's clean and defect-free. Next, install the crankshaft, which converts the pistons' linear motion into rotational motion. After securing the crankshaft, install the pistons - these are crucial for compressing the fuel-air mixture, leading to combustion. Attention to detail is critical; piston rings must be correctly installed to ensure a tight seal.
Proceed with mounting the camshaft, responsible for opening and closing the valves in sync with the crankshaft. This synchronization is vital for the engine's timing and overall efficiency. The installation of cylinder heads comes next; they house the valves and form the combustion chamber. Apply a new head gasket before placing the heads to prevent leaks.
Throughout this process, adhere to the manufacturer's torque specifications to ensure each component is securely and accurately installed. Using a torque wrench is necessary for this precision work. Additionally, always prioritize safety and cleanliness in your workspace to avoid accidents and ensure the longevity of the engine components.
Finally, consult the engine's service manual extensively throughout the build. This ensures correct assembly procedures and helps avoid common pitfalls. The complexity of building an engine from scratch demands patience, precision, and a solid understanding of mechanical engineering principles. Whether for a restoration project or custom performance build, the satisfaction of turning the key on an engine you've assembled yourself is unparalleled.

Adjusting valves on a Kohler OHV (Overhead Valve) engine involves a precise process to ensure optimal engine performance. Firstly, ensure the engine is cool. Rotate the crankshaft to position the piston on the cylinder you are adjusting at the top dead center (TDC) of the compression stroke. This is crucial for accurate adjustment.
Locate the valve cover and remove it to access the rocker arms and valve stems. Consult your engine's manual for the specific valve clearance specifications, as these can vary. For adjustment, you will typically need a feeler gauge, a wrench for the rocker arm nut, and a screwdriver for the valve adjustment screw.
Loosen the locking nut on the rocker arm and adjust the clearance by turning the adjustment screw until the feeler gauge slides between the valve stem and rocker arm with slight resistance. Hold the adjustment screw in place and tighten the locking nut. Double-check the clearance after tightening to ensure it hasn't changed.
Repeat the process for each valve, reassemble the valve cover, and start the engine to listen for smooth operation. It's advisable to check the valve clearances periodically as part of regular maintenance. Proper valve adjustment can improve engine performance, reduce noise, and prevent engine damage.
You May Like
Q&A
- •is a 2.4 liter engine a 4 cylinder
- •are kias good vehicles
- •who makes the best engine oil
- •are electric vehicles reliable
- •tyres over inflated
Popular Information
- •Chinese battery giant CATL shrugs off EV sales slowdown to press on with expansion
- •First drive: BMW iX2 becomes the coupe-SUV it was always meant to be
- •Stellantis to cut 400 engineering, technology jobs
- •Xpeng, BYD executives say Greater Bay Area firms’ expertise in smart tech, superfast battery charging will drive EV growth in China
- •Volkswagen, Mobileye expand autonomous driving collaboration