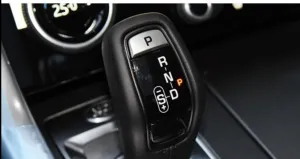
Dreams shine into reality (middle)#E39
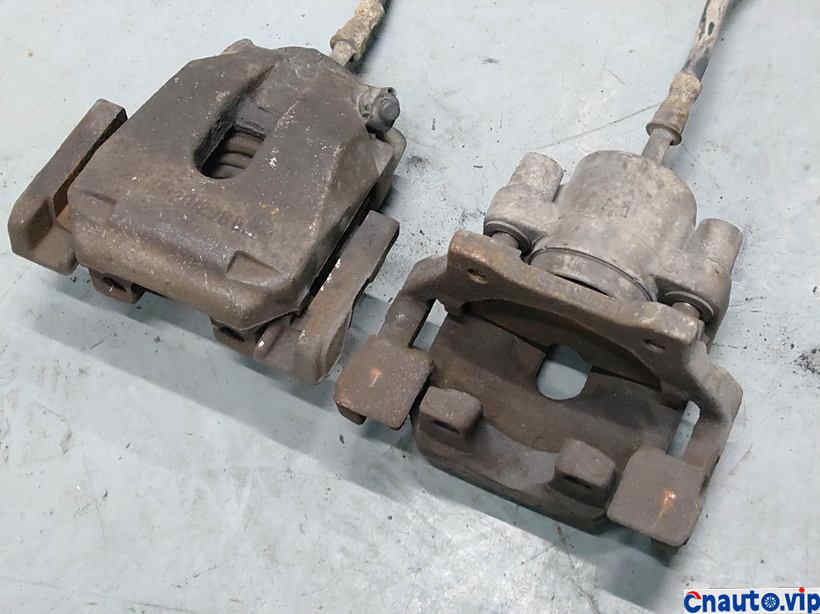
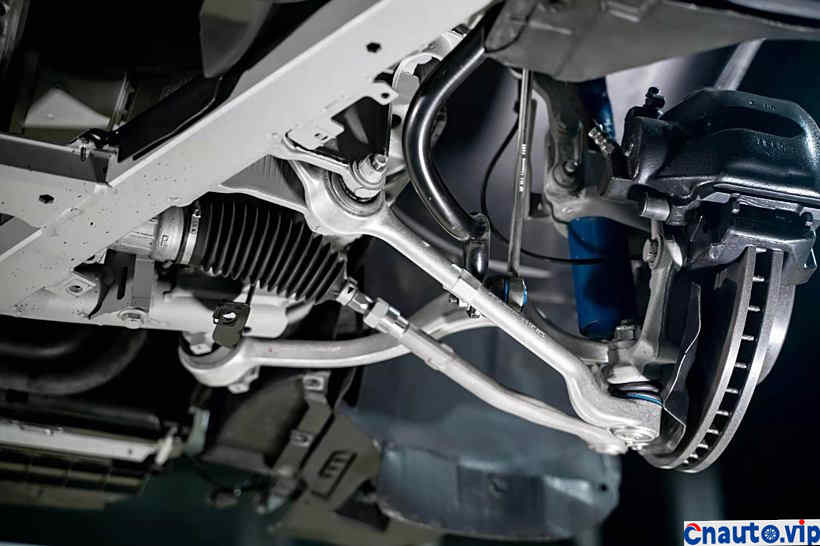
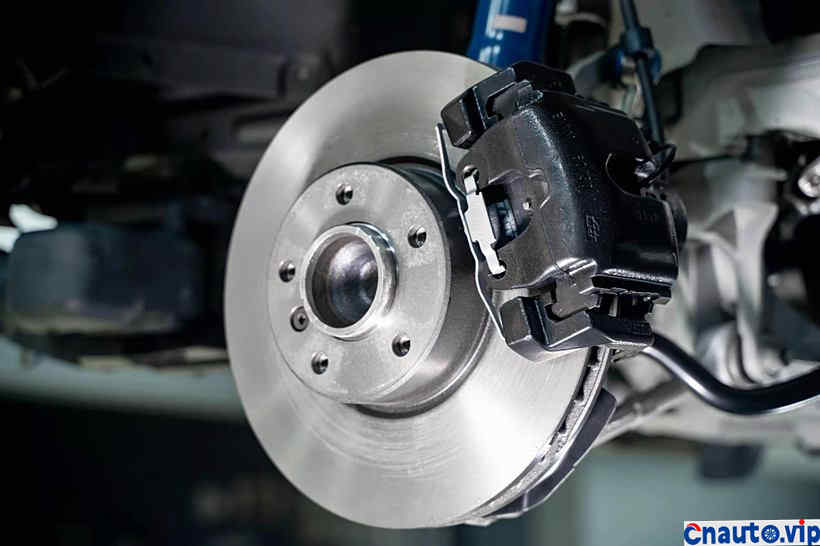
The old calipers are a little ugly!
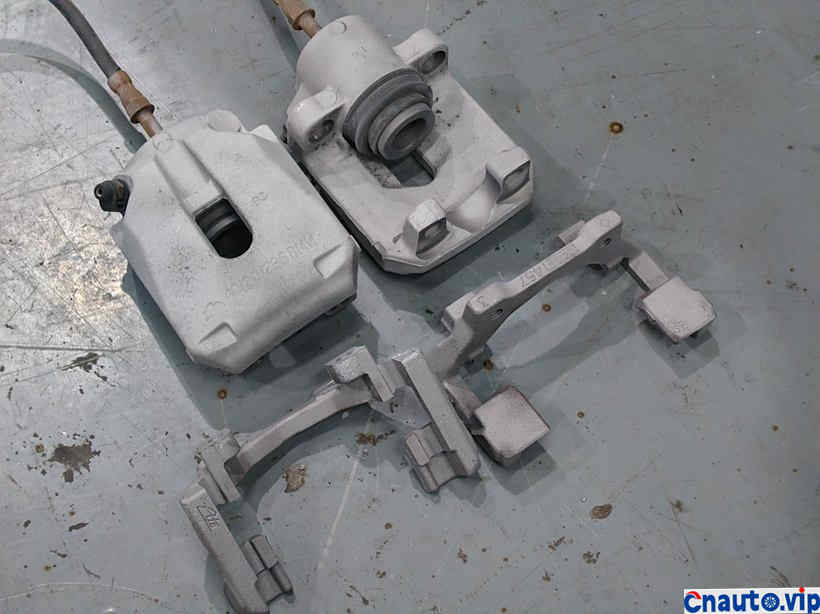
Rust removal again!
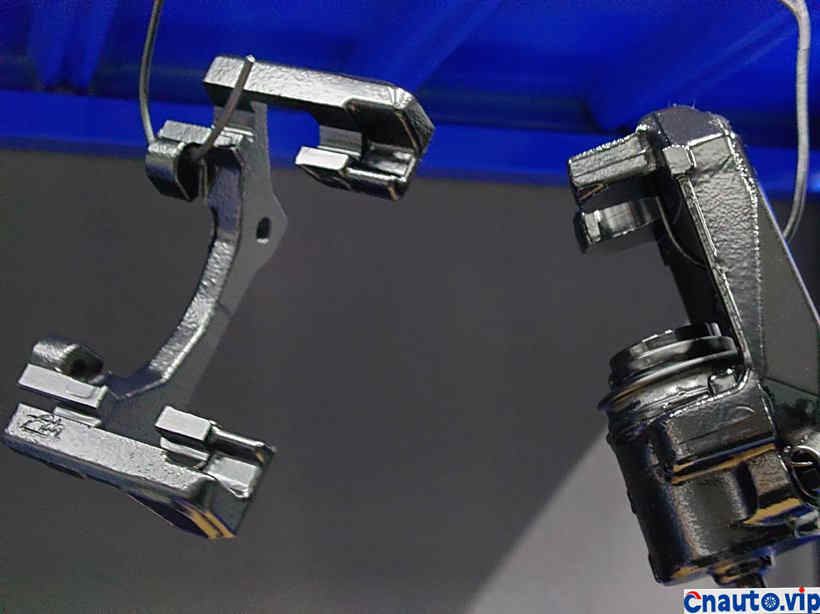
Put on the heat-resistant coating!
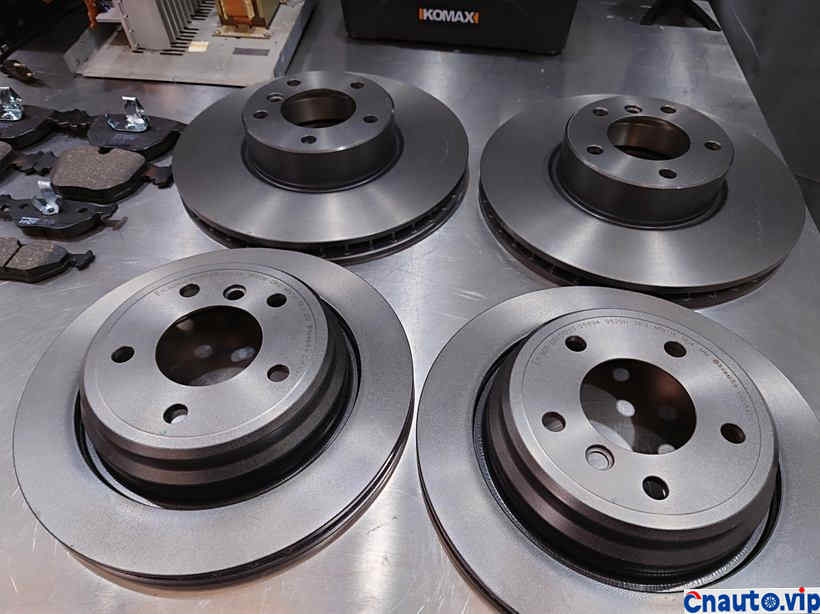
The brakes can’t wait to get on the bus!
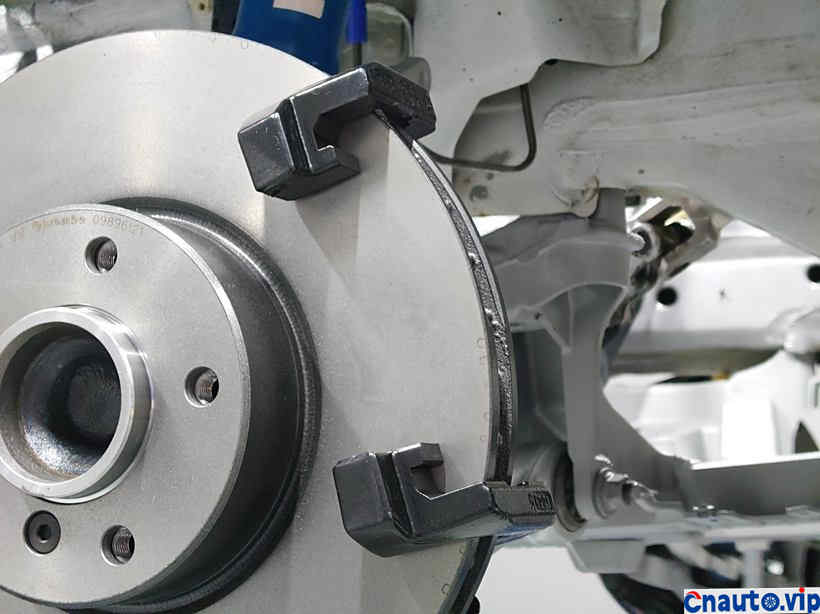
The caliper bracket gave a warm hug!
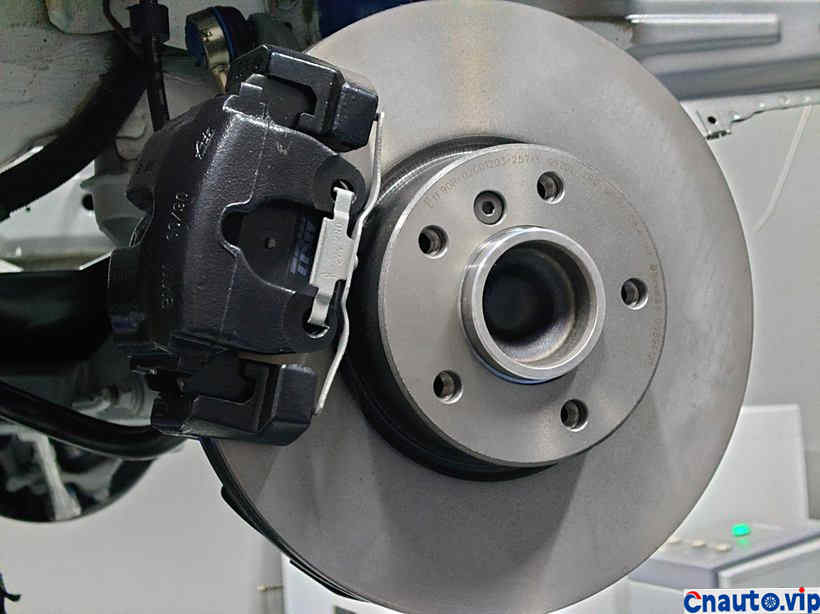
Brand new! Brand new!
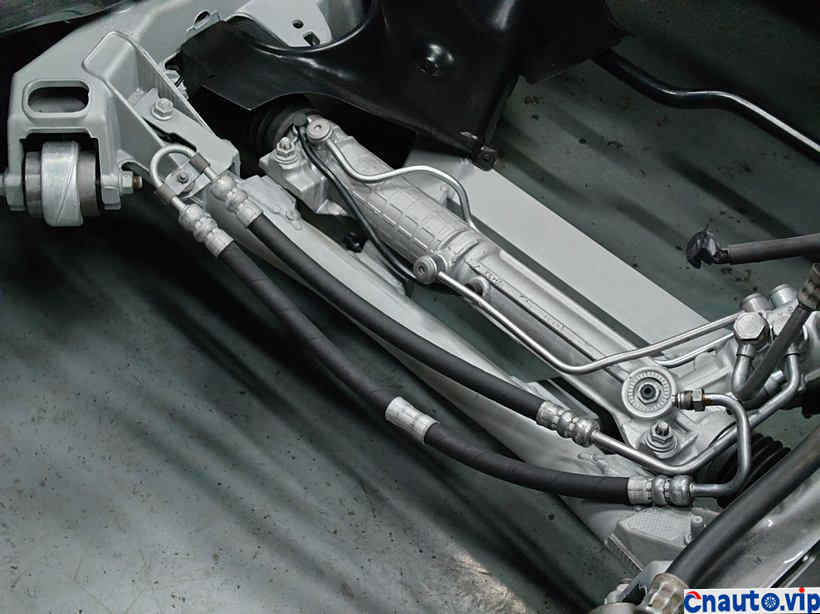
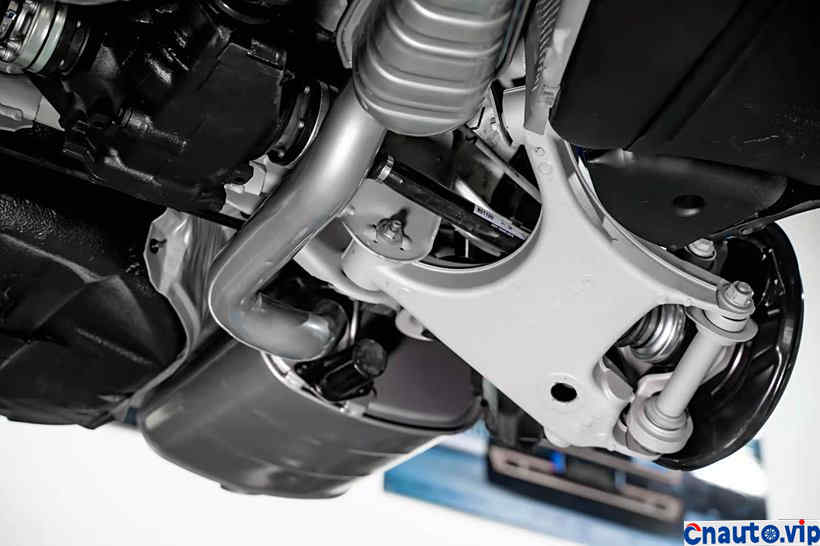
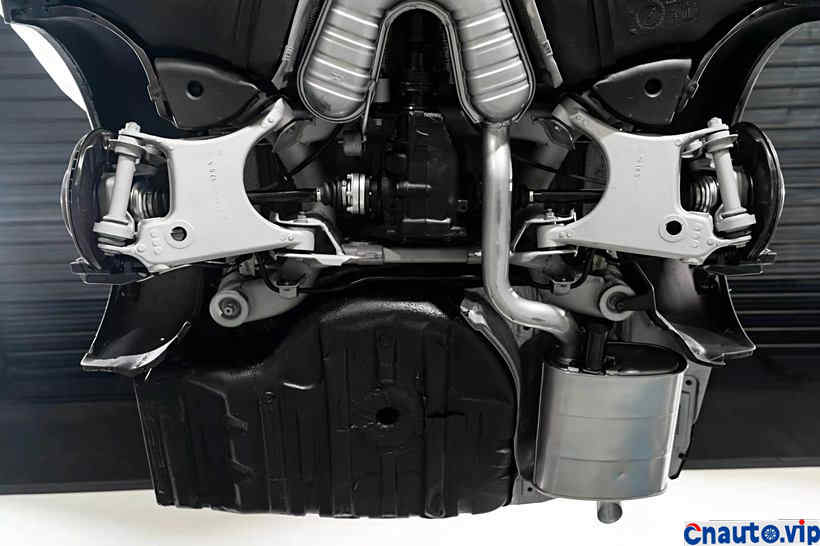
Make up a picture of the front bridge!
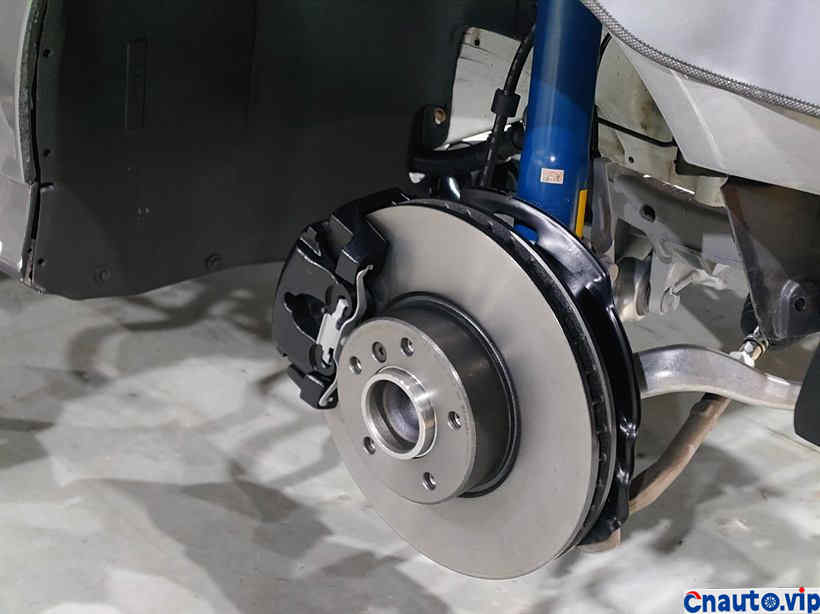
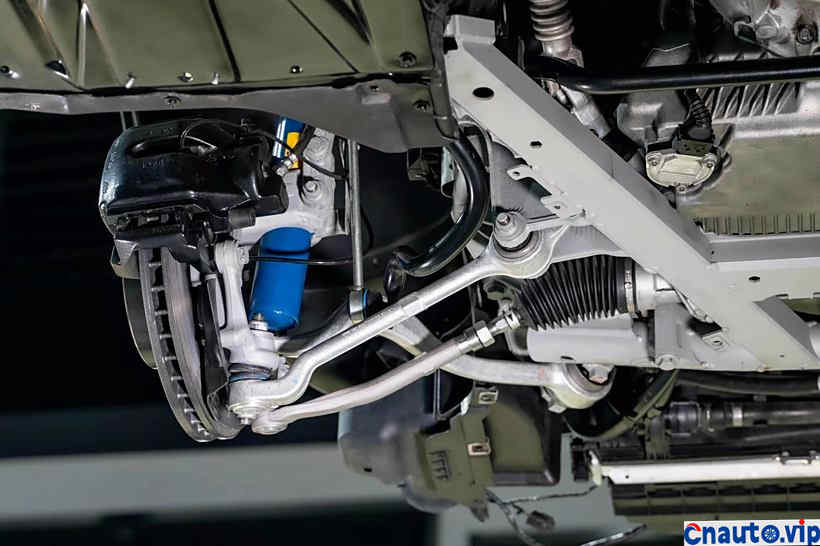
BMW’s unique double-ball front suspension!
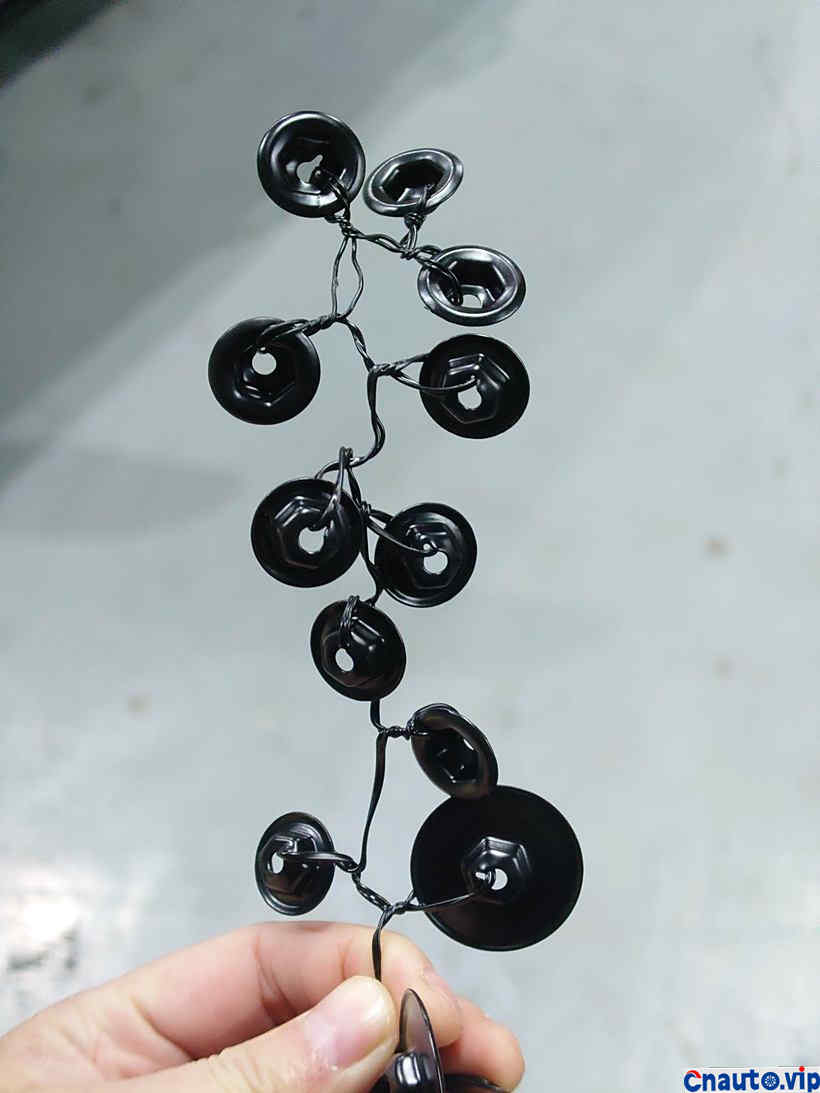
People who love cars understand the romance of repairmen!
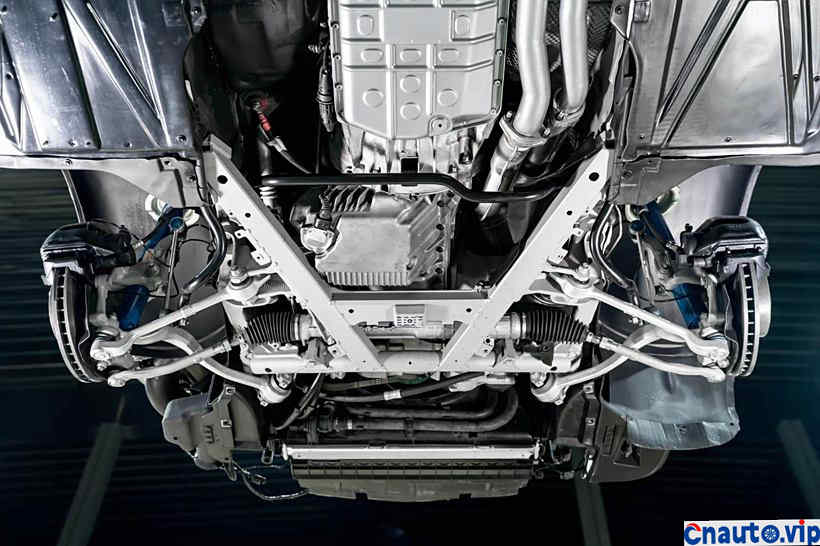
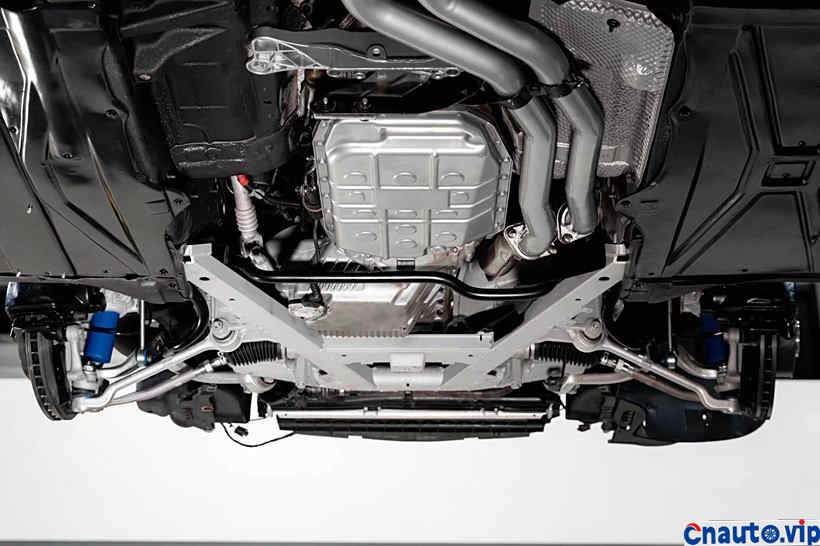
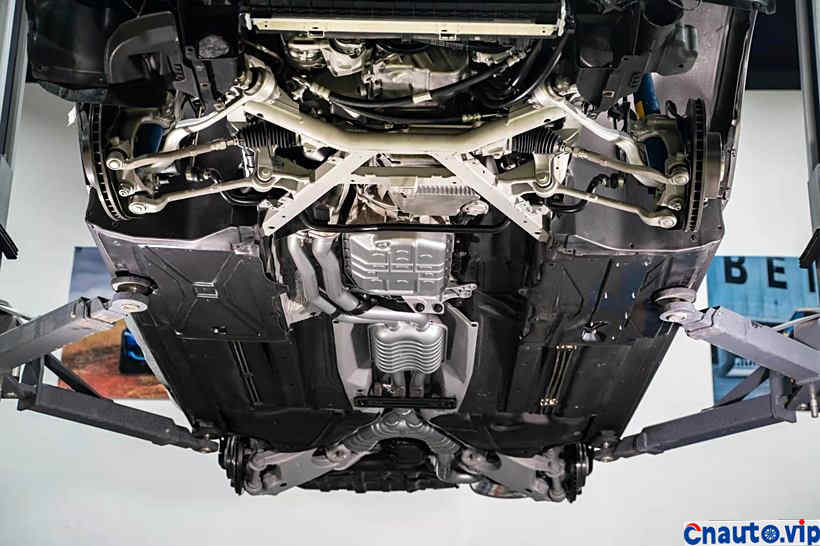
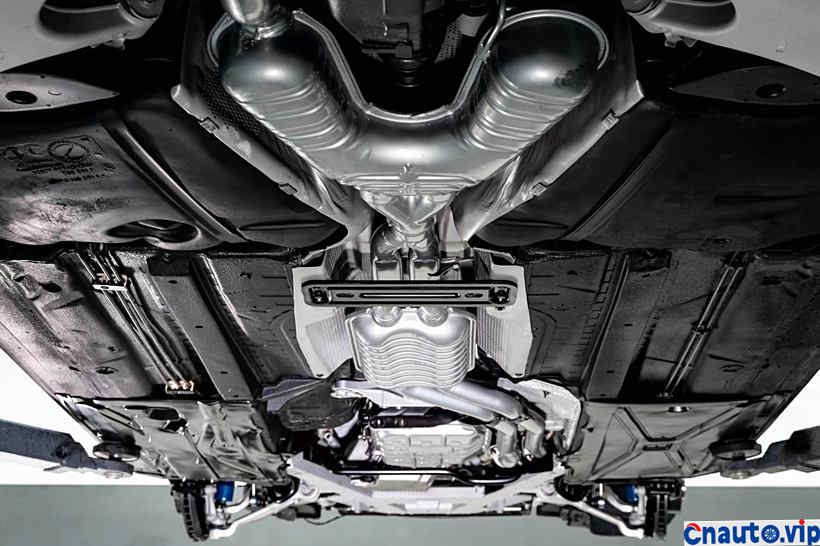
The chassis of the whole vehicle is initially completed. Next, enjoy the chassis quietly.
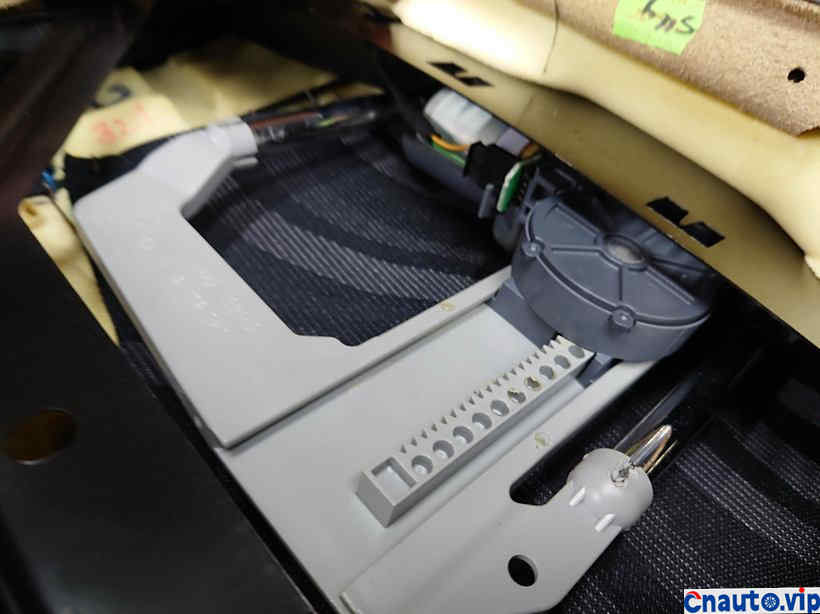
The failure function of the electric part of the seat begins to be repaired!
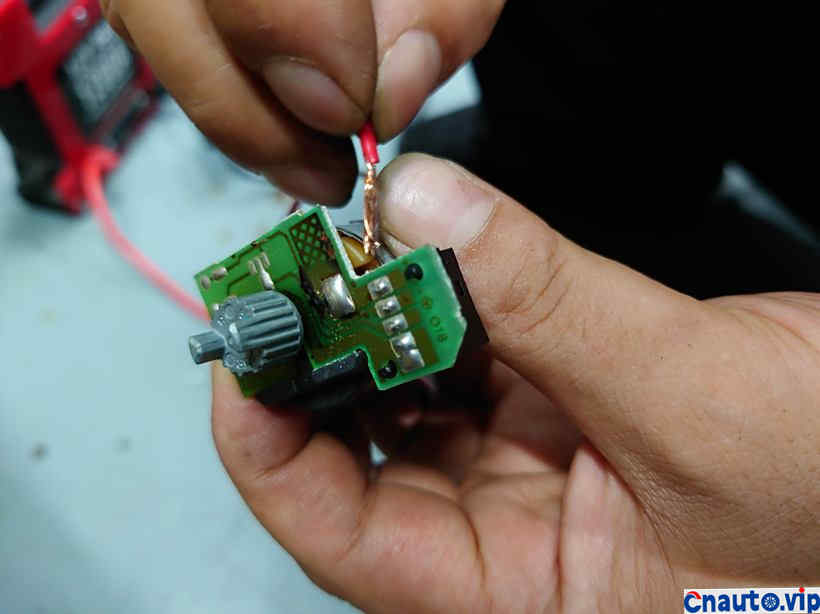
Sheet metal and electrician are the same!
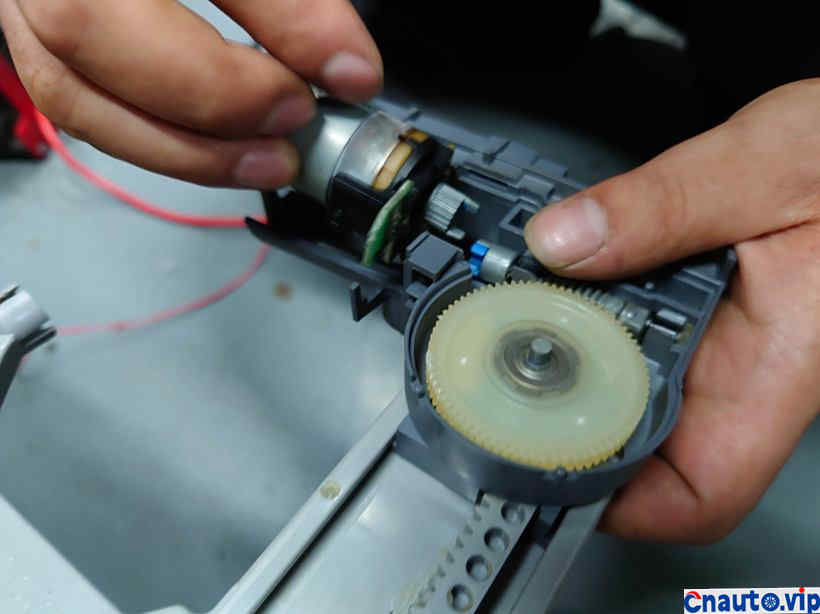
Some questions say whether it is big or small, the key is to be careful and patient!
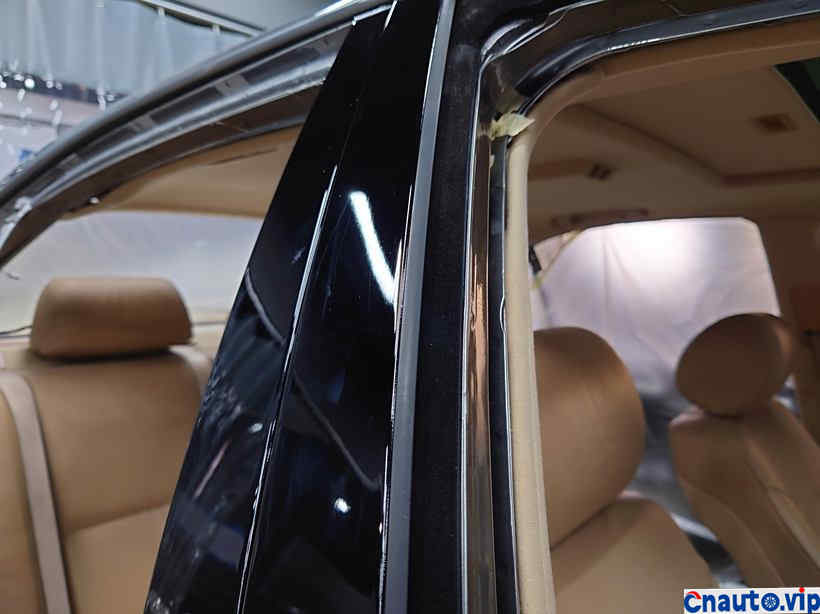
B-pillar trim panel shiny reset!
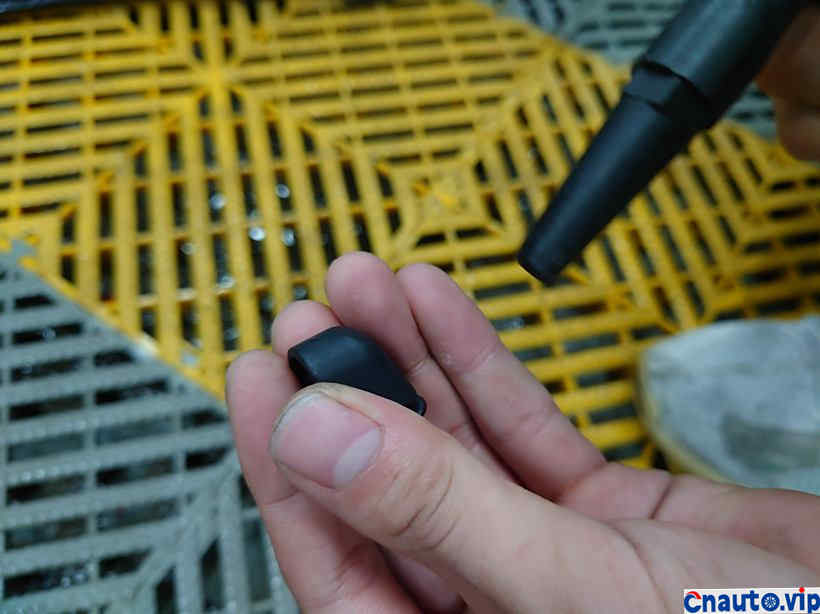
The dead corner of small parts can not be left gray!
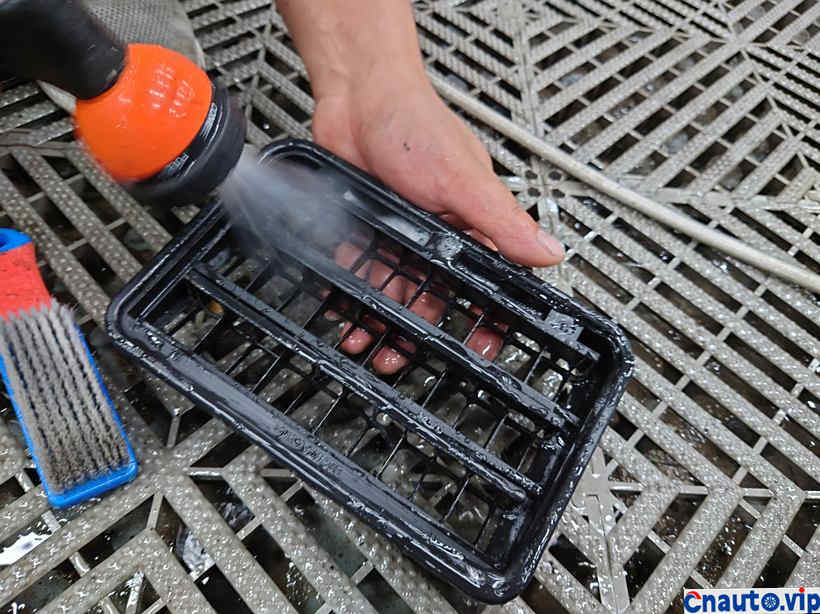
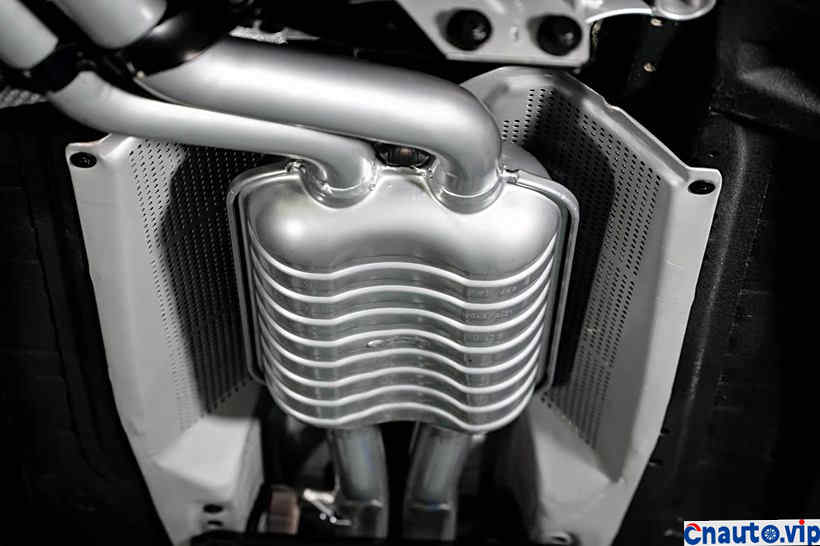
Rear exhaust grid cleaning!
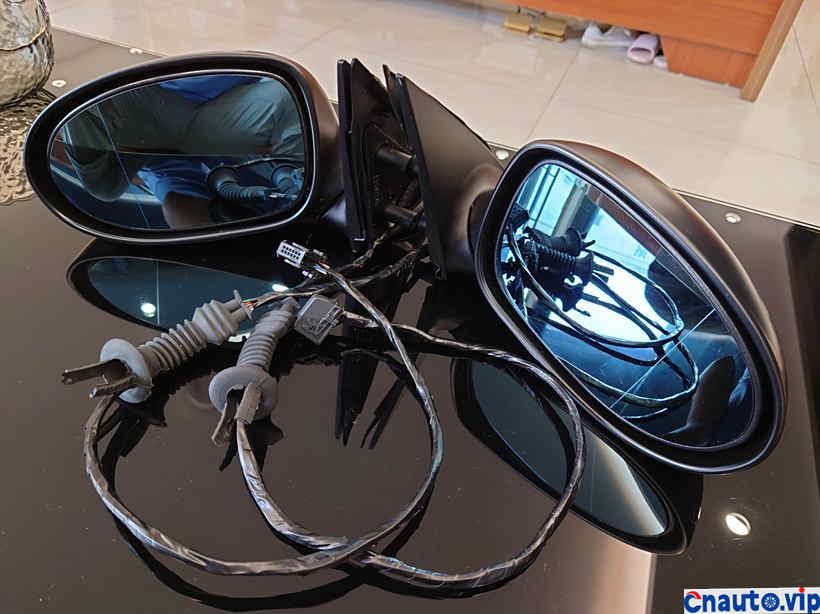
M5 same exterior rearview mirror!
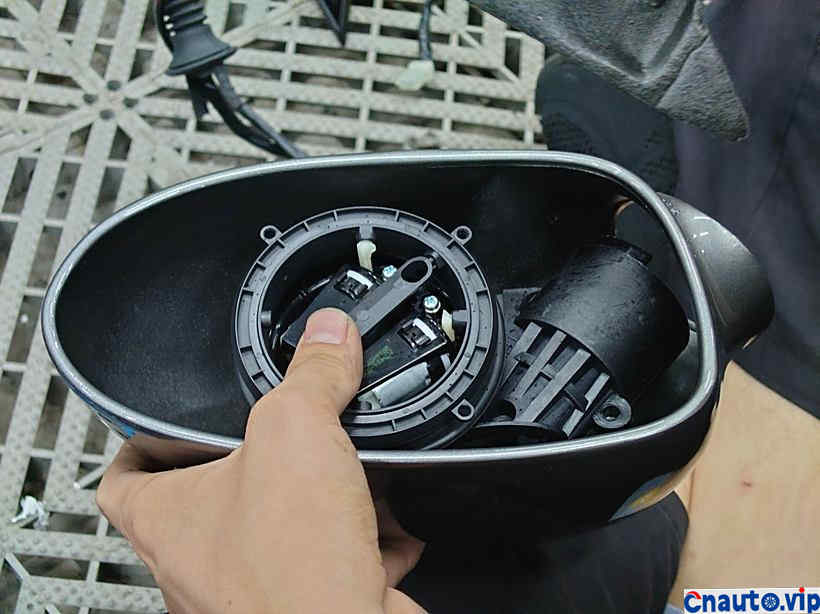
Buckle the mirror at risk before the paint can be done in place!
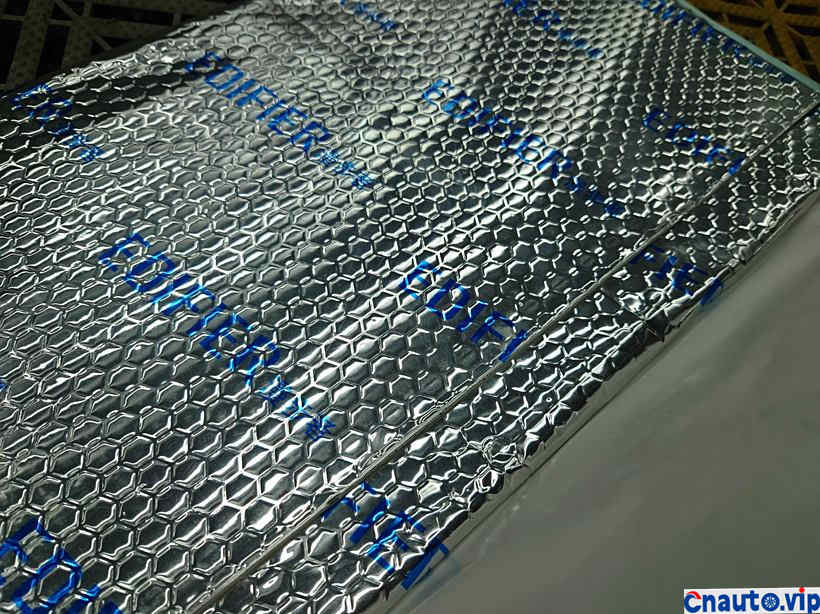
Soundproof material in place!
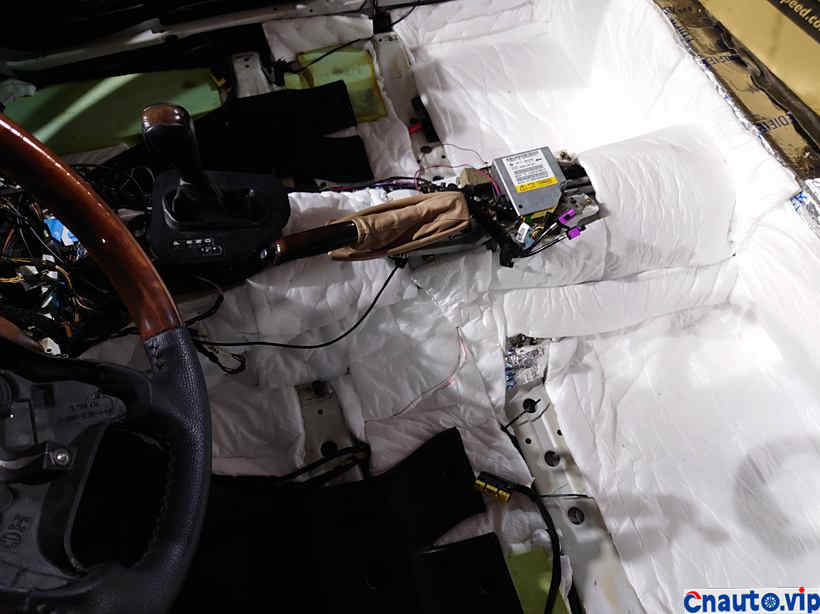
Put all the sound insulation in place before reloading!
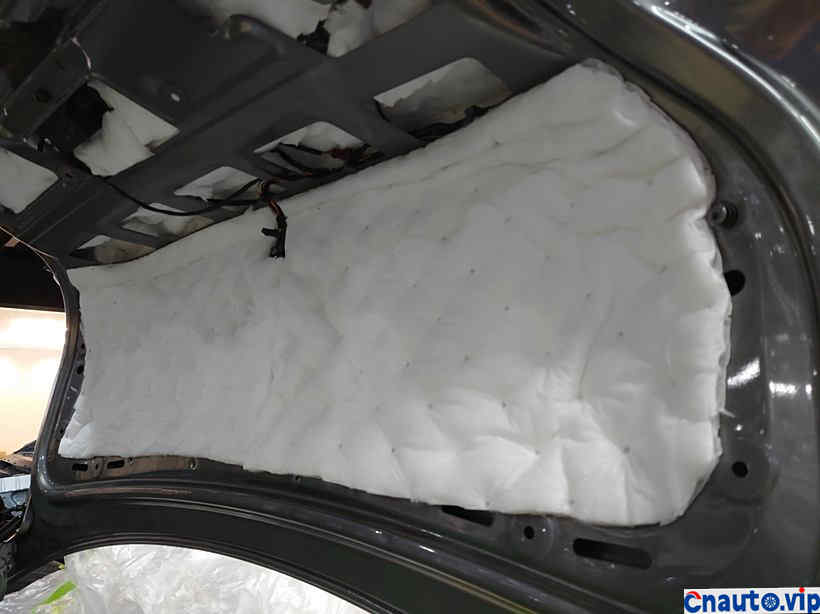
A piece of white flowers, clean and comfortable!
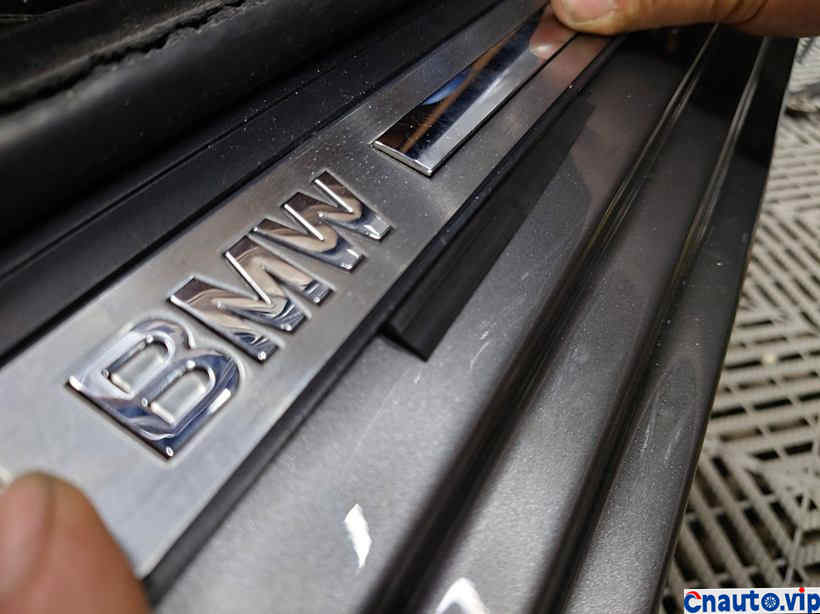
The original car welcome pedal glue strip is ragged and the spare tape is on top!
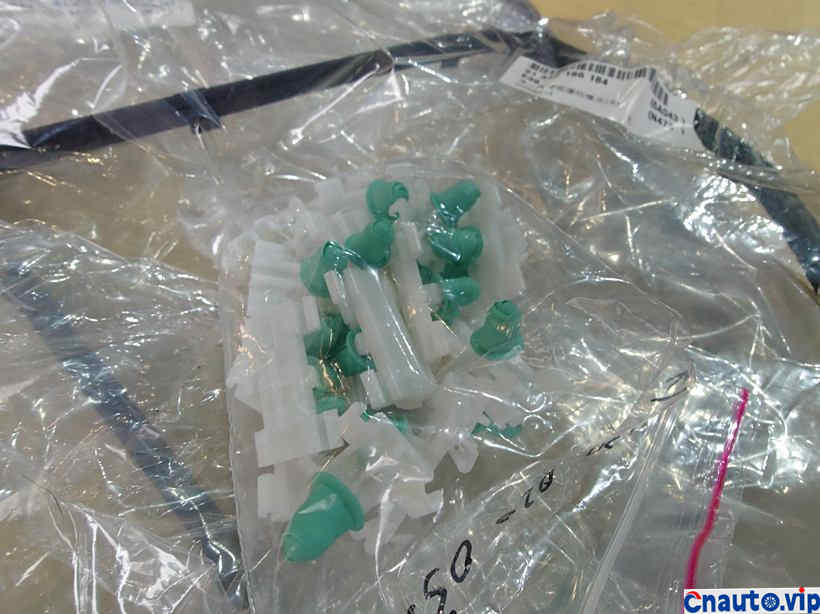
Car door trim clip, ordered in Germany!
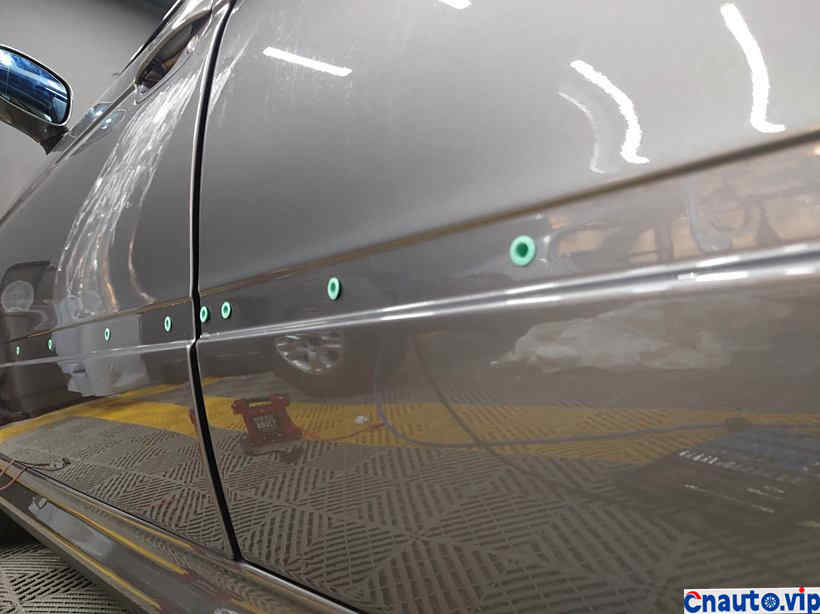
30 yuan a circle!
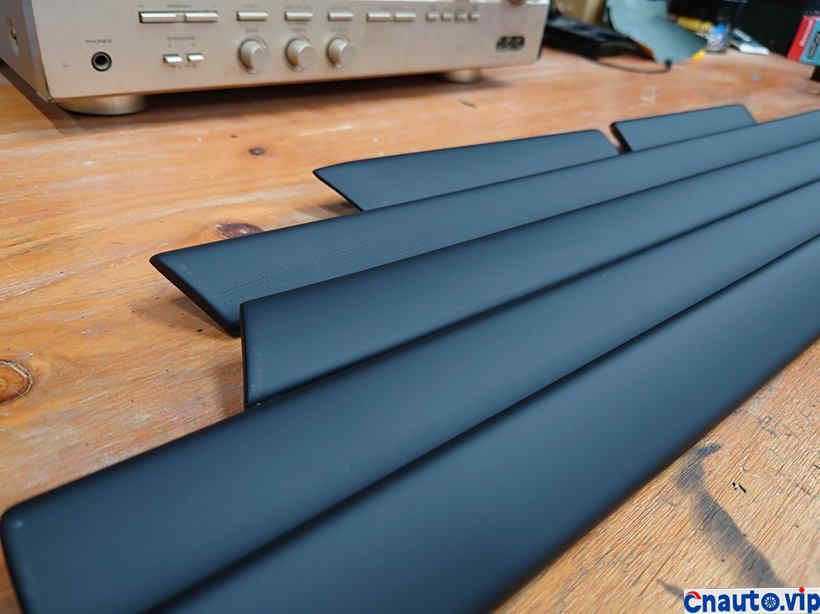
Only in this way, the door trim can be installed in place, not by gluing!
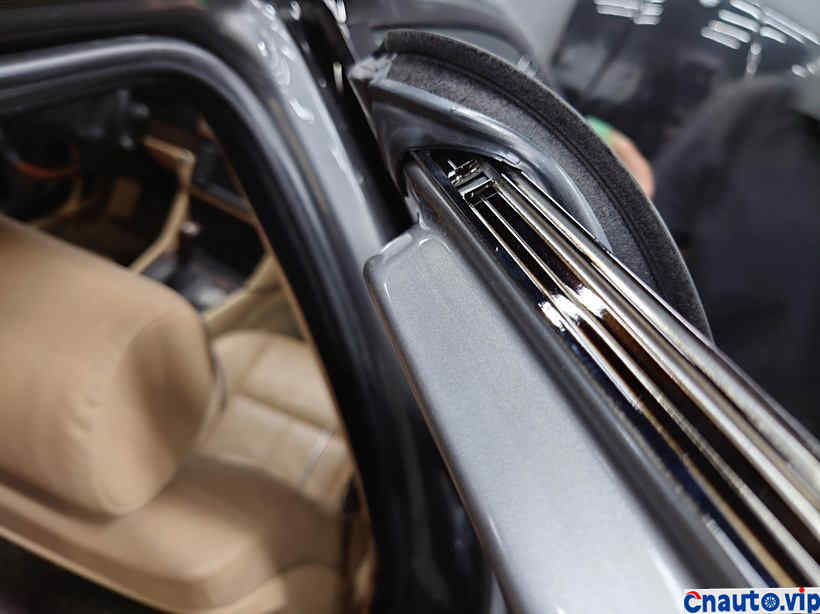
After the door tape is cleaned, if it is not damaged, it can still be used!
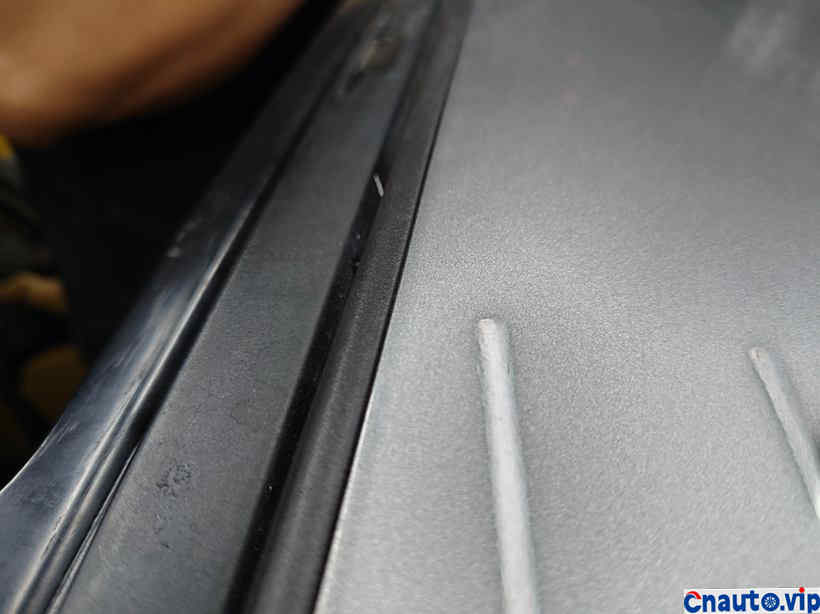
Sunroof tape is often exposed, no matter whether it is damaged or not, it must be replaced!
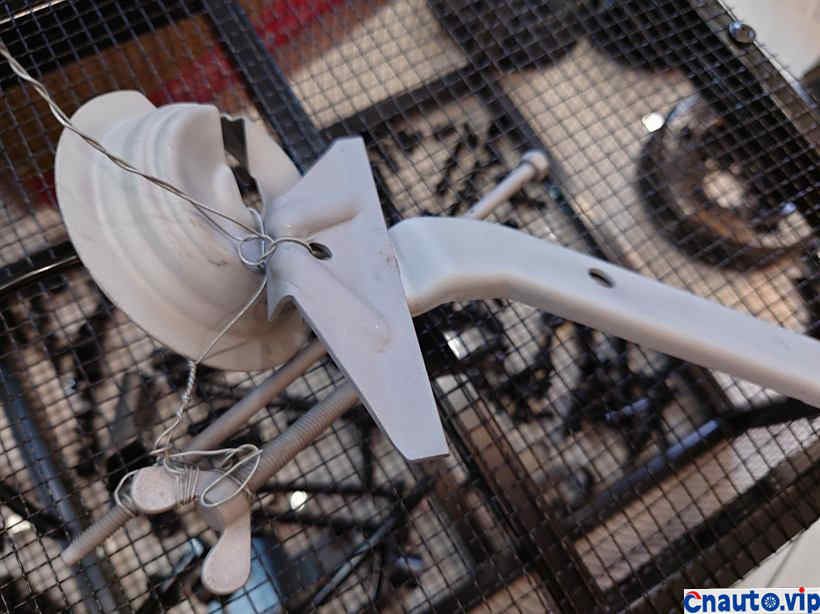
Spare tire fixed bracket rust removal!
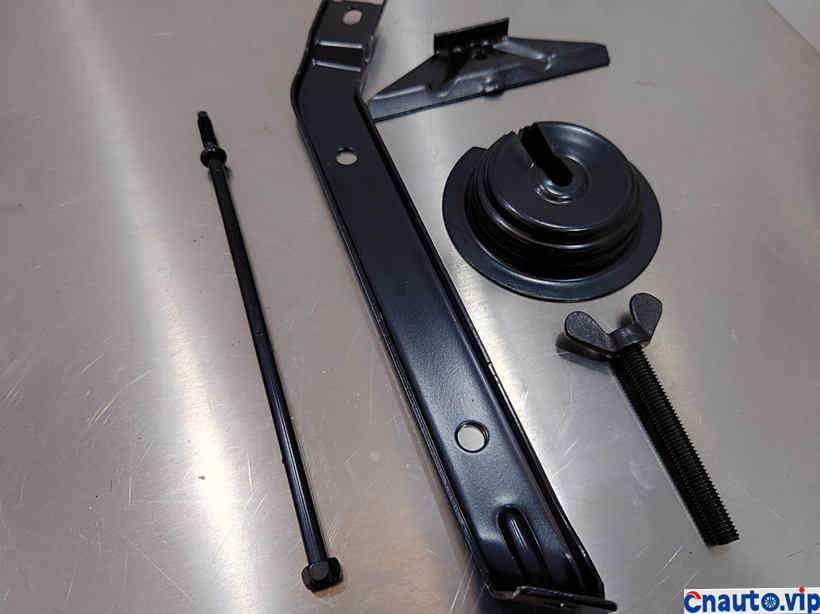
Re-plating with electrophoretic paint!
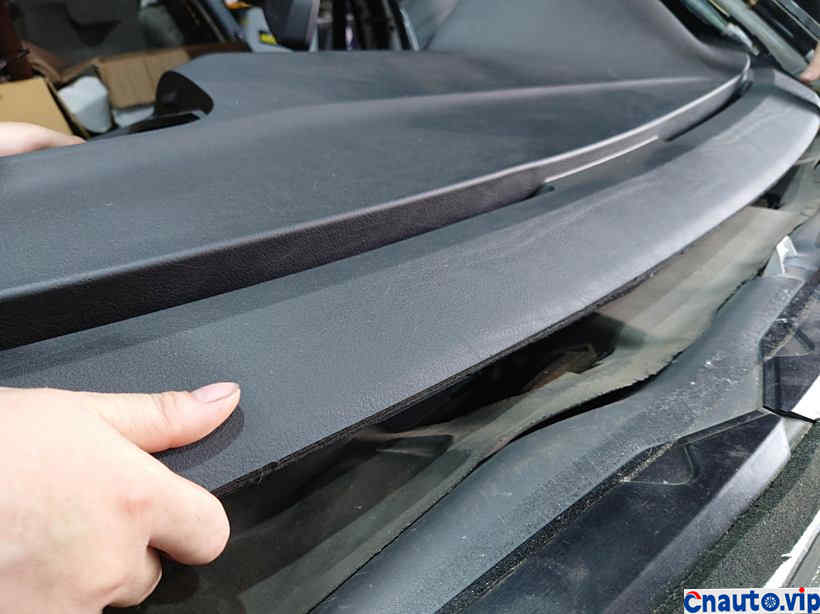
The interior part begins to be reinstalled!
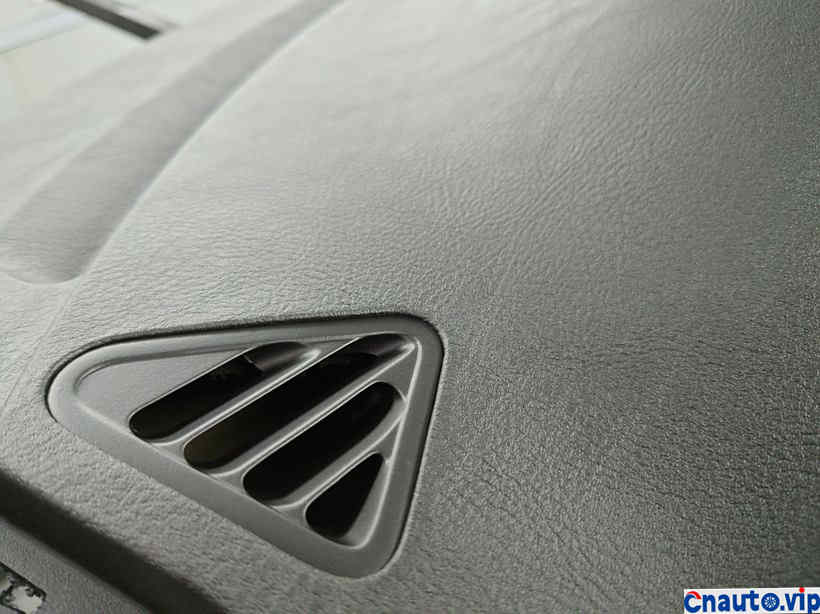
The instrument has changed from beige to black!
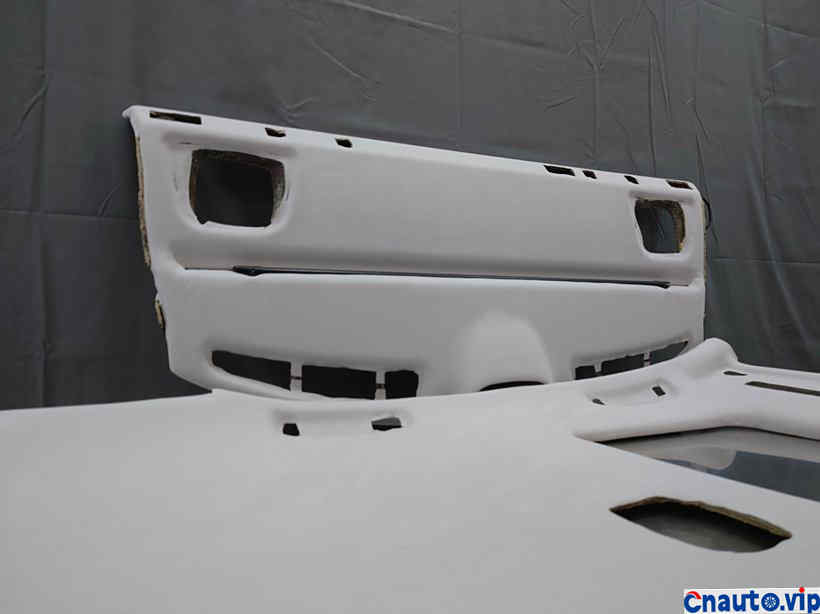
Grey and black colors on the whole car!
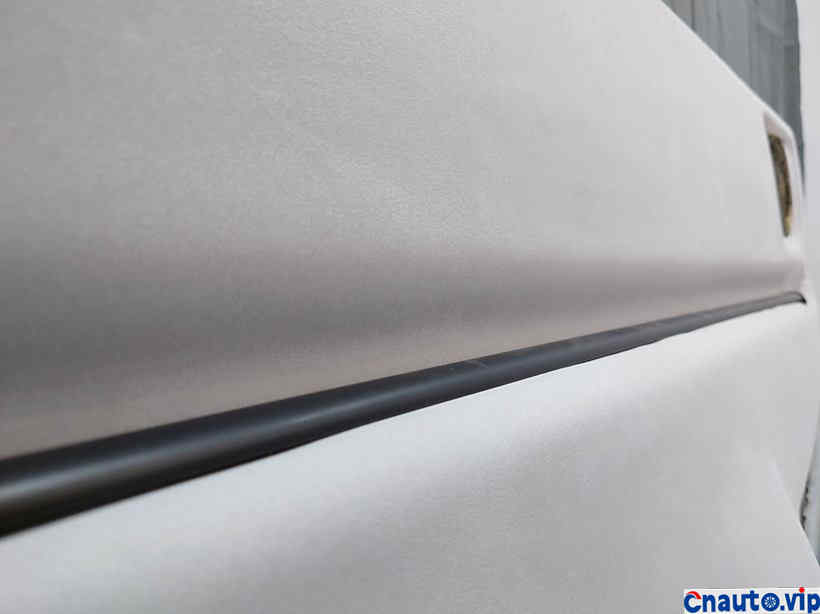
The texture of Alcantara is not bragging!
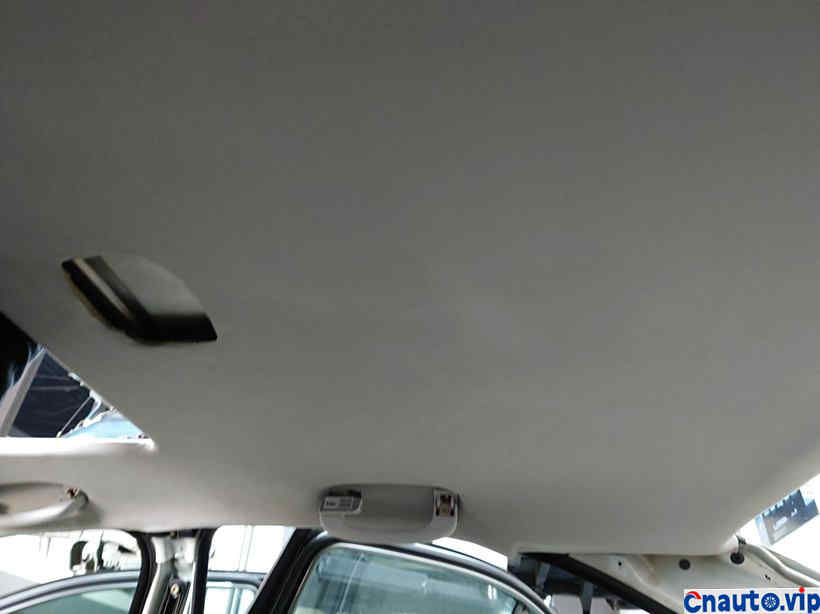
If you install one less piecemeal parts, it is easy to lose them over a long time.
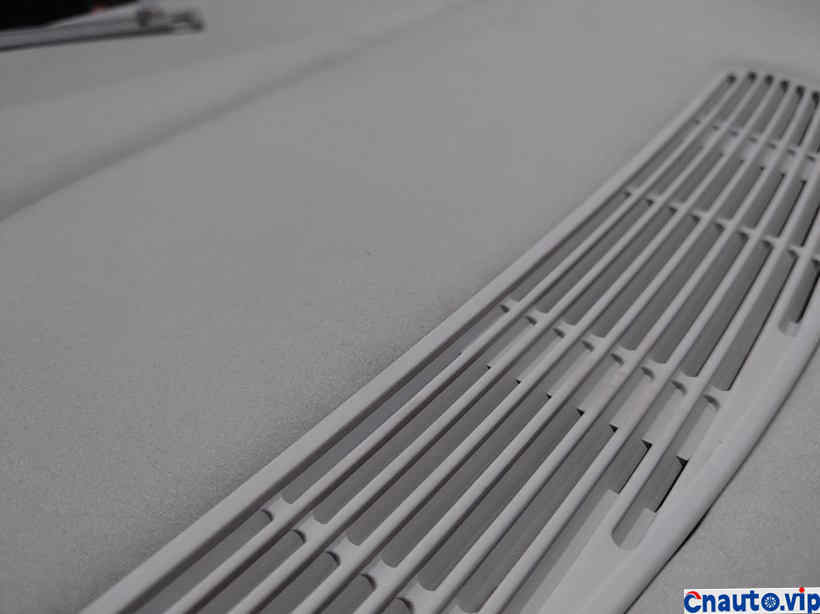
Plastic parts to gray must also be full of texture!
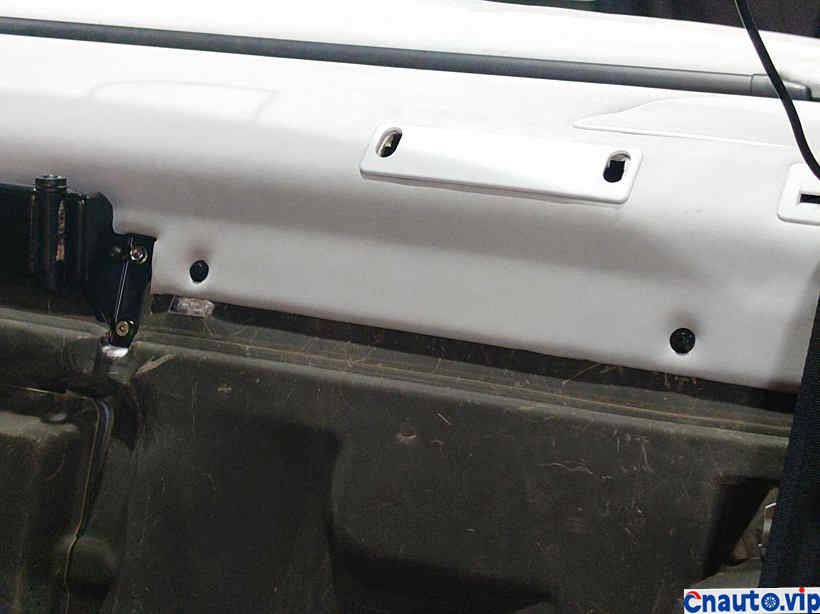
Back panel reset!
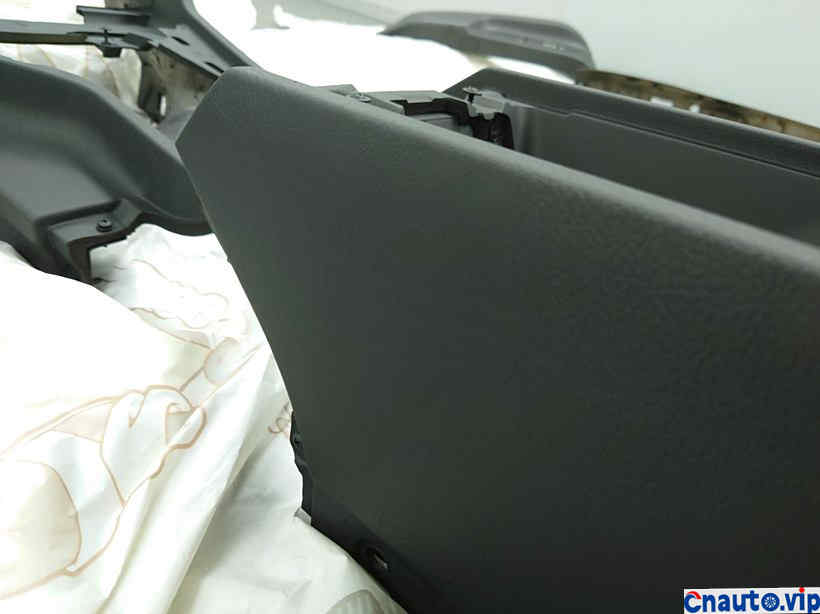
After changing the color of the interior parts, the texture has been improved again!
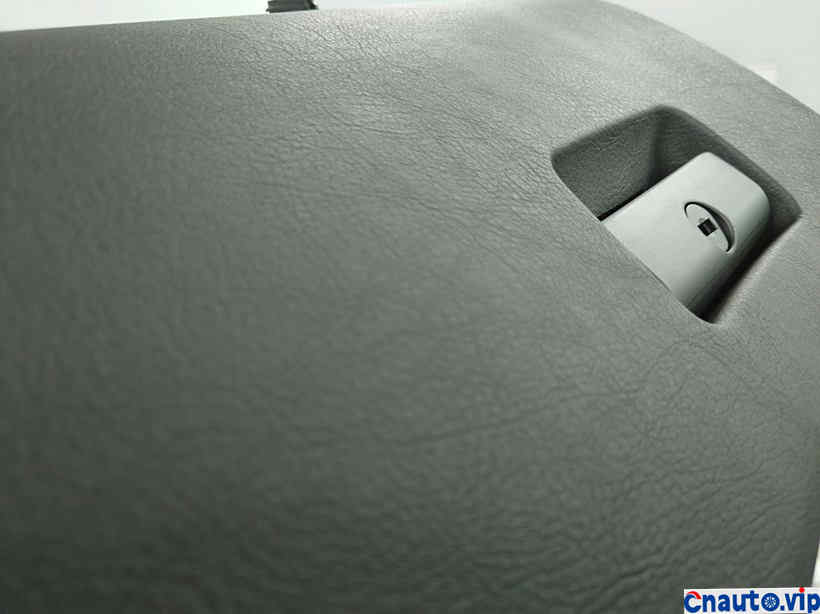
Glove box details close-up!
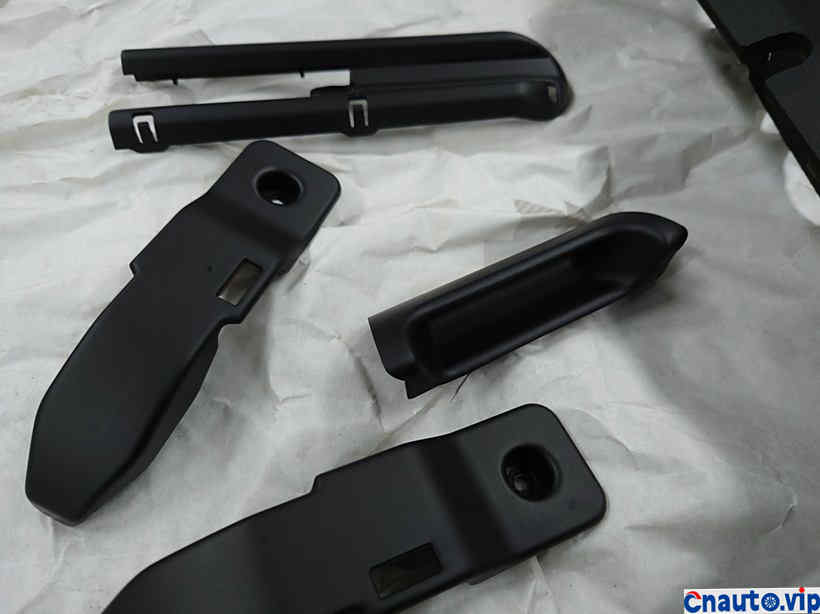
Black plastic parts are easy to age and damage, this is part of it, and half of them are on the road!
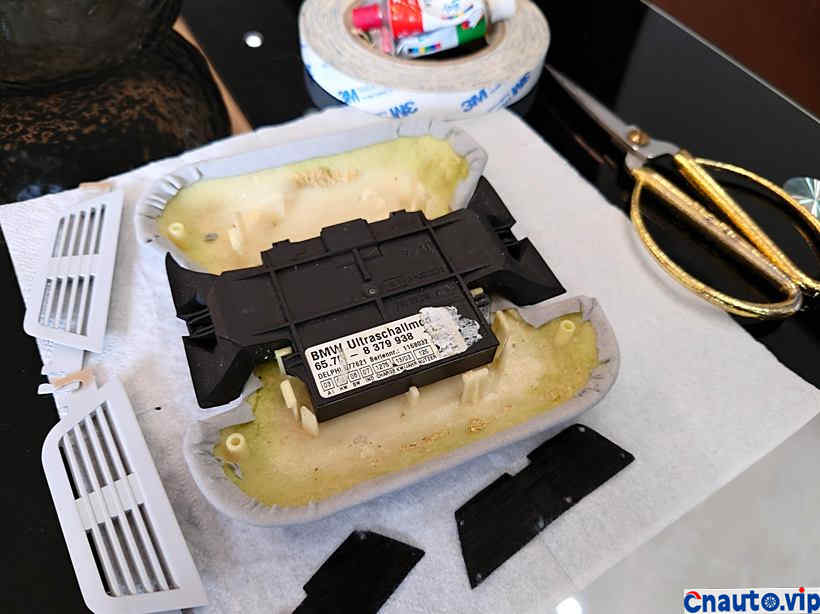
The scissors of Yangzhou’s three knives!
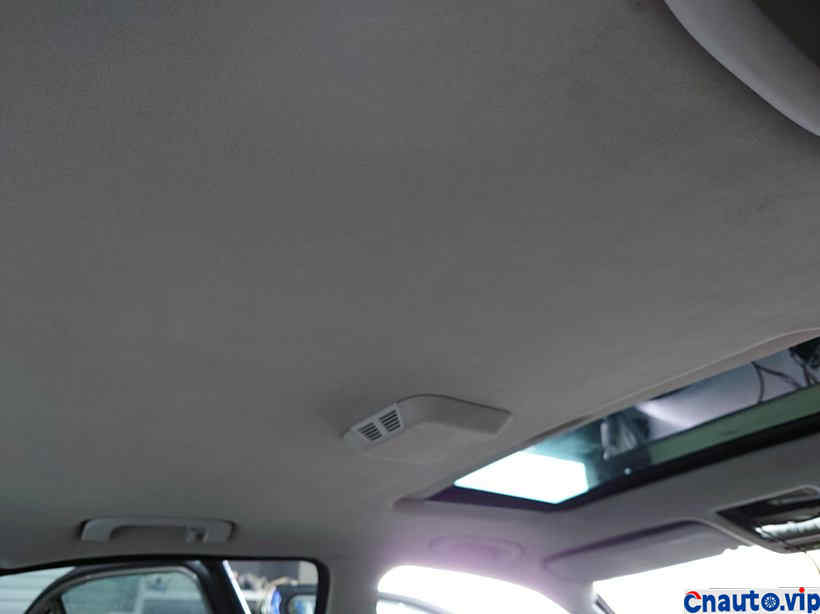
The roof is assembled!
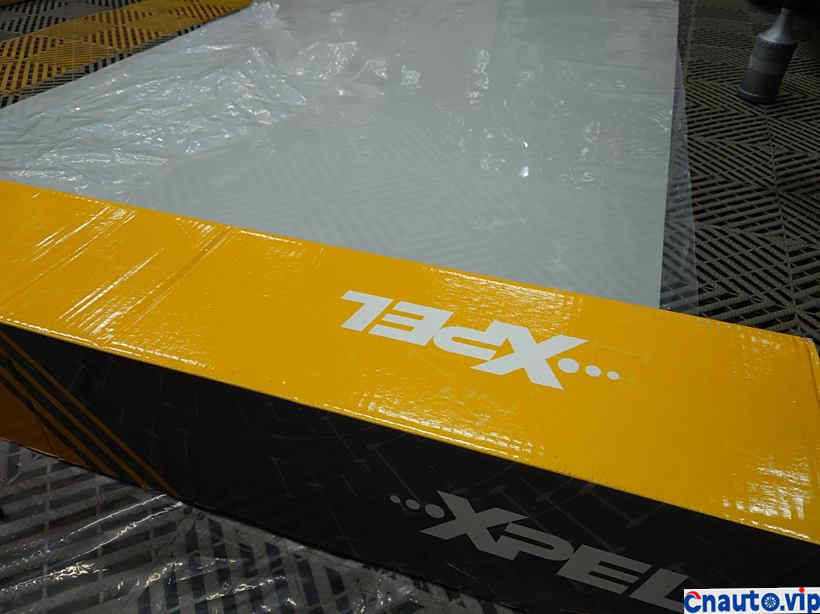
Start sticking cars and clothes before the appearance accessories are put back!
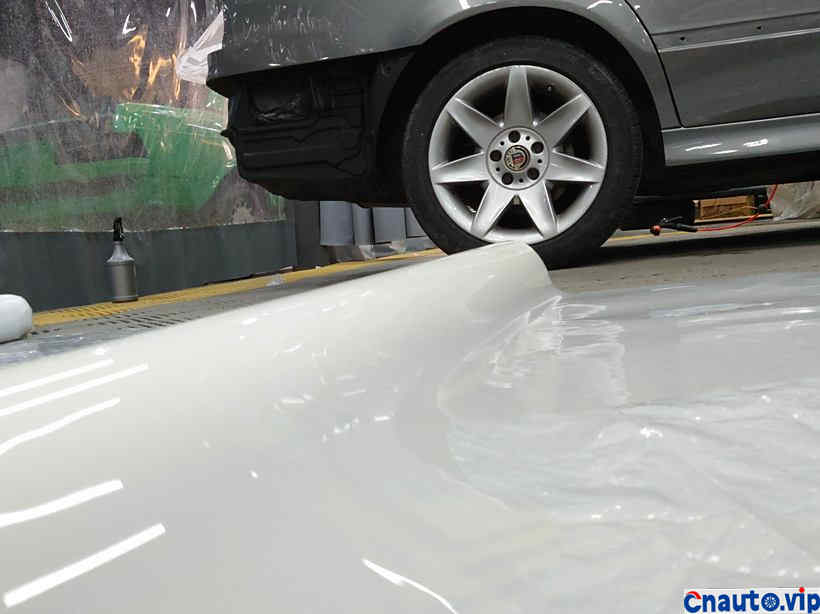
Roll it out and start cutting!
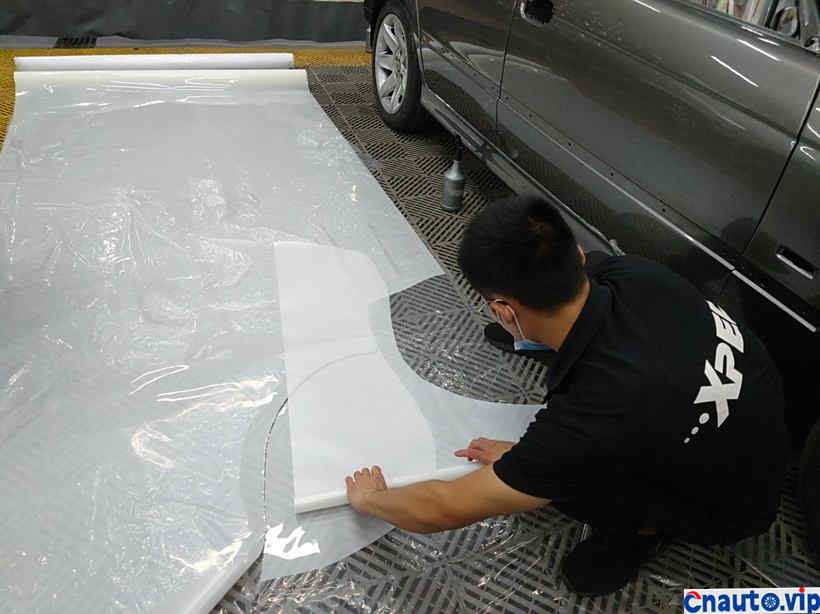
Start playing the plate!
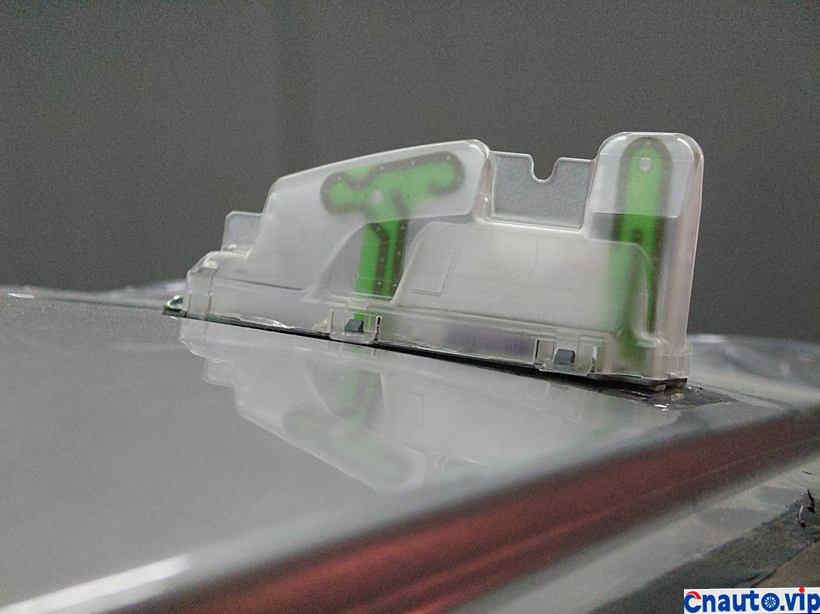
The antenna on the roof of the car, this does not need to be removed!
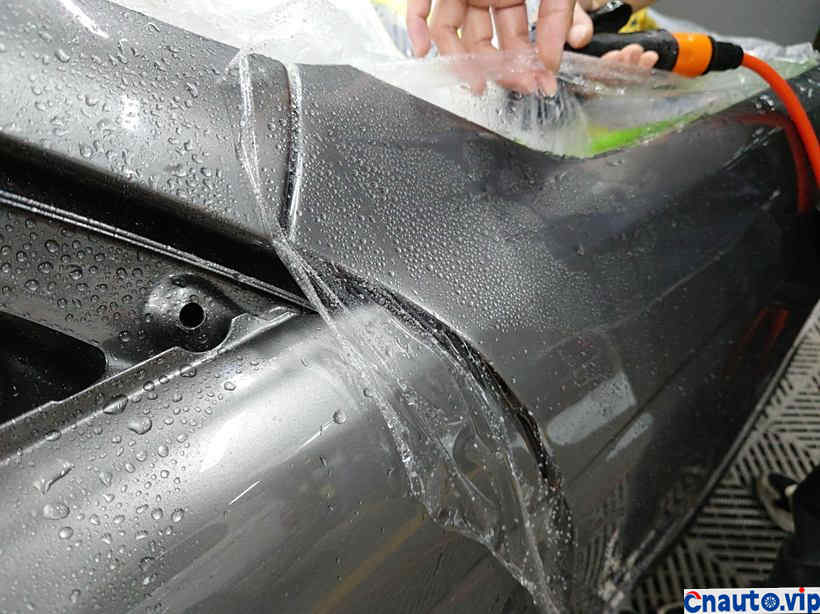
Only by posting in this way can we not find the flaw!
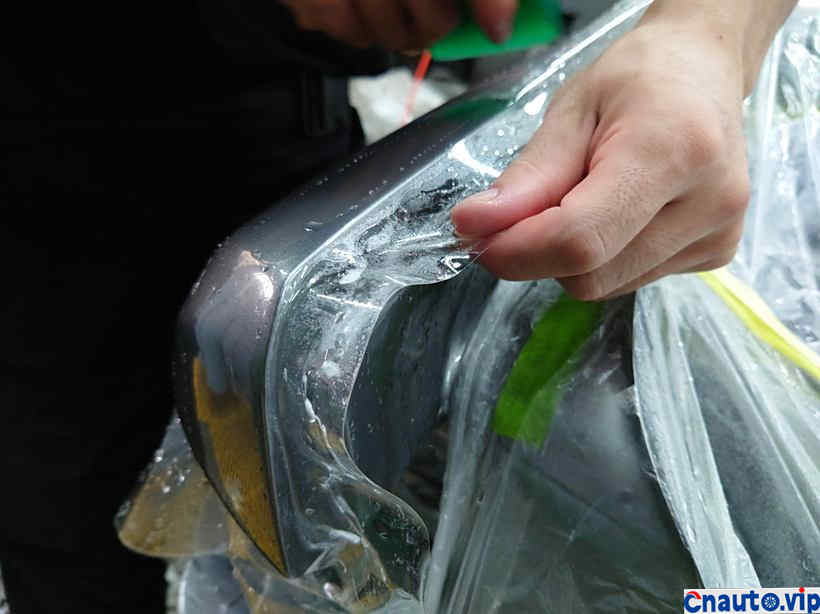
Put all the edges in!
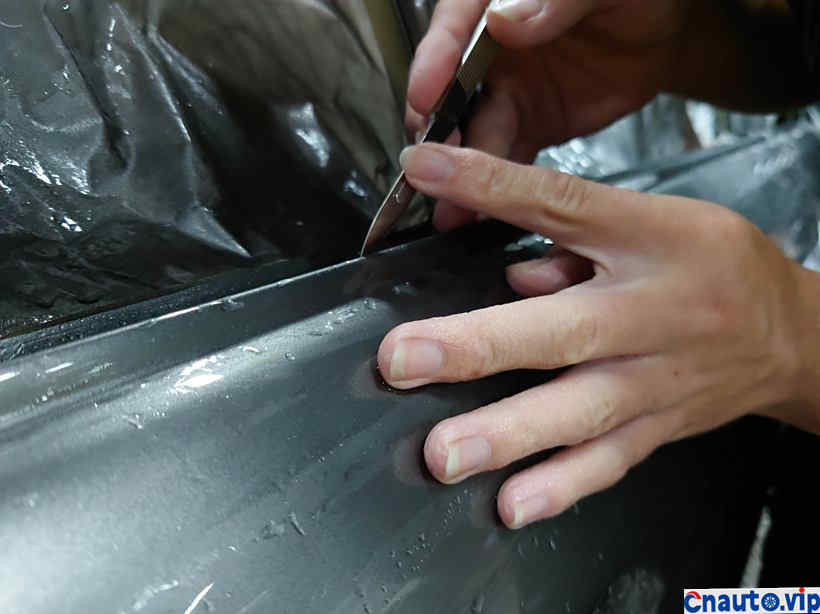
After cutting, cover the body accessories, the interface is very perfect!
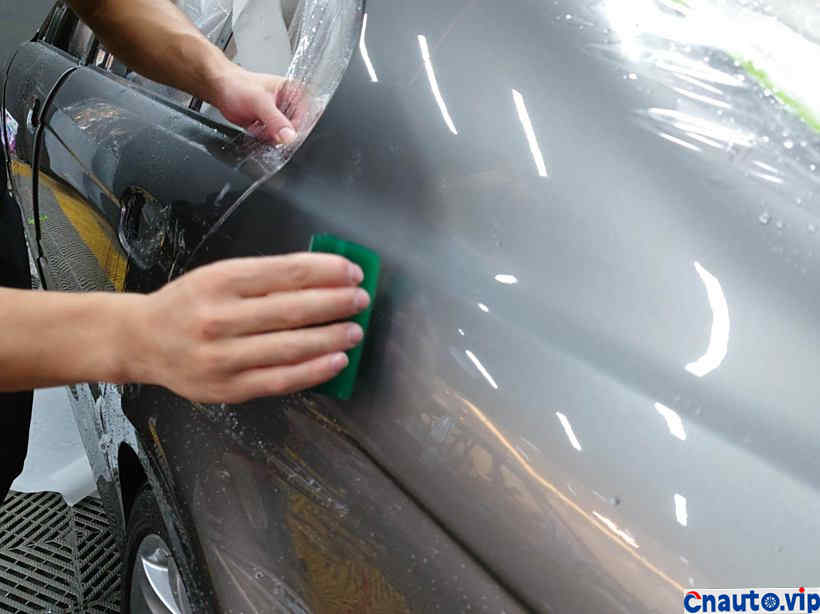
Scraping flat, film is also very particular about the technique!
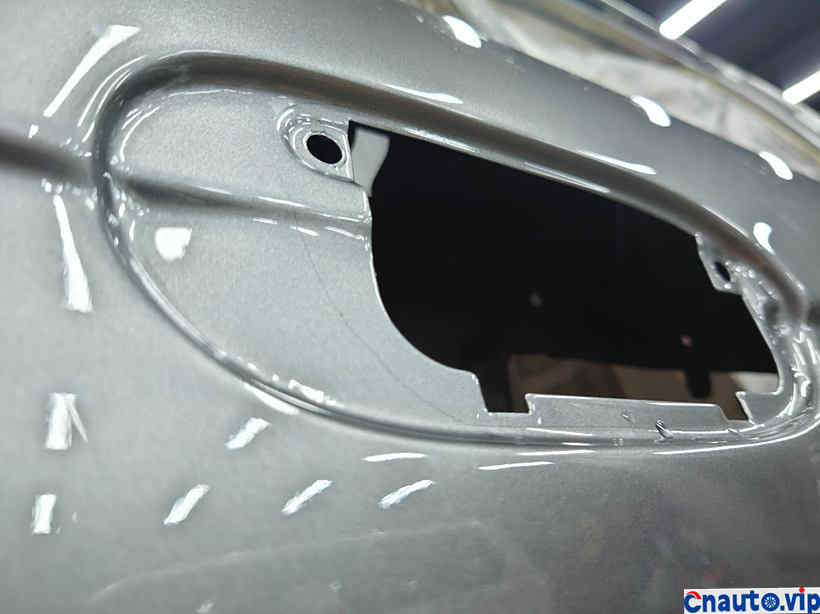
Cover the doorknob back, you can’t even see that the car clothes have been affixed!
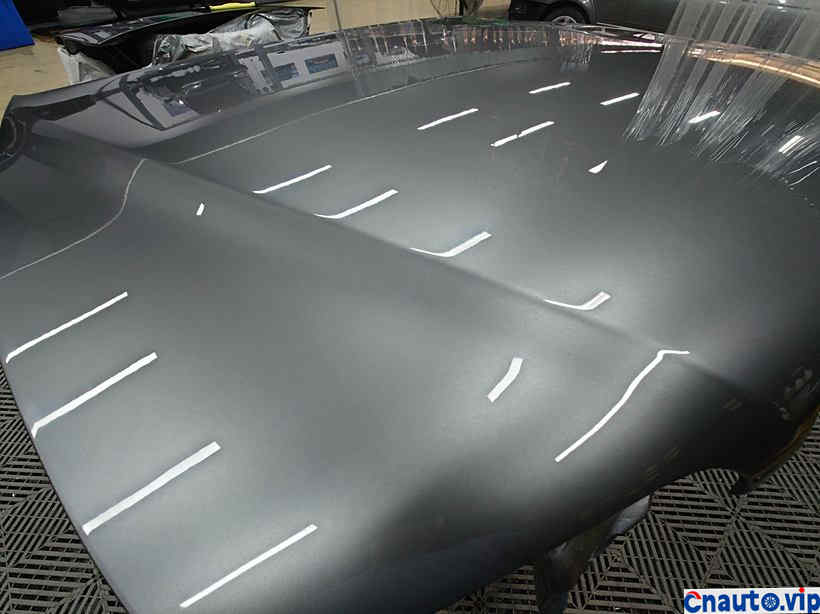
The last one is the cover of the machine, this had better be posted!
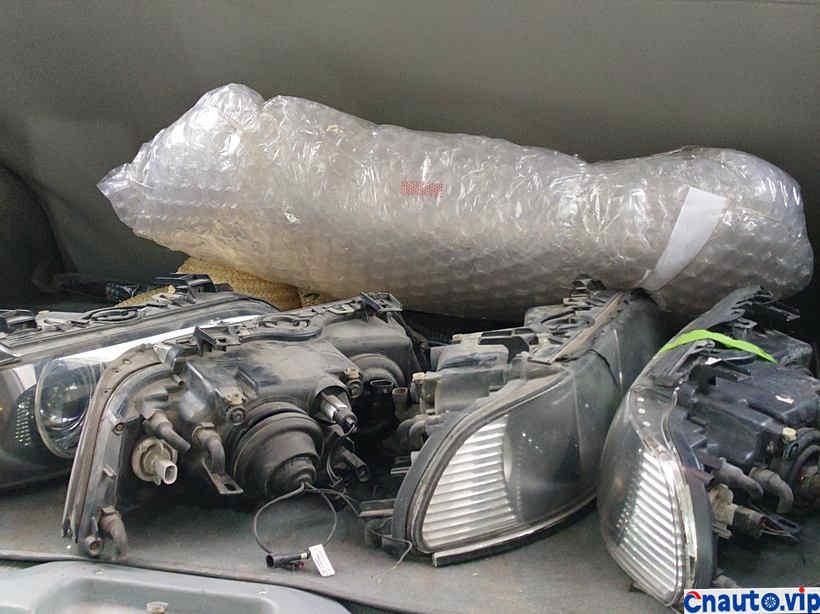
Interspersed with a wave of headlights in the renovation process, several pairs of headlights put together a perfect pair!
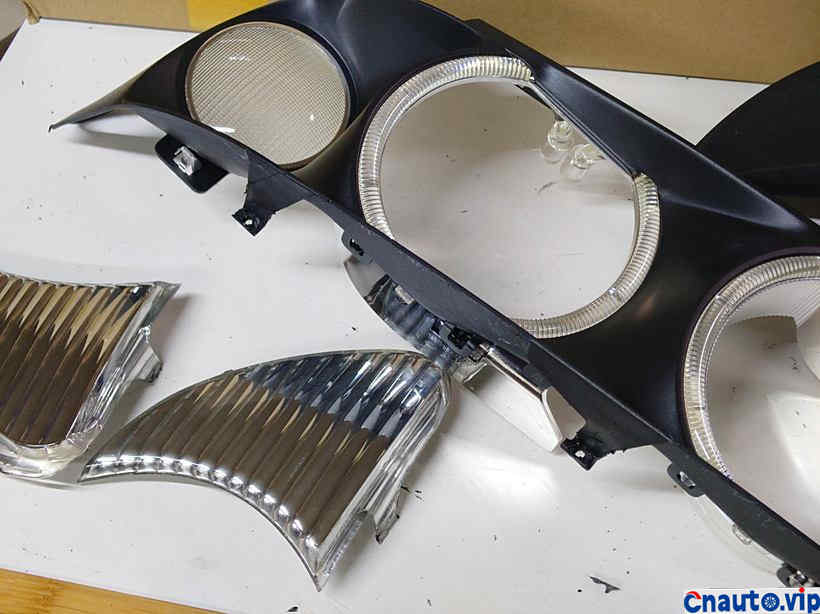
Start to decompose and pick out the best parts!
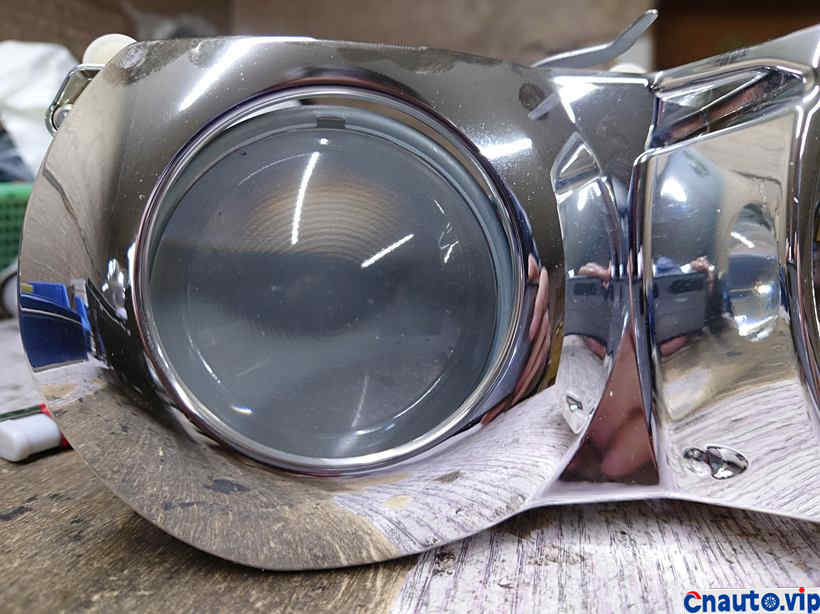
The original single light lens, the high-level feeling is very poor, due to a long time of baking, has been white, very ugly!
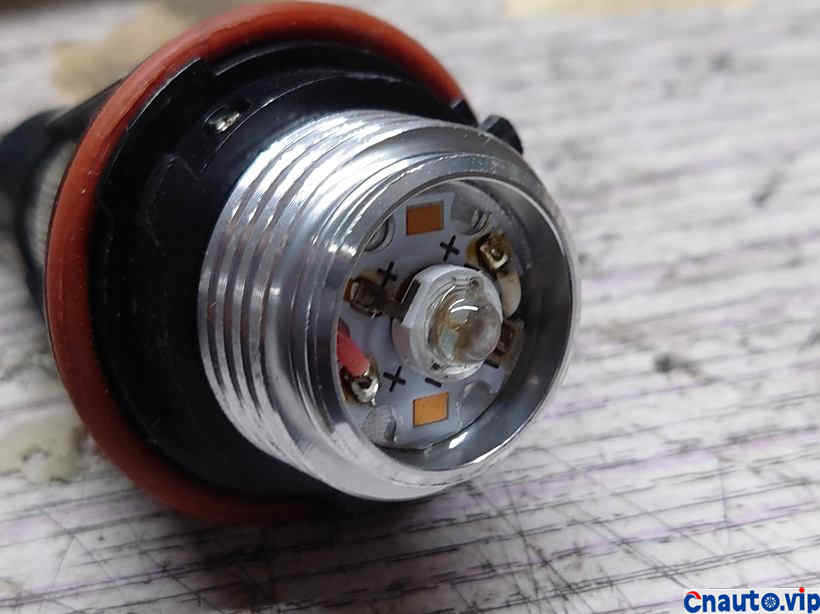
The blue light source of the angel eye comes from it!
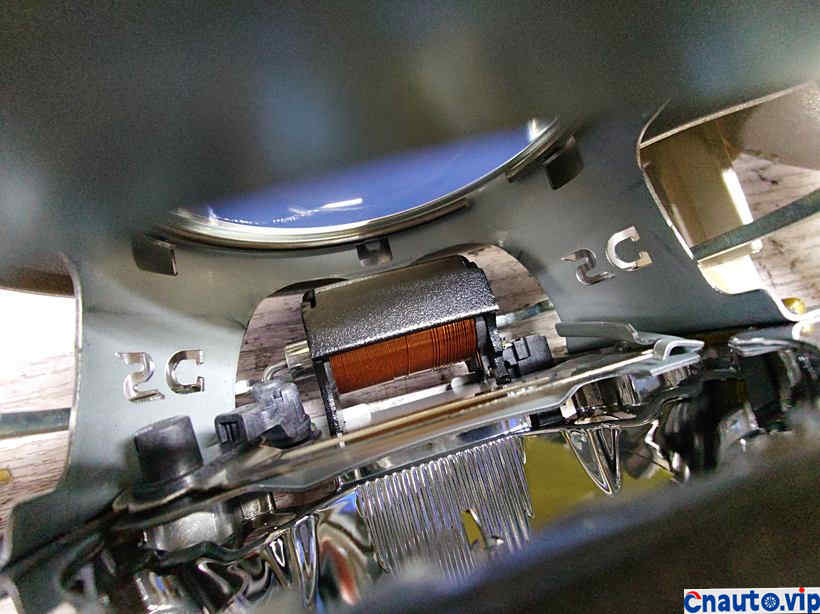
Double light lens internal close-up, yellow coil is the valve plate motor!
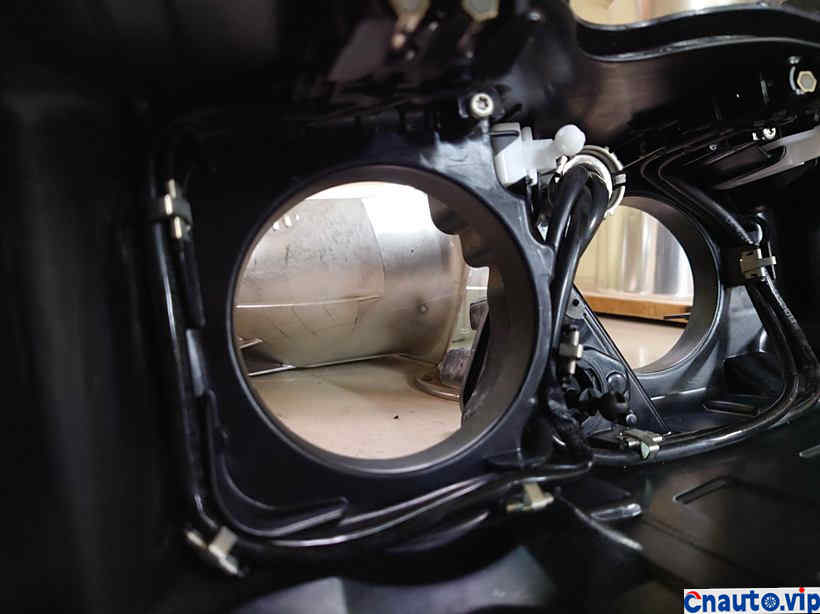
Angel eye light guide fiber replaced with brand-new accessories, headlamp height adjustment bracket is also all new!
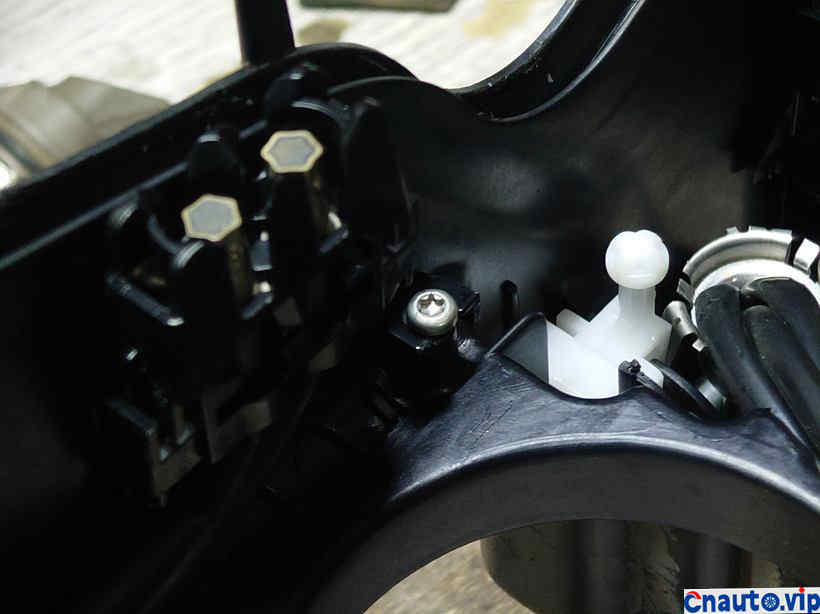
Headlamp bracket and angel eye close-up!
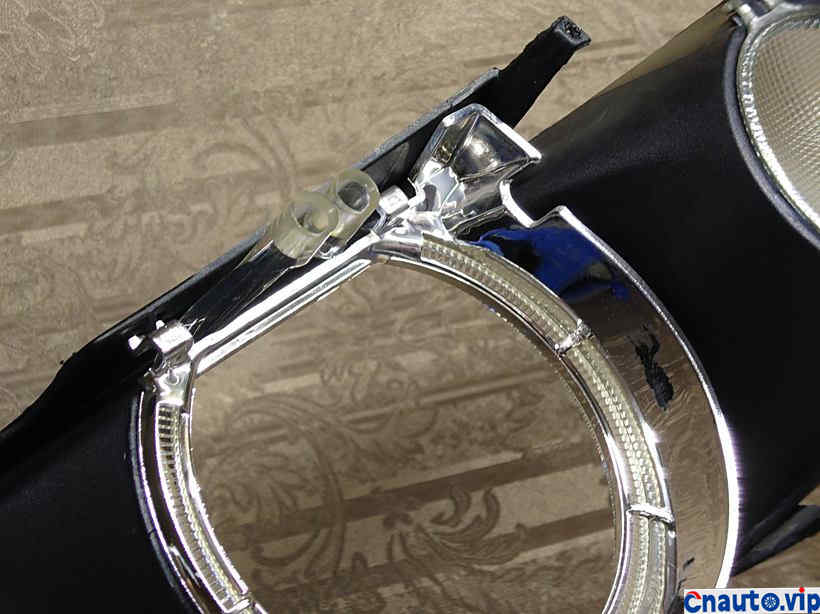
The two round holes in the angel’s eye circle correspond to the two light guide bands!
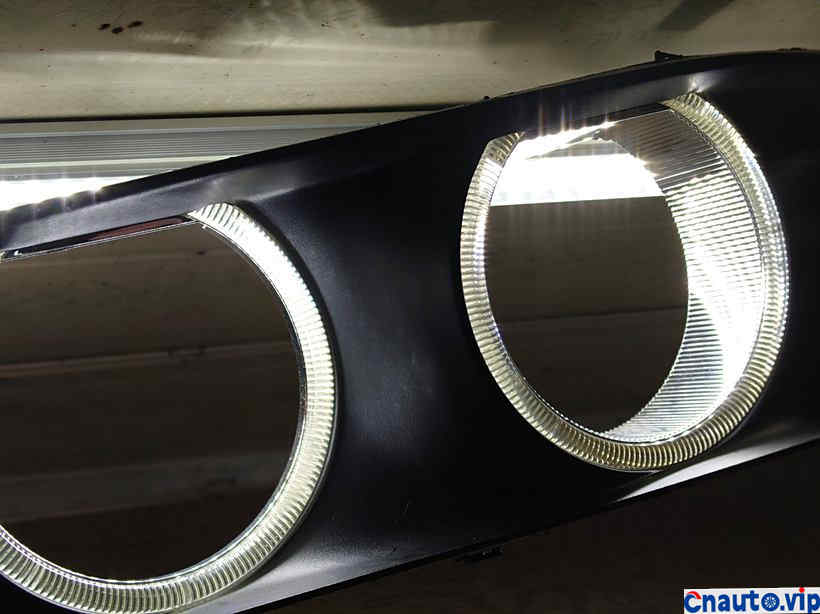
Try the light guide effect on the fluorescent lamp specially!
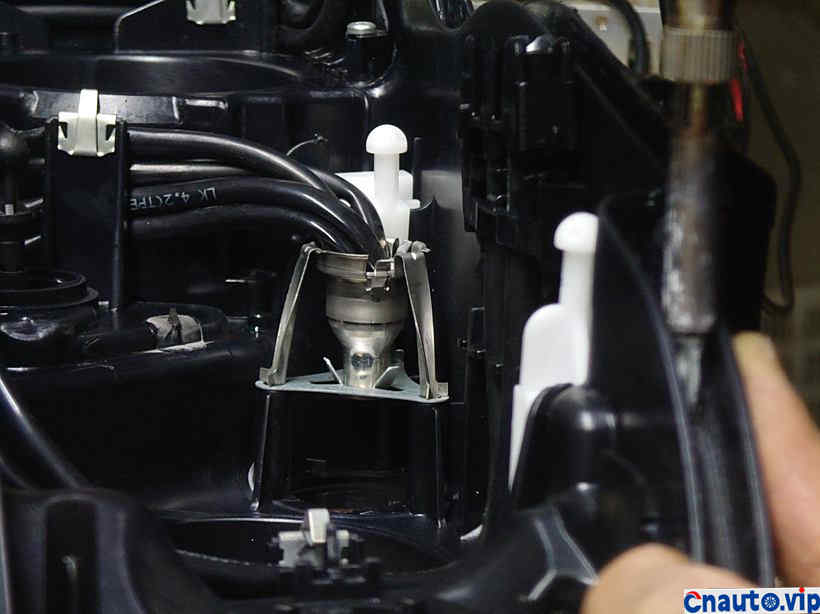
Under the iron bracket is the halogen light source of the angel eye!
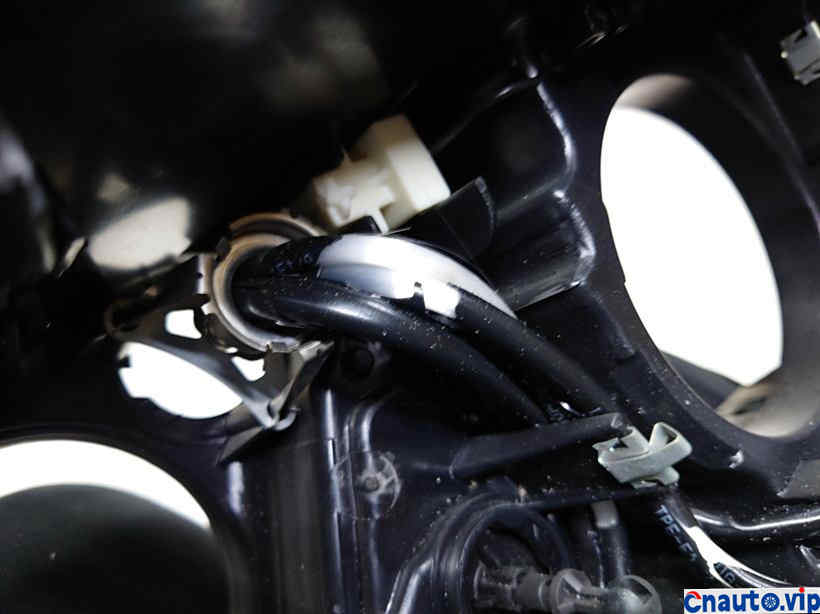
Previously damaged angel eyes slim close-up, once damaged will lead to uneven brightness of angel eyes!
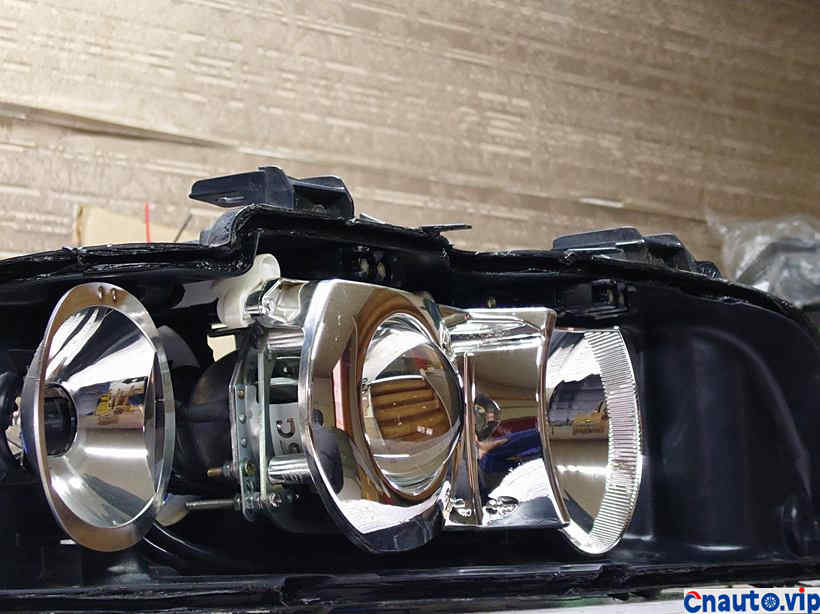
Match the upconversion bracket and the new lens can be changed!
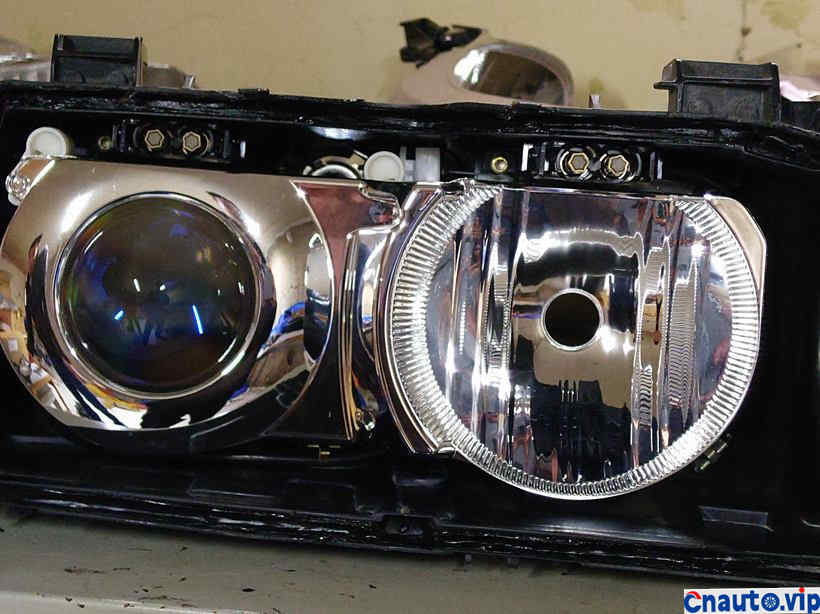
Why take several pairs of headlights to spell, the biggest reason is to find a bunch of high light bowls that have not been burnt!
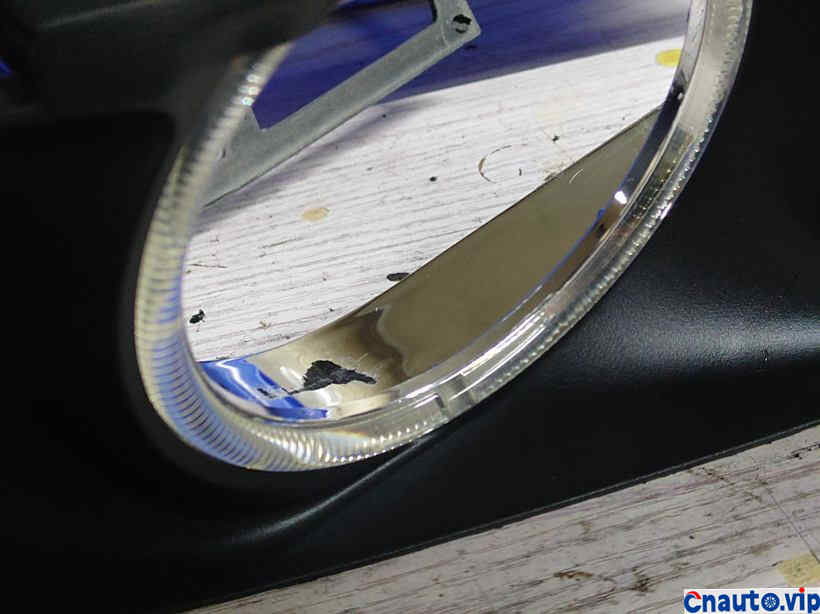
The damage in this position is the result of long-term friction between the bumpy lens lampshade and the lamp housing!
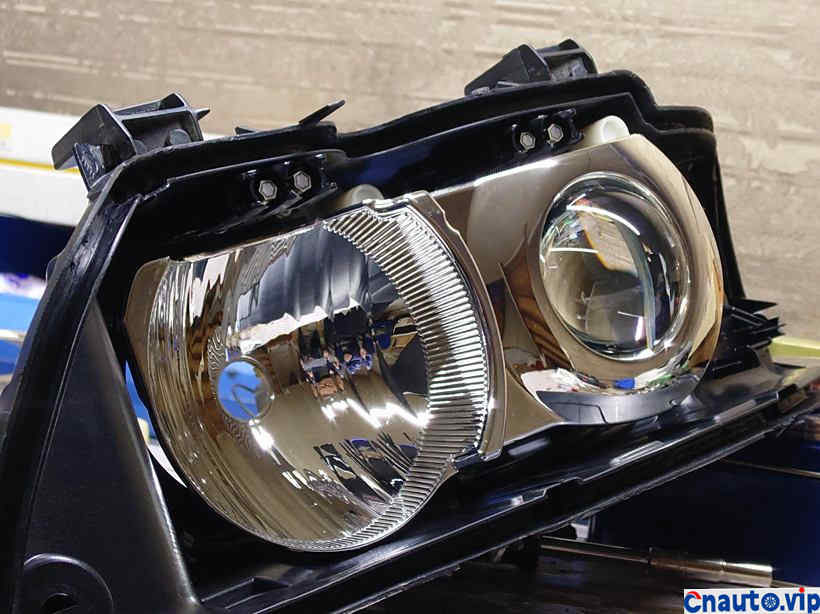
If not handled, the black spot will be reflected on the electroplated shell of the low light lamp, visible to the naked eye bug!
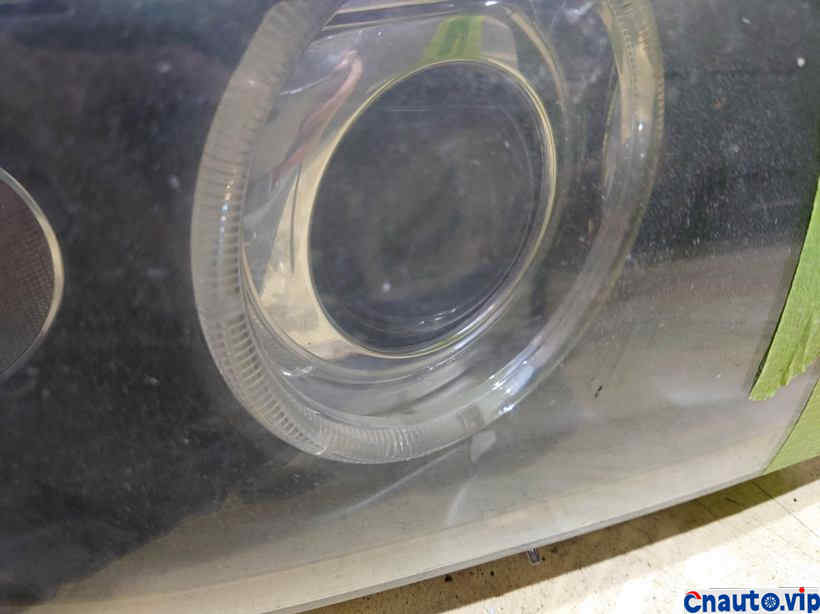
How to do this, immediately went to find two pairs of lights, found that the same position also has the same situation!
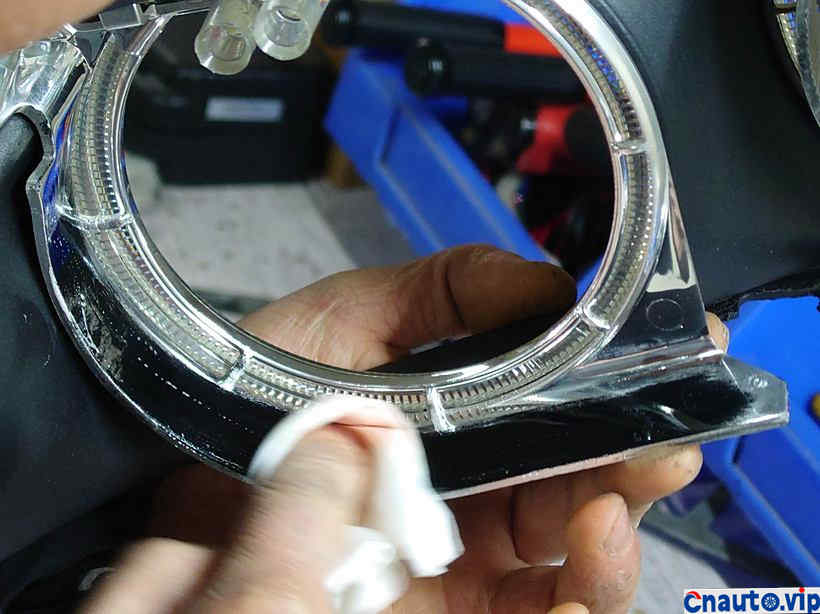
If a dead horse is a live horse doctor, just treat it all as black!
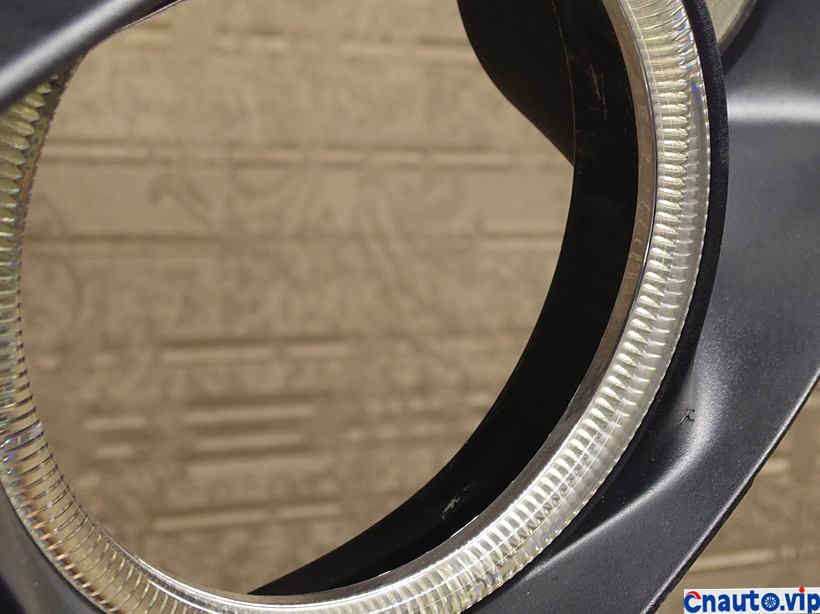
But when it was all erased, another bug appeared on my day!
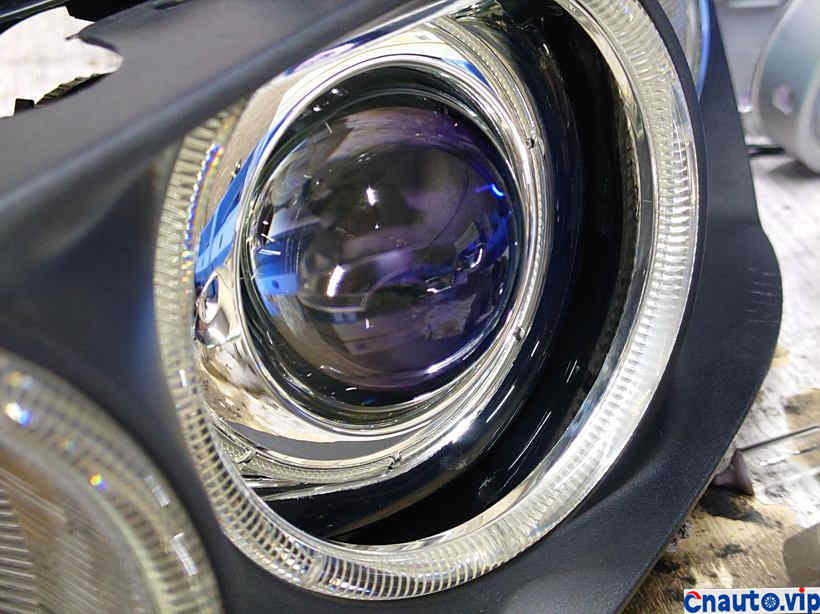
Although it is not obvious, but the heart is still diaphragm!
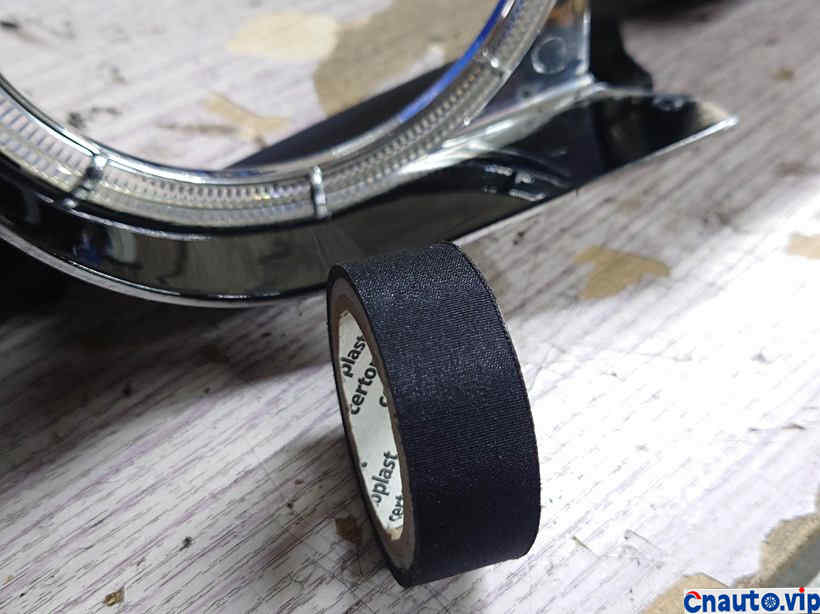
Heat-resistant tape comes out, the method is always more difficult!
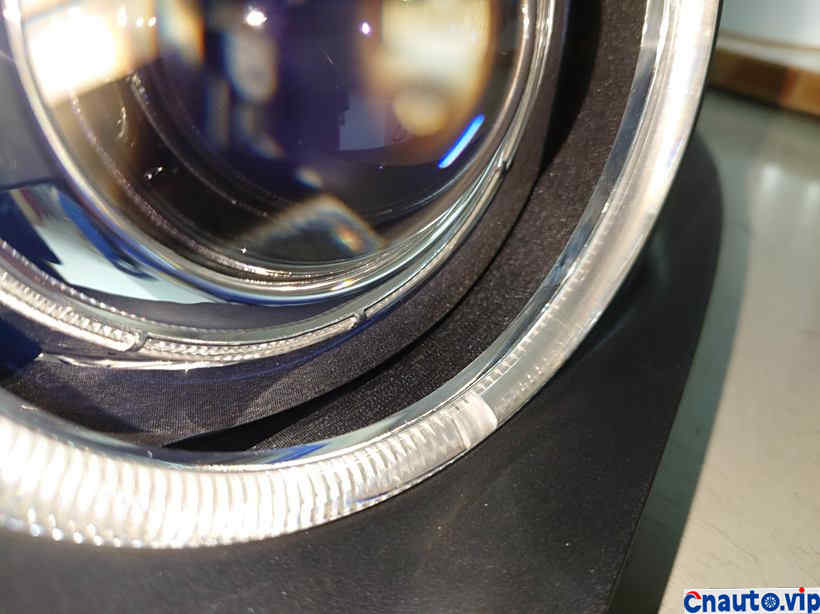
It’s done. Solve the problem!
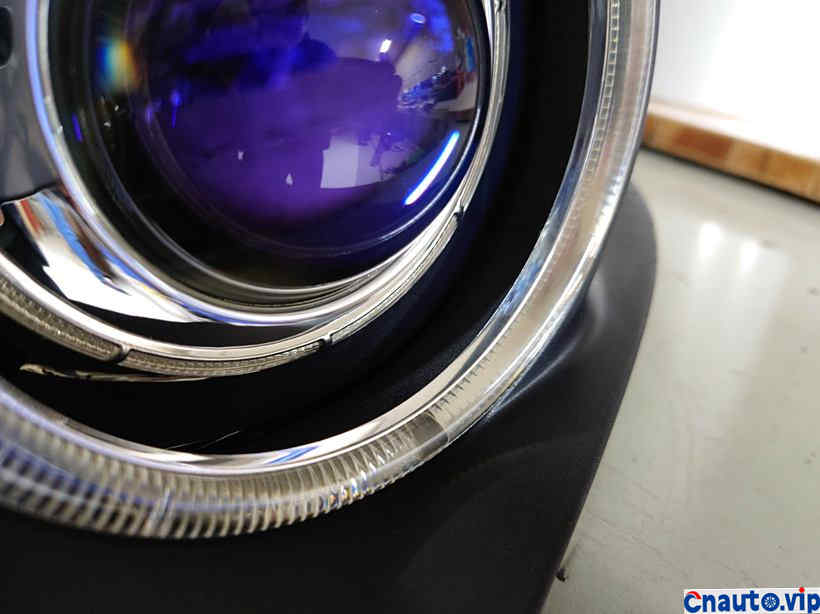
Full of texture, especially the pan-blue lens!
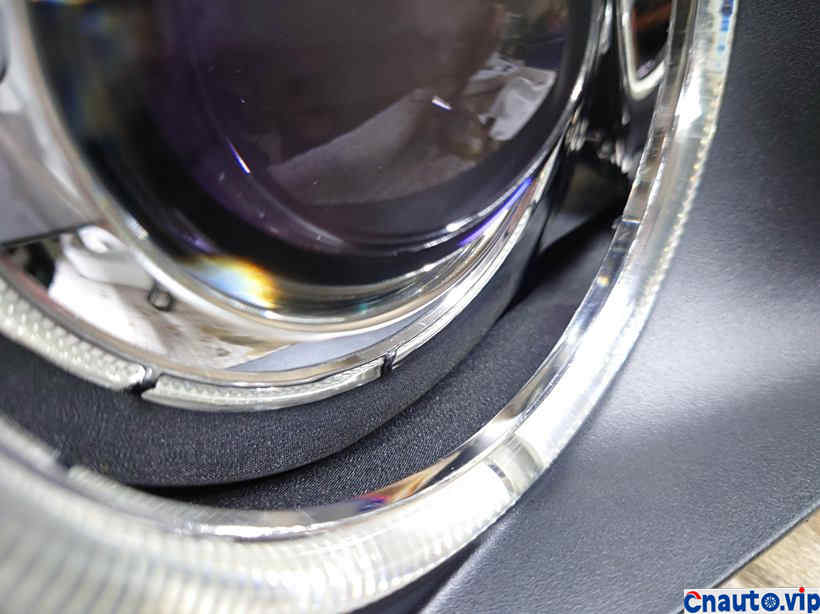
The effect picture under different exposure conditions!
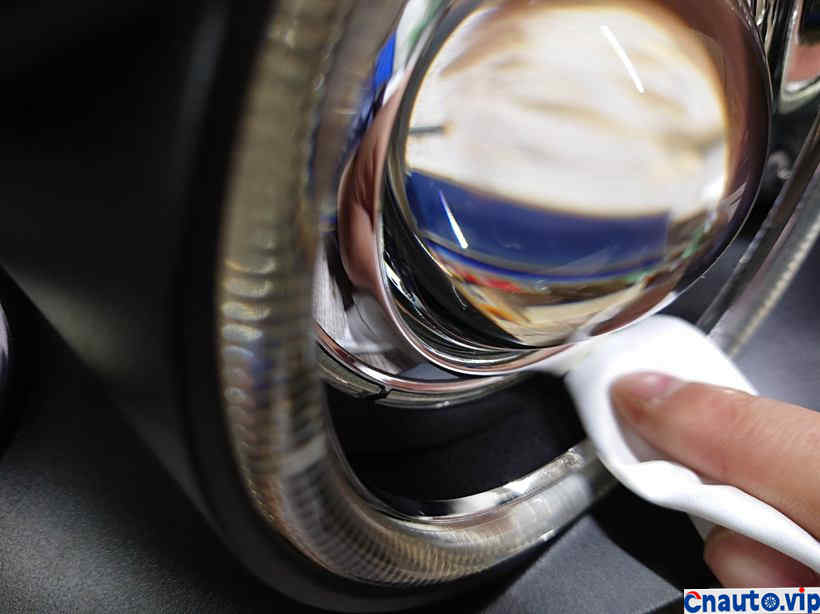
Wipe the fingerprints on the angel’s eyes again!
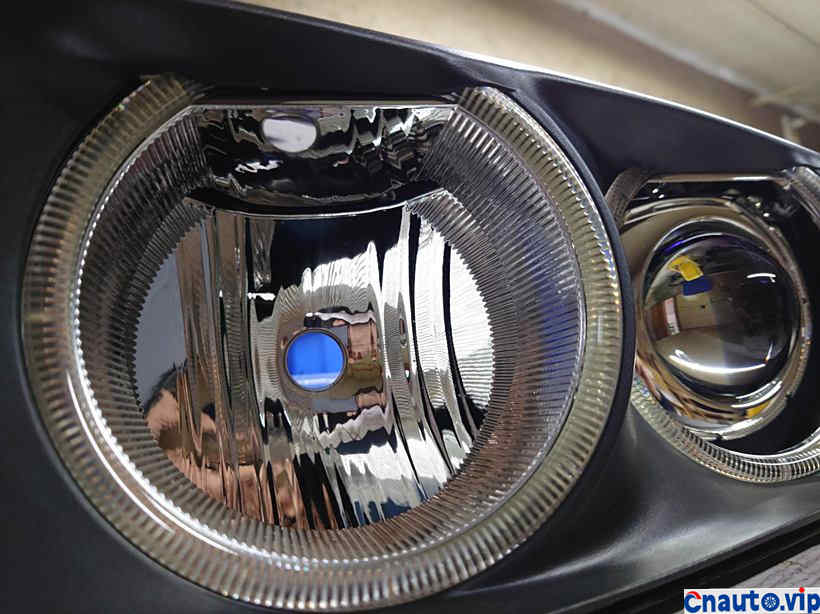
Perfect high beam lamp bowl!
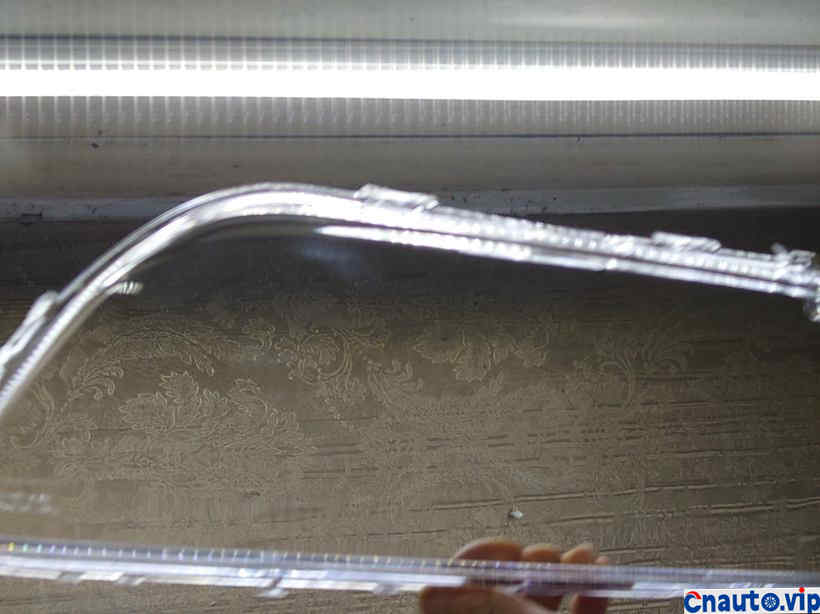
Lampshade to ensure that the flawless state ready to reinstall!
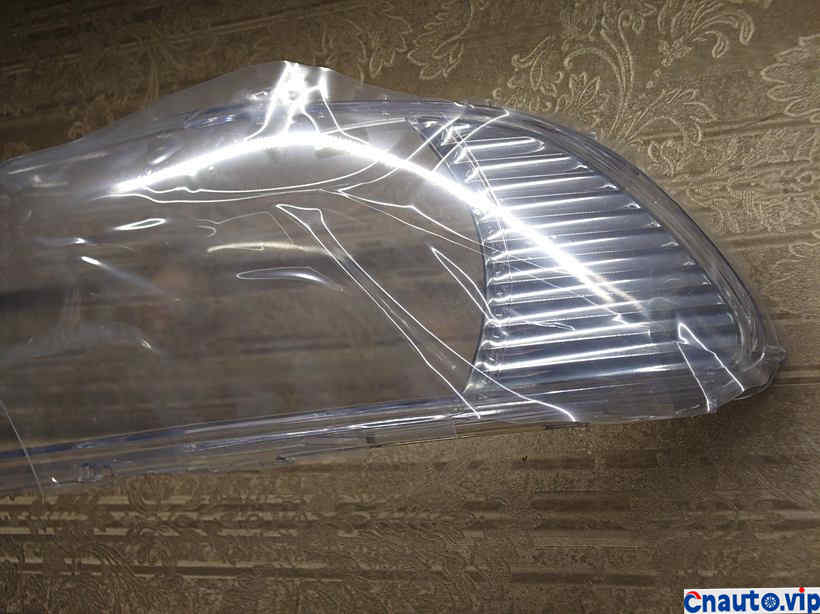
The reflector of the lamp corner is reset!
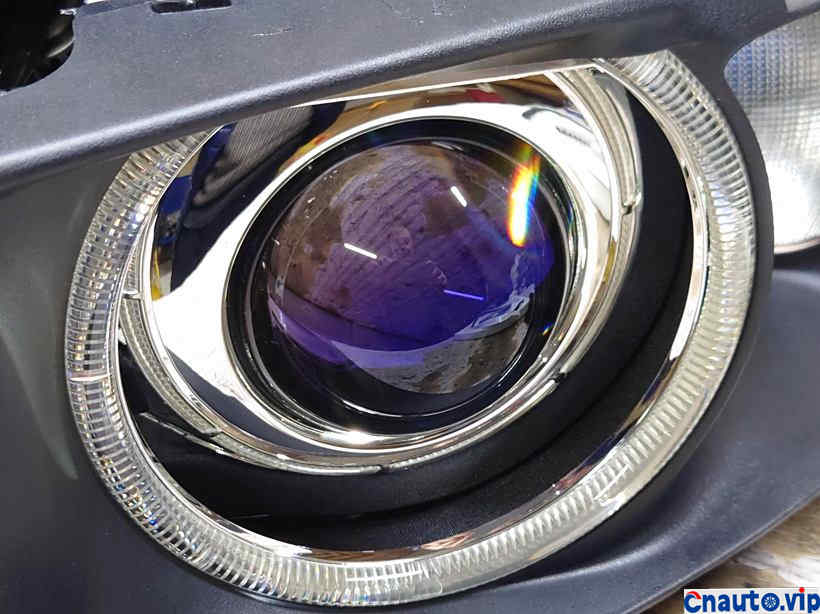
Take another look at the blue double light lens!
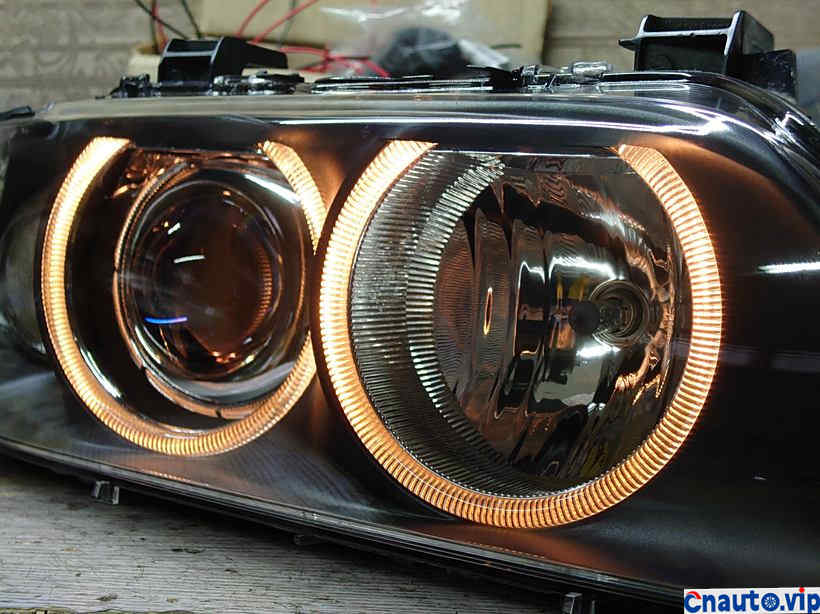
The angel eye that changes back to halogen light source is really beautiful!
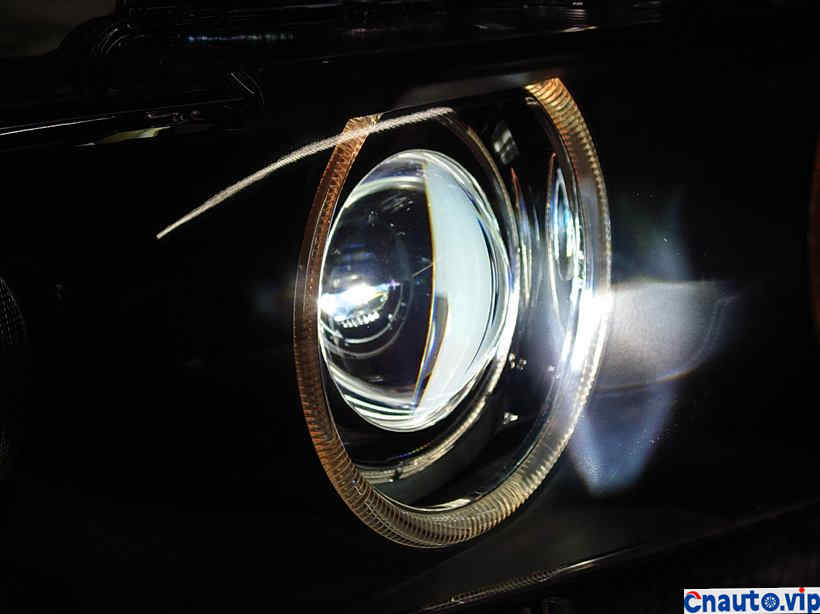
Turn on the lights and see if the work is working properly!
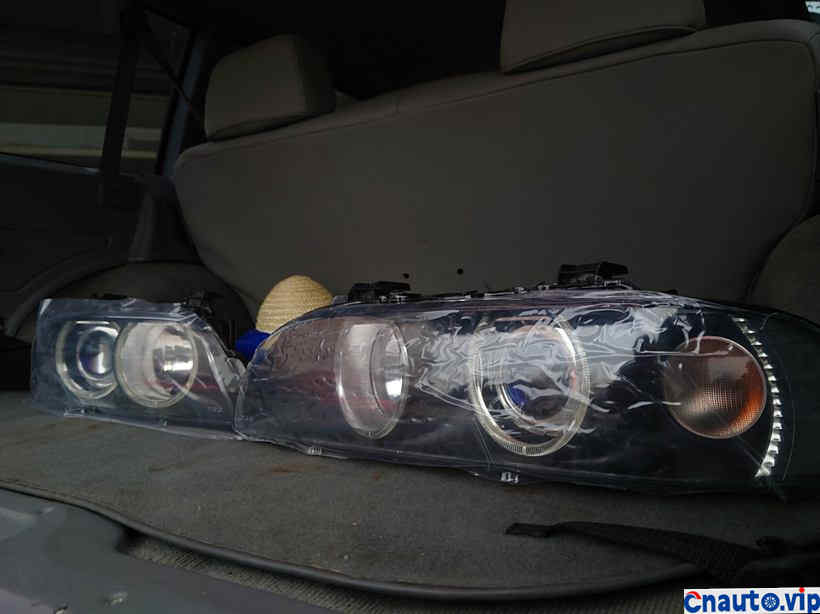
When you’re done, come home with me!
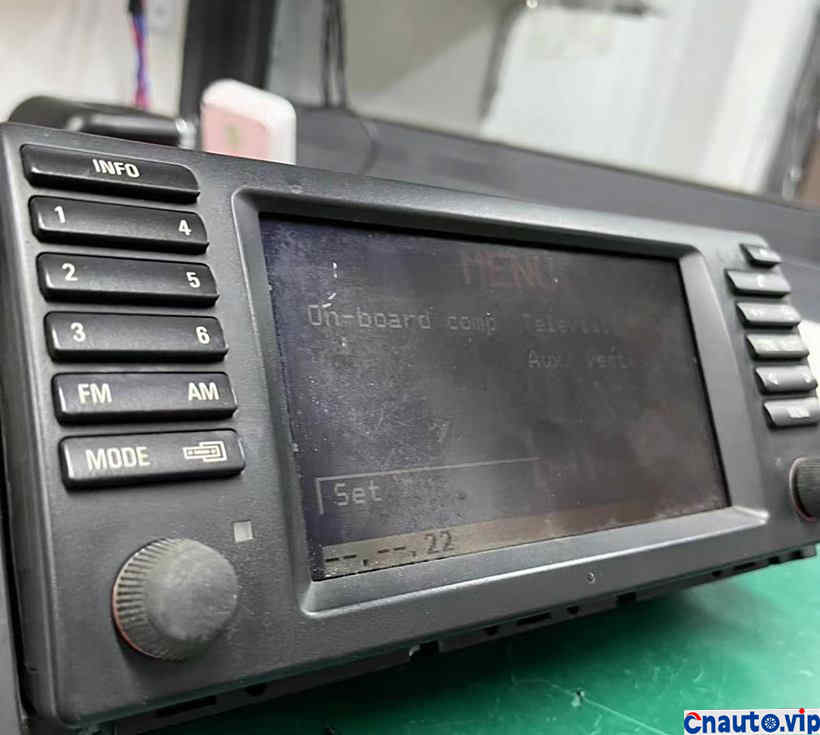
The car multimedia host is refurbished and the old one is ugly!
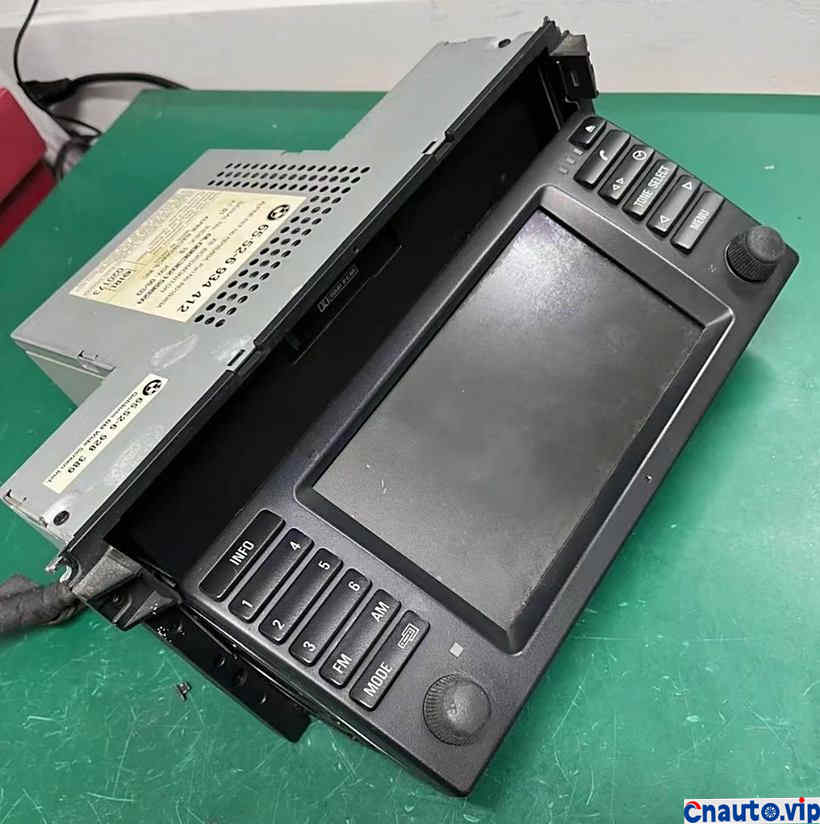
The overall appearance color already belongs to the garbage color!
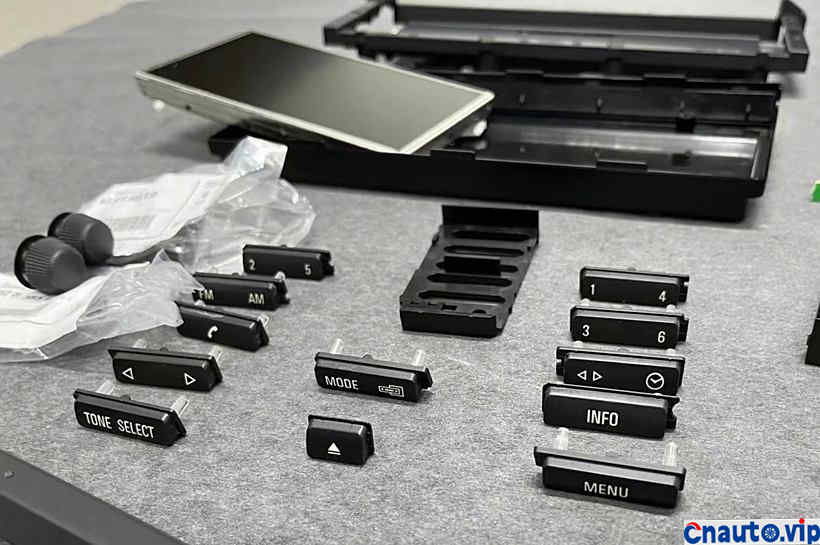
Each part is refurbished separately!
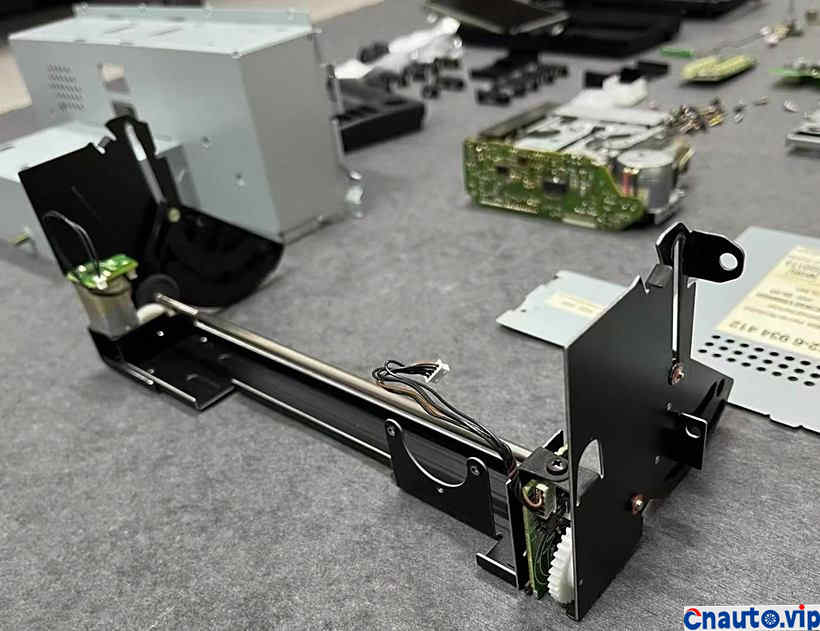
All the brackets and shells can not be leaked in one place!
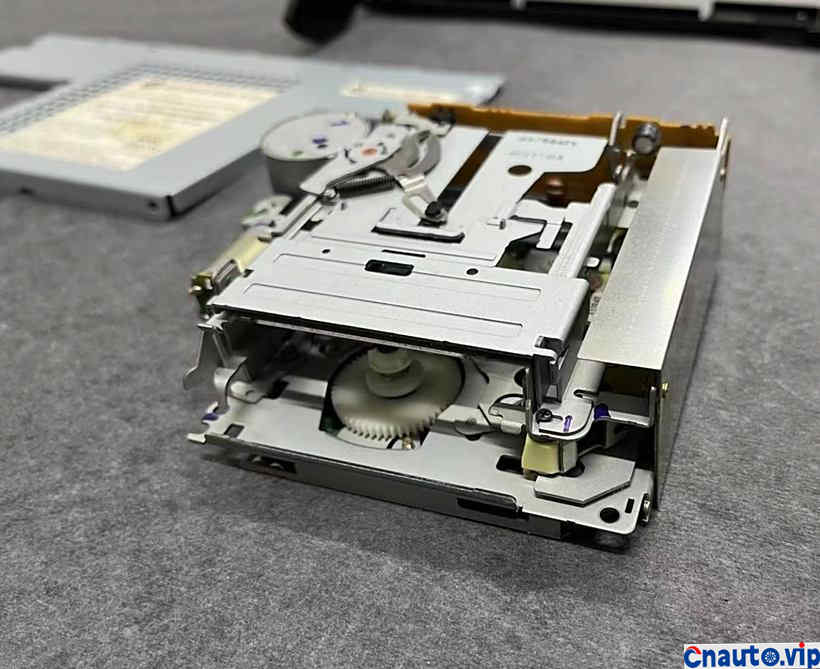
The tape movement must be maintained and the aging belt must be replaced!
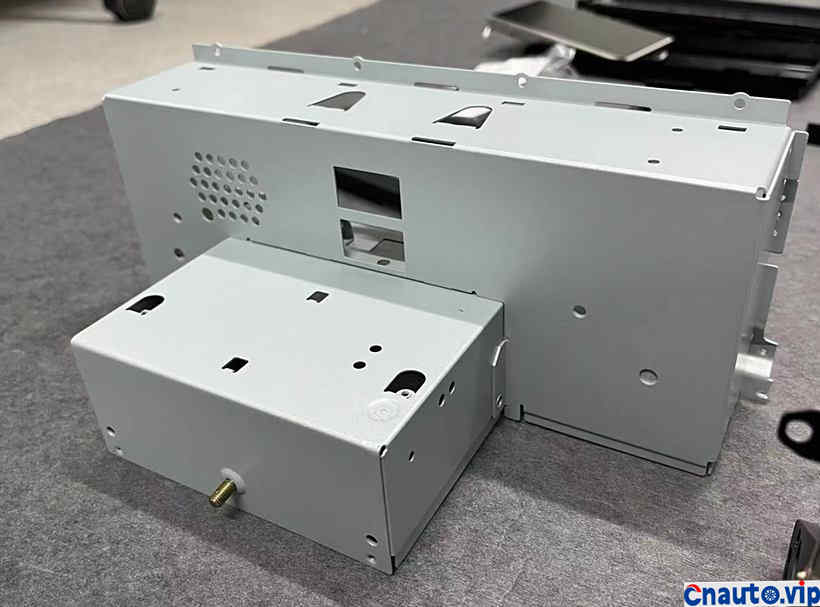
The shell has been renovated to be brand new!

The components and aging capacitors of the circuit board are replaced and cleaned together!
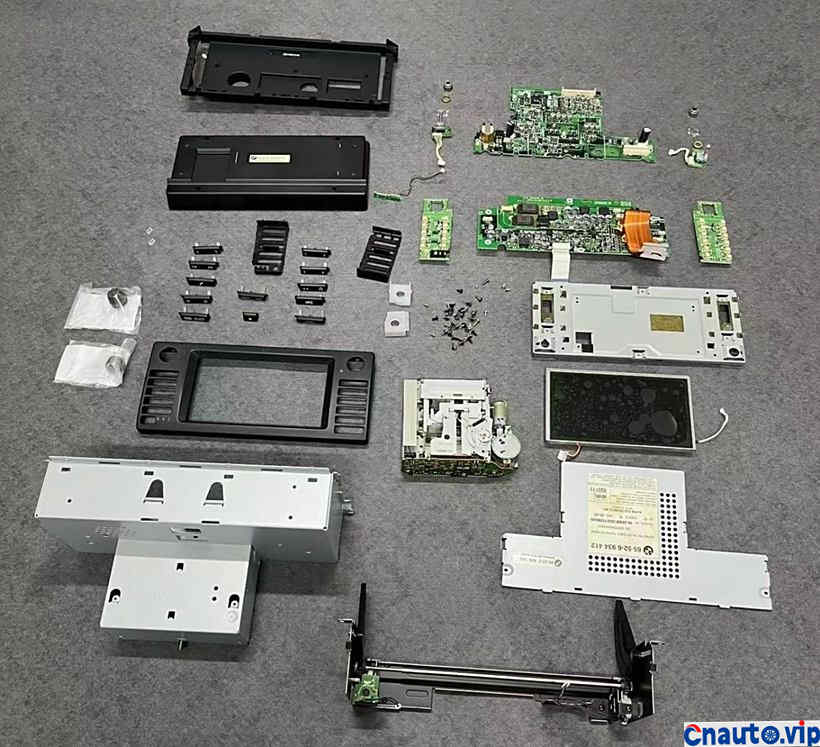
Take a picture of the whole family before reloading!
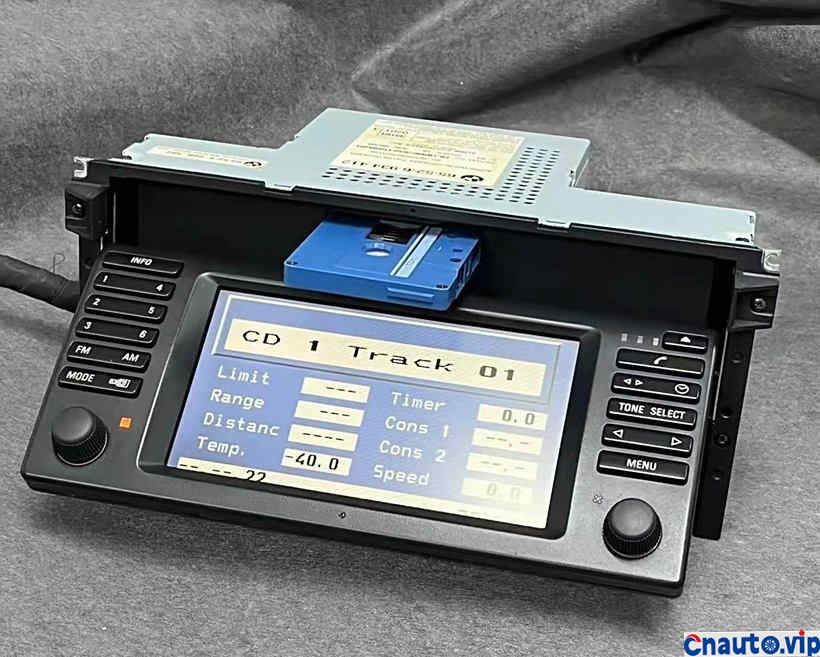
The appreciation of the finished picture begins!
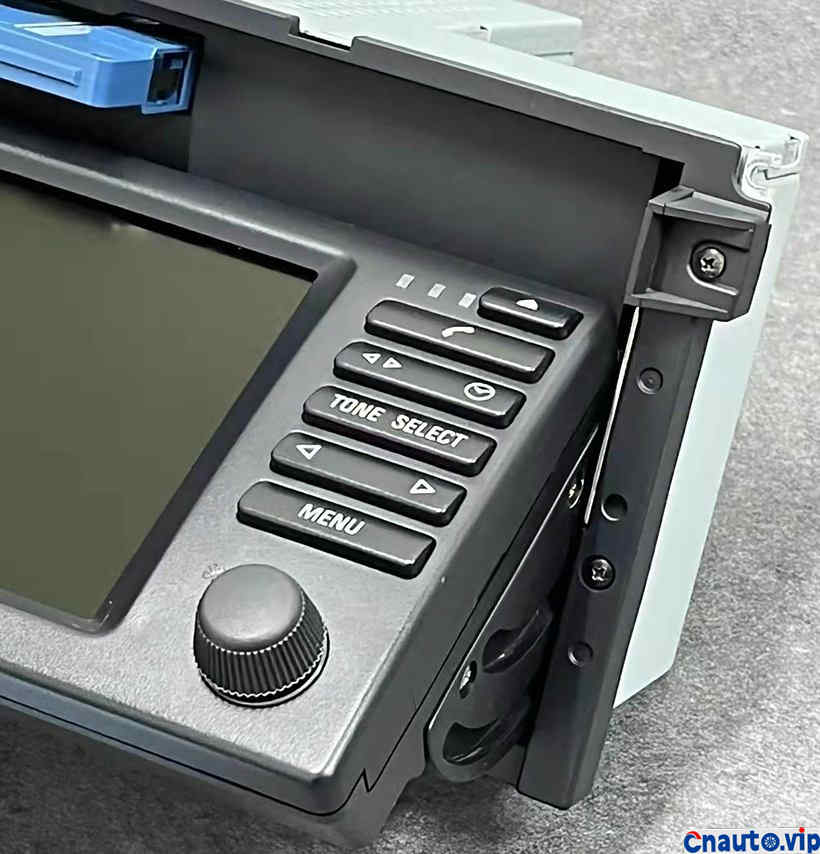
Tape is the memory of our post-80s generation!
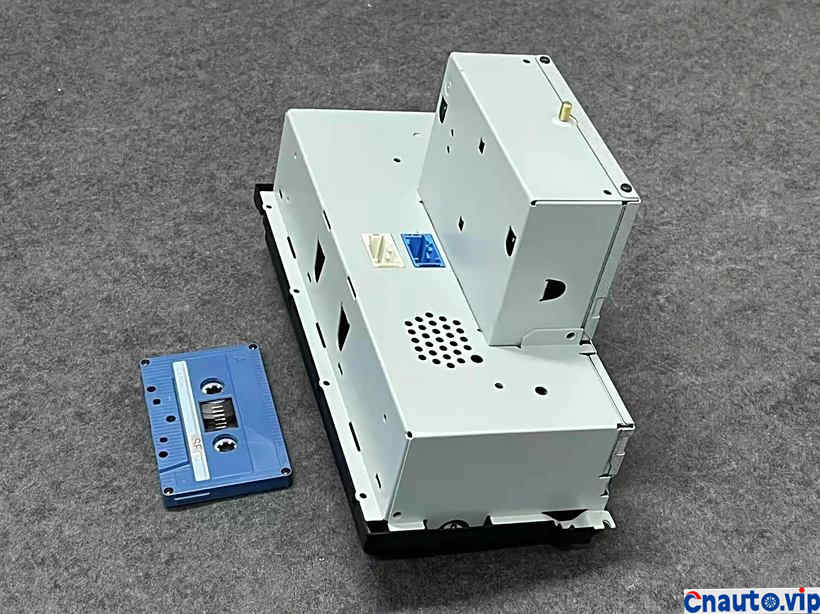
A close-up of the tape must be an old song we like to listen to!
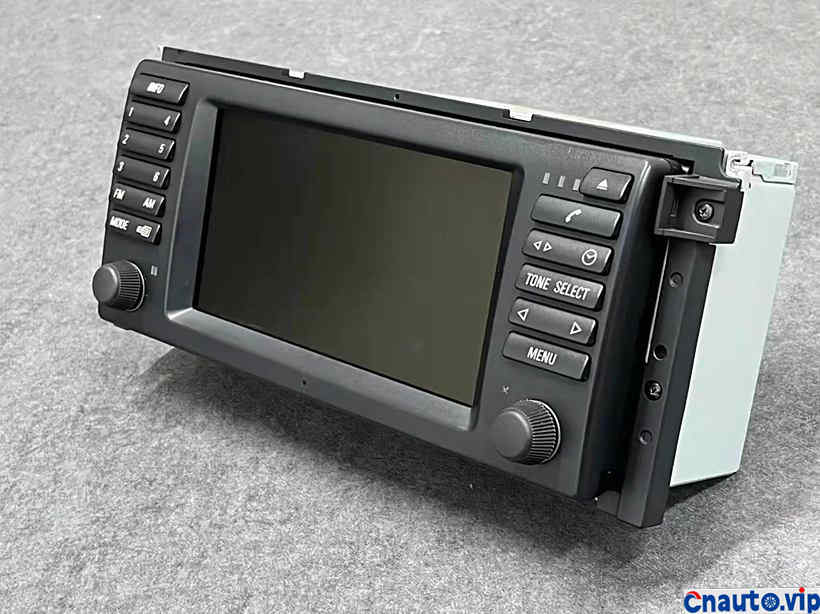
If I say it’s new, there should be no one but believe it!
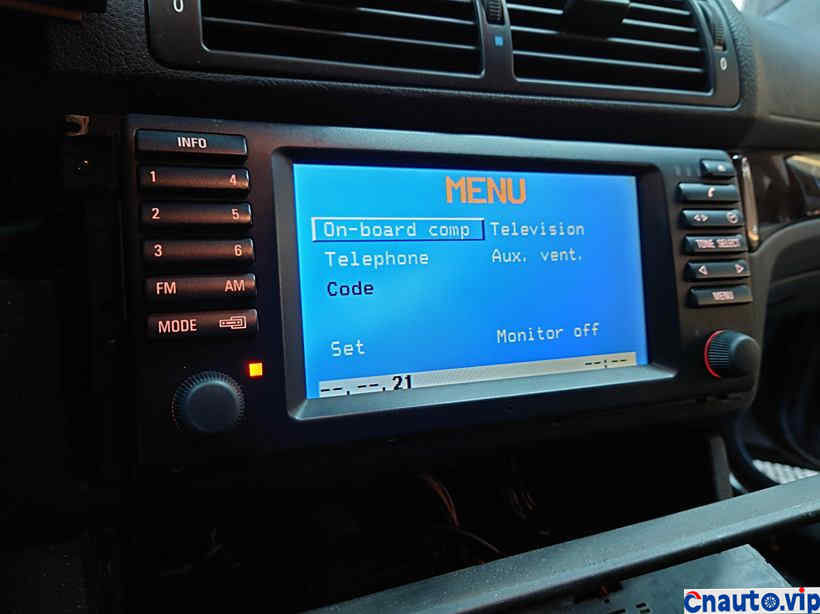
Ok, put it back in the car!
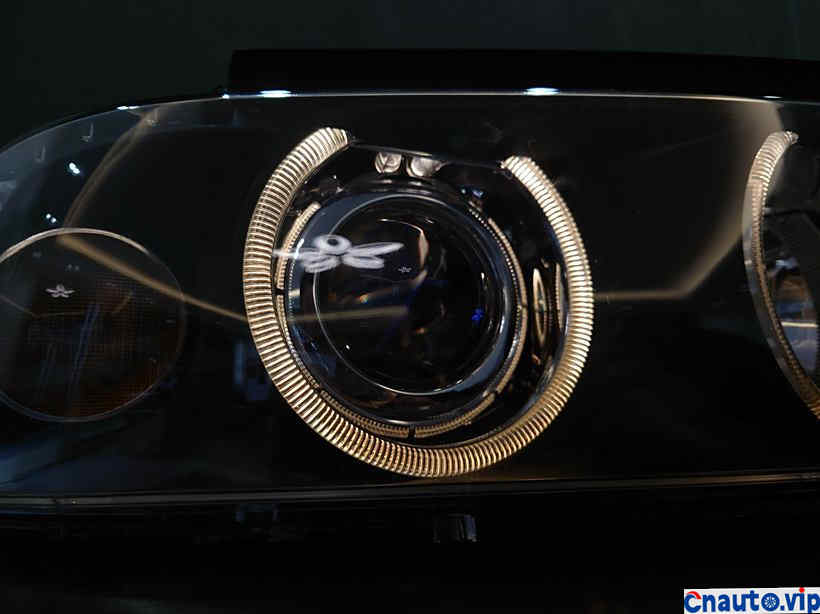
Tape on the headlamp, the original factory is brand new!
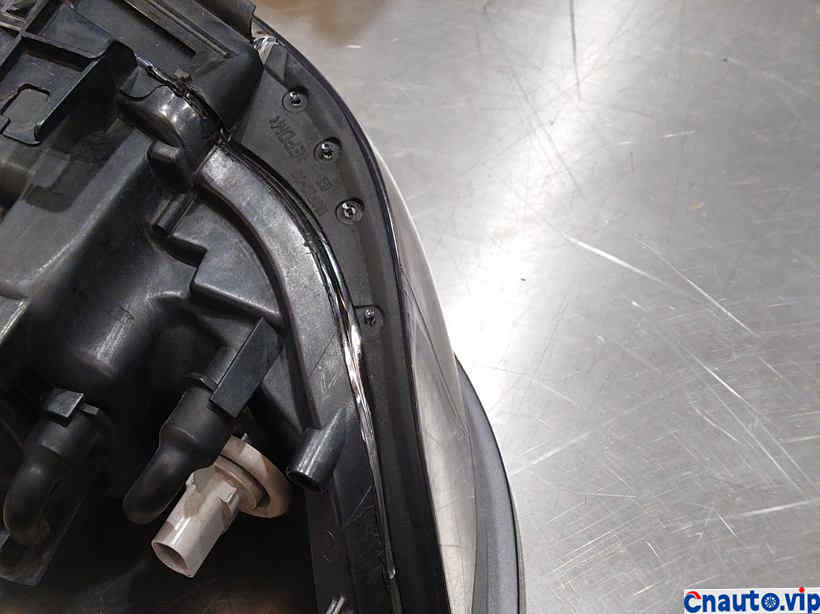
The side tape took a few pairs of lights and put together a pair of intact ones!
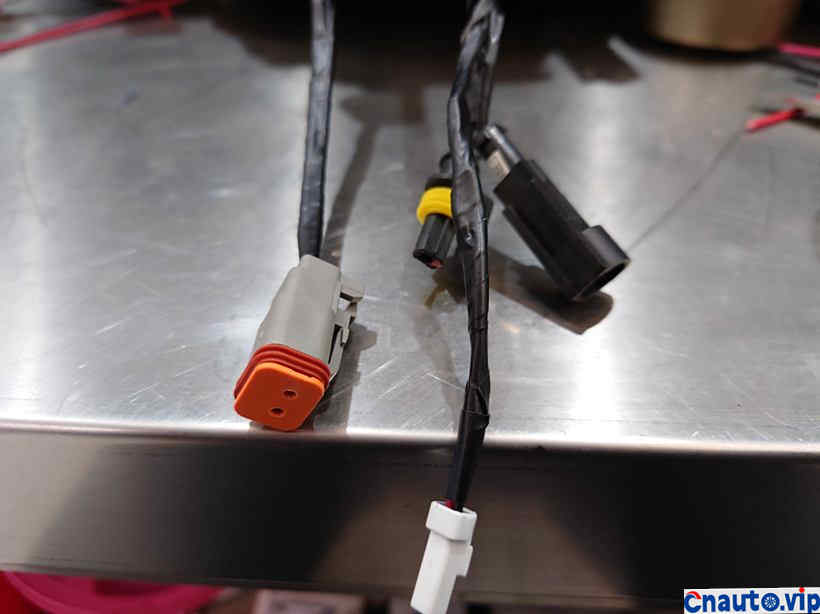
All the tail lines of headlights are docked with waterproof plugs!
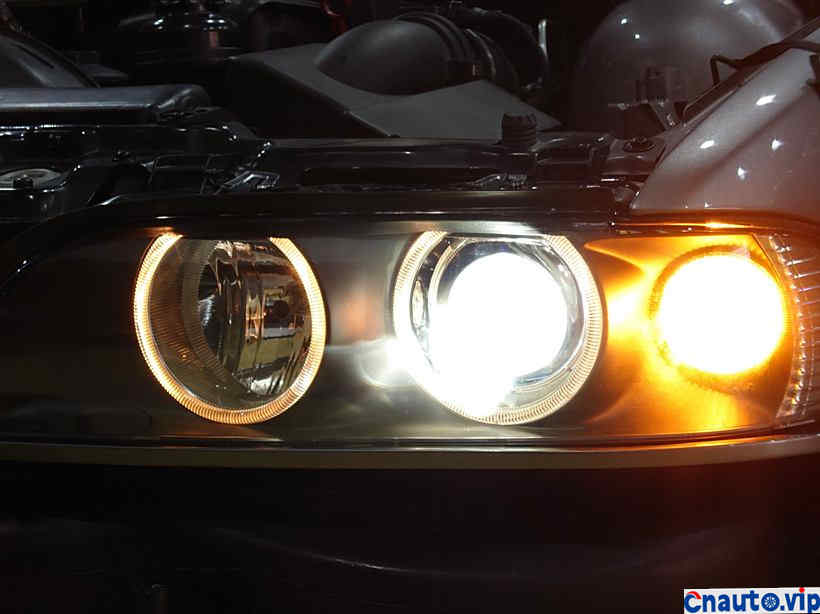
Get in the car and test it!
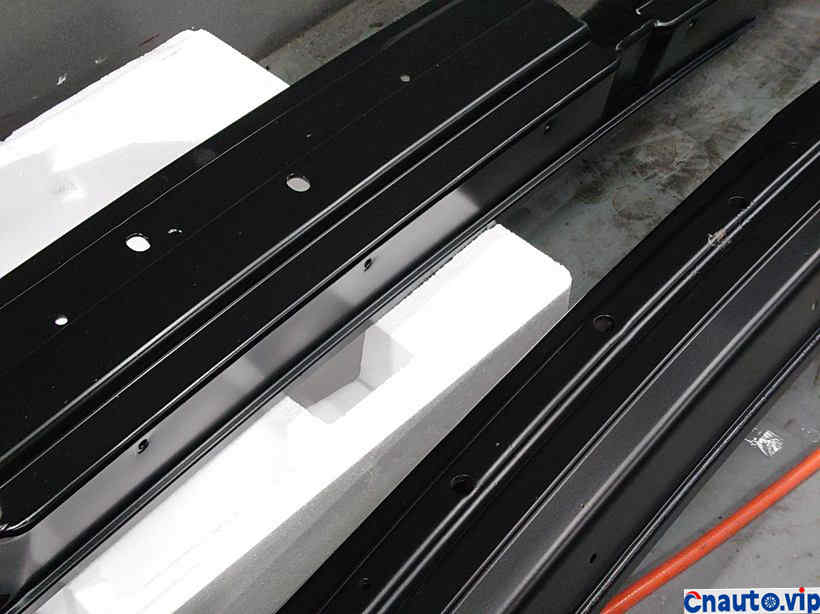
The front and rear inner bars are finished with antirust coating and wait for loading!
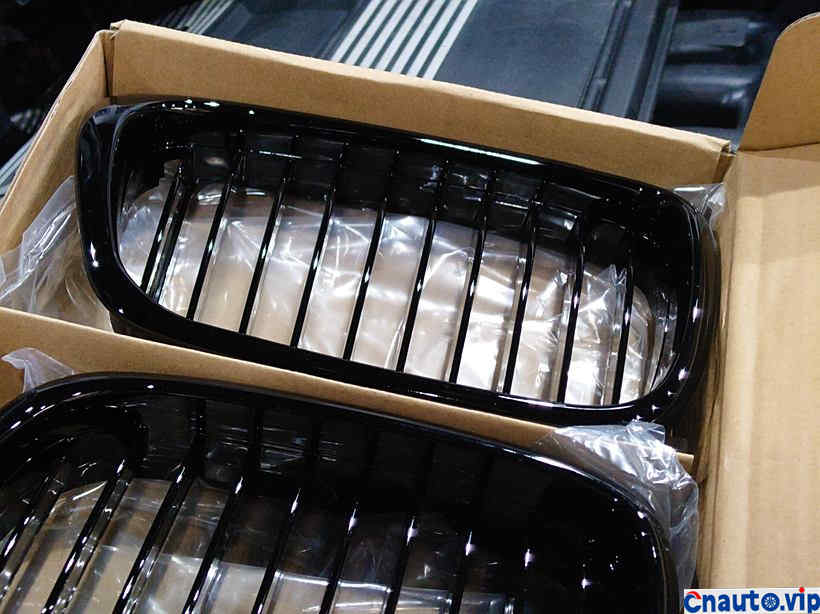
Bright black in the net stand by!
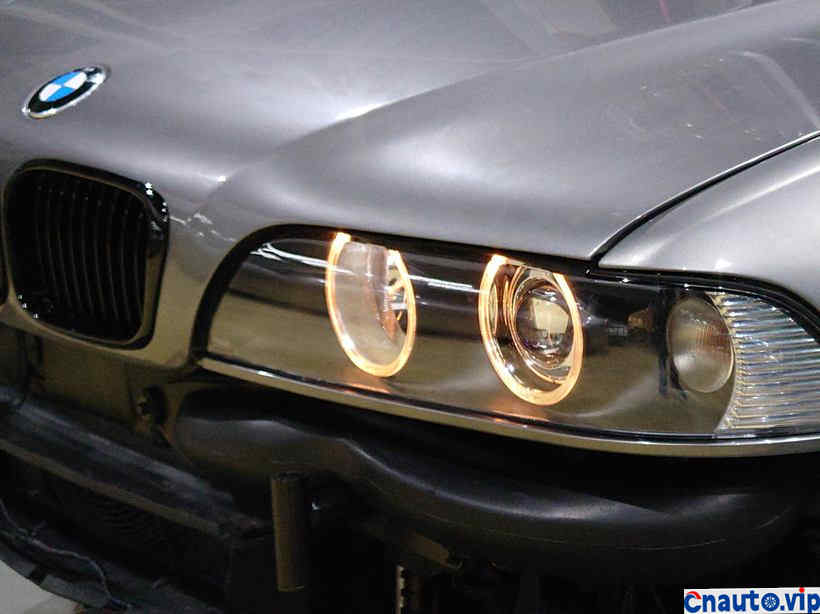
There’s something going on! The cover label has to be changed!
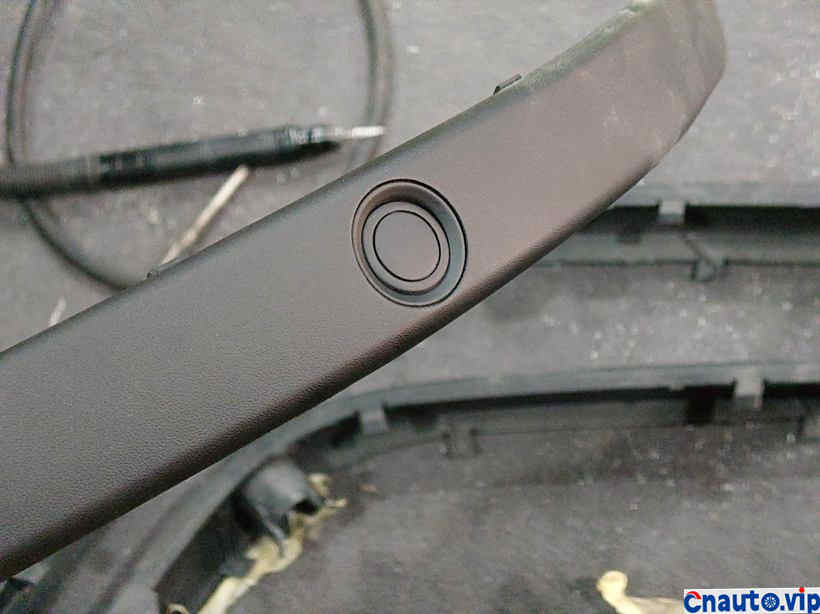
Front guard strip radar back in position!
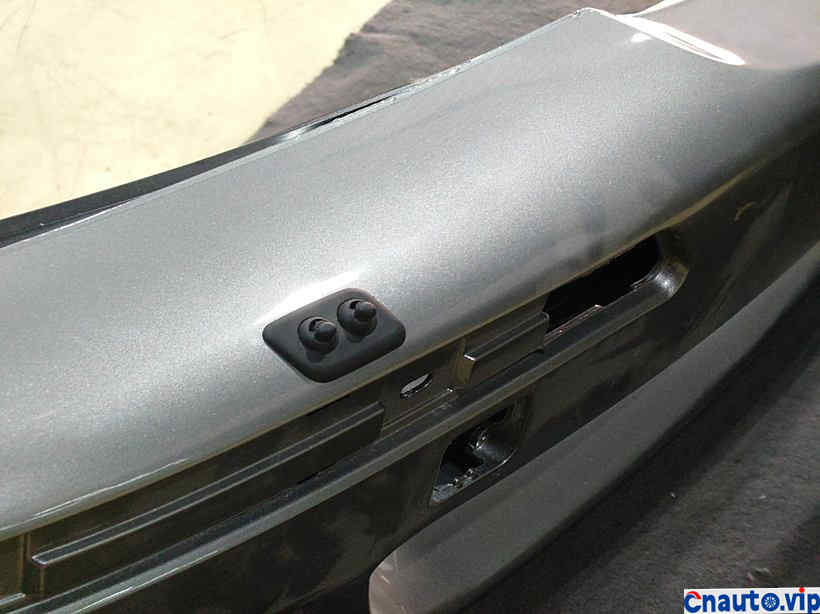
The former beauty mole is so beautiful!
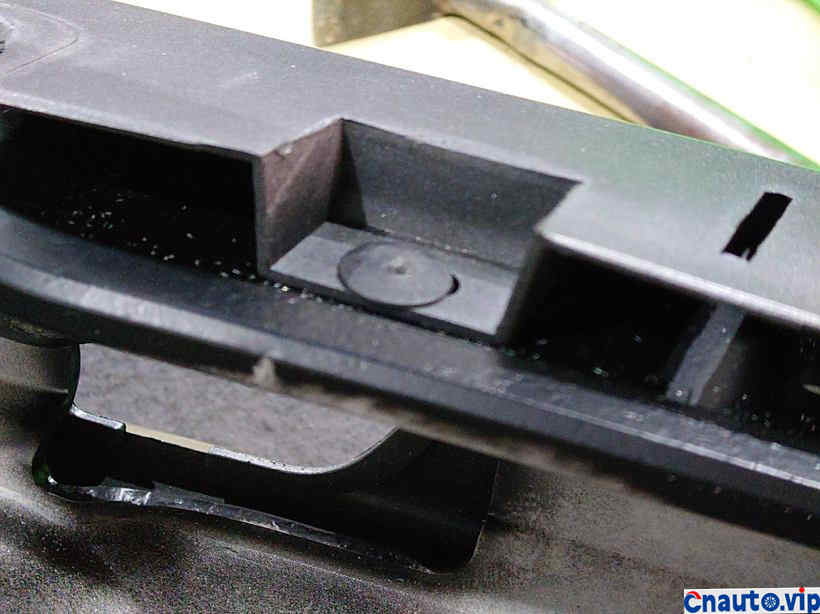
The fixing clip must be made in the original factory!
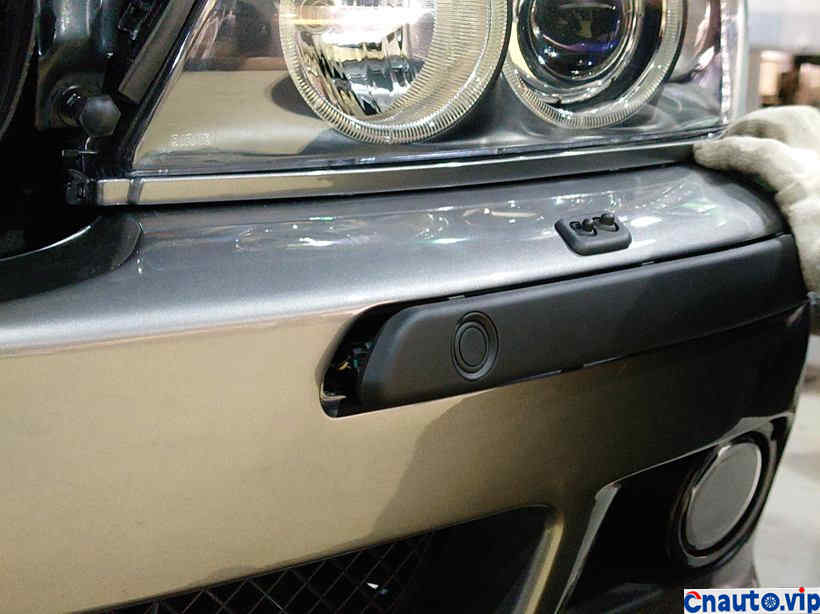
The front face is basically in shape!
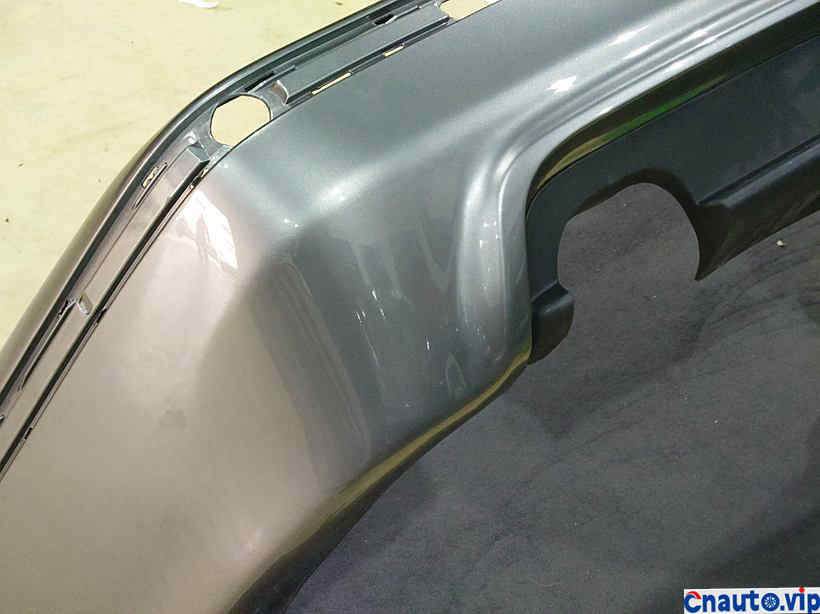
The rear guard deflector is the face of the whole tail!
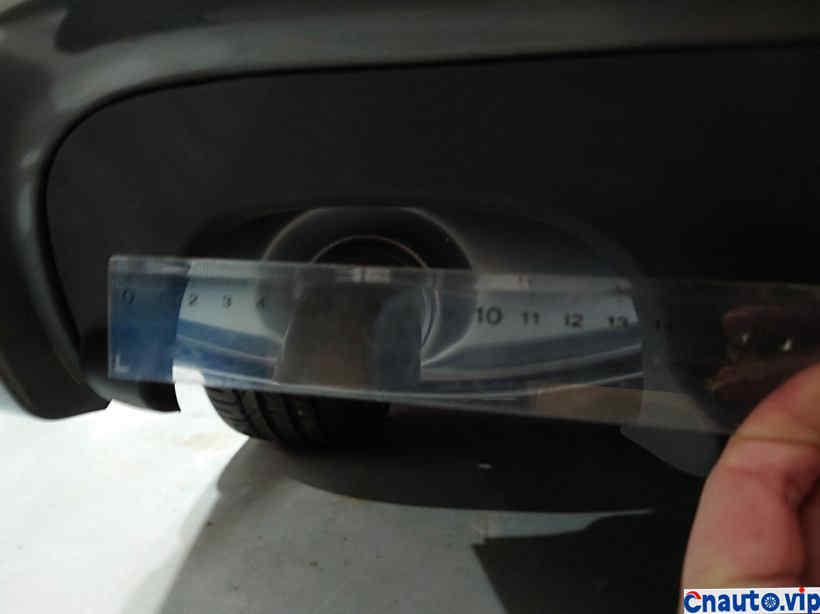
Tailthroat size measurement data customized in advance!
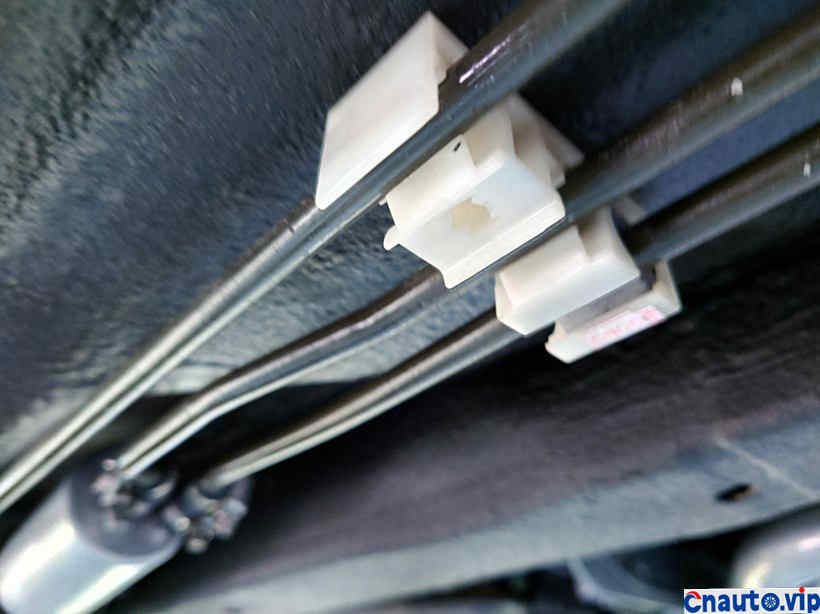
The tubing clip for the order has arrived!
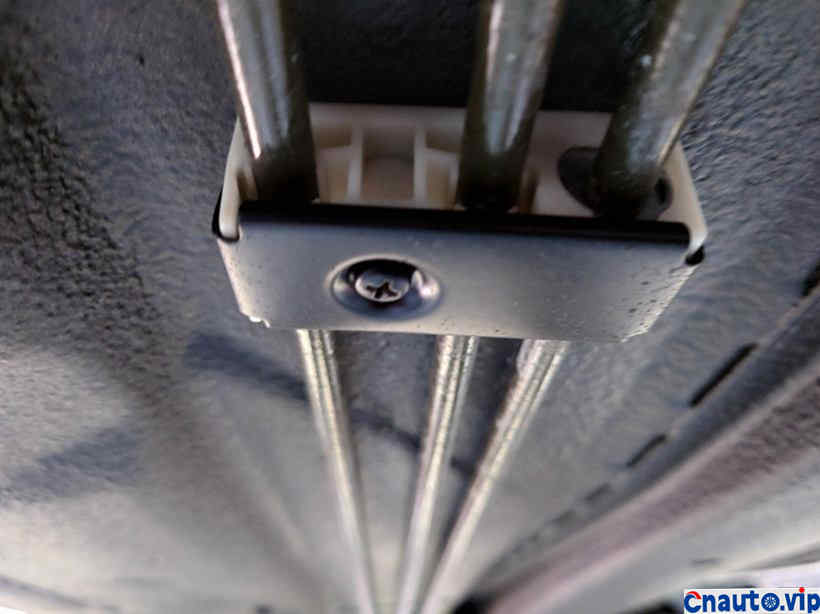
Only in this way can we match the iron buckle handled!
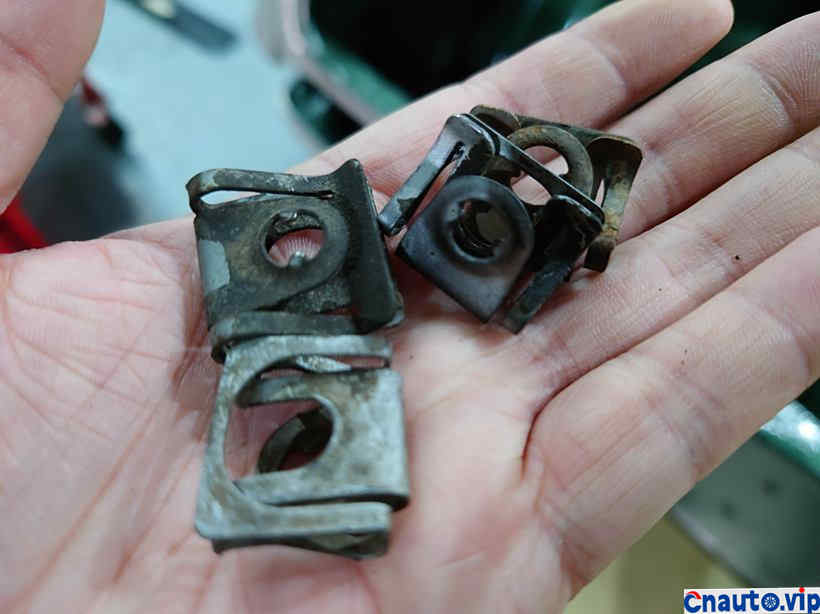
You can’t be so ugly!
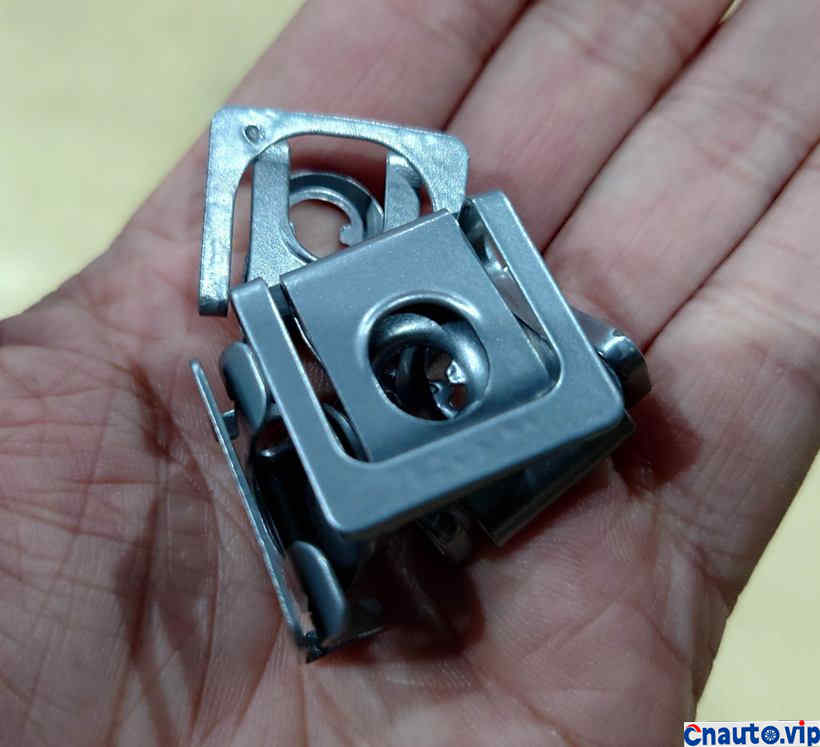
The first group regained its youth after returning my floating fist!
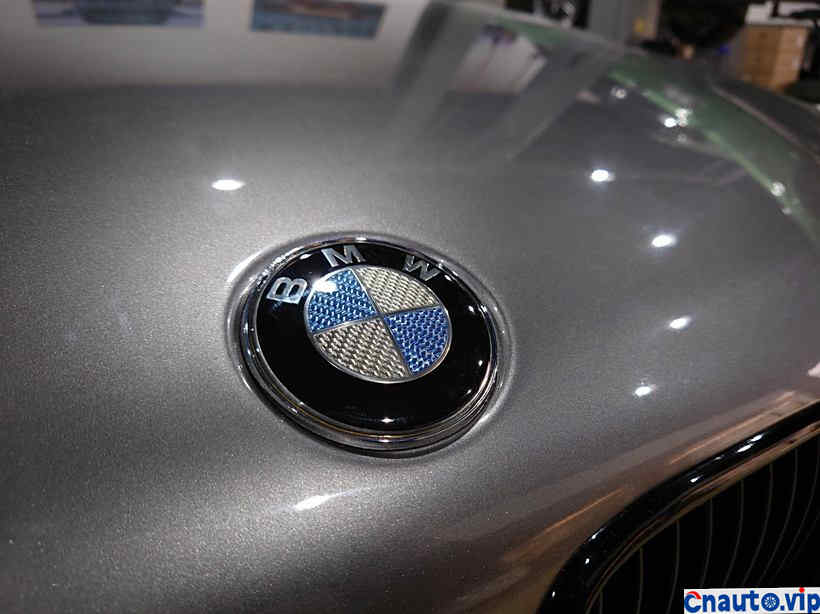
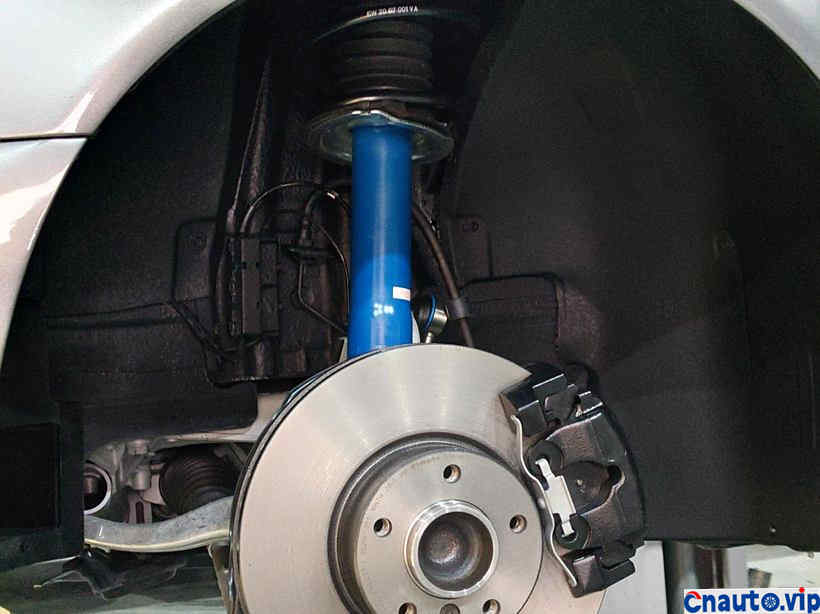
Four-wheel arch detail processing!
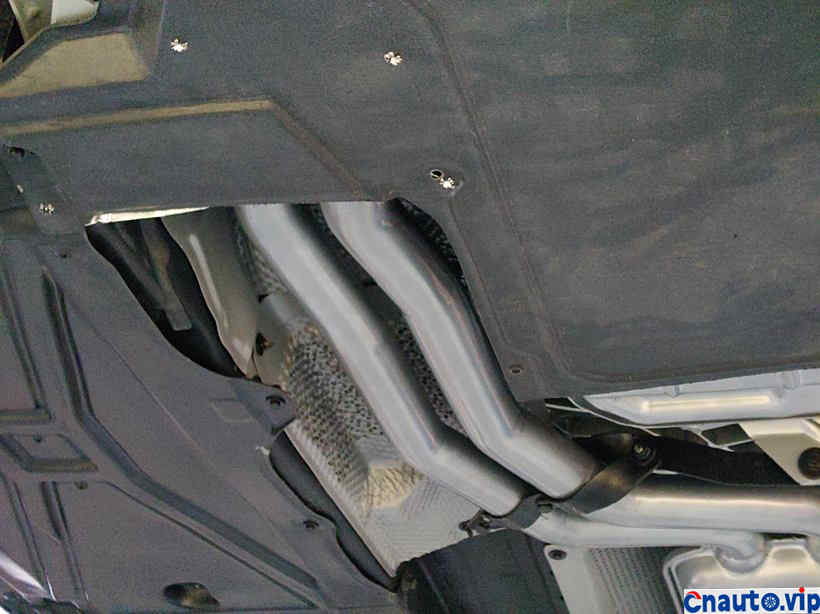
After the whole car floor is installed, it is found that there are some hollowed-out imperfections. I can’t accept it. Go on!
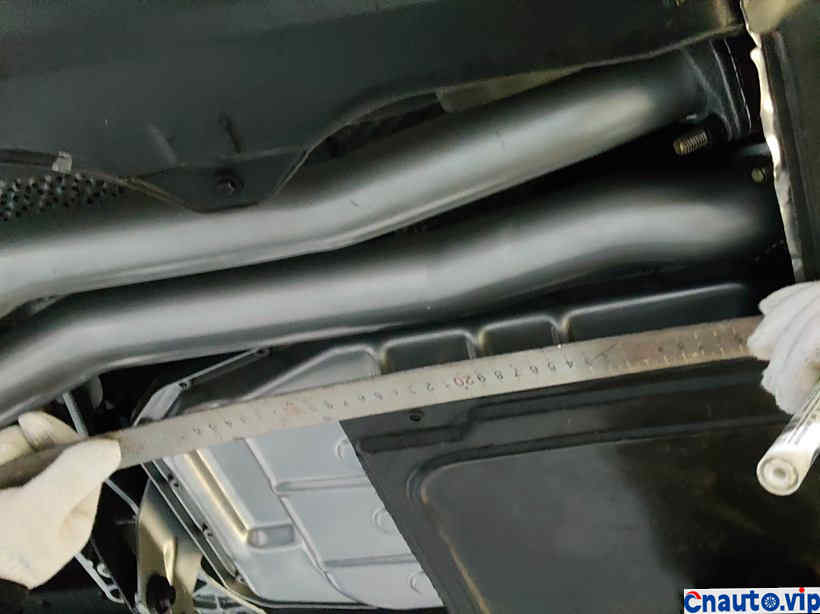
Measure the size!
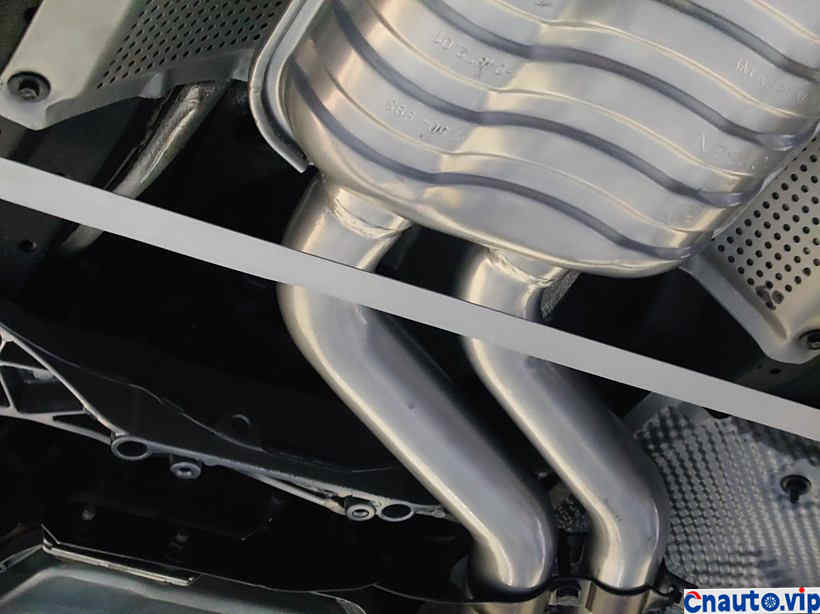
It has to be measured front and back, left and right!
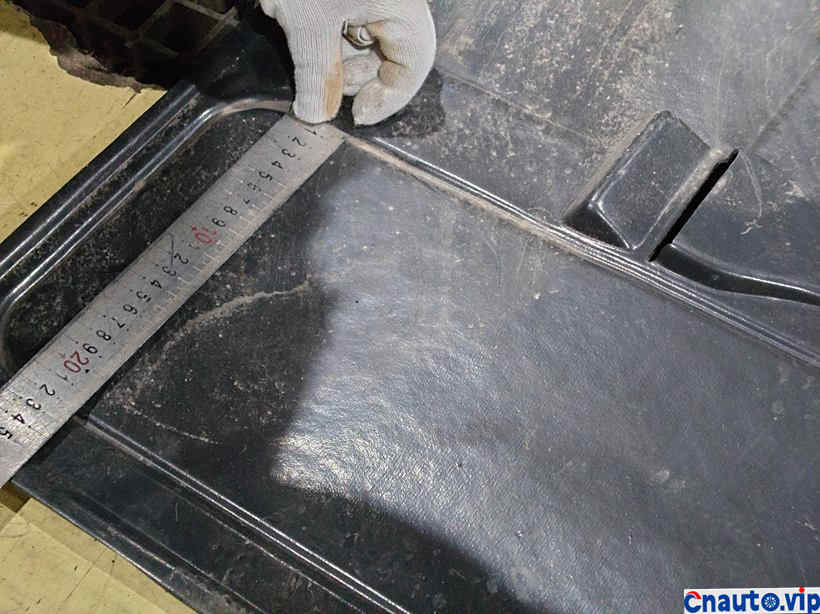
Find a waste base plate to cut and fill it!
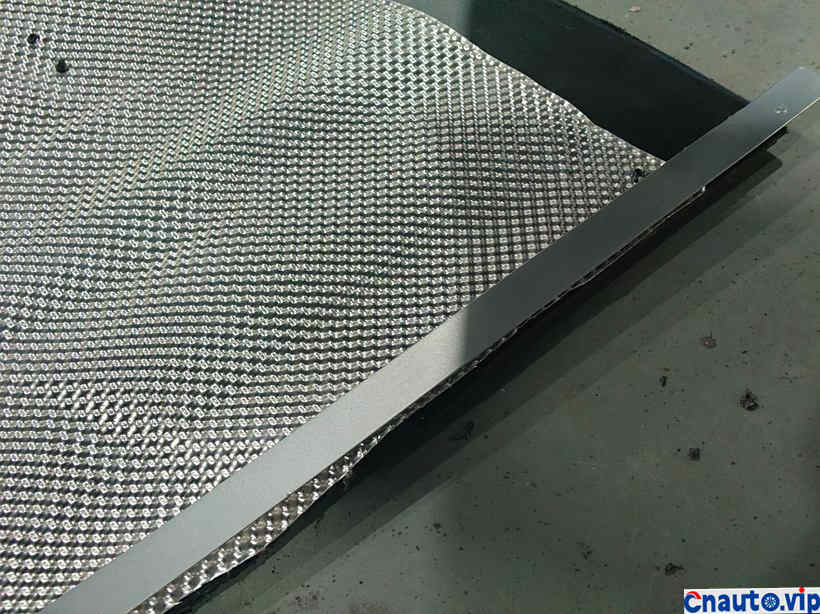
There can be no errors in size!
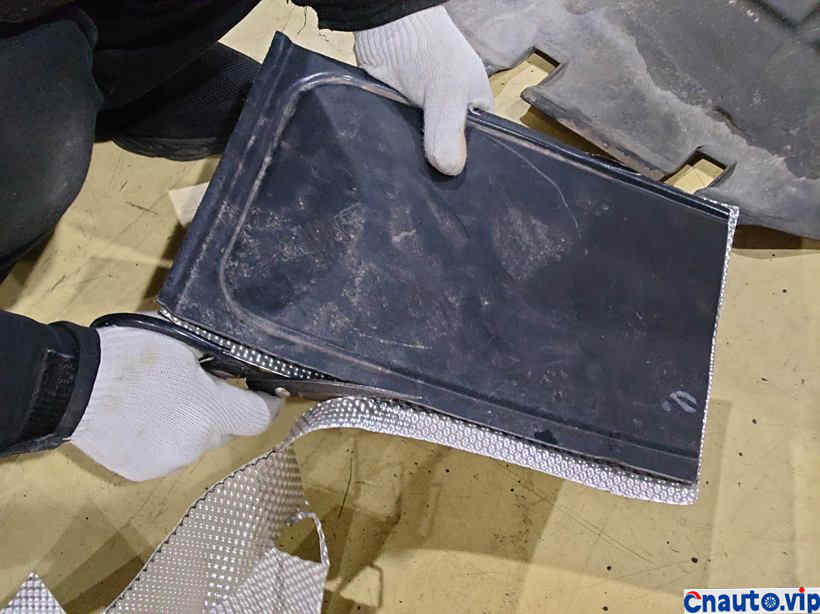
As the location is in the middle of the exhaust pipe, the temperature is relatively high, a layer of thermal insulation tile must be added!
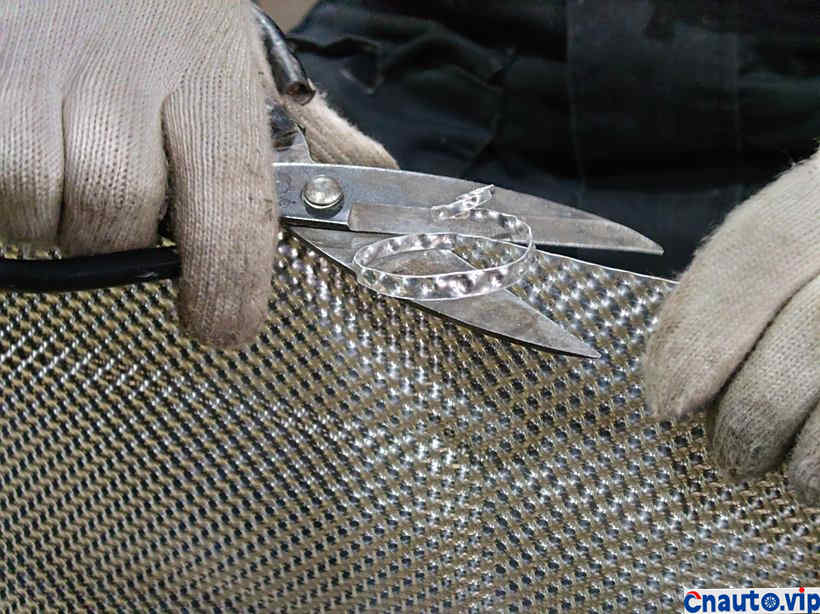
Cut off the excess!
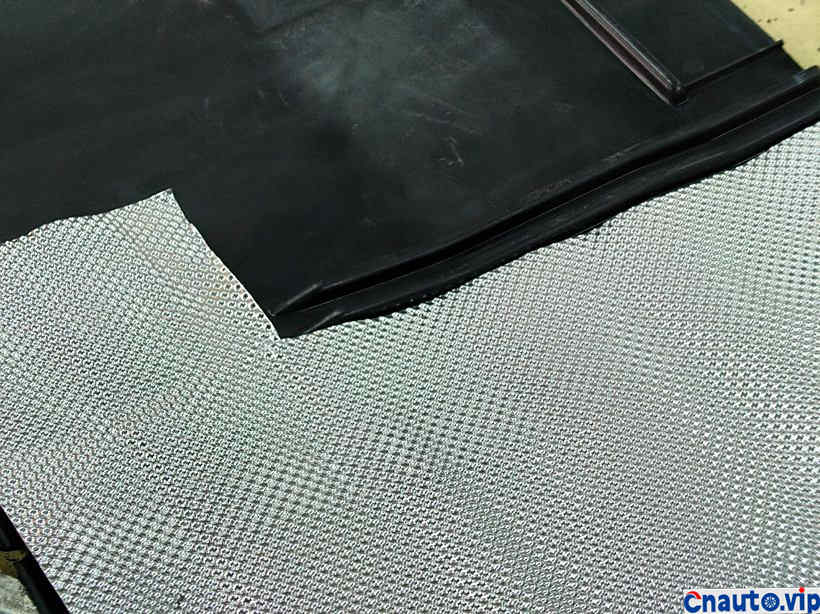
We can’t miss any of the places that should be laid.
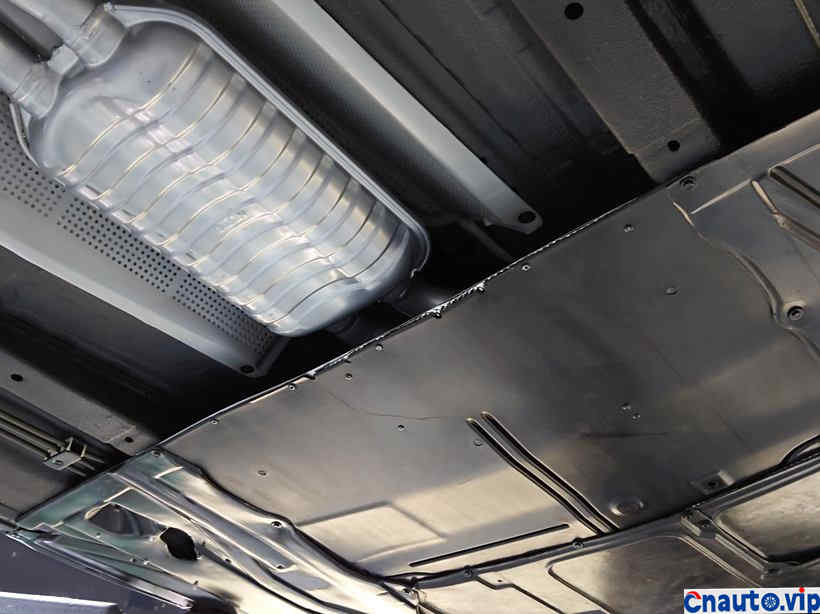
OK! Much better!
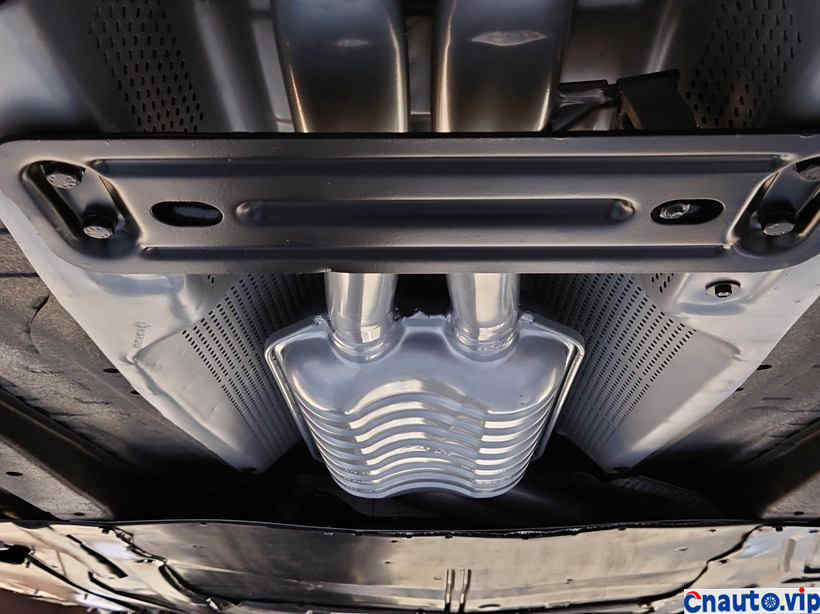
Very formal, very original!
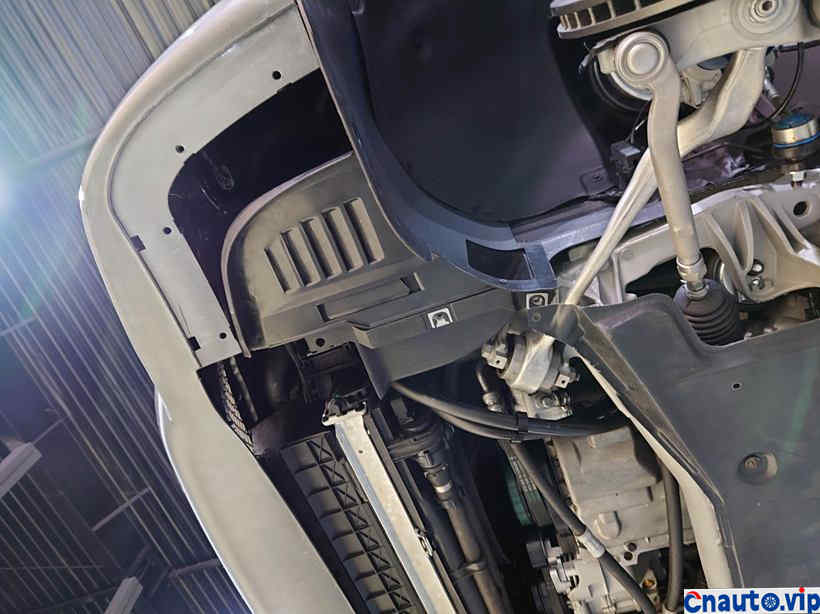
As the front bar of the M5 is replaced, the bottom bezel is not in place, and the ready-made one is not available, so do it yourself!
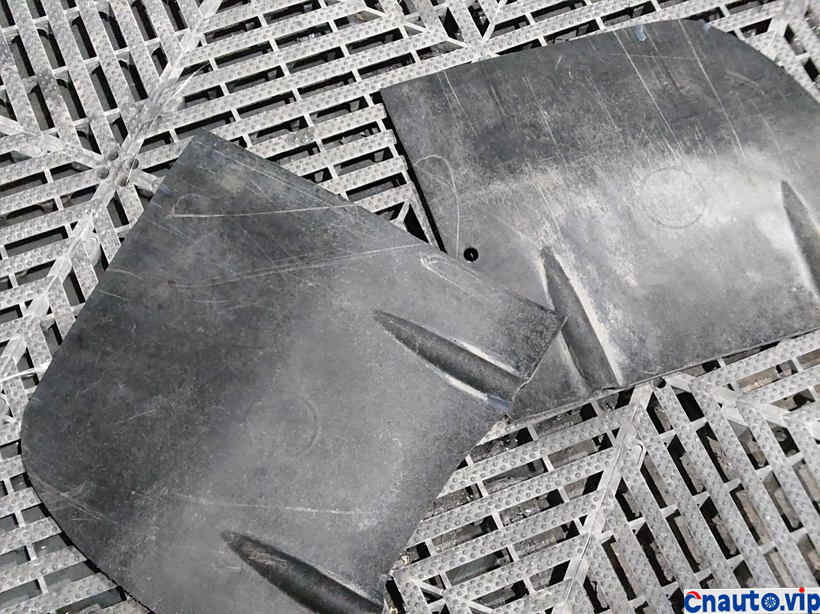
One piece on the left and right, and the surface has to be treated after a good position!
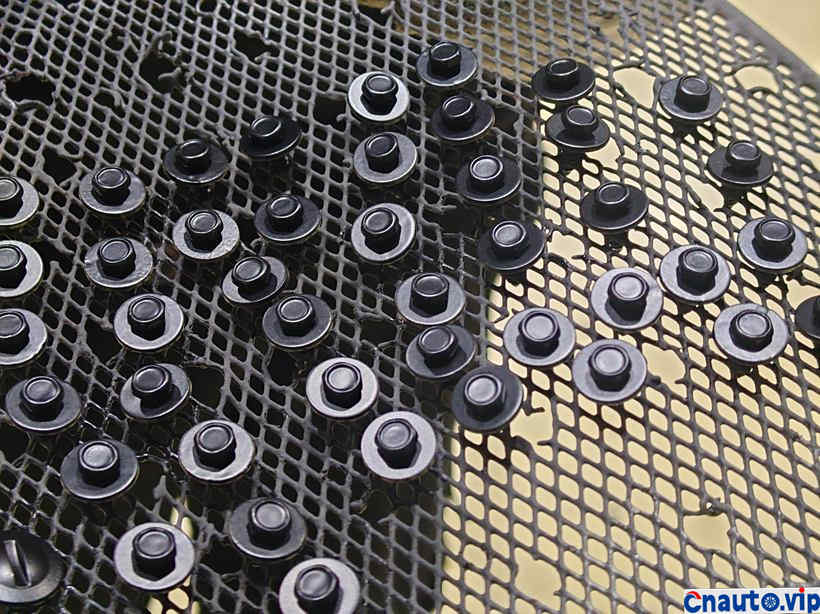
Base plate fixed screw unified anti-rust treatment!
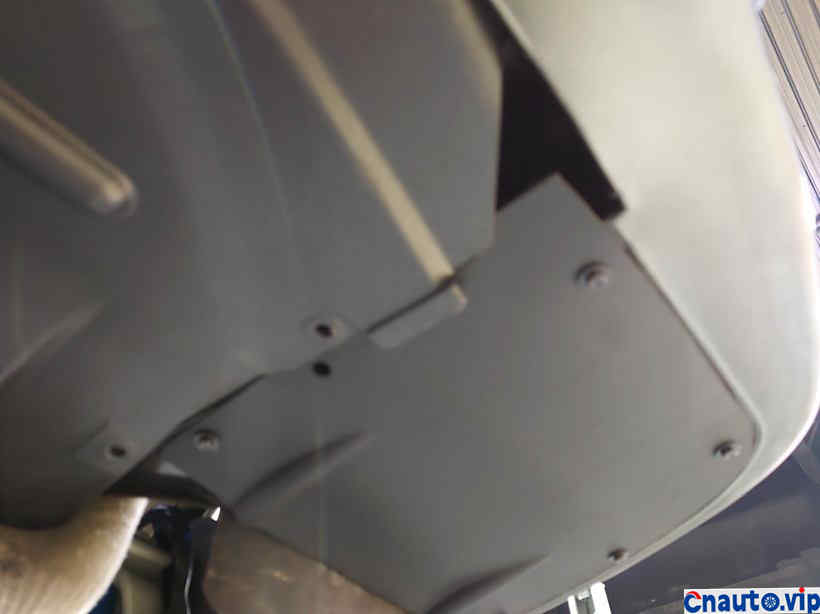
This picture is burnt, the general effect can be seen, and the right angle has to be ground round!
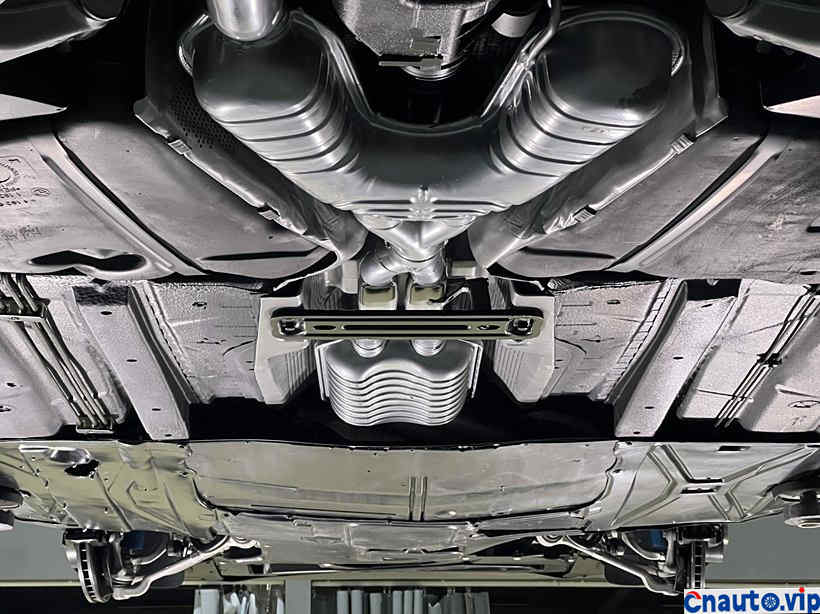
A complete list of chassis!
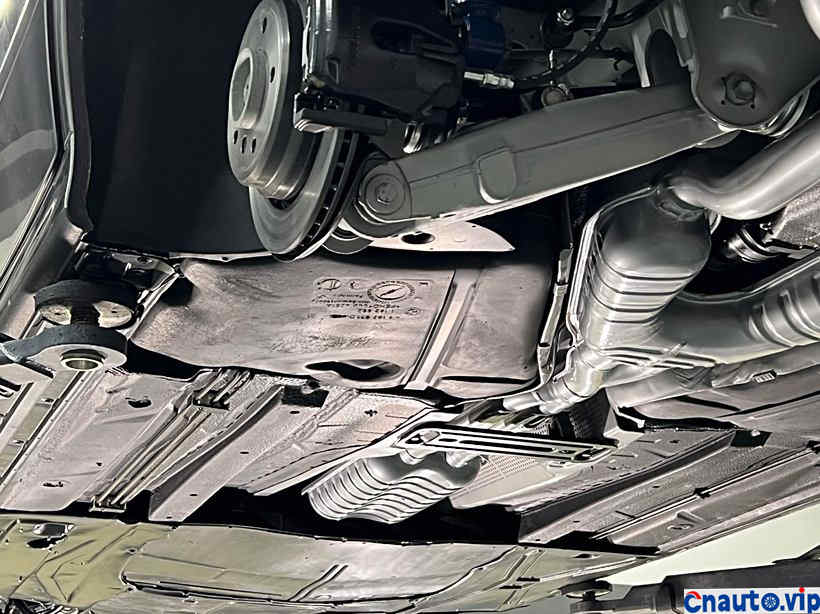
A few more pictures at this angle!
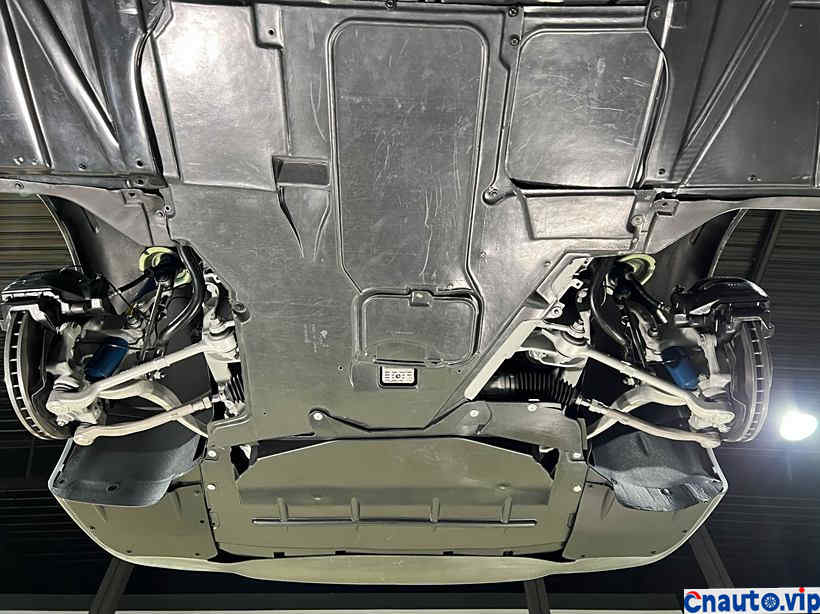
The color of the base plate is not quite consistent, and we have to deal with it in the later stage, of course, it is not a computer color adjustment!
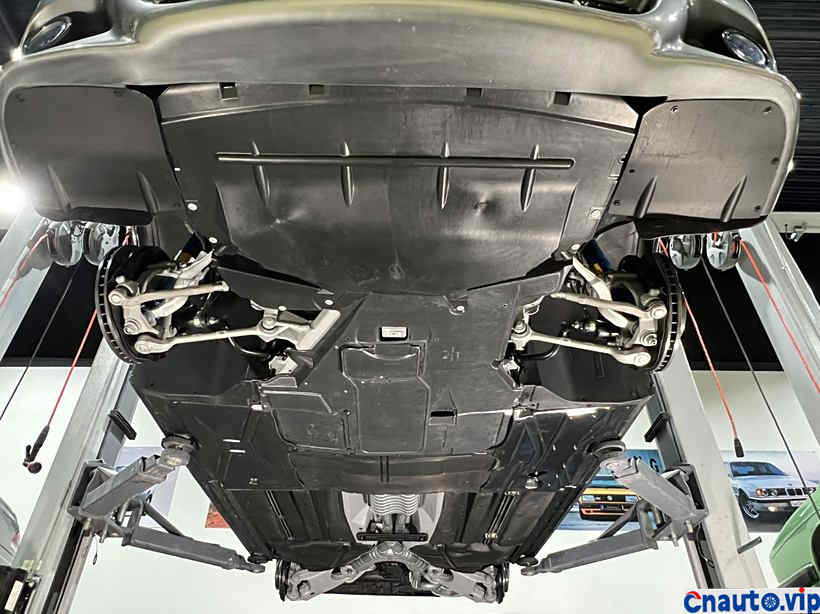
Black should be consistent, texture should be unified!
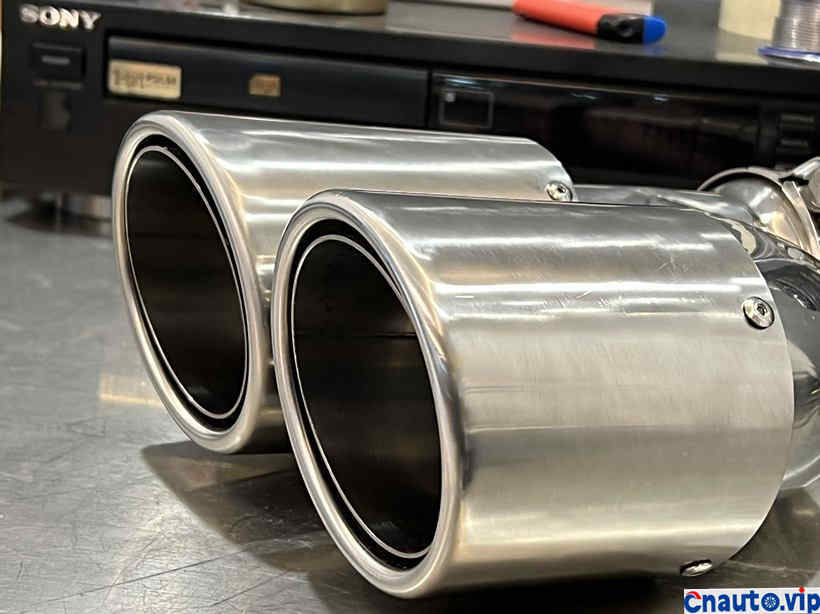
The tail throat of the first order comes home, , it seems that there is a second time!
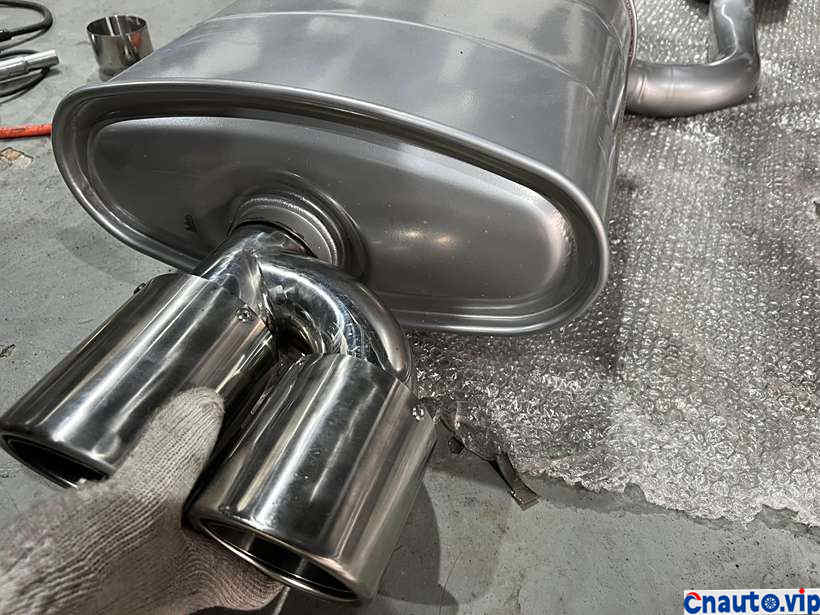
Start paddling!
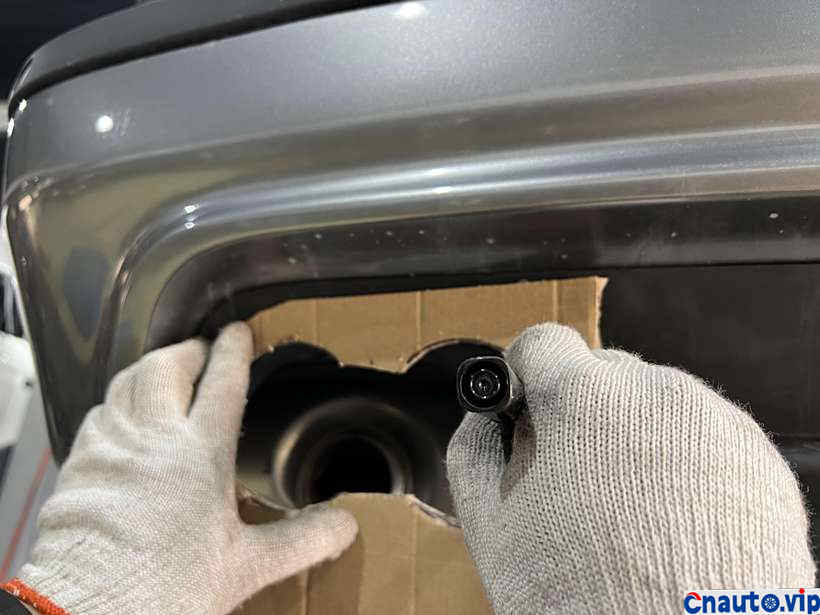
Extend the tail lip and cut it!
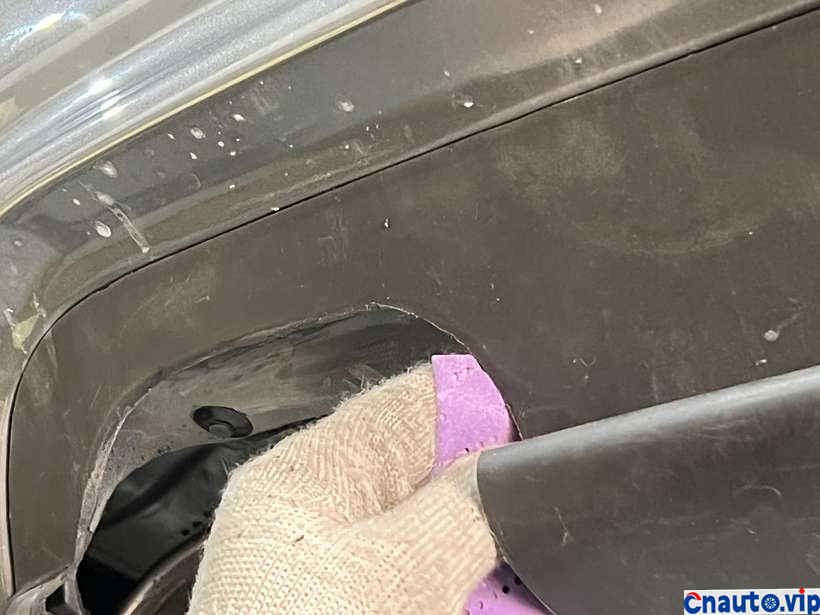
Wipe the wound, the baby will not hurt!
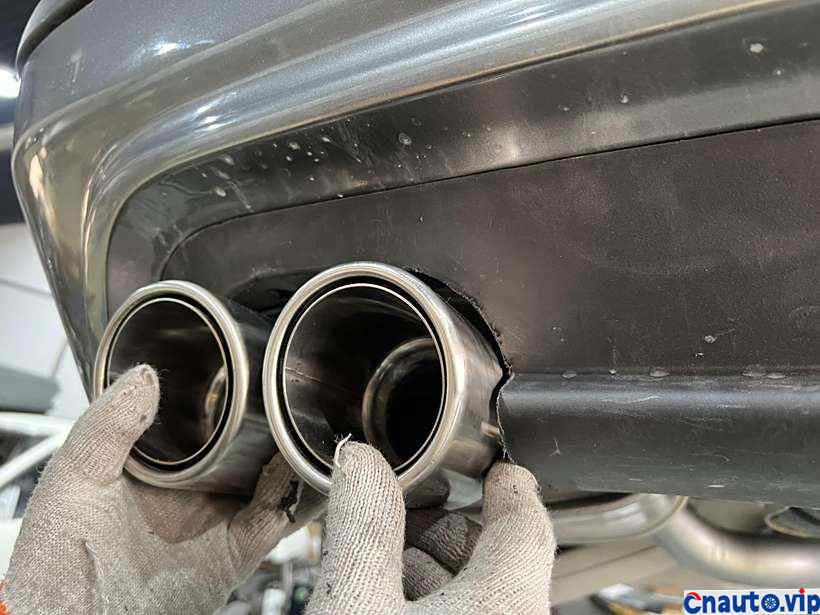
Compare repeatedly to ensure that the installation consistency is close to the original factory!
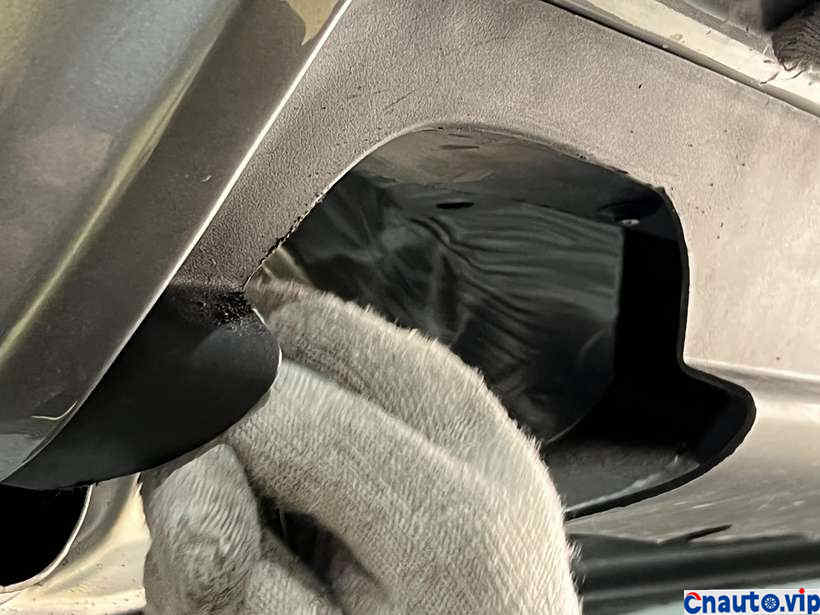
Polish, keep polishing!
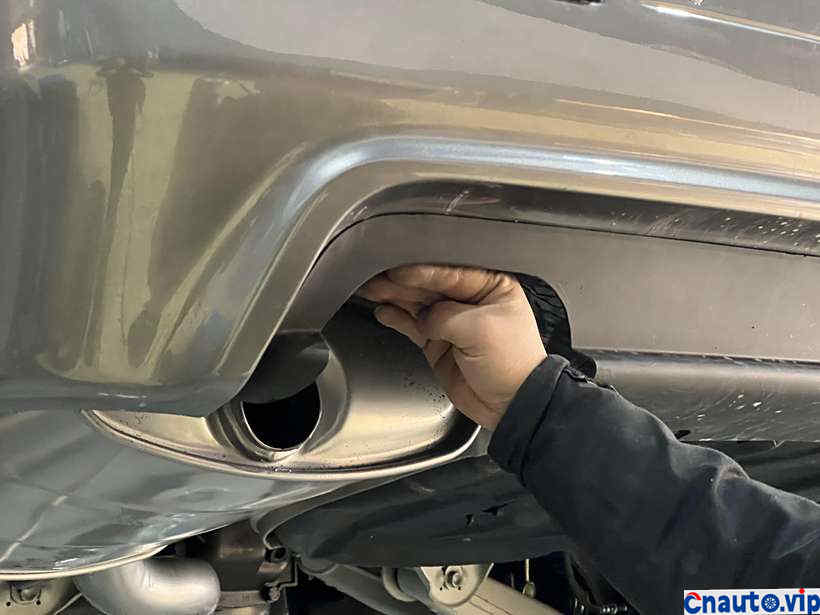
Height and position comparison!
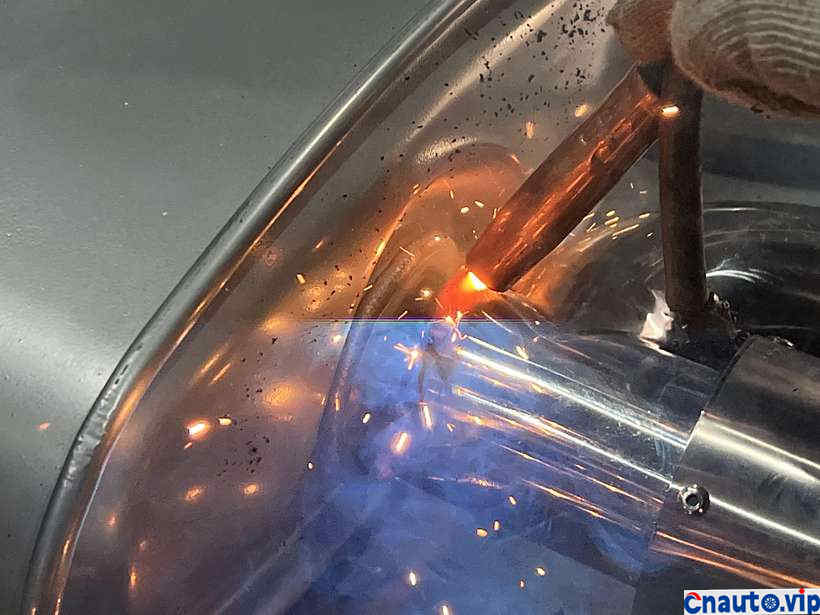
You can weld it!
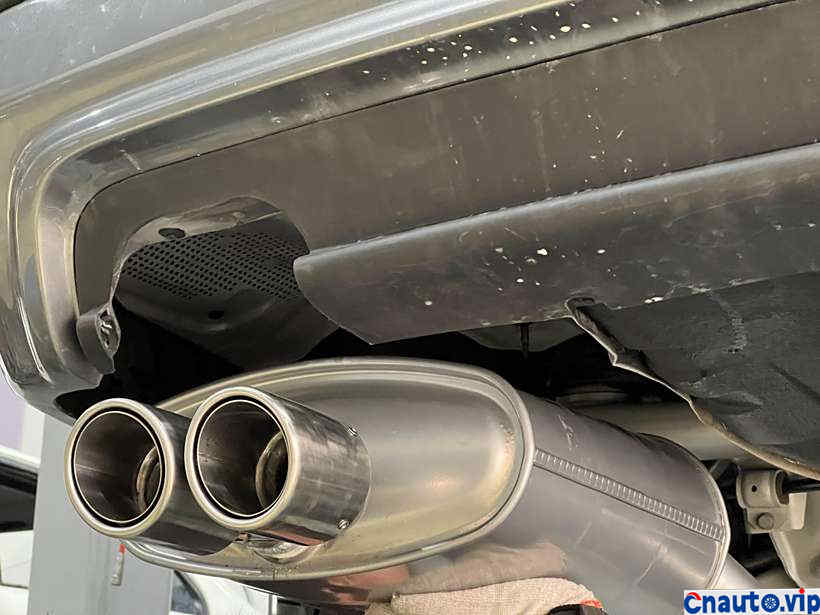
Let’s go!
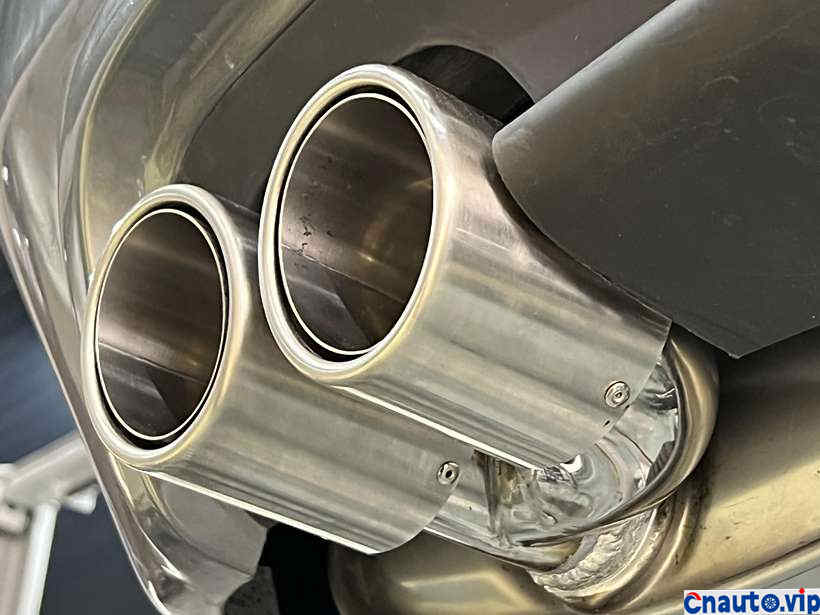
Found a problem!
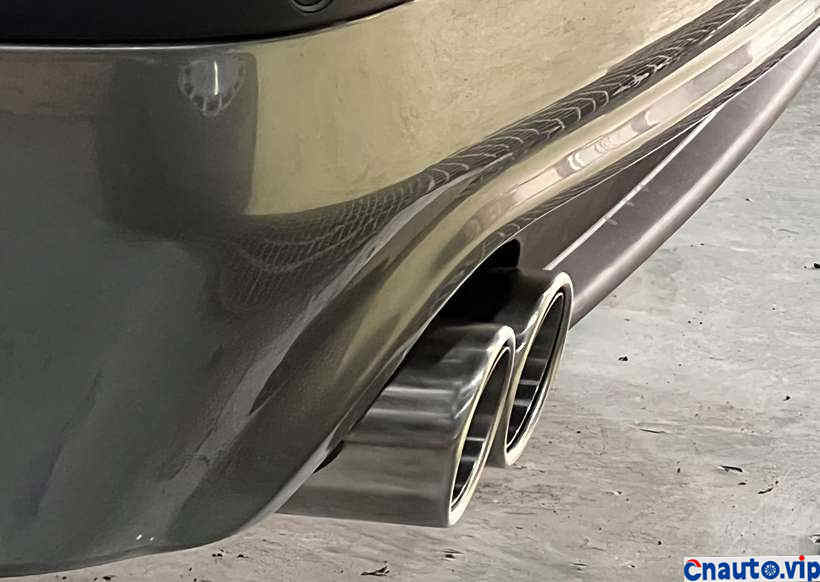
This angle is okay!
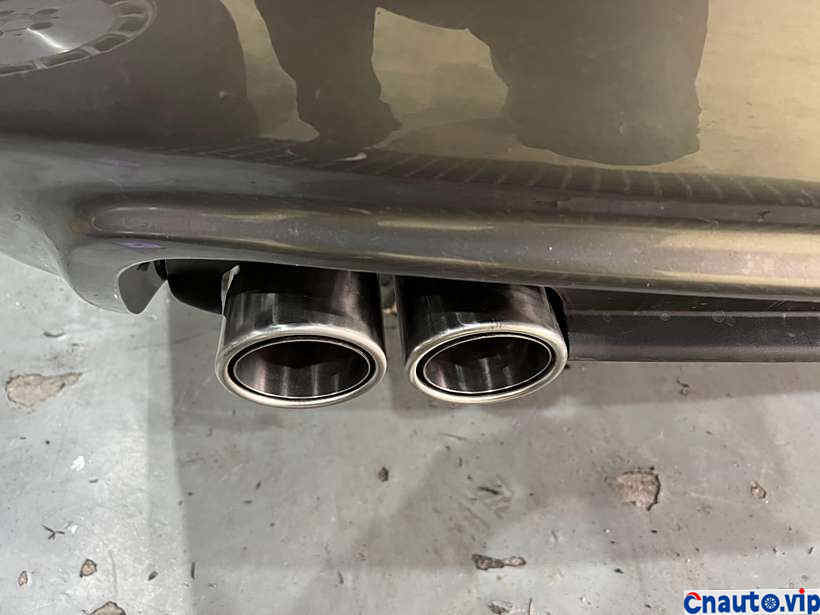
The mouth should not be flat, the angle must be based on the arc of the deflector, so that it will be impossible to see!
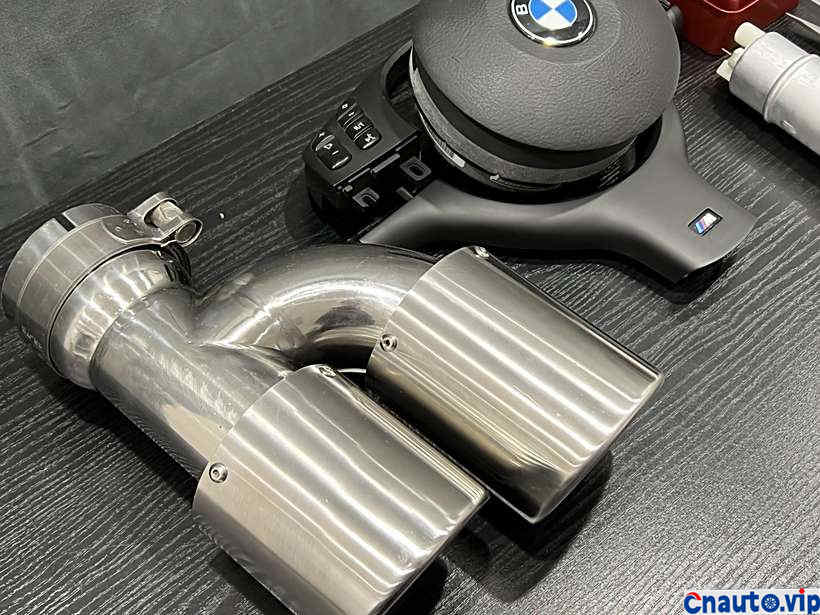
So I customized a second one!
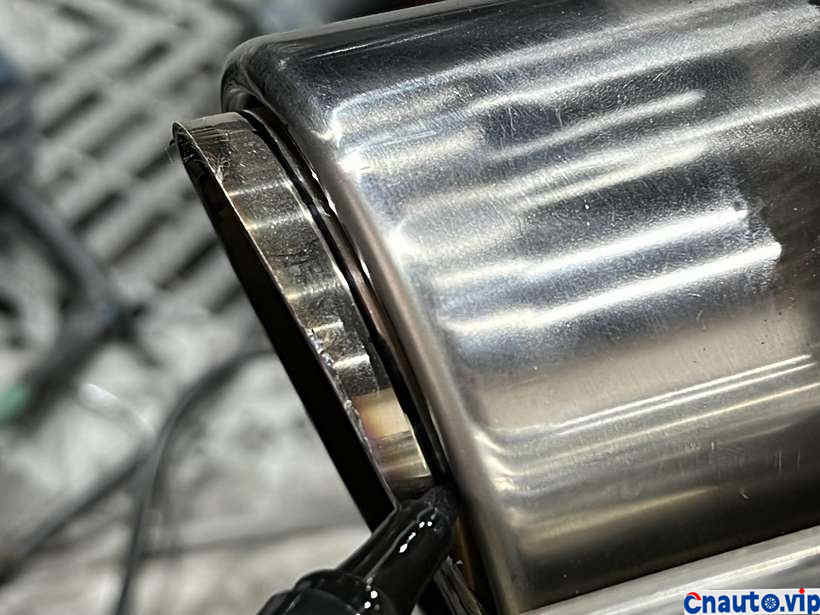
Mark and cut!
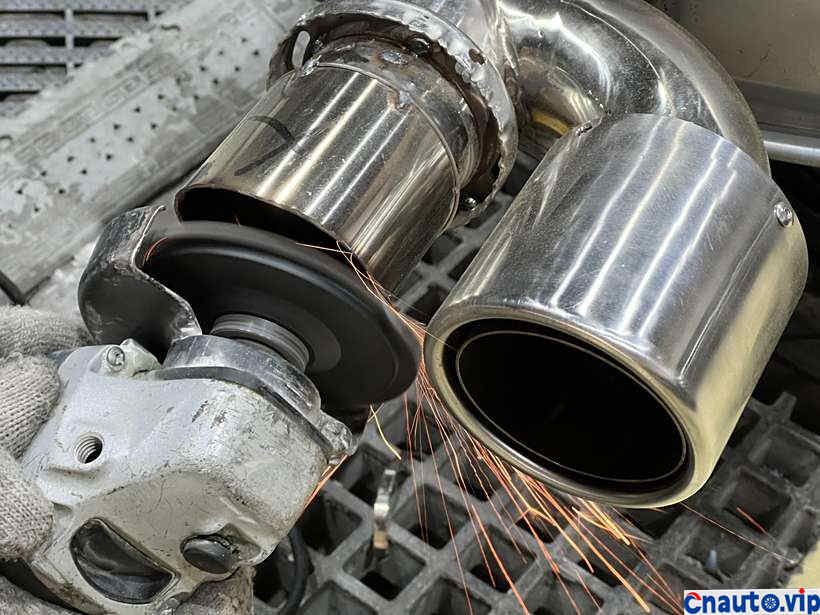
But I didn’t use it. After studying the structure and changing it on the original basis, I decisively started working!
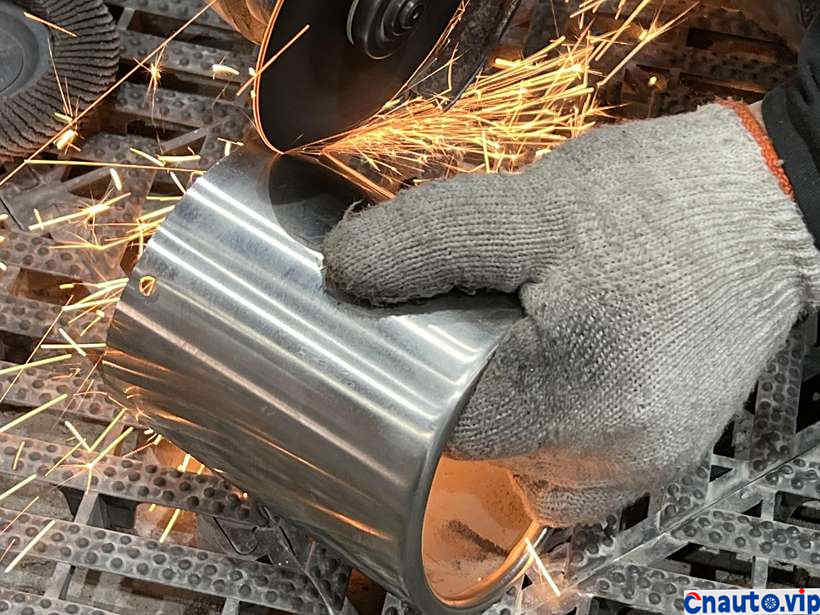
Crosscut and vertical cut, how appropriate to cut!
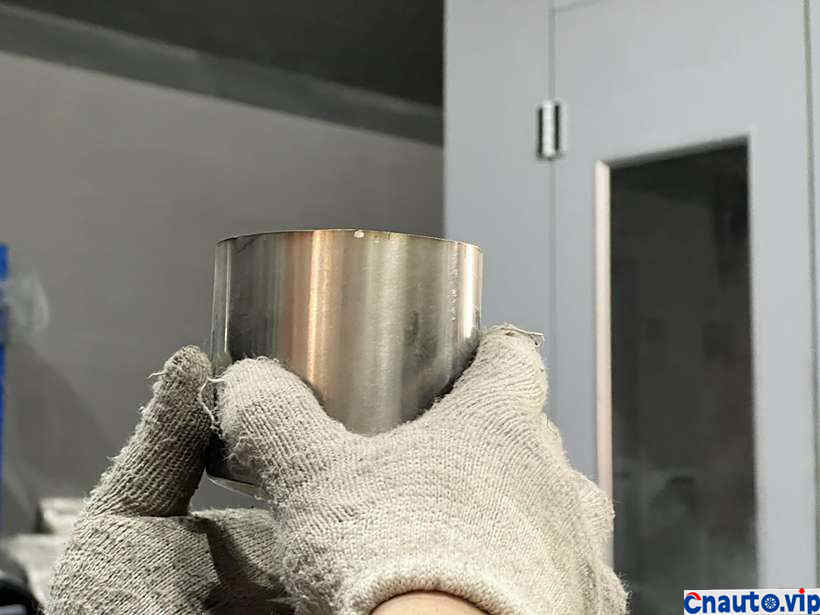
This photo has a very good depth of field!
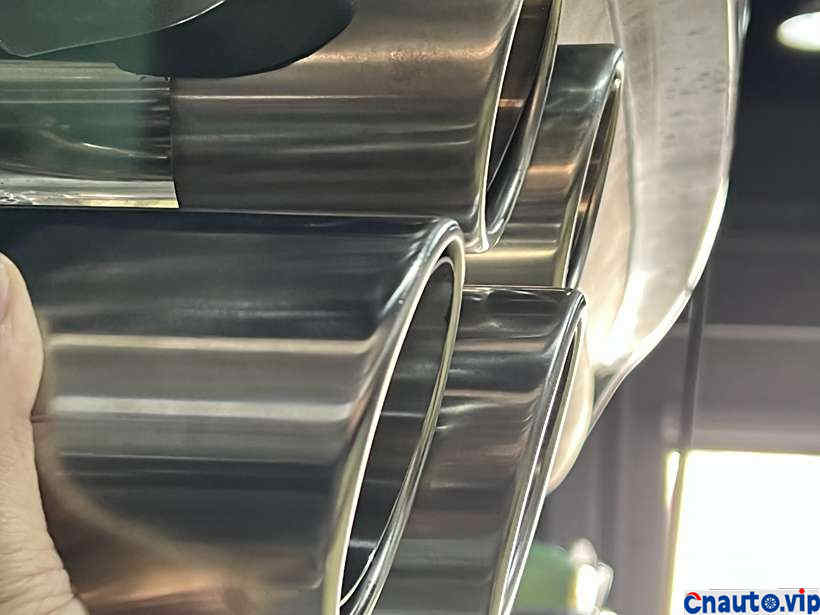
It’s out of the pot, isn’t it suitable?
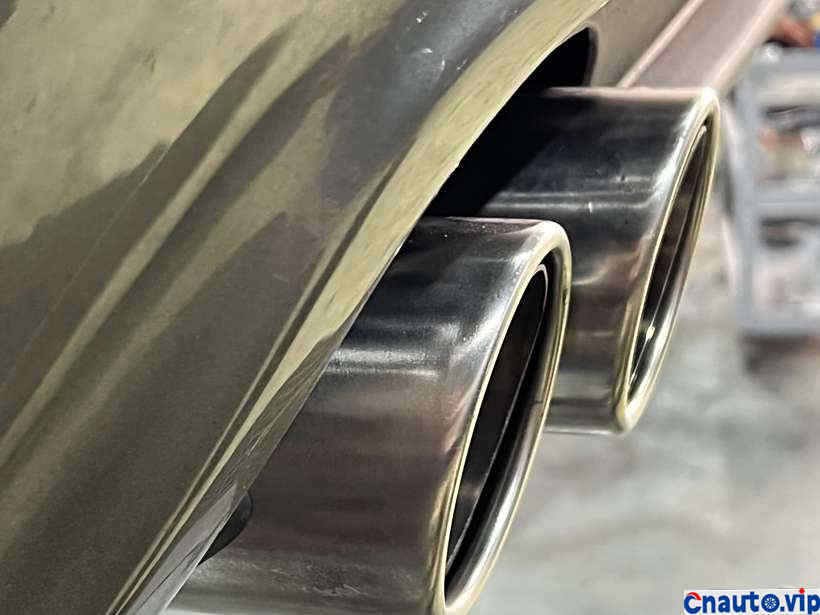
There is no problem from this perspective!
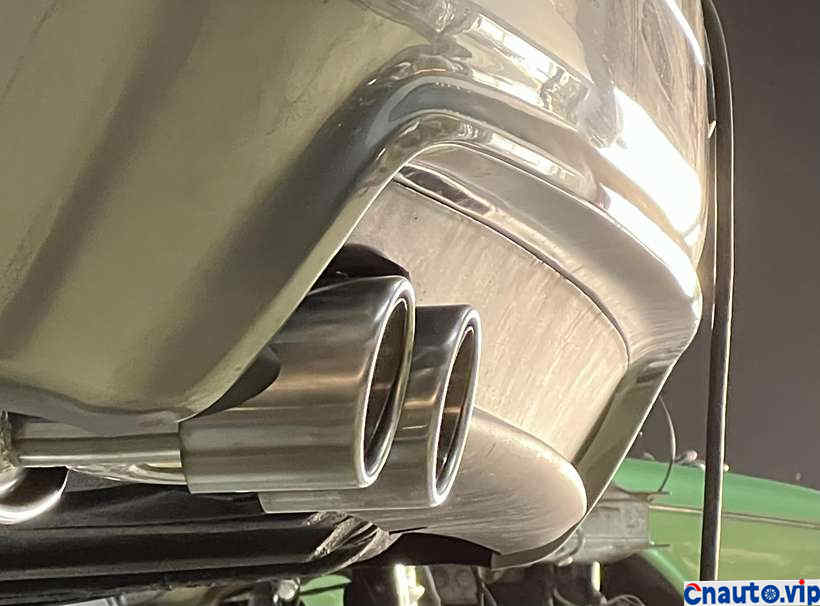
See the problem!
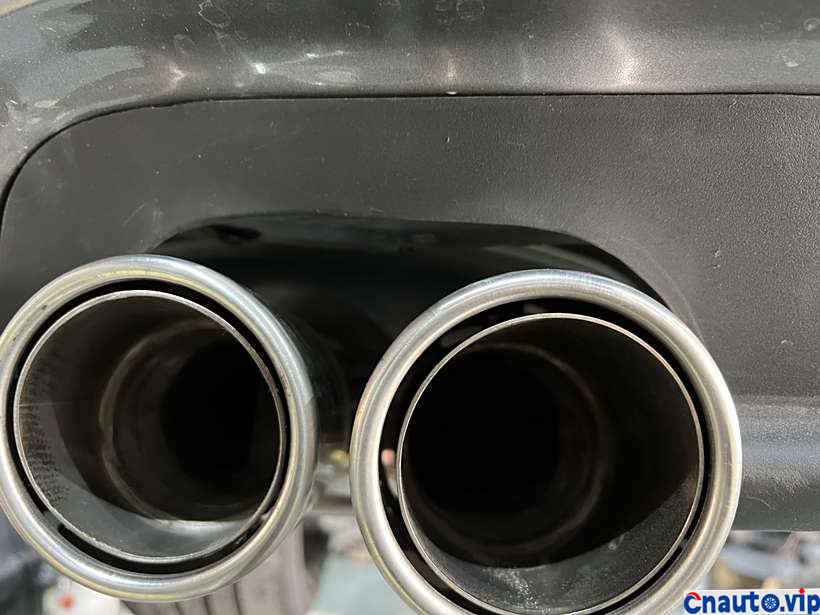
The baffle was not cut perfectly, which was a terrible sight!
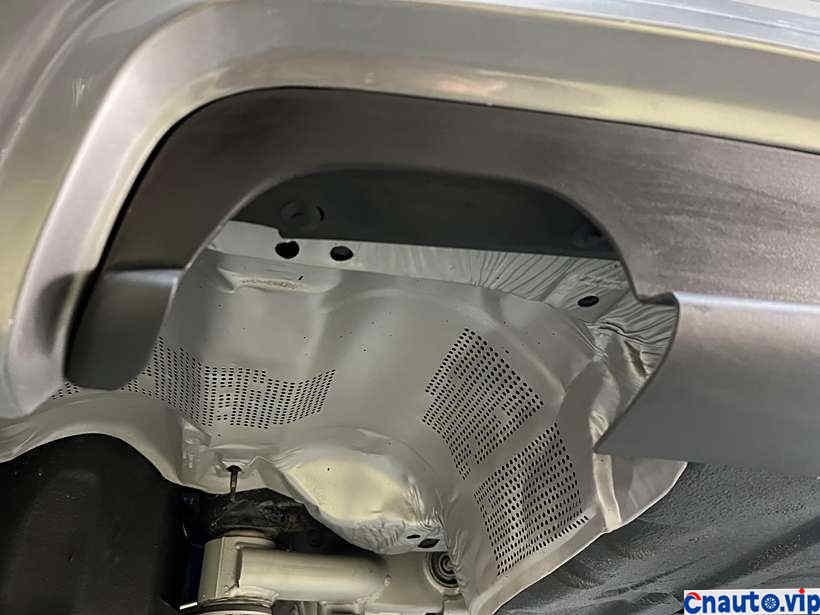
This is okay!
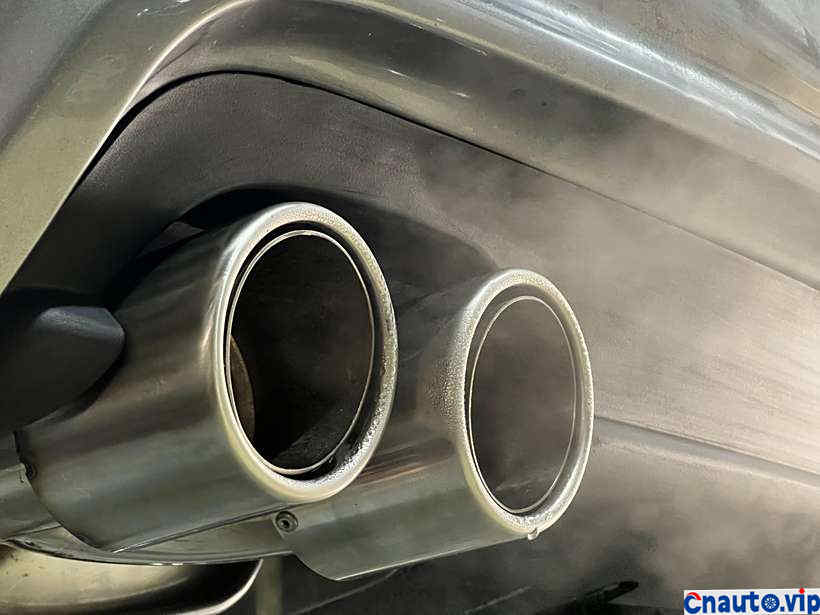
Is it beautiful?
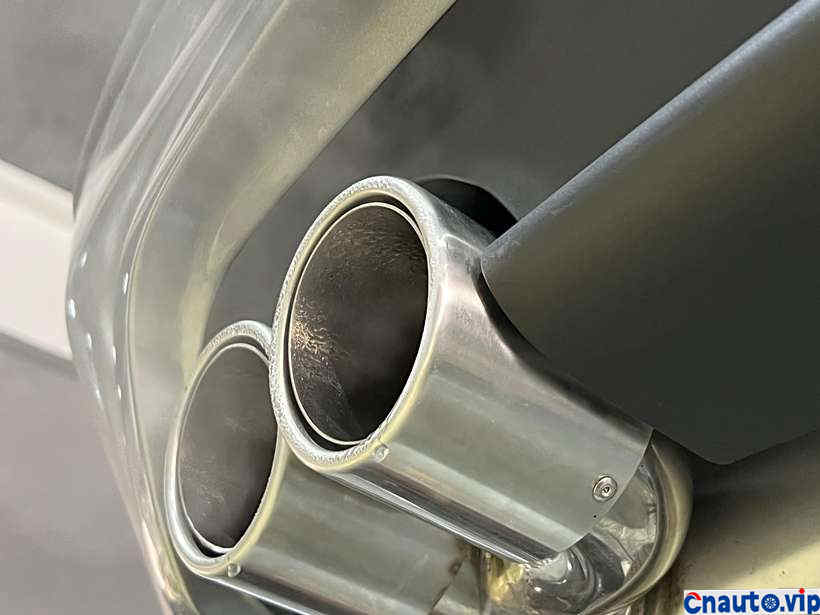
Is he handsome?
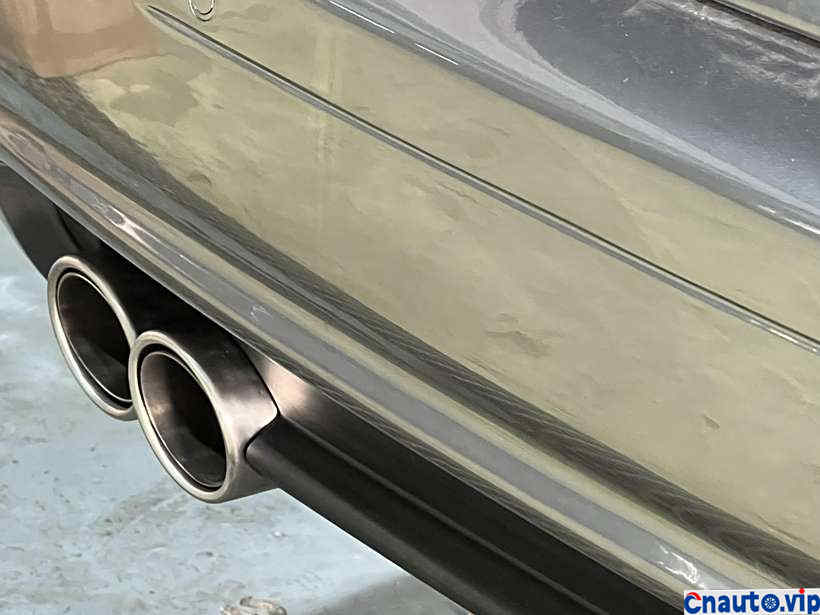
Original or not!
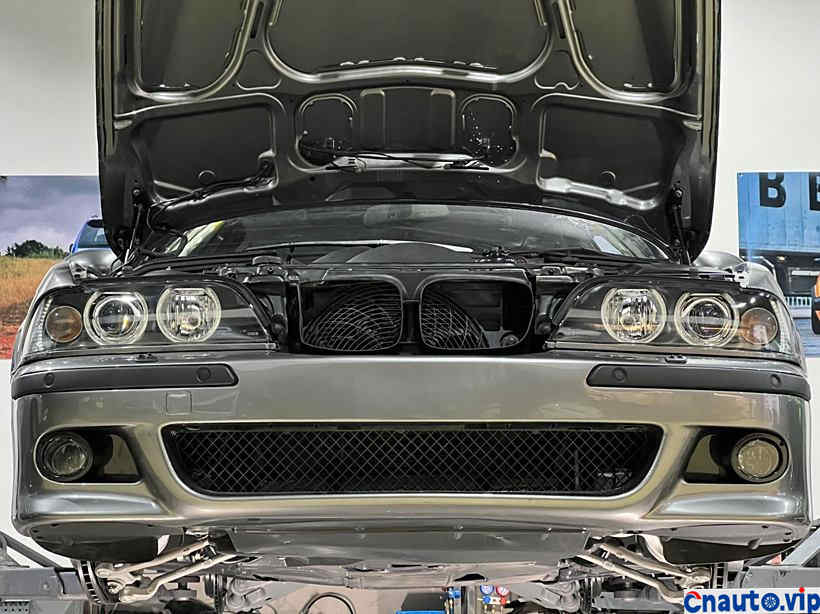
The cover cotton has not been installed yet, so I am ready to install the wheels on the ground!
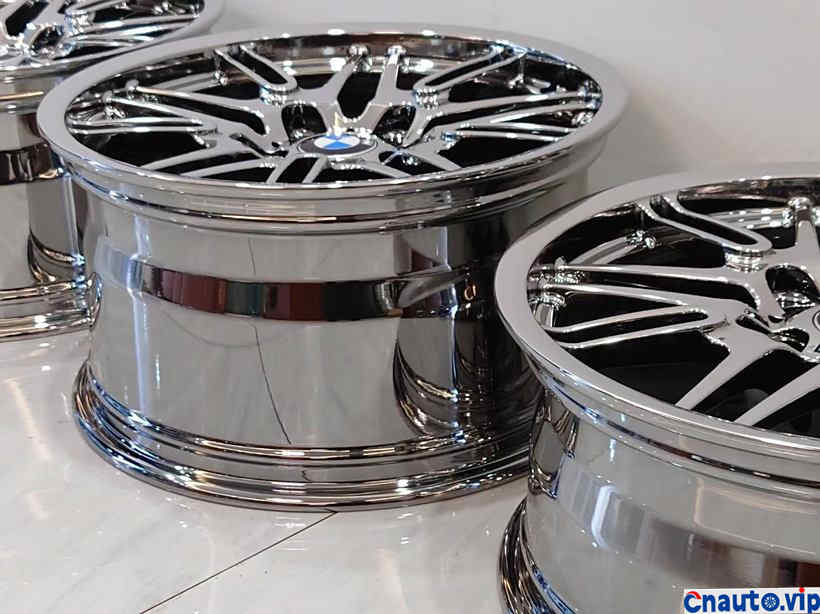
M5 original wheel hub data, back 275 and front 245, the hub cover mark must be replaced, it is too eye-catching!
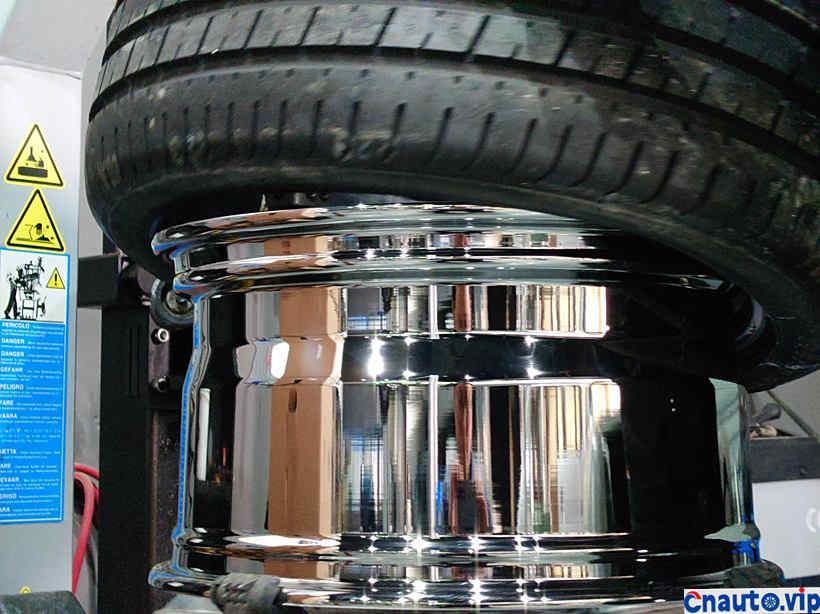
With a tire width of 275, the visual effect is not exaggerated!
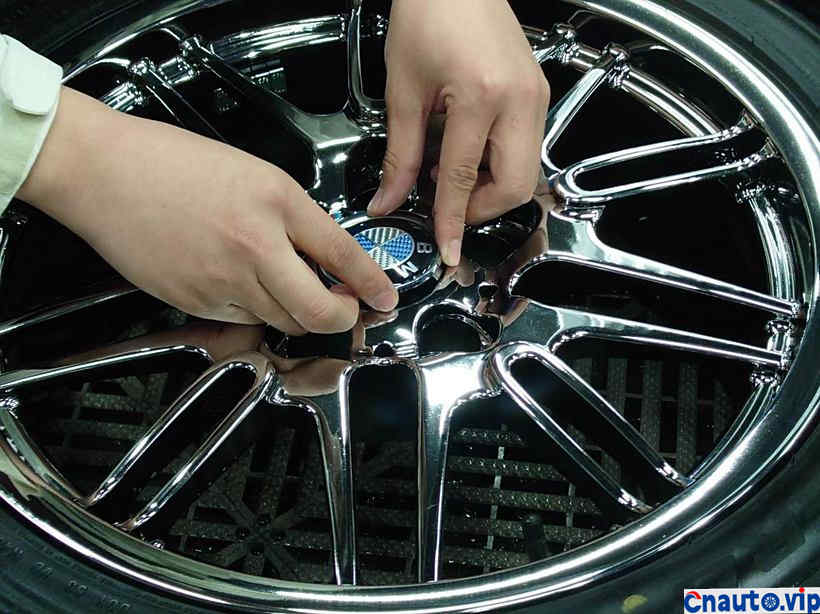
This mark is the right one!
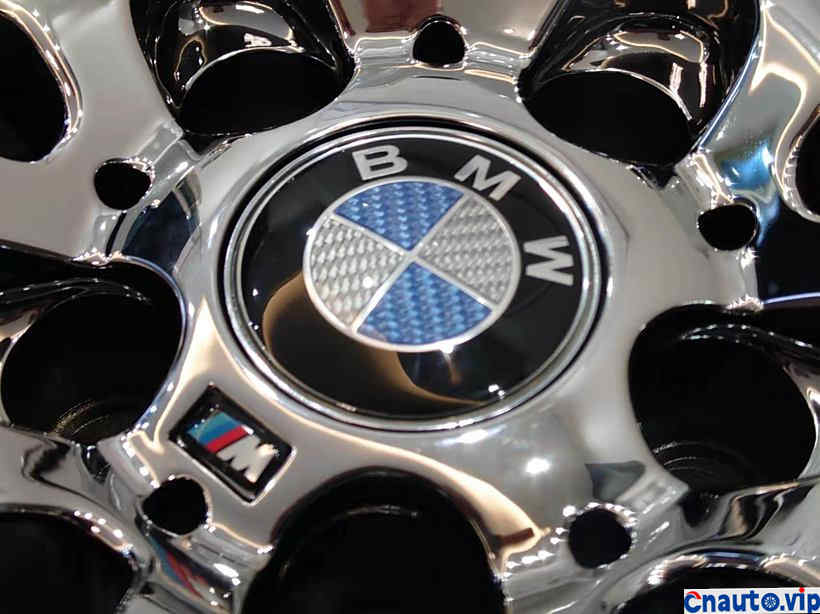
Real carbon fiber has a three-dimensional effect!
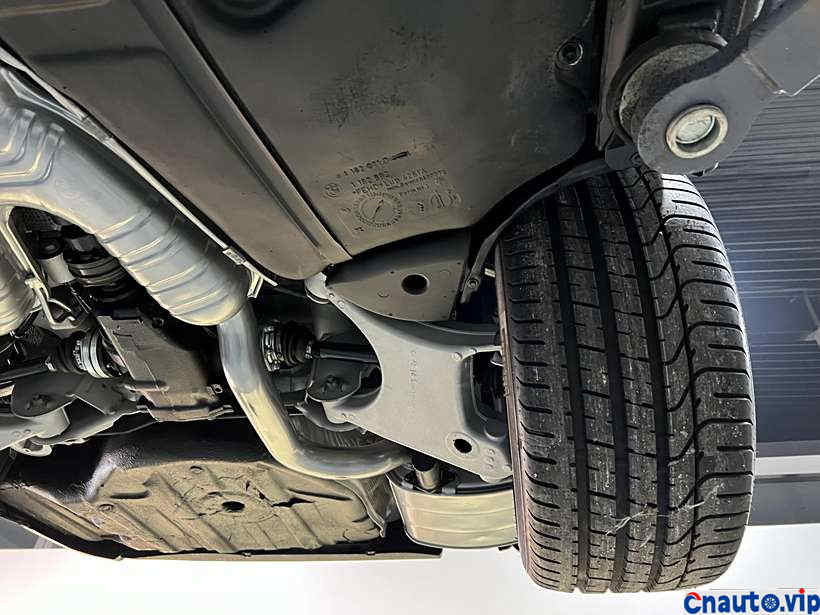
The entire rear bridge with wide tires looks very strong!
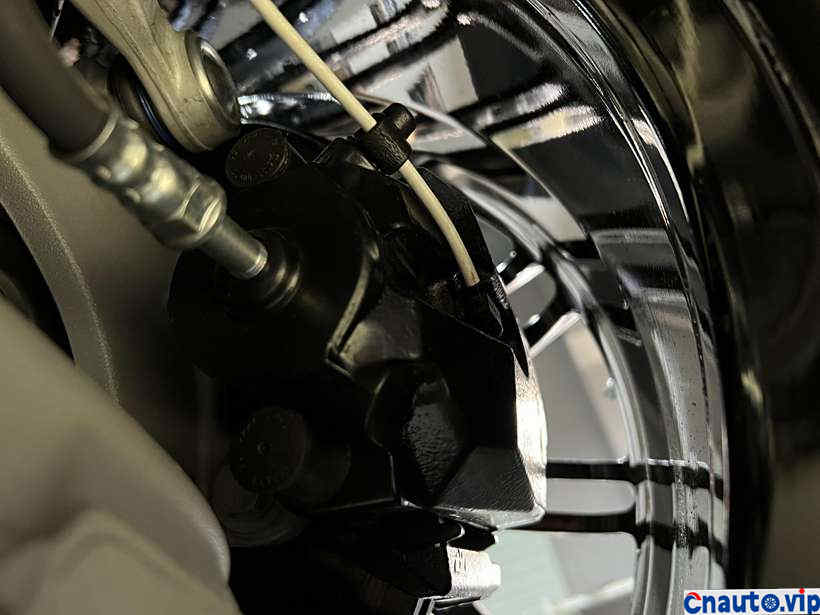
You can take details with a magnifying glass!
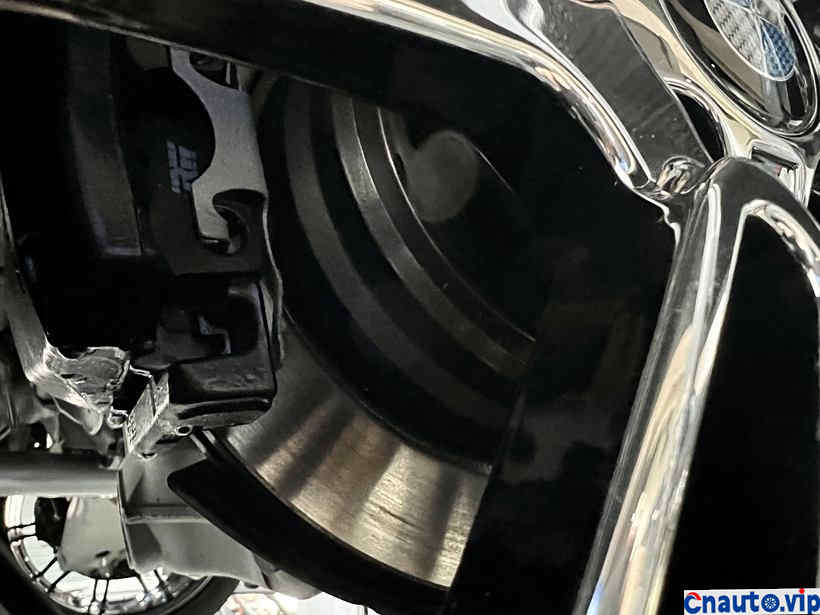
The rush for the original new car!
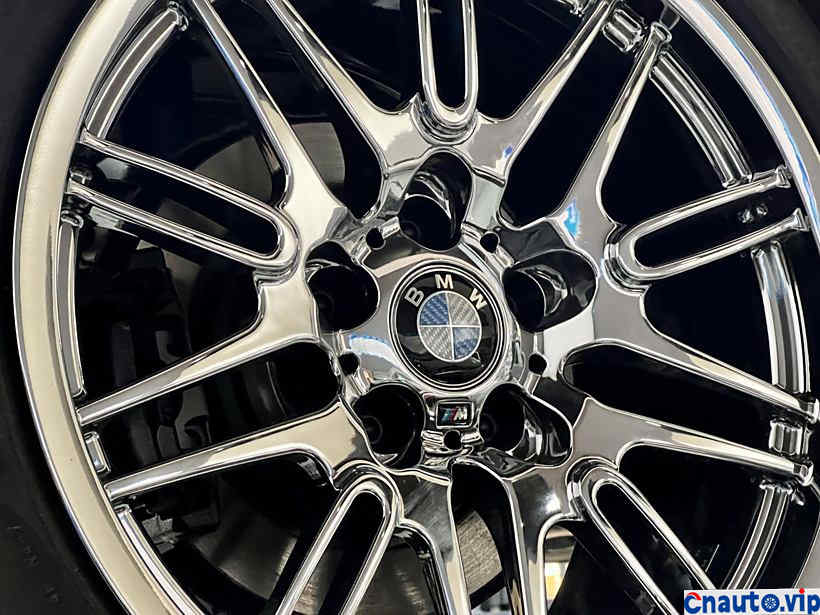
The rims of the M5 are really handsome!
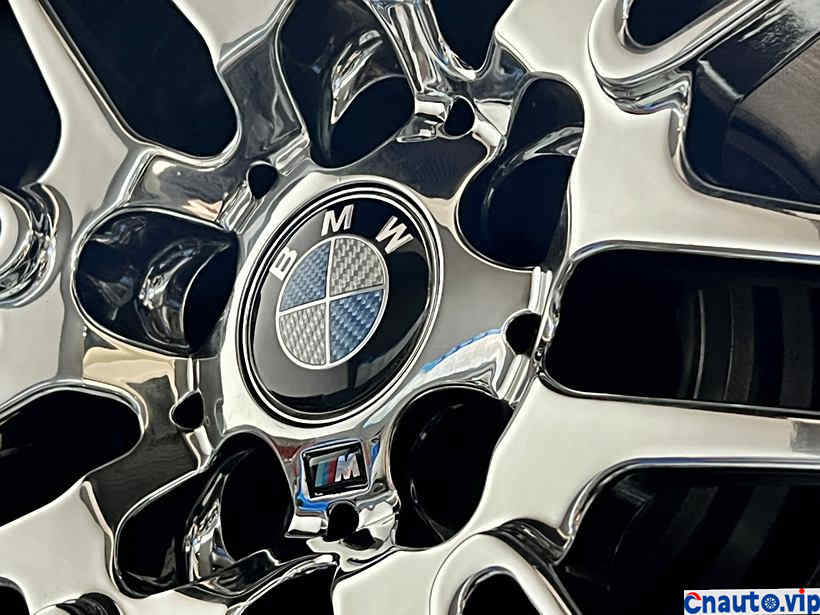
I couldn’t help but put another photo!
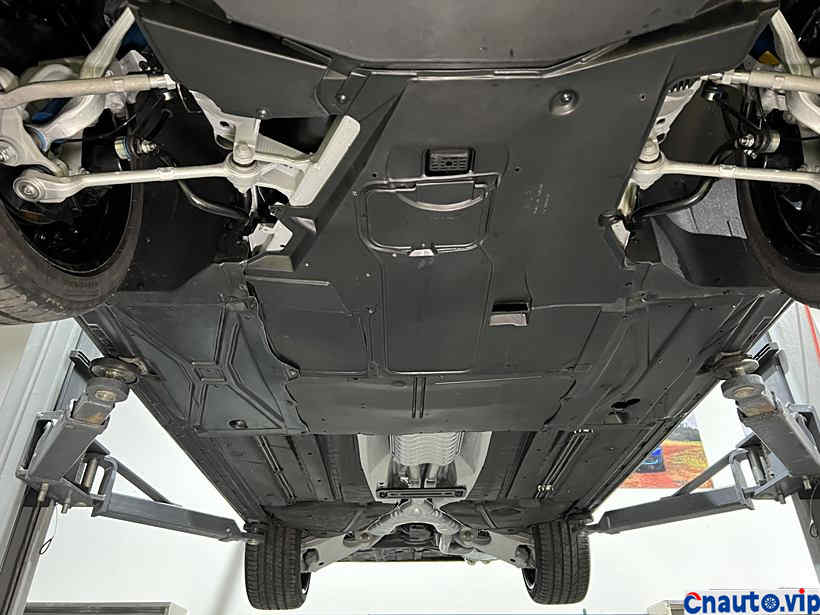
The color of all the floor panels of the car body is unified!
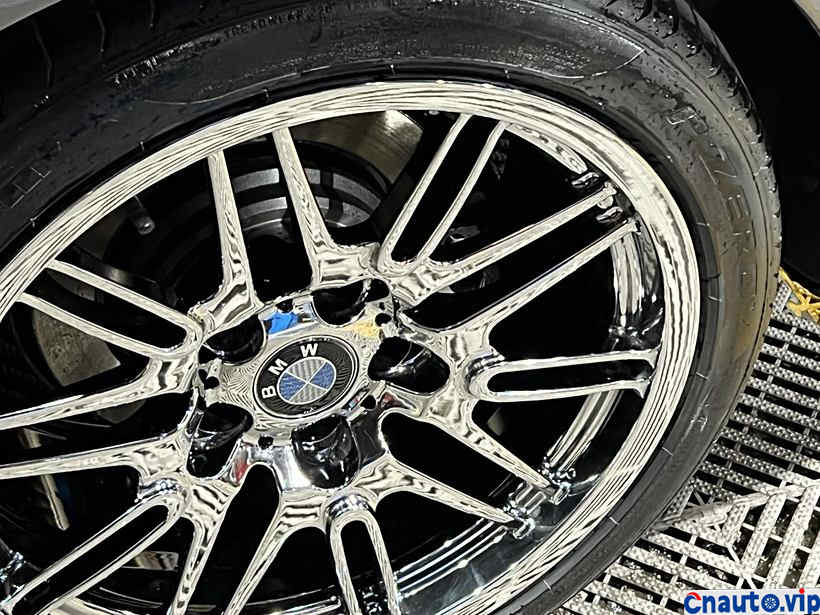
Ground!
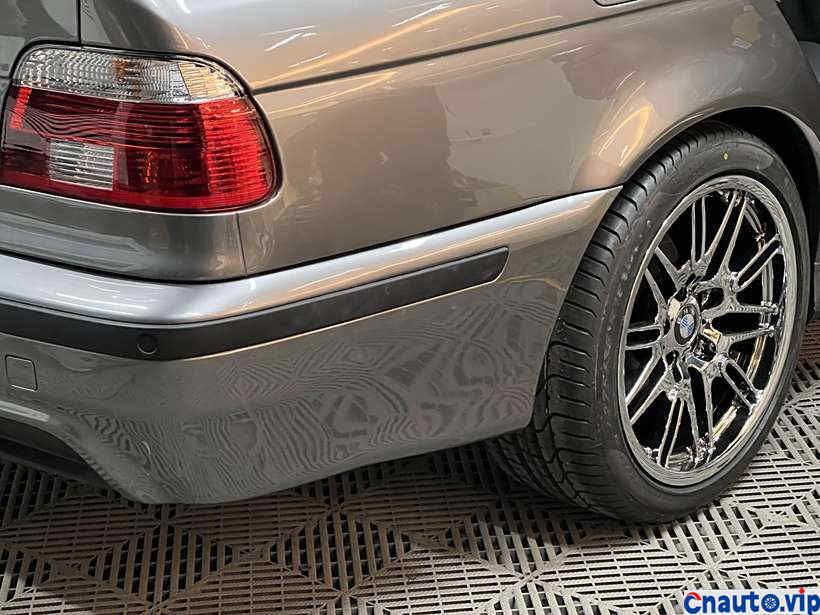
For the final sprint, quickly put back the interiors that are not installed!
Hot Information
Tesla Autopilot and similar automated driving systems get ‘poor’ rating from prominent safety group
 April 1, 2024
 Localization of EV parts without production scalability may not help cut EV price, says President, Amara Raja
 March 27, 2024
JCTSL may turn bus stands into charging points for e-buses
 March 27, 2024
 You May Like

