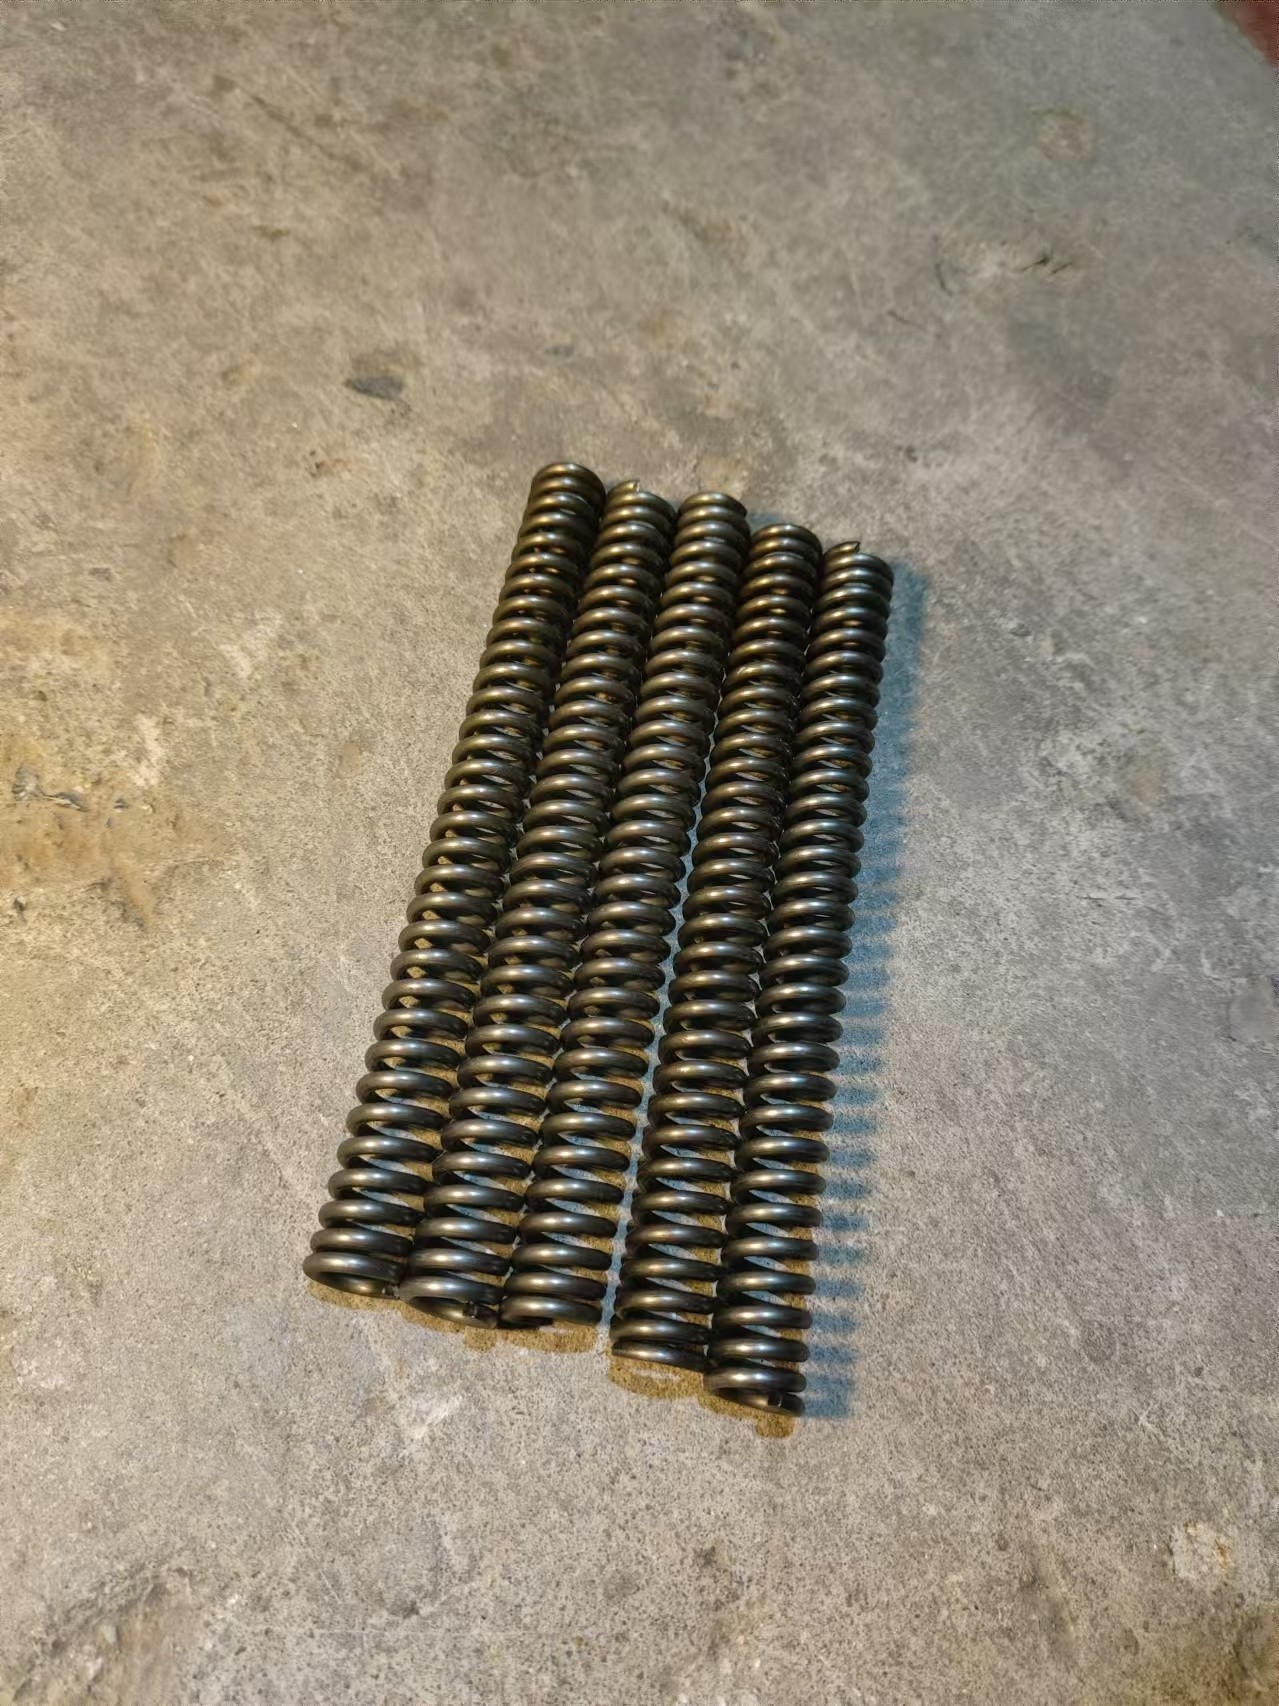
F18 The most detailed DIY replacement and maintenance of brake discs on the entire network
For many people, replacing brake discs and selecting original brake discs is a very complicated matter. After reading this article, replacing brake discs has become a simple task. If the seemingly simple work is not constructed according to standards, the consequences can be imagined. This article only talks about how to replace brake discs, and will discuss how to quickly separate original brake discs in the future.
1. Prepare tools when replacing first
1. Prepare tools when replacing first
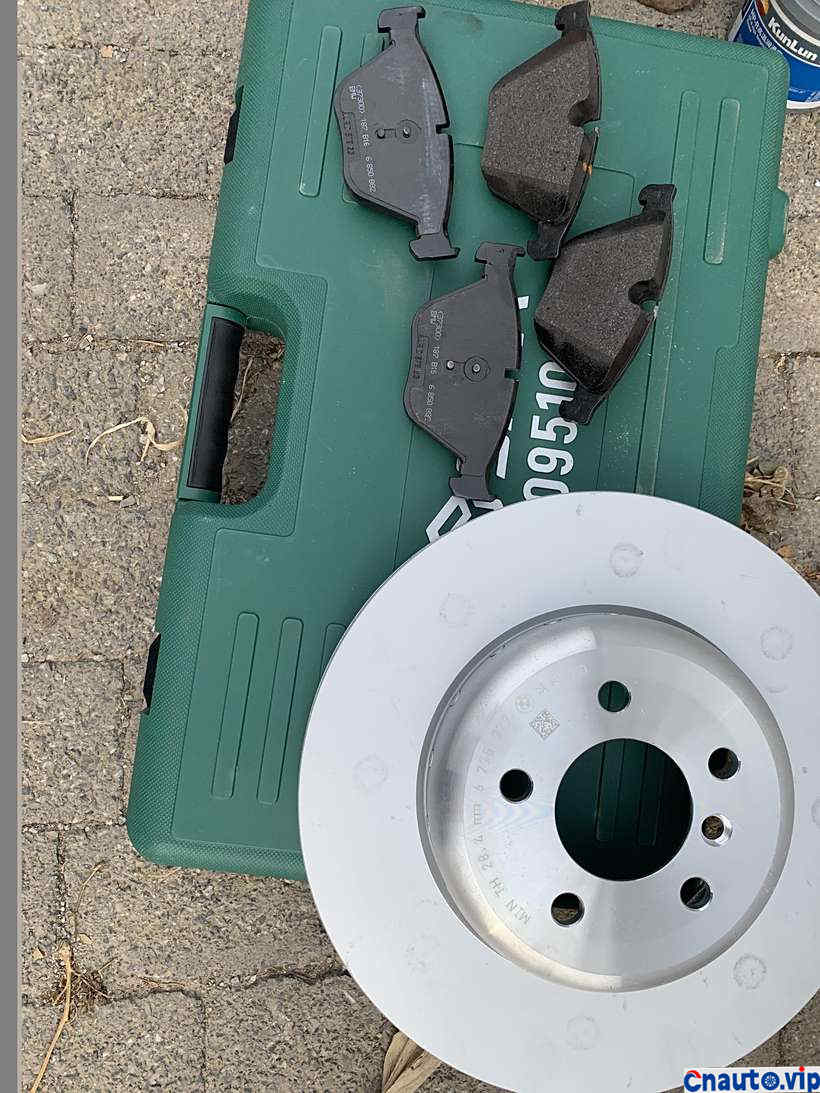
Choose the original brake pads and will not damage the brake disc, and the original brake pads are soft.
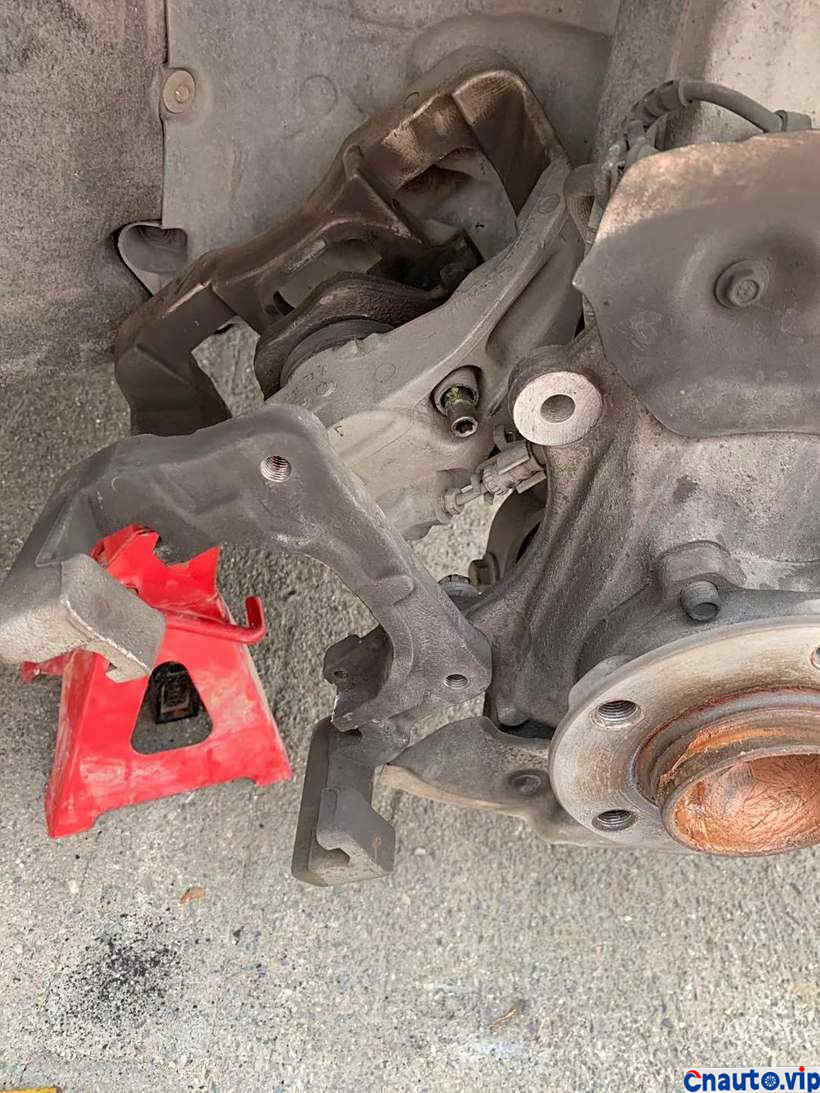
2. Remove the wheel hub and fix the caliper card
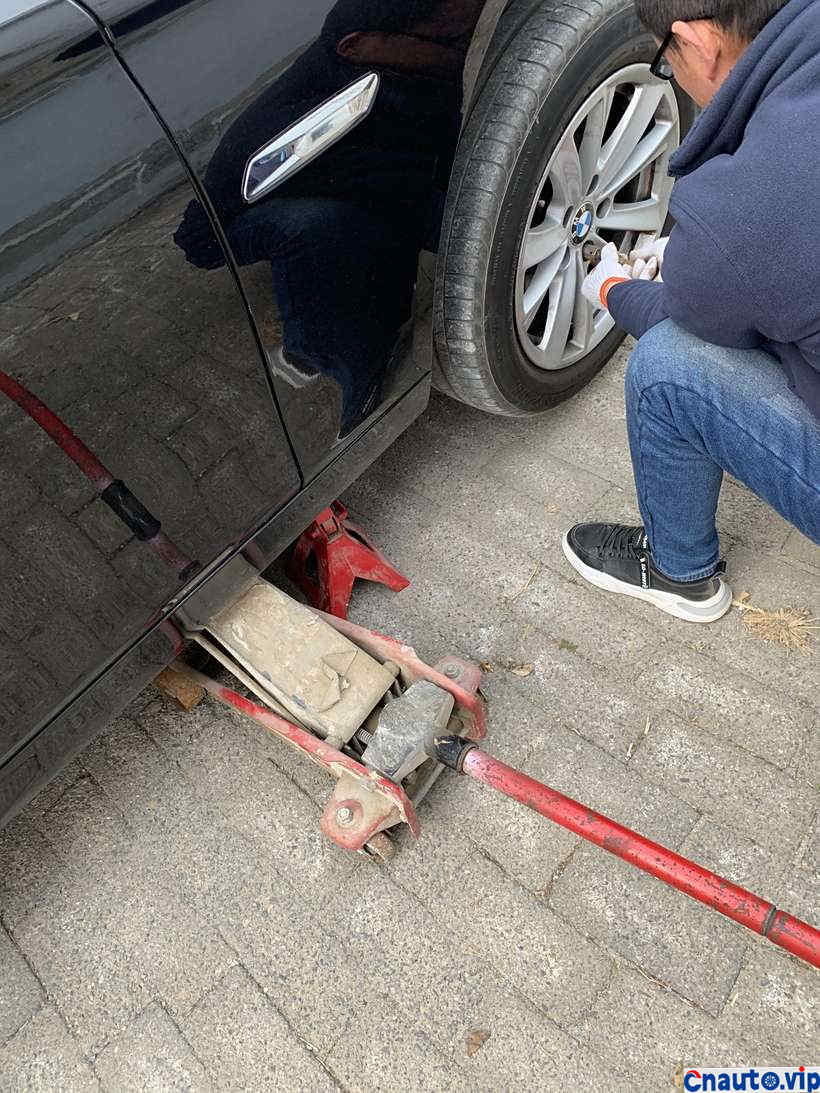
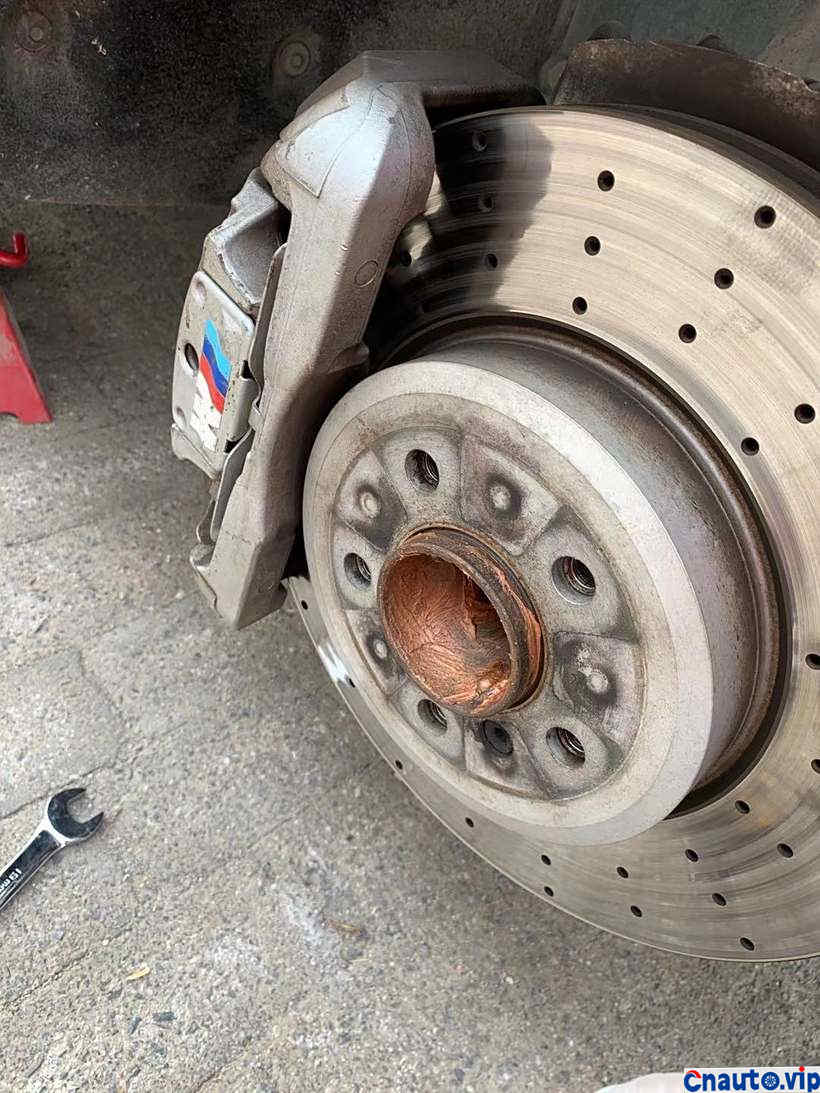
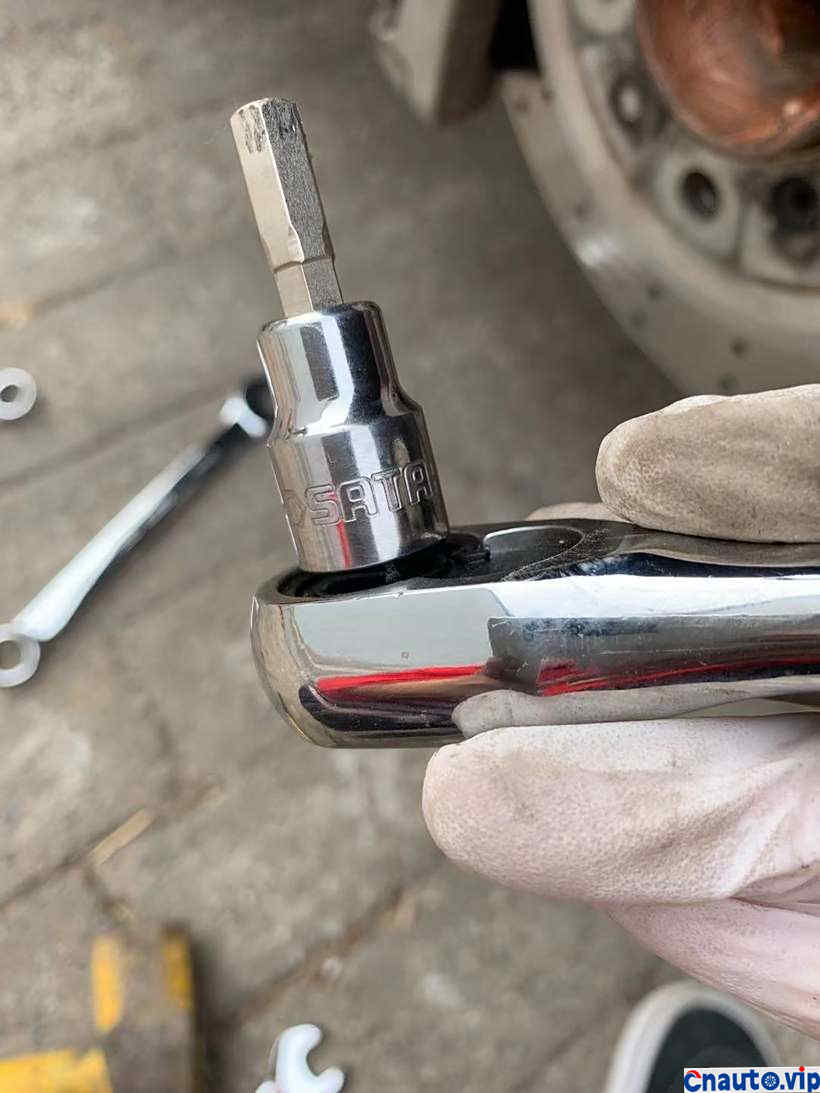
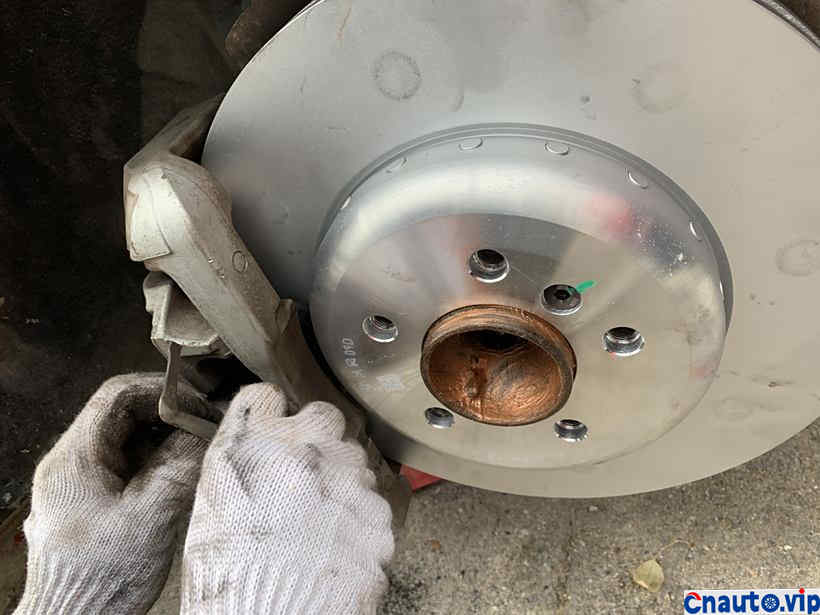
4. Pry open the plastic cover of the floating guide pin and you can see the guide pin. Remove it with 6 inner hexagons. You can remove the floating caliper. The floating caliper should not fall directly to the ground. Use something to pad it to prevent the brake oil pipe from breaking. Break.
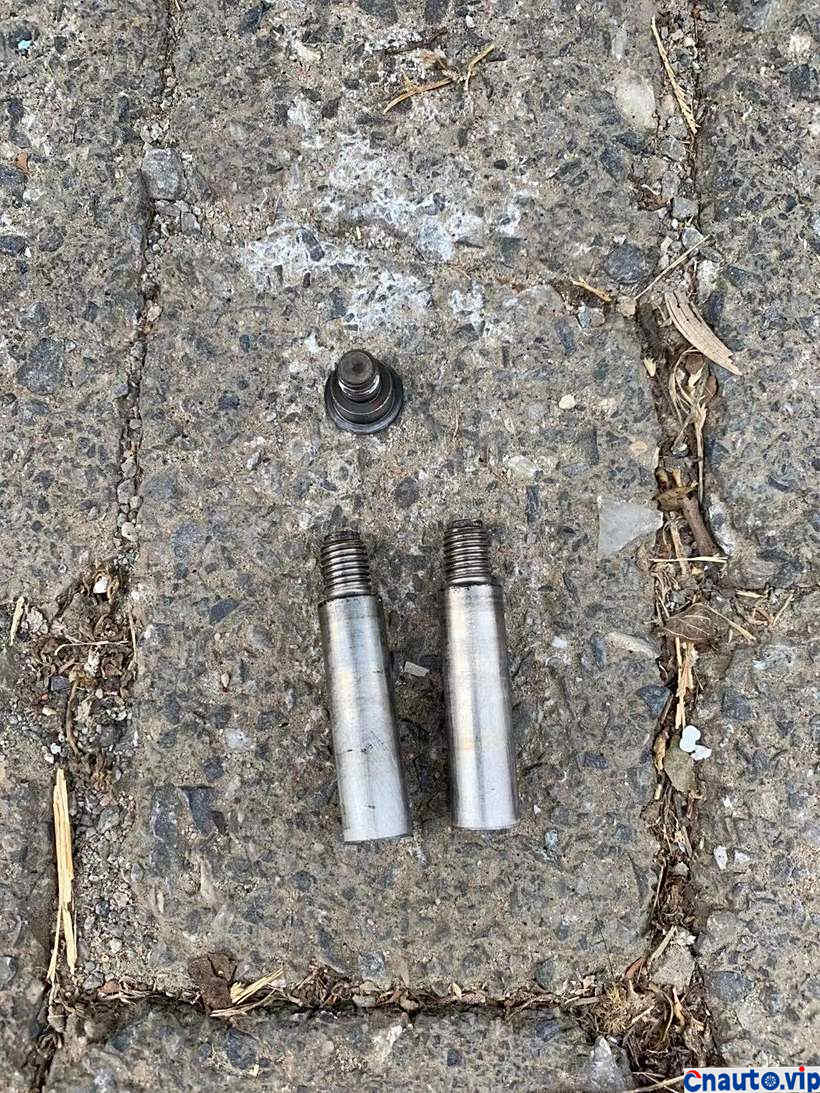
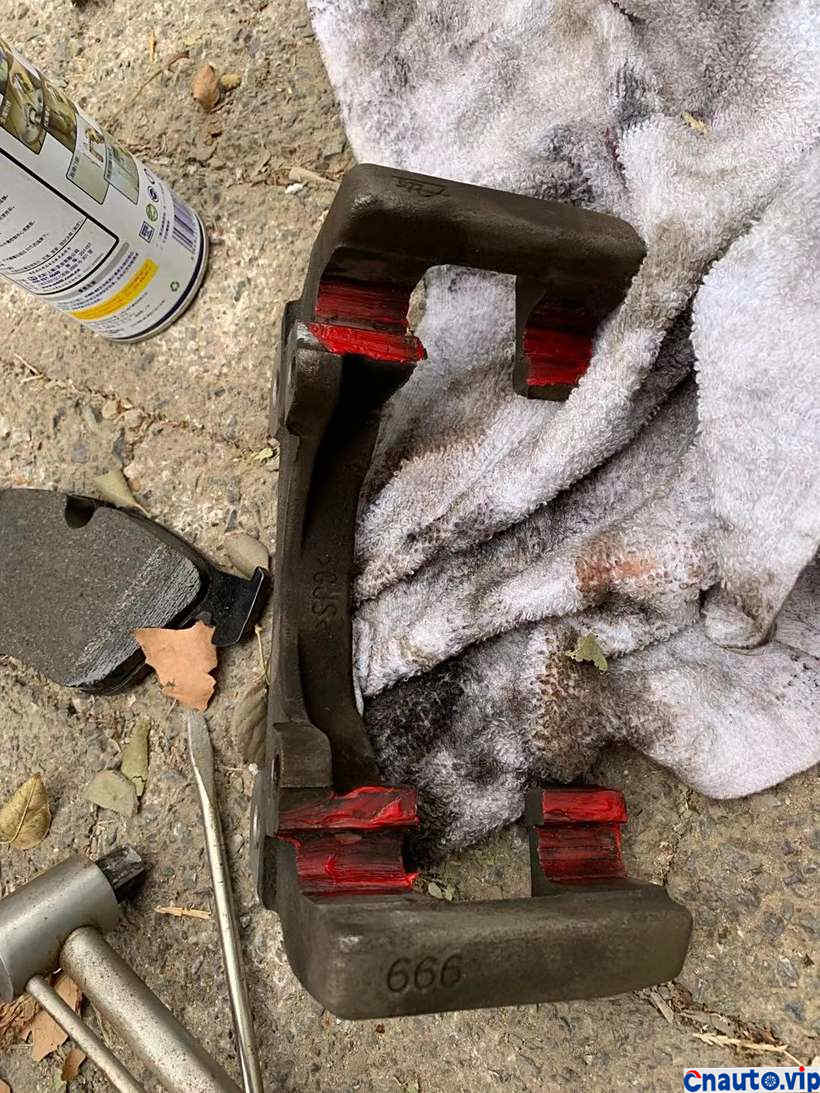
5. Remove the old brake pads, remove the guide pins and clean them up, and loosen the caliper bracket with a sleeve. It was a bit troublesome because it was not on the shelf. Focus on removing the caliper bracket and cleaning it.
6. Remove the brake disc positioning pin, remove the brake disc, check the contact surface between the brake disc and the flange, and be sure to polish the rust clean with sandpaper.
7. Replace the brake discs with new ones and replace them in order
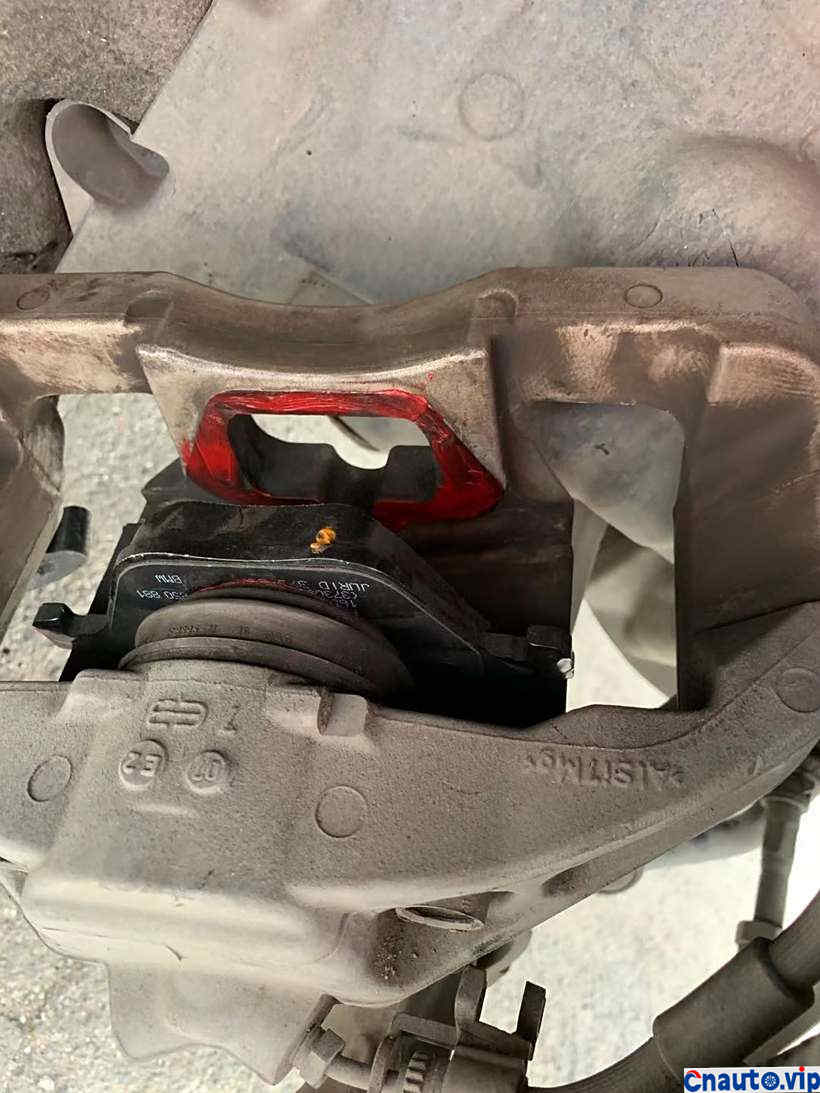
8. The red ointment is brake silencer. In order to clearly show that I used red one, but the original factory was gray.
Precautions: Caliper bracket torque 110nm Brake disc positioning pin torque 16nm Fixing pin 30nm
Finally, don’t forget to reset the brake. Please refer to the previous post for details.
Working alone is tiring… Typing is not easy
Replace the brake retaining card
Hot Information
Tesla Autopilot and similar automated driving systems get ‘poor’ rating from prominent safety group
 April 1, 2024
 Localization of EV parts without production scalability may not help cut EV price, says President, Amara Raja
 March 27, 2024
JCTSL may turn bus stands into charging points for e-buses
 March 27, 2024
 You May Like

