


-
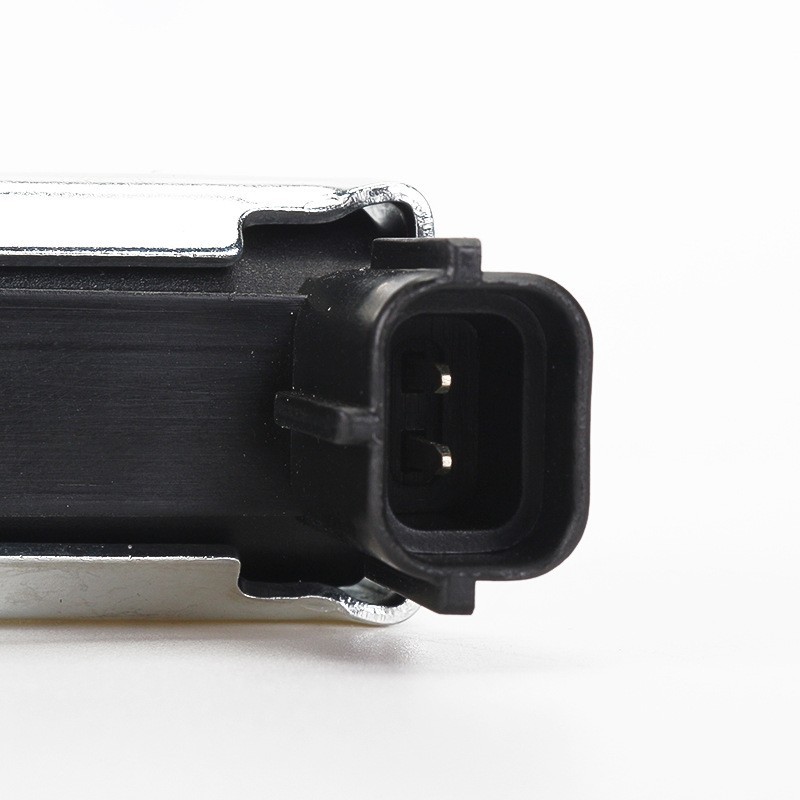 Control Motor, Auto Parts
 -
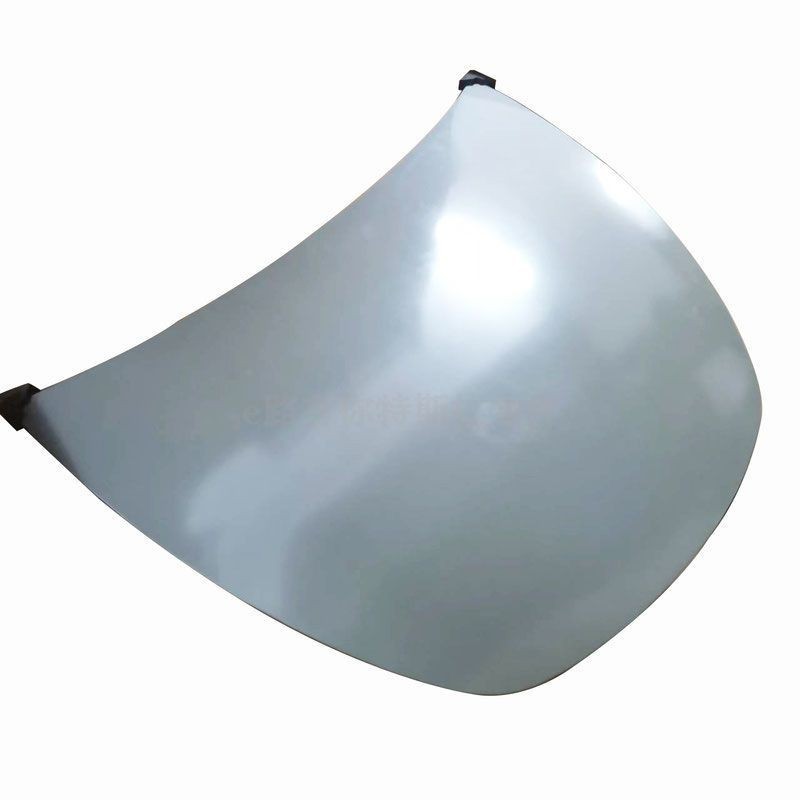 Suitable for Tesla auto parts MODEL Y3 front cover engine cover 1493370-EC-A
 -
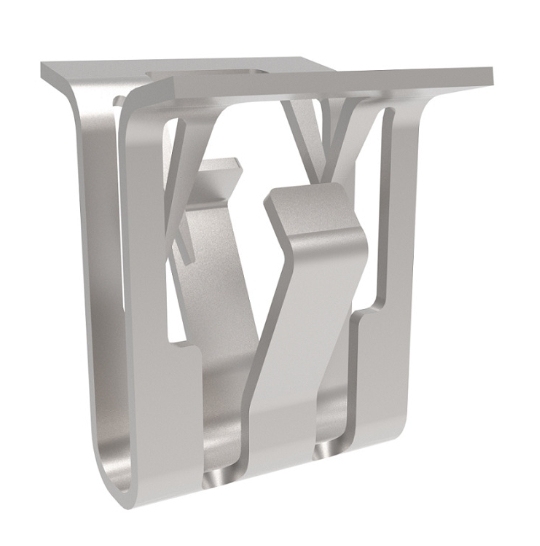
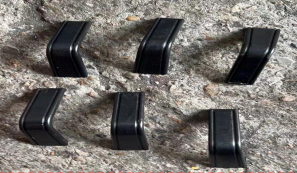 Surround the rear bumper with a small bracket
 -
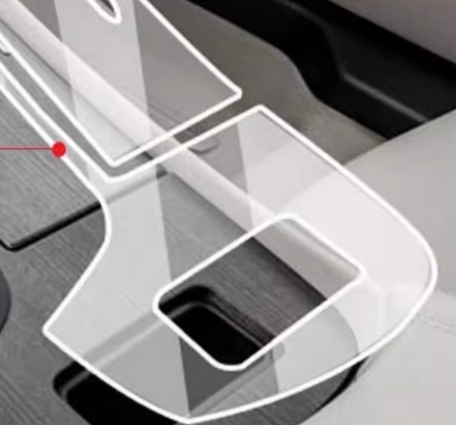 Be suitable for Buick LaCrosse screen tempered film, central control modification accessories, interior protection film, car interior decoration supplies
 -
 Auto parts panels
 -
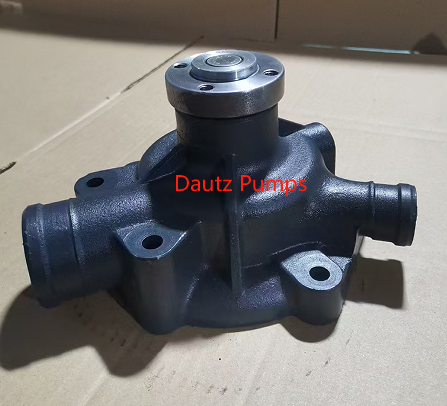 Dautz Pumps
 -
 Suitable for Mercedes-Benz E-Class front bumper
Q
how to engine swap a motorcycle

I'm a seasoned industrial engineer with a keen interest in machine learning. Here to share insights on latest industry trends.
Engine swapping a motorcycle can be a tedious process and somewhat tricky if you're not familiar with mechanics. Each motorcycle is different so details will vary, but generally, here are some common steps you'll likely follow:
Materials Needed:
1. New engine
2. Motorcycle stand or lift
3. Wrench set
4. Screwdriver set
5. Engine hoist
Steps:
1. Choose the Right Engine: First and foremost, know what type of engine you need. Your motorcycle manufacturer will typically provide guidelines on which engines can fit your model.
2. Preparation: Arrange your tools and materials needed in an accessible manner. Remove all the fluids such as oil and coolant from the current engine. Also, disconnect the battery.
3. Remove Old Engine: You'll typically begin by removing all connections to engine, such as the exhaust, intake, and electric connections. Use your wrench set to then remove the bolts holding the engine to the frame.
4. Hoist the Engine Out: Use your engine hoist to lift the engine out of the frame to avoid any unnecessary straining. This must be done carefully to avoid any damages to the frame.
5. Swap Parts: Some parts from your old engine, like intake manifolds or exhaust headers, might have to be swapped onto your new engine before installation.
6. Install New Engine: With the help of your hoist, slowly lower the new engine into your frame, aligning the engine with the bolt holes. Once aligned, you can secure the engine to the frame with the bolts.
7. Reconnect: Connect the exhaust, intake, all electrical connectors and all other lines to the new engine.
8. Replace Fluids and Battery: Re-add oil, coolant, and other necessary fluids to your new engine, then reconnect the battery.
9. Test It: Once everything's connected and secured, go for a cautious test ride to ensure everything runs smoothly. Listen for strange noises and pay attention to how the bike handles.
Always refer to your bike's specific make and model manual for instructions closely related to your bike. If you're unsure about any steps in this process, it might be safer to let a professional do the work.
You May Like
You May Like
Q&A
- •how long can an engine sit without being started
- •how to get rid of engine oil sludge
- •is the 351 windsor a good engine
- •2 men and a truck
- •can i add coolant while engine is running
Popular Information
- •Volkswagen, Mobileye expand autonomous driving collaboration
- •GKN Automotive to shutter North Carolina facility
- •Stellantis to cut 400 engineering, technology jobs
- •First drive: BMW iX2 becomes the coupe-SUV it was always meant to be
- •Localization of EV parts without production scalability may not help cut EV price, says President, Amara Raja