Old Lion air conditioning panel repair (verified, failed)
The round button on the left side of my old Lion Run air conditioner panel to adjust the temperature is broken. I posted a request for help on the forum (see the previous post//www. xcar. com. cn/bbs/viewthread. php? tid=90931921), a passionate fan gave me a match (//www.xcar.com.cn/bbs/viewthread.php? tid=91237582, thanks to Kayou for the panel). I was seriously sick from the delay, and I didn’t get it done for a long time. Recently, the weather has been cold and I thought it was time to repair it. After all, there is no warm air and driving in winter is a pain. I consulted a specialist in repairing circuit boards, but he refused to do it. I guess he thought it was difficult to repair and did not make money. In line with the principles of diligence and thrift, self-reliant and self-reliant food, I decided to make it myself
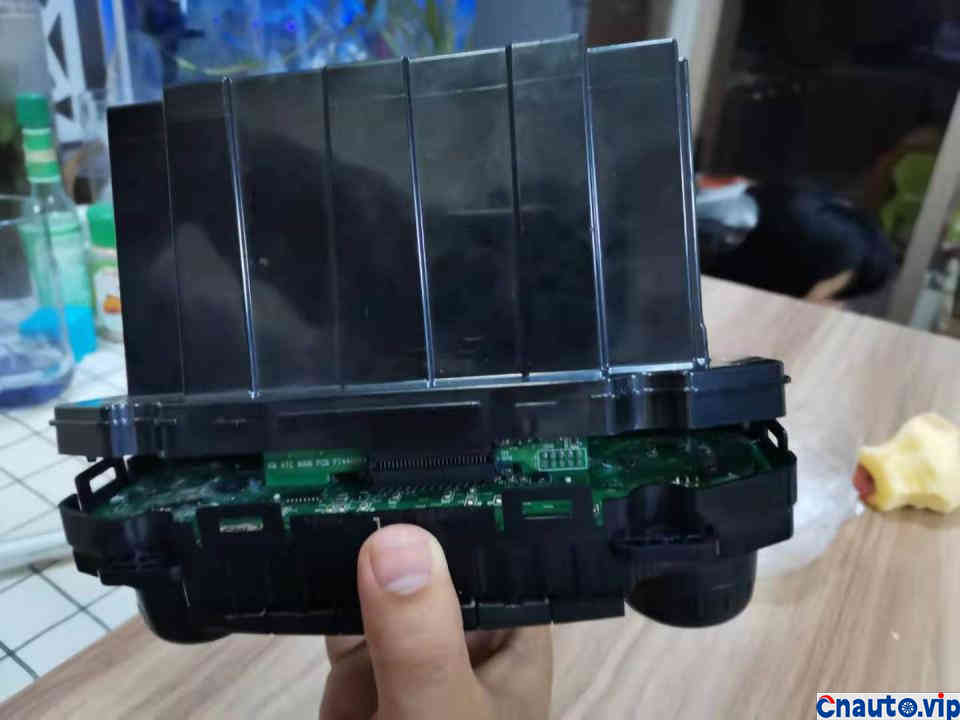
First of all, of course, the air conditioning panel was disassembled first. Removing the panel is very easy. There are 2 buckles in the front and back, and 1 buckle in the left and right. You can just open it gently without screws.
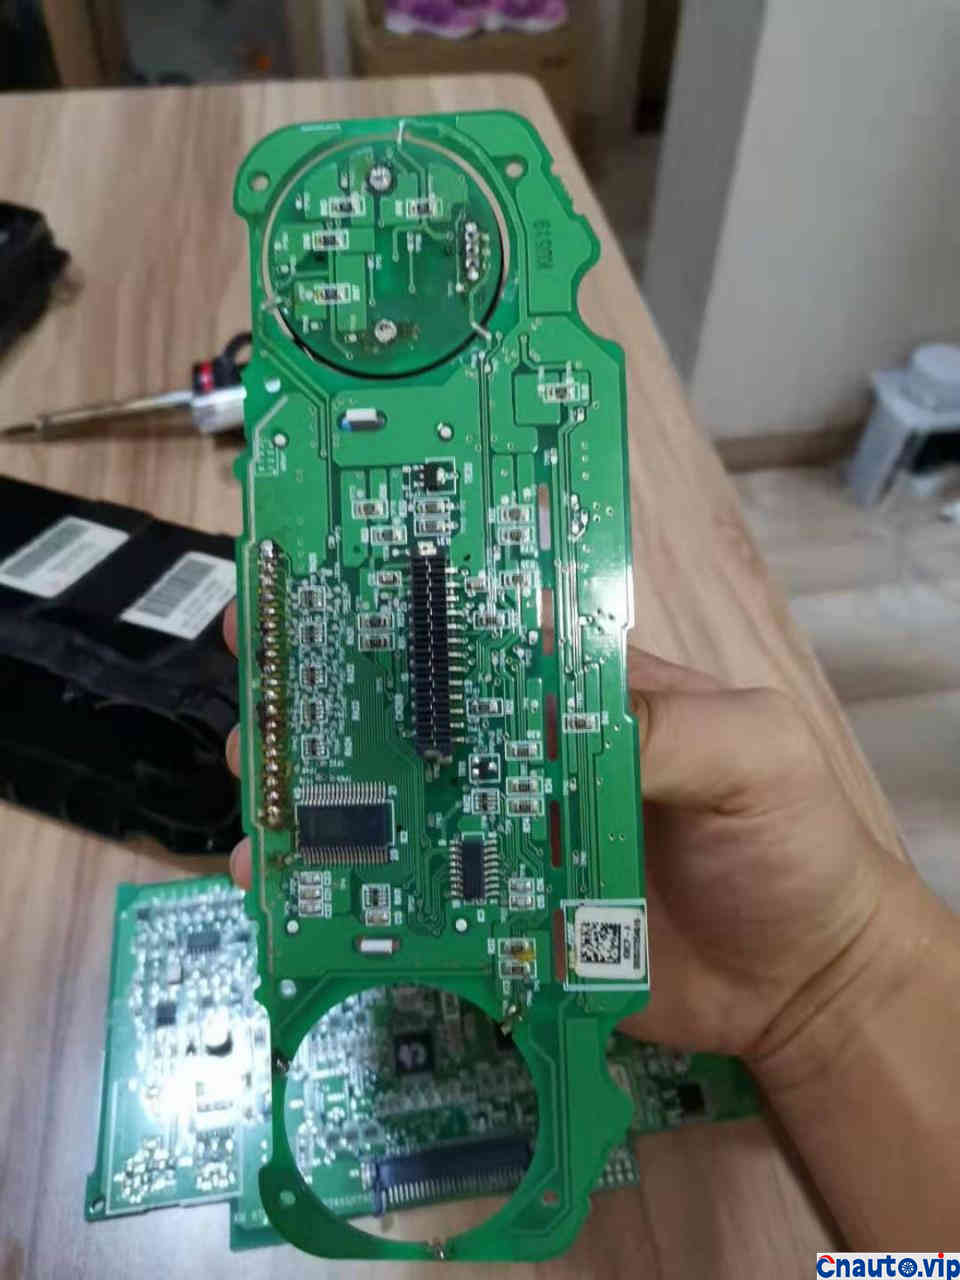
After taking it apart, I found that the button had fallen off.,, separated the broken part from the other circuit board.
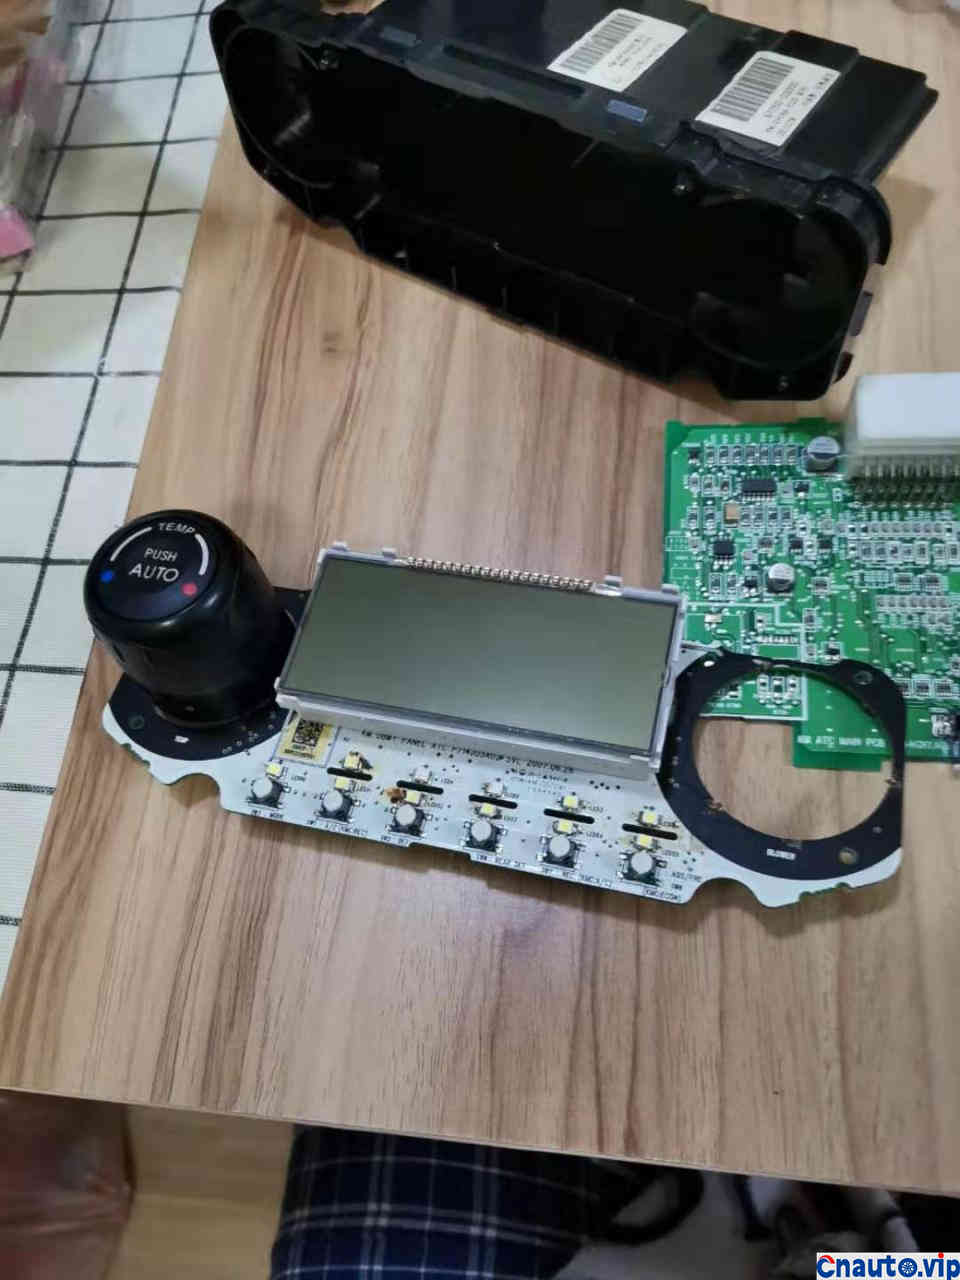
Broken circuit board
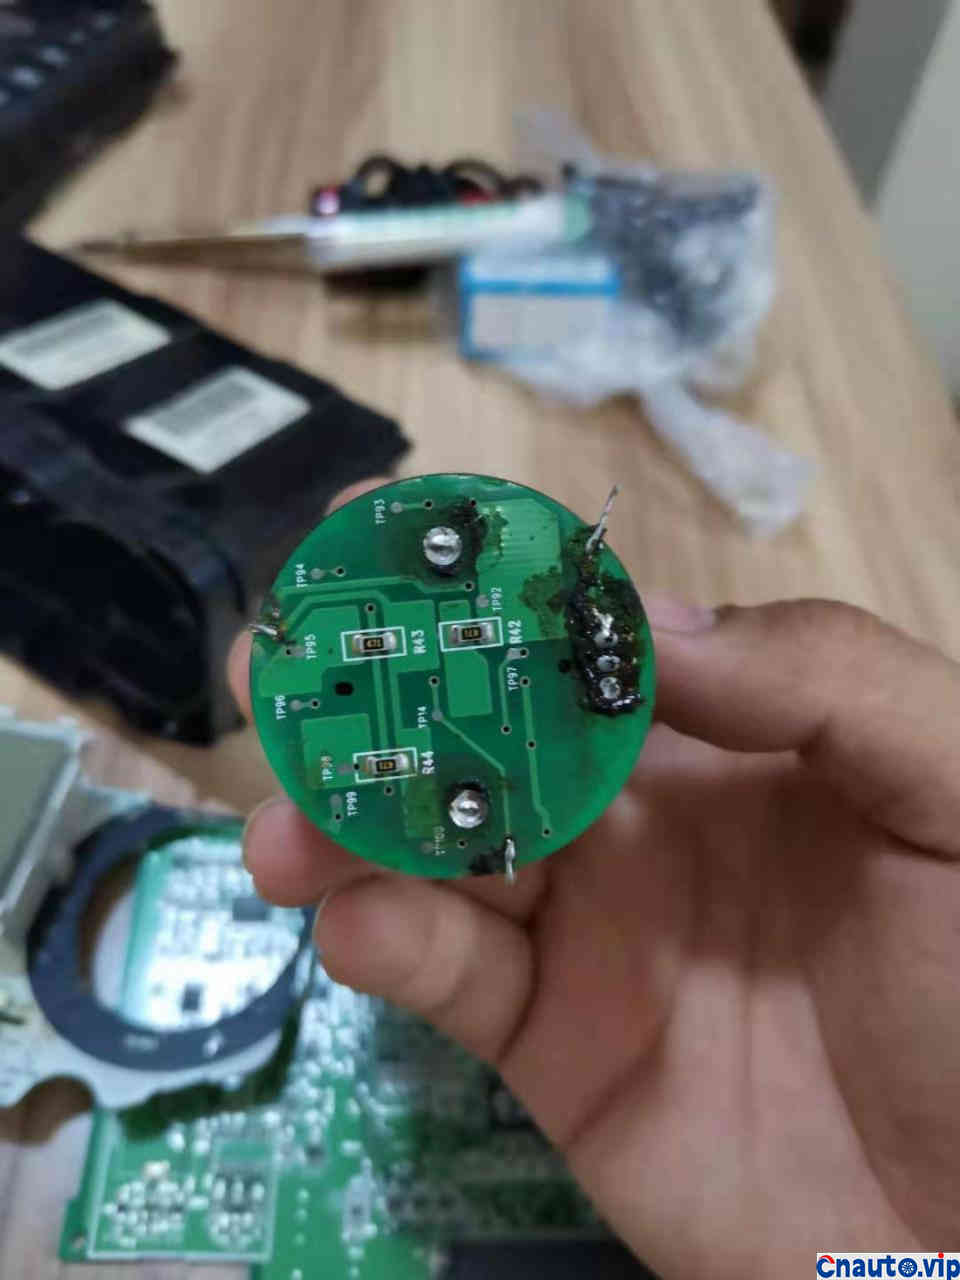
This is the dropped button,
The design of this circuit board is defective. The button has only three small points connected to the large circuit board, which will cause it to break under the slightest impact of external force.
The design of this circuit board is defective. The button has only three small points connected to the large circuit board, which will cause it to break under the slightest impact of external force.
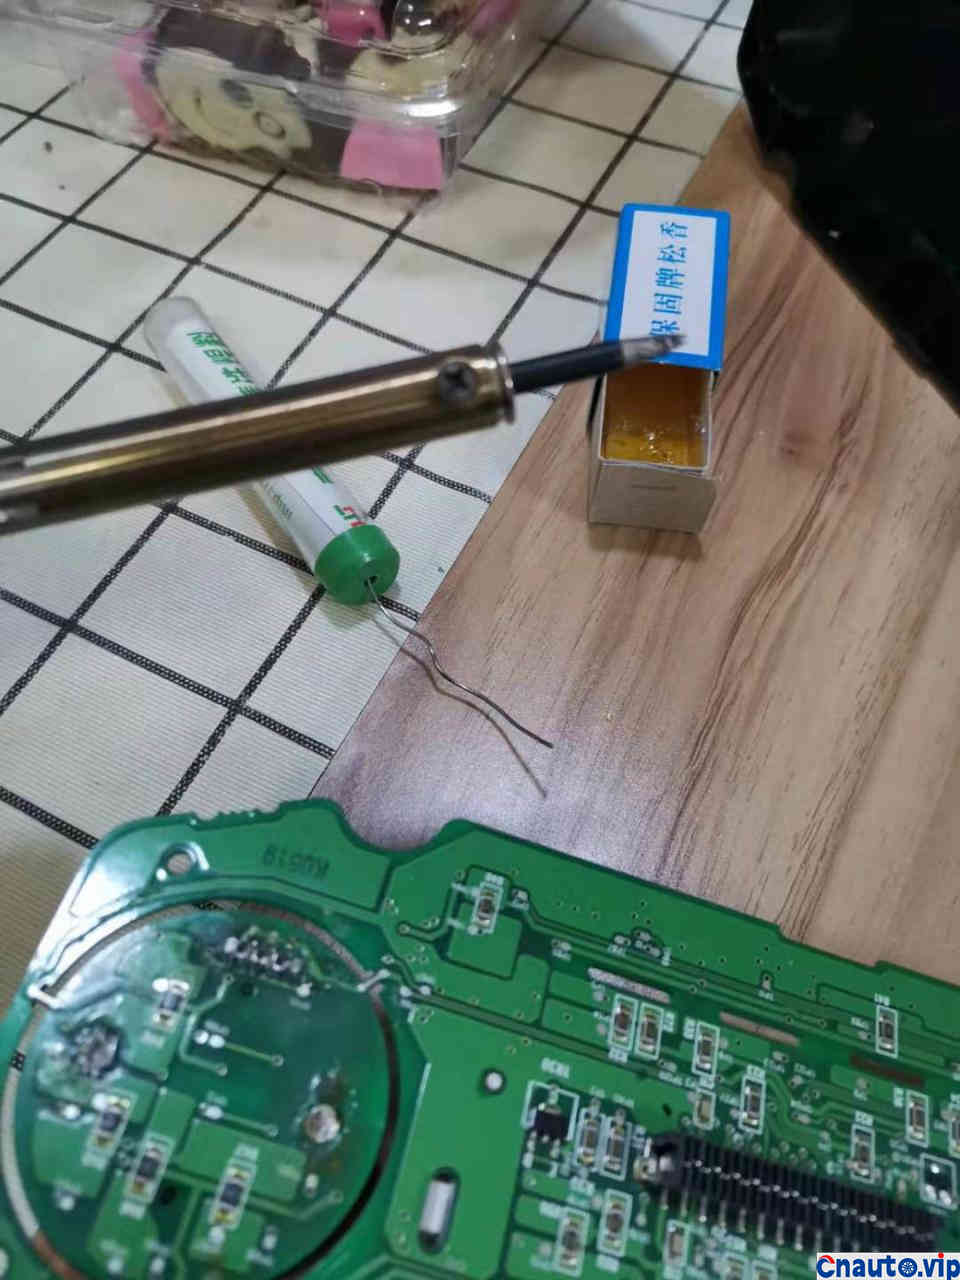
Without saying much, tools should include: electric soldering iron, solder, rosin, solid plastic glue, lighter
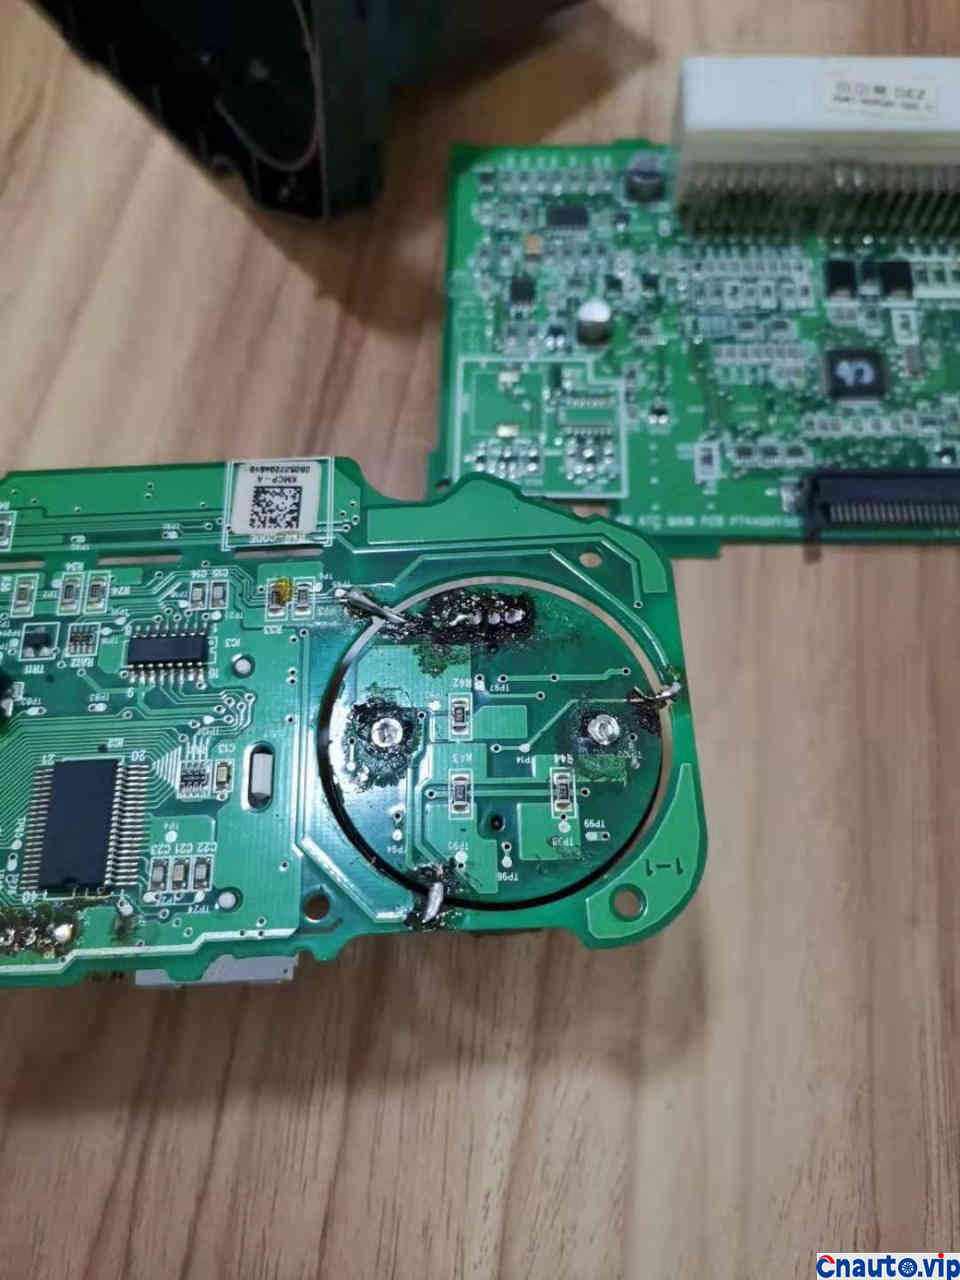
It’s welded.
It’s just that one side is welded, and the other side needs to be welded, but there is black insulating glue on the other side, which cannot be easily operated. Because I don’t know, the other side is not photographed, which is the main reason for the failure.
It’s just that one side is welded, and the other side needs to be welded, but there is black insulating glue on the other side, which cannot be easily operated. Because I don’t know, the other side is not photographed, which is the main reason for the failure.
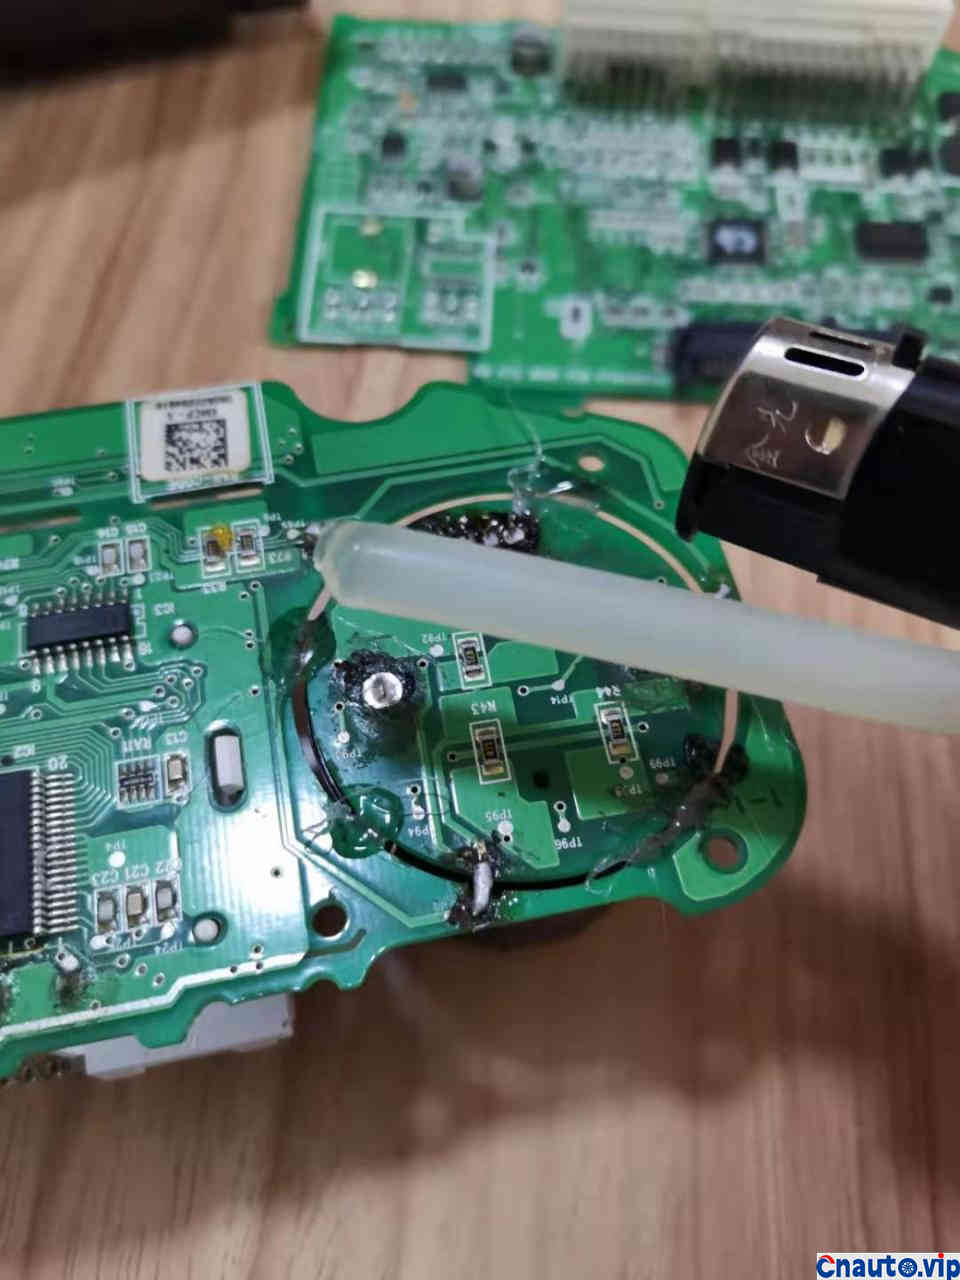
Considering that the fixing point is too small and unstable, you need to use a lighter to burn some solid plastic glue drops to increase its strength.
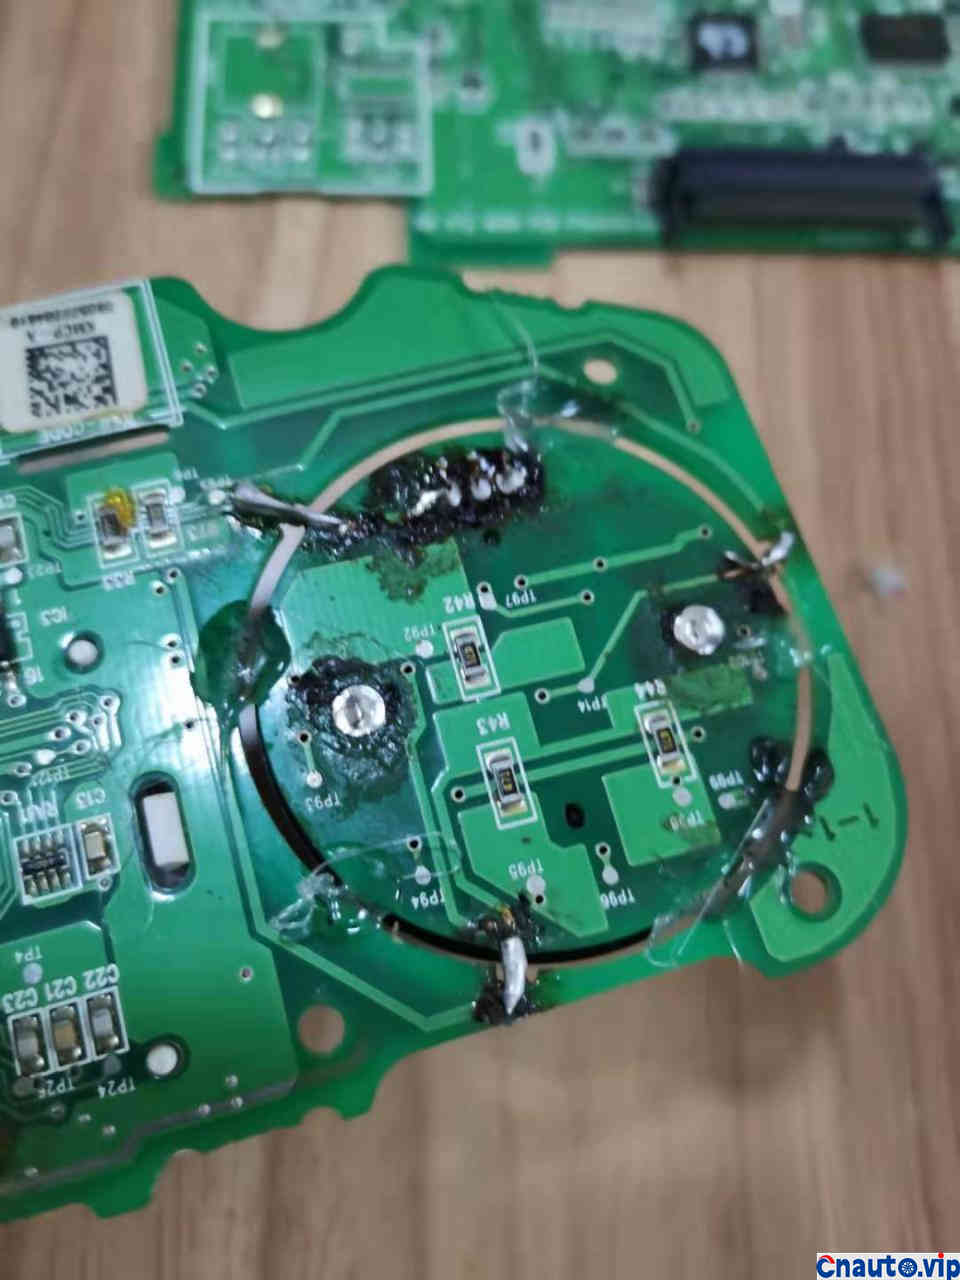
Welding level is limited, please ignore it.
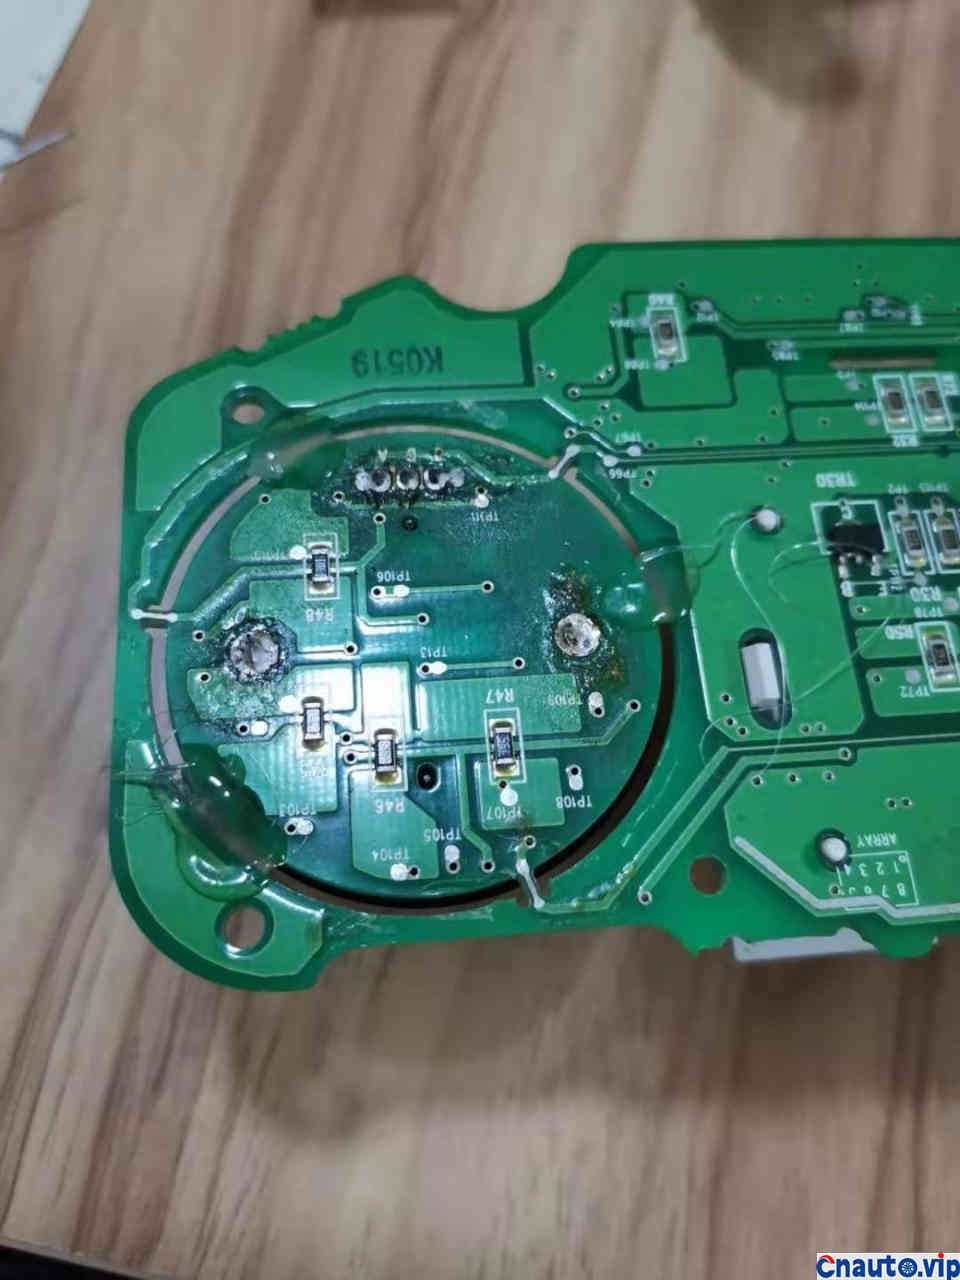
A little glue was also dropped on the other side.
I tried it after loading the car, but it didn’t work![]() !!! I asked the mechanic and found that there are circuits on both sides of this button. I only welded the back side, but not the front side.
!!! I asked the mechanic and found that there are circuits on both sides of this button. I only welded the back side, but not the front side.![]() 。
。
I failed to fix it here, but I didn’t repair it. Go to Taobao and buy it honestly. It’s winter, and it won’t work without warm air.![]() 。
。
I failed to fix it here, but I didn’t repair it. Go to Taobao and buy it honestly. It’s winter, and it won’t work without warm air.
PS, I wanted to post it to our forum, but why did I post it to the community forum
Hot Information
Tesla Autopilot and similar automated driving systems get ‘poor’ rating from prominent safety group
 April 1, 2024
 Localization of EV parts without production scalability may not help cut EV price, says President, Amara Raja
 March 27, 2024
JCTSL may turn bus stands into charging points for e-buses
 March 27, 2024
 You May Like

